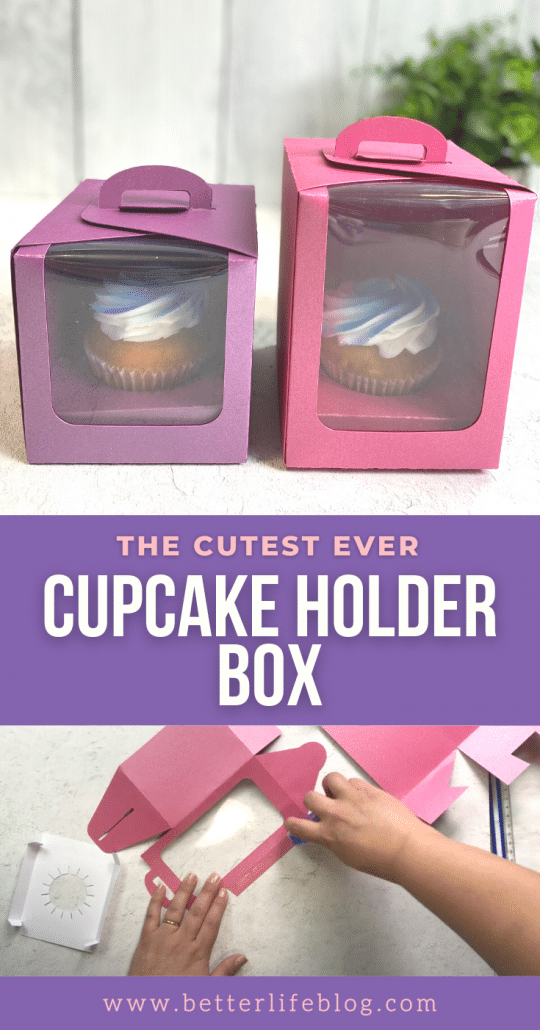
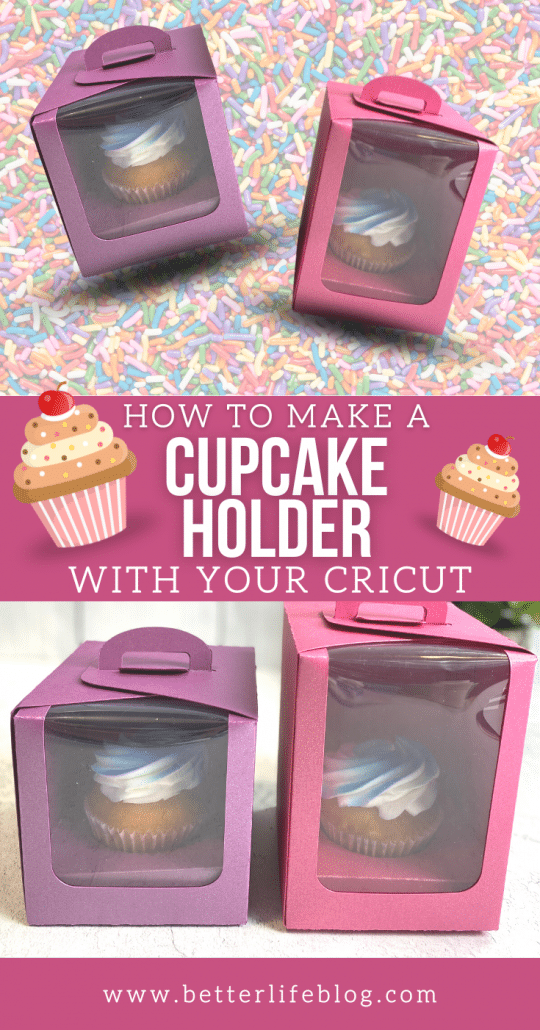
Be the “hostess with the mostess” when you send your guests home with a sweet treat in an adorable DIY Cupcake Holder Box. The best part is that you can make it with your cutting machine!
Step right in, crafty friends! I’m so happy to have you here! Today, we are making the sweetest Cricut Cupcake Holder Boxes, and your guests will be truly impressed once you send them home with one (with a cupcake inside, of course!).
I absolutely thrive off of hosting dinner parties. There’s just something about having my closest friends over, enjoying good conversations over delicious food.
As a seasoned hostess, I can never imagine sending my guests home empty-handed. This Cricut Cupcake Holder Box is the perfect touch when wrapping-up my get-togethers.
I Love This Craft! Got Any More Cricut Ideas?
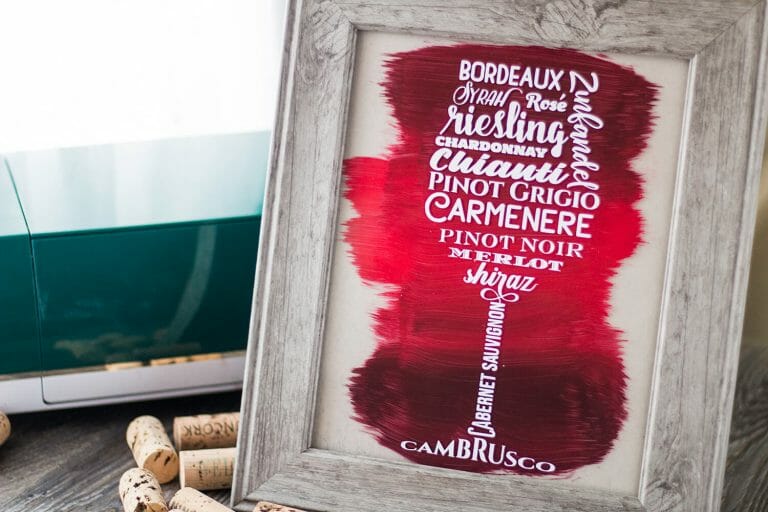
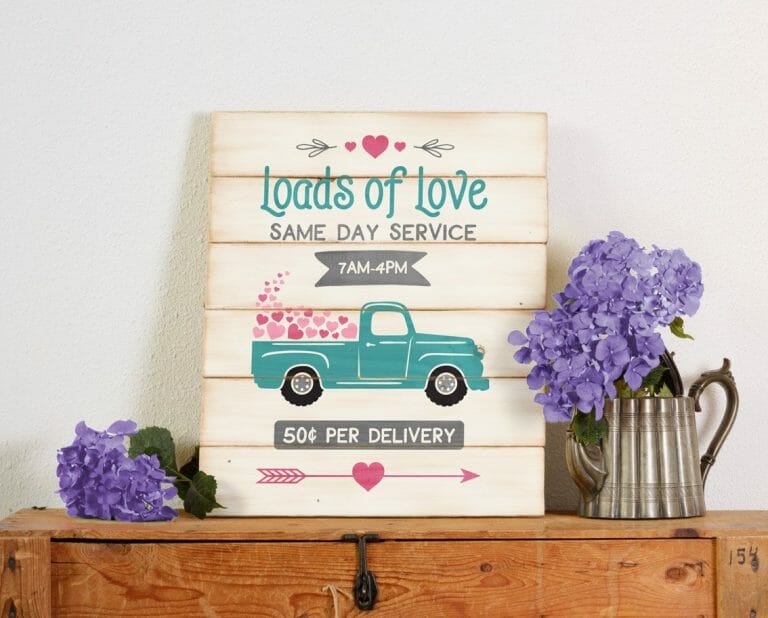
Absolutely! Crafting with my cutting machines is my all-time favorite hobby. You should take a look at these other tutorials:
How Do I Get the SVG File to Make This Adorable Cupcake Holder Box?
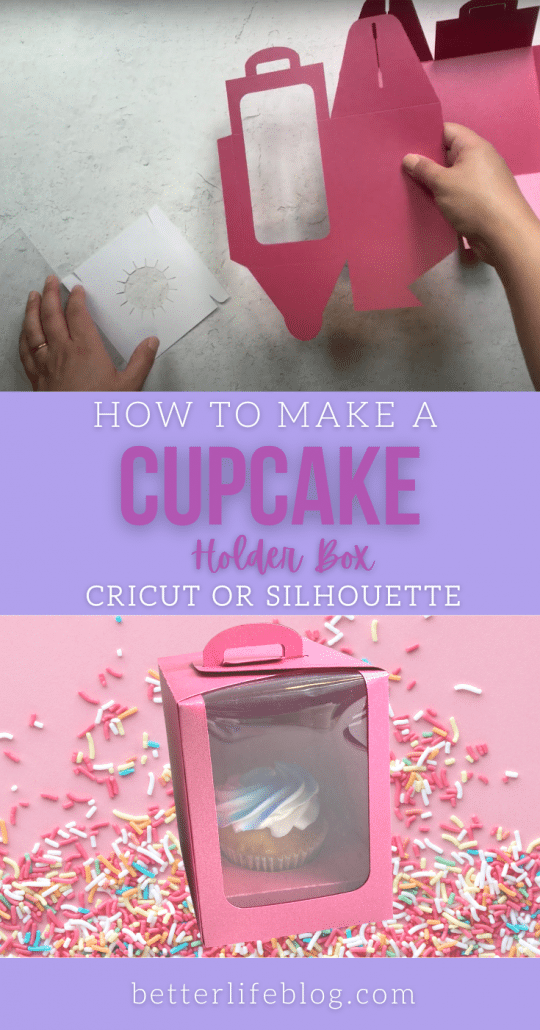
To access this file, just log onto your VIP Crafters Club dashboard – the SVG was part of your May 2021 SVG bundle! It’s good for both Cricut and Silhouette machines.

If you’re not yet a member of my VIP Crafters Club, joining is super easy. Just click here to sign up! My VIP Crafters Club unlocks access to hundreds of original SVG files (created by yours truly!) and gives you exclusive access to my online crafting community! Plus, we meet-up every month to make a craft together!
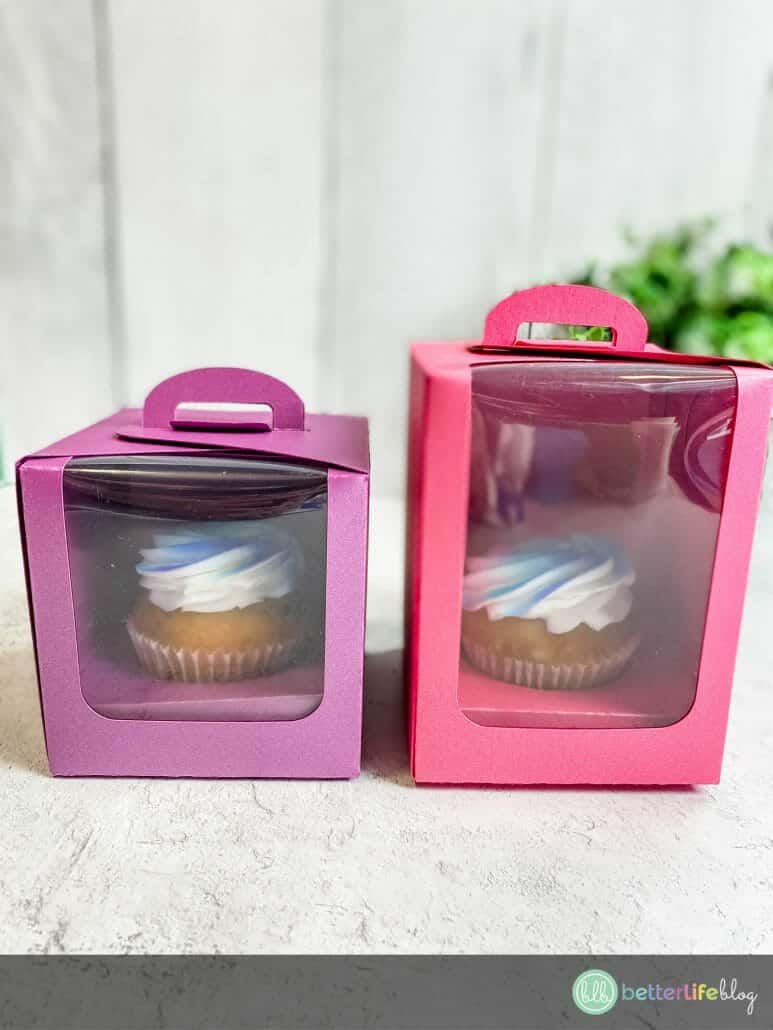
You can also download the individual Cupcake Holder Box SVG file here! The file itself comes with two sizes for the cupcake boxes.
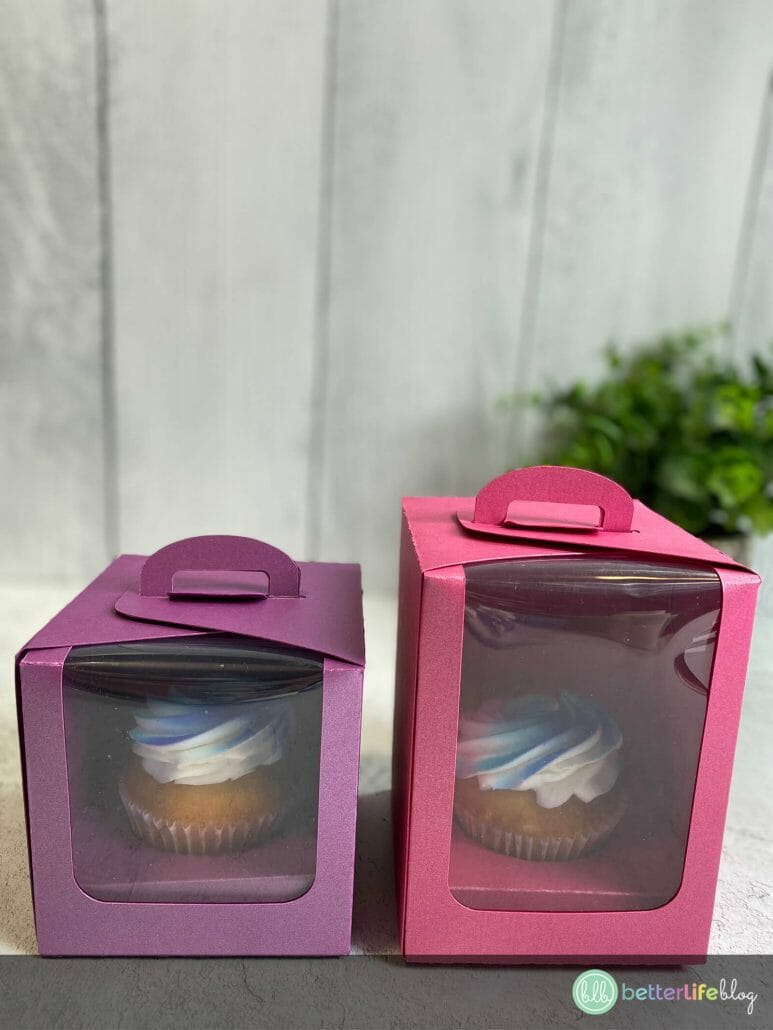
What is a Cupcake Holder Box?
A cupcake holder box is usually made up of heavy cardstock, with a circular cut-out to hold cupcakes and keep them safely in-place during transport. They’re great for leftover cupcakes, especially when handing them out to guests. They’re visually appealing and a more budget-friendly alternative to giving out kitchen containers.
What Supplies Do I Need to Make a Cupcake Holder Box?
Be sure to gather the following supplies before making this adorable Cricut Cupcake Holder Box (and be sure to keep on scrolling for the full step-by-step instructions!):
- Cupcake Holder SVG file
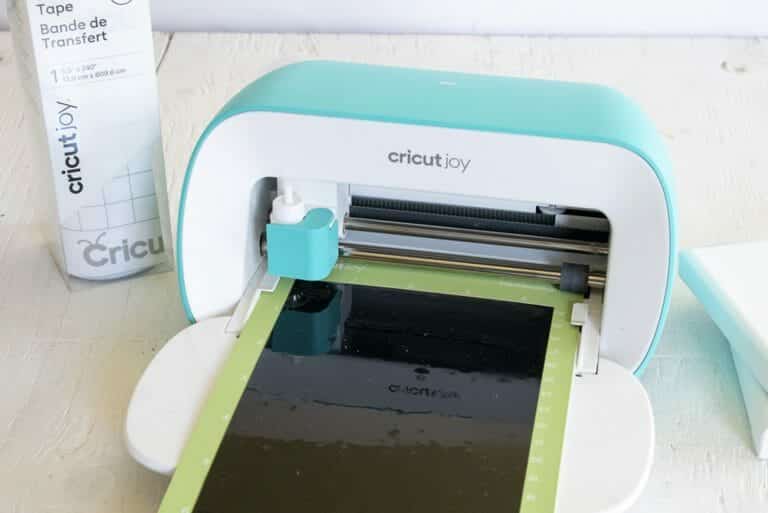
- Cricut or other cutting machine
- Cardstock (colors of your choice)
- Scoring tool
- Acetate sheets
- Crafter’s tape
How Do I Make a Cupcake Holder Box With My Cricut?
It’s easy to whip-up a cupcake holder box! Your guests will be impressed once you hand them a delicious cupcake in this adorable, personalized box. All you need is your Cricut and some simple crafting supplies. Here’s how to put yours together:
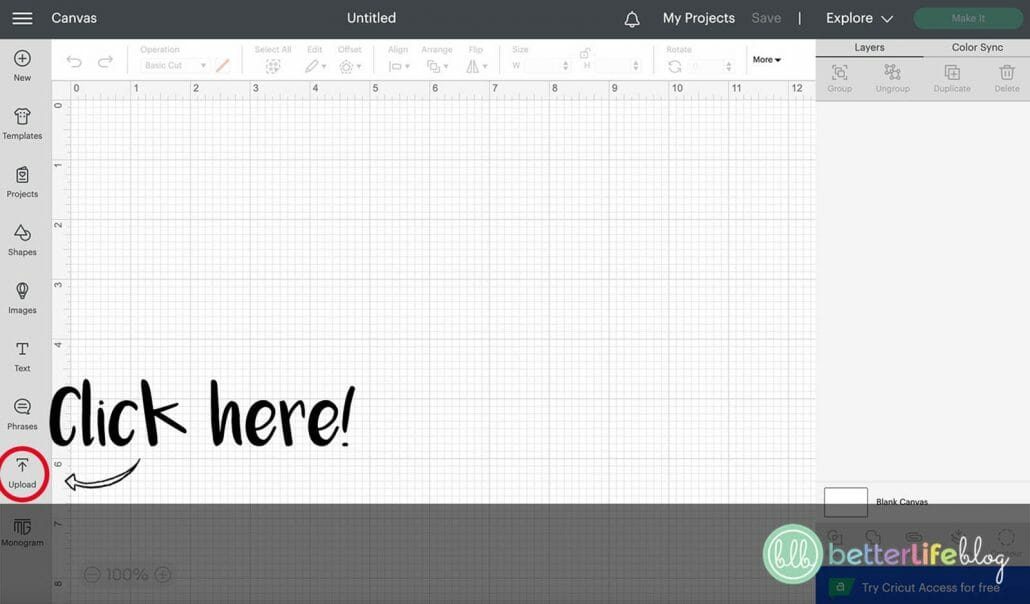
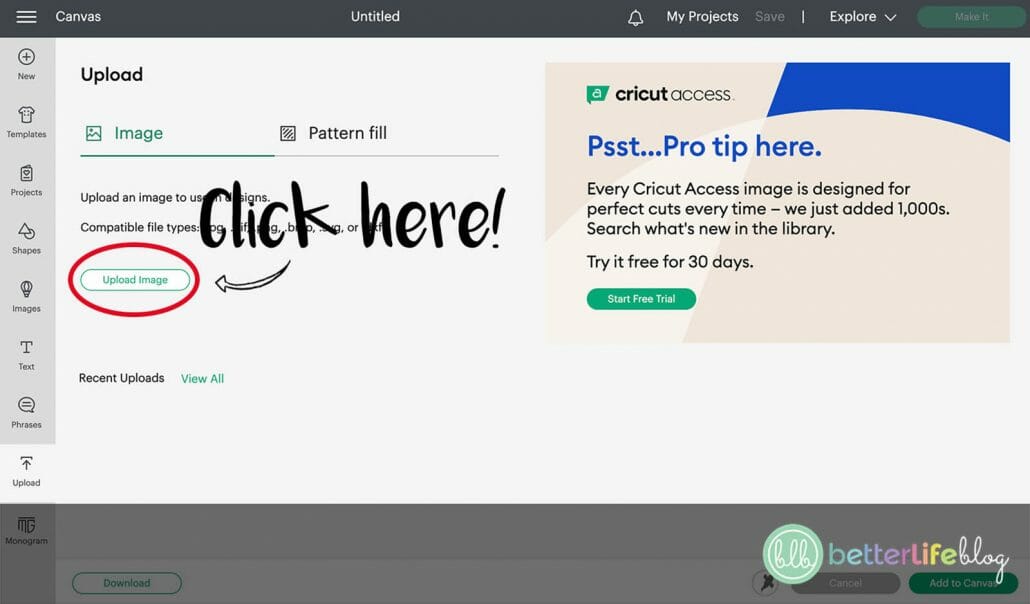
Step 1: Upload the Cupcake Holder Box SVG file to Design Space
Begin by uploading your SVG file to Design Space (or, if you are using another cutting machine, its corresponding program).

Step 2: Set Up Score Lines
This project requires score lines, so be sure to check out my video tutorial on how to set them up.
Step 3: Cut Your Design
Follow your program’s directions to cut your file on your cardstock and acetate sheet. Gather all the pieces before assembling.
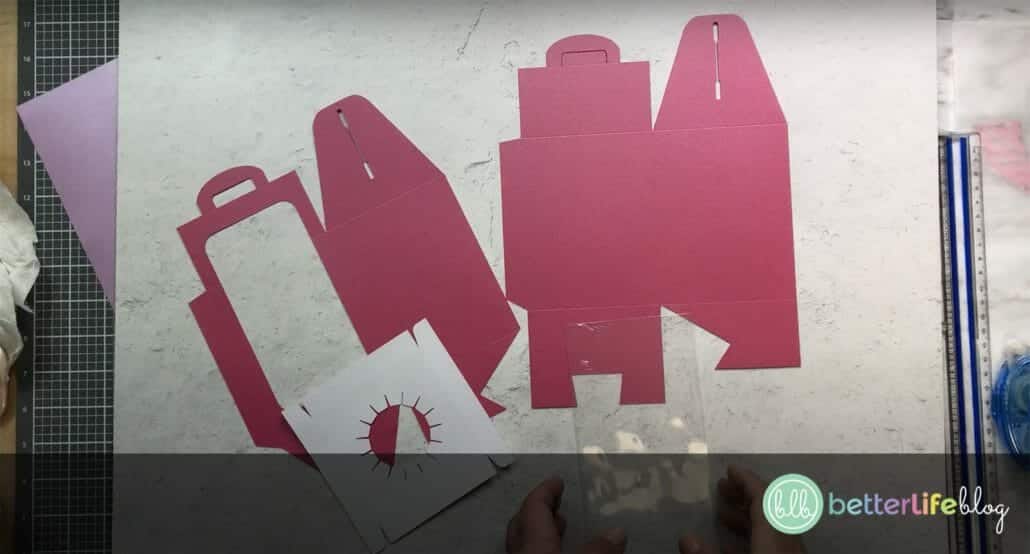
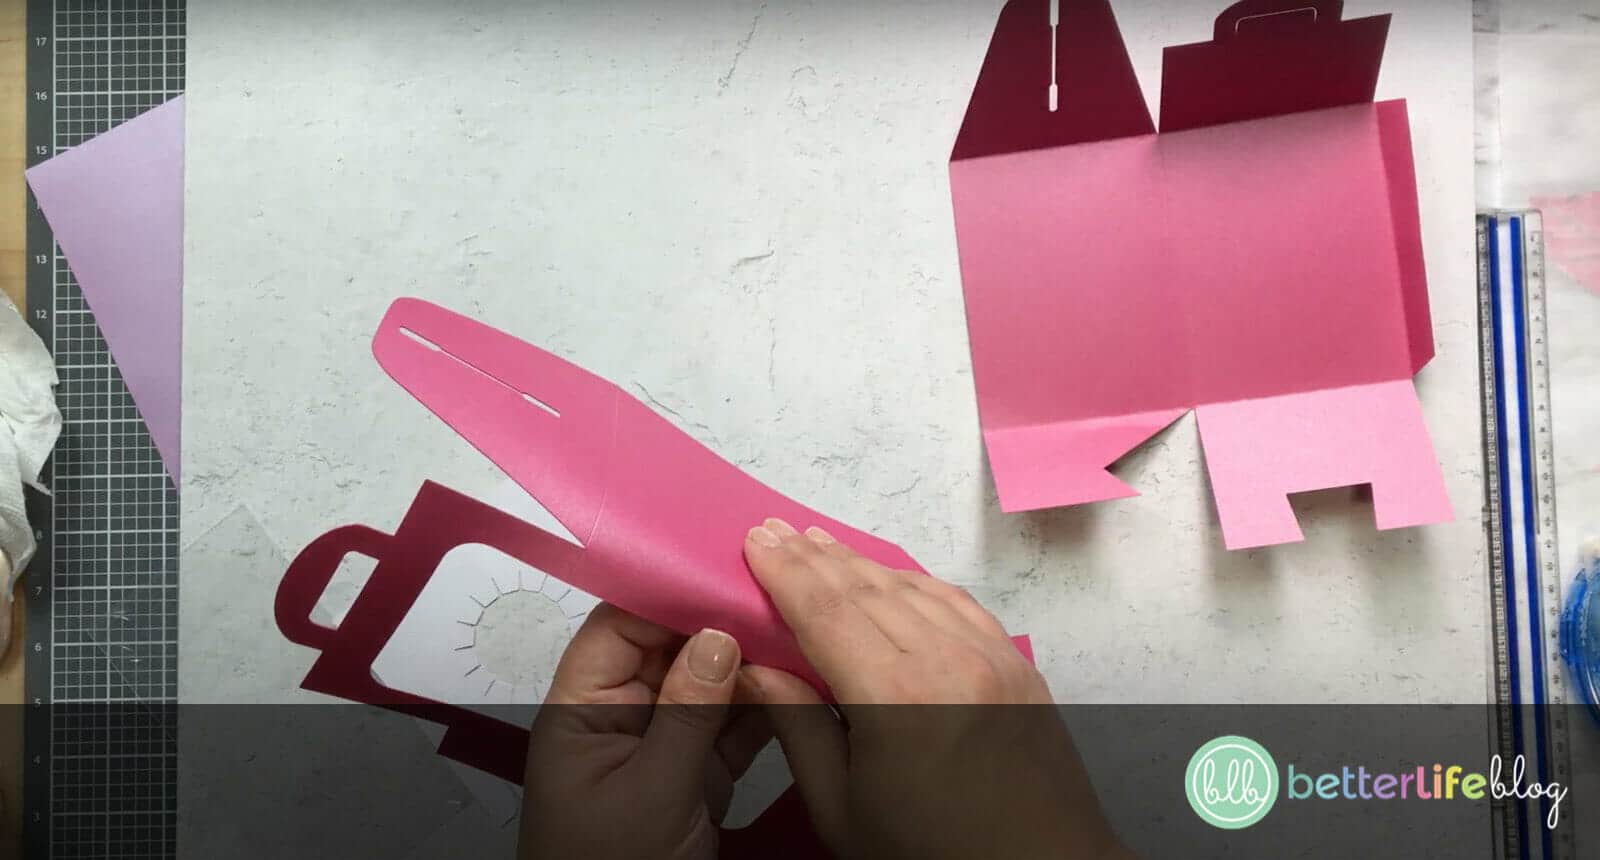
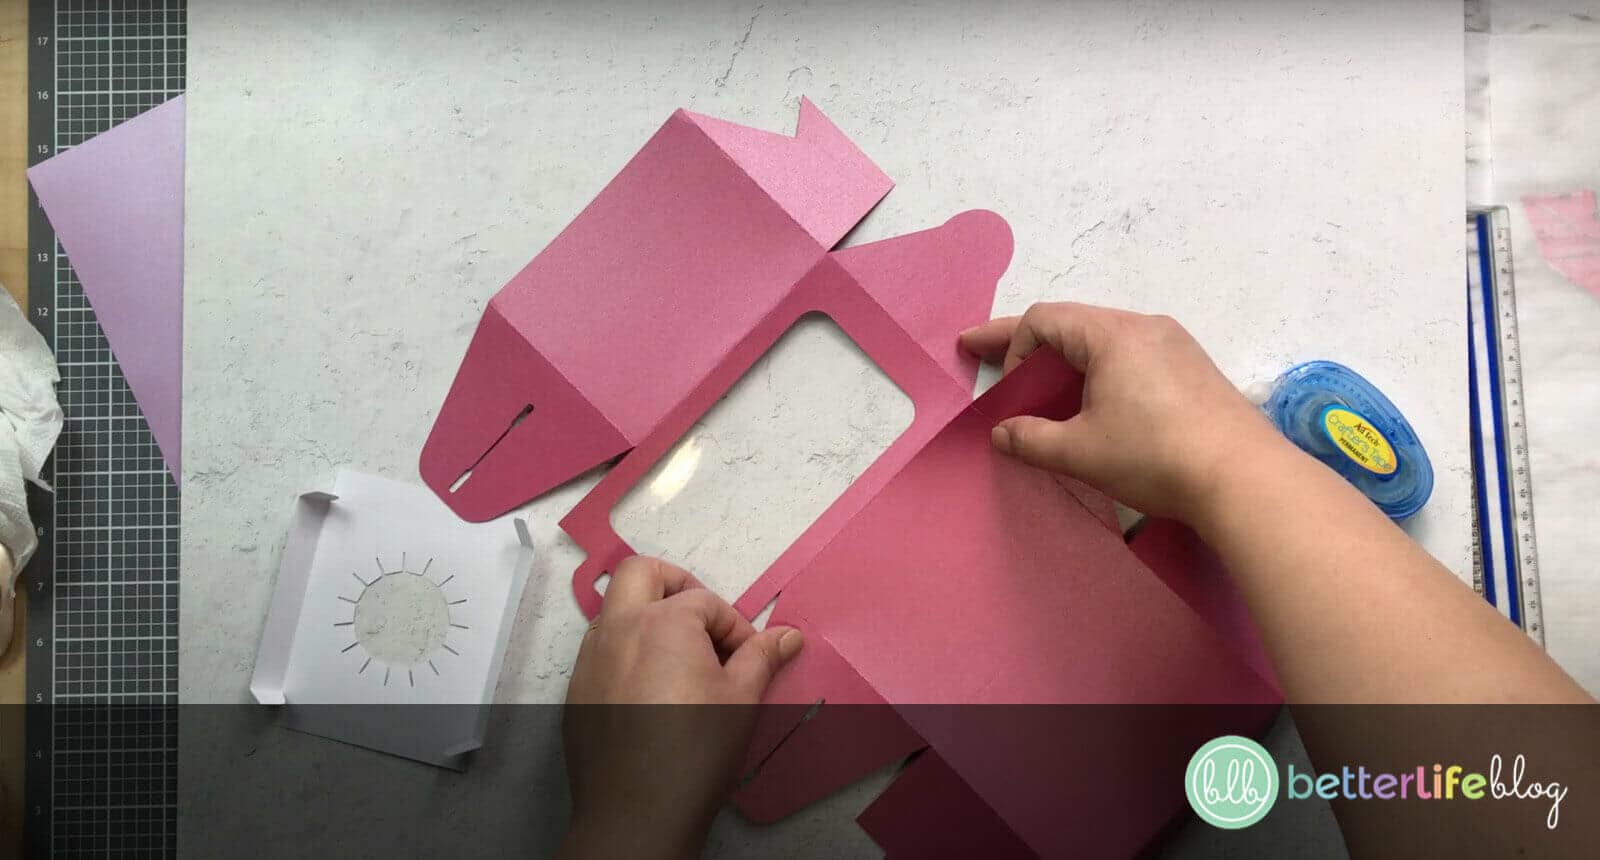
Step 4: Begin to Assemble the Cupcake Box
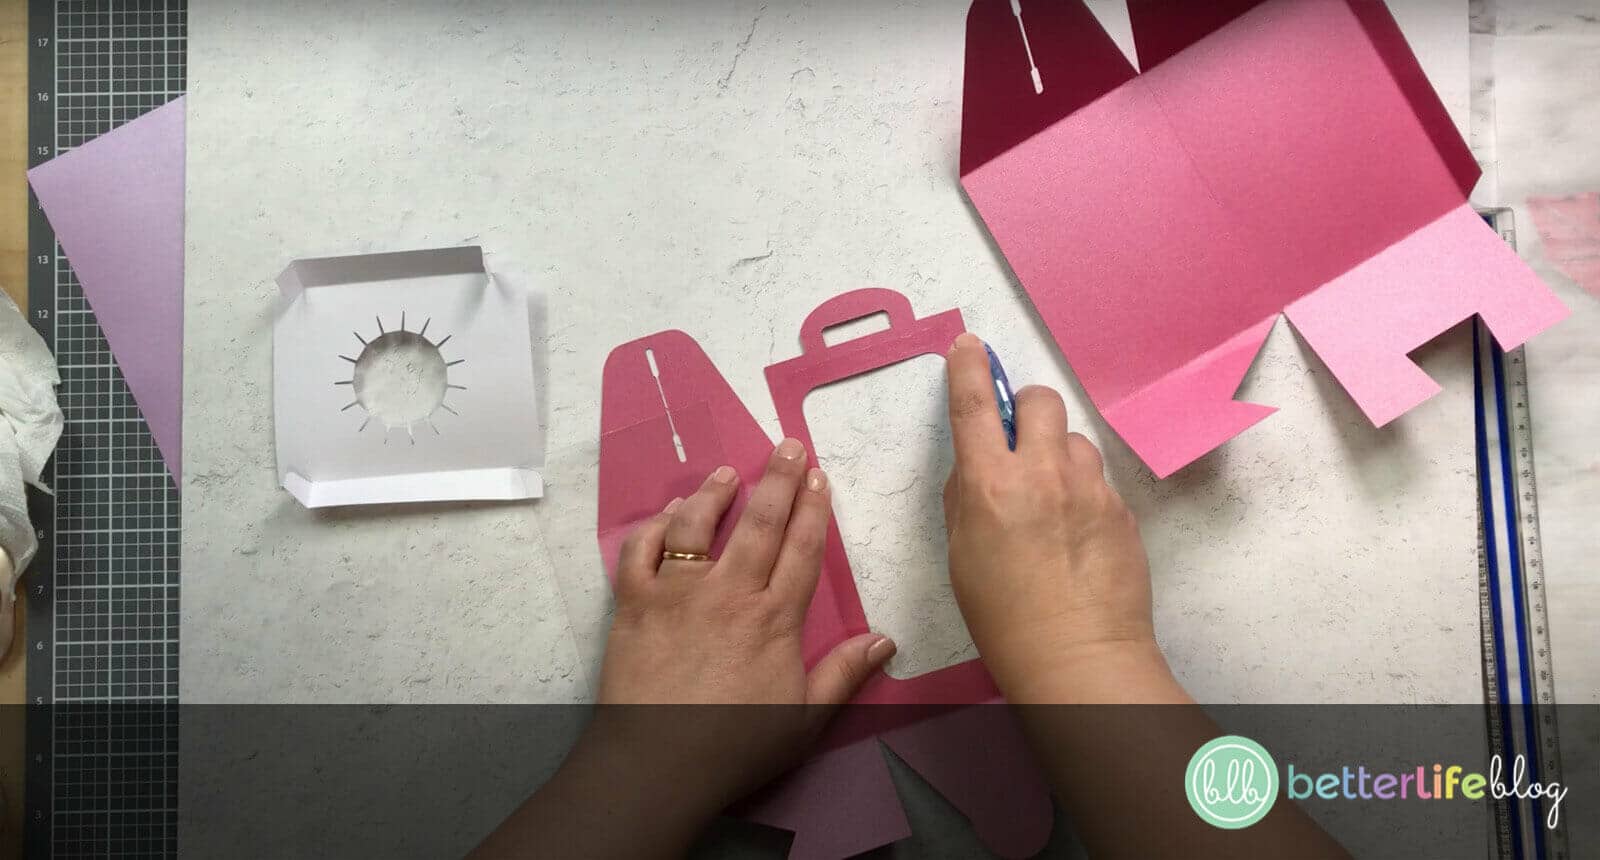
Begin with the large piece without the window and fold all the tabs, edges, and sides inwards. You may use your scoring tool for this.
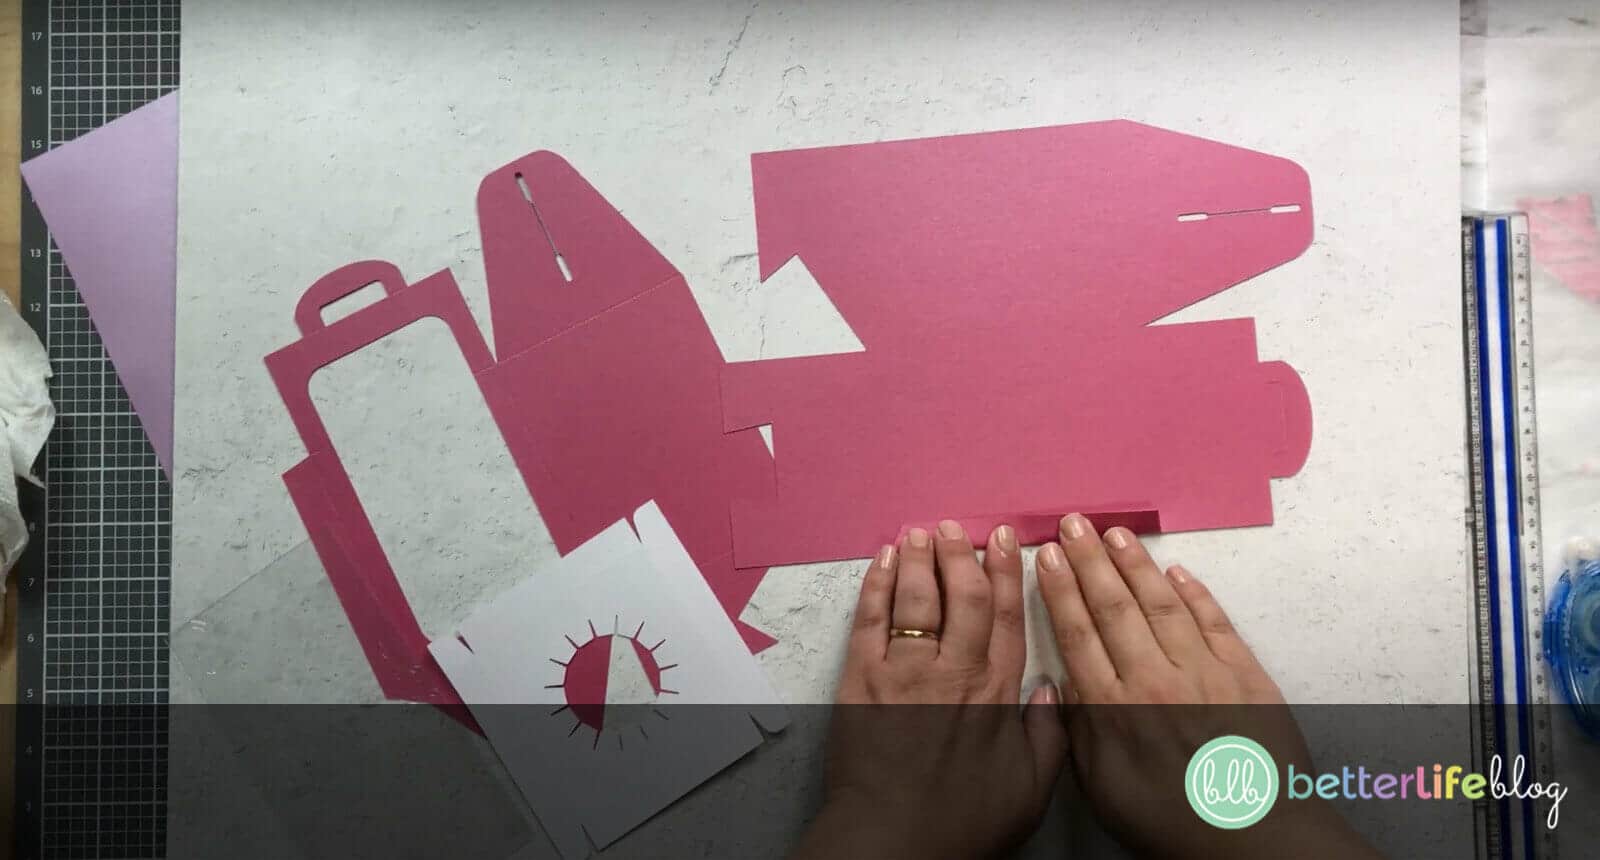
Next, start folding the tabs, edges, and sides for the piece with the window. Do the same thing for the smaller piece, which will be the base where your cupcake sits.
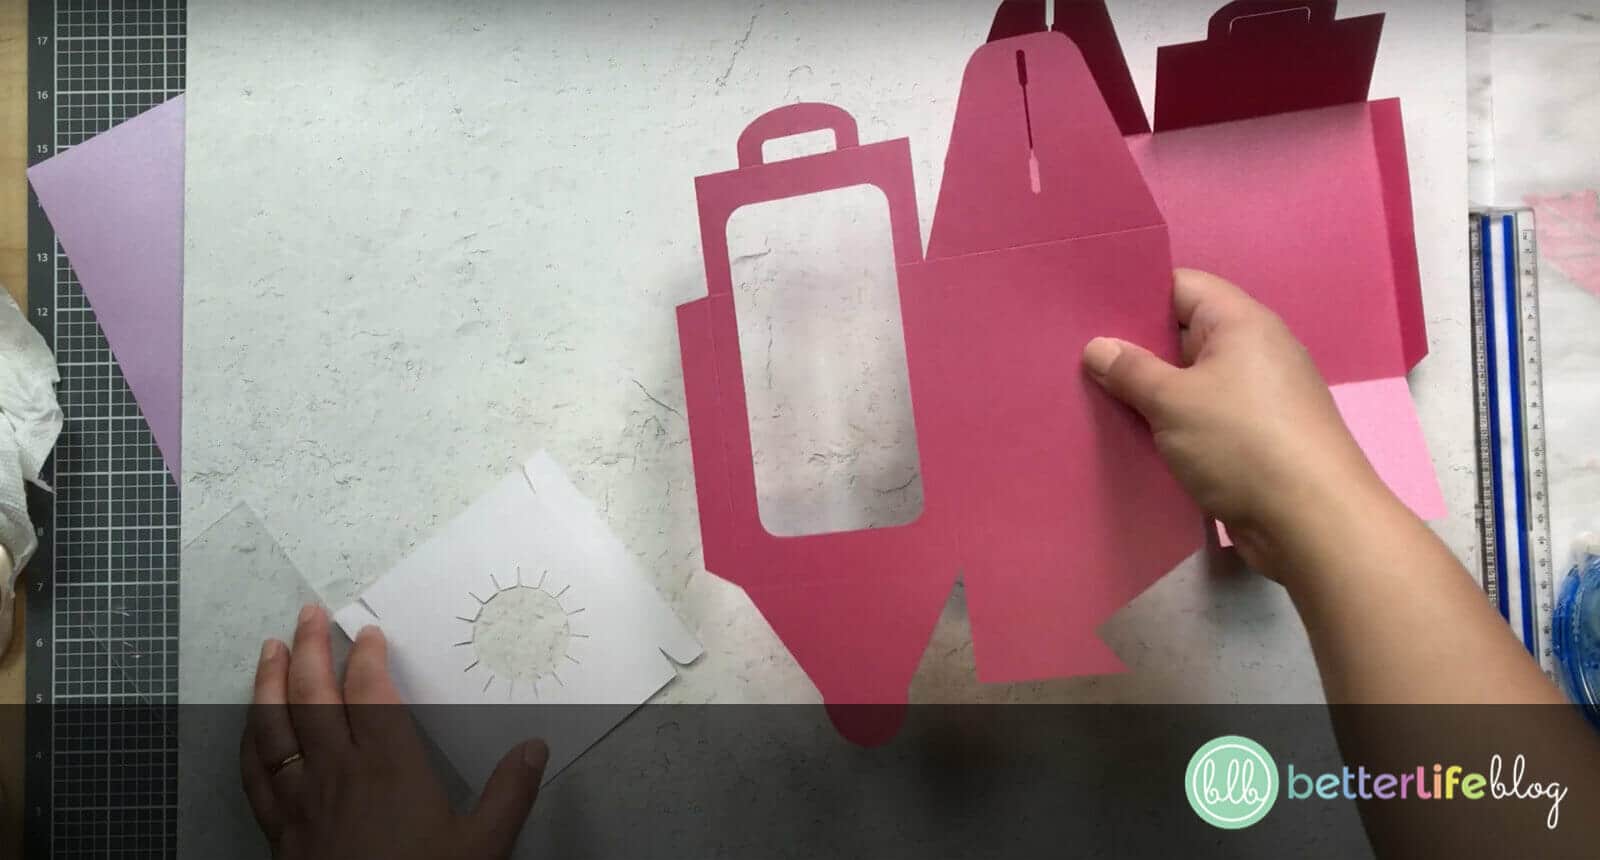

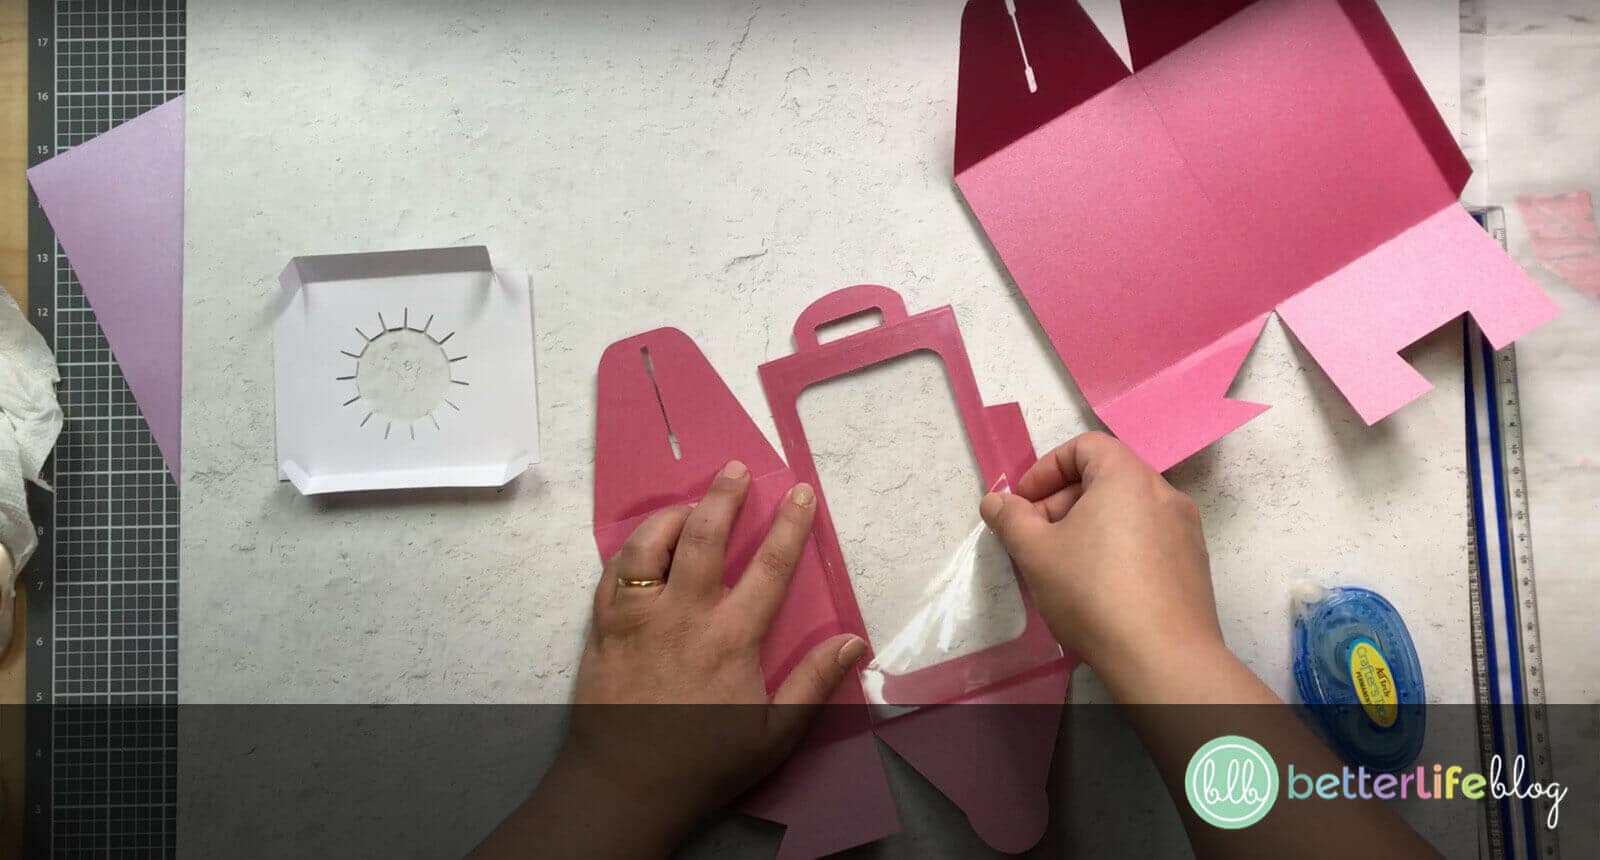
Step 5: Glue the Acetate Piece to the Window
Add crafter’s tape to the window’s edge (you will want to work from the inside of the box for this step) and carefully place your piece of acetate sheet.
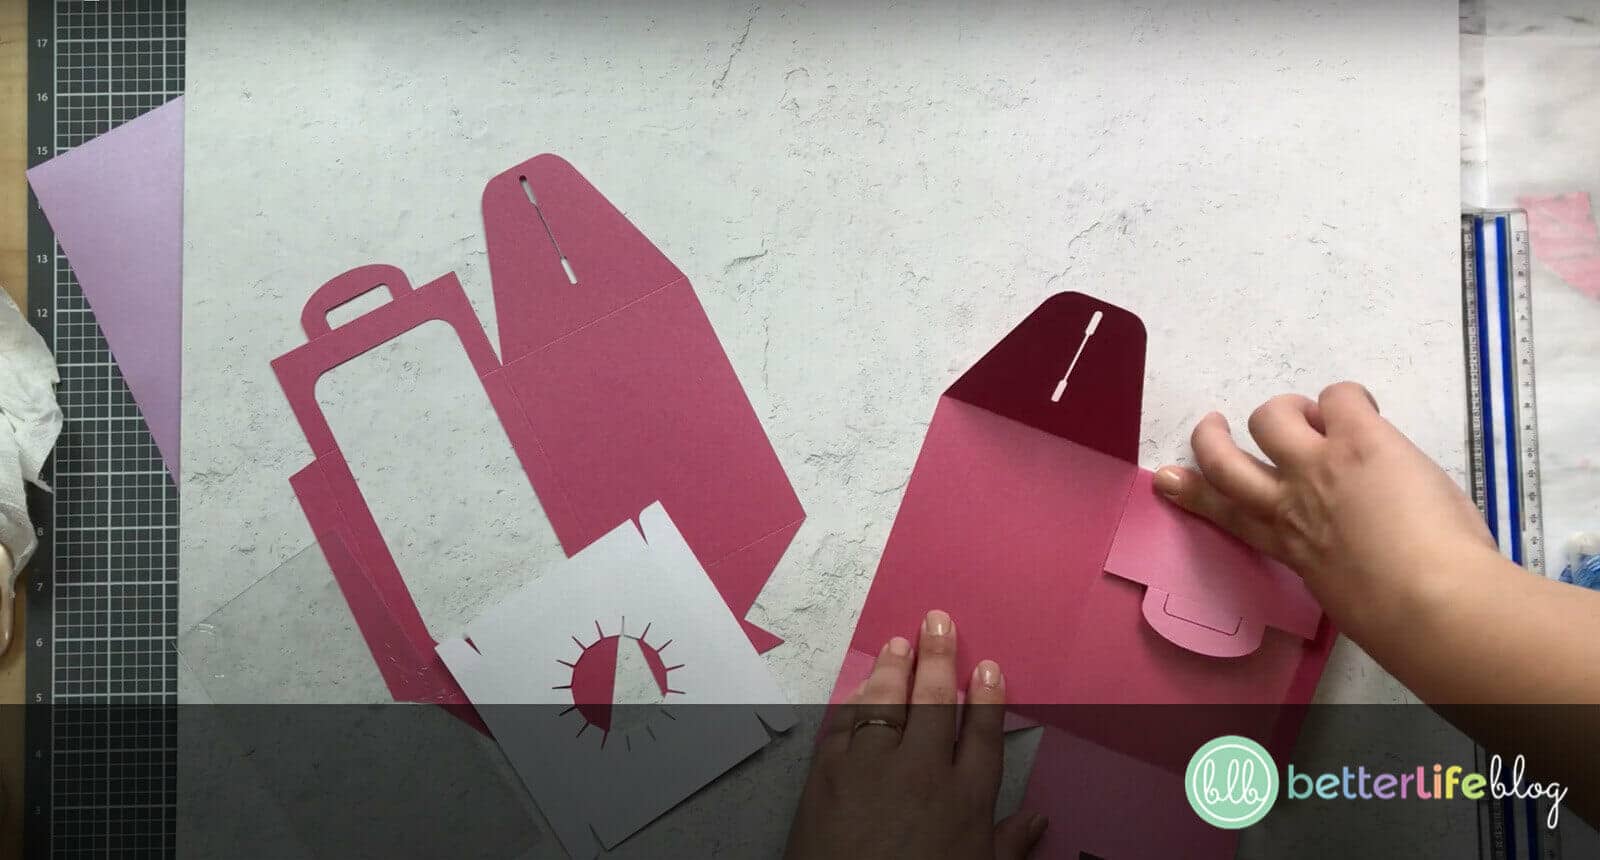
Step 6: Continue Assembling
Once the acetate sheet is glued on, flip the piece over and apply crafter’s tape to the tab closest to the window. Glue one end of the other large piece to this tab (as shown in the images below).
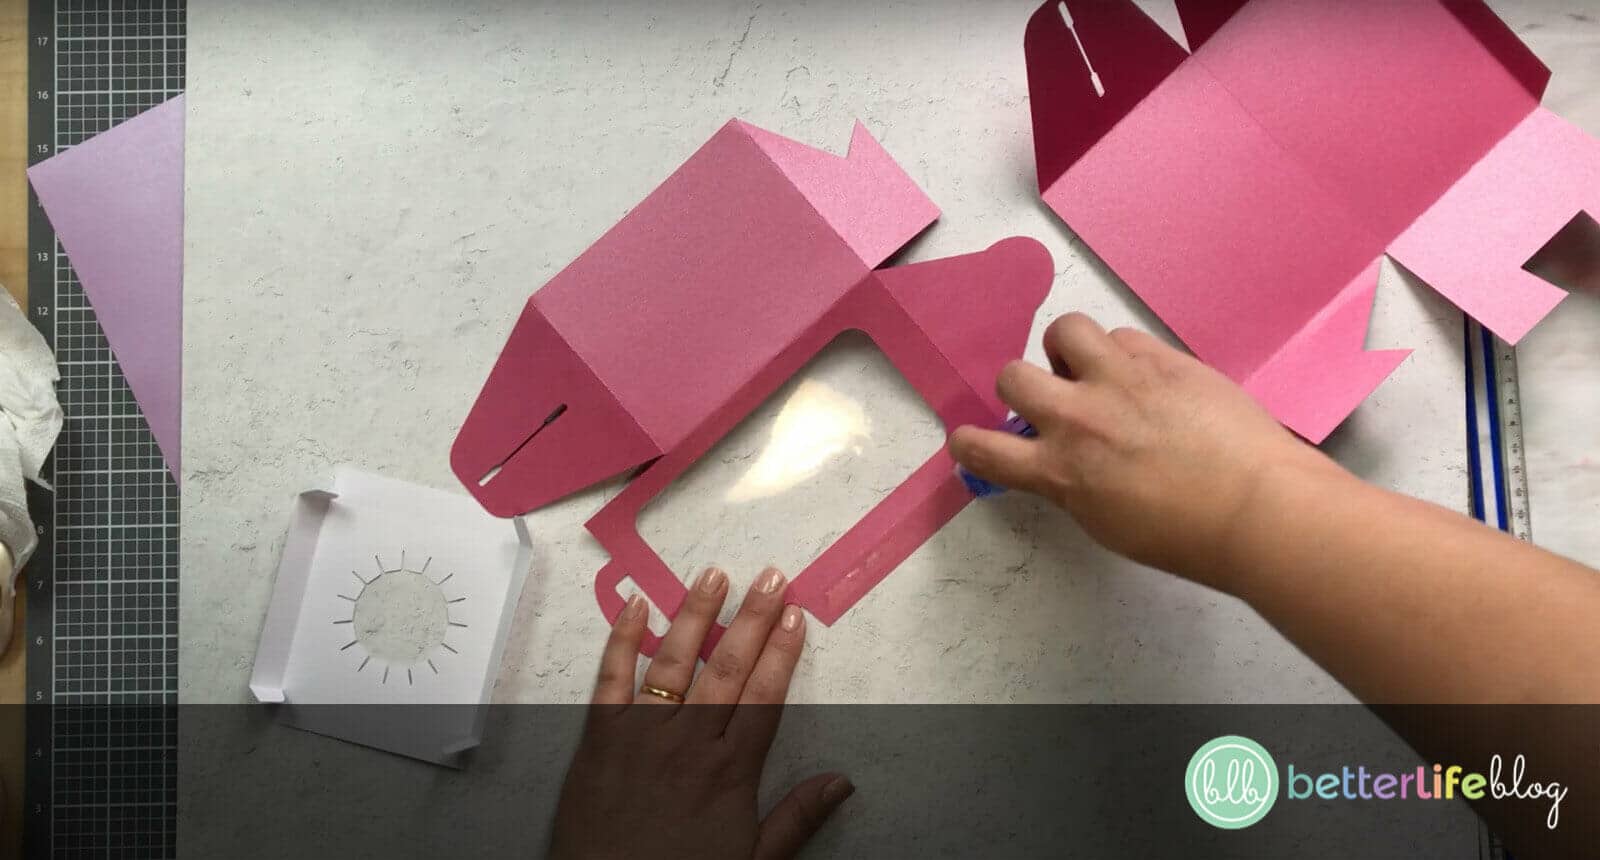
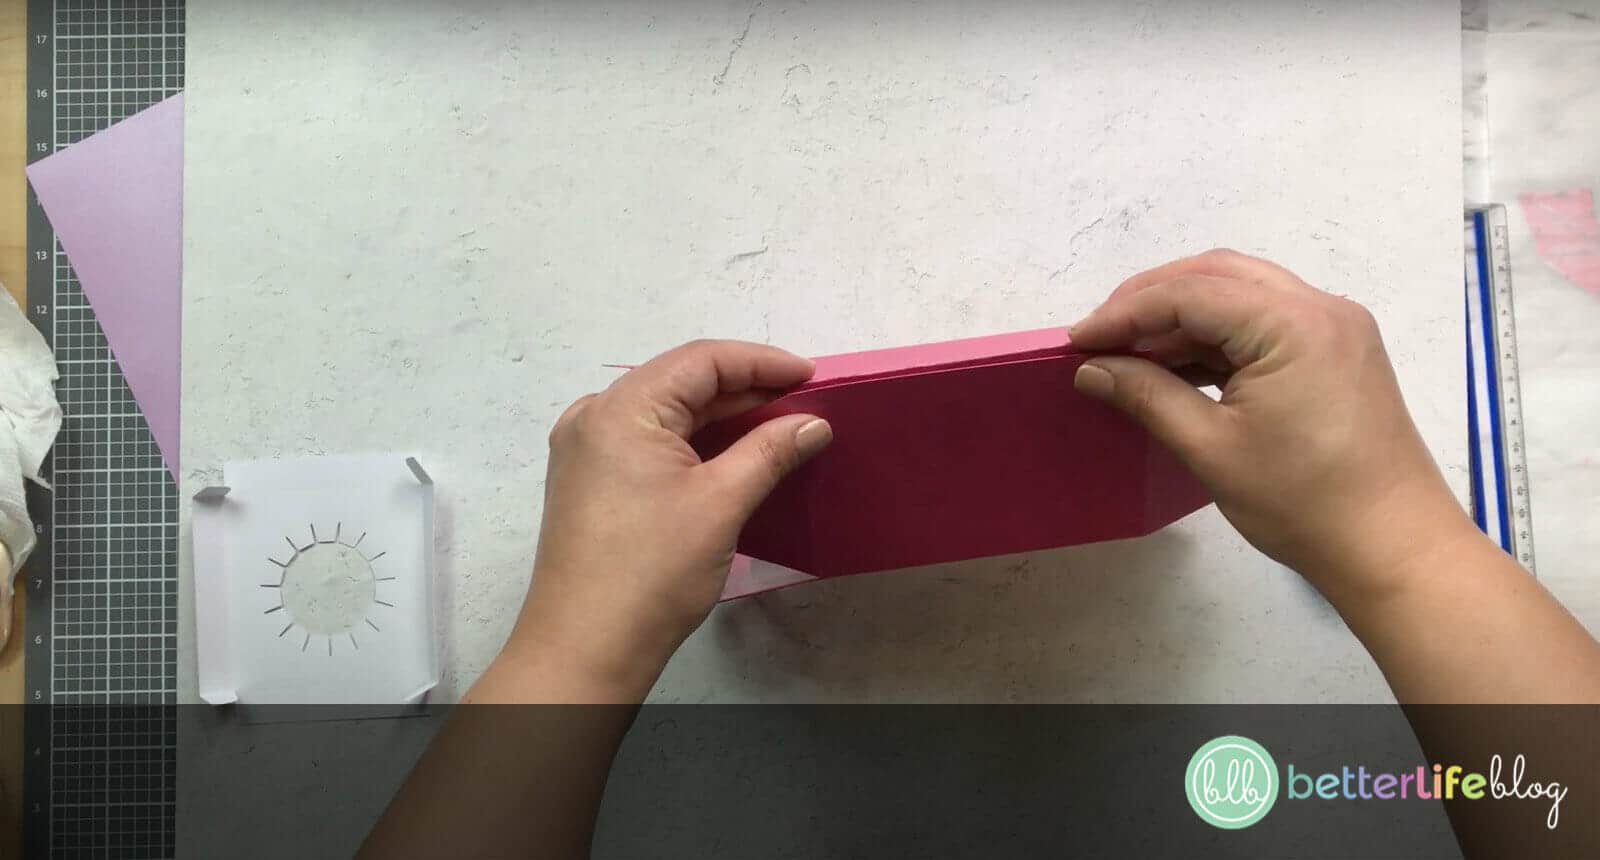
Step 7: The Box Starts to Take Form
Add crafter’s tape to the other tab and then connect it to the opposite edge. Watch your cupcake holder start to take shape!

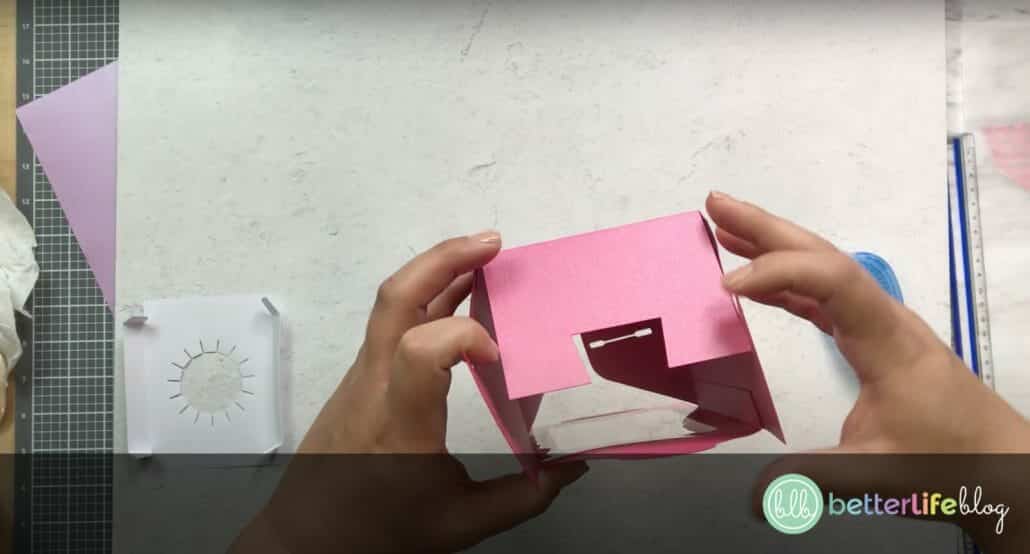
Step 8: Fold the Bottom
Turn the almost-completed box upside-down and fold in the edges to create the base of the box.
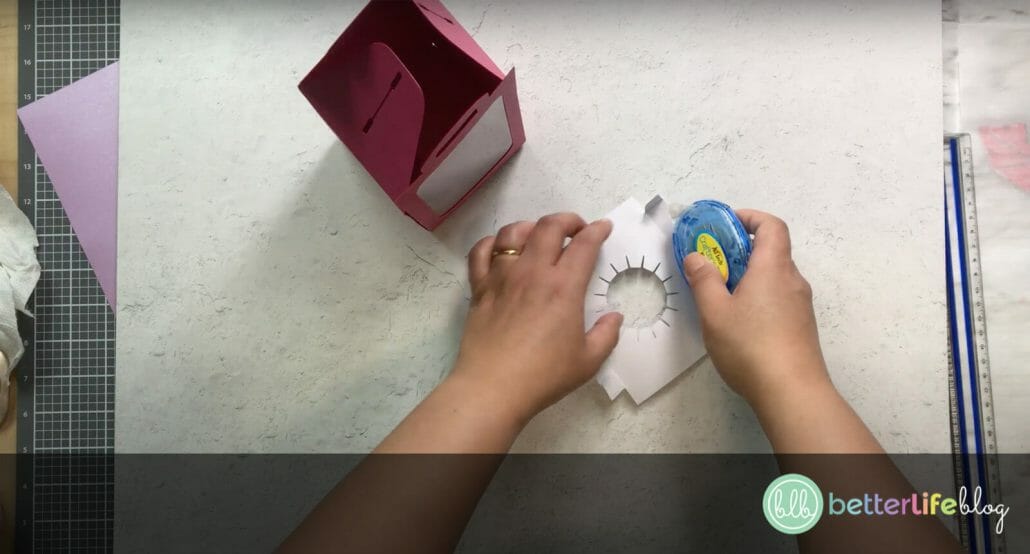
Step 9: Assemble the Inner Portion
Now, it’s time to assemble the inner portion of the cupcake box. You’ll see that two edges have ends that fold in. Add crafter’s tape to those corners and then attach them to their corresponding tabs. This will “lift up” the entire piece.
Step 10: Add the Inner Portion Into the Cupcake Holder Box
Finally, add the completed inside piece into the box. Insert the cupcake of your choice and hand it over to your lucky guest!

How to Make a Cupcake Holder Box With Your Cricut
It’s easy to whip-up a cupcake holder box! Your guests will be impressed once you hand them a delicious cupcake in this adorable, personalized box. All you need is your Cricut and some simple crafting supplies.
Instructions
- Begin by uploading your SVG file to Design Space (or, if you are using another cutting machine, its corresponding program).
- This project requires score lines, so be sure to check out my video tutorial on how to set them up.
- Follow your program’s directions to cut your file on your cardstock and acetate sheet. Gather all the pieces before assembling.
- Begin with the large piece without the window and fold all the tabs, edges, and sides inwards. You may use your scoring tool for this.
- Next, start folding the tabs, edges, and sides for the piece with the window. Do the same thing for the smaller piece, which will be the base where your cupcake sits.
- Add crafter’s tape to the window’s edge (you will want to work from the inside of the box for this step) and carefully place your piece of acetate sheet.
- Once the acetate sheet is glued on, flip the piece over and apply crafter’s tape to the tab closest to the window. Glue one end of the other large piece to this tab (as shown in the image below).
- Add crafter’s tape to the other tab and then connect it to the opposite edge. Watch your cupcake holder start to take shape!
- Turn the almost-completed box upside-down and fold in the edges to create the base of the box.
- Now, it’s time to assemble the inner portion of the cupcake box. You’ll see that two edges have ends that fold in. Add crafter’s tape to those corners and then attach them to their corresponding tabs. This will “lift up” the entire piece.
- Finally, add the completed inner piece into the box. Insert the cupcake of your choice and hand it over to your lucky guest!