Paris, je t’aime!
Ah, Paris! The city of of lights… or, if you’d like to say it in French: “La Ville-Lumière!” There are so many wonderful things about Paris: the food, the romance, the museums. I want to see (and experience!) all of it!
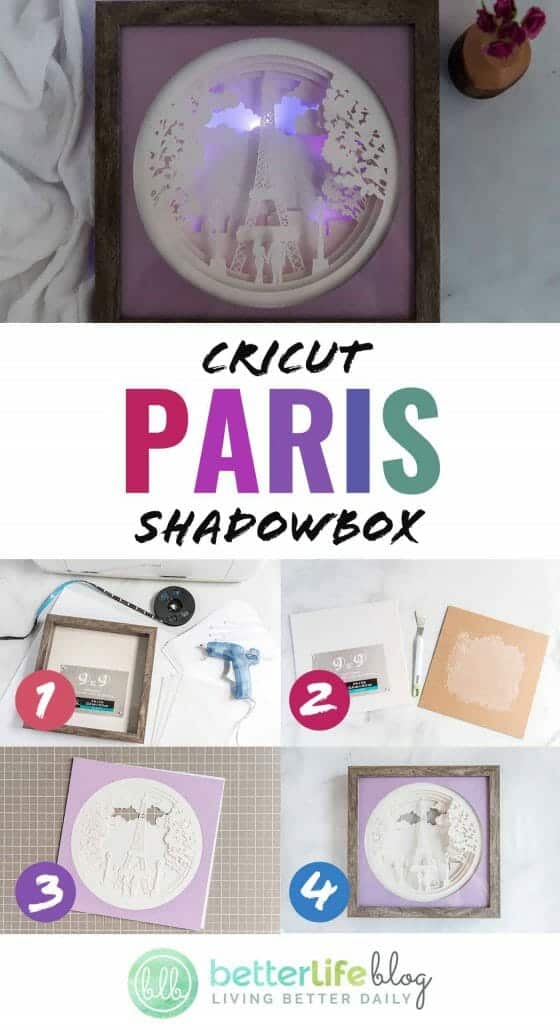
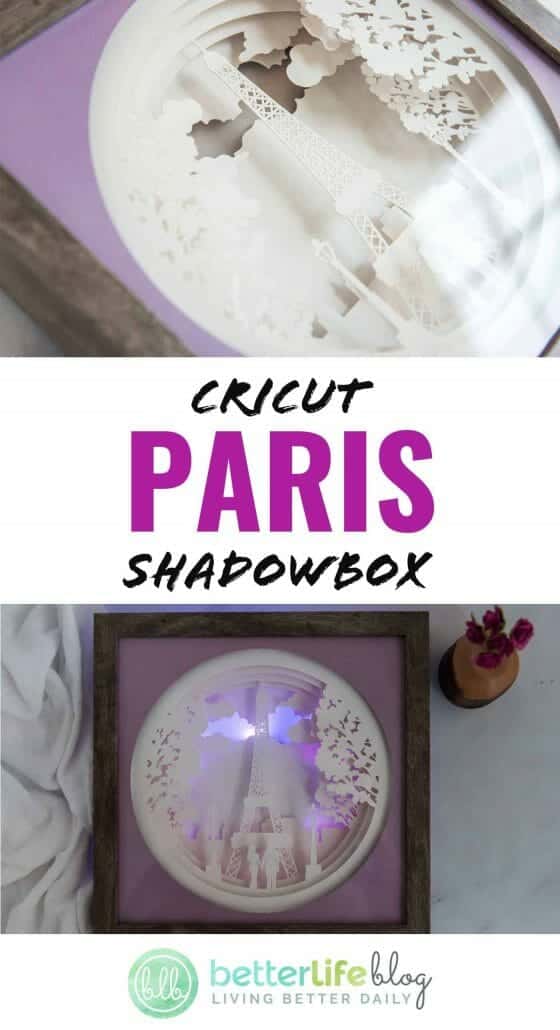
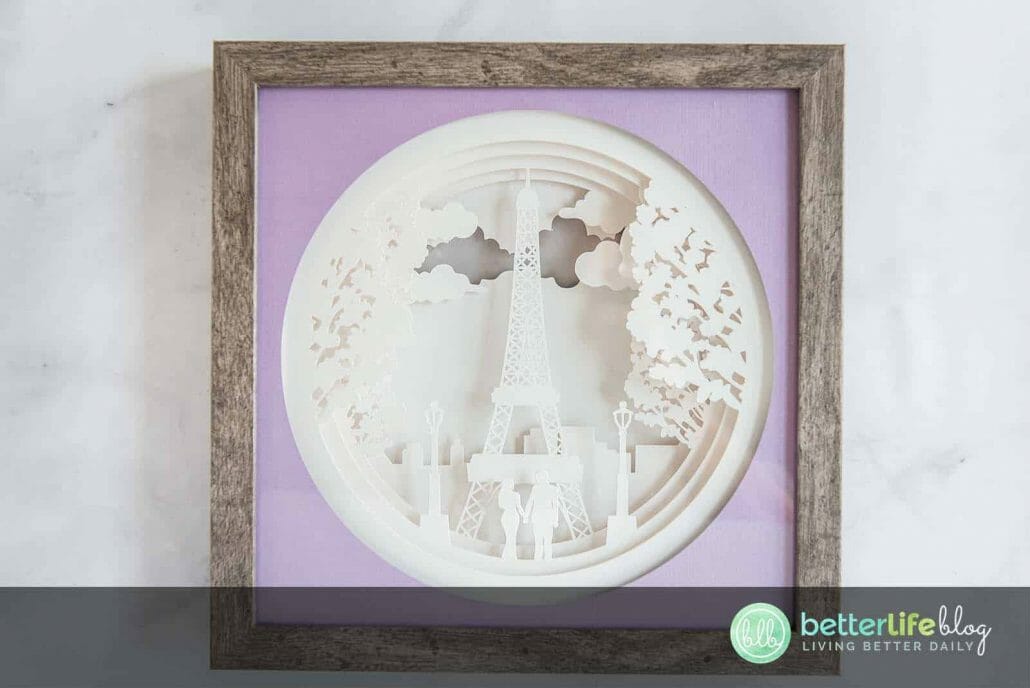
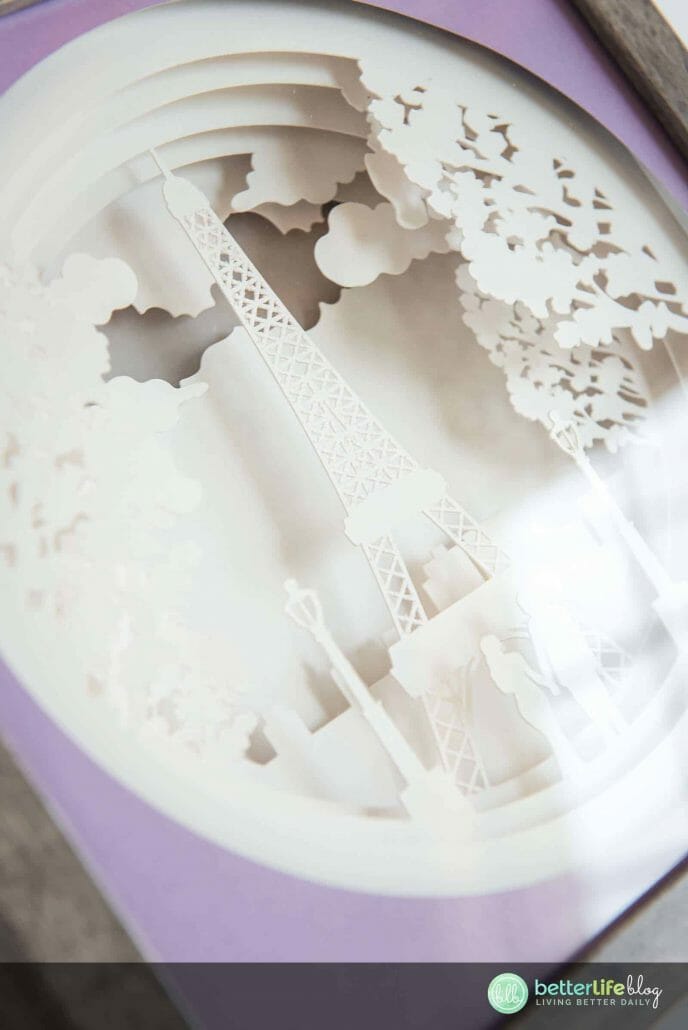
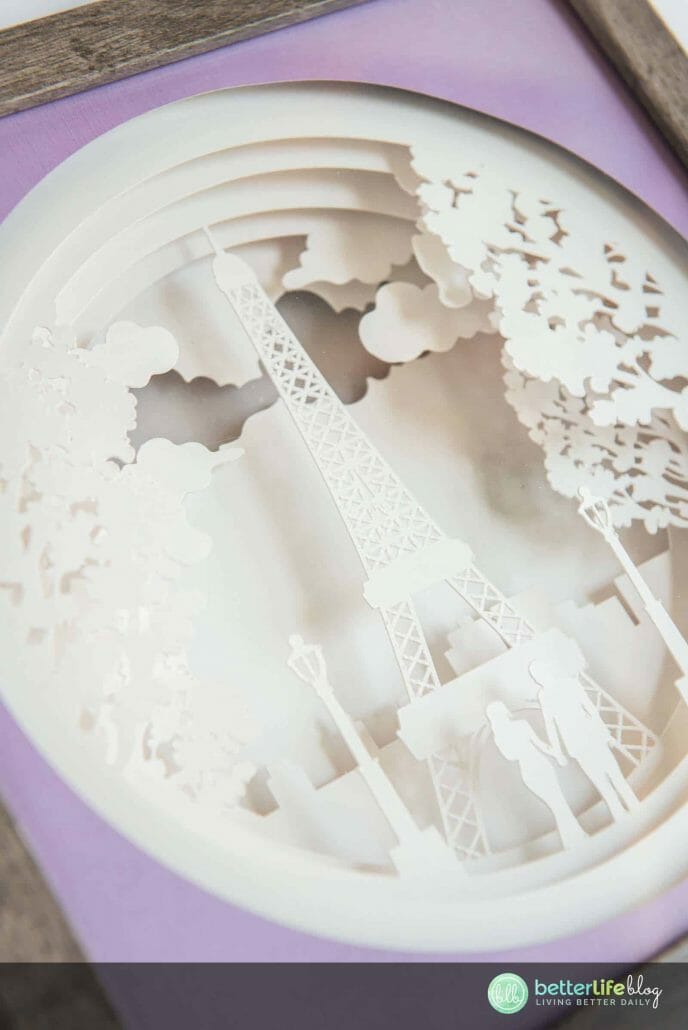
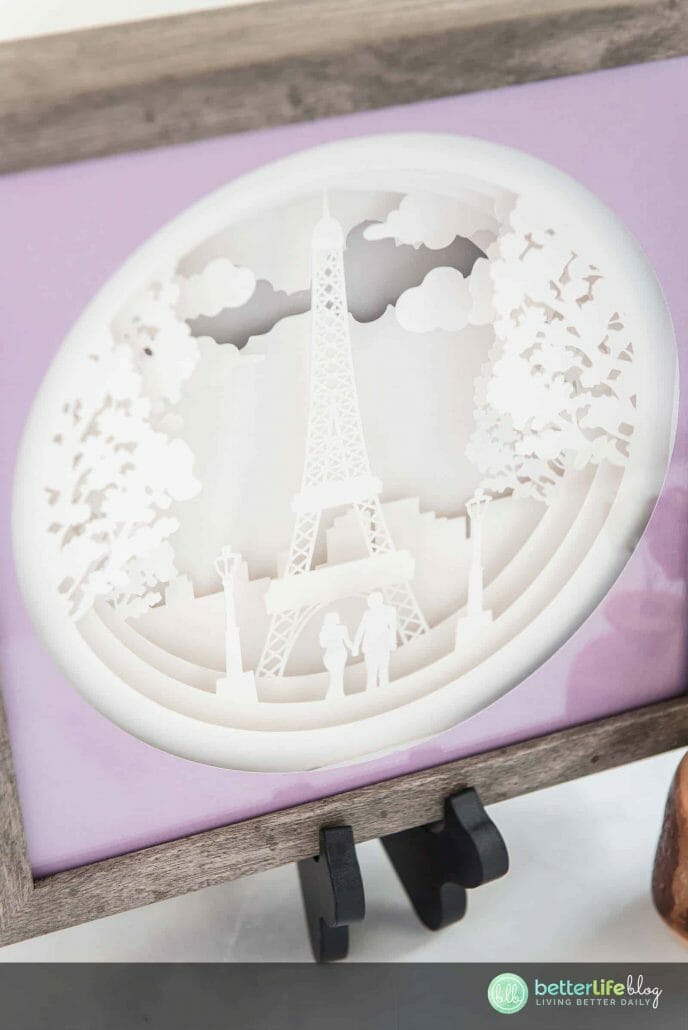
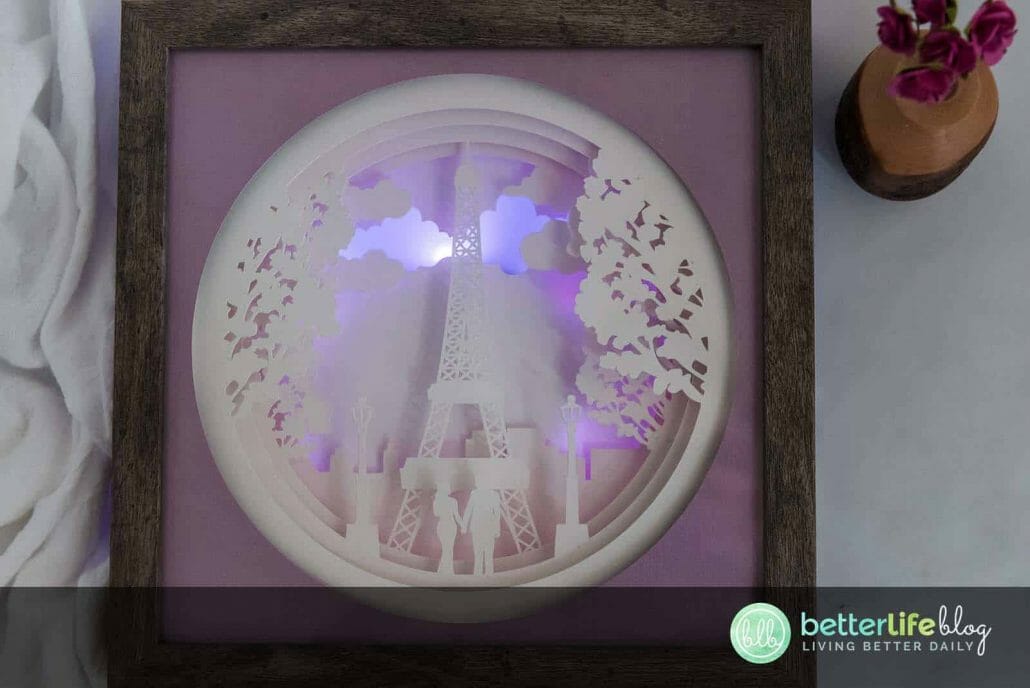
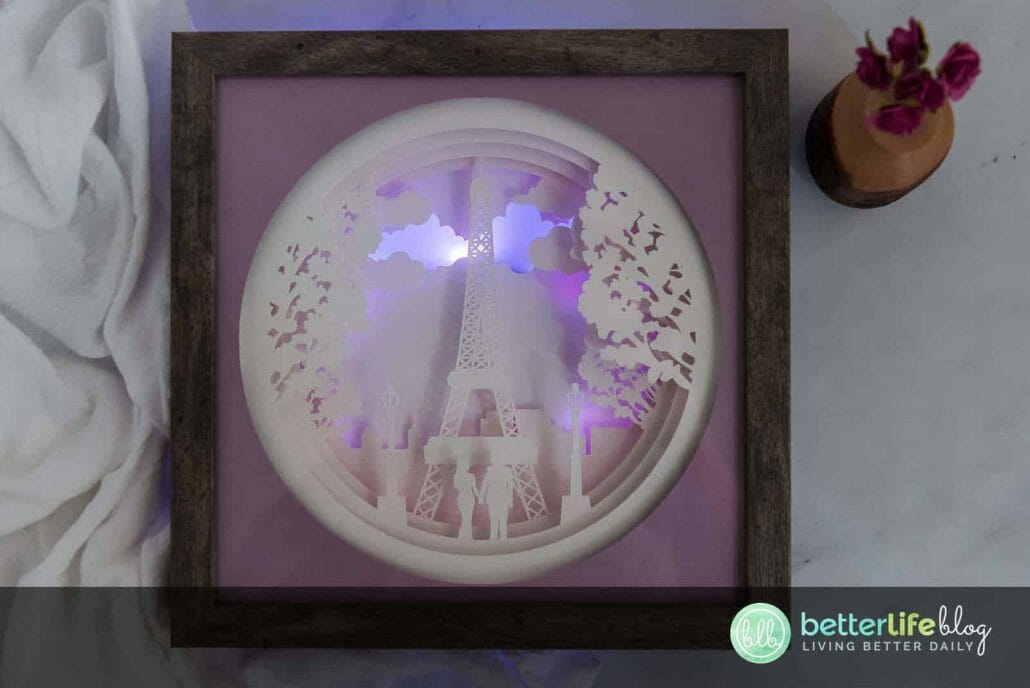
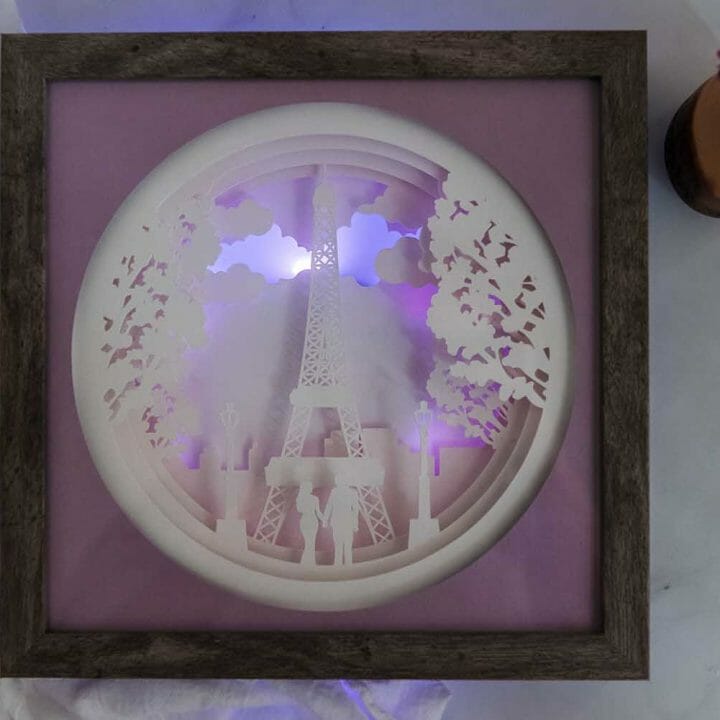
If you have a Paris lover in your life, then you just HAVE to make this Cricut Paris Shadowbox for them. It’s a beautiful way to display the impressive Eiffel Tower. Plus, it’s backed with an LED light, giving gorgeous color through its intricate cut-out design. Learn how to make this impressive shadow box yourself!
Materials List:
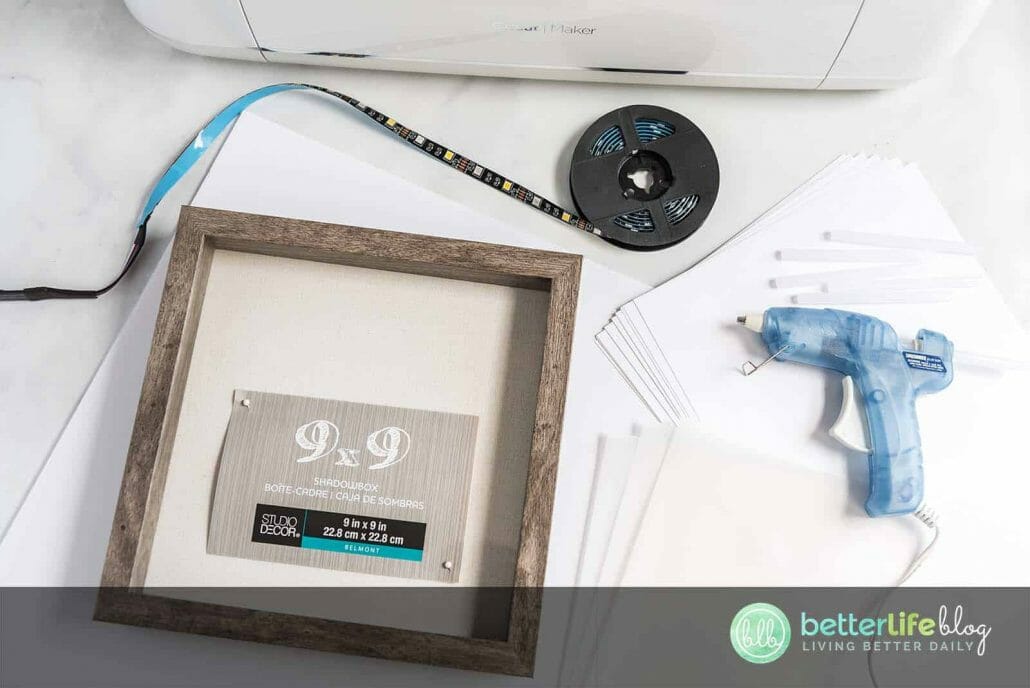
- Cricut machine
- Glue gun and glue sticks
- Weeding tools
- Cutting mat
- Scissors
- 9×9” gray shadow box frame
- LED light strip
- Clear vellum
- White cardstock or white posterboard
- Light purple cardstock (optional)
- White foam core
- Exacto knife
- “Paris” Shadow Box SVG Cut File


PSST…Check Out my Other Shadow Box Designs
In my VIP Crafters Club, I design shadow boxes ALLL the time! My members are always getting access to new shadow box designs. Below are some of the designs I have created for my members (and I will continue to add any new shadow box designs to this post). Enjoy!
Instructions:
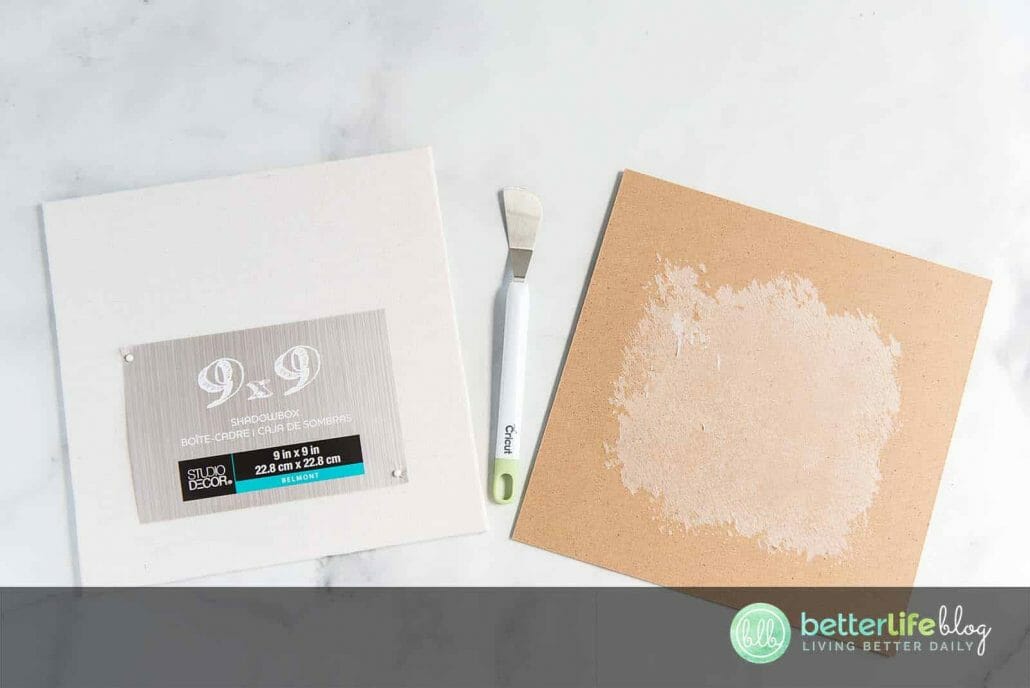
Turn your shadow box over with the glass facing down. Open the back. Using your scraper, remove the canvas covered pad that is attached to the backing material. You can discard this pad or use it for a later project.

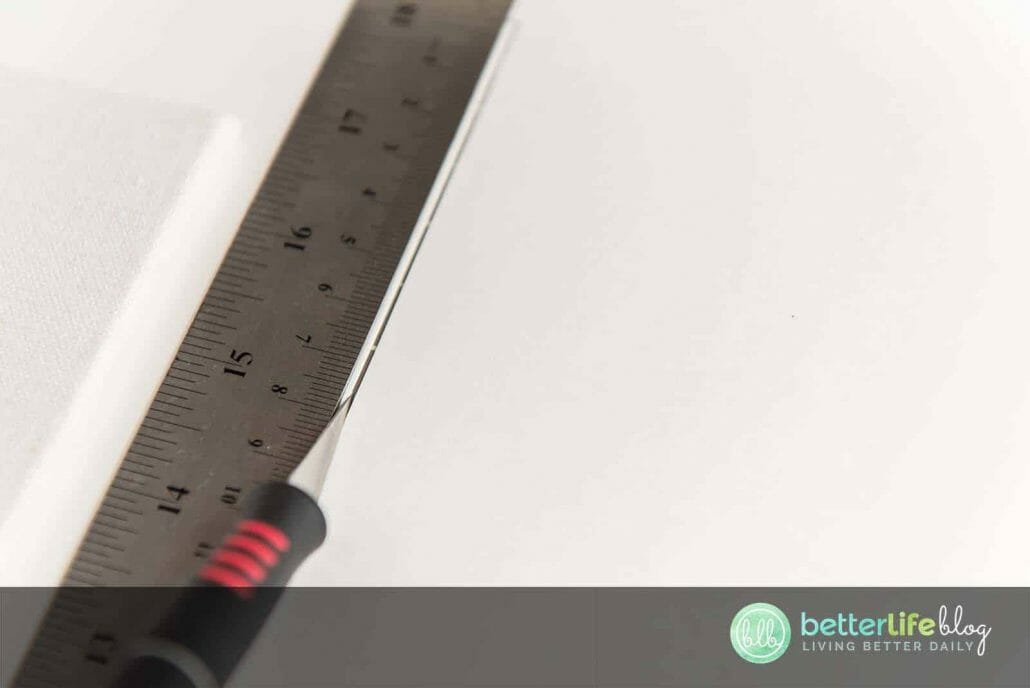
Next, if you are using poster board, cut it down to sizes that you can cut on your mat.
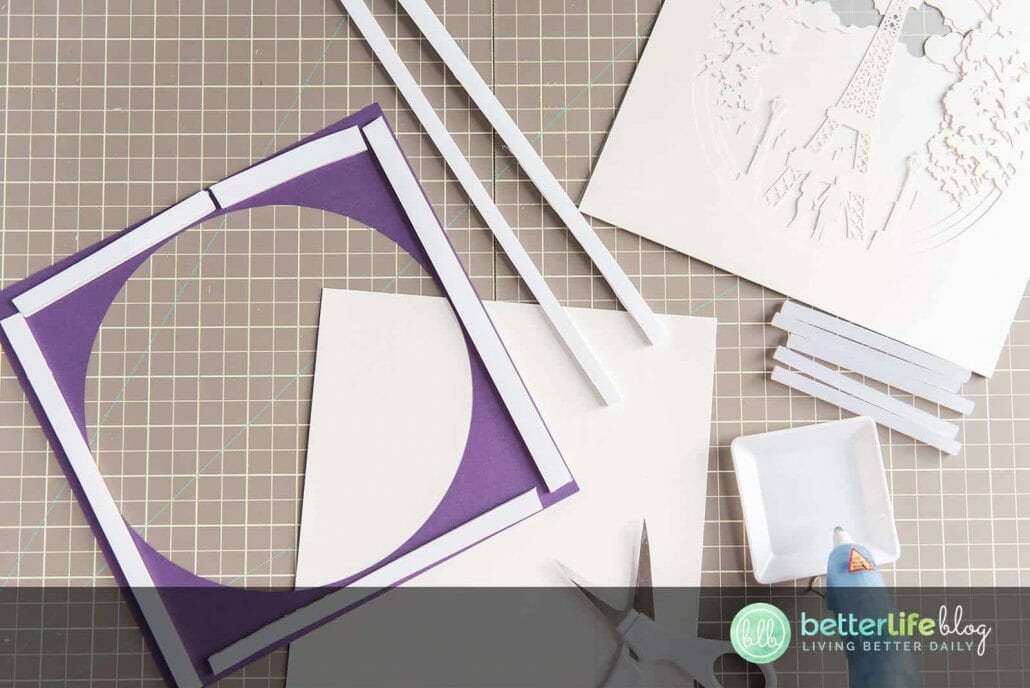
Cut your foam core board into thin strips, about ½ inch wide(they do not need to be perfect for this since they will be in the back)

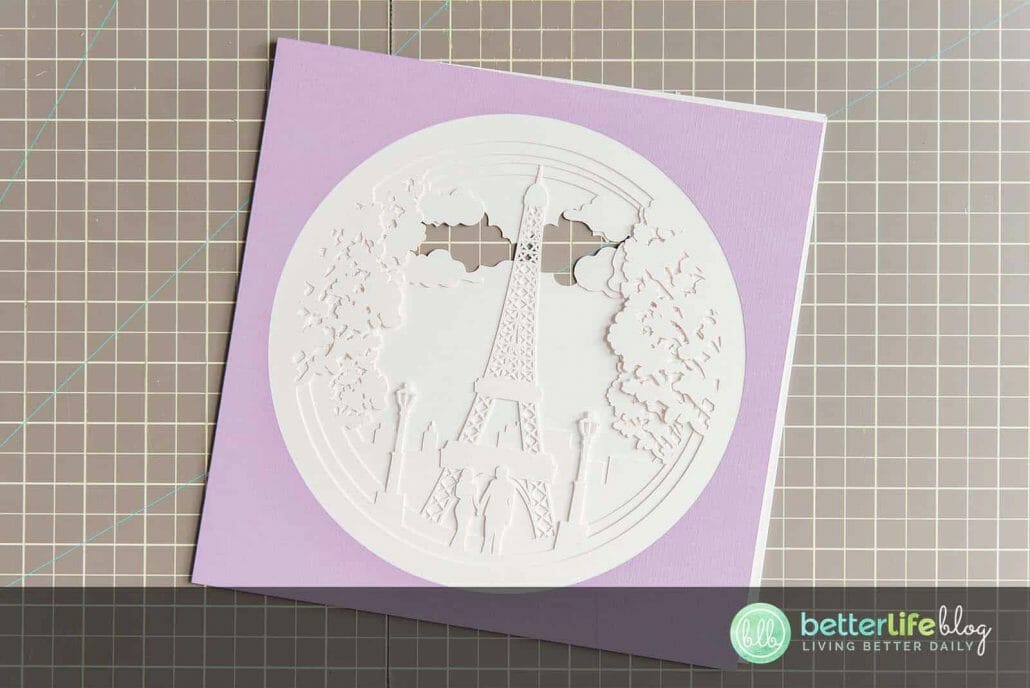
Gather your cardstock or poster board. Load the “Paris” file into Cricut Design Space. Adjust the width of each square to 9 inches. The first mat with just the circle in the middle can be cut using a purple piece of cardstock to frame the image (this is optional). Select the Make it button.
Place your cardstock/poster board on your mat and proceed to follow the directions in Design Space to cut.
Once all of your cardstock pieces are cut out, weed to remove the unnecessary pieces.
Trace one of your squares onto a piece of vellum and cut with scissors. Line up all of your pieces starting from the back. The vellum is in the back, and next comes the image with the smallest circle, then a bigger circle, and so on until the last one is placed on top with the biggest circle.


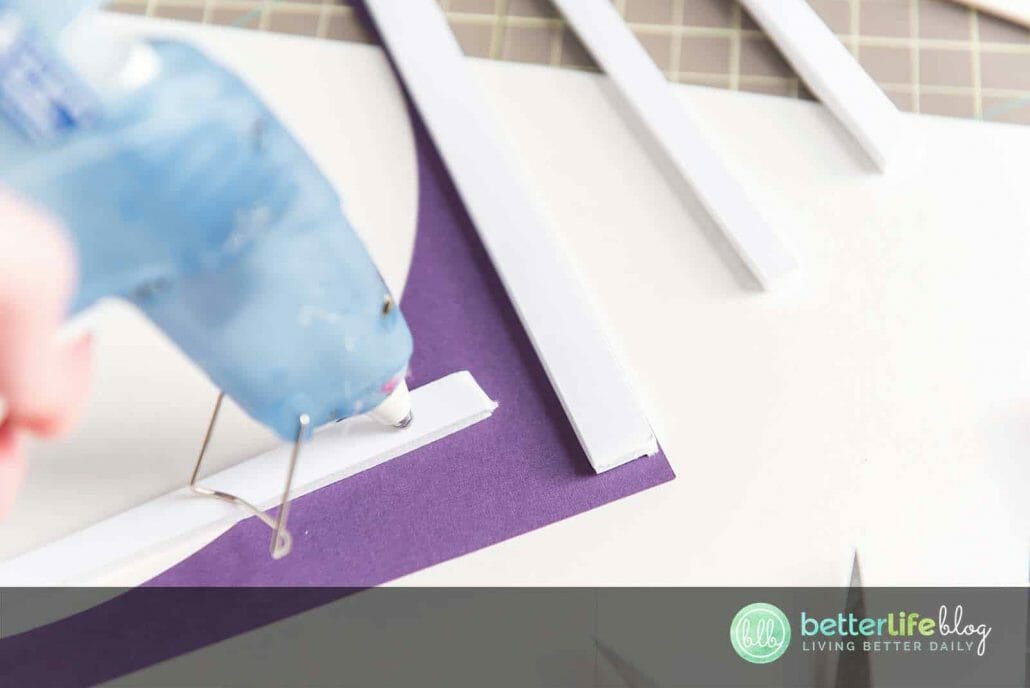
Turn each piece over onto its front and attach pieces of foam core to the back with hot glue. You will layer each piece and then foam core until you reach the back. Place your 3-D stack into your frame with the vellum towards the back.

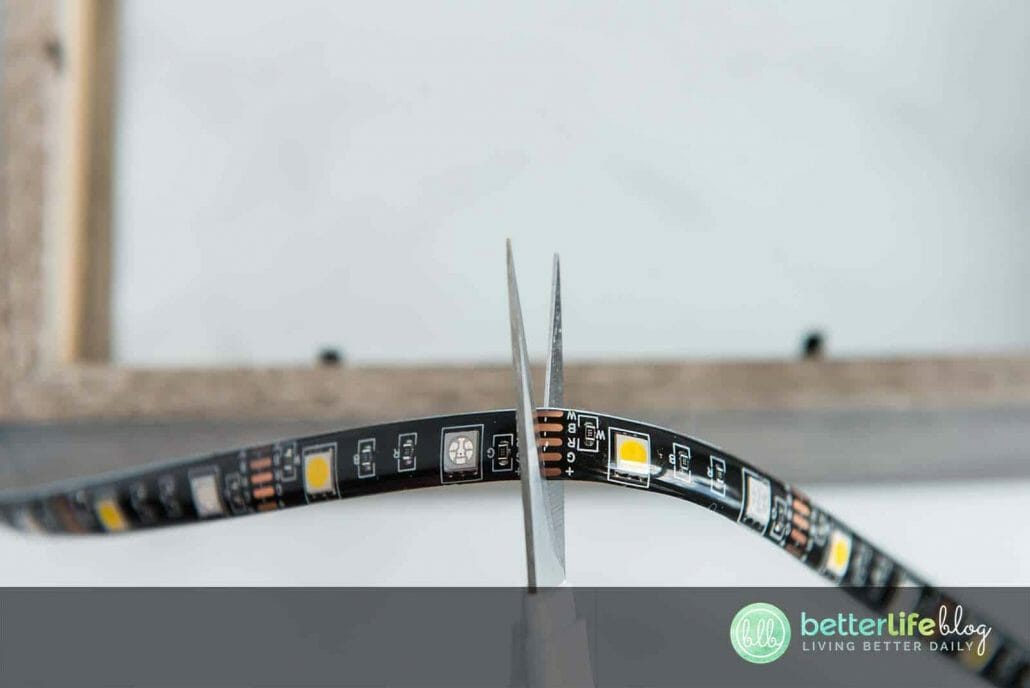
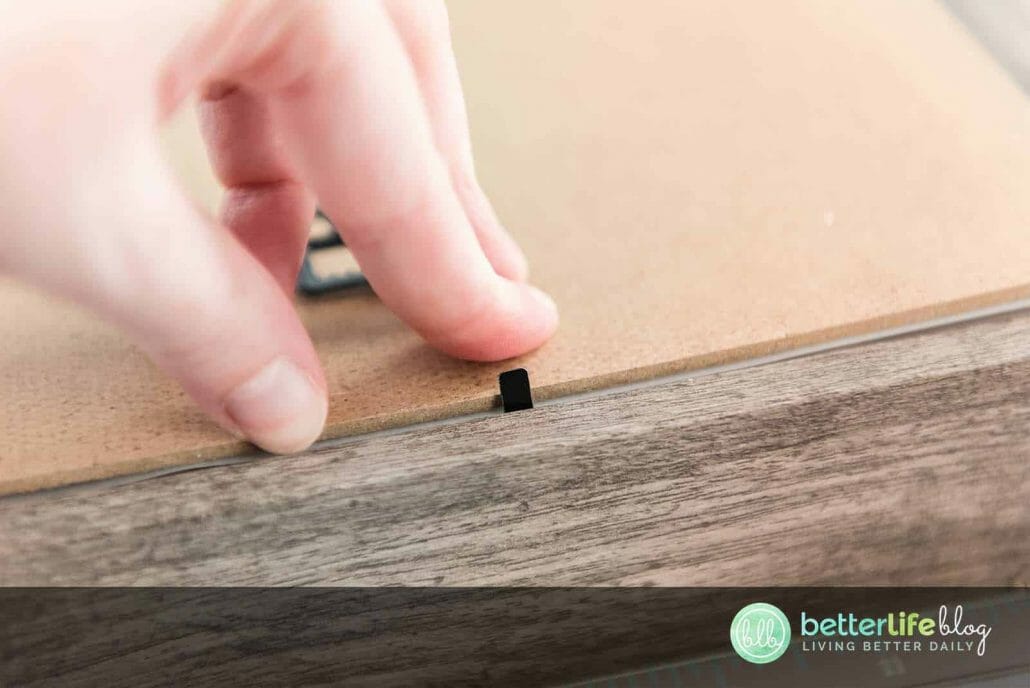
To add a light strip, simply remove the backing and attach the sticky side inside of your frame all the way around the edges. If your light strip doesn’t fit, you can cut right down the center of the horizontal copper bars, as shown. Place the back of your frame back on and press the tabs down to hold your project in place. Turn the lights on or leave them off. This project looks amazing either way!! Enjoy your new 3D Art!


Notes:
Check to make sure your shadow box will fit all of your layers with the foam core between for the best fit. If it is too thick, leave off the layer of foam core on the vellum or the front piece of cardstock with just the plain circle on it.
If your lights aren’t showing up enough, pull them away from the edges of the frame, and closer to the opening of your circles.
This project has very intricate cuts. Make sure to use a fresh, sharp blade when cutting for the best result!
Cricut Paris Shadowbox
Paris, je t’aime! This beautiful Cricut Paris Shadowbox boasts a gorgeous, intricate design, backed with a glowing LED light. Check out our easy tutorial to learn how to make one of your own.
Materials
Instructions
- Turn your shadow box over with the glass facing down. Open the back. Using your scraper, remove the canvas covered pad that is attached to the backing material. You can discard this pad or use it for a later project.
- Next, if you are using poster board, cut it down to sizes that you can cut on your mat.
- Cut your foam core board into thin strips, about ½ inch wide(they do not need to be perfect for this since they will be in the back)
- Gather your cardstock or poster board. Load the “Paris” file into Cricut Design Space. Adjust the width of each square to 9 inches. The first mat with just the circle in the middle can be cut using a purple piece of cardstock to frame the image (this is optional). Select the Make it button.
- Place your cardstock/poster board on your mat and proceed to follow the directions in Design Space to cut.
- Once all of your cardstock pieces are cut out, weed to remove the unnecessary pieces.
- Trace one of your squares onto a piece of vellum and cut with scissors. Line up all of your pieces starting from the
back. The vellum is in the back, and next comes the image with the smallest circle, then a bigger circle, and so on until the last one is placed on top with the biggest circle. - Turn each piece over onto its front and attach pieces of foam core to the back with hot glue. You will layer each piece and then foam core until you reach the back. Place your 3-D stack into your frame with the vellum towards the back.
- To add a light strip, simply remove the backing and attach the sticky side inside of your frame all the way around the
edges. If your light strip doesn’t fit, you can cut right down the center of the horizontal copper bars, as shown. Place the back of your frame back on and press the tabs down to hold your project in place. Turn the lights on or leave them off. This project looks amazing either way!! Enjoy your new 3D Art!
Notes
Check to make sure your shadow box will fit all of your layers with the foam core between for the best fit. If it is too thick, leave off the layer of foam core on the vellum or the front piece of cardstock with just the plain circle on it.
If your lights aren’t showing up enough, pull them away from the edges of the frame, and closer to the opening of your circles.
This project has very intricate cuts. Make sure to use a fresh, sharp blade when cutting for the best result!