I hope you’re ready to add a touch of elegance and shimmer to your crafting projects because today’s tutorial is all about the mesmerizing art of using gold leaf with your Cricut cutting machine.
Yes, you read right! Gold leaf! It’s amazing how many wonderful things you can do with your Cricut, isn’t it? Remember the time I made this ultra-cute makeup bag with Layered Infusible Ink? Yup, that was with the Cricut! Or how about that time I etched glass with my Cricut machine? Well today we are doing something totally different and unique. Gold leaf is a pretty neat and delicate material… not gonna lie, it can be a little messy but it’s super worth it!
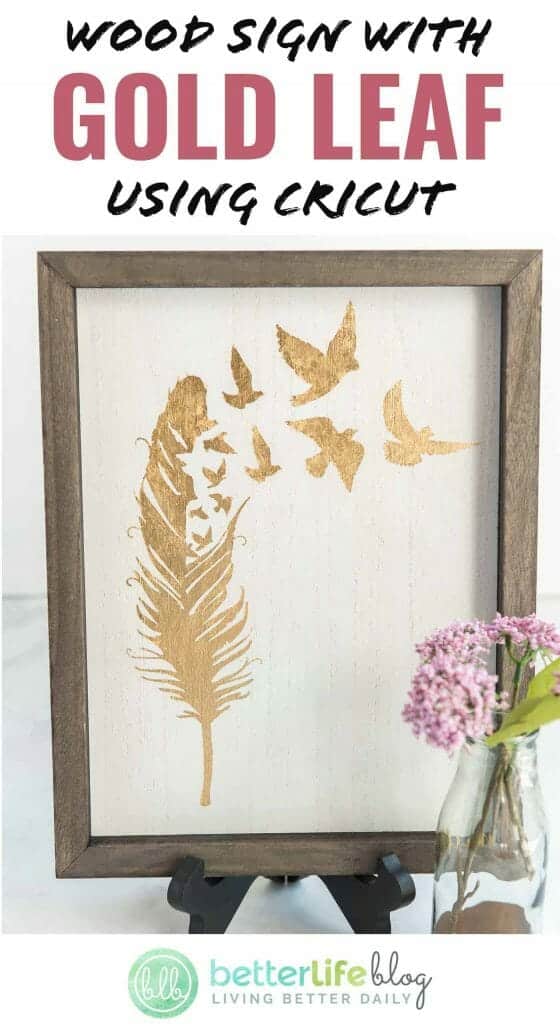
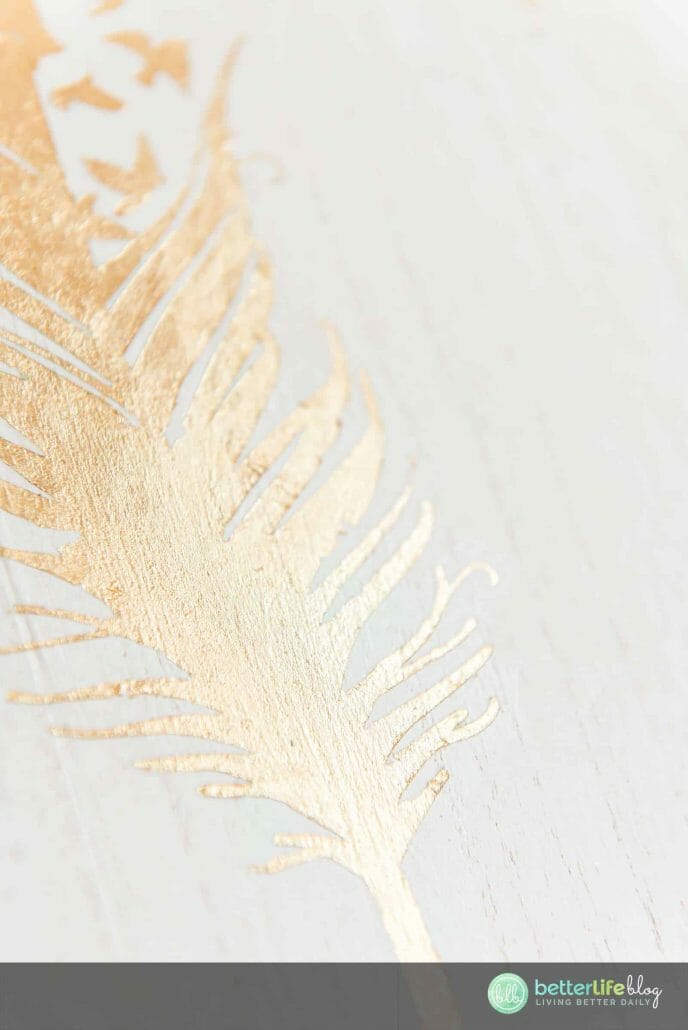
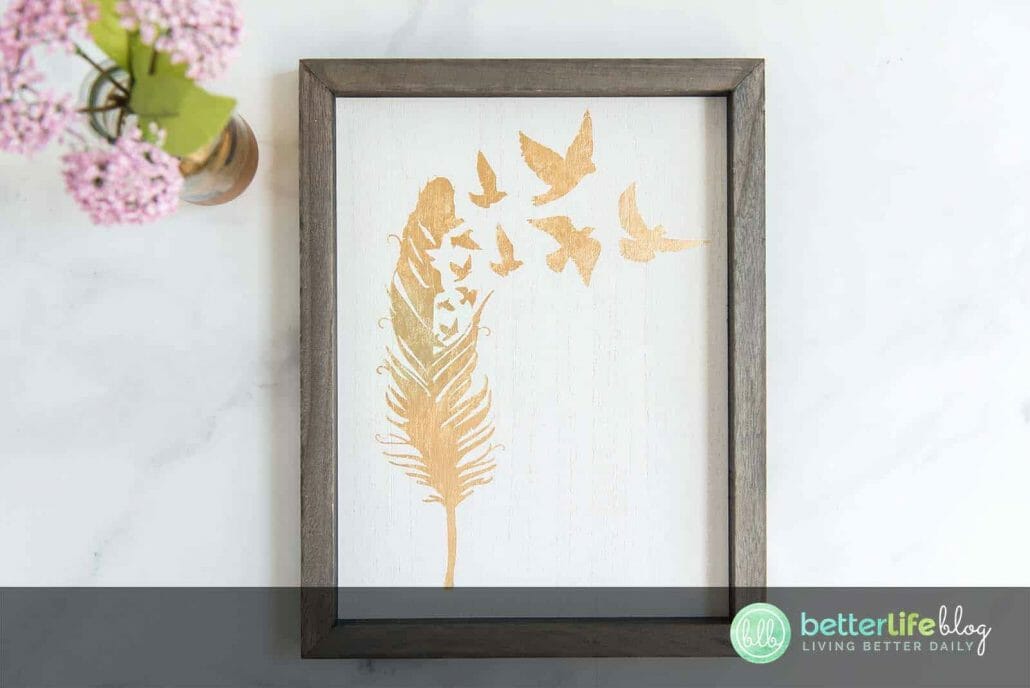
I love making signs for my home décor. That’s why I decided to put together this gorgeous wooden sign while using a gold leaf application method. It creates such a shine and brilliance, and will definitely be a conversation starter with my guests!
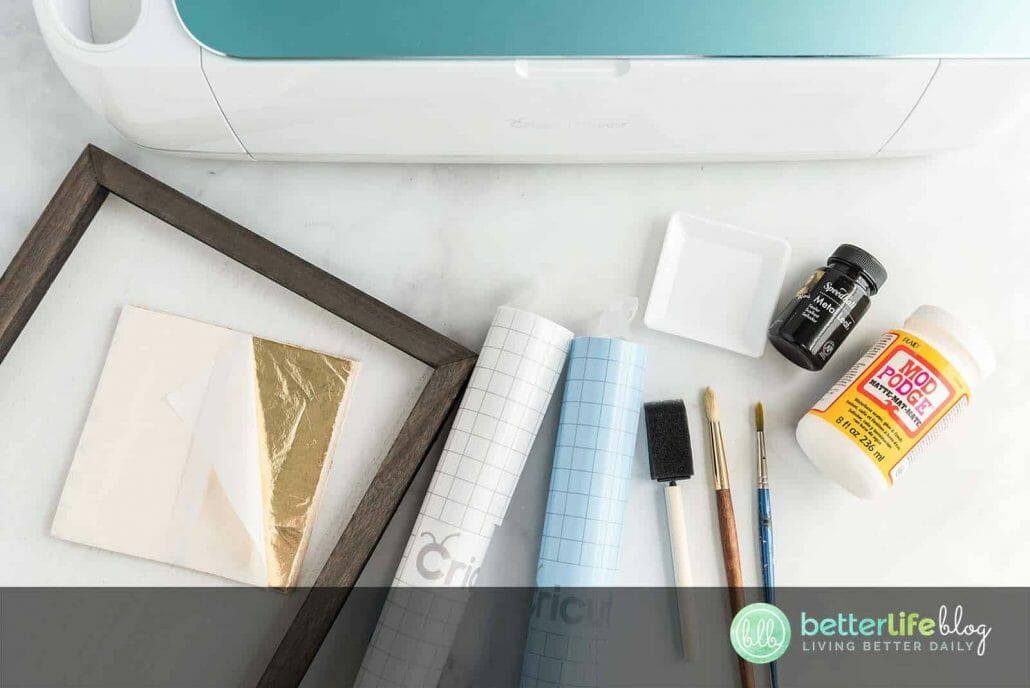
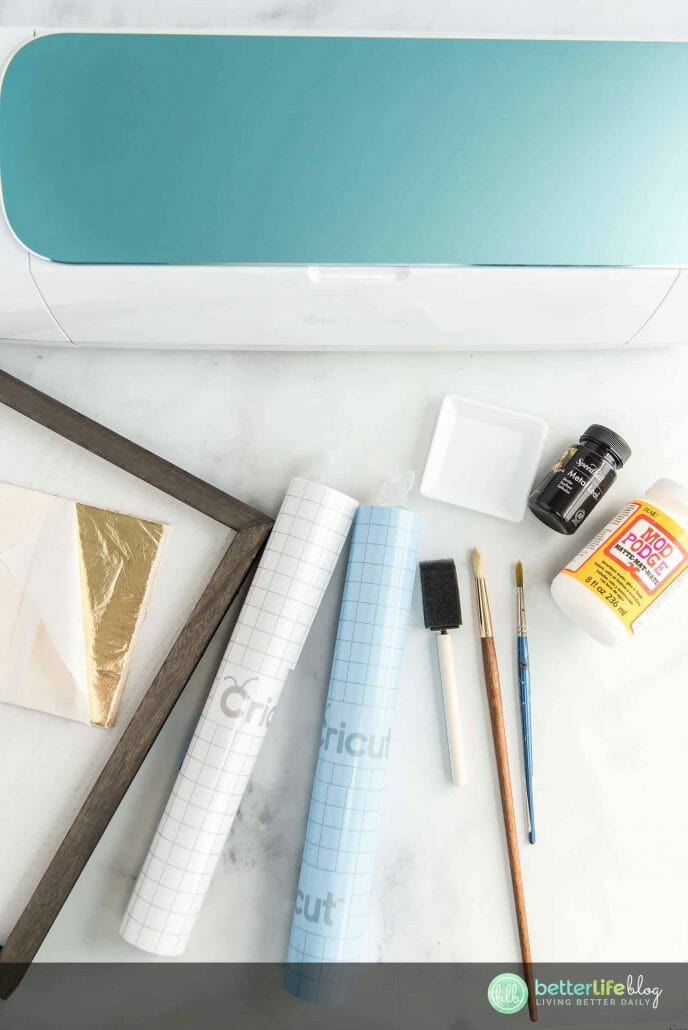
Materials List:
- Cricut machine
- Weeding and scraper tools
- Transfer tape
- Cutting mat
- Wood frame (pre-sanded, smooth)
- Stencil vinyl
- Scissors
- Gold leaf sheets
- Metal leaf size
- Mod Podge, matte
- Several small paint brushes
- Feather-birds SVG file from VIP Cut Files
Instructions:
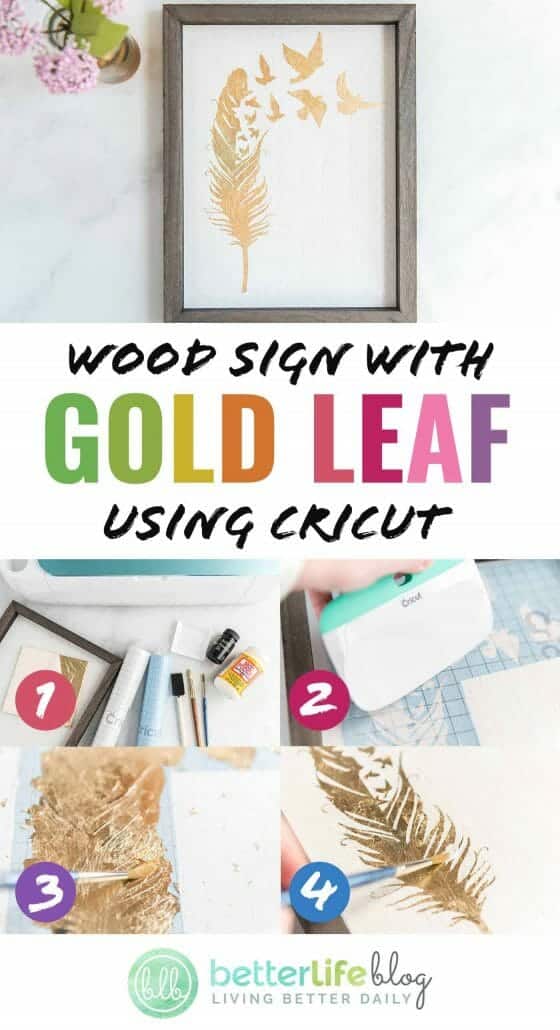
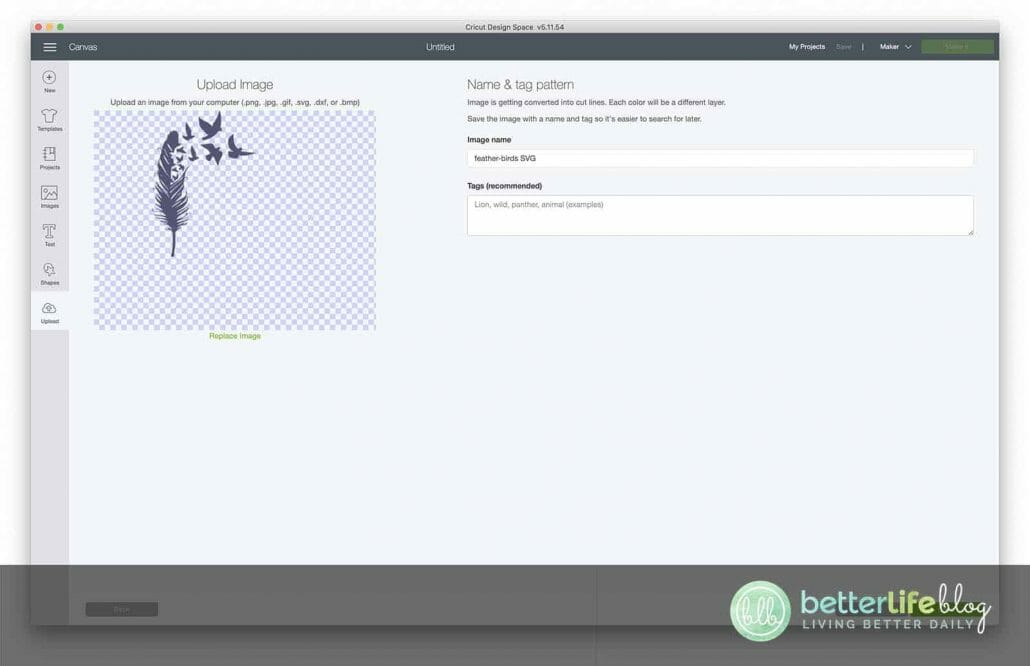
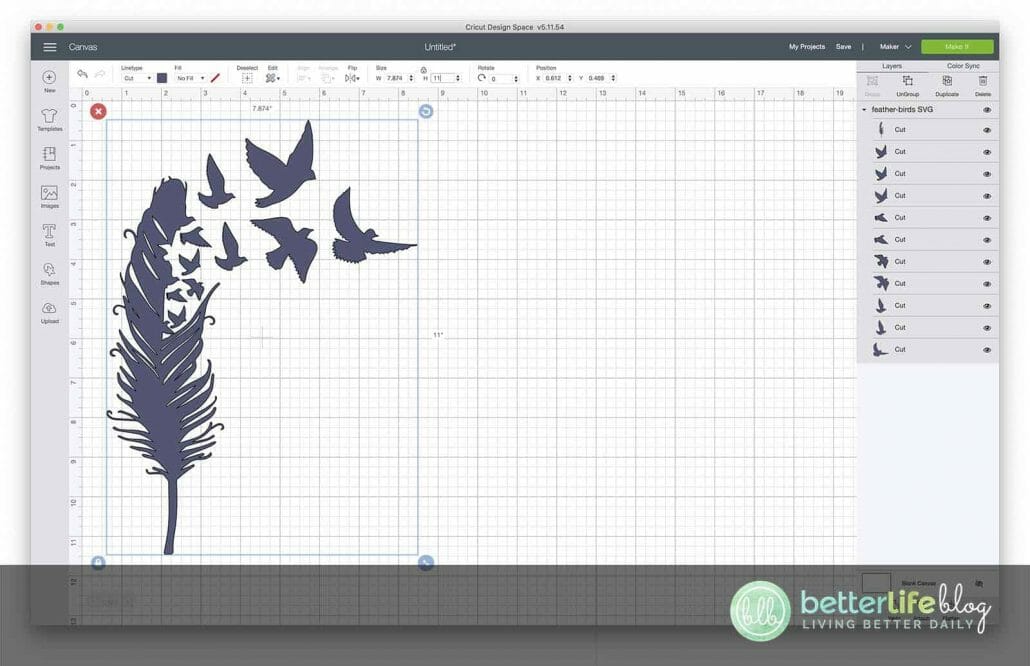
Gather your materials and load the “feather-birds” file into Cricut Design Space. Adjust the height of the image to 11 inches. Select the entire image and select the attach button. Select the Make it button.
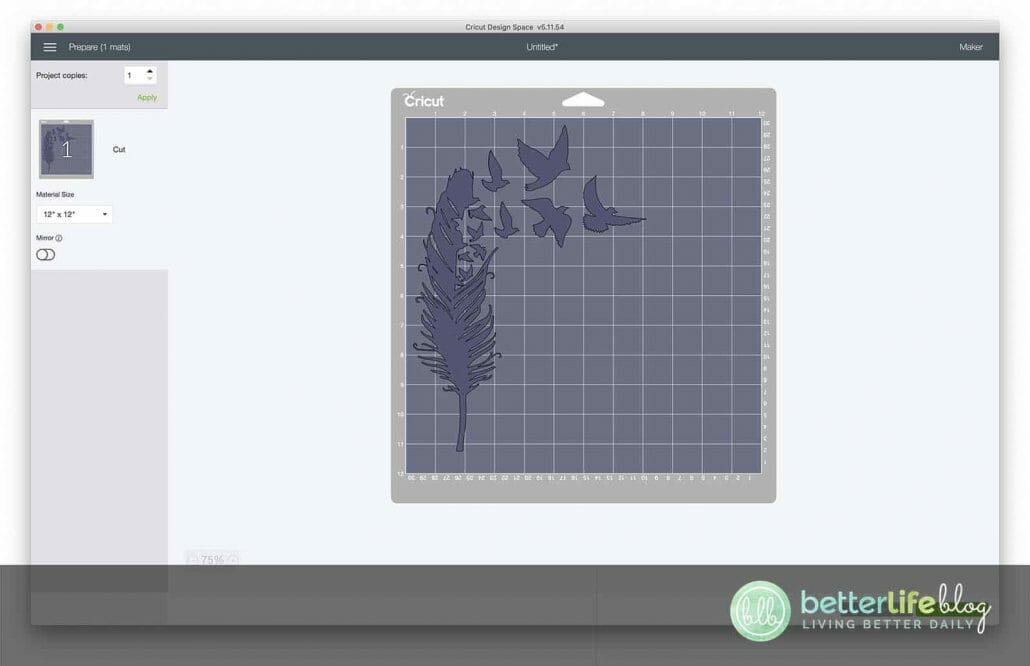
Place your stencil vinyl onto your cutting mat. Proceed to follow the directions in Design Space to cut.
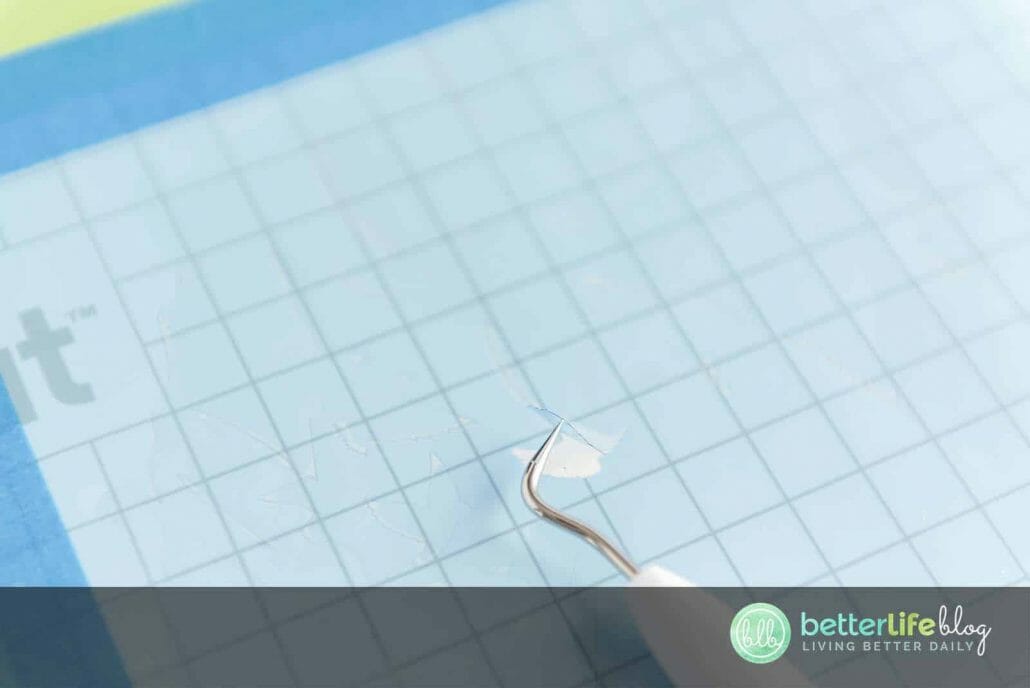
Once all of your vinyl pieces are cut out, weed to remove the unnecessary pieces. Cut out a piece of transfer tape, big enough to fit over the feather image. Remove the transfer tape backing and place on top of the feather image cutout on the stencil vinyl.
Use your scraper to adhere the transfer tape.

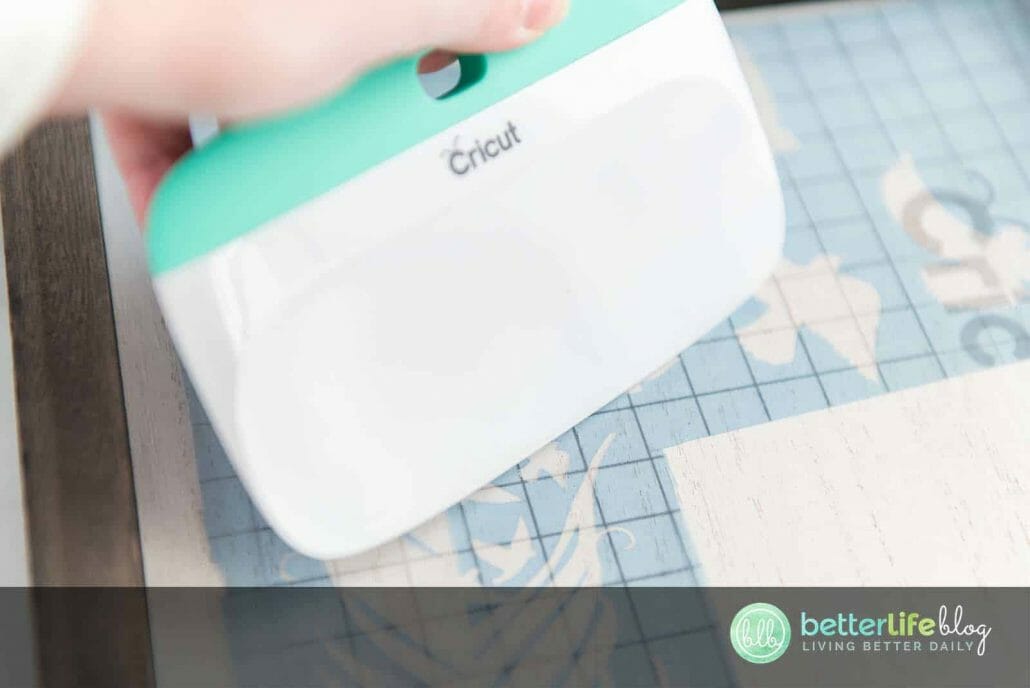
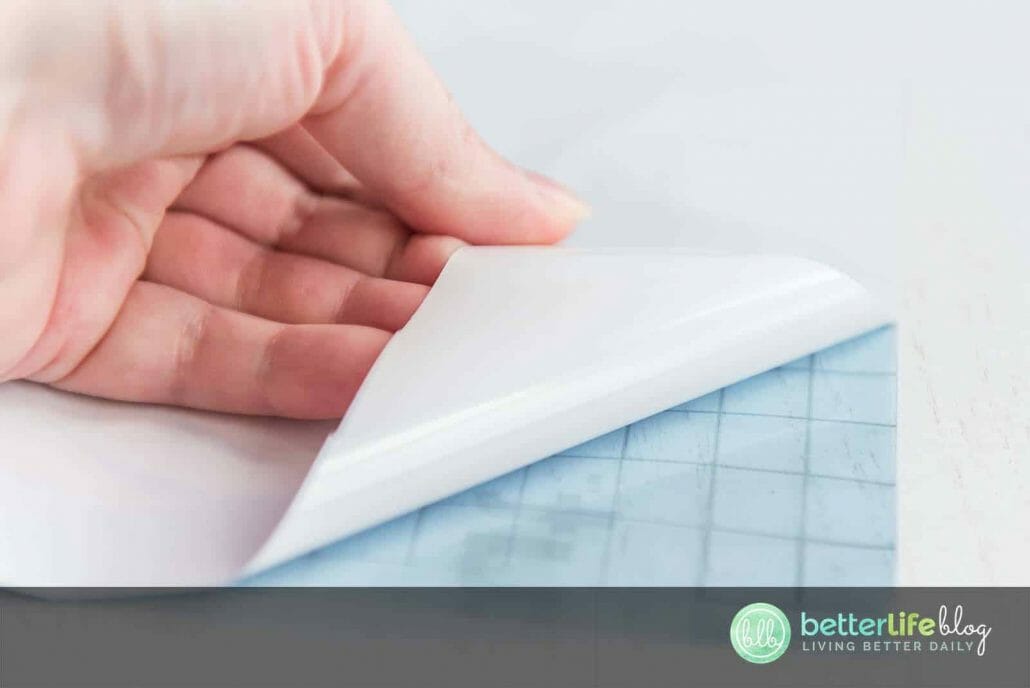
Remove the backing sheet from the stencil vinyl and place, sticky side down, onto your wood frame. Use your scraper to adhere the stencil well. Carefully remove the transfer tape.
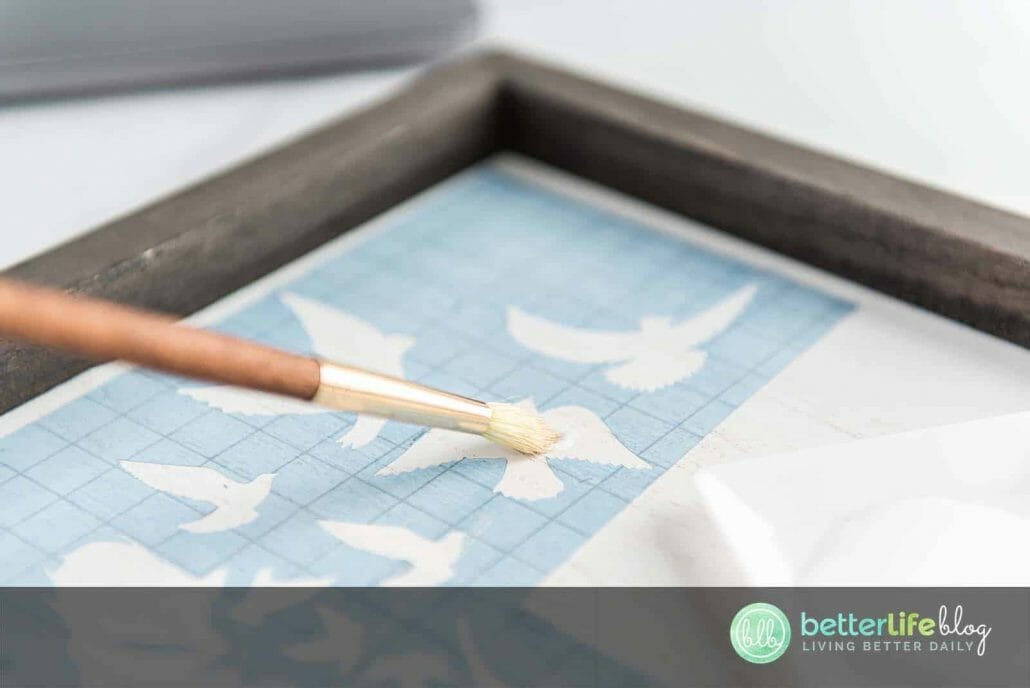
Using one of your paintbrushes, paint metal leaf size inside the stencil area. It is about the consistency of milk but it is VERY sticky. Open it slowly so it doesn’t spill, and be careful not to put too much on your brush or on your wood board! A little goes a long way.
Allow to dry before applying the gold leaf. Trust me on this! This stuff is super sticky and it needs time to dry. The bottle says 30 minutes but 5-10 minutes was enough time for me 🙂 (You know how impatient I am!)
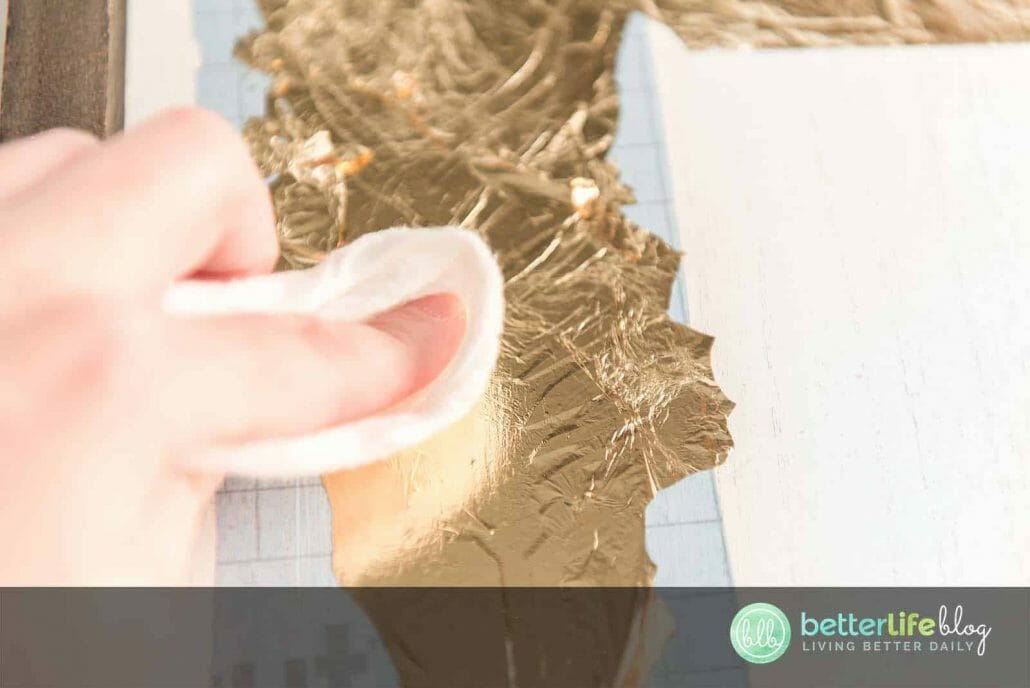
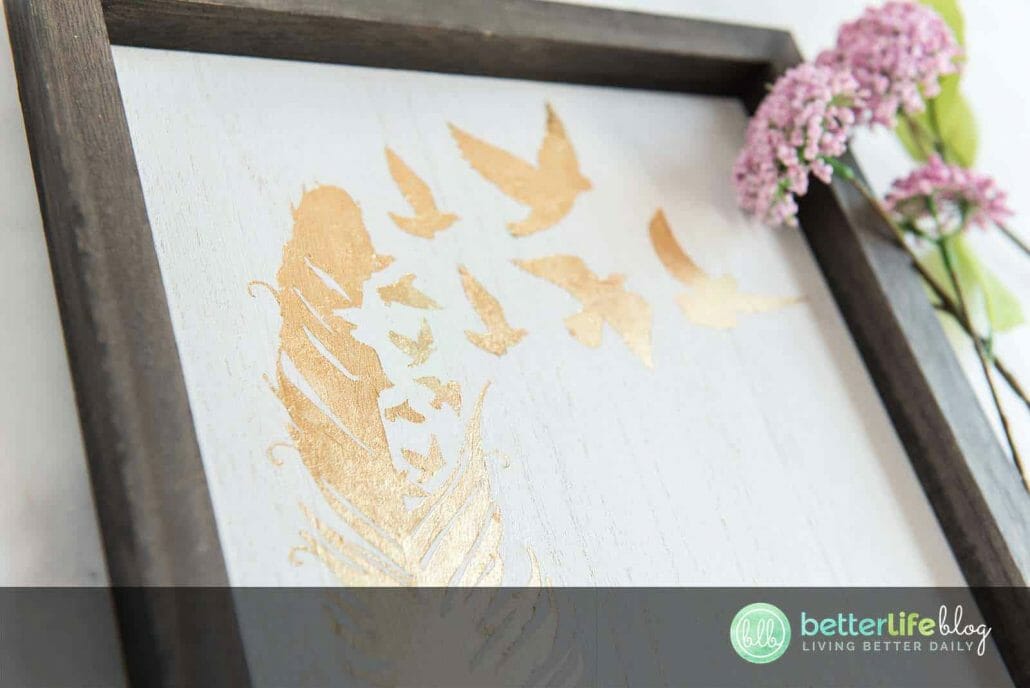
Once dry, apply the gold leaf sheets, shiny side up to the areas that were just painted. Using a light cloth and very slight pressure, go around the edges of the stencil to adhere the gold leaf around all the edges.
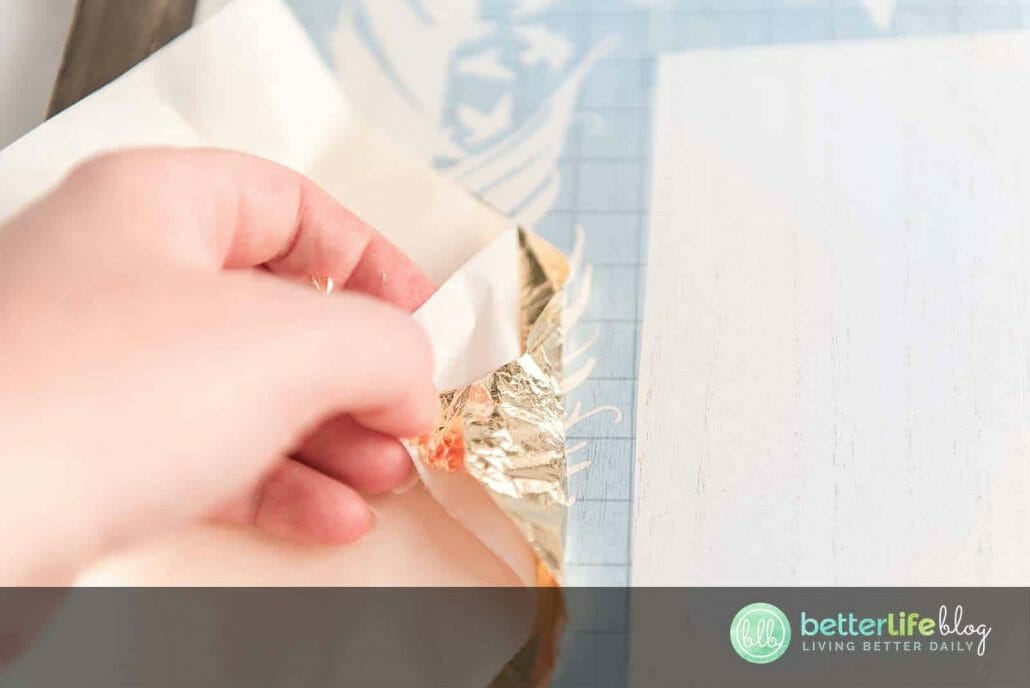
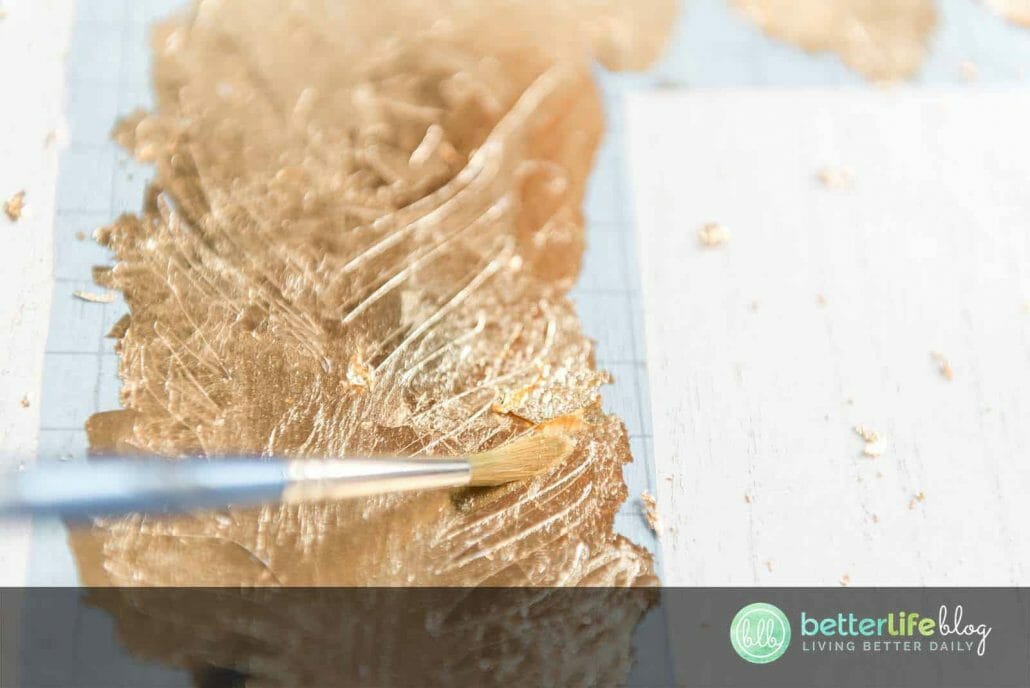
Once the gold leaf is fully applied to all sticky areas, use a dry brush to lightly brush away any excess foil. Reapply to any areas that need it. Once the entire image has been foiled, slowly remove your stencil.
Now this part can be a little messy with the gold flakes coming off. Just keep a dry brush handy and a dry cloth to help clean up your work surface.
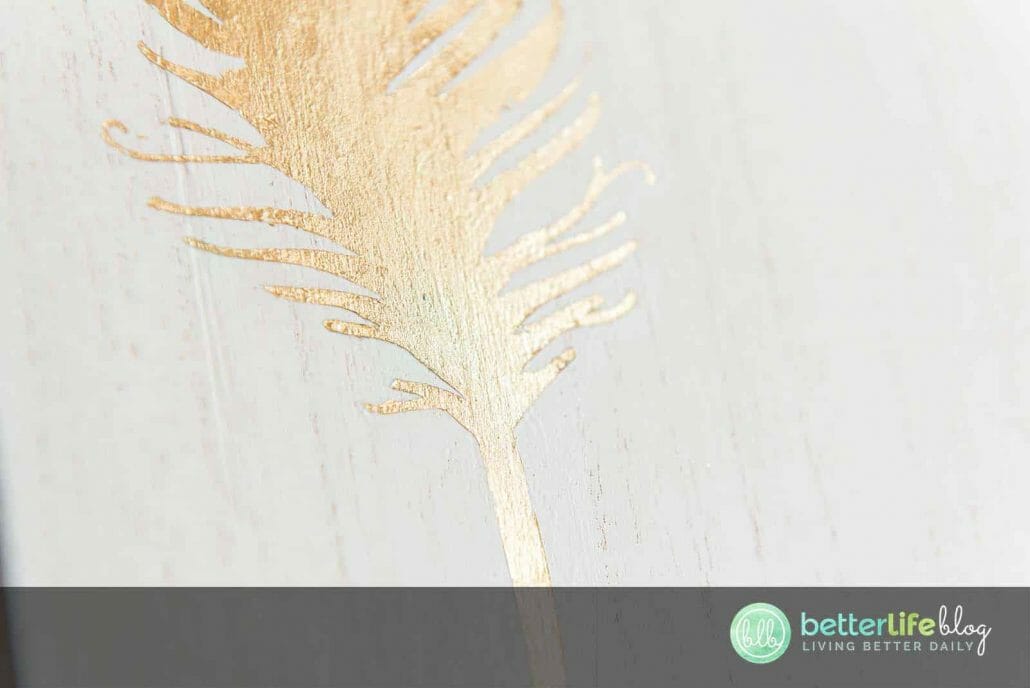
Apply matte Mod Podge over all areas of your stencil. Allow to dry. Enjoy your new beautiful art!
Notes:
If some of the gold foil comes off when you are dry brushing away the excess, just reapply the gold leaf sealer and gold sheet, allow to dry, and dry brush the excess off again.
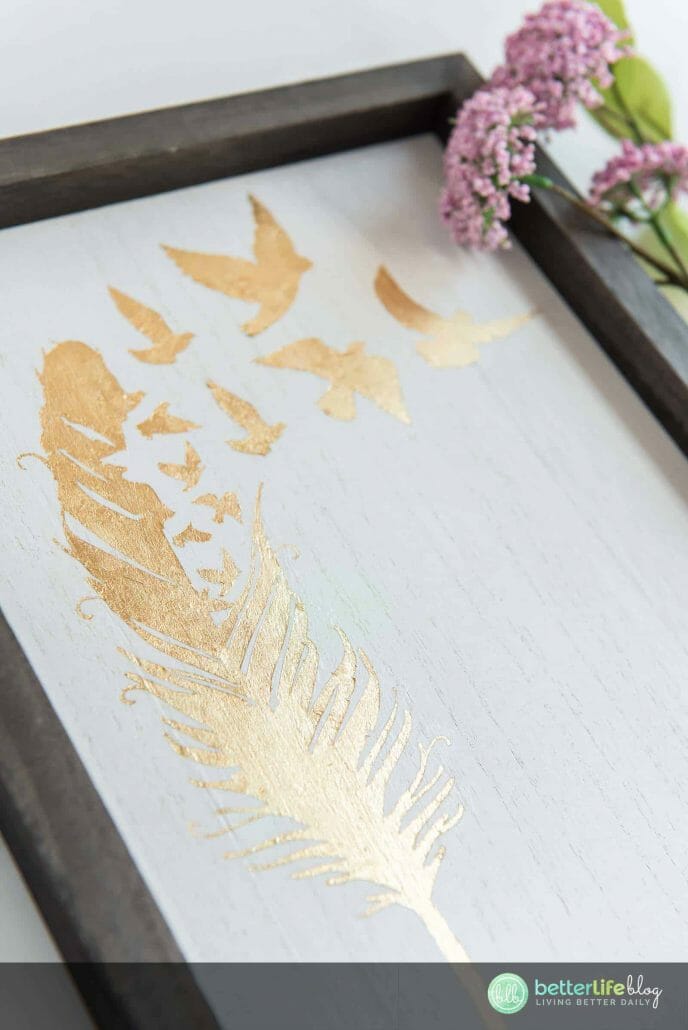
Be sure to really press the gold leaf into the corners of the stencil so that you get a nice crisp, clean design.
Be sure to pull the stencil away slowly. It can be helpful to use your weeding tools to hold down the gold edges so they don’t tear away.
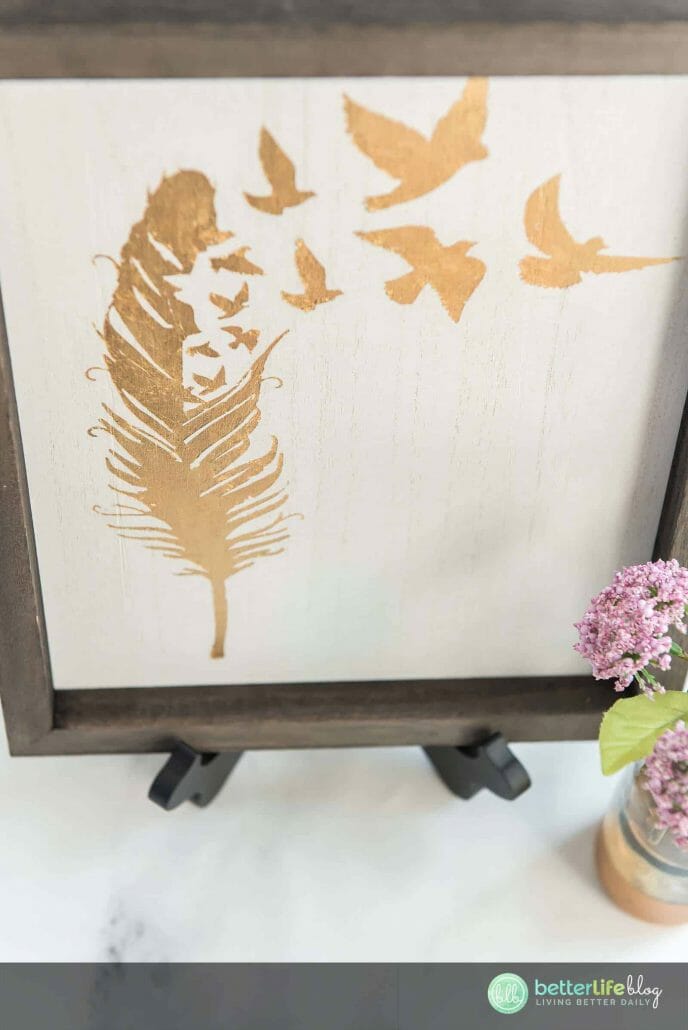
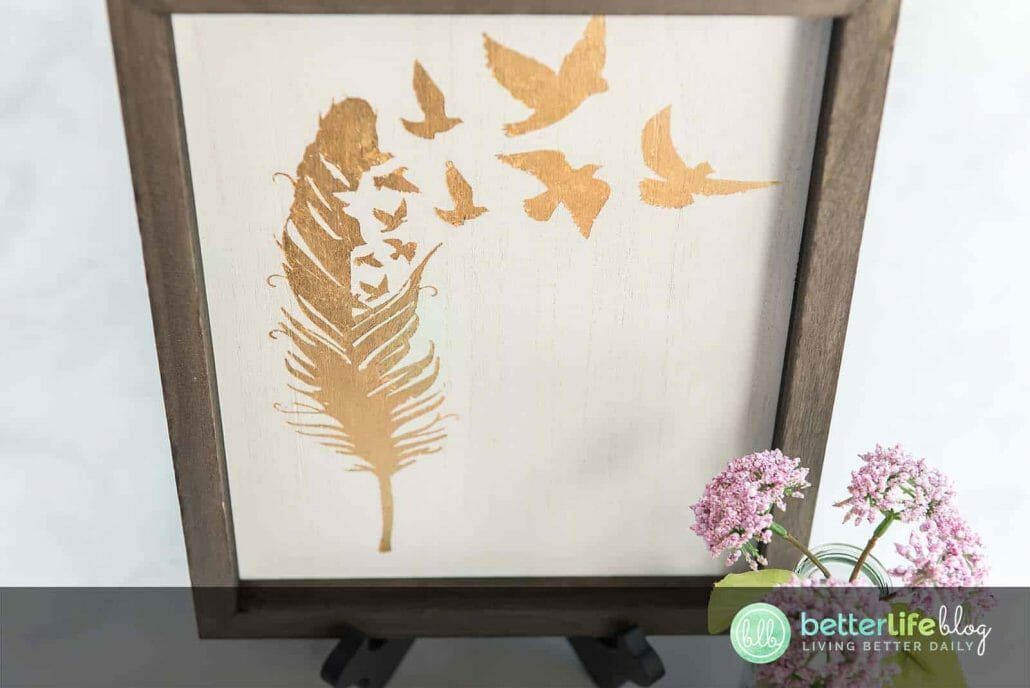
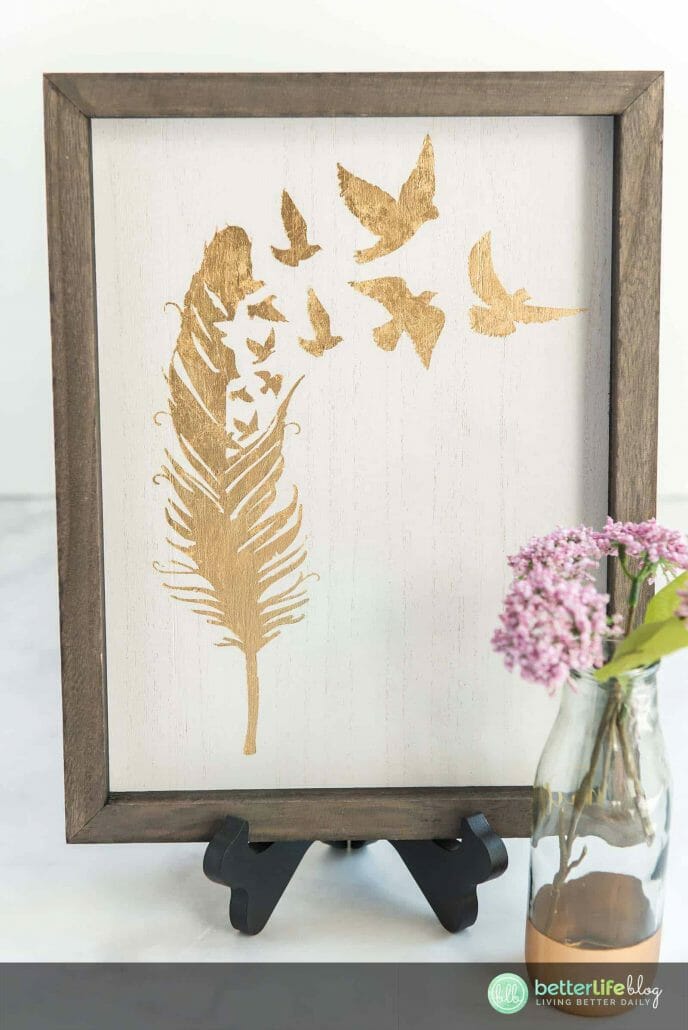
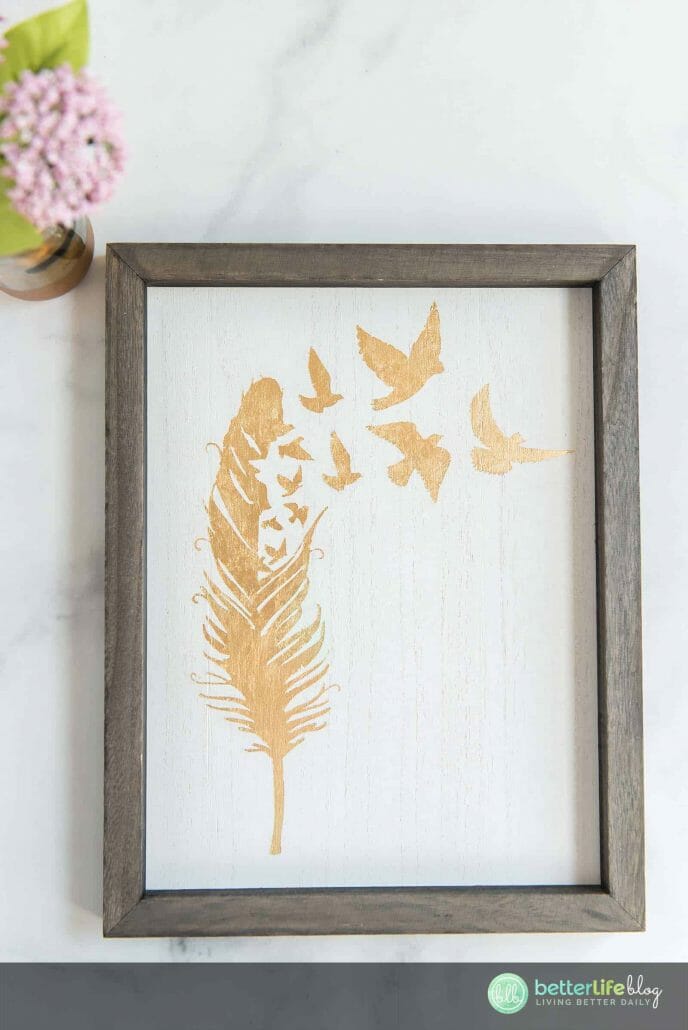
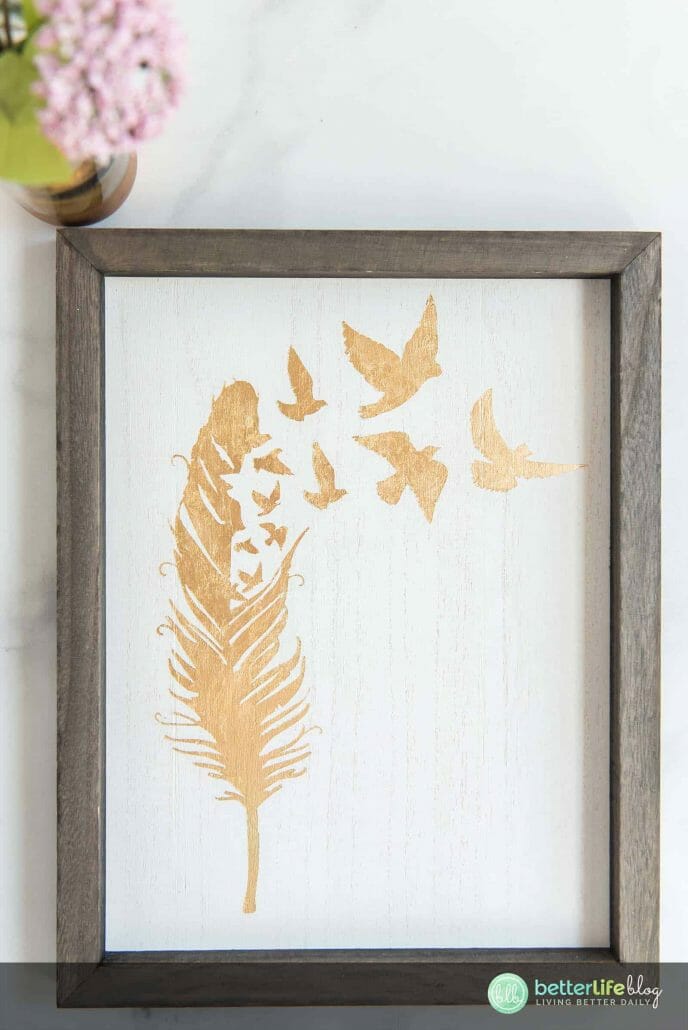

Wood Sign with Gold Leaf Using Cricut
I love making signs for my home décor. That’s why I decided to put together this gorgeous Wood Sign with Gold Leaf using Cricut. It creates such a shine and brilliance, and will definitely be a conversation starter with my guests!
Materials
- Cricut machine
- Weeding and scraper tools
- Transfer tape
- Cutting mat
- Chalk couture wood frame
- Stencil vinyl
- Scissors
- Gold leaf sheets
- Metal leaf sealer
- Mod Podge, matte
- Several small paint brushes
- Chalk Couture color trays
- Feather-birds SVG file from VIP Cut Files
Instructions
- Gather your materials and load the “feather-birds” file into Cricut Design Space. Adjust the height of the image to 11 inches. Select the entire image and select the attach button. Select the Make it button.
- Place your stencil vinyl onto your cutting mat. Proceed to follow the directions in Design Space to cut.
- Once all of your vinyl pieces are cut out, weed to remove the unnecessary pieces. Cut out a piece of transfer tape, big enough to fit over the feather image. Remove the transfer tape backing and place on top of the feather image cutout on the stencil vinyl.
- Use your scraper to adhere the transfer tape.
- Remove the backing sheet from the stencil vinyl and place, sticky side down, onto your wood frame. Use your scraper to adhere the stencil well. Carefully remove the transfer tape.
- Using one of your paintbrushes, paint metal leaf sealer inside the stencil area. Apply the gold leaf sheets, shiny side up to the areas that were just painted. Using a light cloth and very slight pressure, go around the edges of the stencil to adhere the gold leaf around all the edges. Allow to dry.
- Once dry, use a dry brush to lightly brush away any excess foil. Reapply to any areas that need it. Once the entire image has been foiled, slowly remove your stencil.
- Apply matte Mod Podge over all areas of your stencil. Allow to dry. Enjoy your new beautiful art!
Notes
If some of the gold foil comes off when you are dry brushing away the excess, just reapply the gold leaf sealer and gold sheet, allow to dry, and dry brush the excess off again.
Be sure to really press the gold leaf into the corners of the stencil so that you get a nice crisp, clean design.
Be sure to pull the stencil away slowly. It can be helpful to use your weeding tools to hold down the gold edges so they don’t tear away.