Okay, everyone! Time to grab your Cricut and Cricut EasyPress! I’ve got another fun DIY for you to put together.
Have you experimented with Cricut Infusible Ink yet? It is so neat! Infusible Ink transfers an ink design directly to your project. There is no flaking, peeling, cracking or wrinkling once this stuff is on! And it adds no extra weight or layers to your project because it is only adding ink.

There is a very small learning curve with using infusible ink, but the method is very similar to using Heat Transfer Vinyl (aka “HTV”… aka “Iron-On Vinyl”).
Today, I’m going to show you how to layer infusible ink with iron-on vinyl… and it’s so easy, you’re going to want to make tons of projects using this method. If you’ve never used Infusible Ink, not to worry! I’ll explain everything step-by-step here in this tutorial.
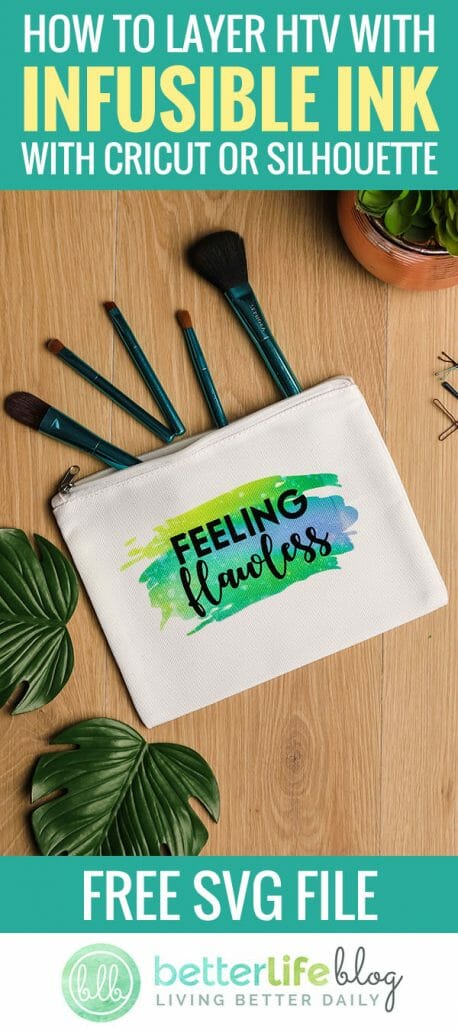
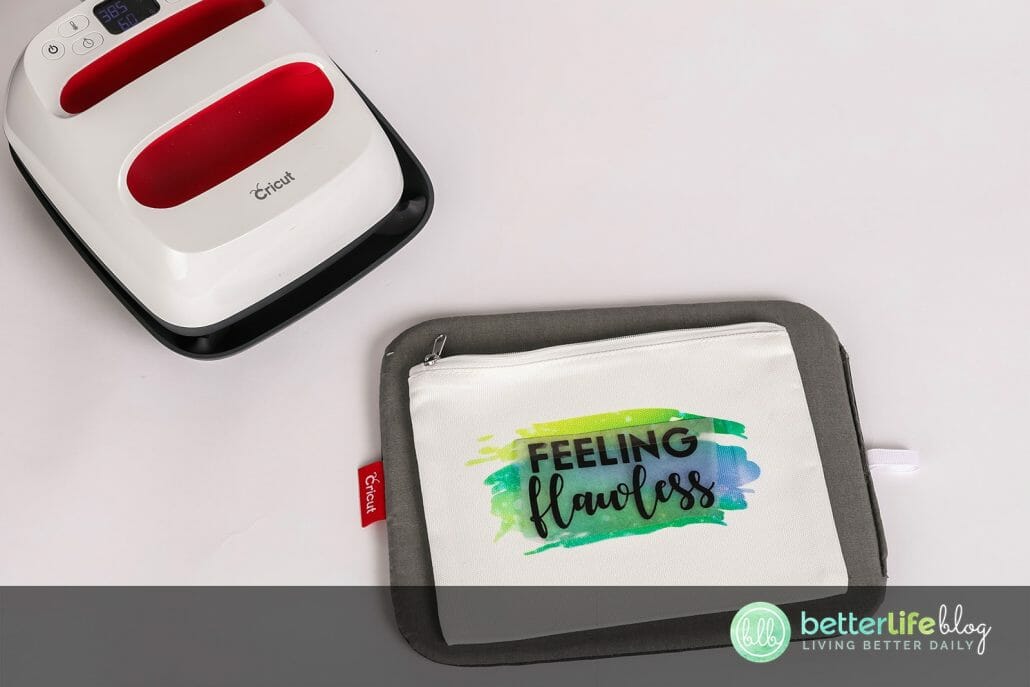
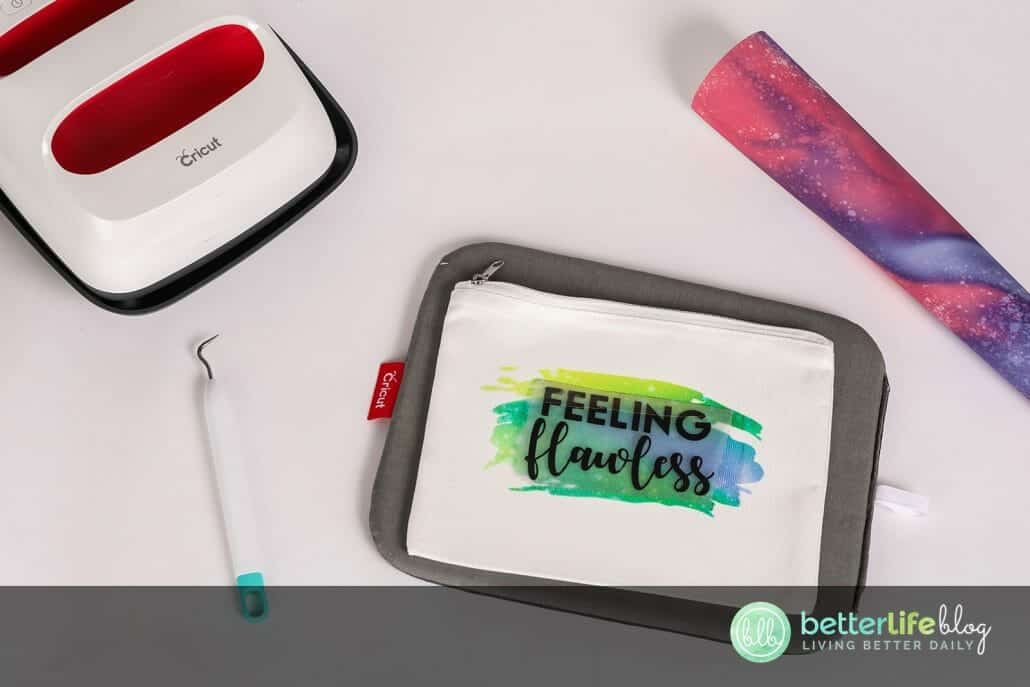
I absolutely LOVE the way this layered technique looks! It has a cool brushed patterned background (in this case a watercolor design), thanks to the incredible powers of infusible ink. And at the top is the bold glossy look of black heat transfer vinyl. This is perfect for when you really want to make your design stand out! I am definitely going to use this technique to make all kinds of bags, shirts, pillow cases… whatever infusible ink-friendly surface I can get my hands on!
To follow along with this tutorial, you can download this file for FREE here, or you can use a file of your own choosing!

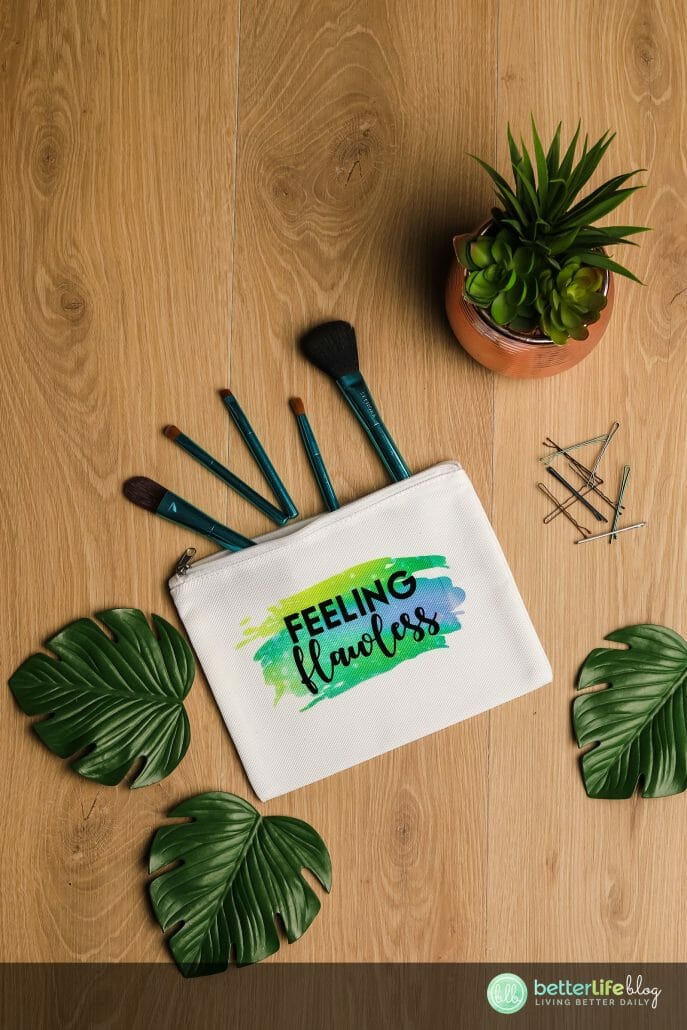
For this tutorial, I’ll be making an adorable cosmetic bag that’s perfect for travel. The bag also makes for the best gift, especially for hard-to-shop-for tweens and teens.
Important note: You’ll want to make sure you’re using a bag, fabric or surface that is compatible with Infusible Ink. The bag needs to have a polyester coating, or have at least a 50% blend of polyester. Higher poly count means more vibrant the colors.
Tools and Supplies Needed:
- Cricut Machine
- Standard Grip Mat
- EasyPress 2
- EasyPress Mat
- Cardstock
- FREE “Feeling Flawless” SVG Design
- Lint free towel
- Cosmetic Bag Blanks (make sure it is labeled for use with Sublimation or Infusible Ink)
- Heat Resistant Tape
- Butcher Paper (comes with Infusible Ink rolls)
Instructions For Design Space
First, you’ll want to upload the design to Cricut Design Space. If you haven’t already, be sure to grab the FREE Cut file for this project here!
Resize the design to fit on your cosmetic bag or other surface of your choice. Again, be sure that it is an infusible ink compatible blank (basically anything marked as “sublimation” compatible should work). You can find sublimation blanks here.
Click MAKE IT. You should have 2 separate mats, one for the infusible ink and one for the iron on. Note: you’ll need to MIRROR the design on BOTH mats.
For the materials, choose “Infusible Ink” for your the infusible ink mat, and “iron-on vinyl” for the other mat.

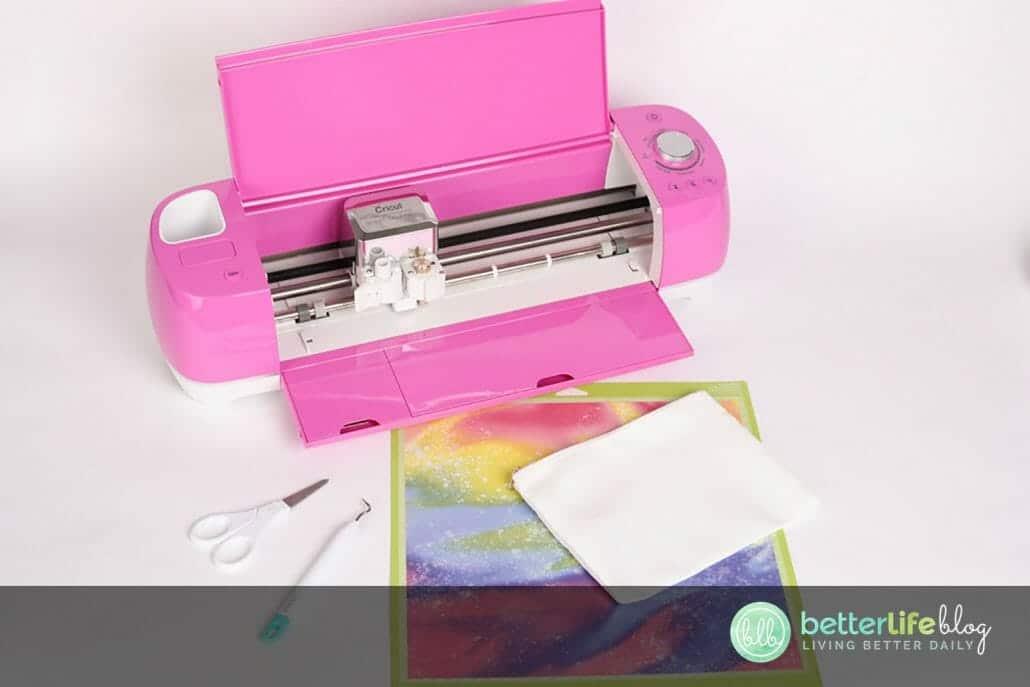
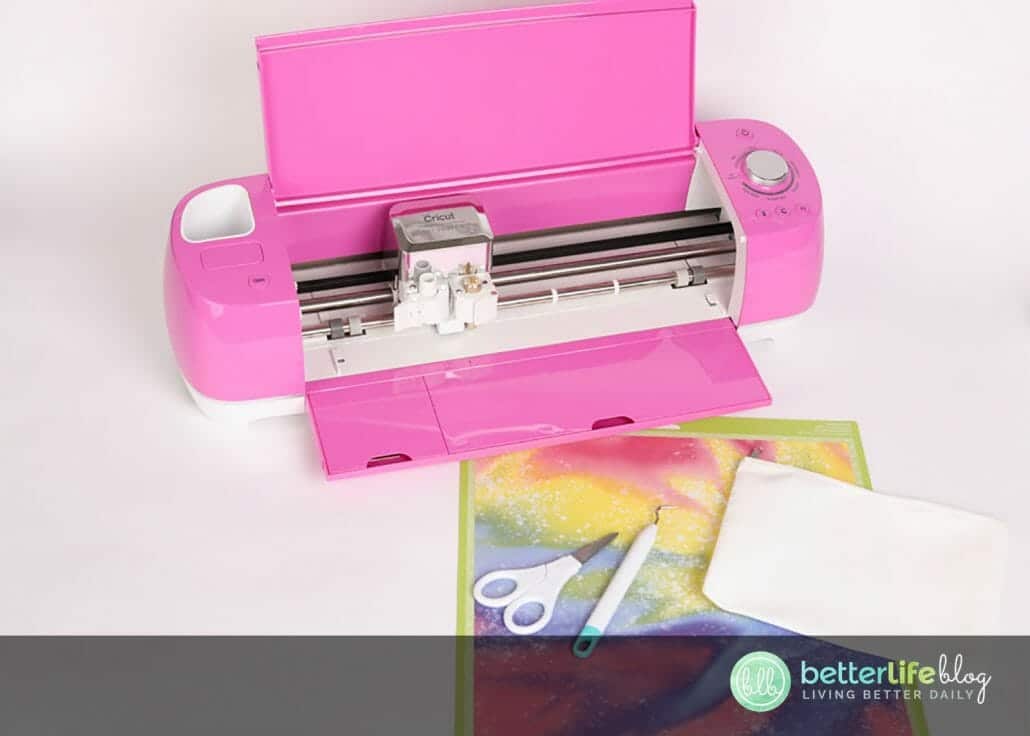
Place an Infusible Ink transfer sheet on your Standard Grip Mat patterned side up. Load the mat, then press the Cricut “C” (cut) button on your machine to begin the cut. When the cut is finished, unload and remove the Infusible Ink sheet.
Next, place your iron-on vinyl on Standard Grip Mat shiny side down just as you normally would. Load the mat, then press the Cricut “C” (cut) button on your machine to begin the cut. When the cut is finished, unload and remove the iron-on vinyl.
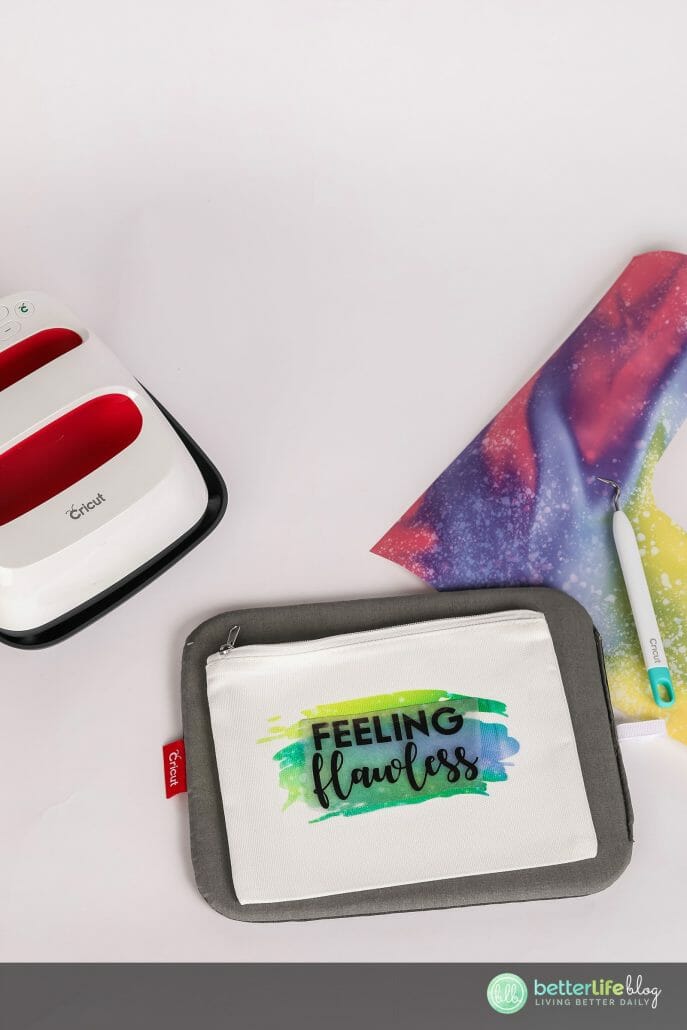
Next, you’ll want to weed your designs. Using a weeding tool, sharp pick, or tweezers, weed away the unwanted extra pieces of the design from your cut until only your design is remaining.

Instructions For Infusible Ink
Preheat your Cricut EasyPress to 385°F
Note: an EasyPress 2 is recommended since the original EasyPress only has a maximum temperature of 360°F which is lower than the temperature required to transfer Infusible Ink. Cricut Infusible Ink requires a temperature of 385°F (newer EasyPress models can reach up to 400°F). I will say that I have tested using the original EasyPress at its maximum temperature of 360°F and it still DID transfer the ink, although it seemed to be slightly less vibrant than I had expected. Just something to keep in mind!
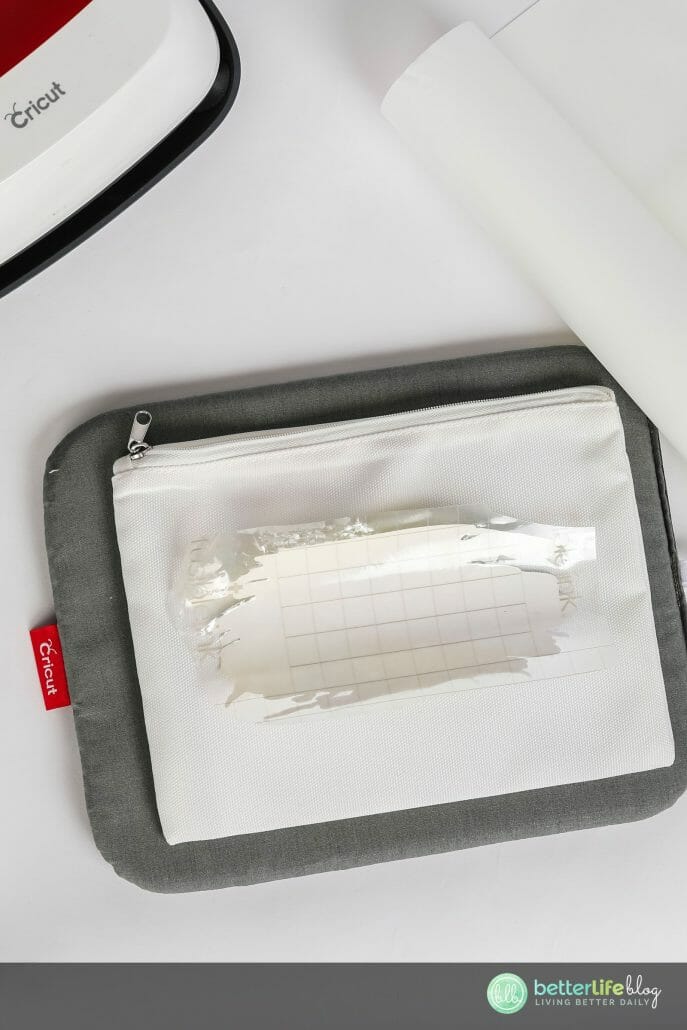
Place your cosmetic bag on EasyPress mat and place a small piece of cardstock inside the cosmetic bag to prevent the ink from bleeding onto the inside or the back of your bag.
Run a lint roller over the bag to remove any lint, hair or other particles.
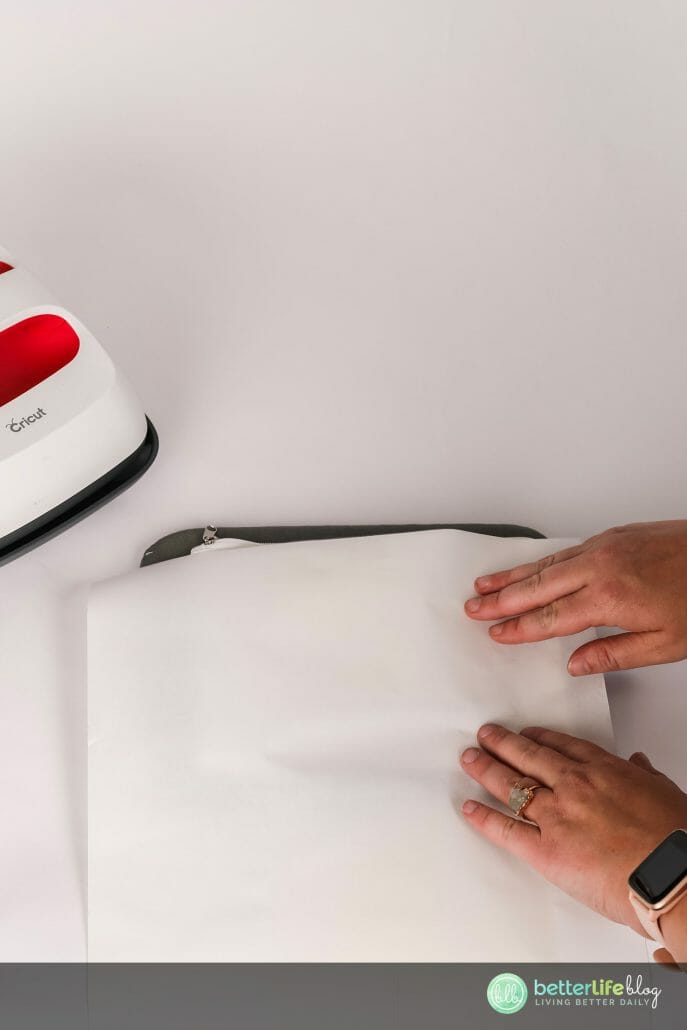
Cover your bag with the butcher paper that comes with your infusible ink, and pre-press for 15 seconds.
Remove the butcher paper and place your weeded infusible ink design on the cosmetic bag – ink side down and liner facing up.
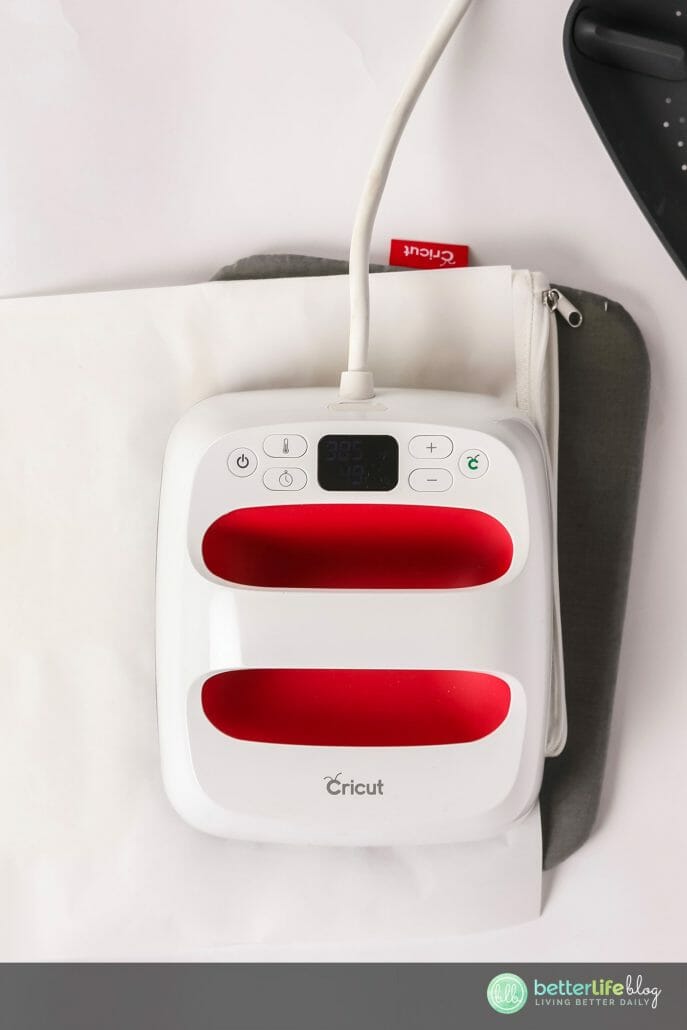
Press with light pressure at 385°F for 60 seconds. This is slightly different than what you might be used to if you use heat transfer vinyl a lot. It is the heat that transfers the ink, so a lot of pressure is not as necessary with infusible ink as it is when you’re pressing vinyl.
Allow your bag cool and carefully remove the liner.
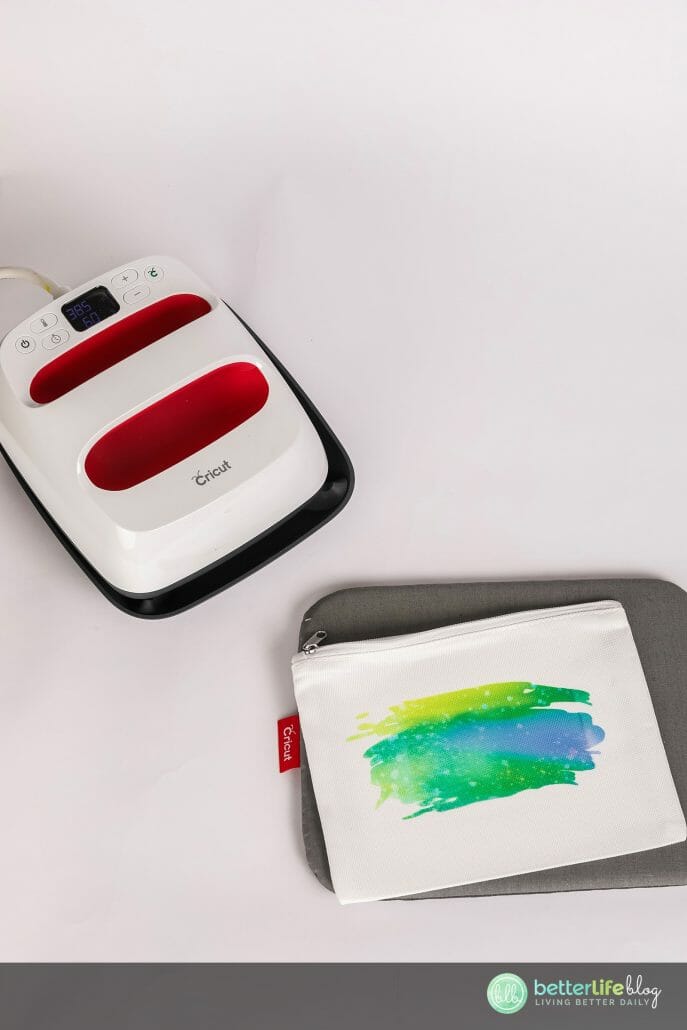


Once cooled, you can place your weeded iron-on vinyl onto your bag. Reduce the heat of your EasyPress to 315°F – once the temperature is reached, cover with the butcher paper completely and press it again for 30 seconds. Once it cools a bit, remove the liner then cover again with butcher paper or parchment paper and press for about 15 seconds.

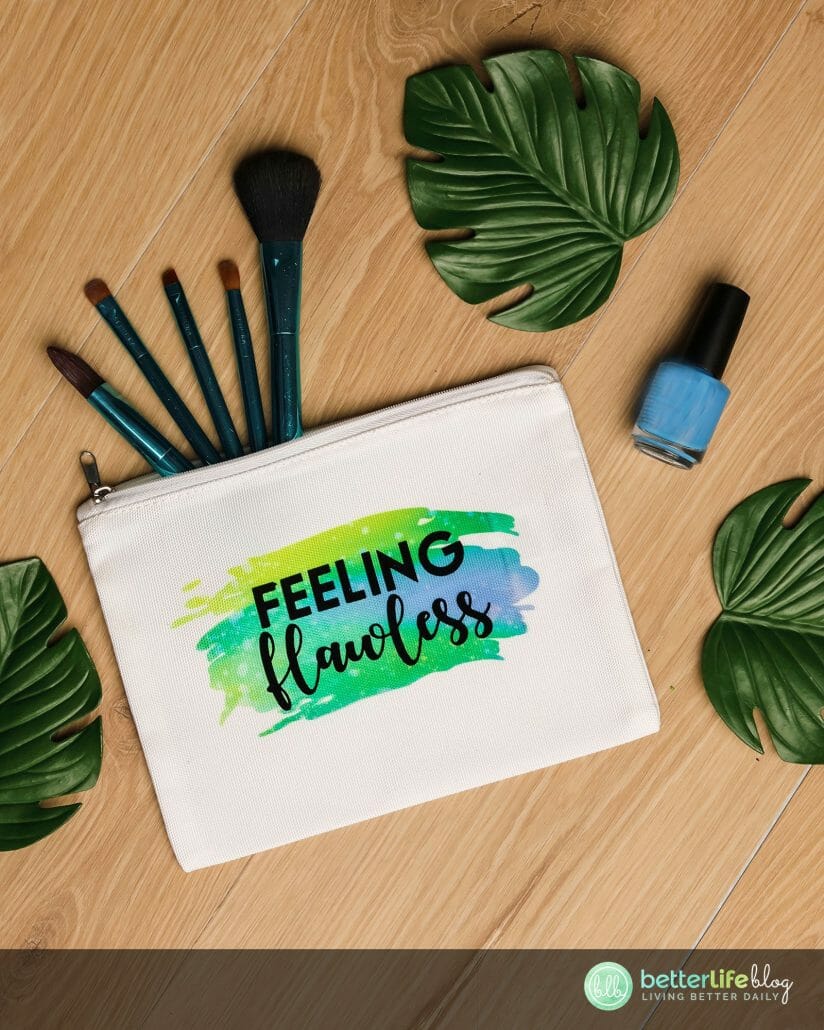
Once you’re finished, it will look like this! I love how cute this is and I plan on using this technique A LOT! If you make this, will you be sure to tag me over on Instagram? I would love to see what you’ve made!

How to Layer Infusible Ink
How to layer infusible ink and iron on vinyl using your Cricut or Silhouette! Be sure to read my full instructions and easy step-by-step directions to use infusible ink for your next DIY project.
Materials
- Cricut machine - explore air 2
- Standard Grip Mat
- EasyPress 2
- EasyPress Mat
- Cardstock
- FREE "Feeling Flawless" SVG Design
- Lint free towel
- Cosmetic Bag Blanks
- Heat Resistant Tape
- Butcher Paper (comes with Infusible Ink rolls)
Instructions
Instructions For Design Space:
- First, you’ll want to upload the design to Cricut Design Space.
- Resize the design to fit on your cosmetic bag or other surface of your choice. Again, be sure that it is an infusible ink compatible blank (basically anything marked as “sublimation” compatible should work).
- Click MAKE IT. You should have 2 separate mats, one for the infusible ink and one for the iron on. Note: you’ll need to MIRROR the design on BOTH mats.
- For the materials, choose “Infusible Ink” for your the infusible ink mat, and “iron-on vinyl” for the other mat.
- Place an Infusible Ink transfer sheet on your Standard Grip Mat patterned side up. Load the mat, then press the Cricut “C” (cut) button on your machine to begin the cut. When the cut is finished, unload and remove the Infusible Ink sheet.
- Next, place your iron-on vinyl on Standard Grip Mat shiny side down just as you normally would. Load the mat, then press the Cricut “C” (cut) button on your machine to begin the cut. When the cut is finished, unload and remove the iron-on vinyl.
- Next, you’ll want to weed your designs. Using a weeding tool, sharp pick, or tweezers, weed away the unwanted extra pieces of the design from your cut until only your design is remaining.
Instructions For Applying Infusible Ink:
- Preheat your Cricut EasyPress to 385°F
- Place your cosmetic bag on EasyPress mat and place a small piece of cardstock inside the cosmetic bag to prevent the ink from bleeding onto the inside or the back of your bag.
- Run a lint roller over the bag to remove any lint, hair or other particles.
- Cover your bag with the butcher paper that comes with your infusible ink, and pre-press for 15 seconds.
- Remove the butcher paper and place your weeded infusible ink design on the cosmetic bag – ink side down and liner facing up.
- Press with light pressure at 385°F for 60 seconds. This is slightly different than what you might be used to if you use heat transfer vinyl a lot. It is the heat that transfers the ink, so a lot of pressure is not as necessary with infusible ink as it is when you’re pressing vinyl.
- Allow your bag cool and carefully remove the liner.
- Once cooled, you can place your weeded iron-on vinyl onto your bag. Reduce the heat of your EasyPress to 315°F – once the temperature is reached, cover with the butcher paper completely and press it again for 30 seconds. Once it cools a bit, remove the liner then cover again with butcher paper or parchment paper and press for about 15 seconds.
- Once you’re finished, it will look like this! I love how cute this is and I plan on using this technique A LOT! If you make this, will you be sure to tag me over on Instagram? I would love to see what you’ve made!
Notes
- Be sure to use an infusible ink-compatible blank (basically anything marked as “sublimation” compatible should work).
- Note: an EasyPress 2 is recommended since the original EasyPress only has a maximum temperature of 360°F which is lower than the temperature required to transfer Infusible Ink. Cricut Infusible Ink requires a temperature of 385°F (newer EasyPress models can reach up to 400°F). I will say that I have tested using the original EasyPress at its maximum temperature of 360°F and it still DID transfer the ink, although it seemed to be slightly less vibrant than I had expected. Just something to keep in mind!