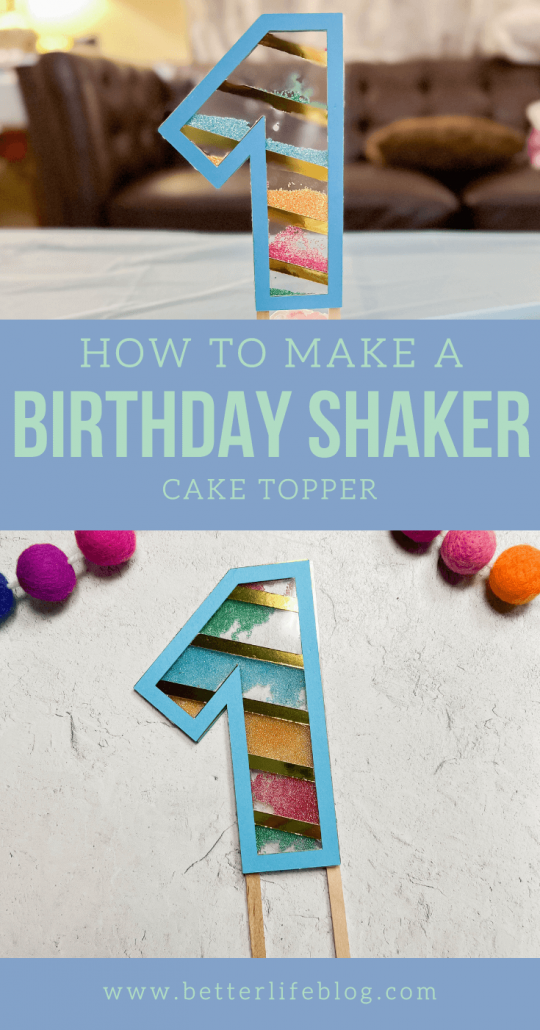
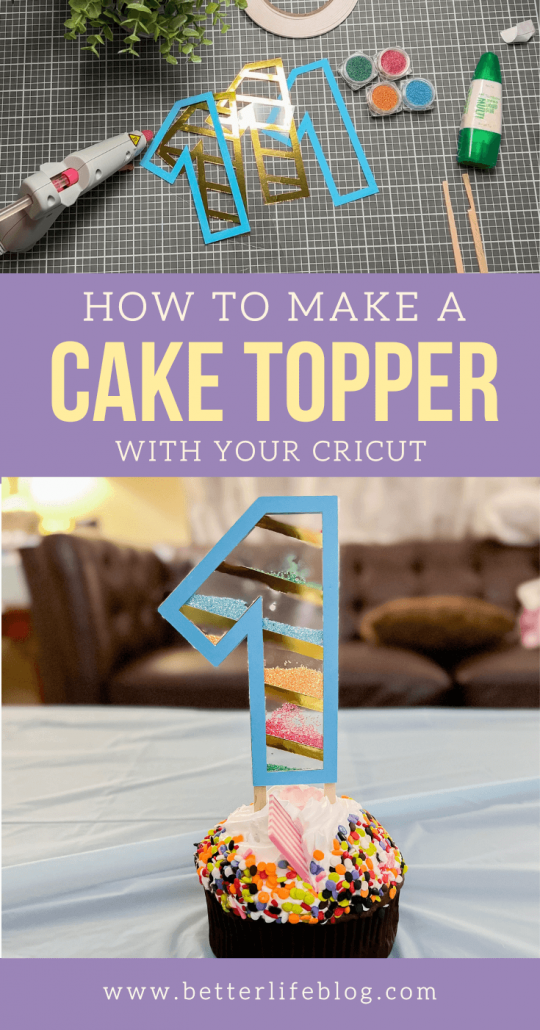
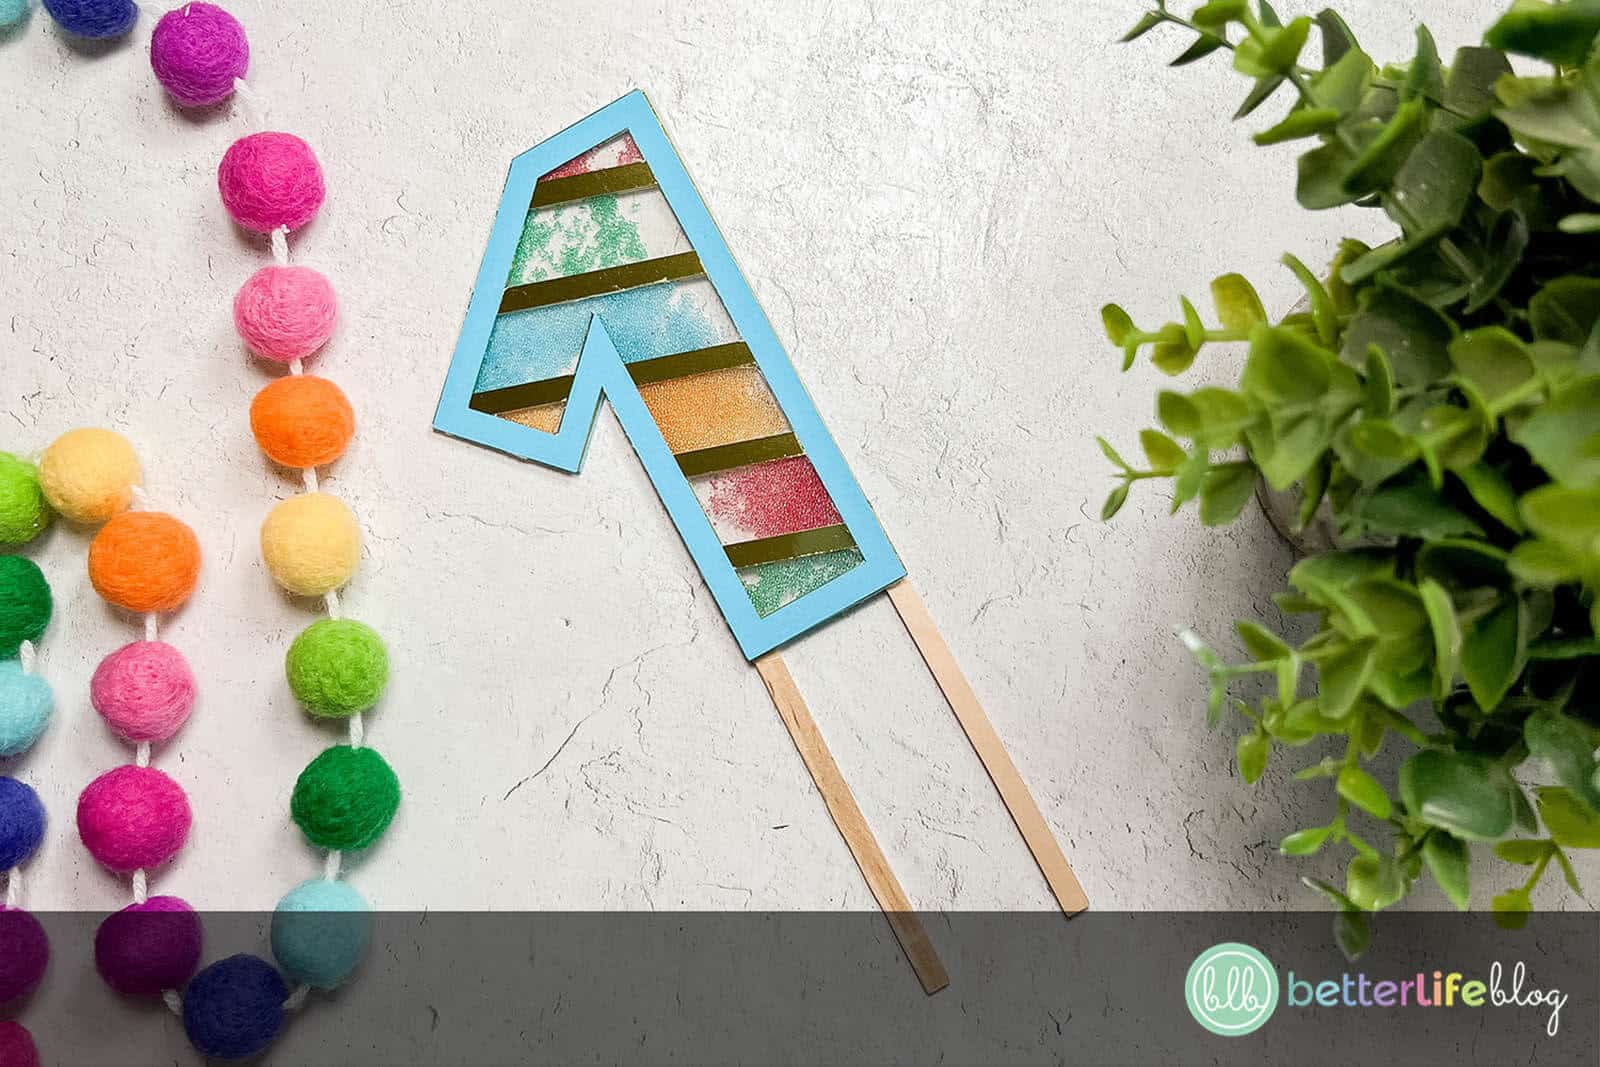
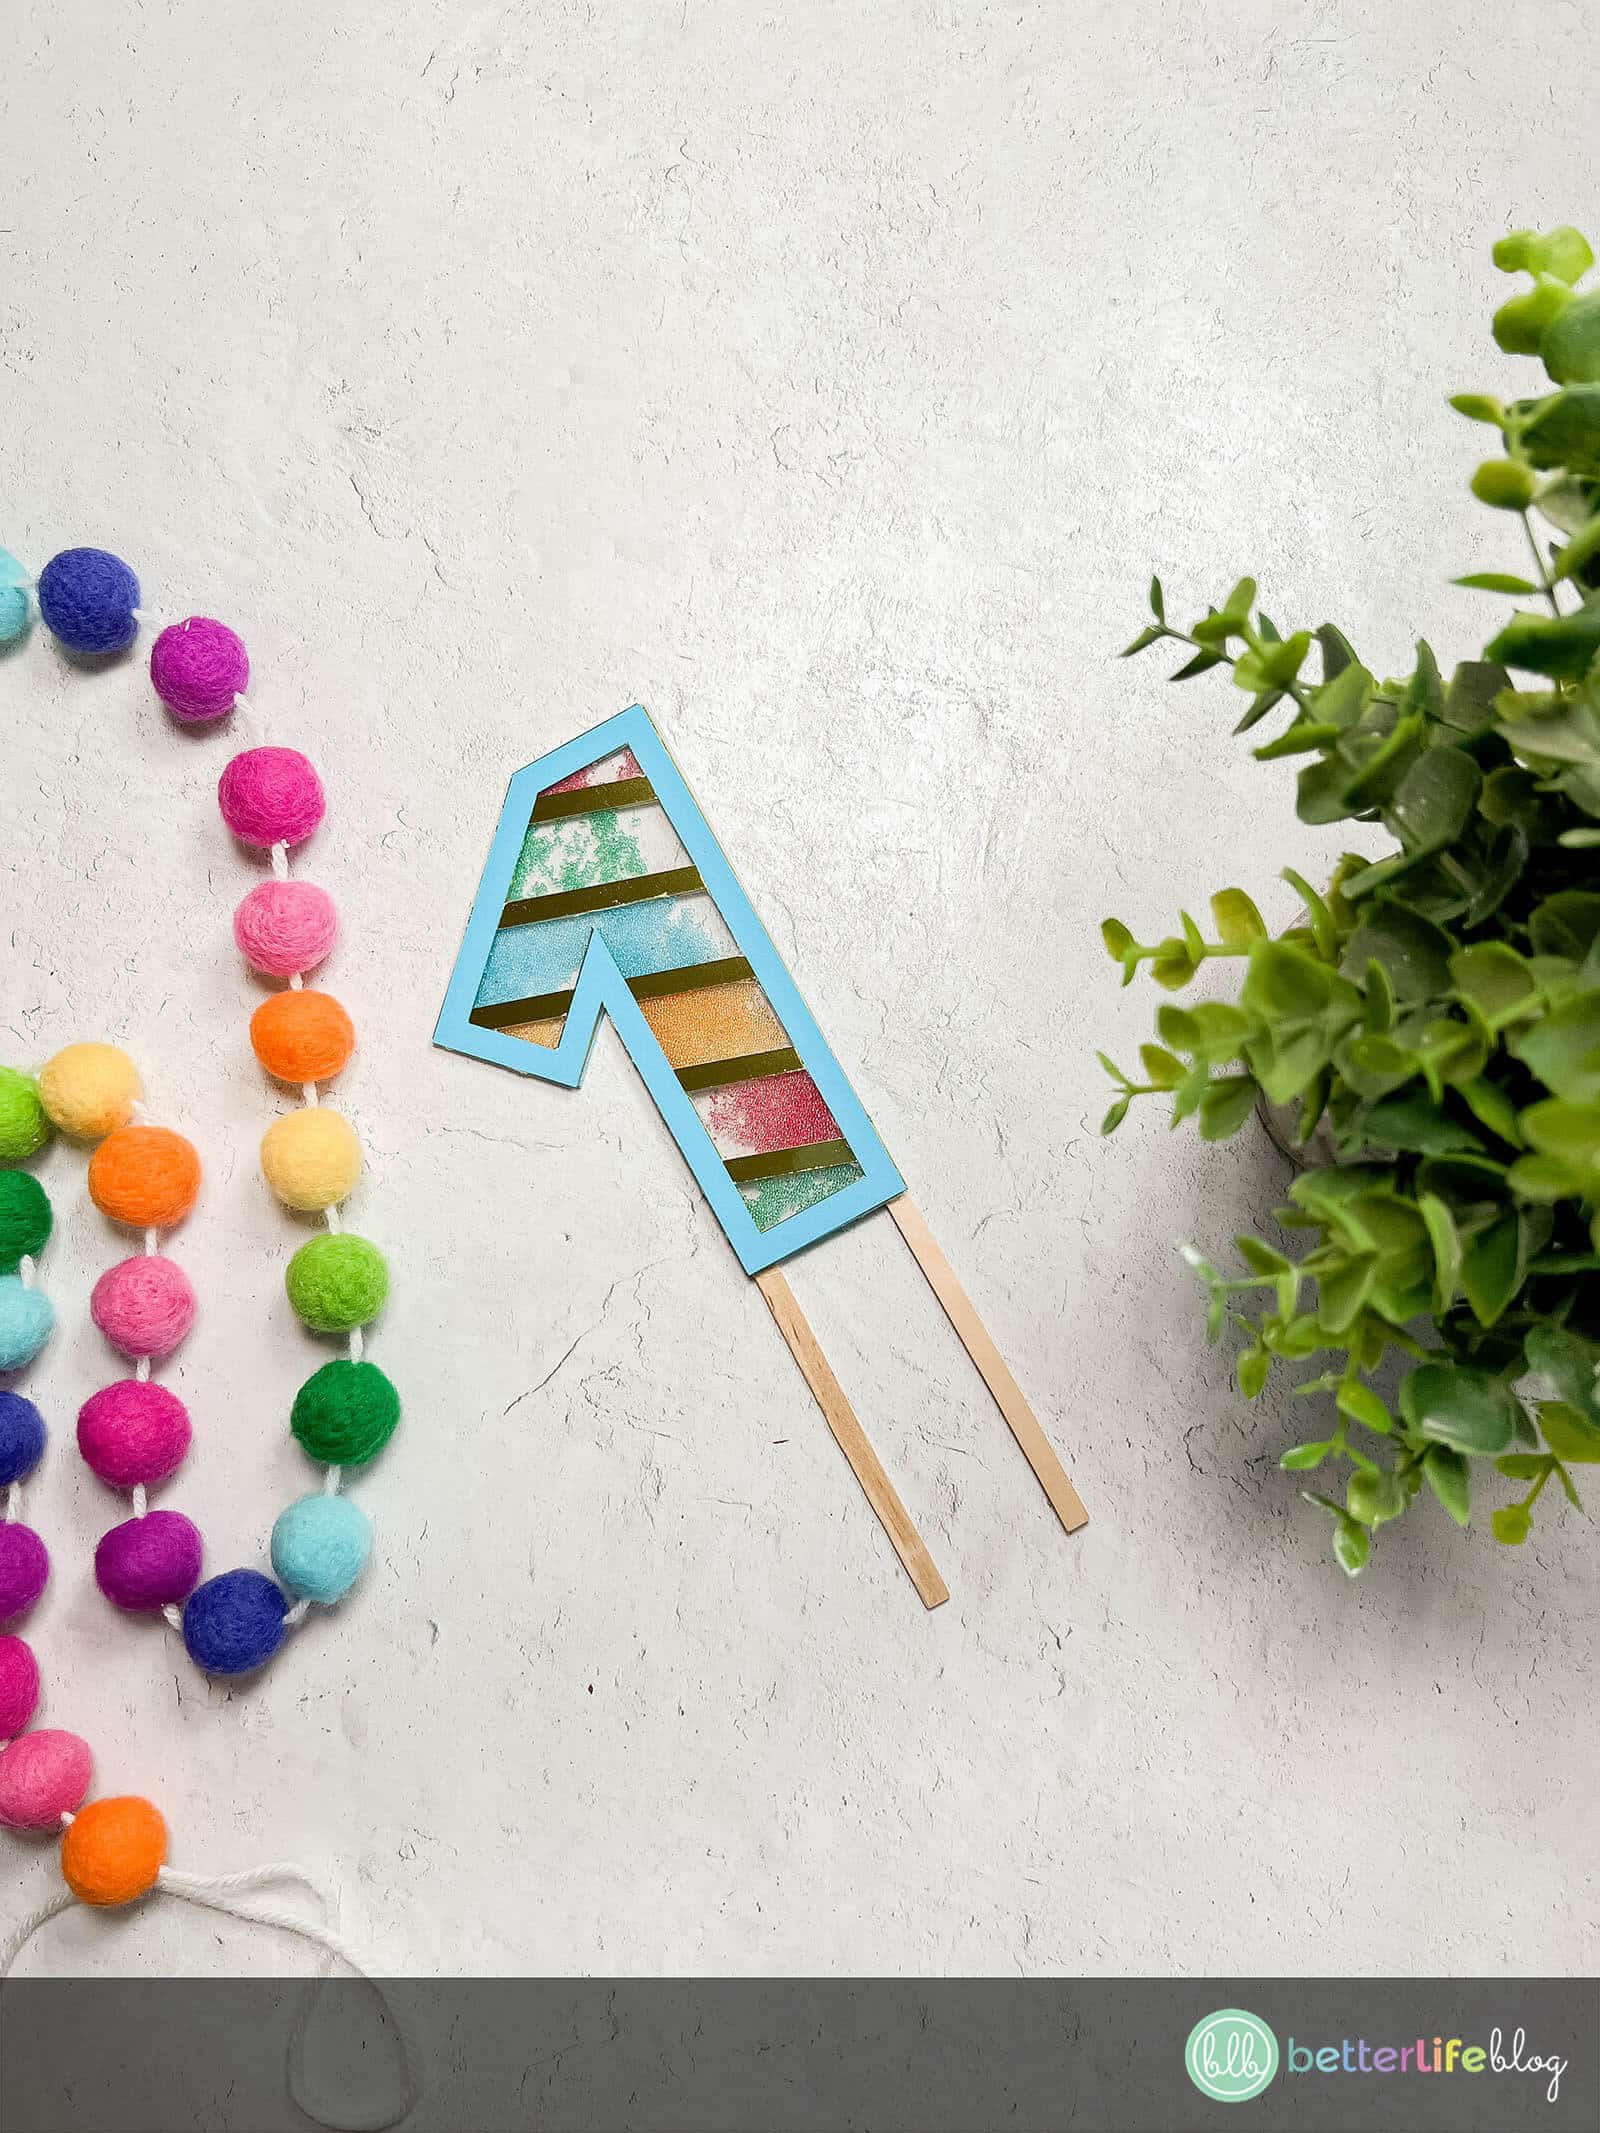
Greetings, crafty friends! I have the CUTEST project for you! My DIY Birthday Shaker Cake Topper is such a colorful treat. You can customize it to match your birthday party theme. They are especially cute on cakes with sprinkles on them!
Keep on reading to get the full tutorial so you can make one of your very own! Everyone loves a handmade element for their birthday celebrations.
This Project is Great! Where Can I Find More?
I am so glad you asked! You may not know this, but I actually have a very special VIP Crafters Club where we do guided crafts every month in our exclusive online community.
Plus, a monthly membership gives you instant access to original cut files, made by me, that you can use for all your Cricut and Silhouette projects!
Be sure to click through this link to join. We’re a huge, supportive community of crafters that love encouraging one another!

How to Make Your Very Own Birthday Shaker Cake Topper
Here are the full instructions to this beautiful DIY Birthday Shaker Cake Topper. PLUS, I’ve included a video tutorial that shows you each step – so if you’re more of a visual learner, you can follow along!
Supplies
- Birthday Shaker SVG file
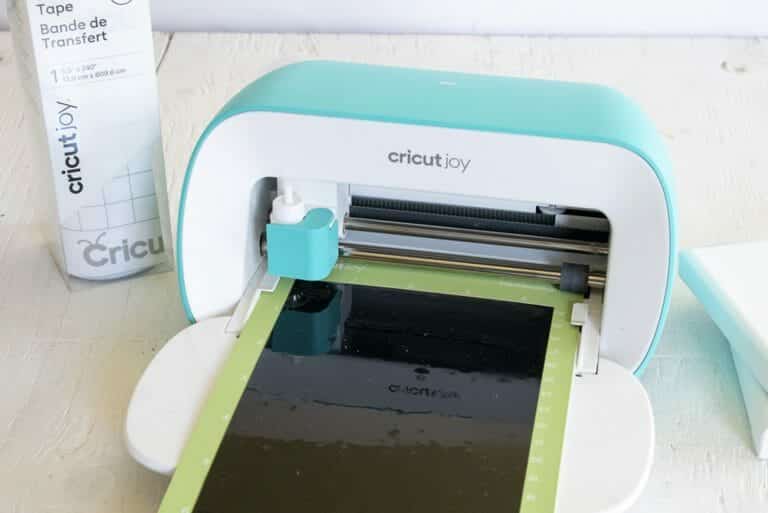
- Cricut machine
- Cardstock (2 different colors – both your choice!)
- Acetate
- Light grip mat
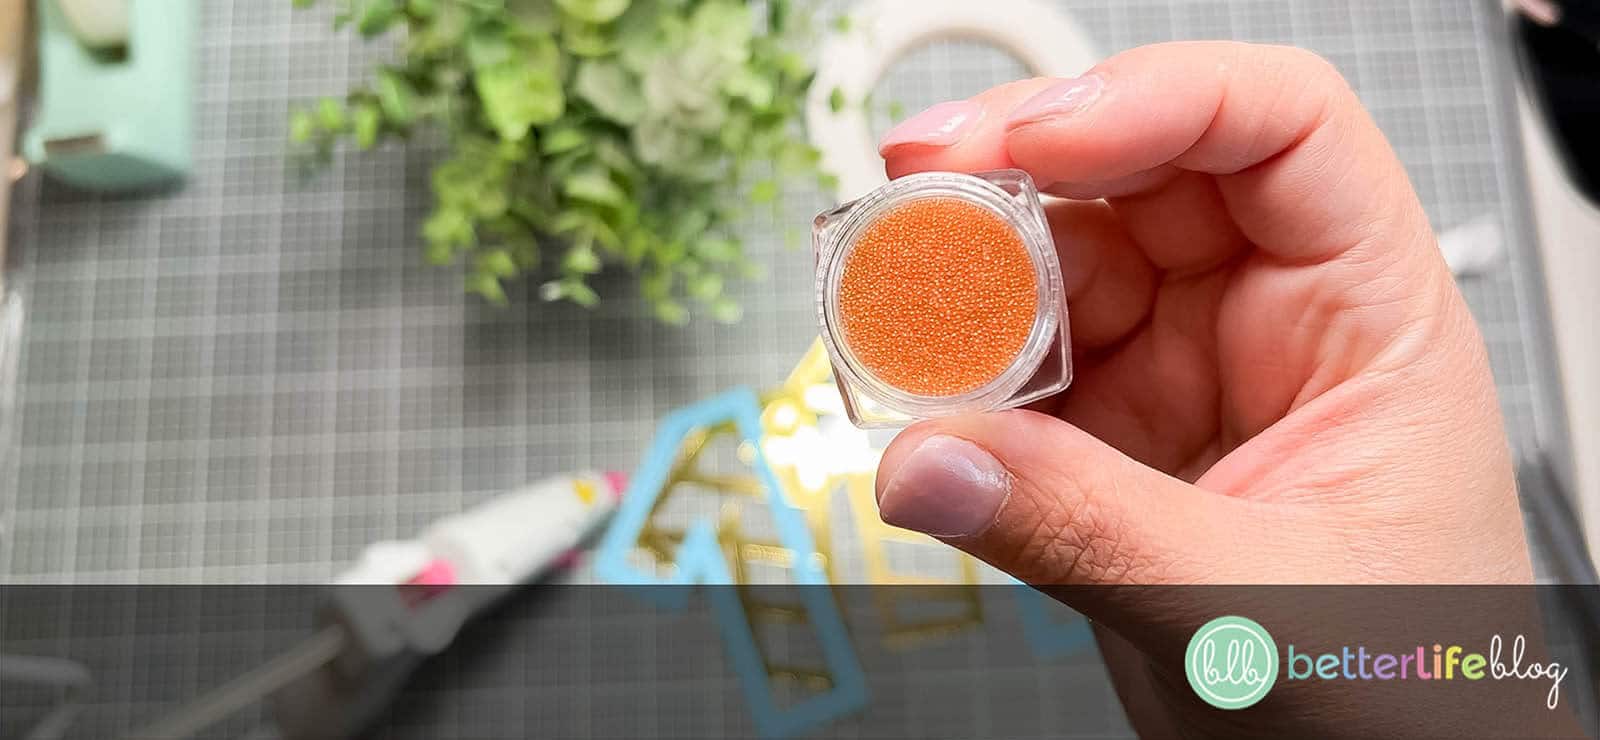
- Microbeads (the ones we used are actually for nail art!)
- Multi-liquid glue
- Hot glue gun and glue sticks
- Foam tape
- Crafter’s tape
- Scissors
- Tweezers, optional
- Wooden craft sticks
Instructions
Begin by downloading the Birthday Shaker Cake Topper SVG and upload it to Design Space for cutting.
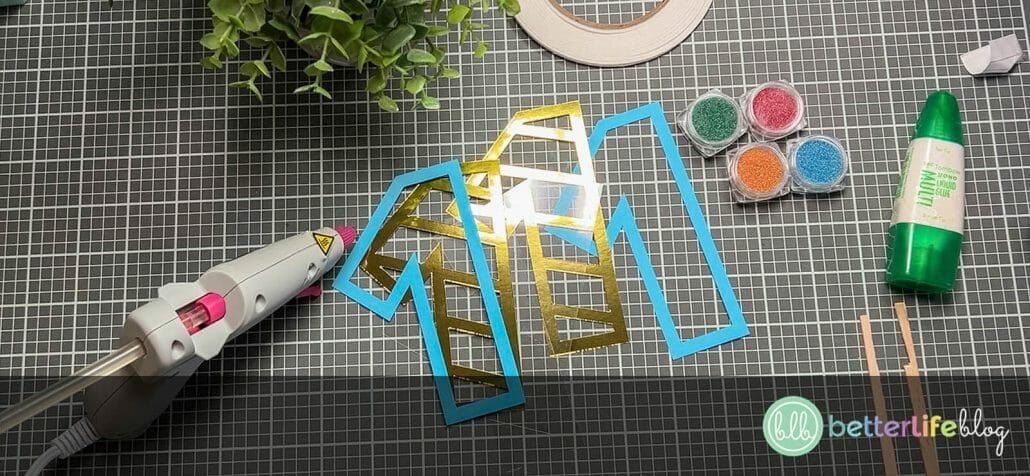
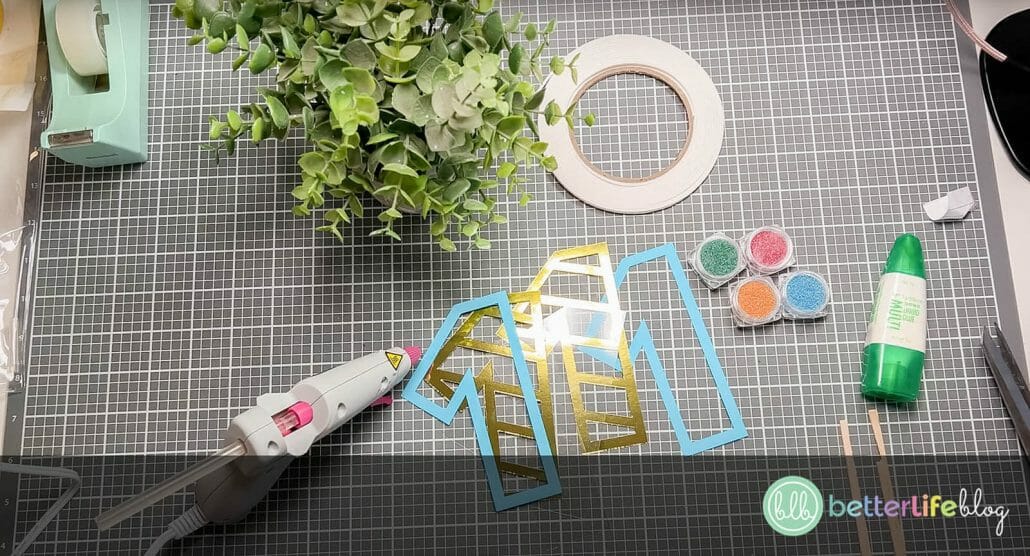
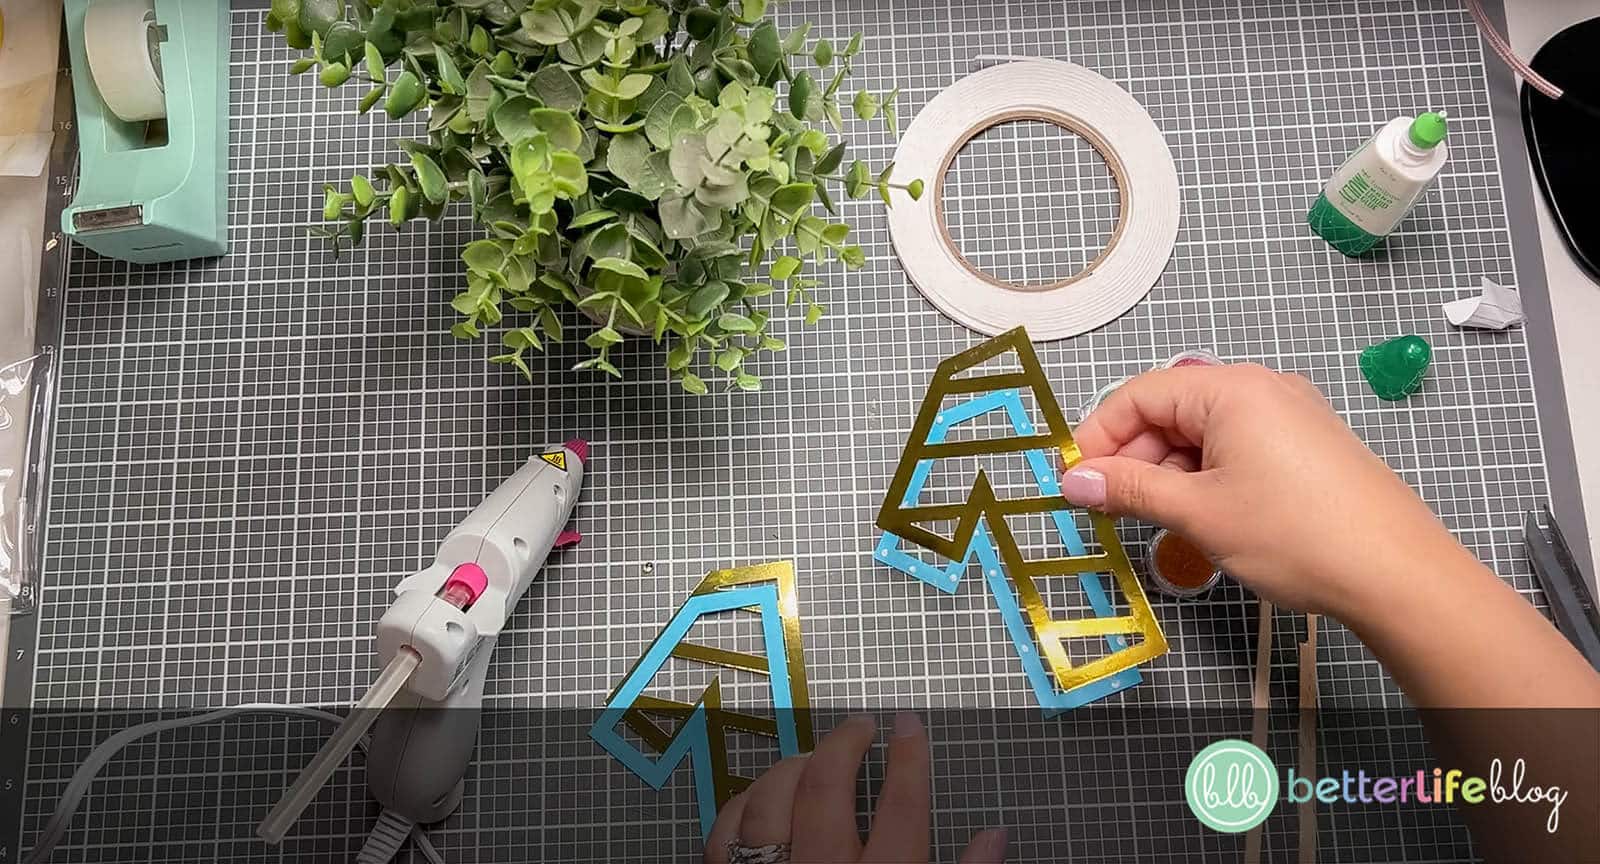
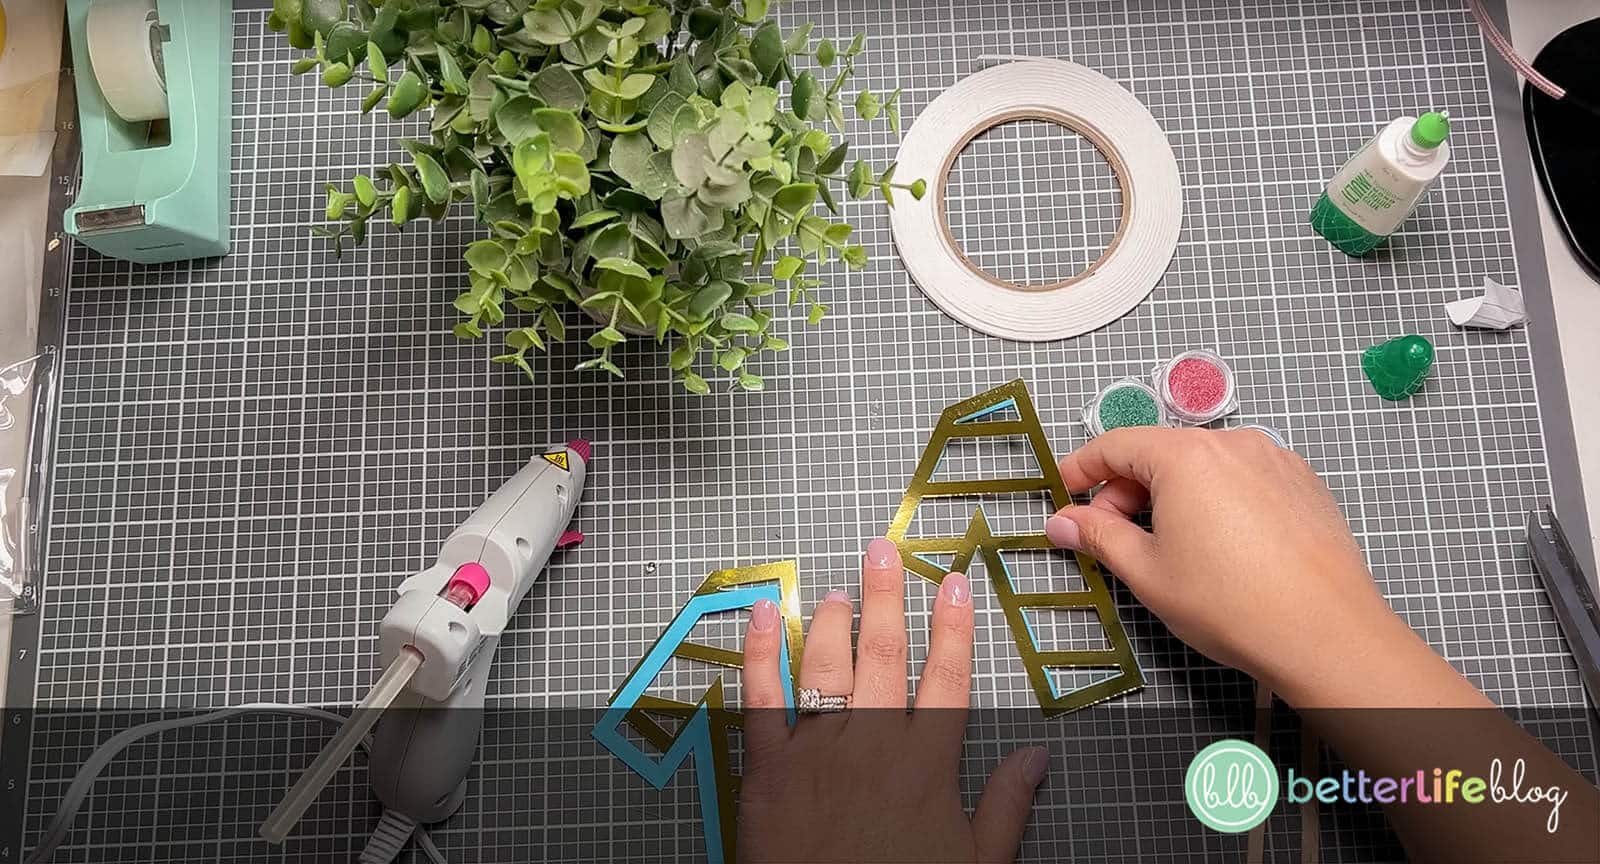
Once everything is cut, gather all of the required supplies, including your cut-outs. For the cut-outs, you will need 2 pieces of cardstock (one color, the solid outline design) and other 2 pieces of cardstock (the striped design), and 2 pieces of acetate.
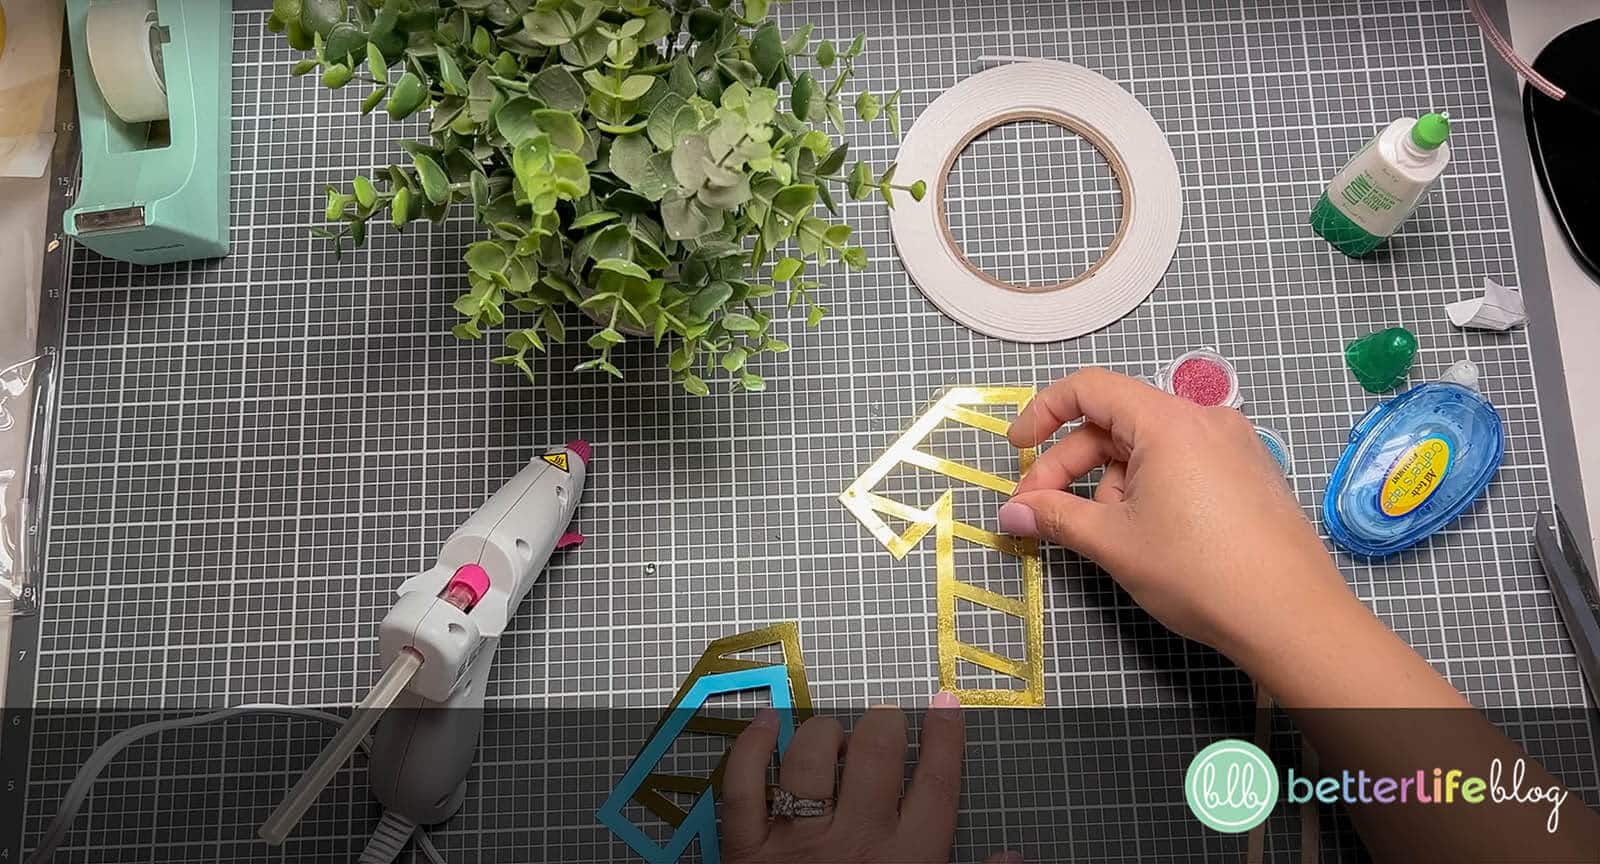
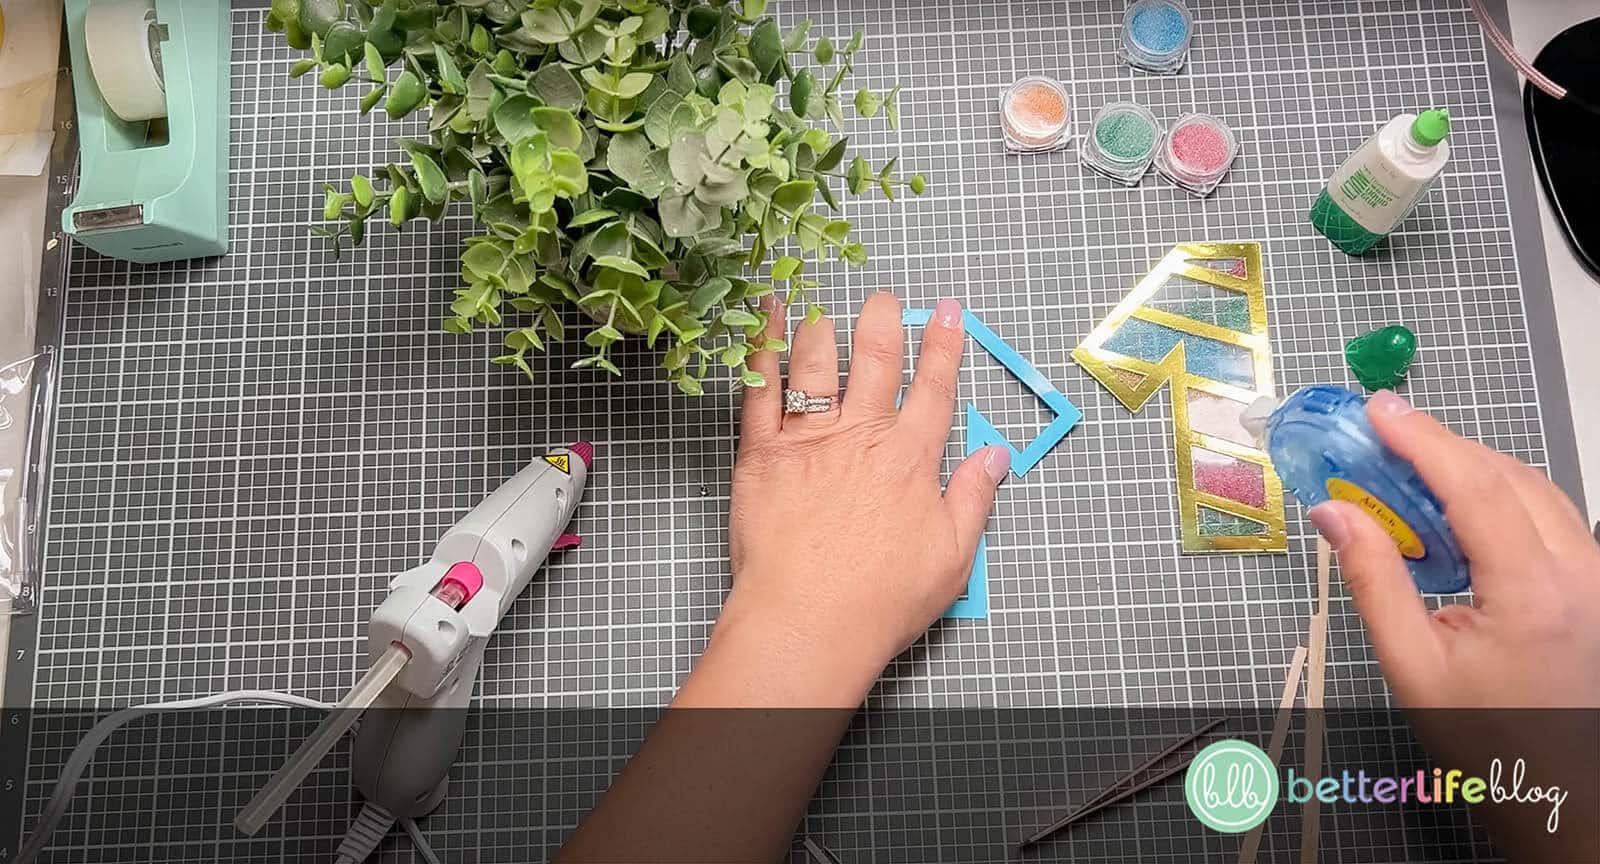
Once you have all the required supplies and pieces, start assembling! For this project you are going to want to work from back to front. Start with your solid outline design, and glue a striped design on top. The multi-liquid glue is best for securing the two pieces. (Pro tip: You don’t need too much glue for this. I recommend dabbing it just along the edges of your sold design piece!)
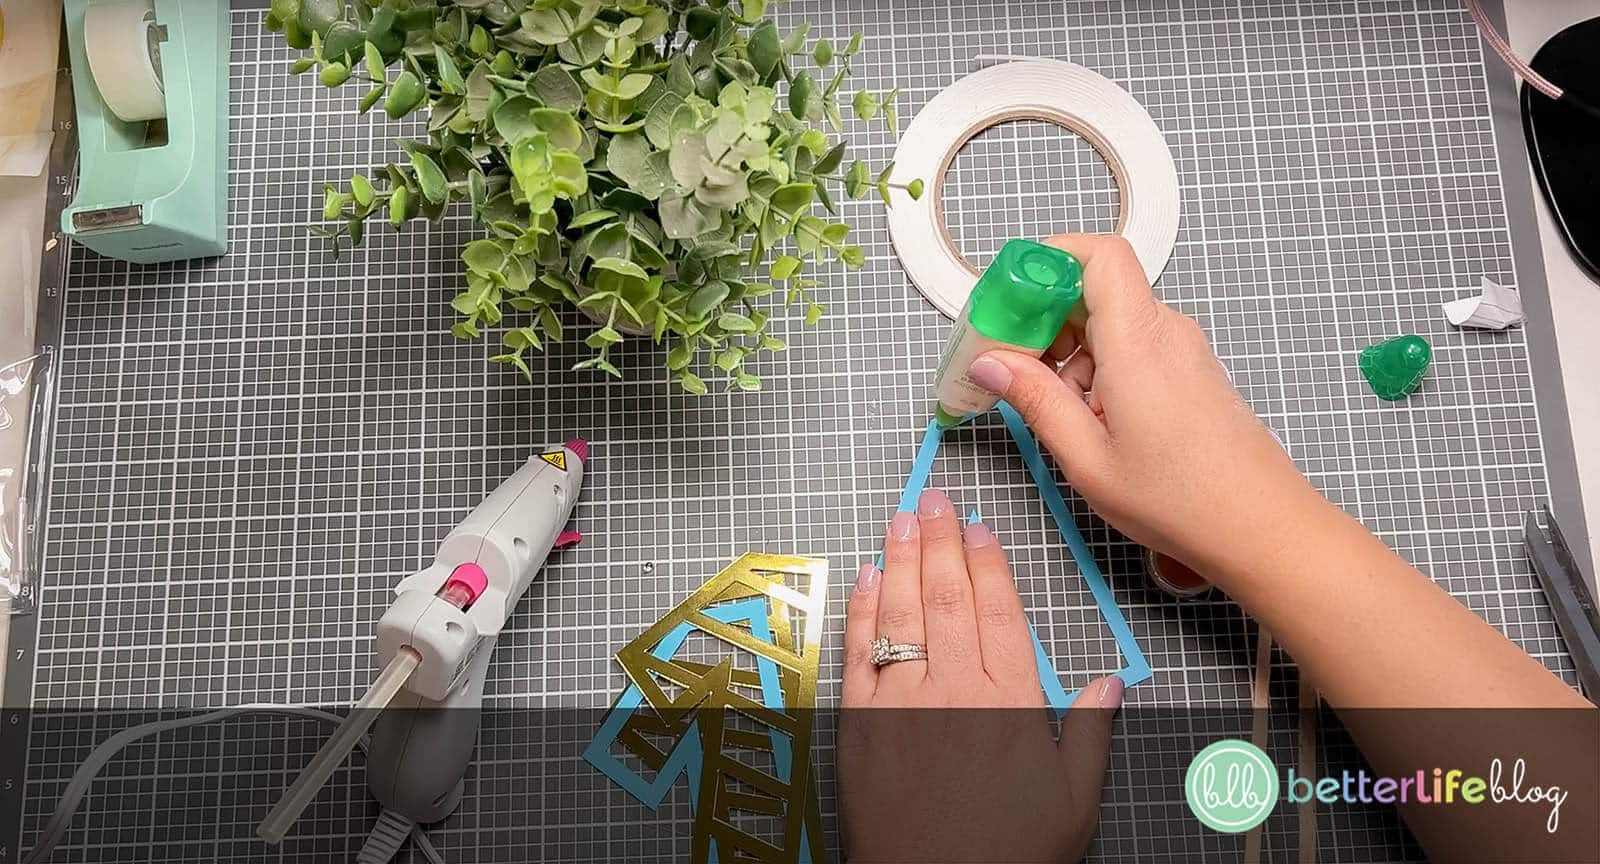
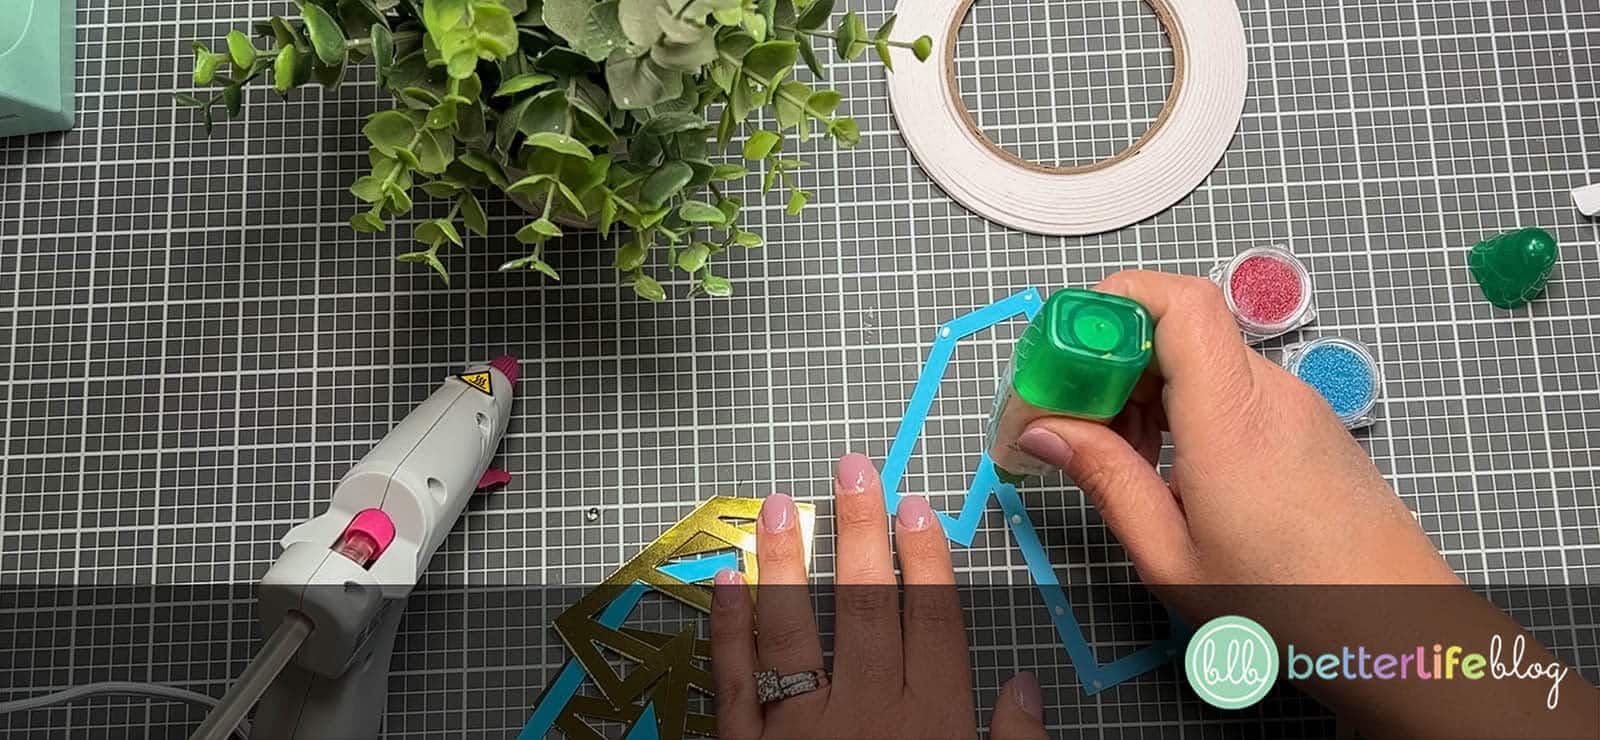
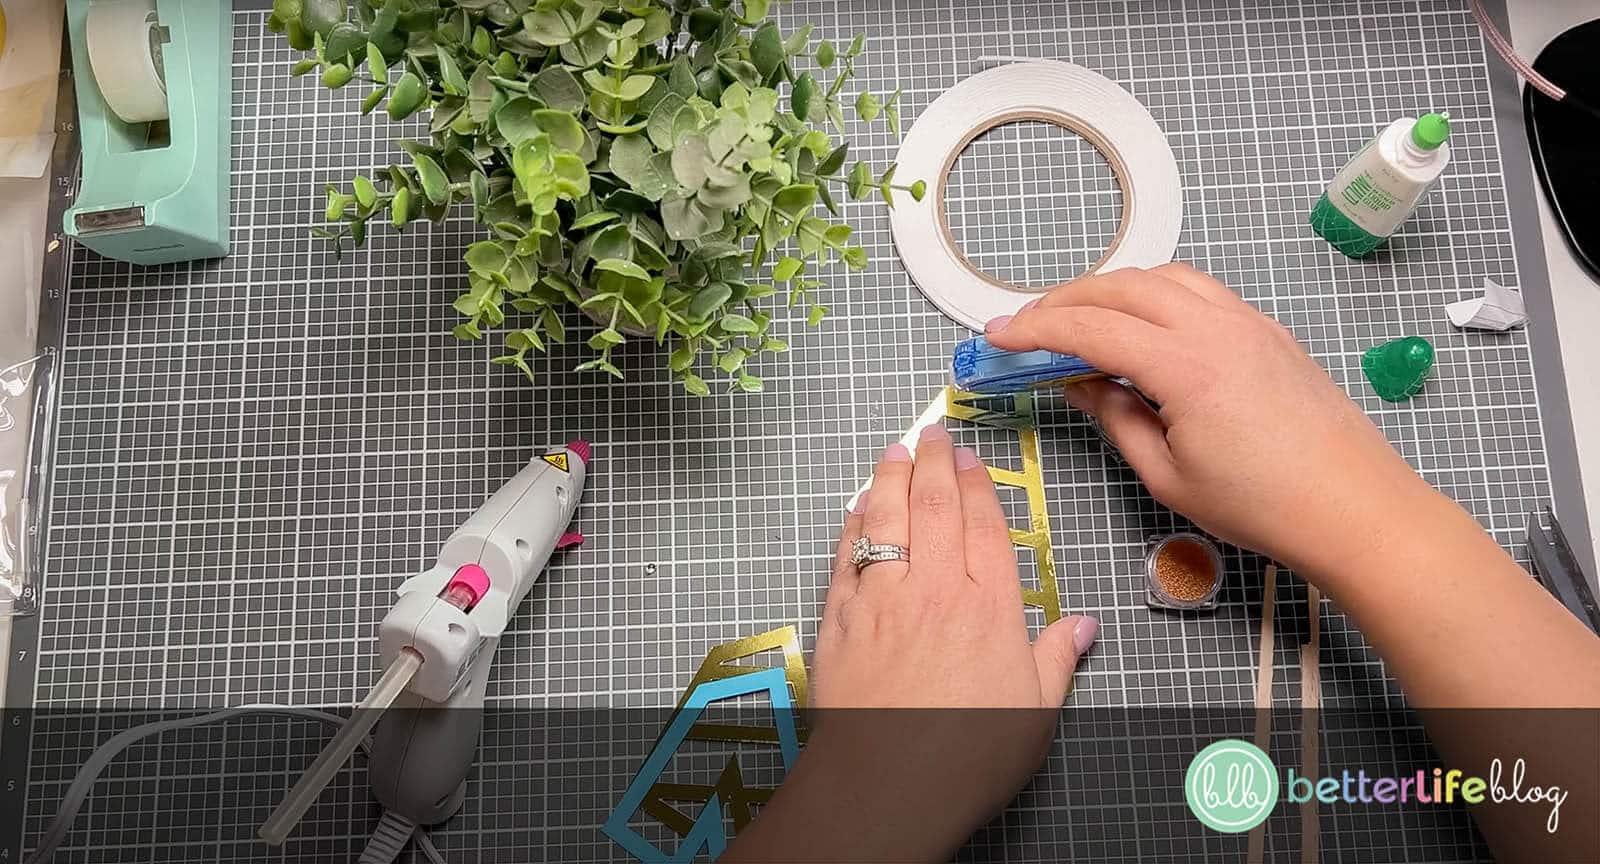
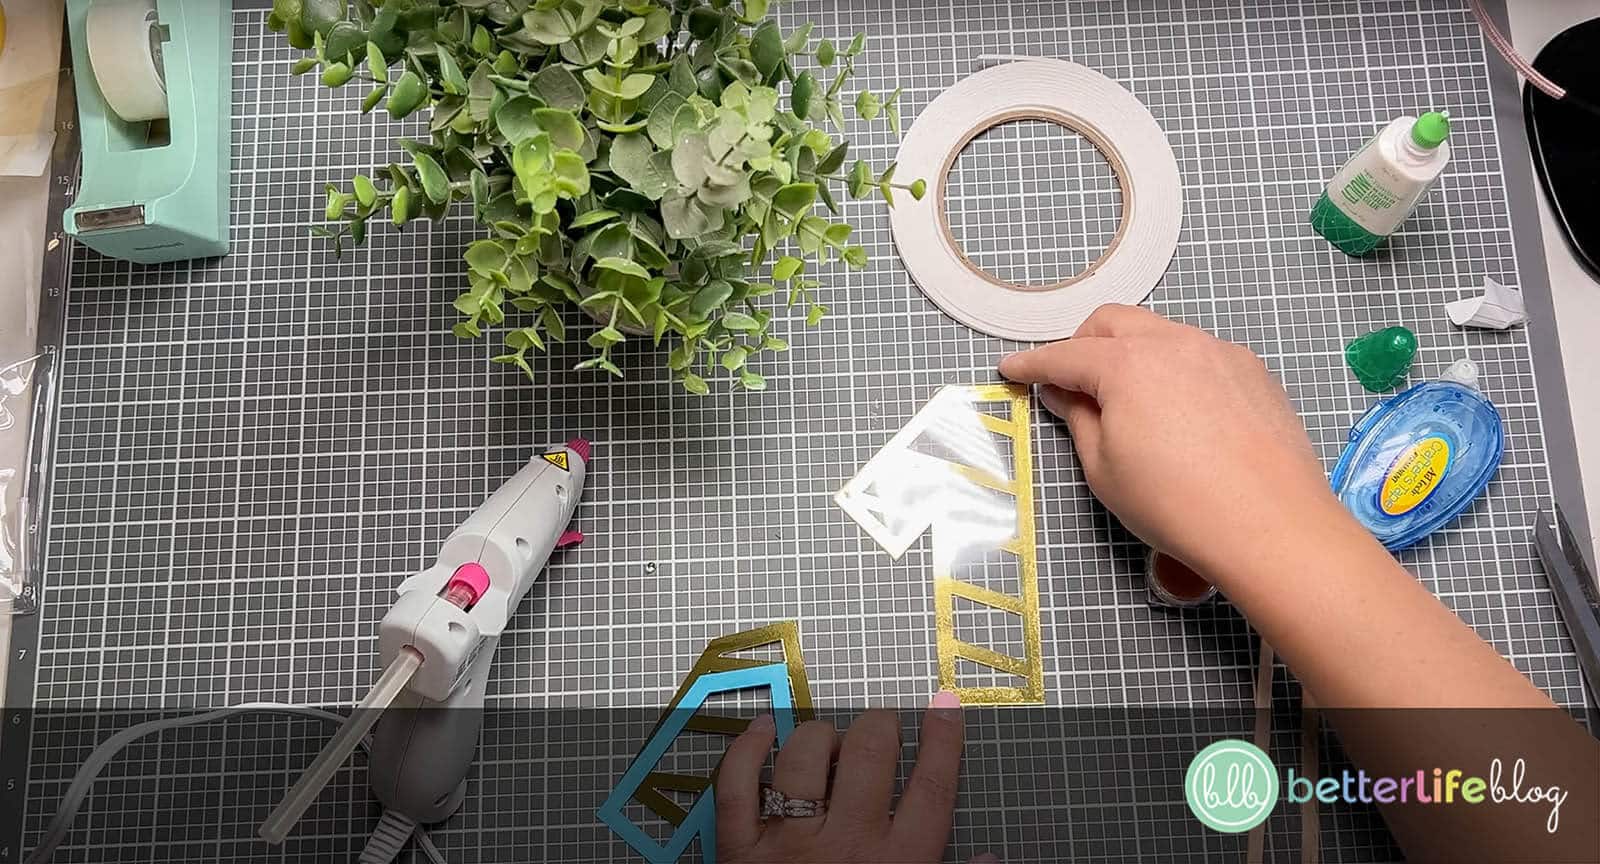
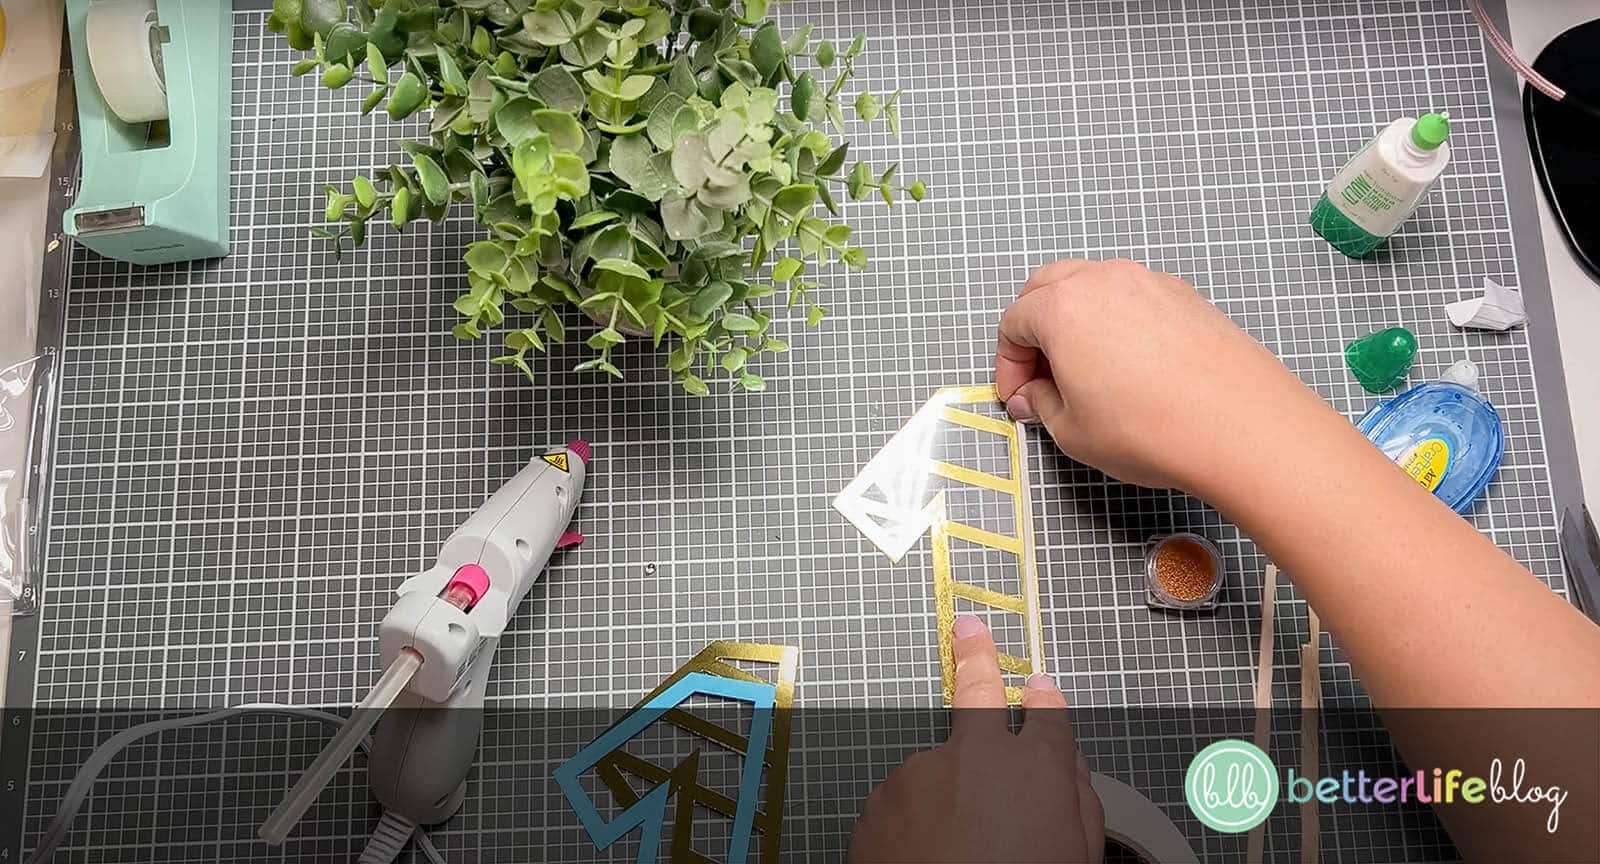
Next, add one of the acetate pieces on top of your two newly-secured cardstock pieces. To do so, add crafter’s tape along the edges of the top cardstock and then gently place the acetate right on top.
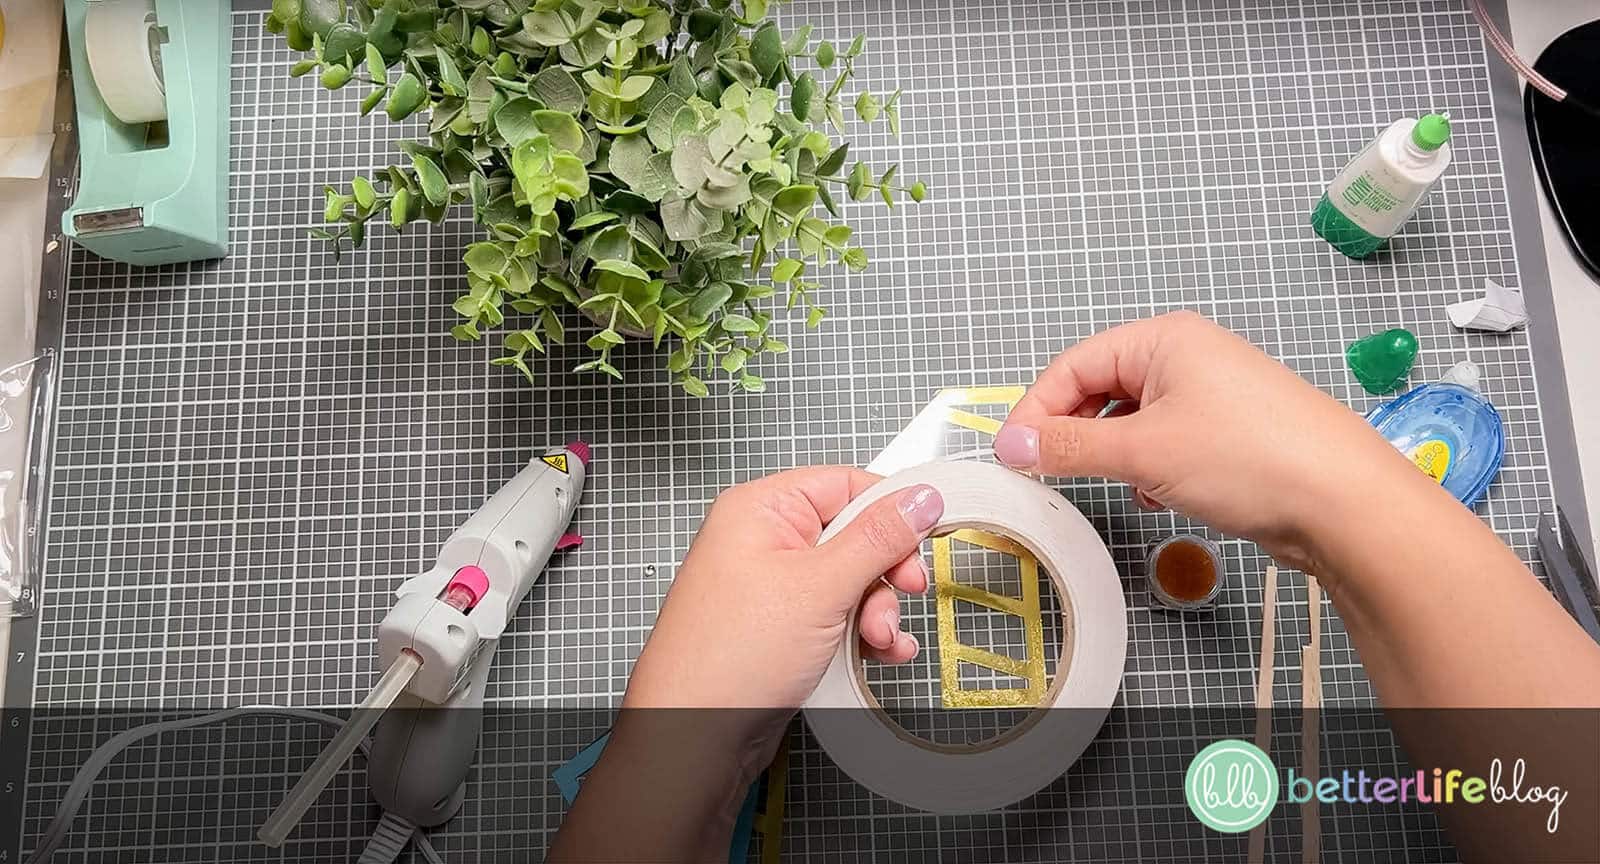
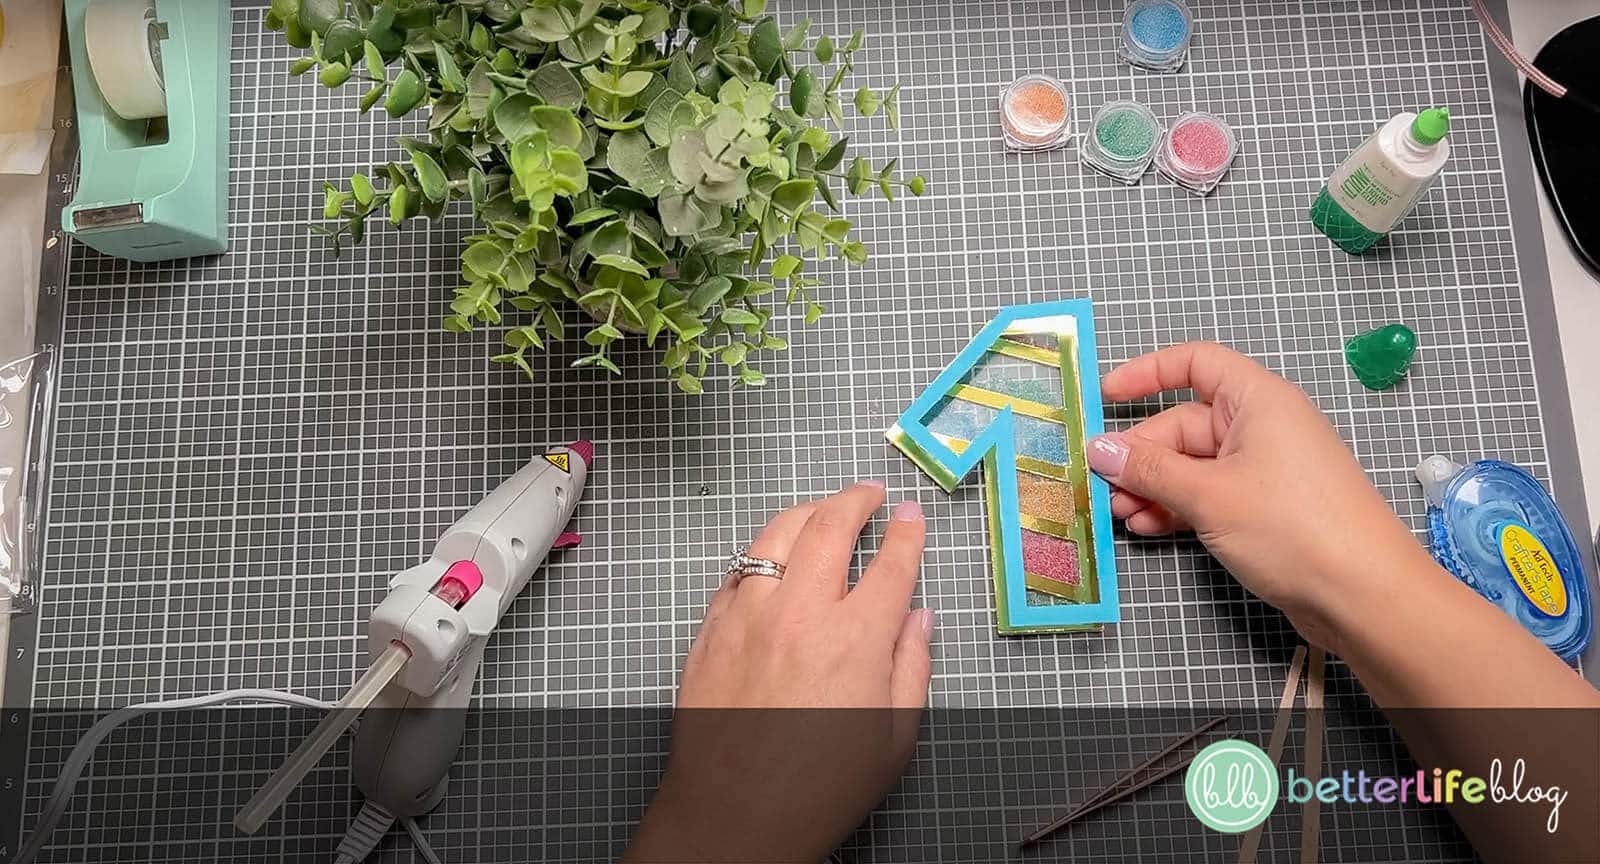
This is where the foam tape comes in handy! Take the foam tape and place it along all the edges and lines of your secured cut-outs. Cut and trim where necessary. (Pro tip: it doesn’t have to look perfect because nobody is going to see it. However, try to make it so that there aren’t any gaps along the edges and lines.)
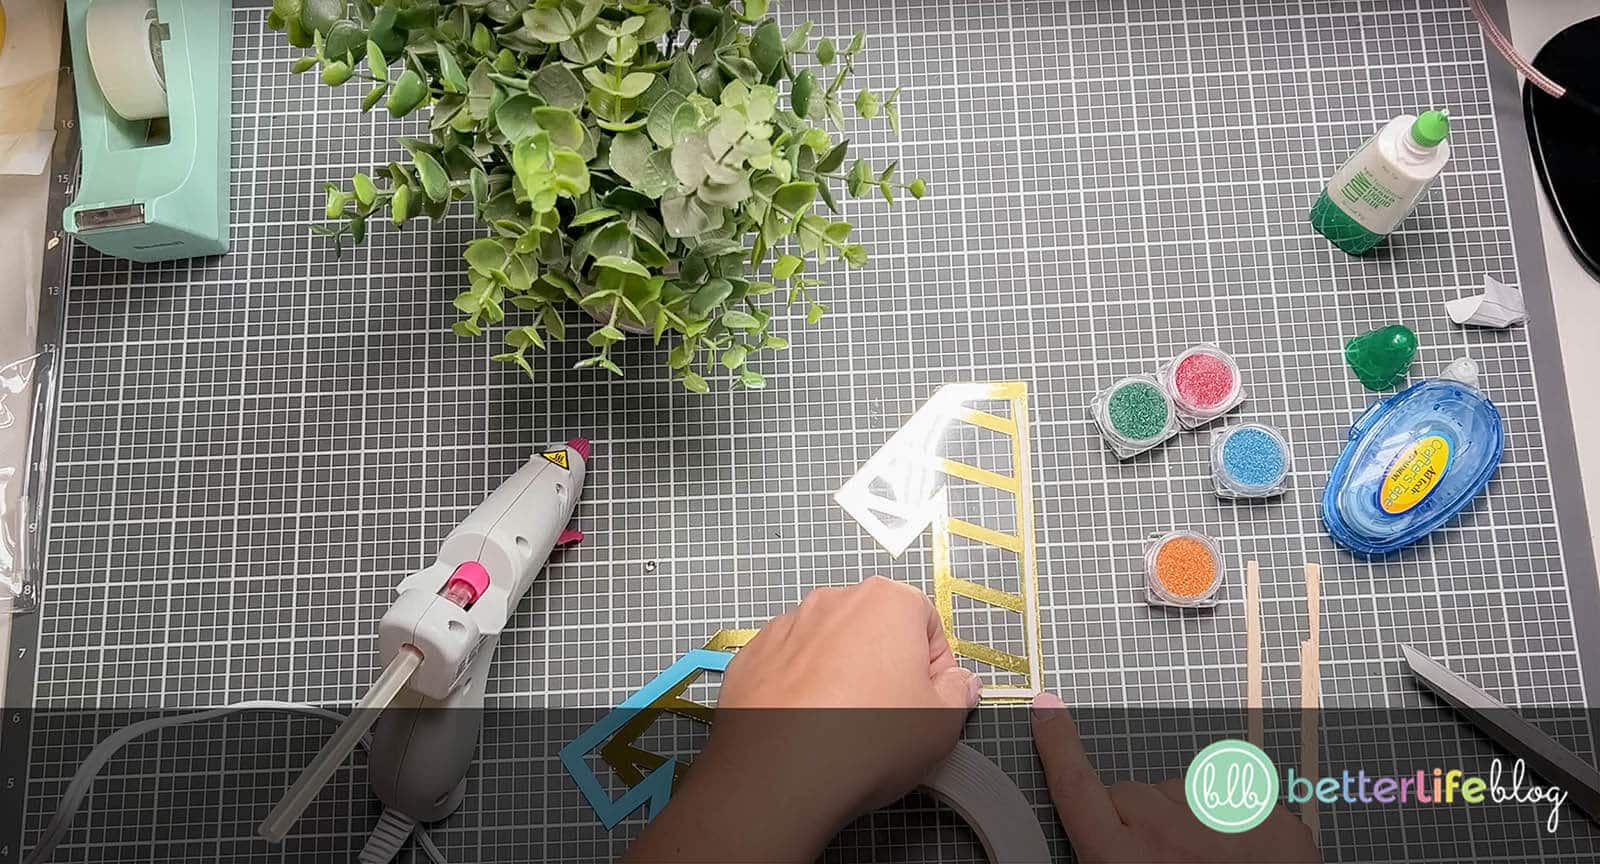
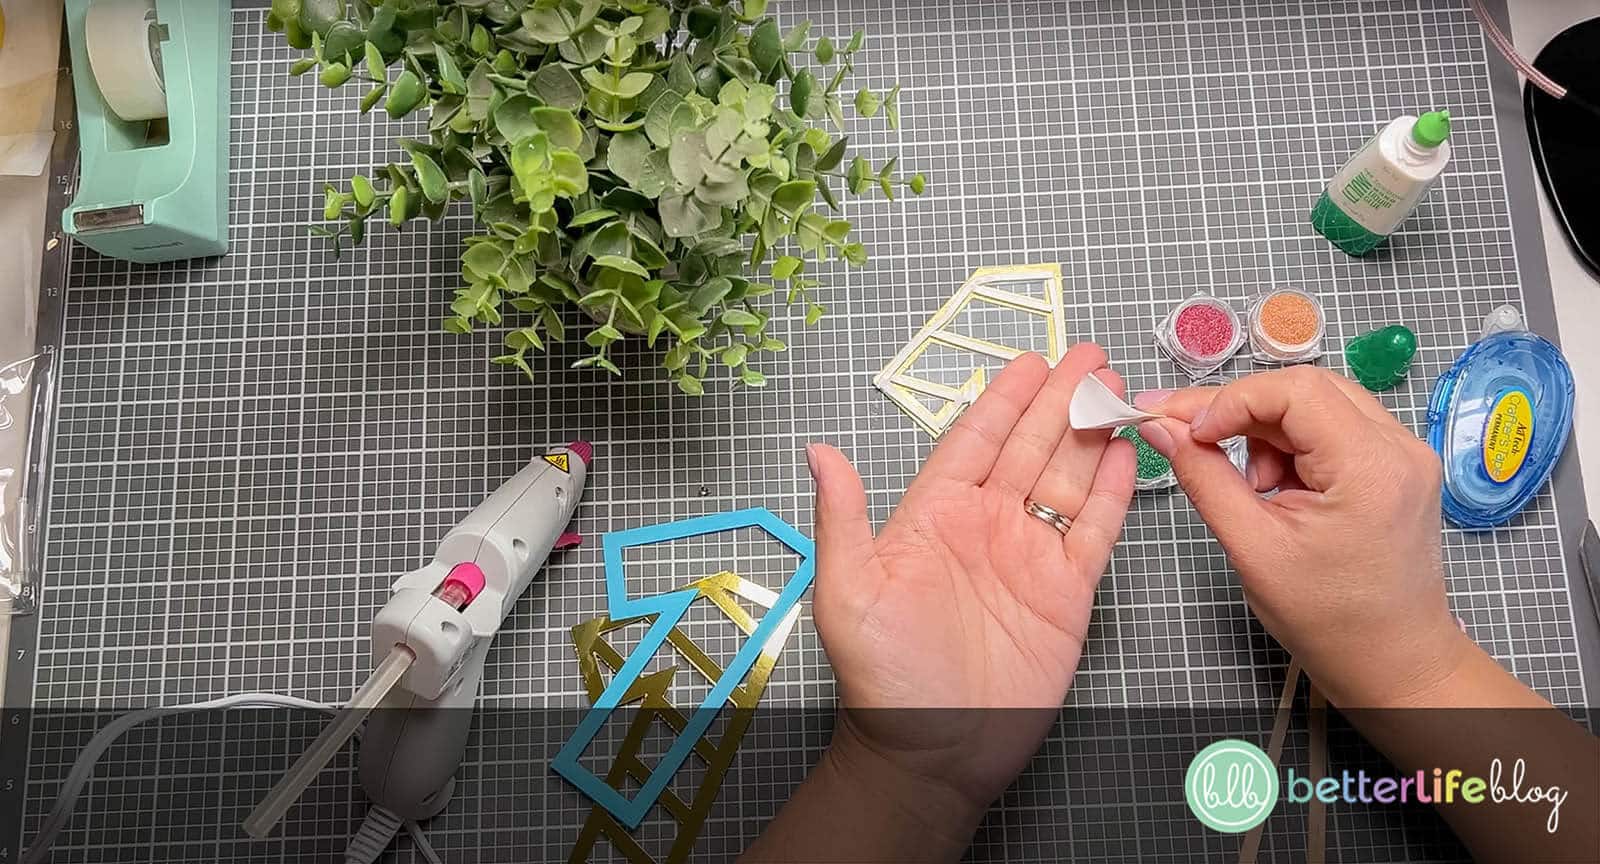
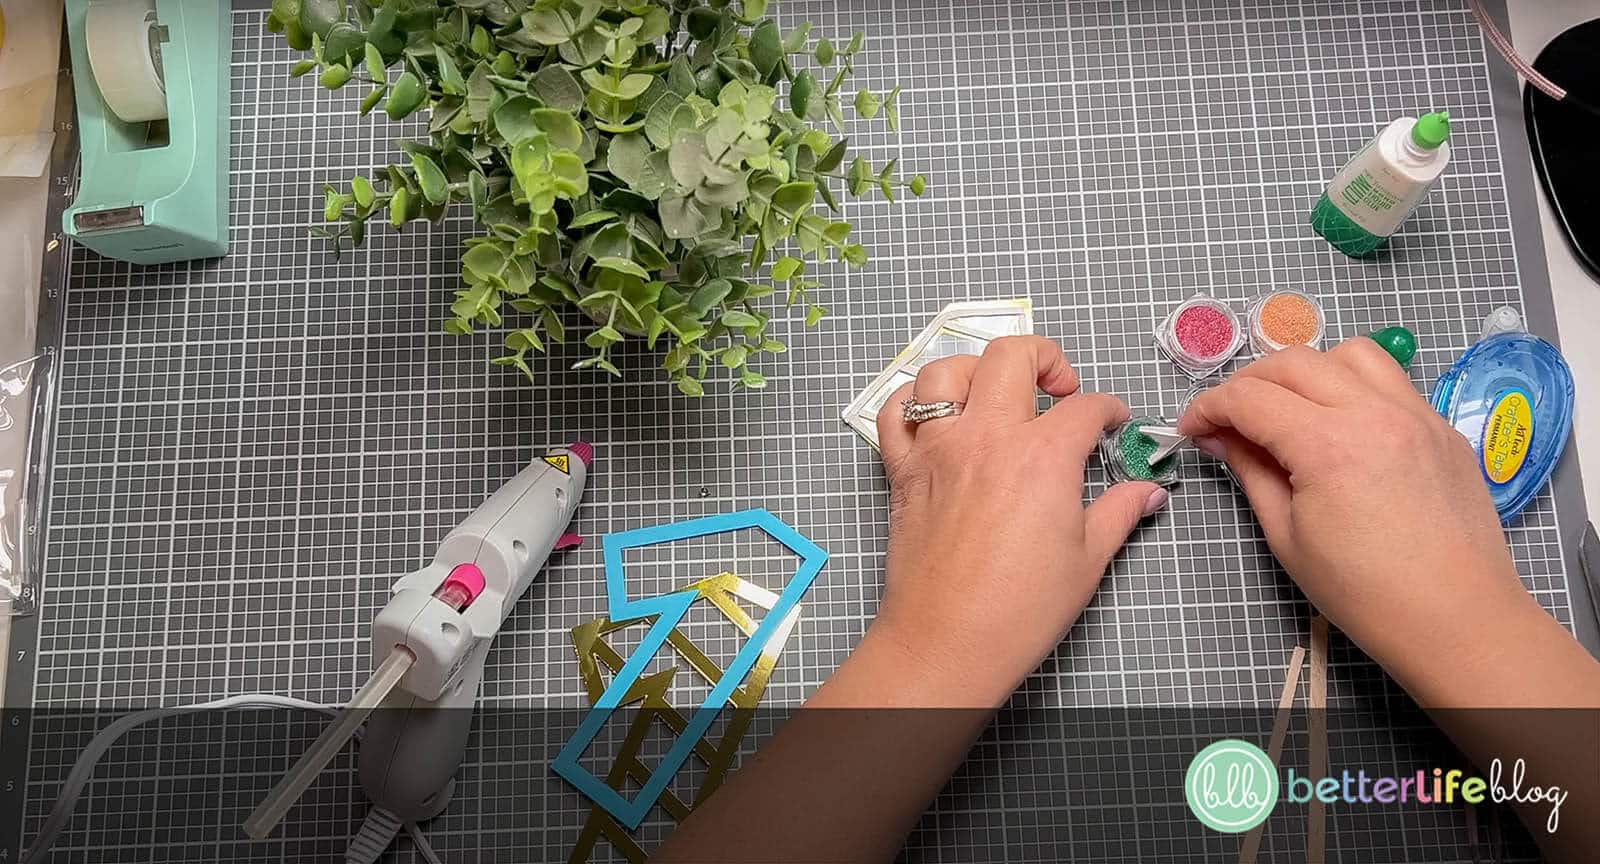
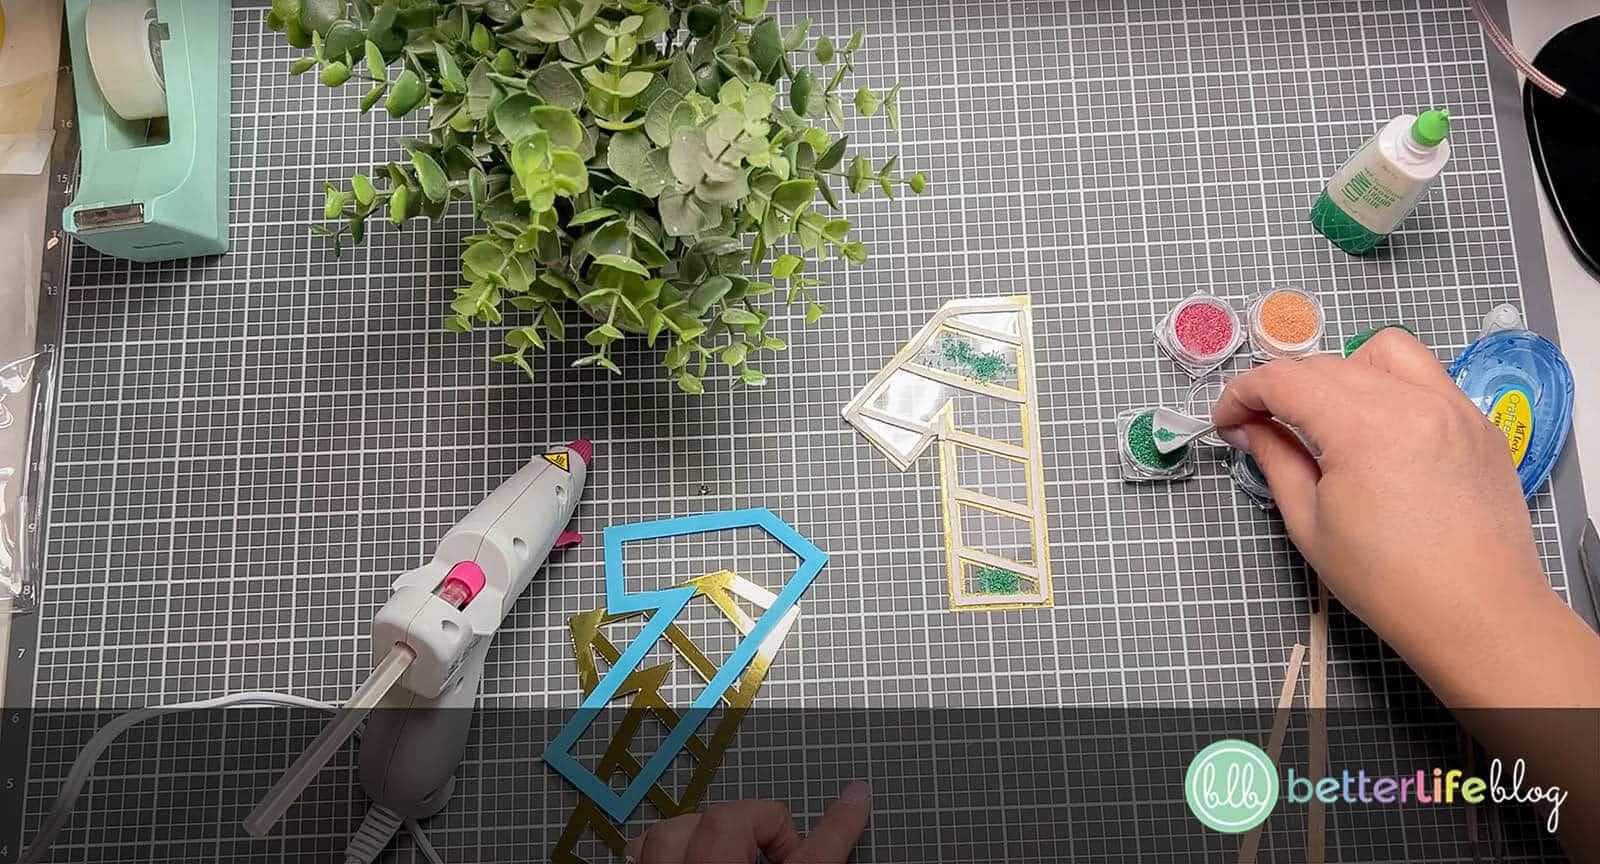
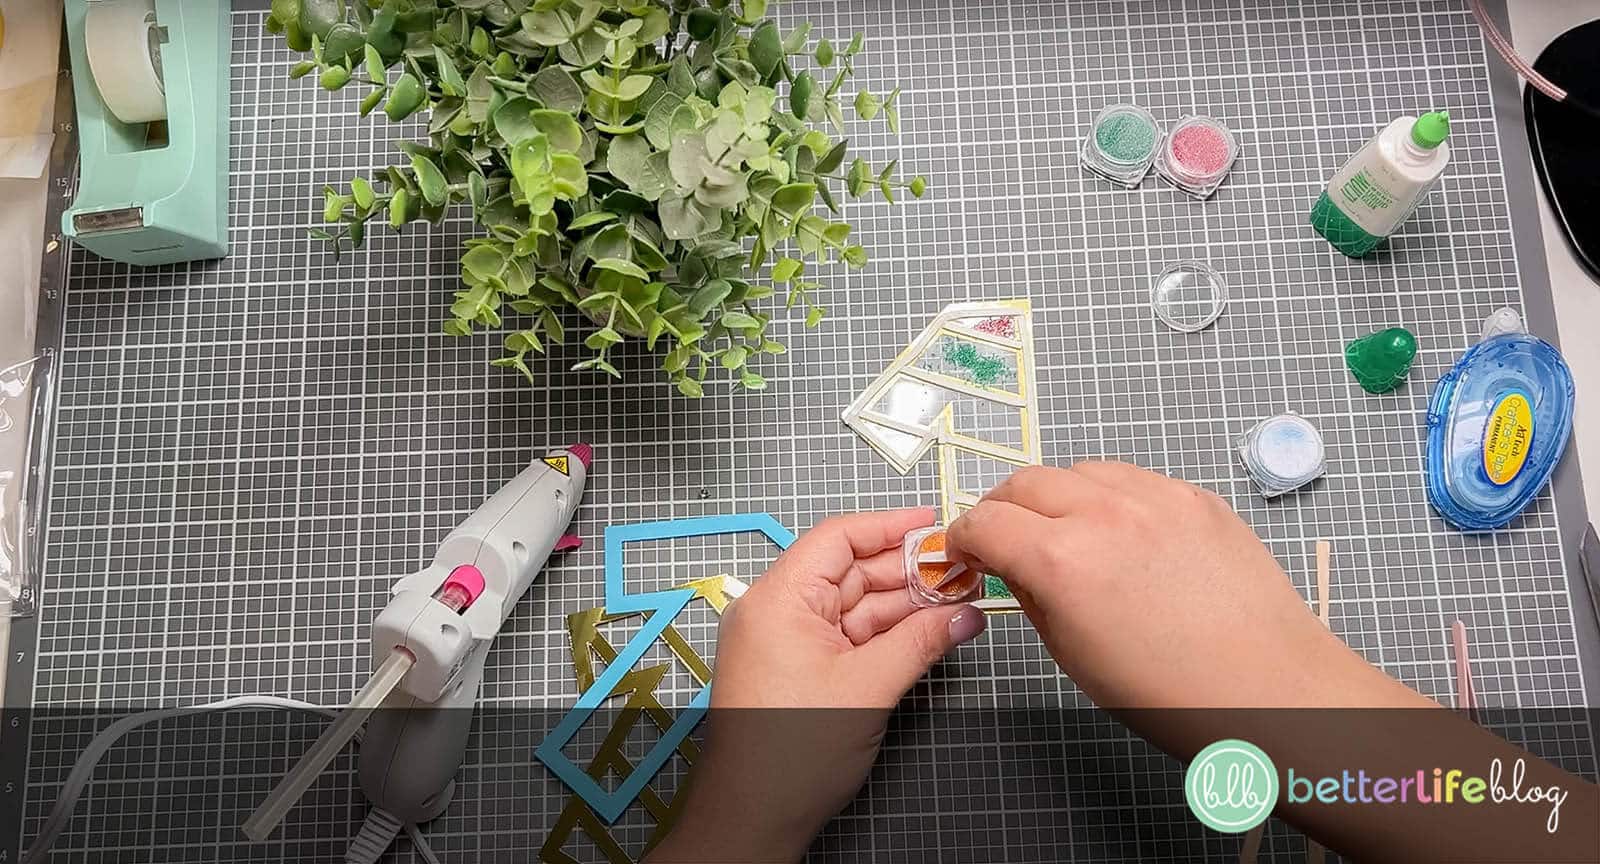
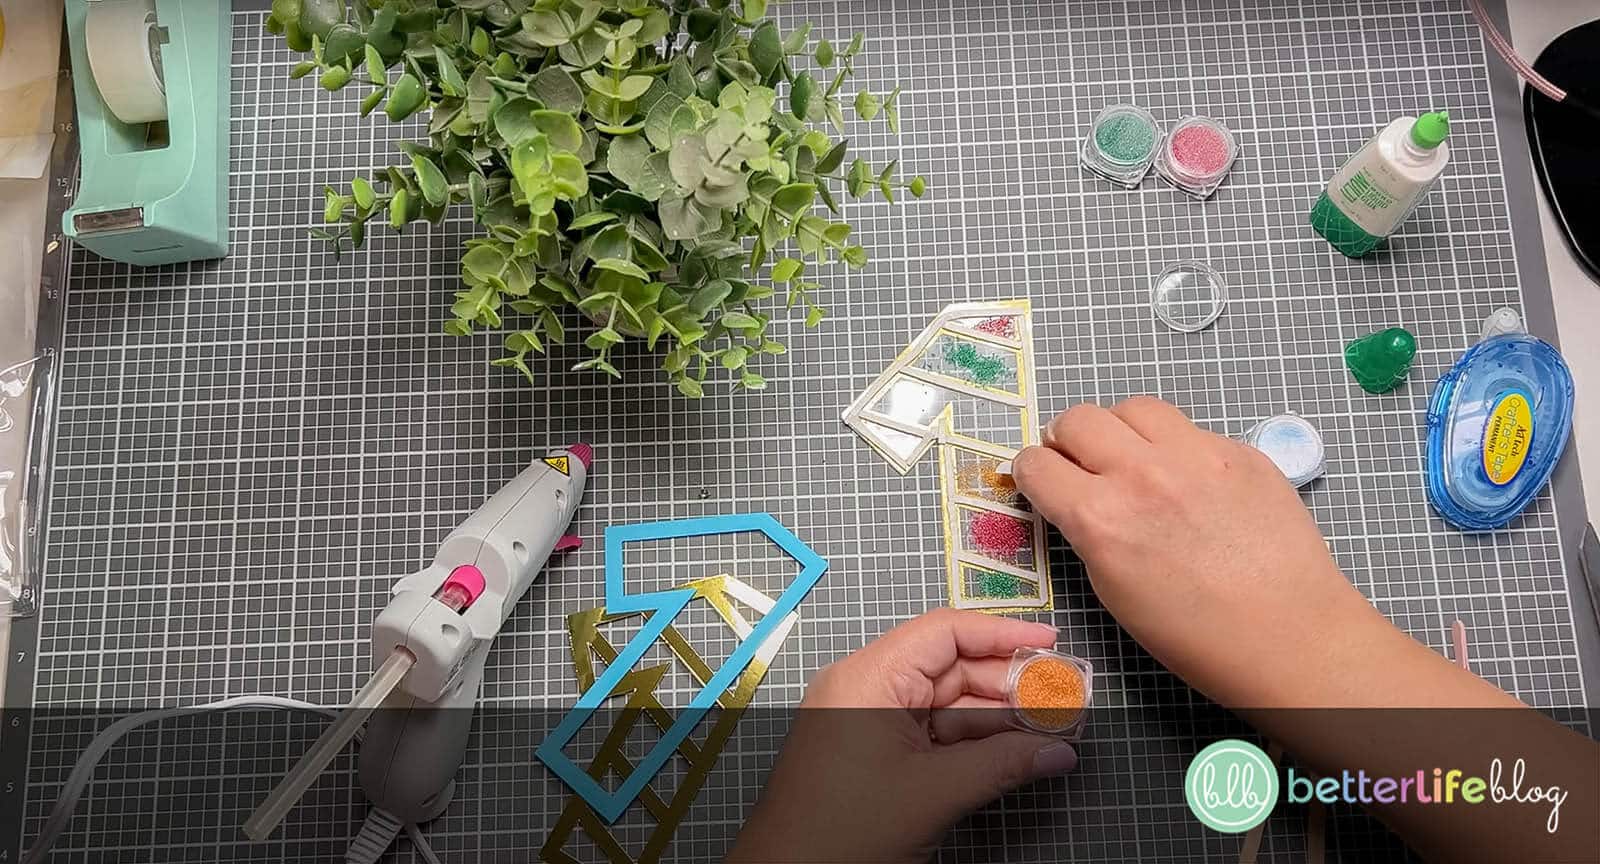
Next, fill the spaces between each diagonal foam line with the microbeads. You can use any colors that you like!
To get a better handle of the microbeads, you can use a ¼ teaspoon from your kitchen. You can also use a small piece of cardstock that’s slightly curved – it acts as a mini scoop! (Pro tip: Made a mess with your microbeads? No sweat! Once you’re done your project, use tape to clean up all the microbeads that got left behind on your work station!)

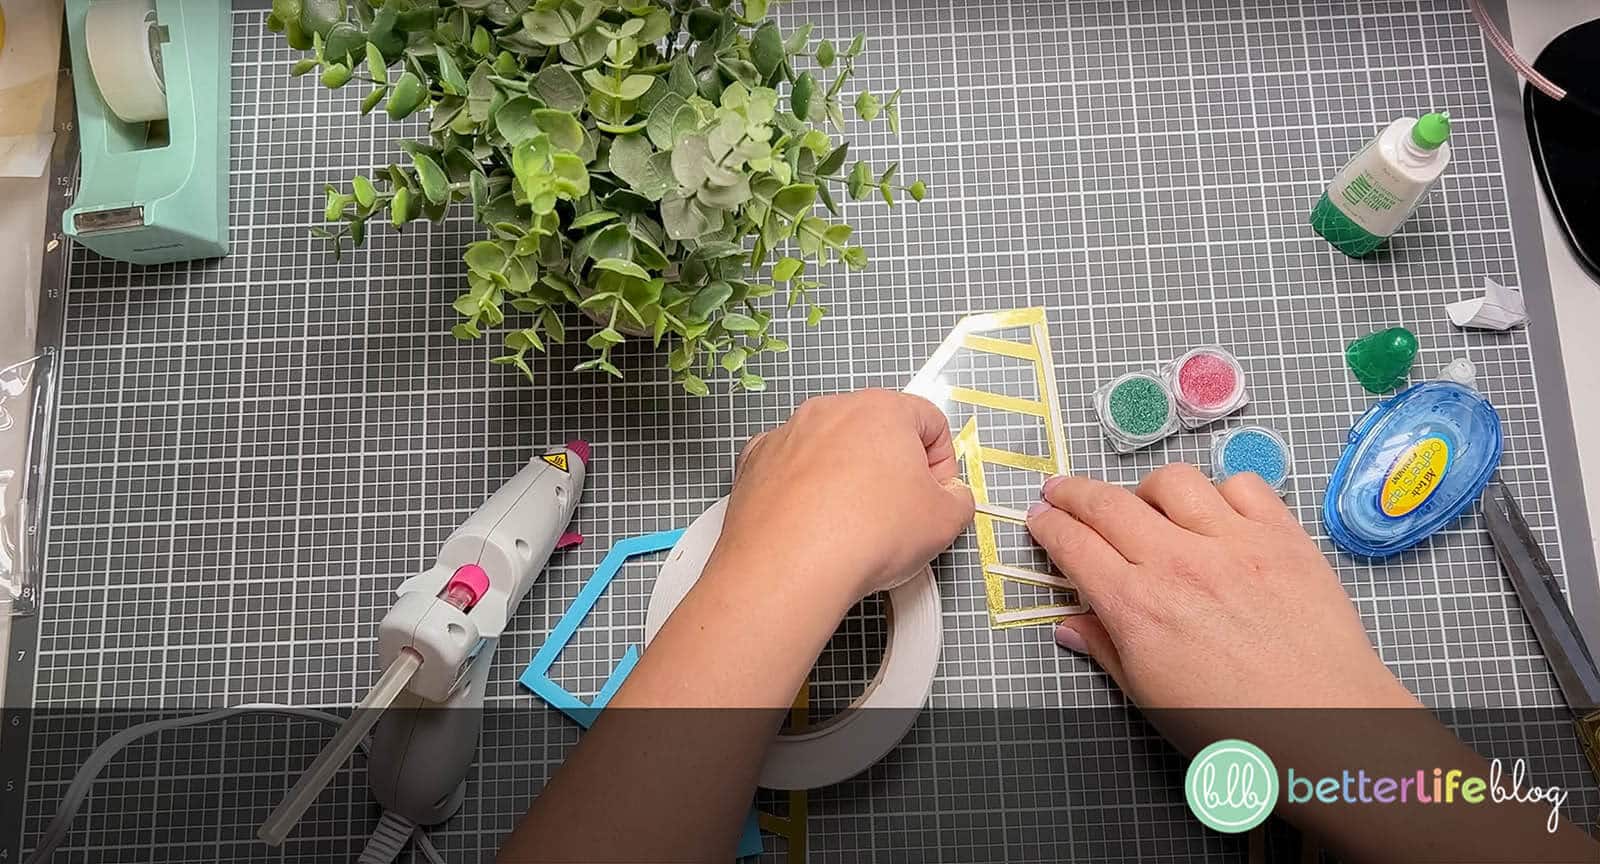
Next, carefully remove the backing from the foam tape. You may find that using tweezers helps tremendously for this step.
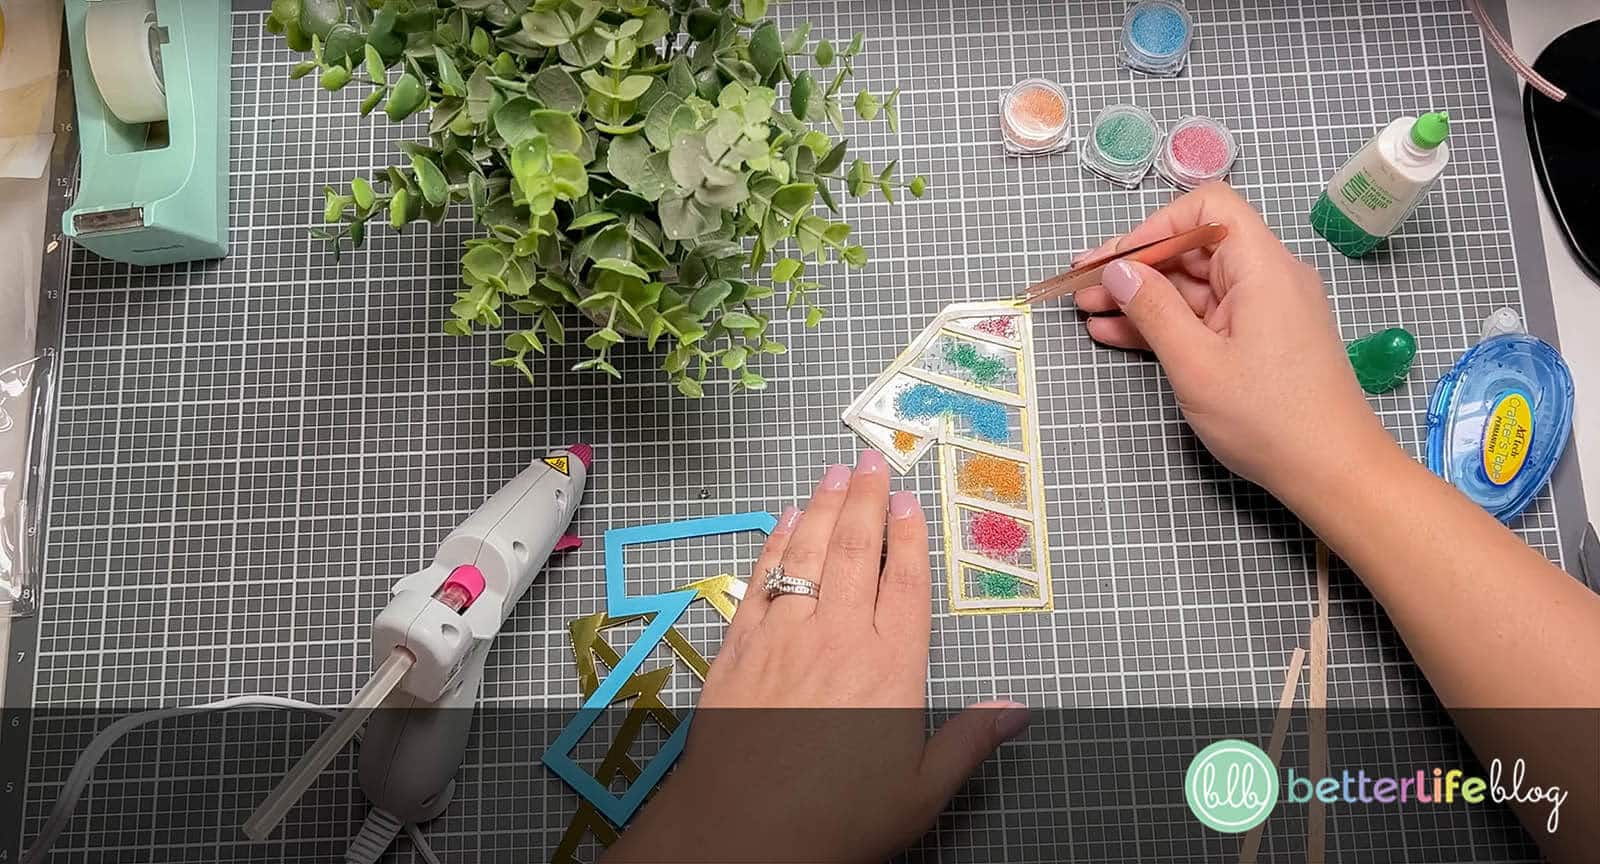
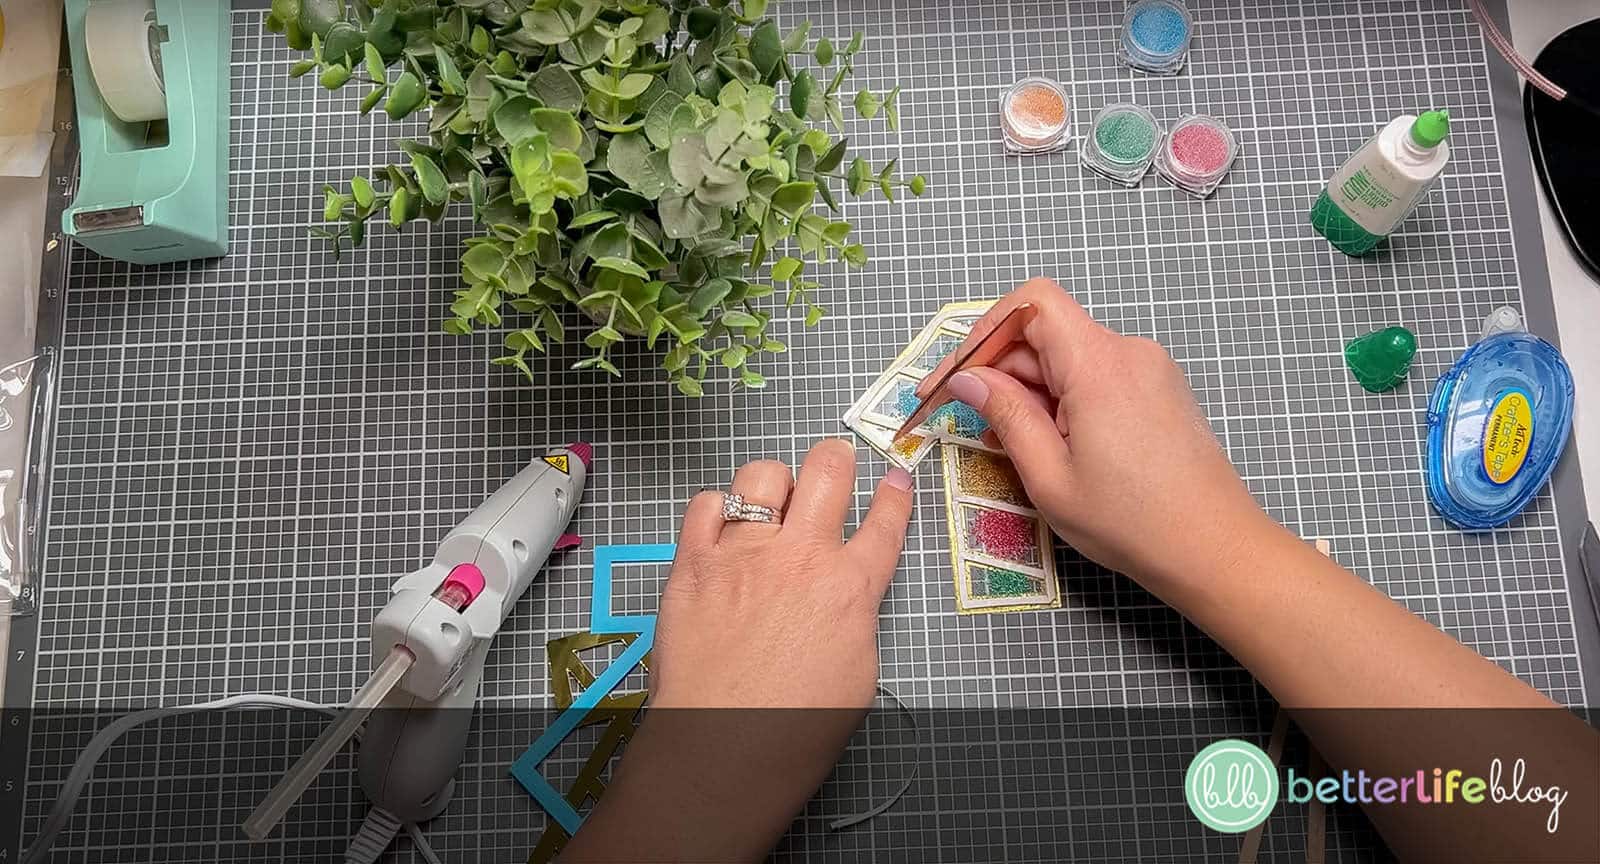
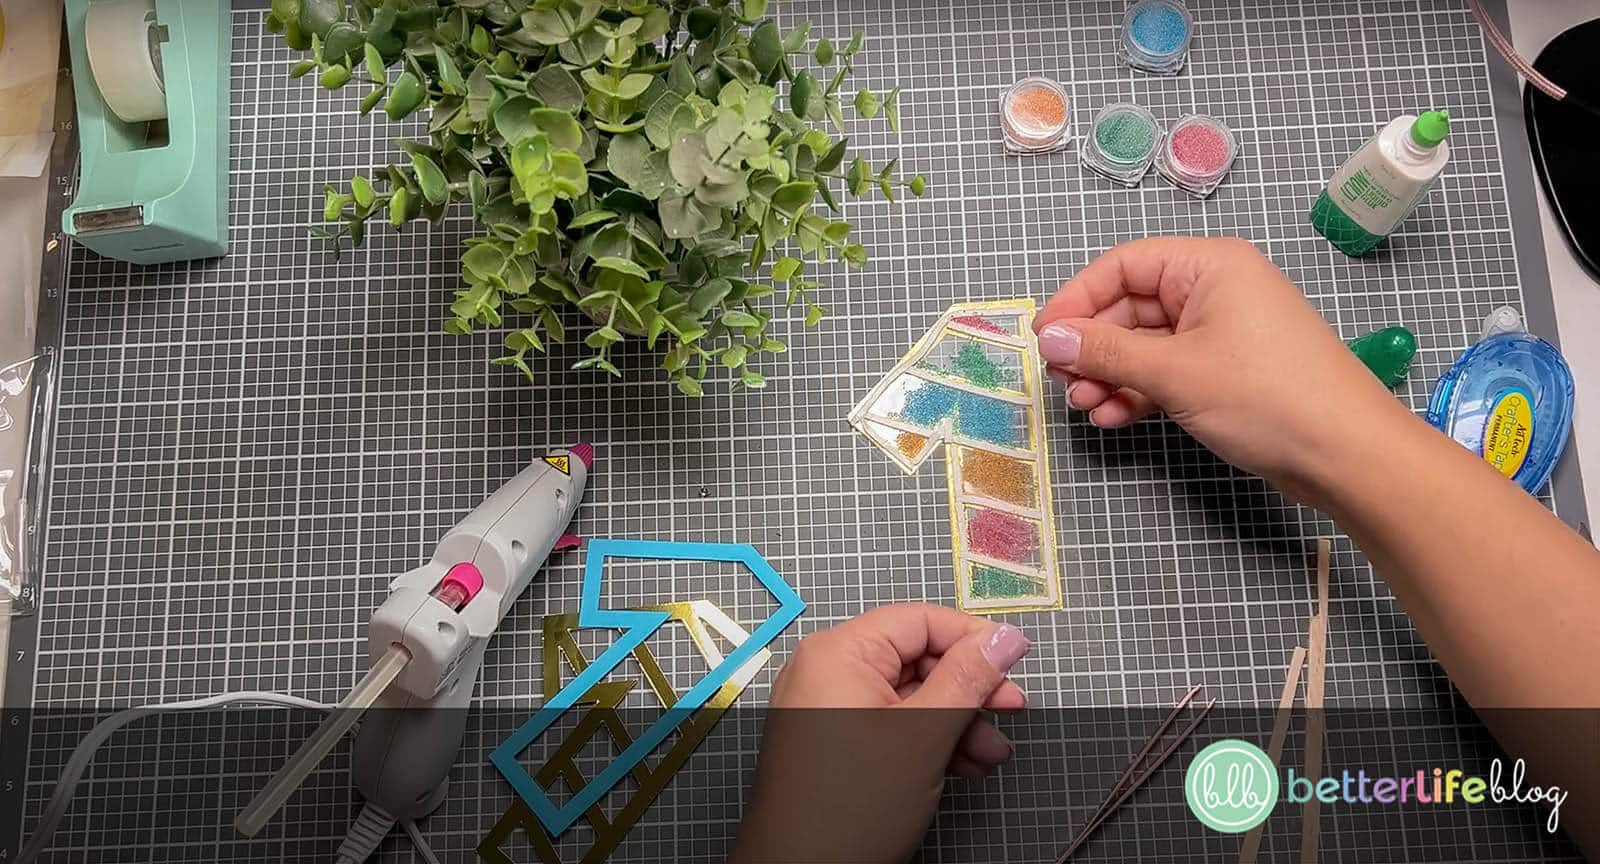
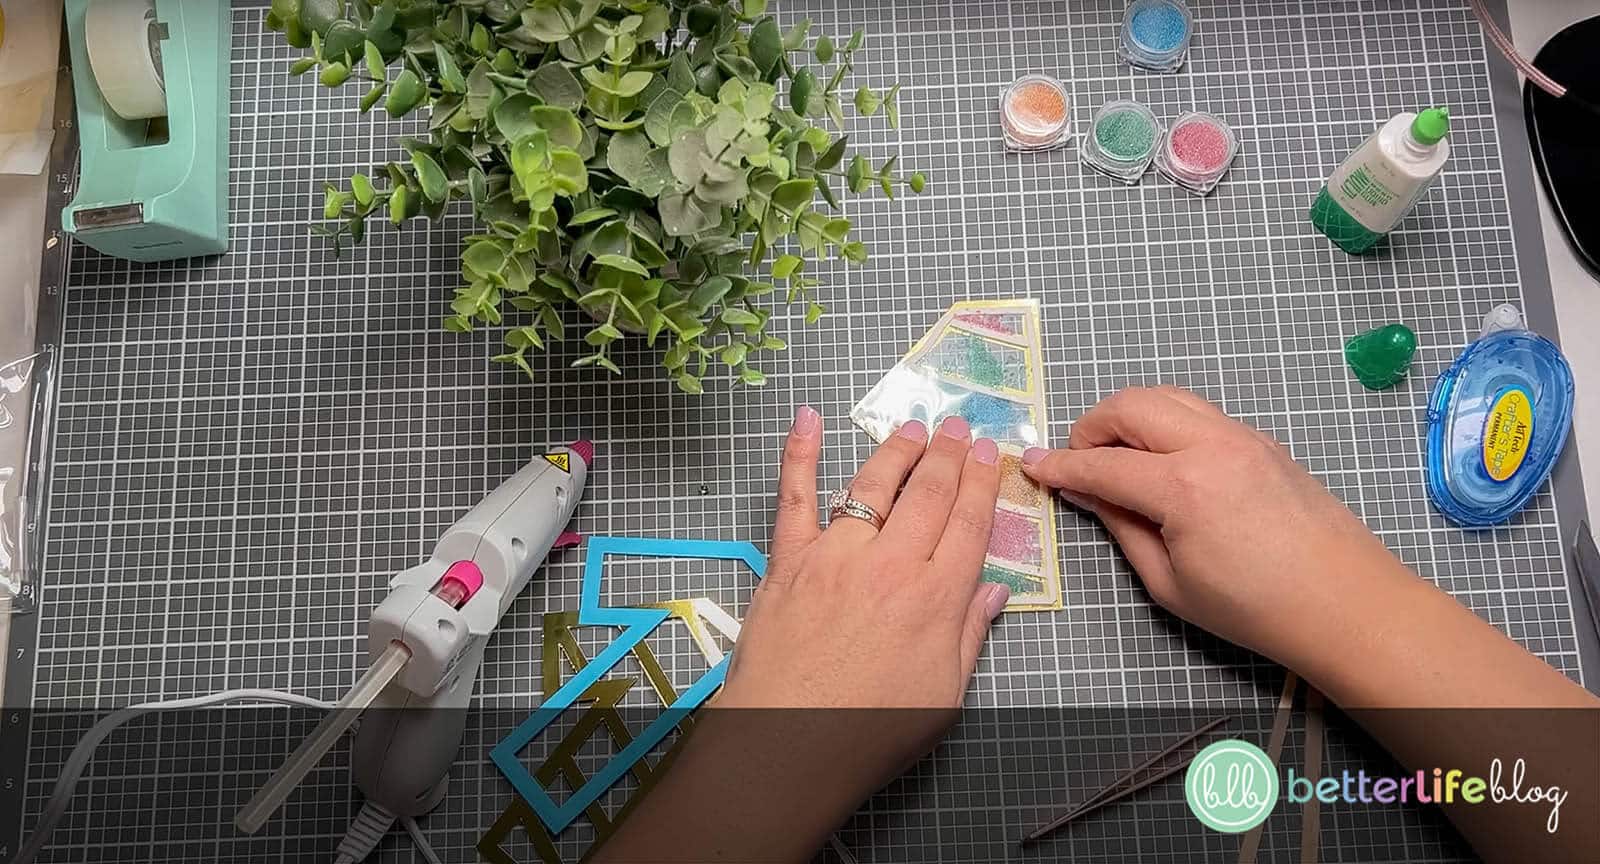
Once the foam tape backing is removed, carefully place the second acetate cut-out on top. Be sure to press down on all the areas where there is foam tape. This ensures that all of the microbeads will stay within the shaker.
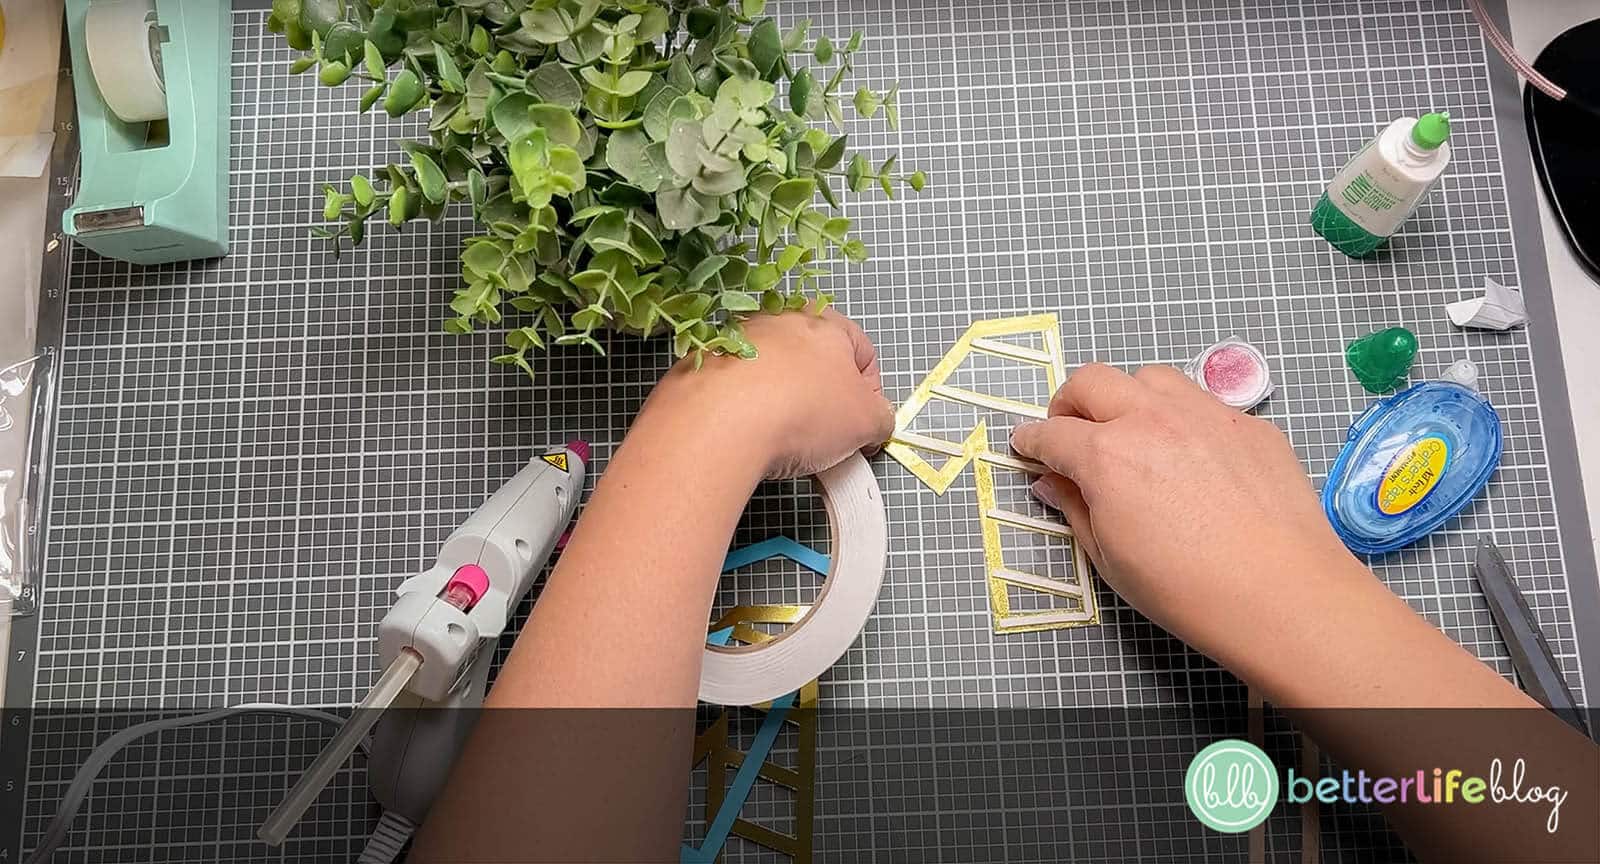
Flip over the second striped cut-out and place craft tape along its edges.
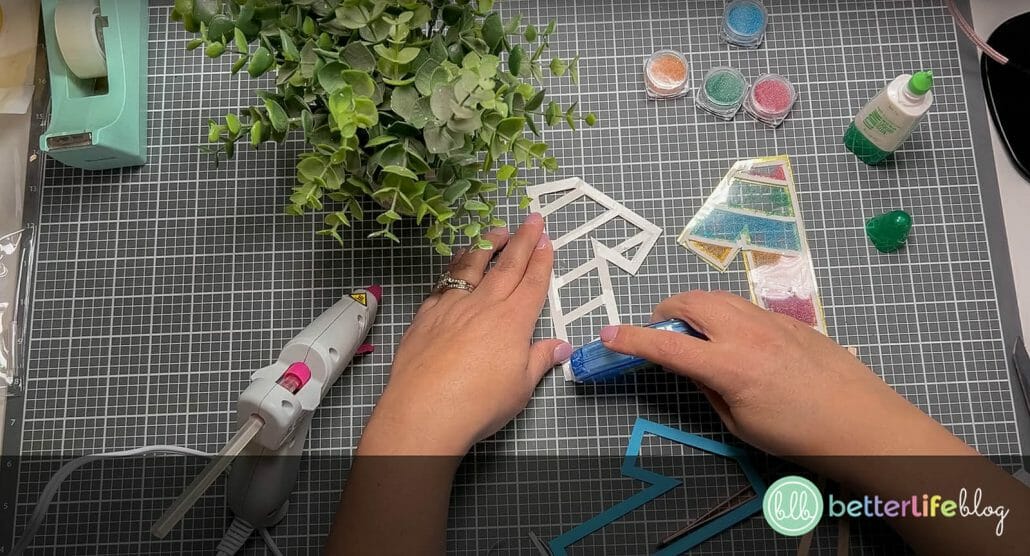
Once the edges are covered in craft tape, flip back over and gently place it on top of the acetate layer.
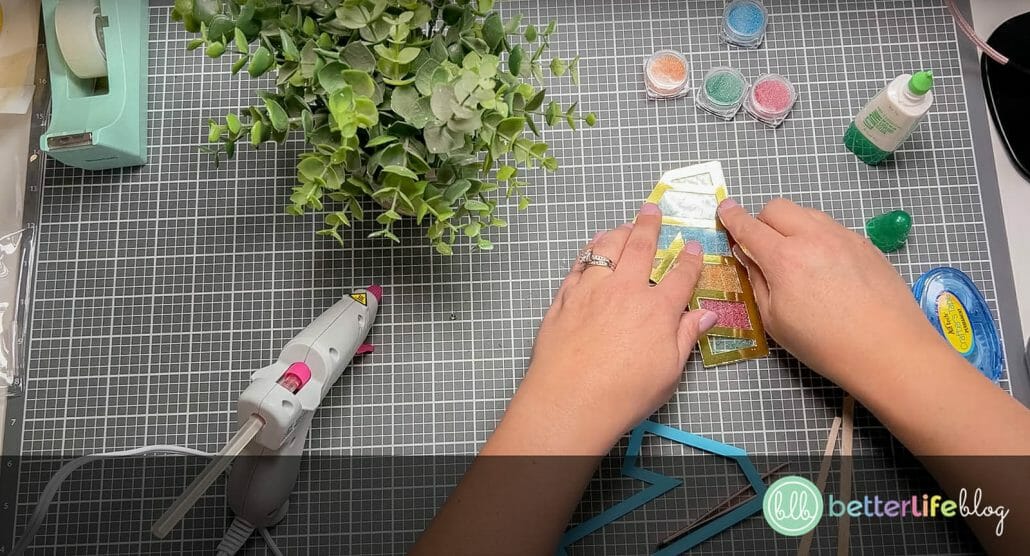
Flip over the final piece (it should be the cardstock outline) and add craft tape along its edges. Flip back over to its right side and secure gently on top of your birthday shaker.
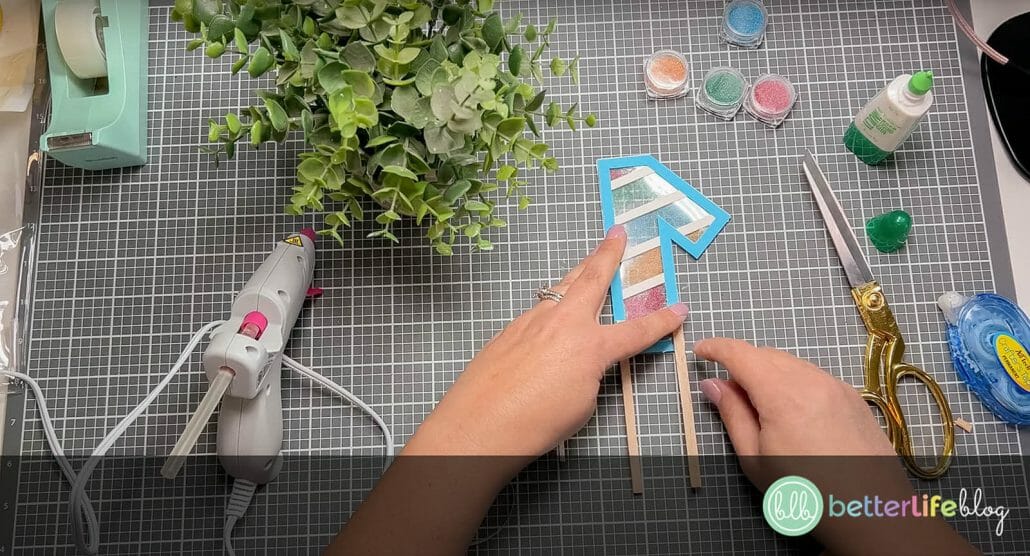
Flip over the entire project and have your glue gun handy. Trim each of the wooden sticks to the length that’s most appropriate for your cake (you don’t want it to be the entire height of the cake, but long enough to provide support for your topper).

Place some hot glue on the bottom corners of the birthday shaker. Attach the wooden craft sticks on the glued corners.
Allow for all the glue to dry before inserting into your cake. Enjoy and happy birthday!
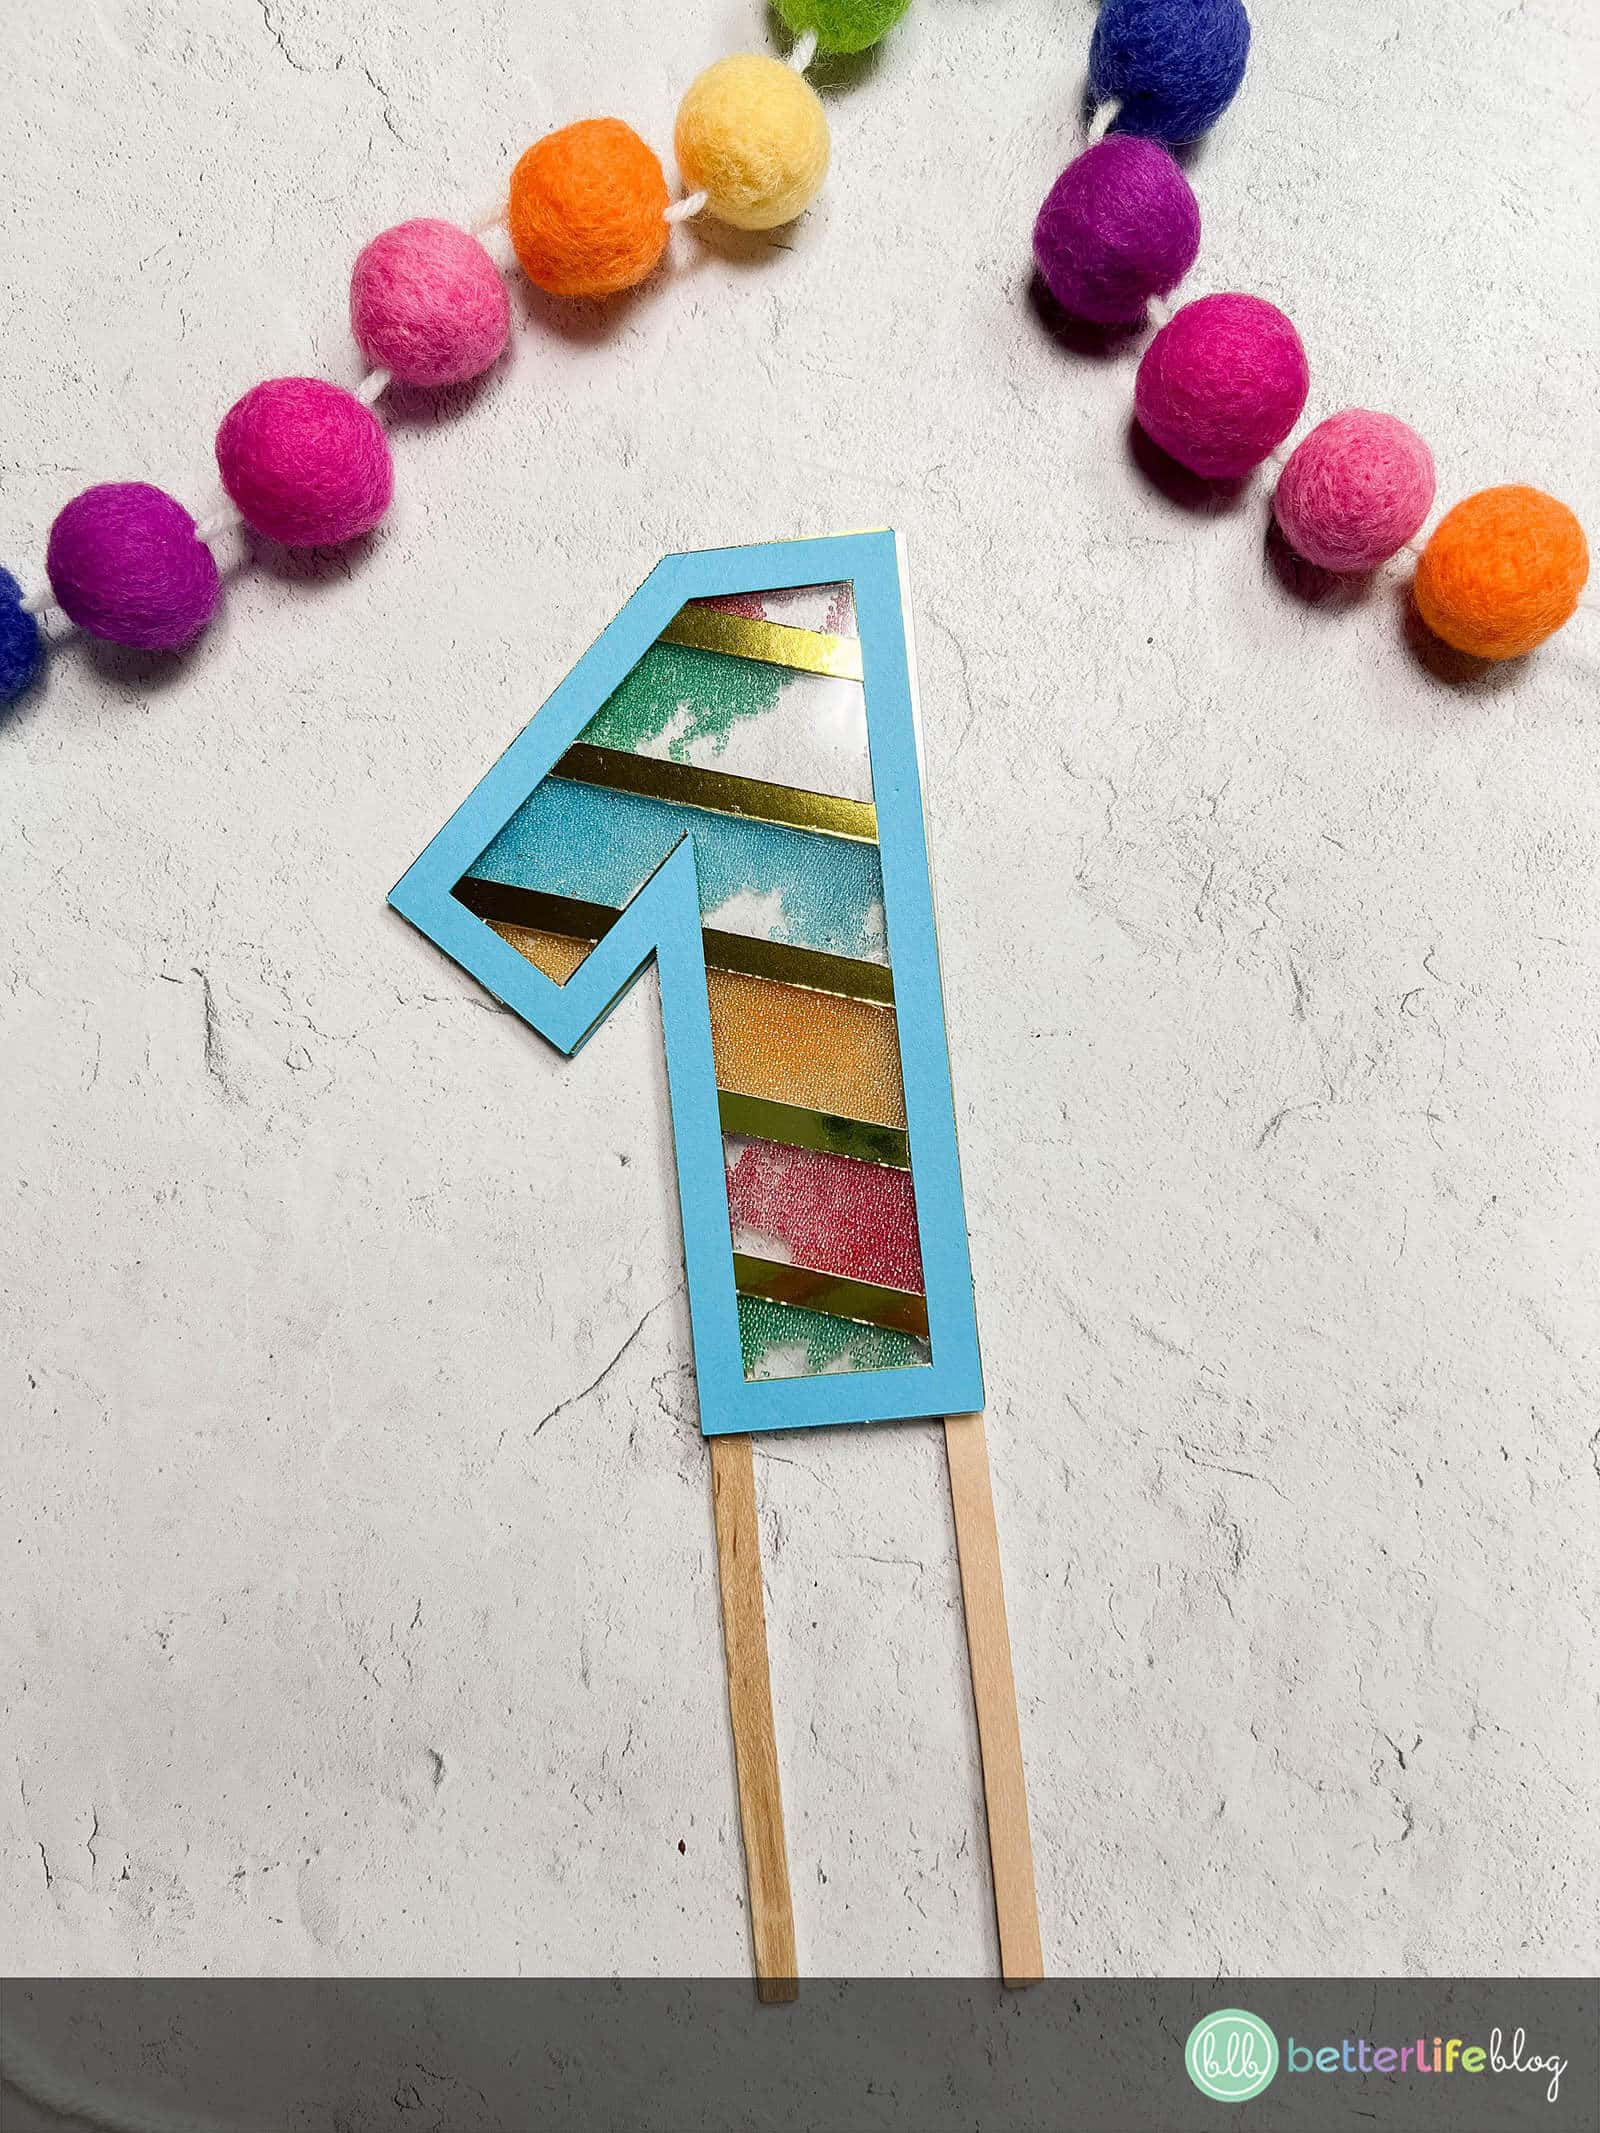


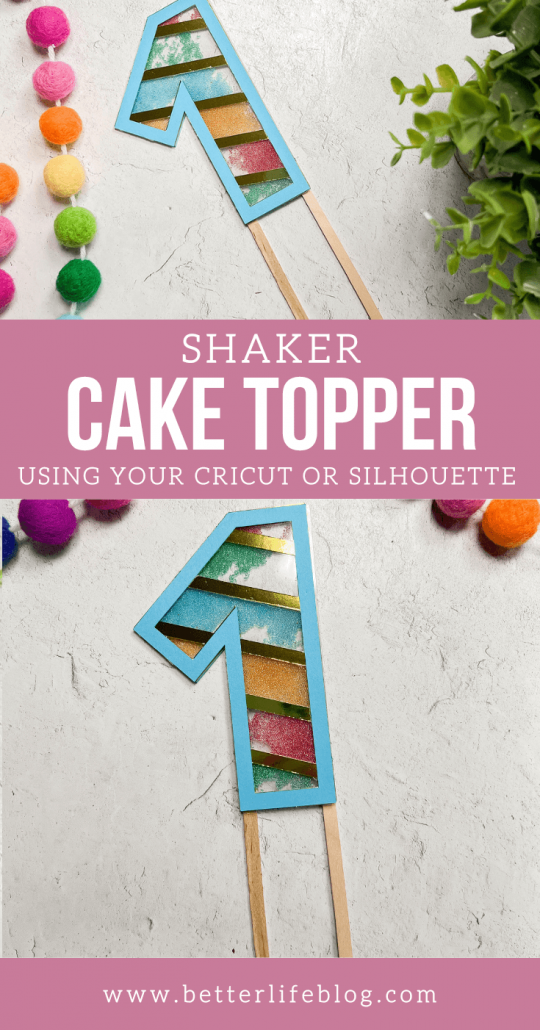
How to Make a Birthday Shaker Cake Topper
This Birthday Shaker Cake topper is absolutely adorable. Plus, did you know that it’s made all thanks to my Cricut?! Learn how to make one of your own!
Materials
- Birthday Shaker SVG file
- Cricut machine
- Cardstock (2 different colors - both your choice!)
- Acetate
- Gripping mat
- Microbeads (the ones we used are actually for nail art!)
- Multi-liquid glue
- High temperature hot glue gun and glue sticks
- Foam tape
- Crafter’s tape
- Scissors
- Tweezers, optional
- Wooden craft sticks
Instructions
- Begin by downloading the Birthday Shaker Cake Topper SVG and upload it to Design Space for cutting.
- Once everything is cut, gather all of the required supplies, including your cut-outs. For the cut-outs, you will need 2 pieces of cardstock (one color, the solid outline design) and other 2 pieces of cardstock (the striped design), and 2 pieces of acetate.
- Once you have all the required supplies and pieces, start assembling! For this project you are going to want to work from
back to front. Start with your solid outline design, and glue a striped design on top. The multi-liquid glue is best for securing the two pieces. (Pro tip: You don’t need too much glue for this. I recommend dabbing it just along the edges of your sold design piece!) - Next, add one of the acetate pieces on top of your two newly-secured cardstock pieces. To do so, add crafter’s tape along the edges of the top cardstock and then gently place the acetate right on top.
- This is where the foam tape comes in handy! Take the foam tape and place it along all the edges and lines of your secured cut-outs. Cut and trim where necessary. (Pro tip: it doesn’t have to look perfect because nobody is going to see it. However, try to make it so that there aren’t any gaps along the edges and lines.)
- Next, fill the spaces between each diagonal foam line with the microbeads. You can use any colors that you like!
- To get a better handle of the microbeads, you can use a ¼ teaspoon from your kitchen. You can also use a small piece of
cardstock that’s slightly curved - it acts as a mini scoop! (Pro tip: Made a mess with your microbeads? No sweat! Once you’re done your project, use tape to clean up all the microbeads that got left behind on your work station!) - Next, carefully remove the backing from the foam tape. You may find that using tweezers helps tremendously for this step.
- Once the foam tape backing is removed, carefully place the second acetate cut-out on top. Be sure to press down on all
the areas where there is foam tape. This ensures that all of the microbeads will stay within the shaker. - Flip over the second striped cut-out and place craft tape along its edges.
- Once the edges are covered in craft tape, flip back over and gently place it on top of the acetate layer.
- Flip over the final piece (it should be the cardstock outline) and add craft tape along its edges. Flip back over to its right side and secure gently on top of your birthday shaker.
- Flip over the entire project and have your glue gun handy. Trim each of the wooden sticks to the length that’s most appropriate for your cake (you don’t want it to be the entire height of the
cake, but long enough to provide support for your topper). - Place some hot glue on the bottom corners of the birthday shaker. Attach the wooden craft sticks on the glued corners.