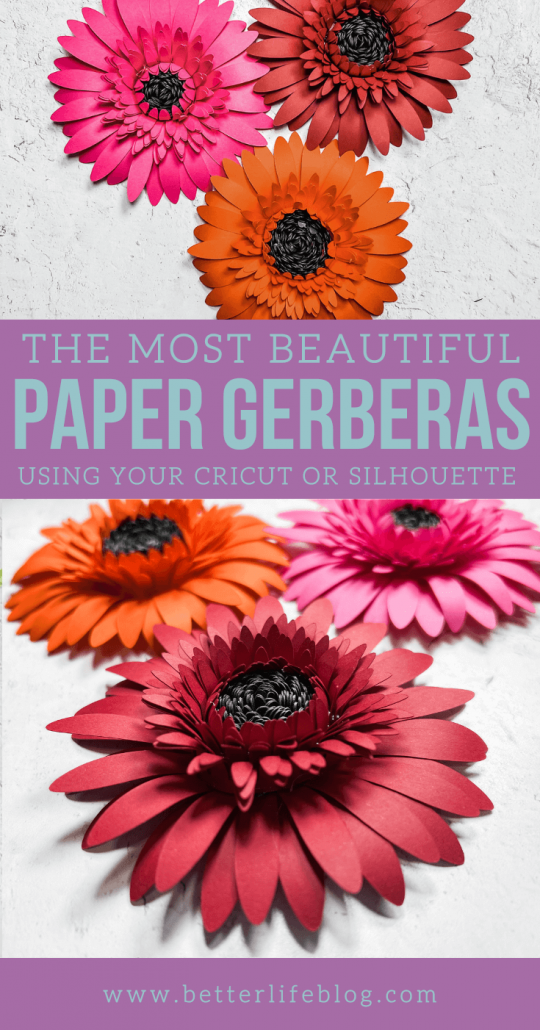
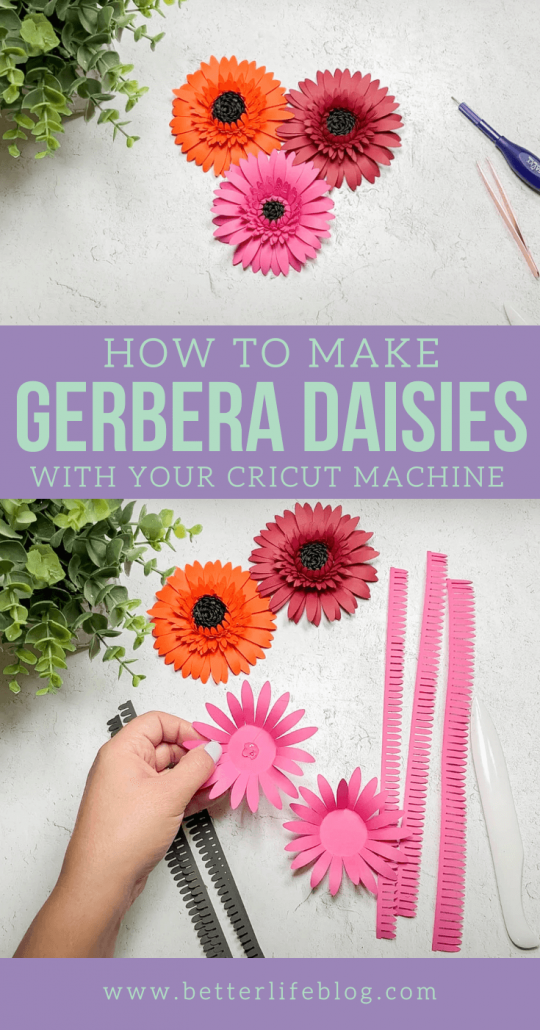
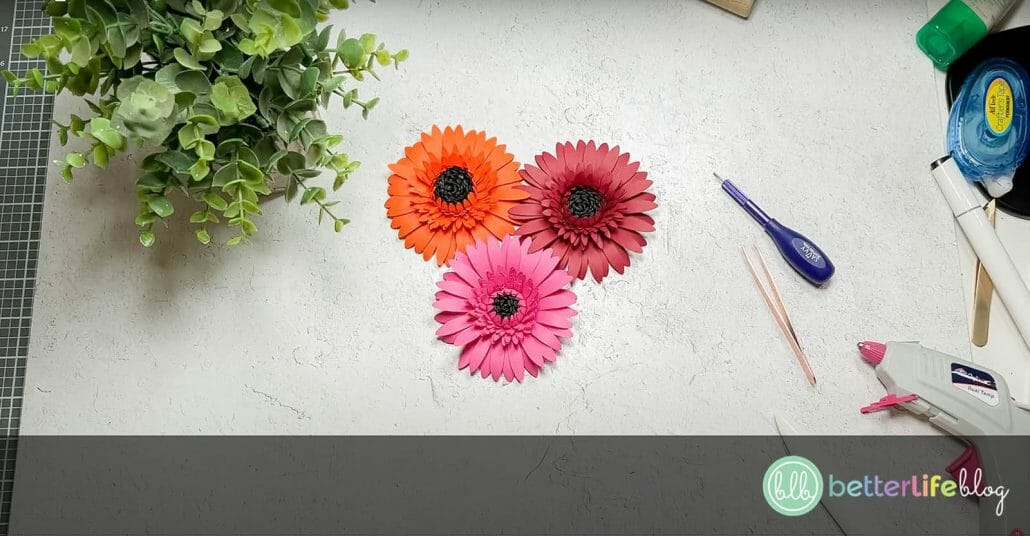
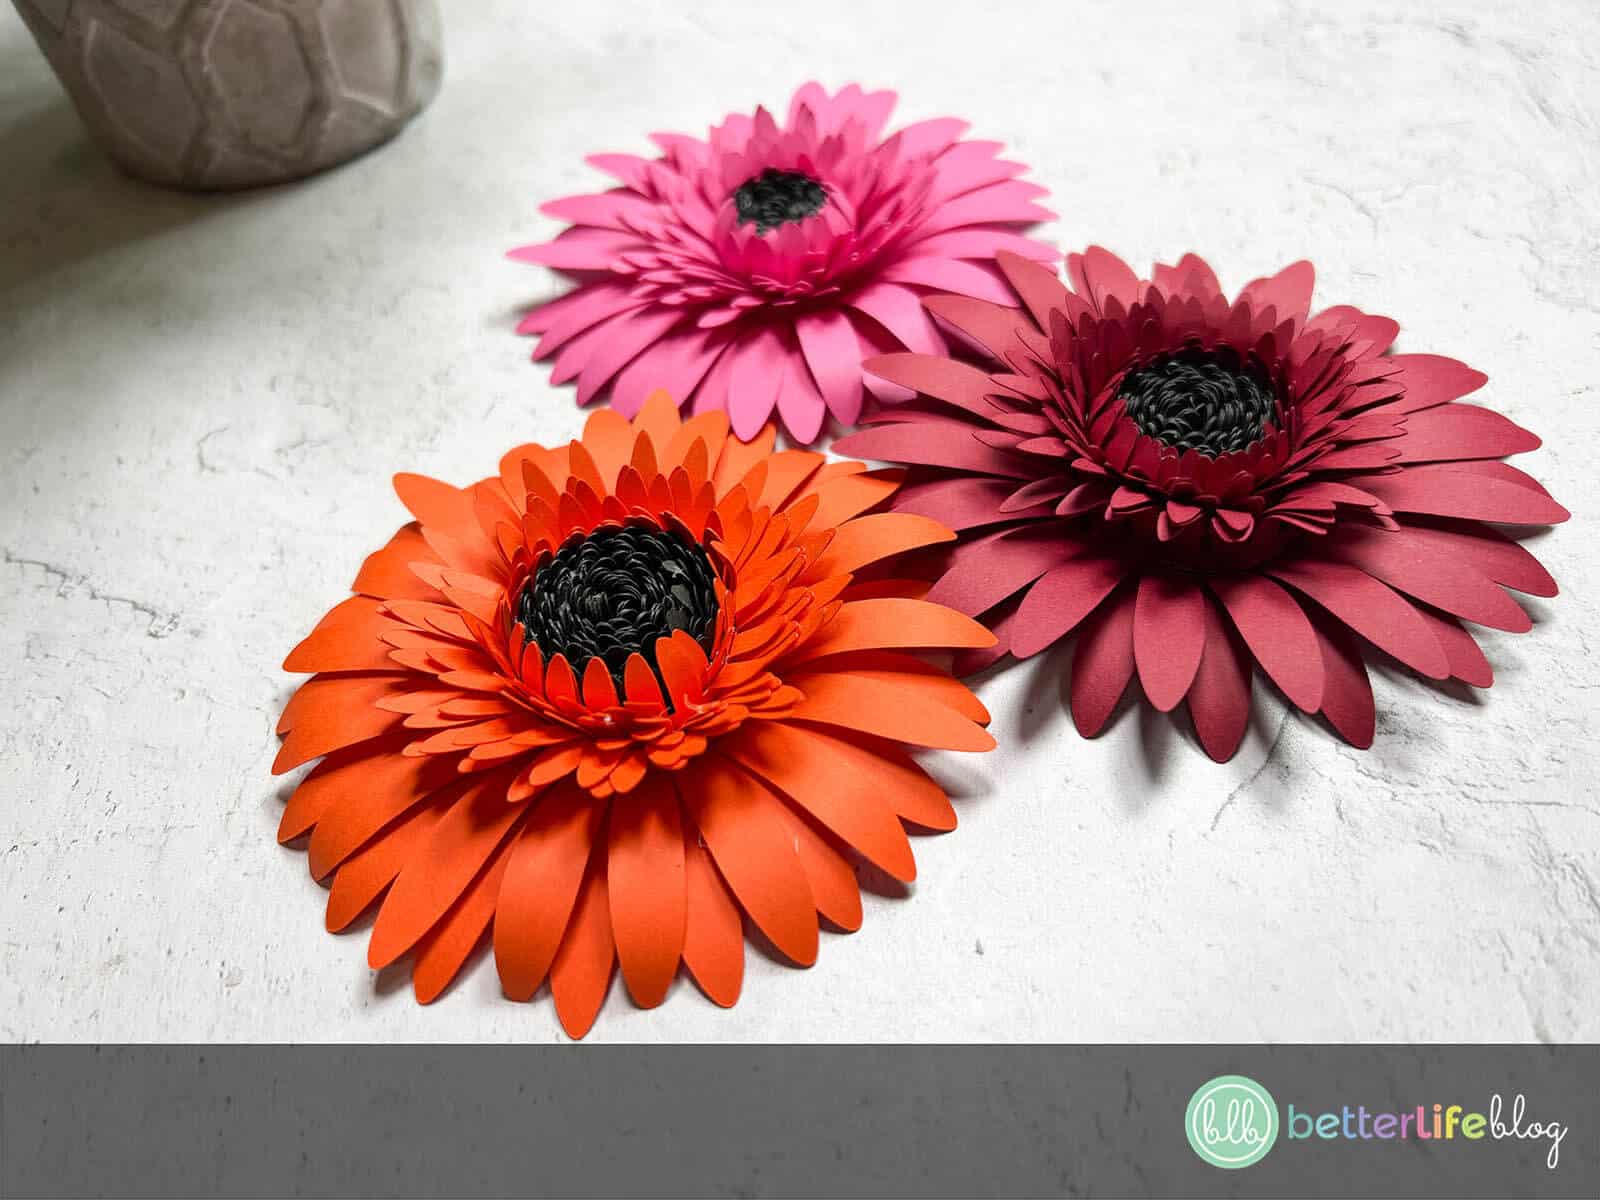
Hi, crafty friends! Today, I am thrilled to show you how to make the most beautiful paper gerbera daisies. This is a great craft for the spring and summer seasons because the results are so bright and colorful, but you can make these any time of the year!
Making paper flowers with a Cricut machine is as easy as 1-2-3! Keep on reading below to get my full step-by-step instructions so that you can create your very own paper gerbera daisies.

Paper Flower as Décor
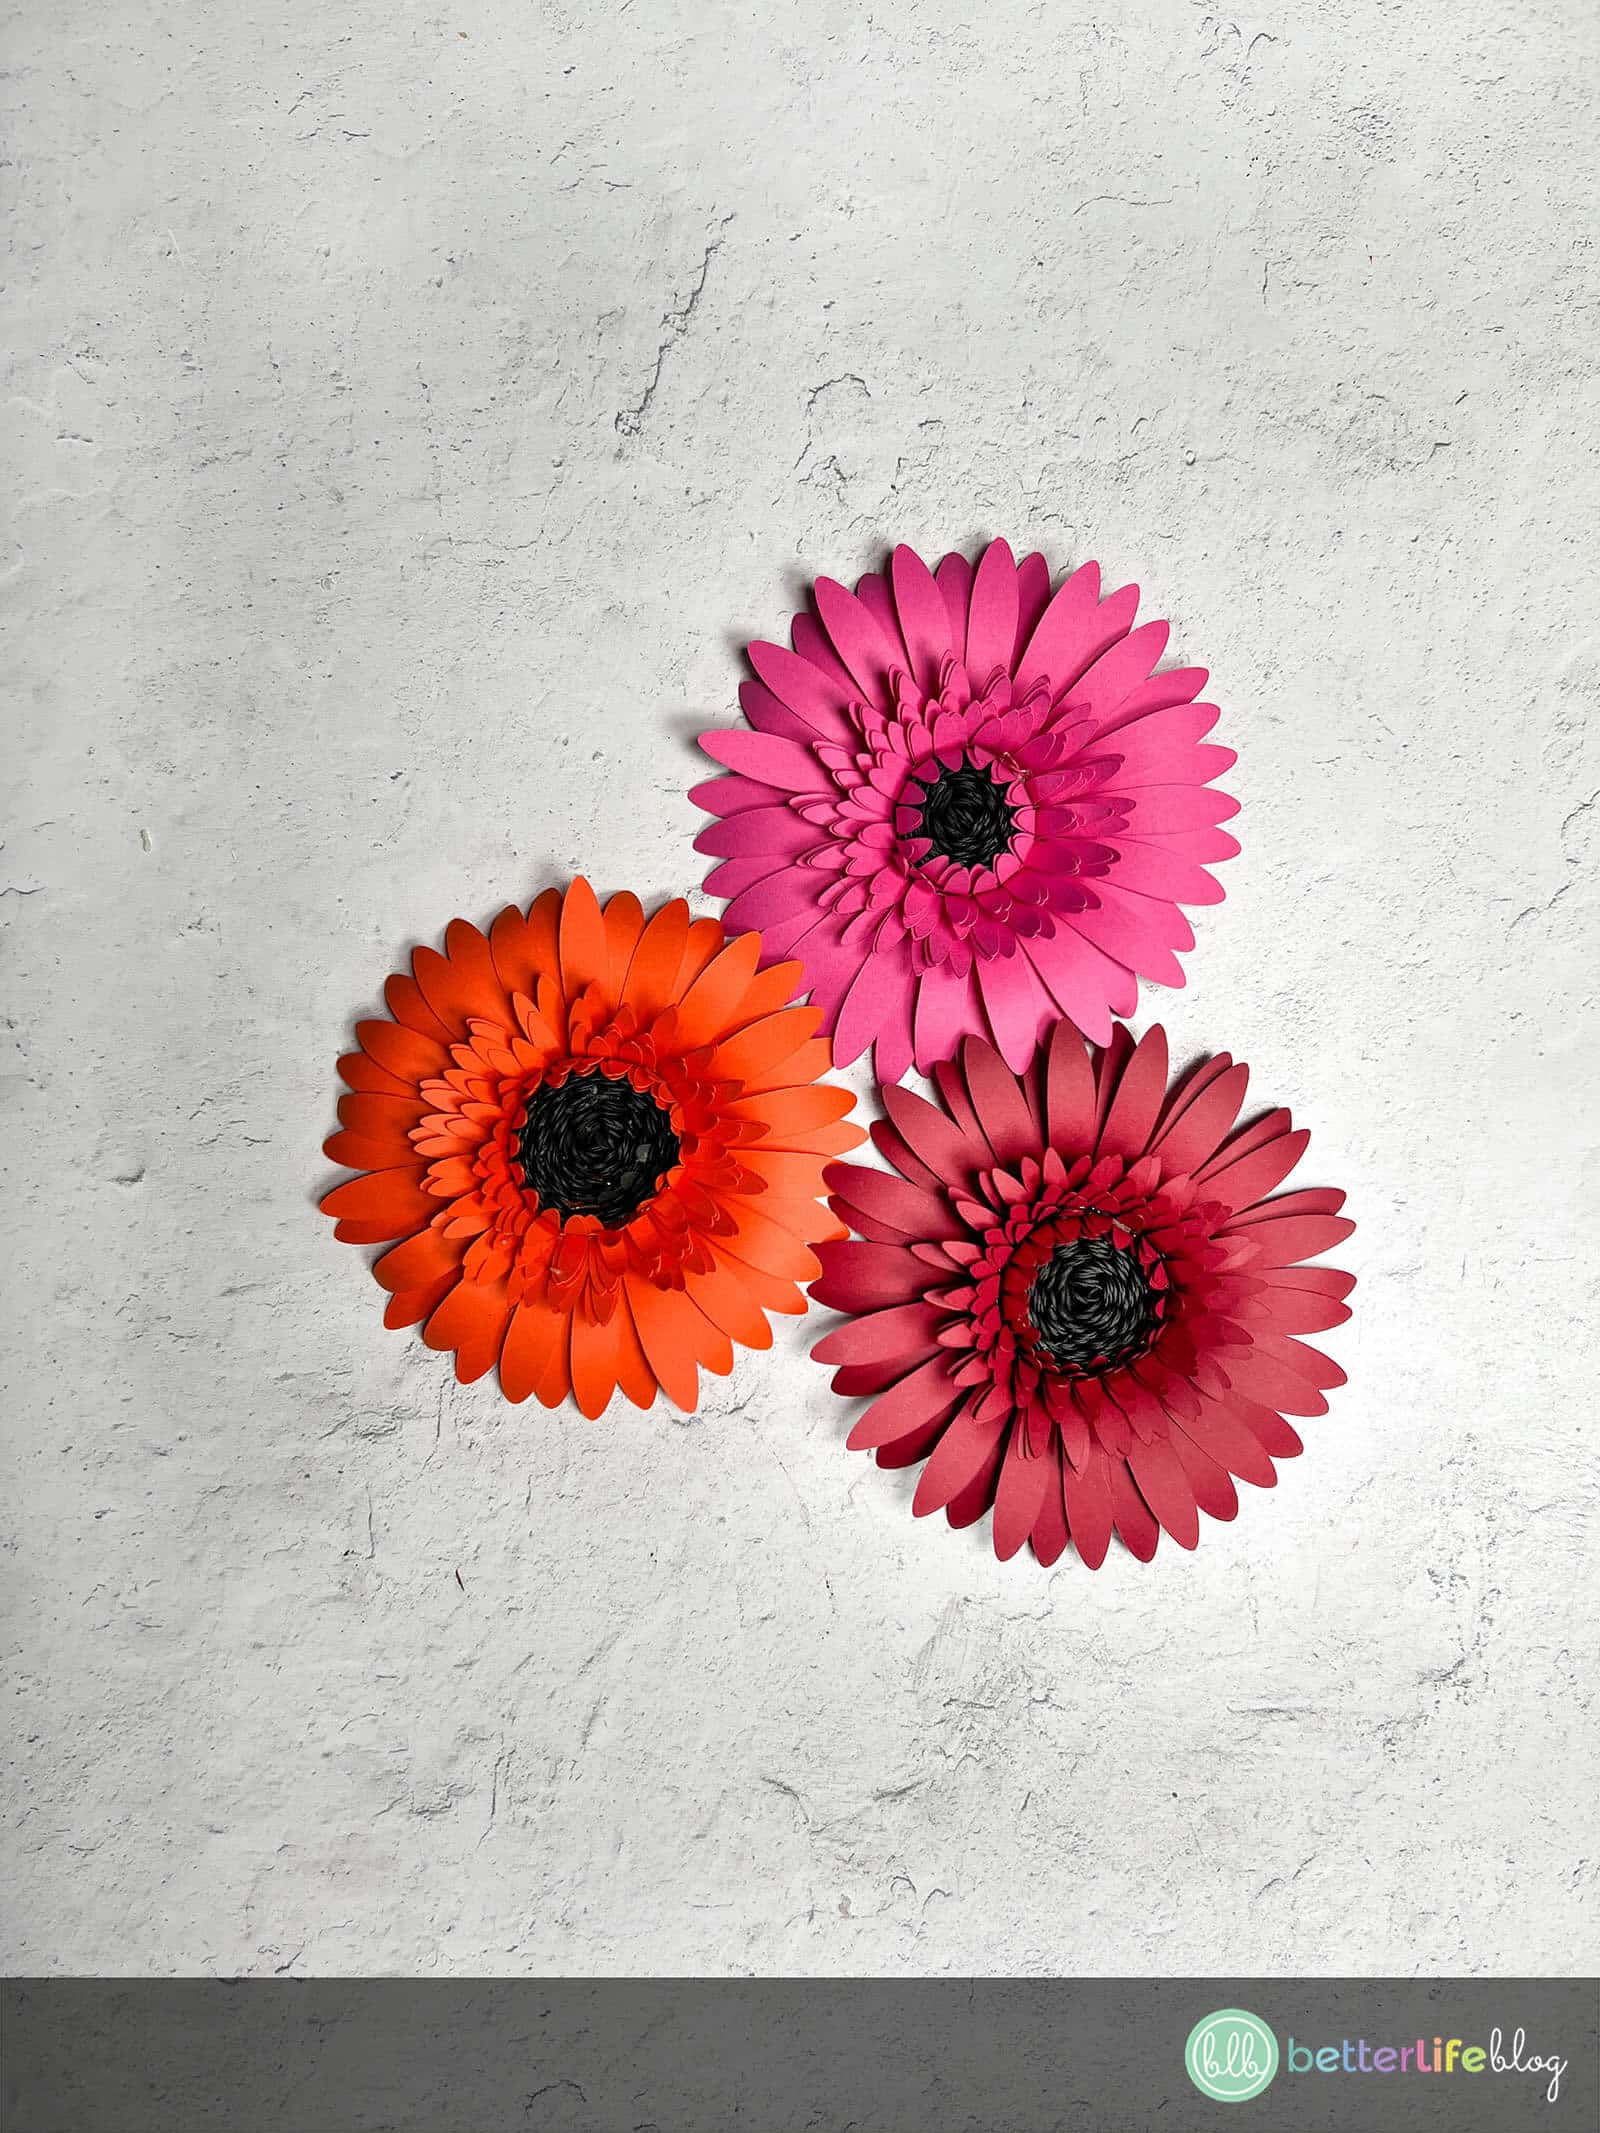
The beautiful thing about gerbera daisies is that they exist in a whole range of colors. This means that you can choose nearly any cardstock color to your liking.
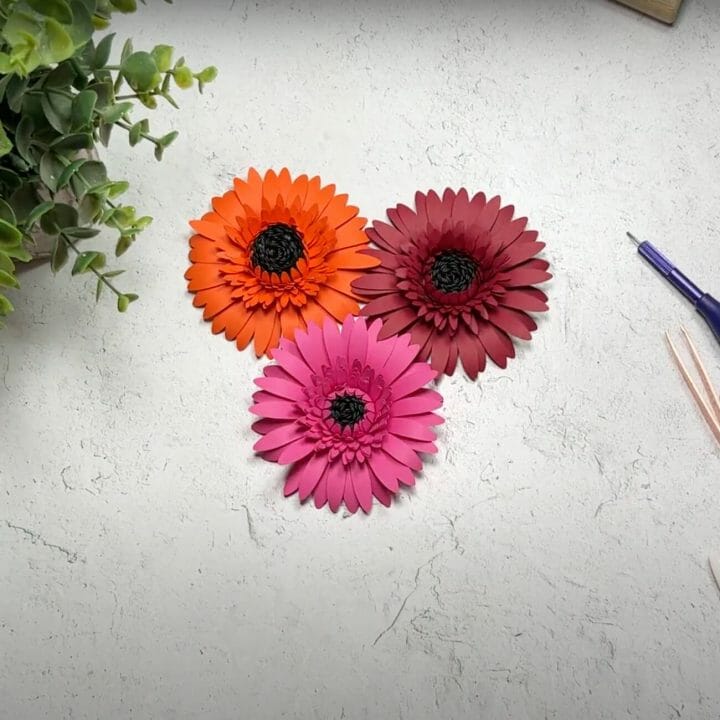
DIY paper flowers have grown in popularity because they make for the most beautiful décor! You can use it in your day-to-day home décor to give your rooms some color. You can also use them to elevate the look of birthday parties, weddings, and other special occasions.
How Do I Properly Display My Cricut Paper Flowers?
You may ask yourself, “How can I properly display my paper gerbera daisies at home?” Well, let me tell you: the sky’s the limit! There are TONS of possibilities!
My Cricut-cut gerbera daisies can be displayed directly on a wall or in a frame. You can even attach a few of them on a string, and use them as a banner.
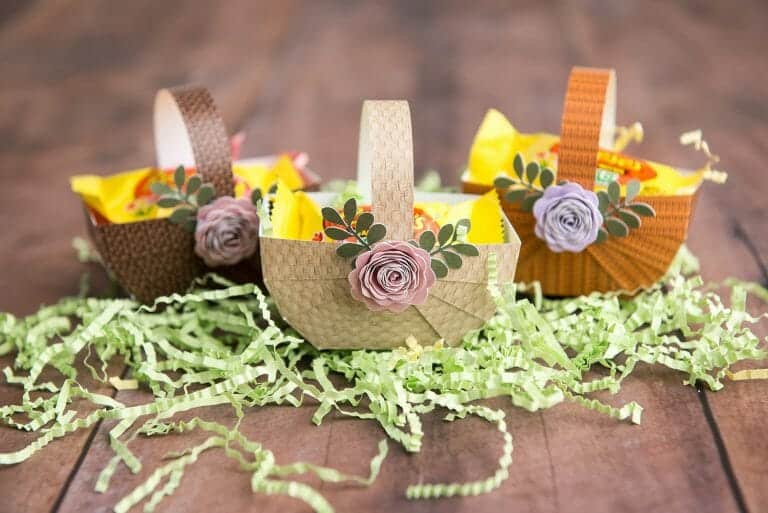
Personally, I love placing them on top of gift boxes. It makes your packaging/wrapping look so special and unique!
What Supplies Do You Need to Make Paper Flowers?
Gather the following supplies so that you can make these gorgeous paper flowers:
- Cricut or Silhouette machine (or any other cutting machine)
- Gerbera SVG cut file
- Cardstock (color of your choice)
- Bone folder
- Hot glue gun and sticks
- Quilling tool
How to Make Beautiful Paper Gerbera Daisies with Your Cricut or Silhouette Machine
Here is the full tutorial on my Paper Gerbera Daisies DIY. You’ll see how simple it is to put together such a complex-looking project – you’ll impress your friends and family!
Great news: if you are more of a visual person, I included a video so that you can follow each step easily!
Supplies
- Cricut or Silhouette machine (or any other cutting machine)
- Gerbera SVG cut file
- Cardstock (2 colors of your choice – I recommend something dark like brown for the inside, and something colorful for the petals)
- Bone folder
- Hot glue gun and sticks
- Quilling tool
Video Tutorial
Here is a step-by-step video tutorial for you to watch, and you can also follow along with the written instructions below!
Instructions
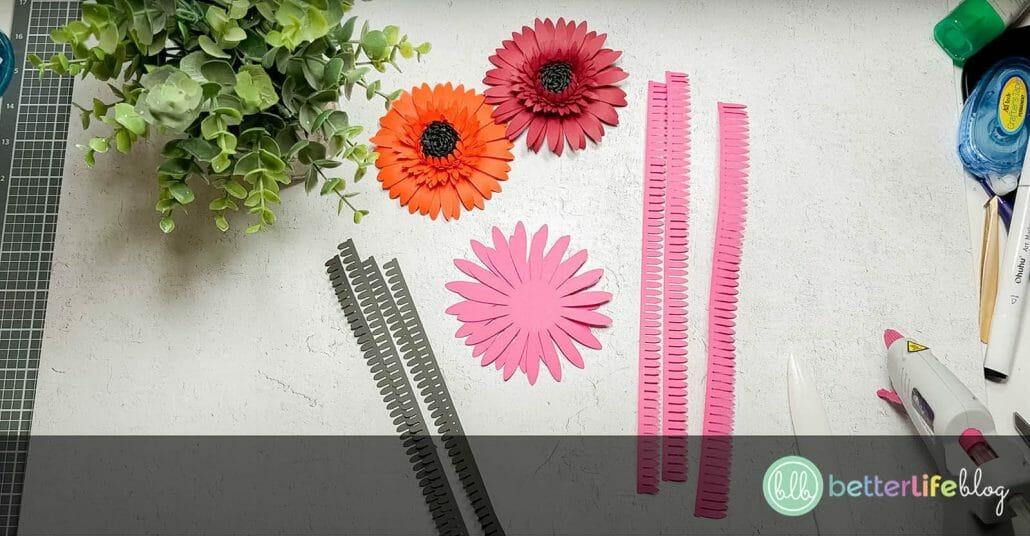
Begin by cutting the Gerbera SVG file with the help of your Cricut or Silhouette machine.
Lay out your pieces on a clean working surface.
Begin with the two large flower pieces. Use a bone folder to curl the petals outwards (as if you’re curling ribbon). Repeat for both flower pieces.
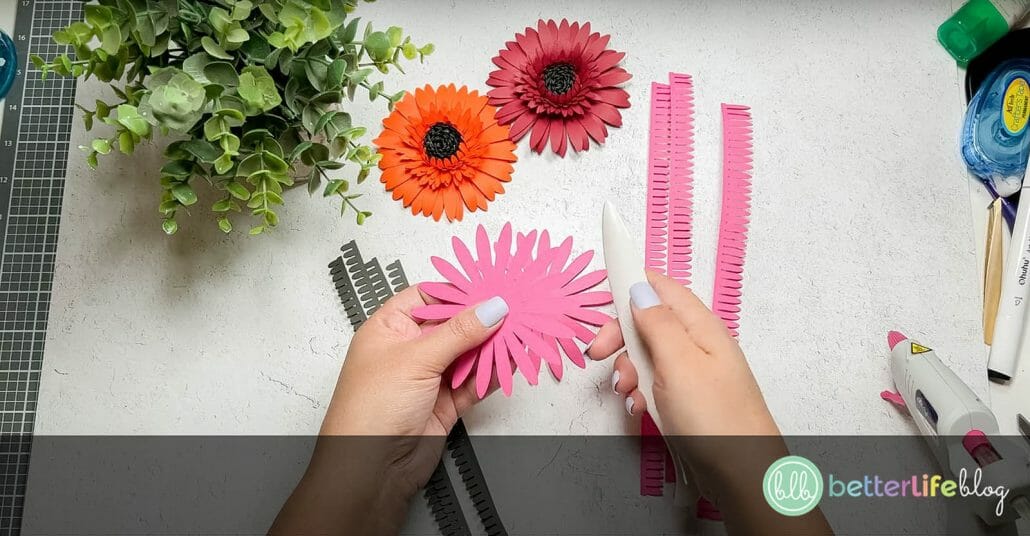
Once all the petals are curled outward, take one of the flower pieces and fold each petal inwards.

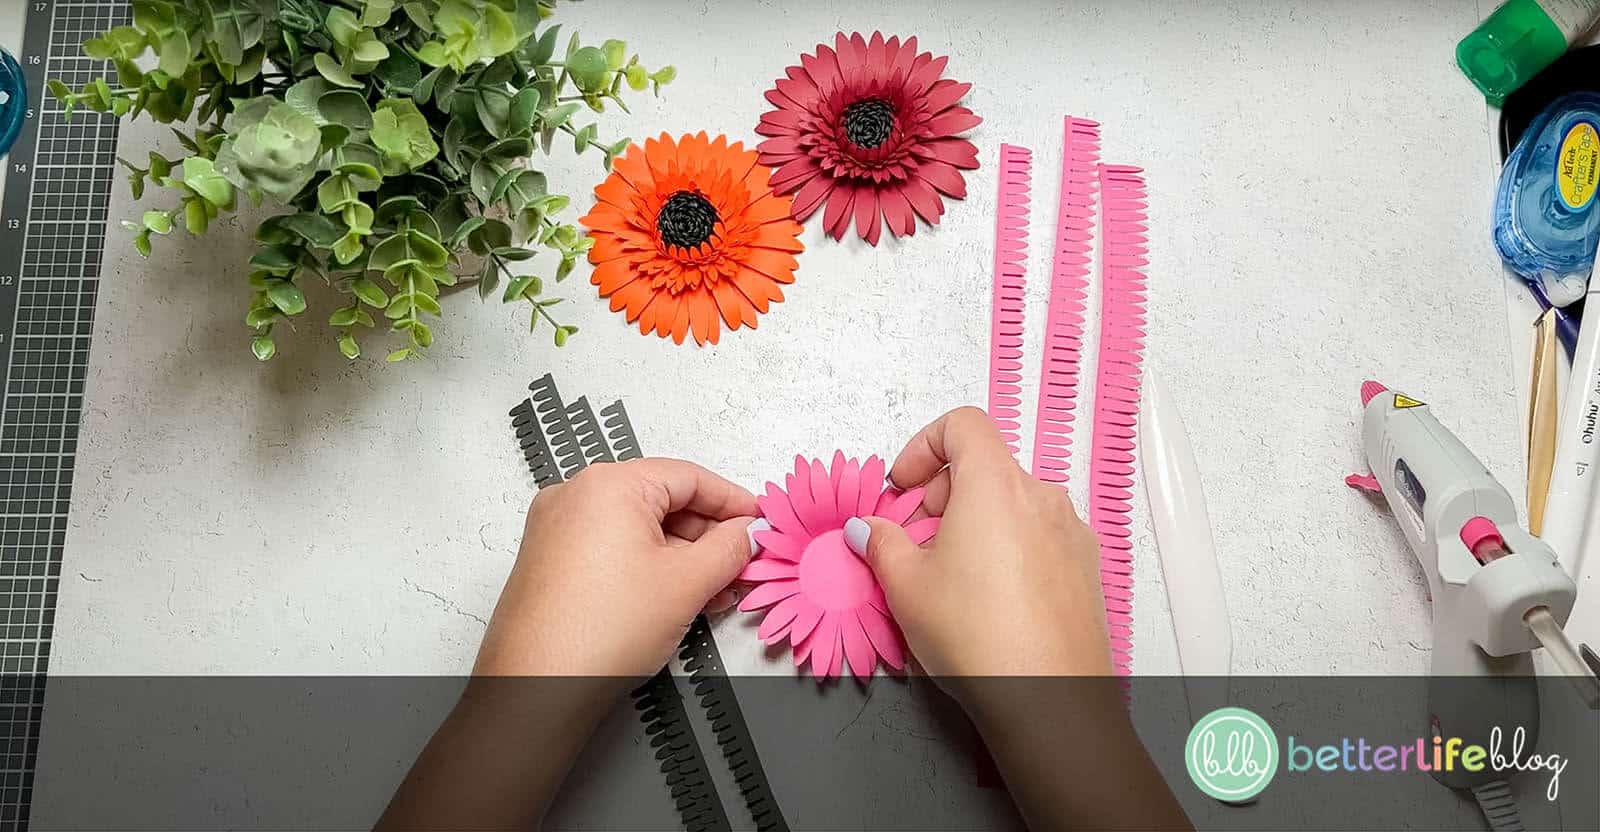
Once you fold over each petal, open them back out (only slightly) outwards, and you’ll find that it creates a circle in the center naturally.

Repeat the same for the second flower.
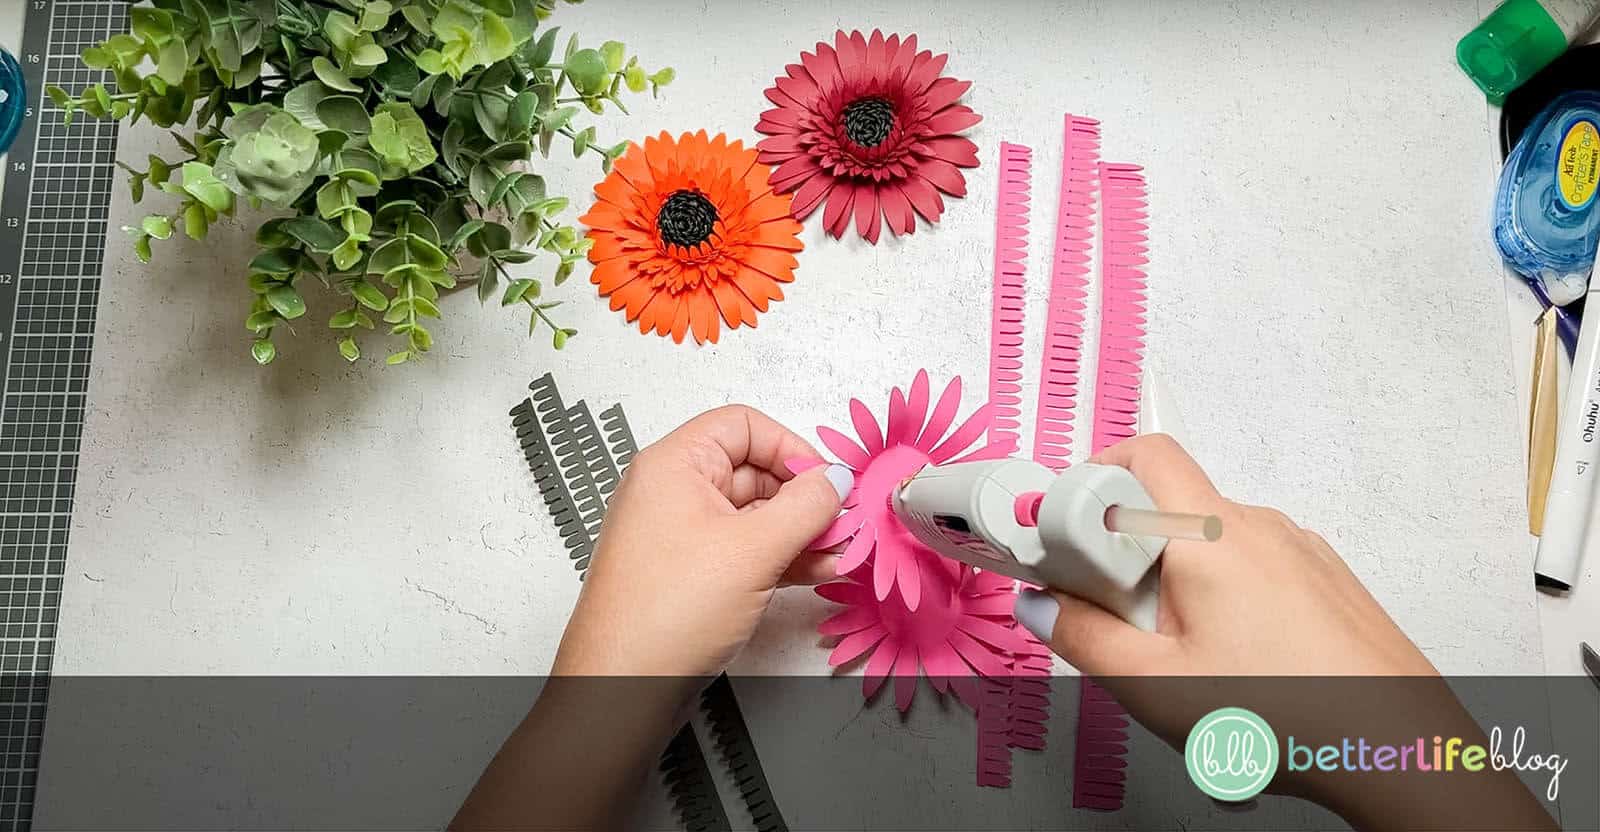
Add hot glue to the center of one of the flowers. Add the other flower on top, securing by pressing down in the center. When you’re layering the flowers, be sure to offset them from one another so that the petals are not perfectly aligned.

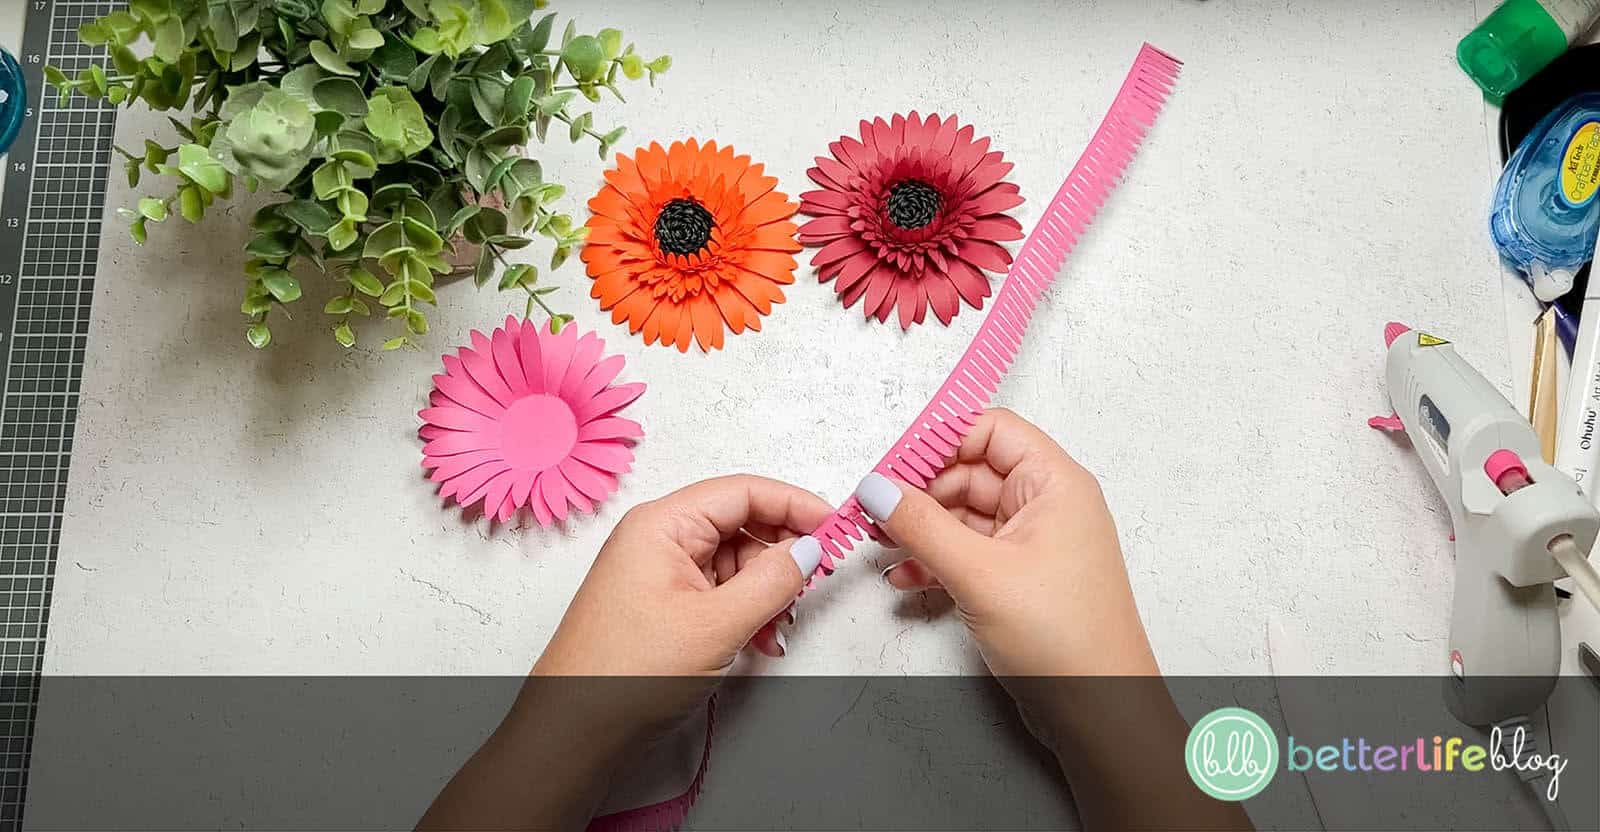
Now, it’s time to put together the center portion of the paper gerbera daisies. If you take a look at your cut-outs, you’ll find that the center is comprised of rows of petals. The thicker rows will be on the outside and the thinner, on the inside.
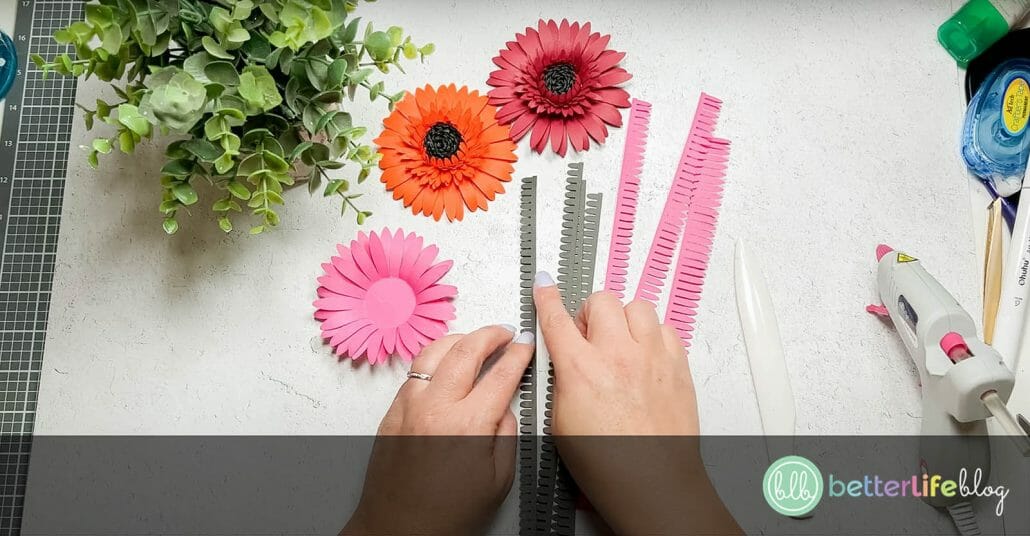
The first step to creating the center portion of the gerbera daisies is to connect the thin rows so that they create one long line.
Hint: When gluing the rows together, you will want all the pieces facing the same direction.
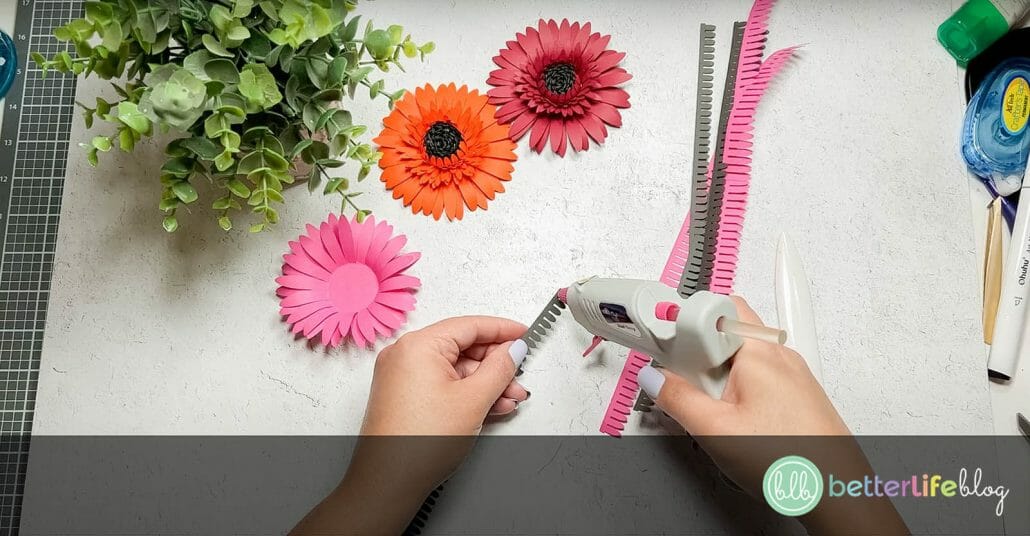
Place hot glue on the top portion of one thin row. Secure a second cut-out on the glued portion. Continue for the remaining thin row cut-outs.
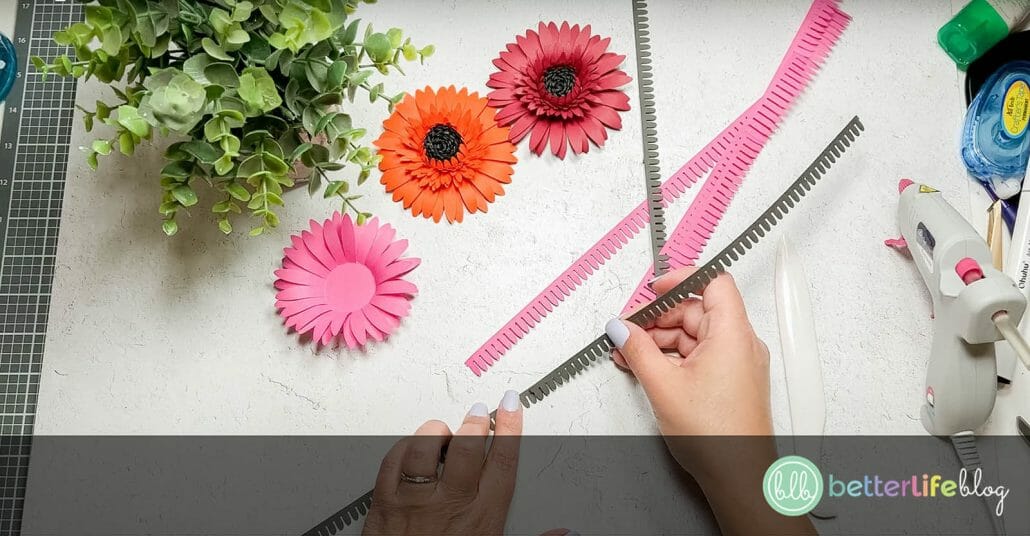
Now, take one of the mid-sized rows (in a different color) and use a bone folder to curl the petals outwards.

Attach to the top of your long line of cut-outs by securing with hot glue. Add the next row.
The thickest row will be the last to attach.

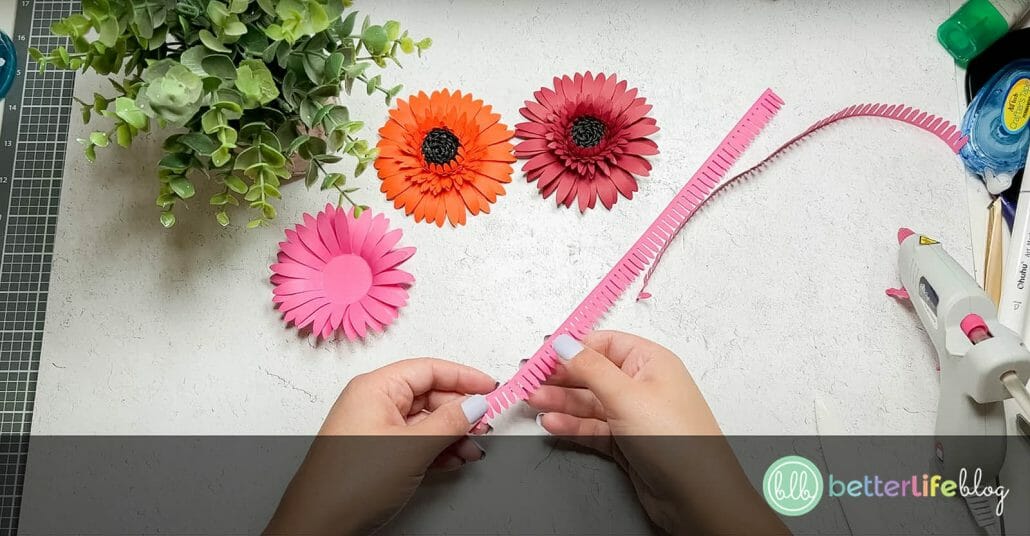
Next, start from the bottom and roll upwards with the help of a quilling tool.
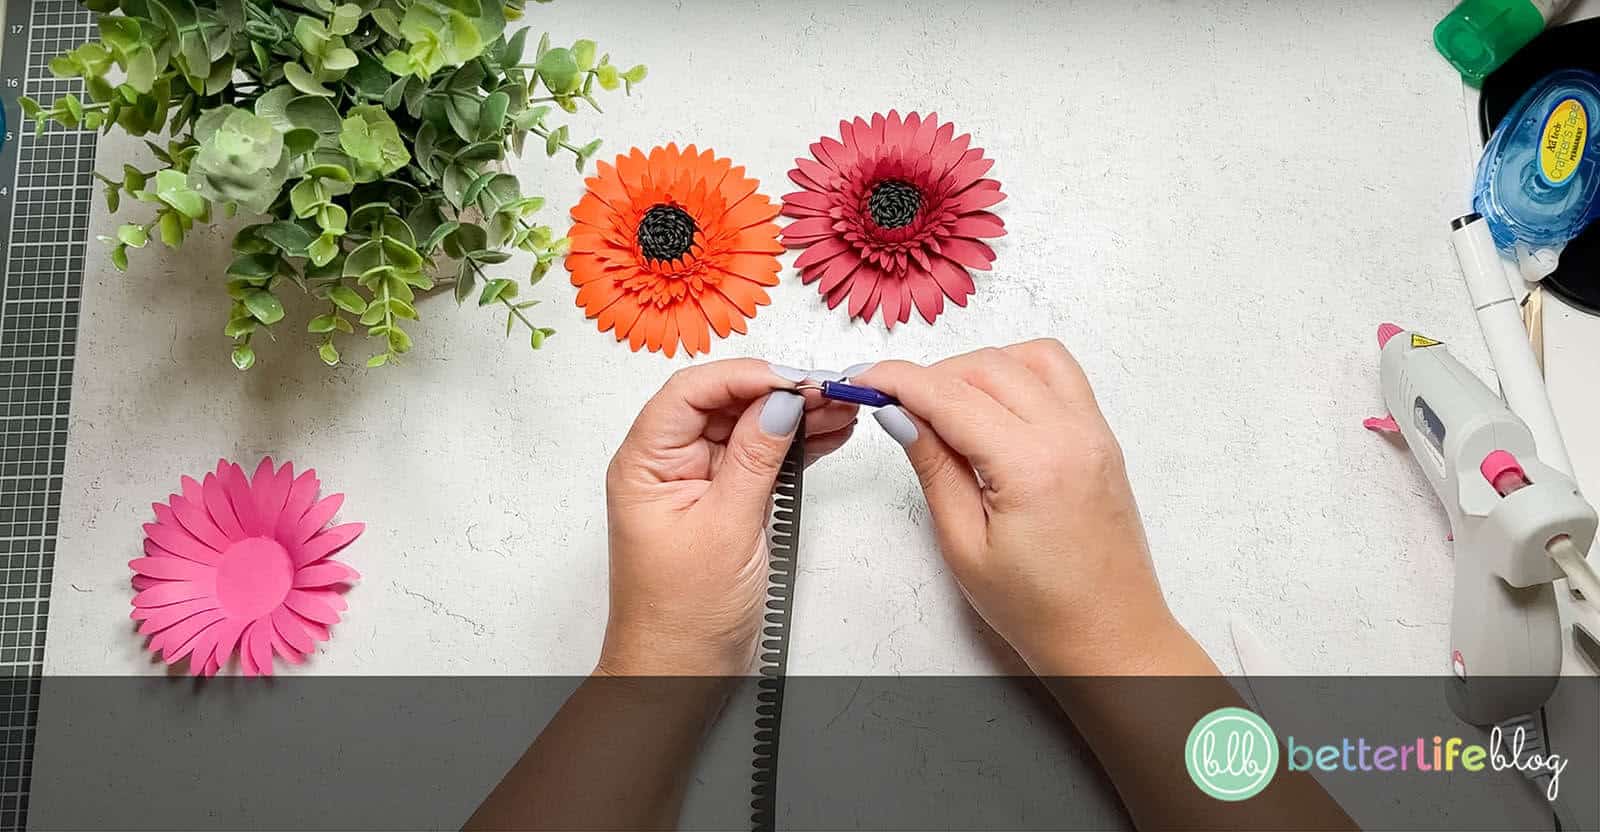
Hint: make sure that when you’re curling, that the petals that you curled are still pointing inwards.
Once completely rolled, add glue to the end and secure.

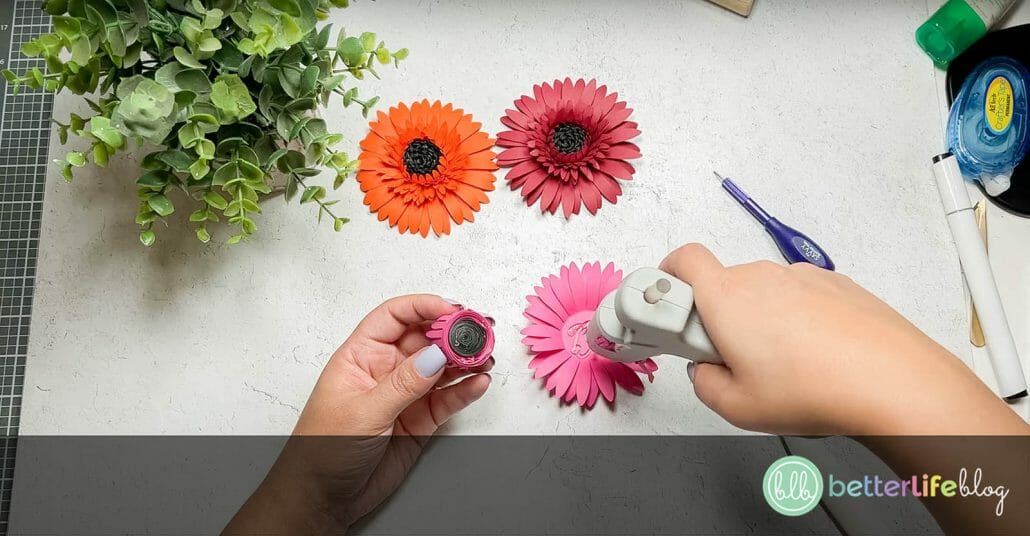
Next, add glue to the center of the flower and add the rolled center. Press down to secure.

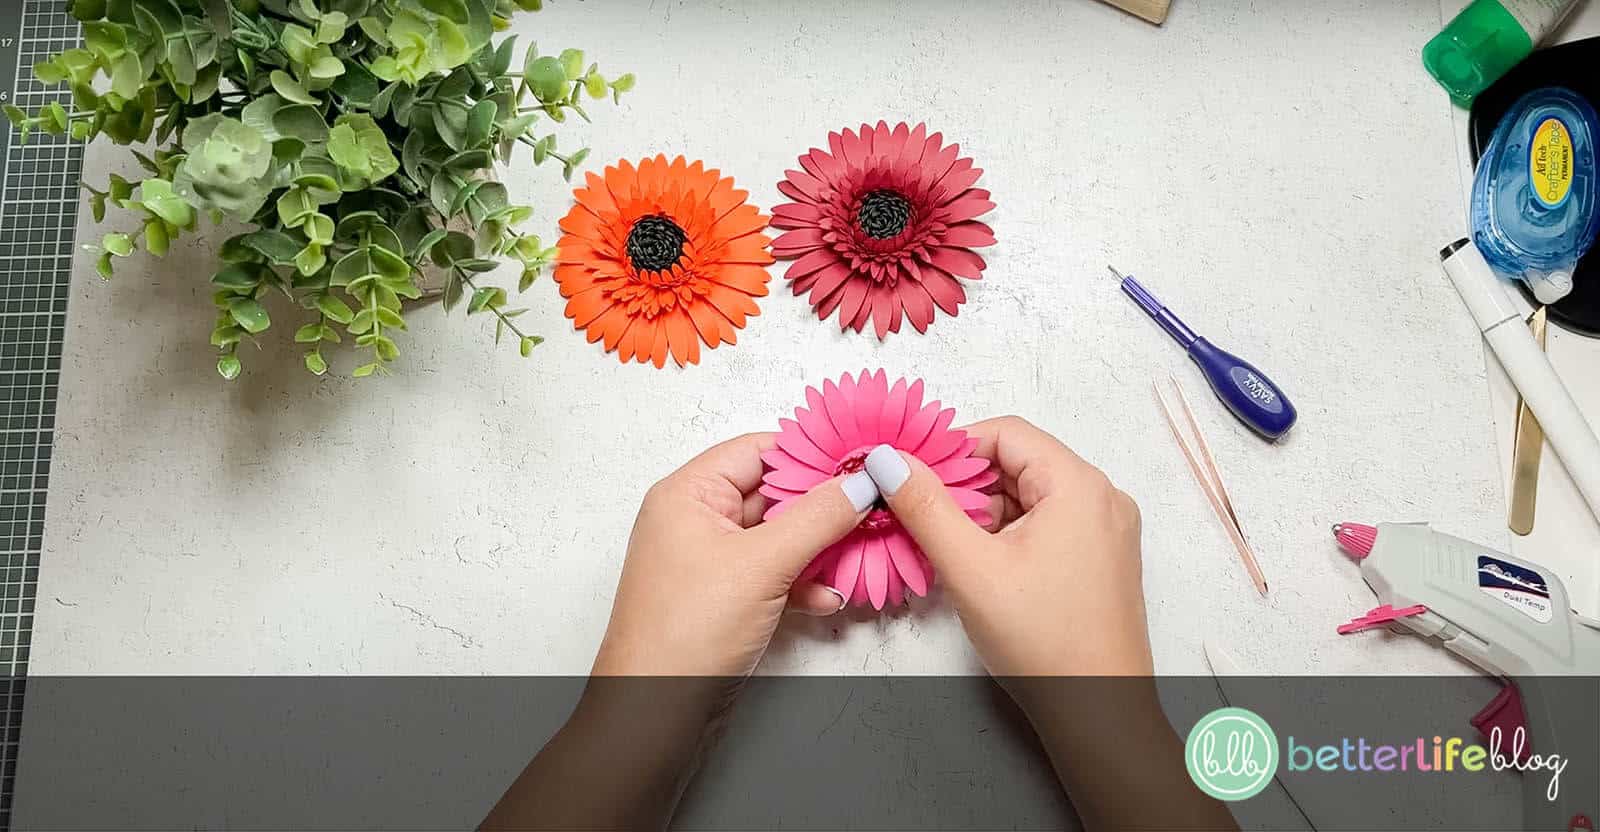
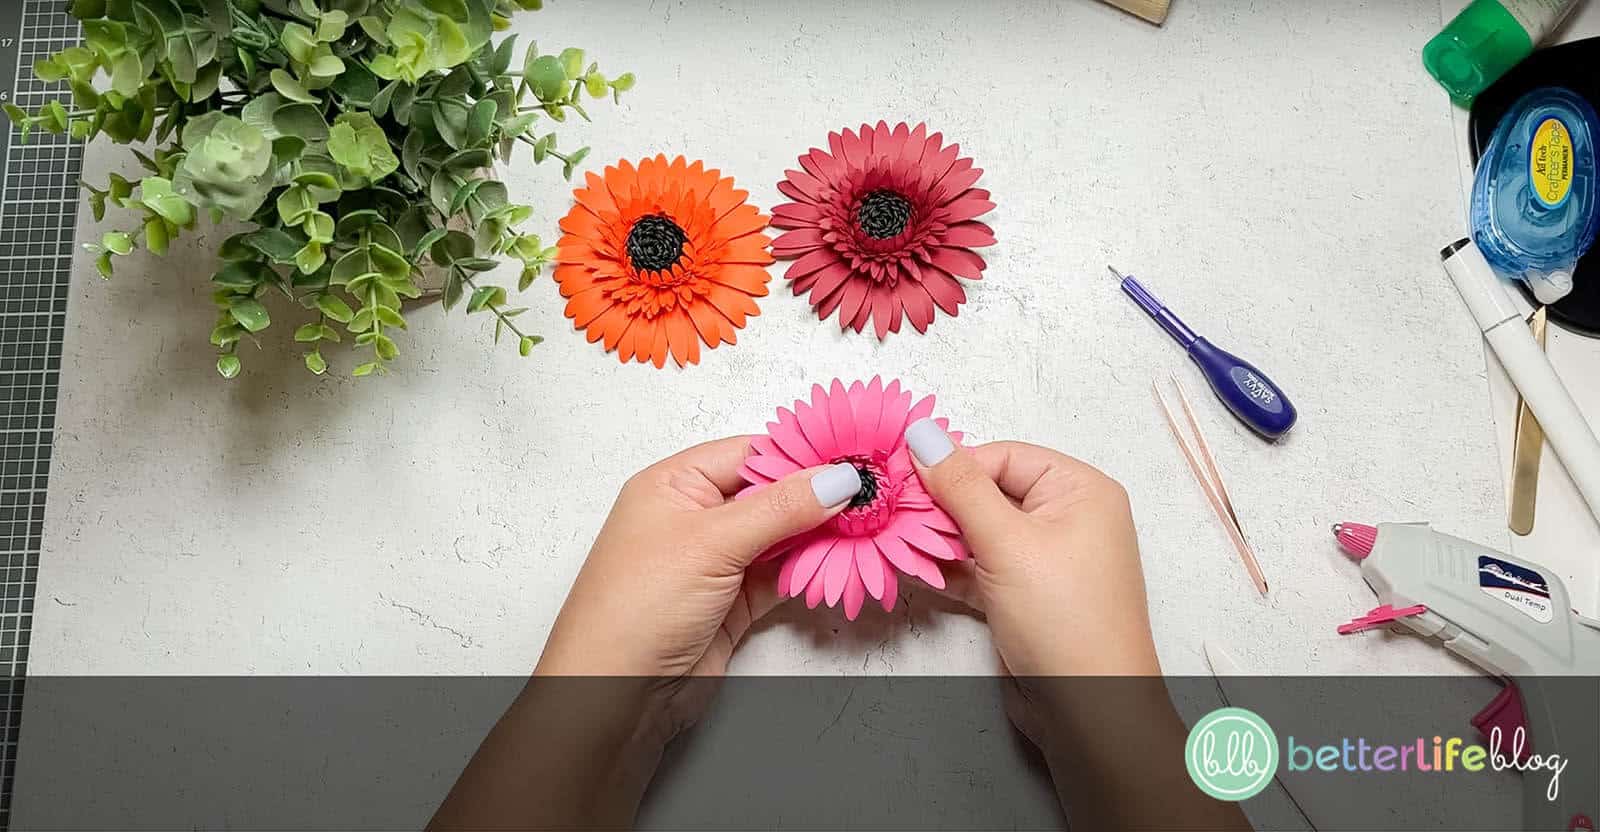
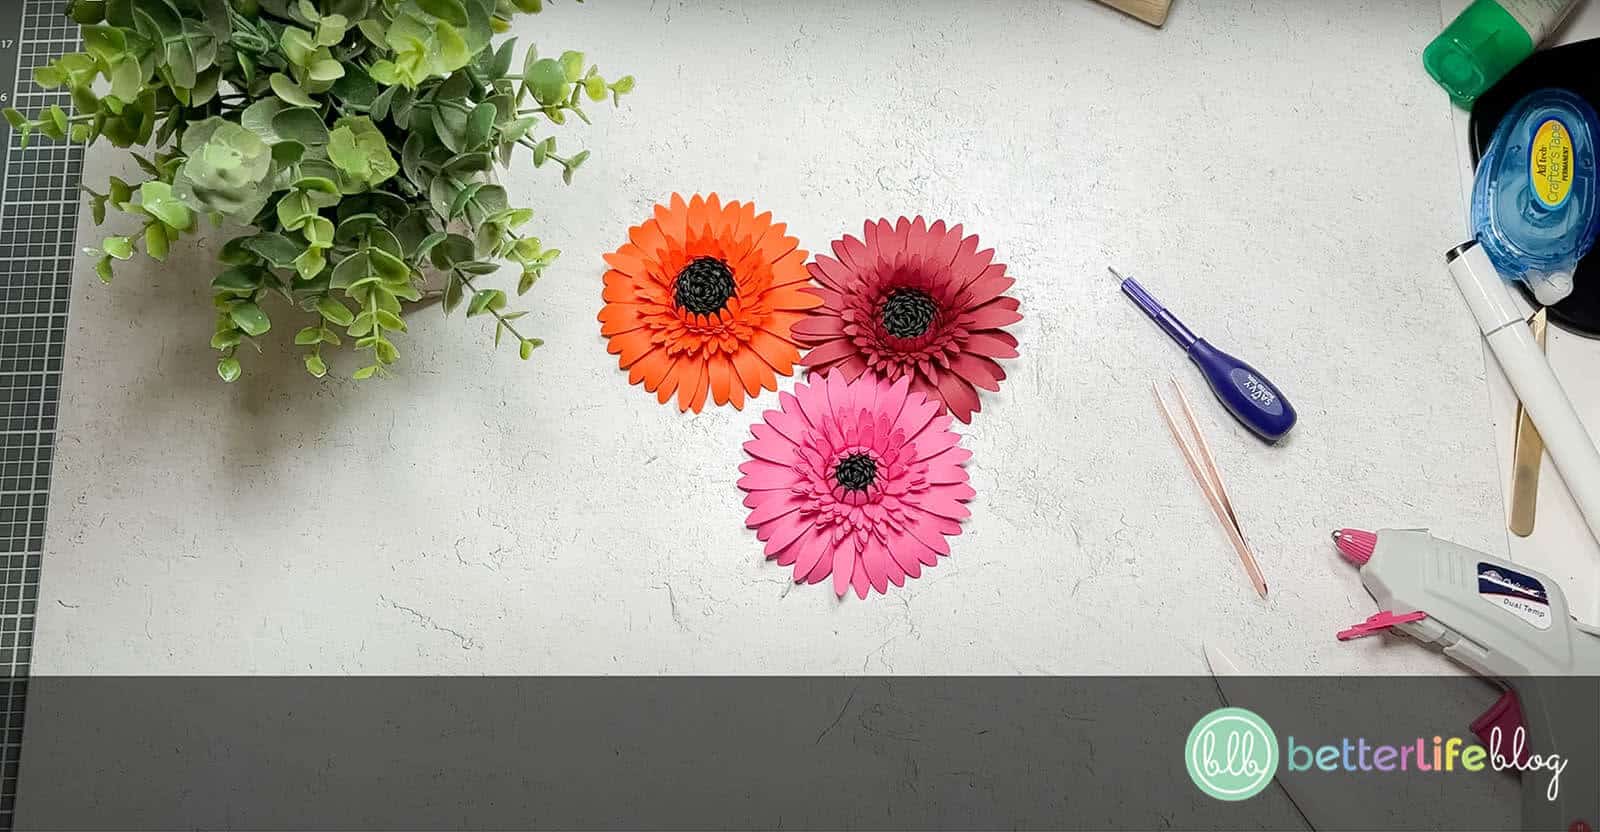
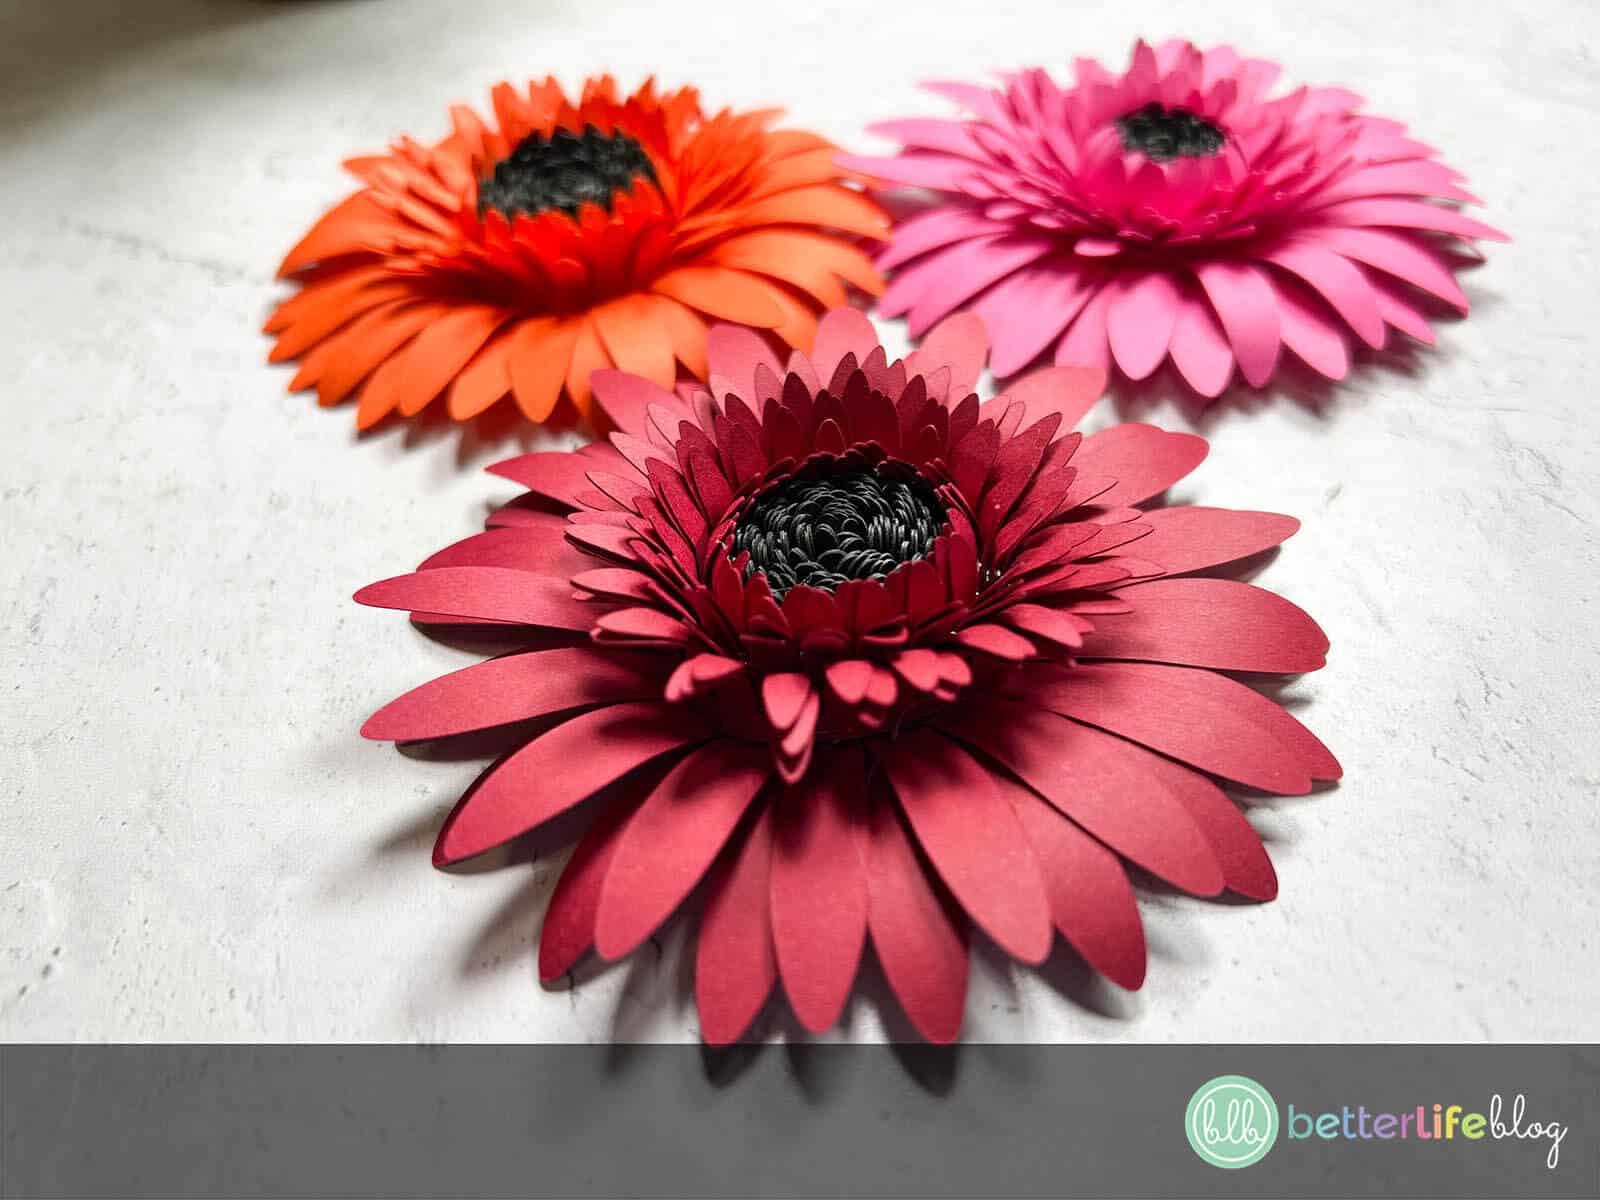
Use your thumb to pull the outside petals outwards and give your gerberas a more realistic look.
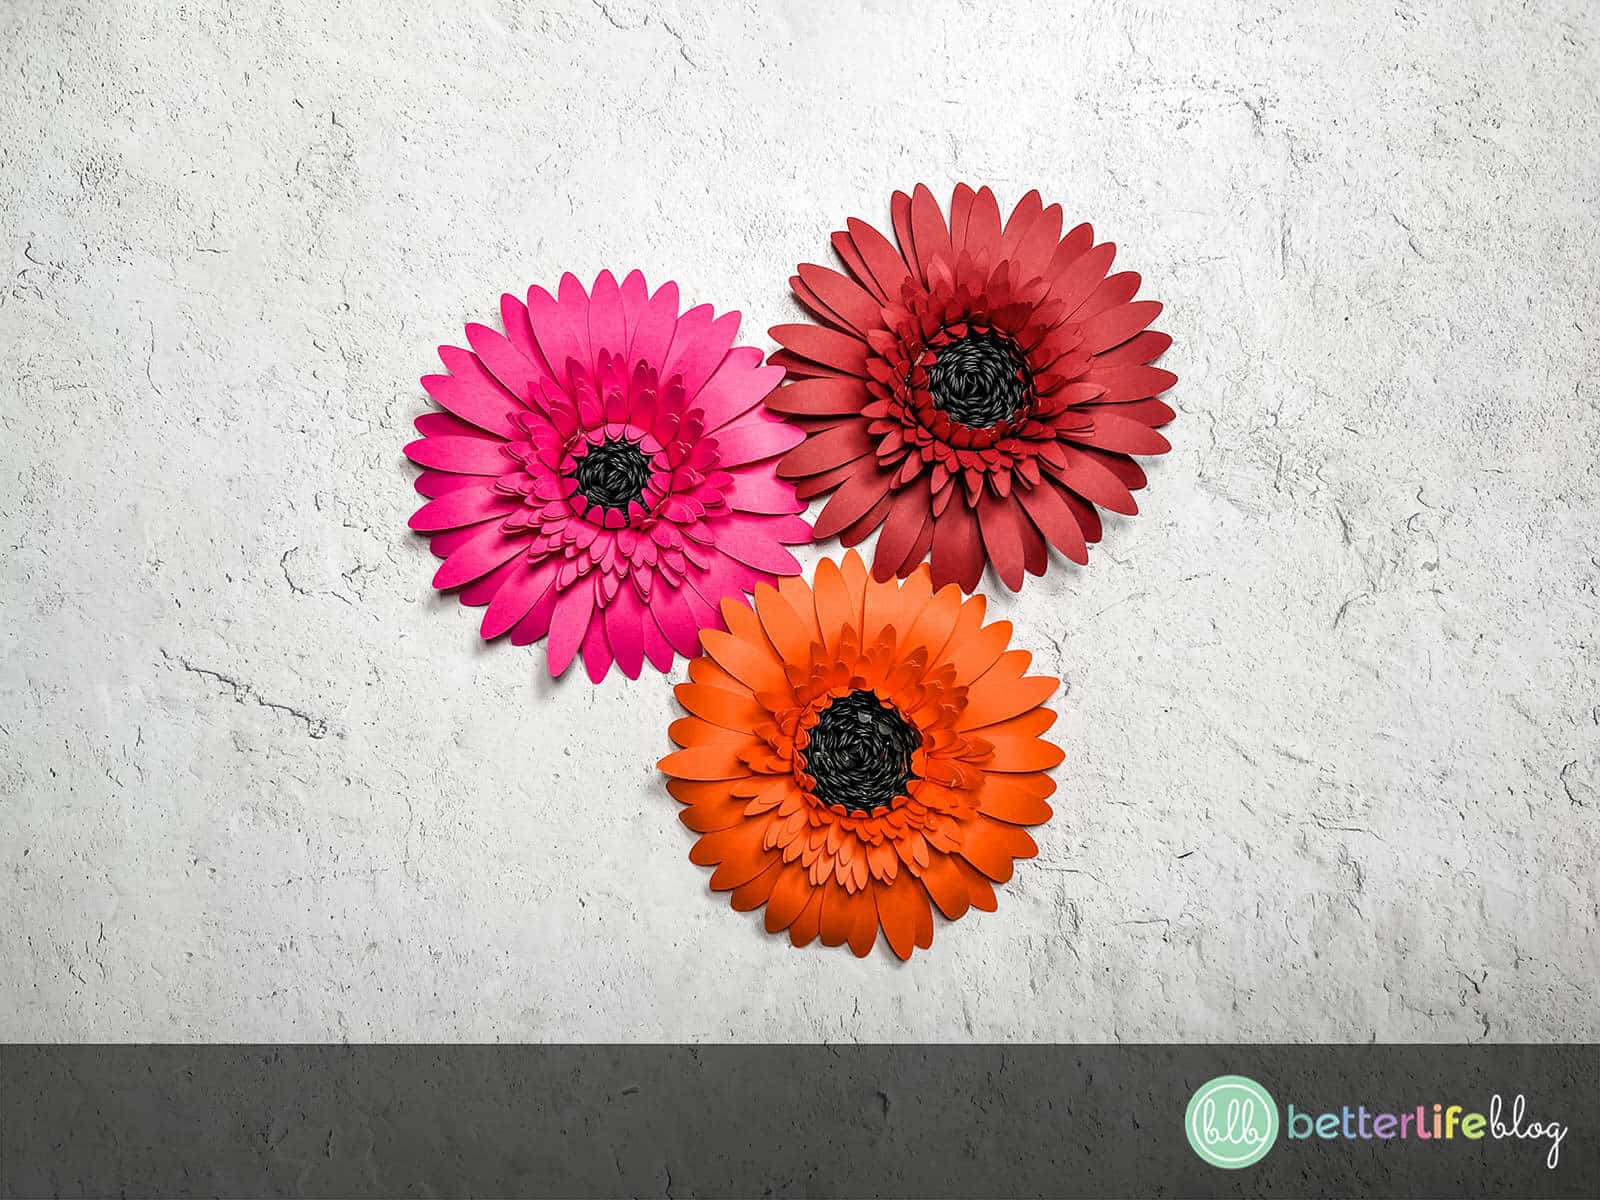

Beautiful Paper Gerbera Daisies – How to Make Cricut Paper Flowers
Making paper flowers with a Cricut machine is as easy as 1-2-3. Take a look at my blog post for full step-by-step instructions so that you can create your very own Paper Gerbera Daisies.
Materials
Instructions
- Begin by cutting the Gerbera SVG file with the help of your Cricut or Silhouette machine.
- Lay out your pieces on a clean working surface.
- Begin with the two large flower pieces. Use a bone folder to curl the petals outwards (as if you’re curling ribbon). Repeat for both flower pieces.
- Once all the petals are curled outward, take one of the flower pieces and fold each petal inwards.
- Once you fold over each petal, open them back out (only slightly) outwards, and you’ll find that it creates a circle in the center naturally.
- Repeat the same for the second flower.
- Add hot glue to the center of one of the flowers. Add the other flower on top, securing by pressing down in the center.
When you’re layering the flowers, be sure to offset them from one another so that the petals are not perfectly aligned. - Now, it’s time to put together the center portion of the paper gerbera daisies. If you take a look at your cut-outs, you’ll find that the center is comprised of rows of petals. The thicker rows will be on the outside and the thinner, on the inside.
- The first step to creating the center portion of the gerbera daisies is to connect the thin rows so that they create one long line.
- Hint: When gluing the rows together, you will want all the pieces facing the same direction.
- Place hot glue on the top portion of one thin row. Secure a second cut-out on the glued portion. Continue for the remaining thin row cut-outs.
- Now, take one of the mid-sized rows (in a different color) and use a bone folder to curl the petals outwards.
- Attach to the top of your long line of cut-outs by securing with hot glue. Add the next row.
- The thickest row will be the last to attach.
- Next, start from the bottom and roll upwards with the help of a quilling tool.
- Hint: make sure that when you’re curling, that the petals that you curled are still pointing inwards.
- Once completely rolled, add glue to the end and secure.
- Next, add glue to the center of the flower and add the rolled center. Press down to secure.
- Use your thumb to pull the outside petals outwards and give your gerberas a more realistic look.