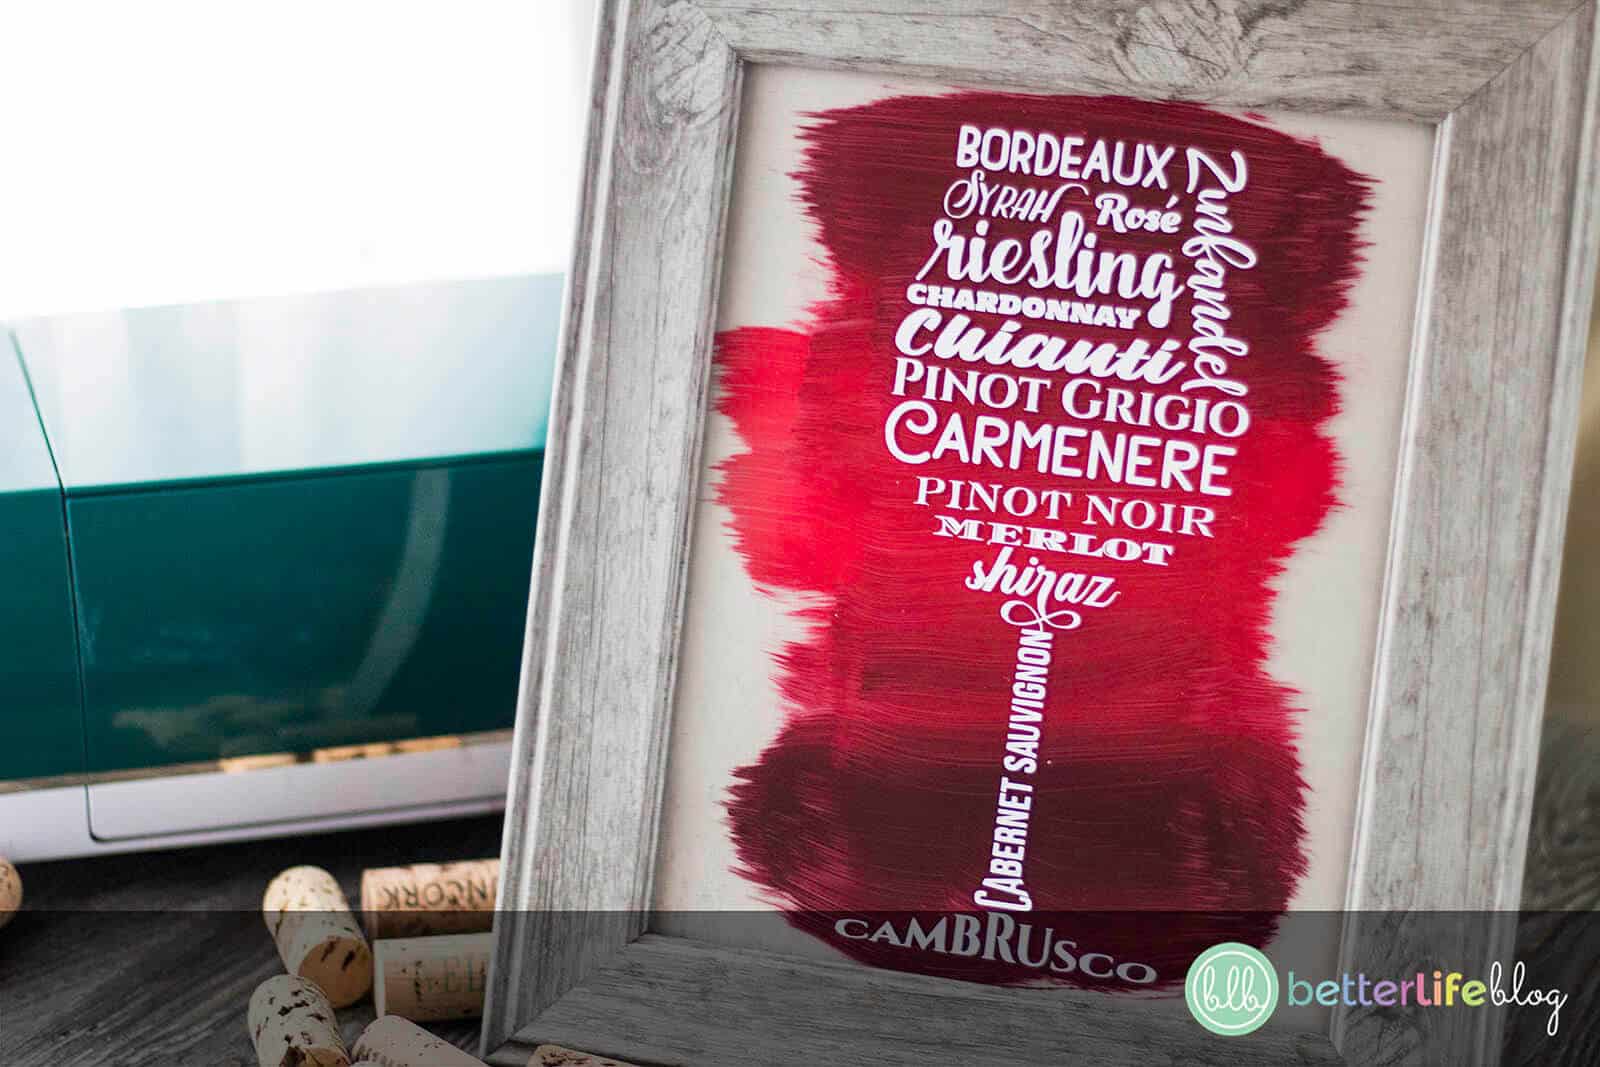
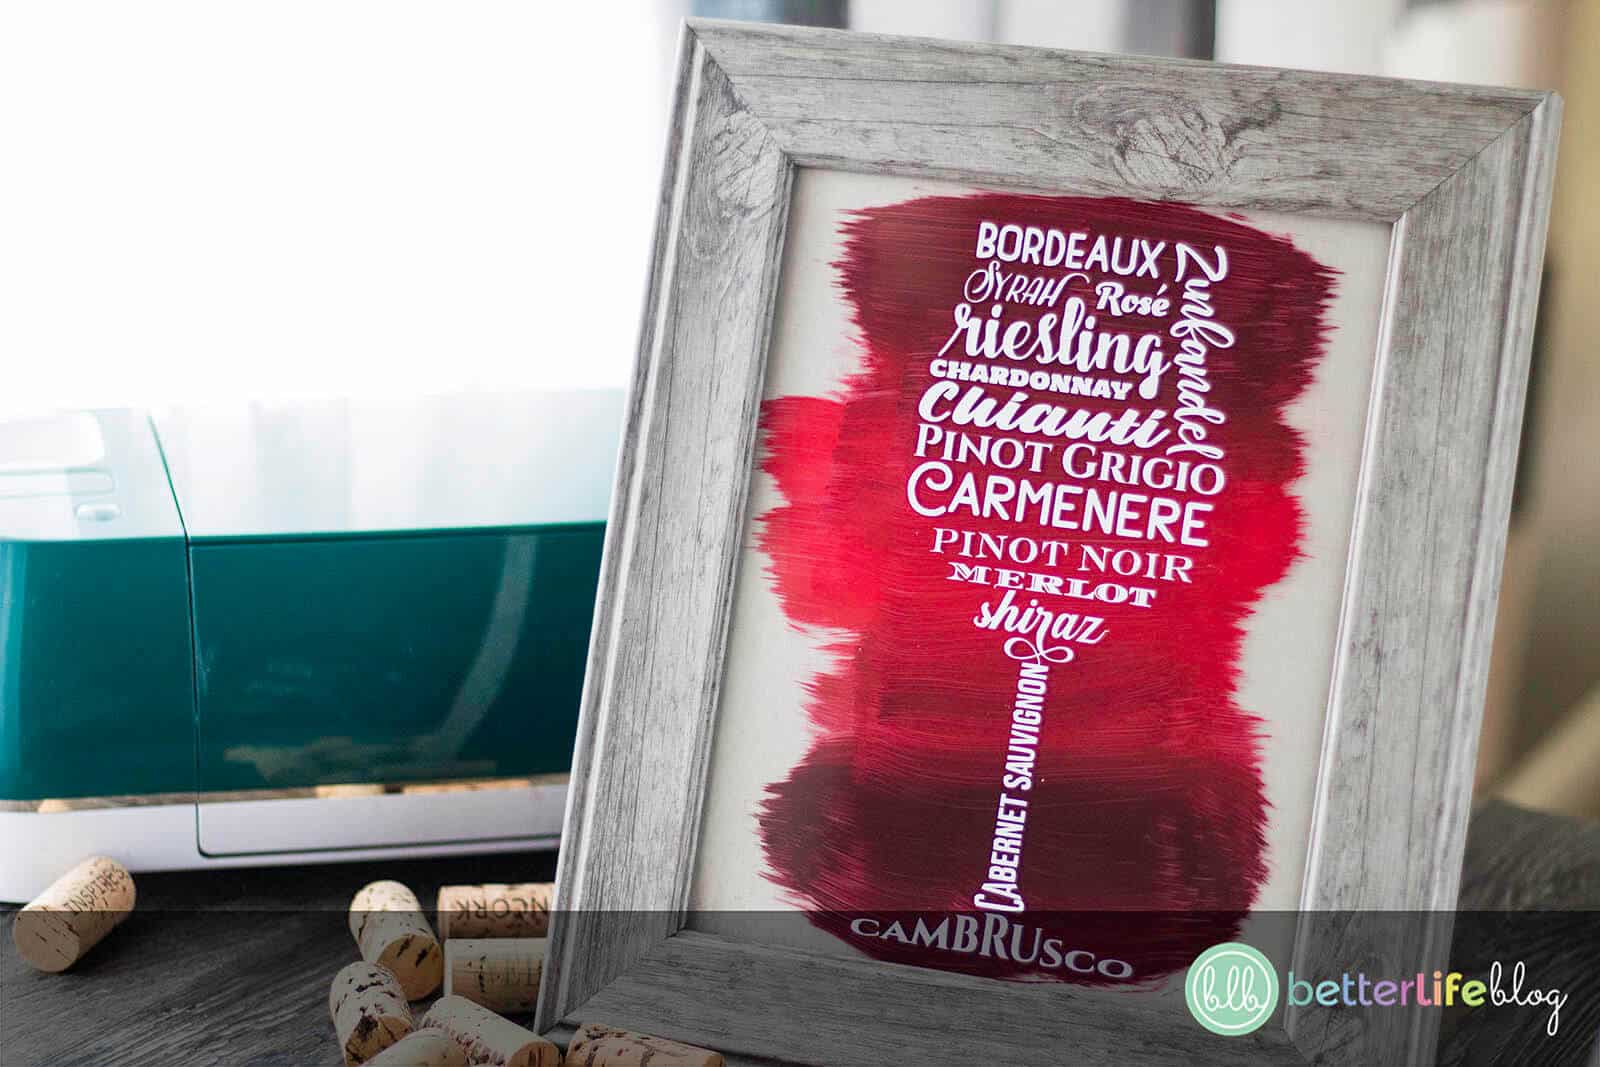
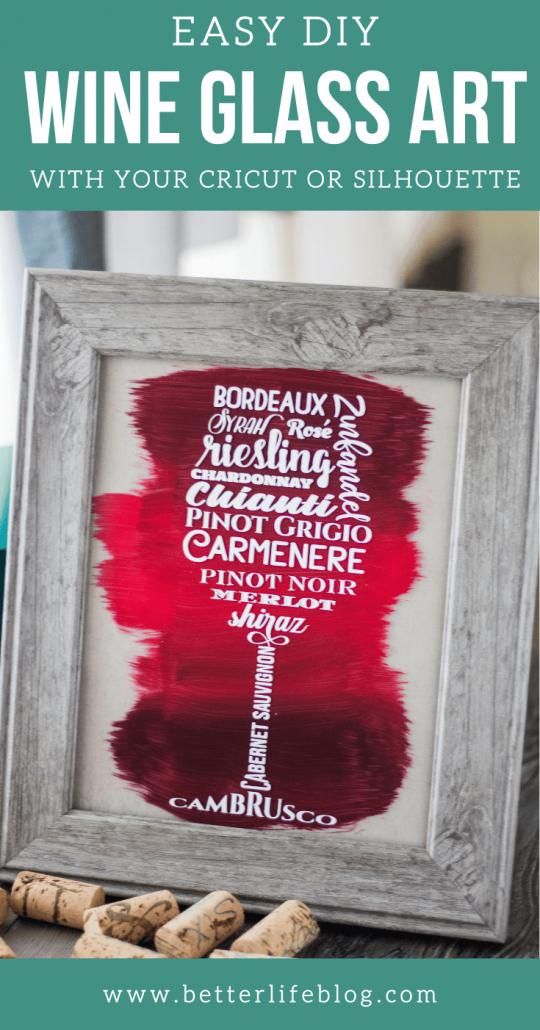
Hey, crafty friends! Looking to spruce up your kitchen with some beautiful artwork? Then you’re in luck because today, I am teaching you how to put together this Wine Glass Art – the perfect touch to any kitchen décor!
This Wine Glass Art Project Makes a Perfect Gift
What I love most about Cricut projects is that they make for the perfect gifts! I think handmade items are the best kinds of presents to offer your loved ones. This Wine Glass Art is perfect for:
- Your wine-loving friends
- Your foodie friends
- For loved ones who just moved into their first home
- Bachelorette party favor
The possibilities are endless!
I LOVE This Cut File, Got Any More?
I am SO glad you asked! As a professional graphic designer, I love making cut files for my Cricut and Silhouette machines.
You can take a look at more of my cut files on my shop. There are so many to choose from! Over the years, I’ve created hundreds of cut files for different occasions, holidays, trends, etc. They can be used for tons of different projects – just let your imagination soar!
How Do I Get the SVG File to This Beautiful Cricut Wall Art?
For VIP Crafters Club members, all you have to do is log onto your VIP Dashboard and head over to your September 2020 files to get the SVG for this wall art project. Don’t forget, as a VIP Crafters Club member, you have FULL access to hundreds of my cut files – ready to be instantly downloaded!
If you want to be part of a wonderful crafting community with the most supportive members, then this is the place for you! Sign up by clicking here.

What Do I Need to Make This Gorgeous Wine Glass Art?
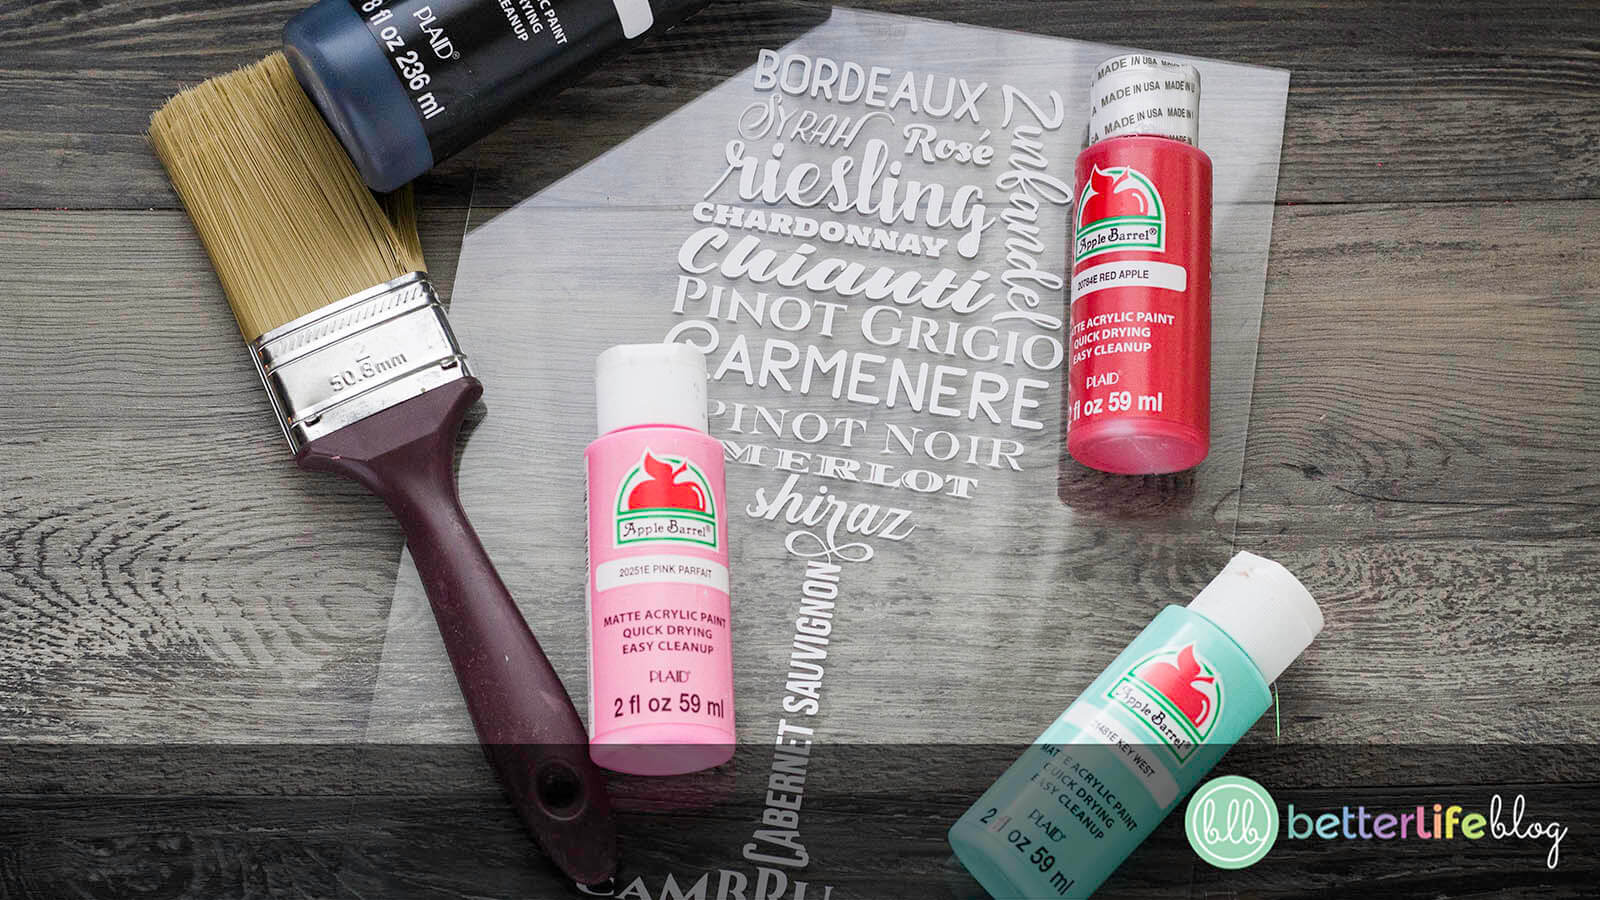
Here’s a list of supplies you’ll need to complete my wonderful Wine Glass Art project. After you check out the list, be sure to scroll down to get the full step-by-step tutorial!
- Wine Glass Art SVG (download it here)
- Cricut
- White permanent vinyl
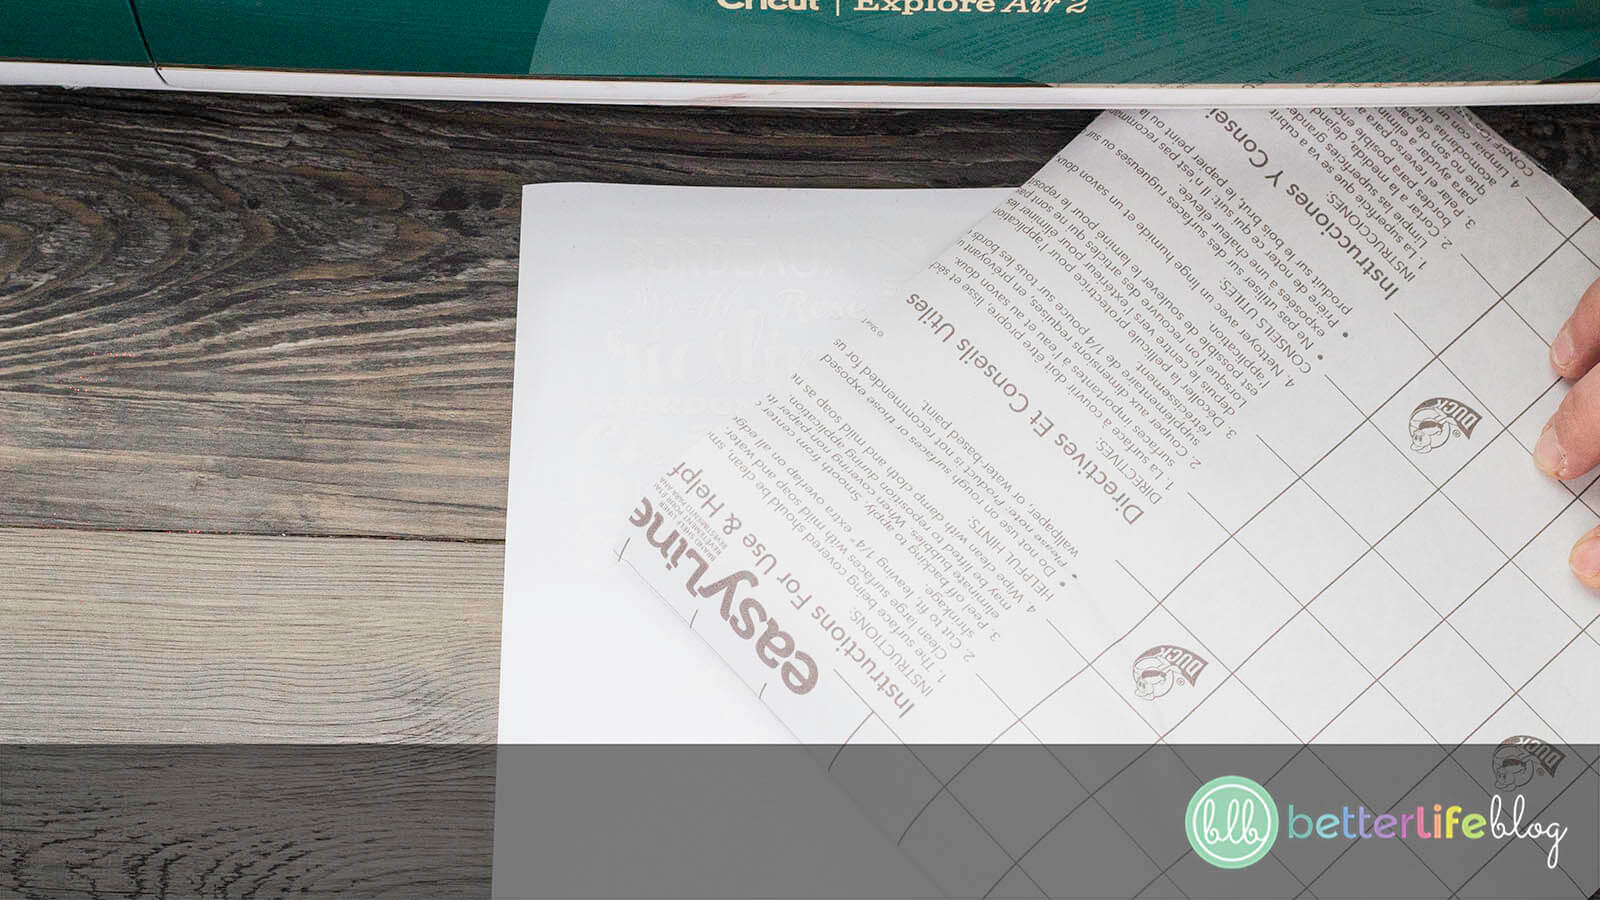
- Clear transfer tape
- Scissors
- Weeding tools
- Scraper tool
- 8 x 10 picture frame
- 2 acrylic paint colors
- Paint brush
How To Make Wine Glass Art Using Your Cricut Machine
Okay, here’s the tutorial I promised you! I hope these steps help you put together this gorgeous wine-inspired artwork.
Instructions
Start by plugging your Cricut in and connecting the USB cord to your computer.
Press the “Power” button followed by the “Open” button.
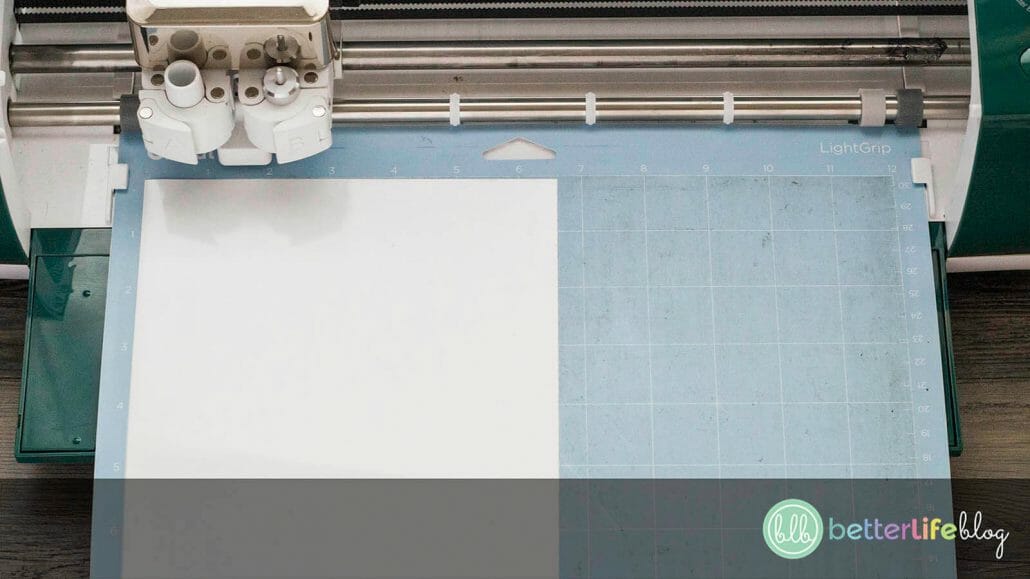
Lay a 12×12 piece of vinyl on your mat, and make sure it is pressed down firmly and evenly.
Feed your mat into your Cricut by pressing the arrow button and making sure your mat evenly feeds into the guides on both sides.
If you haven’t already, download the Wine Glass Art SVG onto your computer.
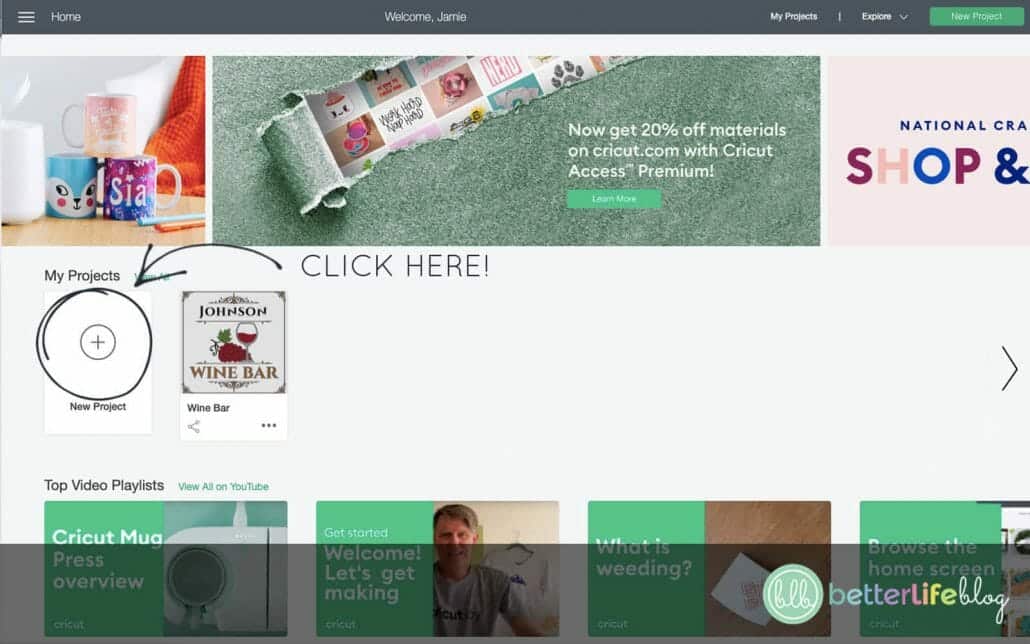
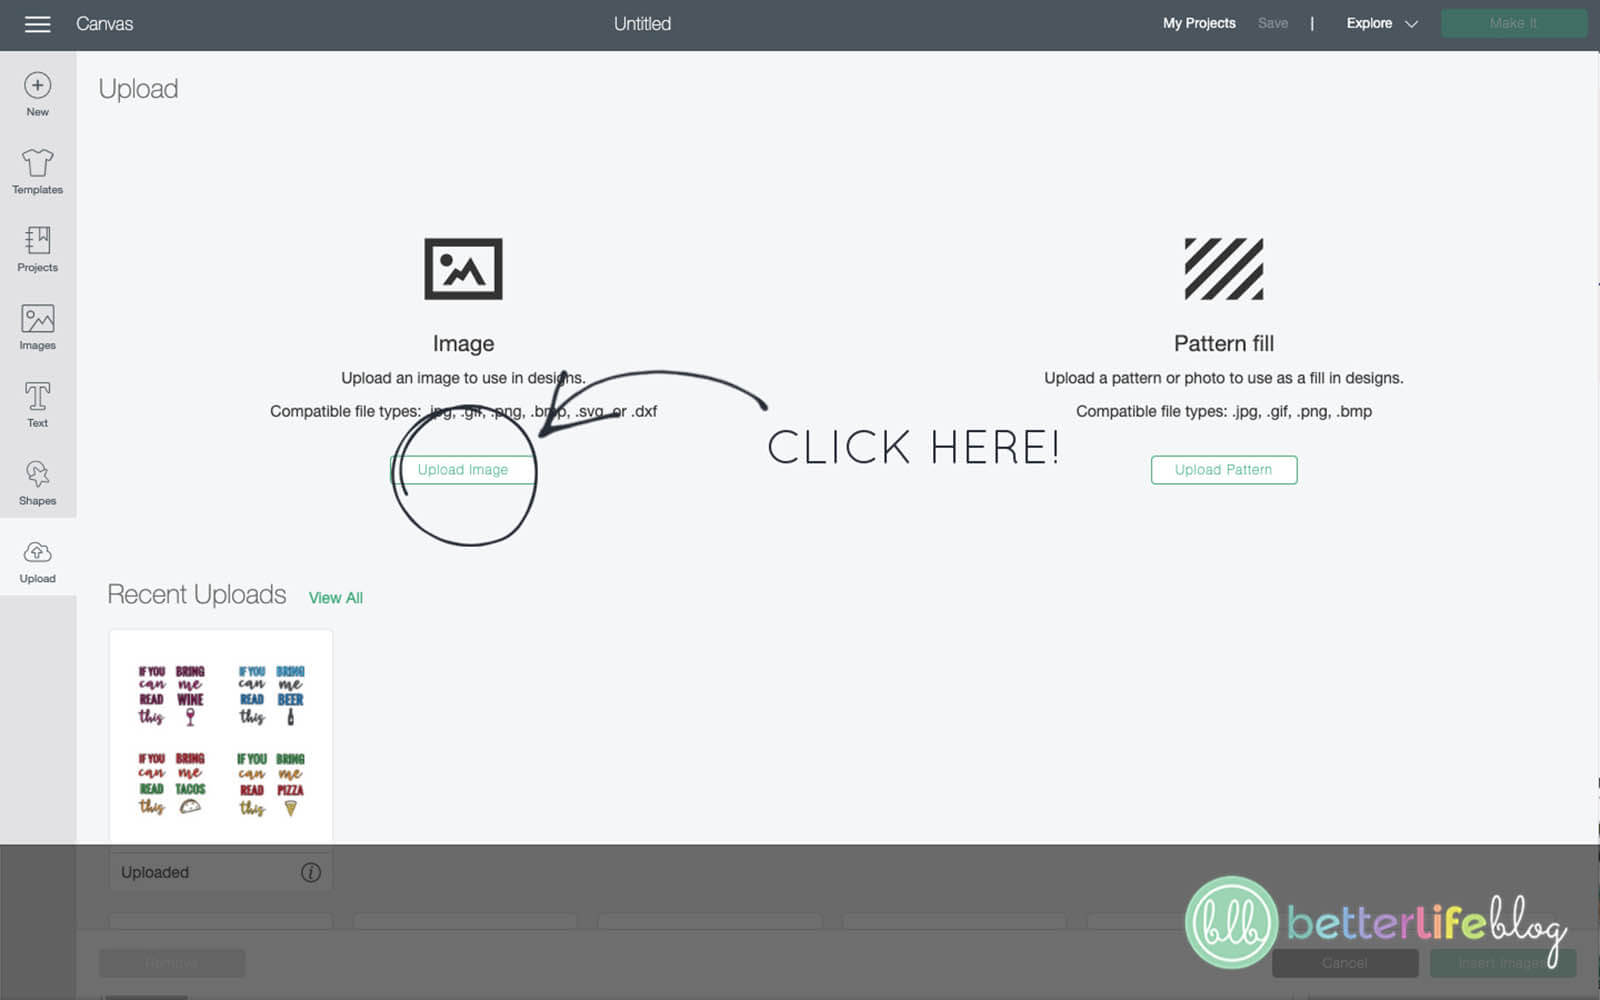
Open Design Space on your computer and click “New Project” on the left-hand side.
Next, click “Upload image” followed by “Browse”.
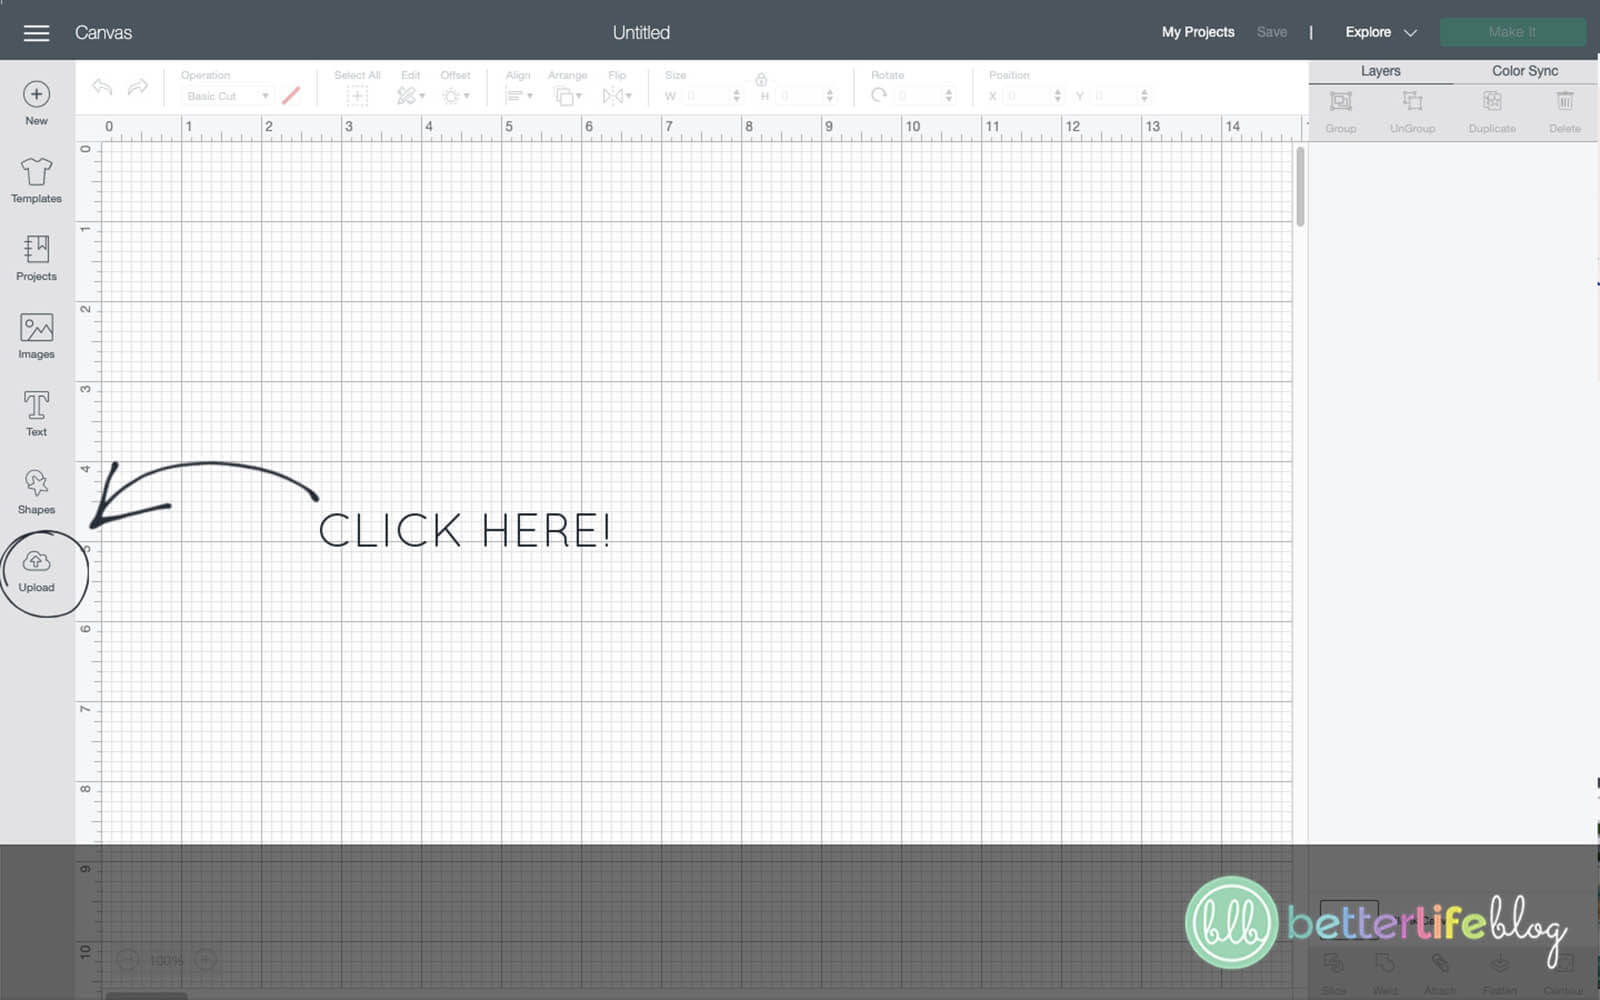
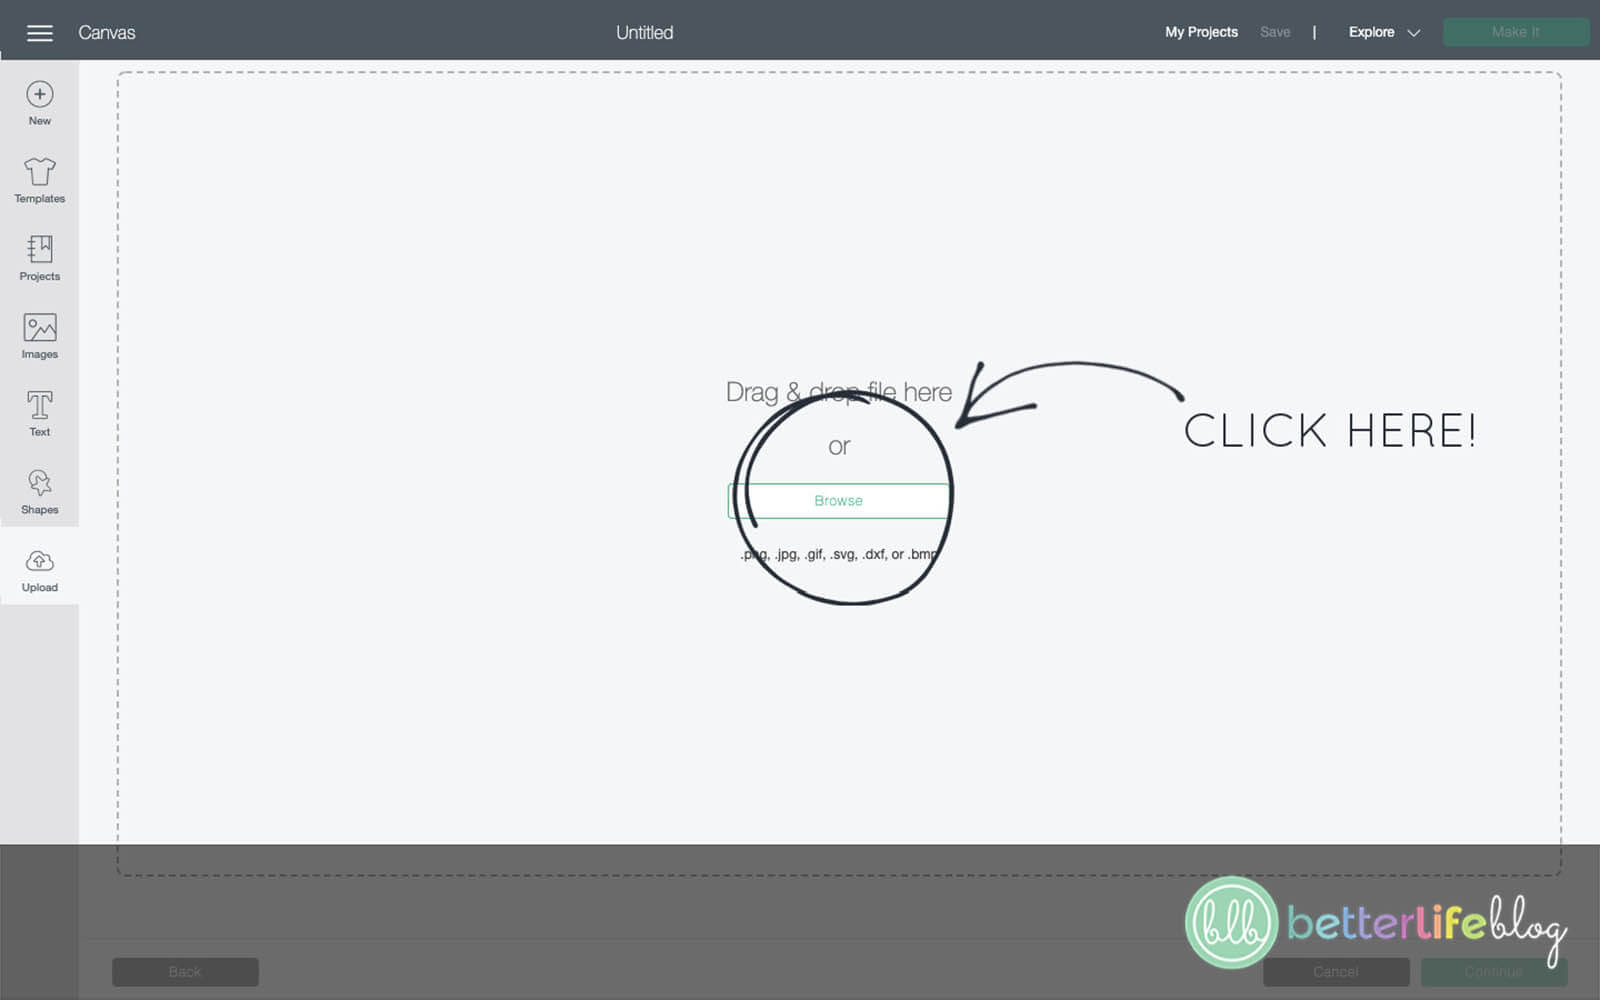
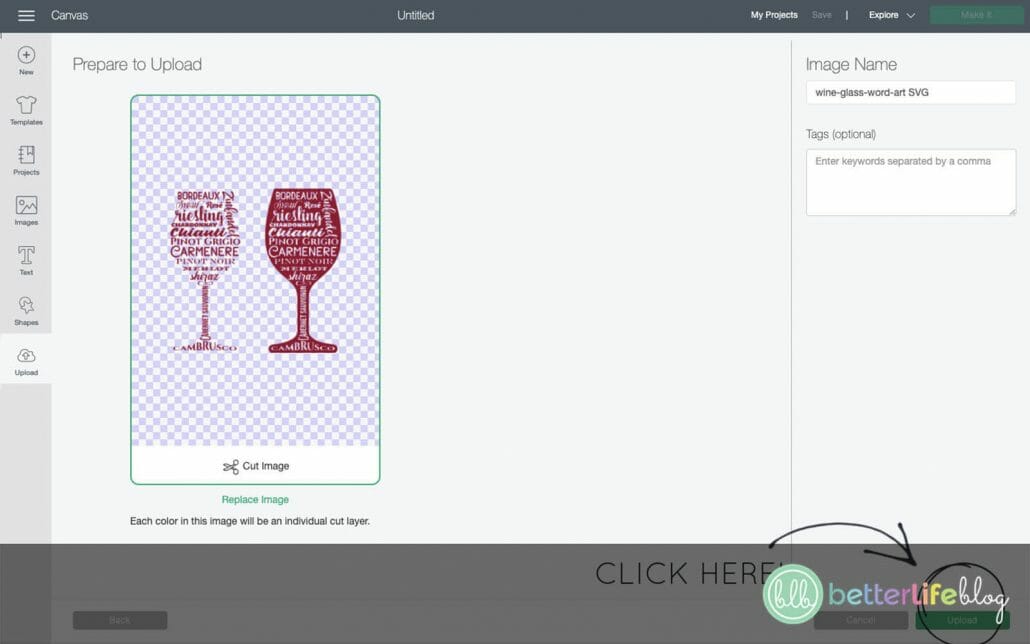
Look for your Wine Glass Art SVG file and click on it to highlight.
In the lower right-hand corner, click “Upload.”
On the next screen, you will see that your file has been uploaded to your image database. Click the file and then click on “Insert.”
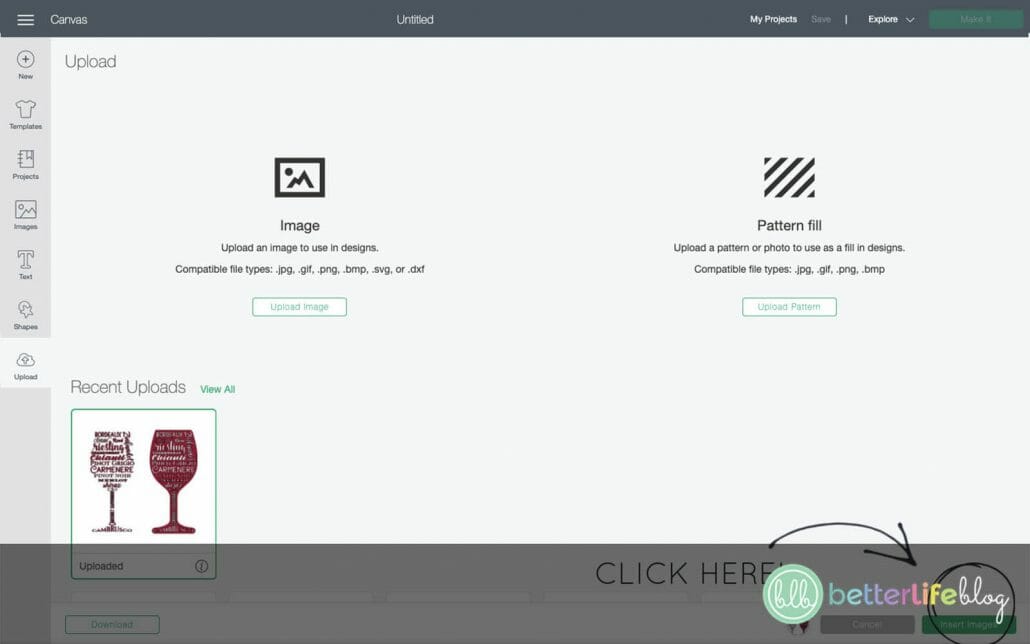
In the lower right hand corner you will see “upload”. On the next screen you will see your file has been uploaded to your image database. Click the file, followed by the “Insert” button.
Your image should now be on Design Space.
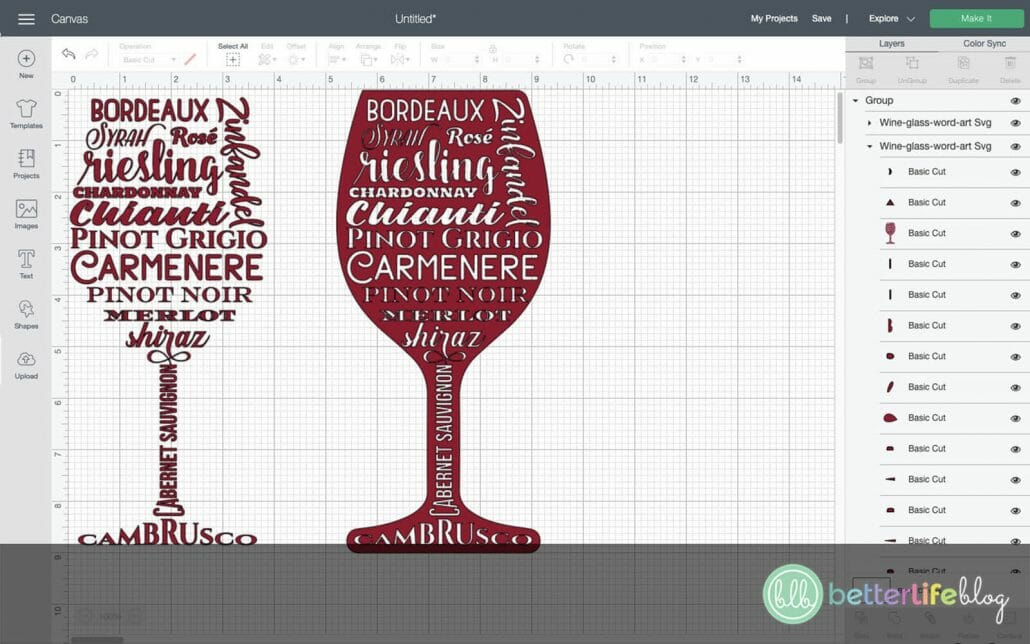
On the right-hand side of your screen, you will see a list labeled “Groups.”
Click on the group you do NOT wish to design and you will see a square around the design.
Click “Delete” directly on your keyboard and you should now be left with only the design you wish to create.
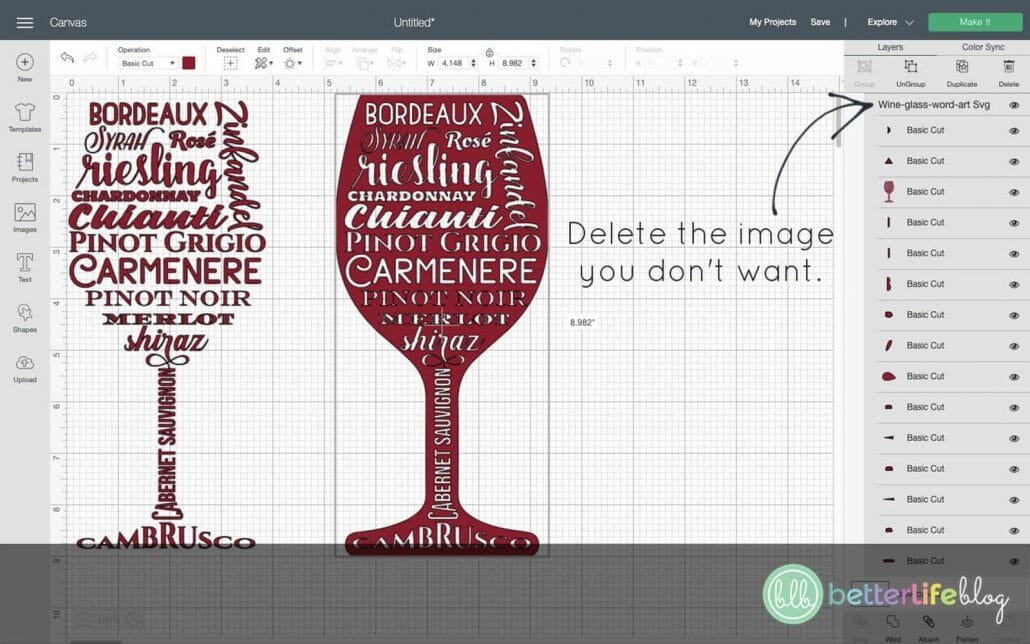
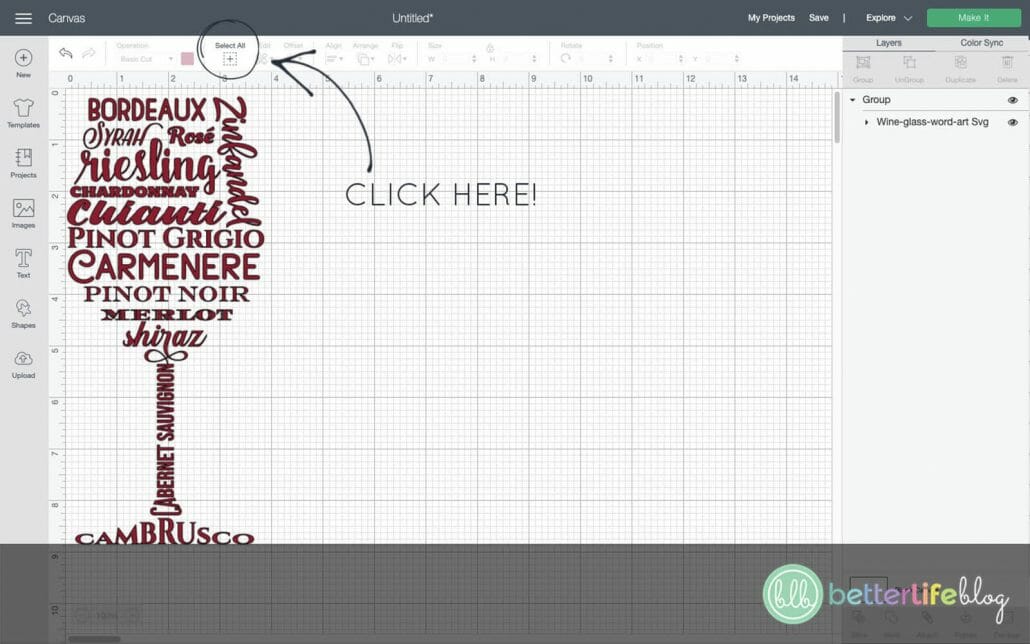
From here, click “Select All,” followed by “Weld” in the bottom right corner.
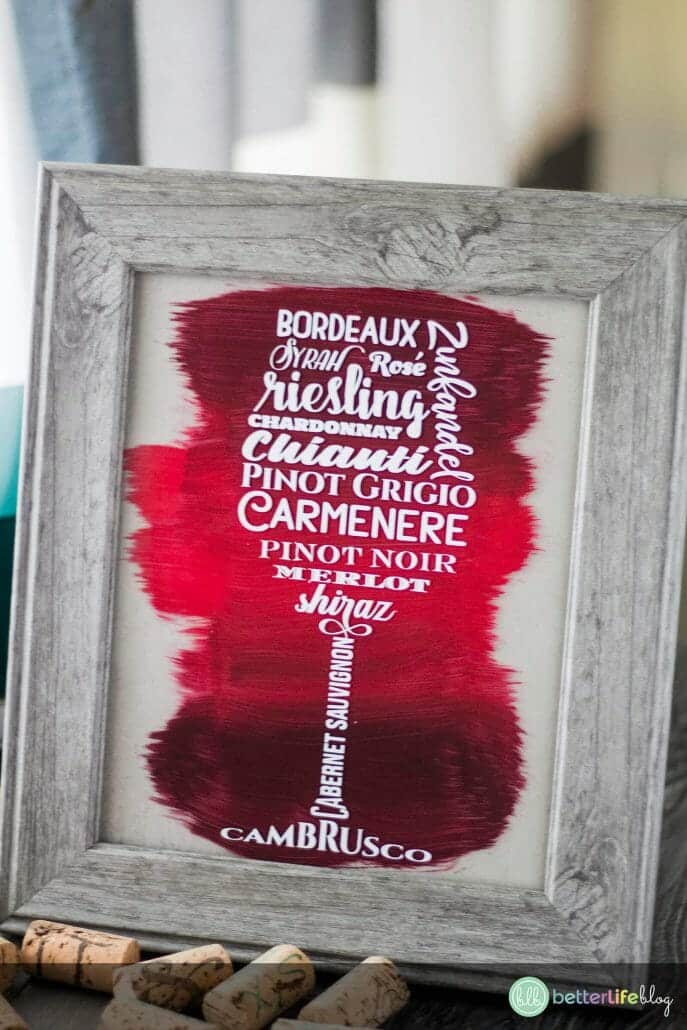
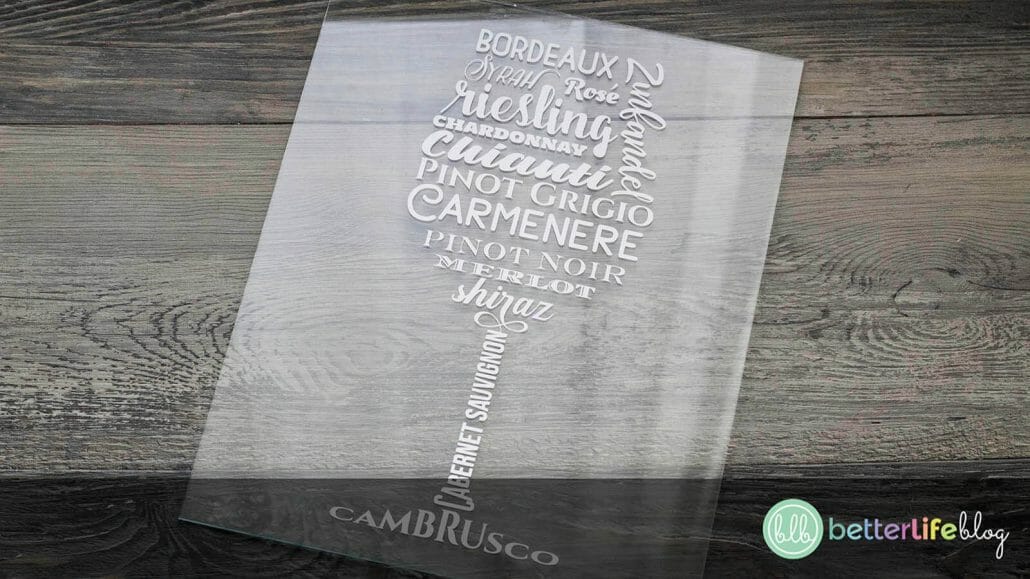
Make your image the size you will need to fit it inside of your glass frame. I made mine 4 inches wide and 9 inches long for an 8×10 frame.
Next, click “Make It.”
Click continue on the next screen and follow the on-screen prompts.
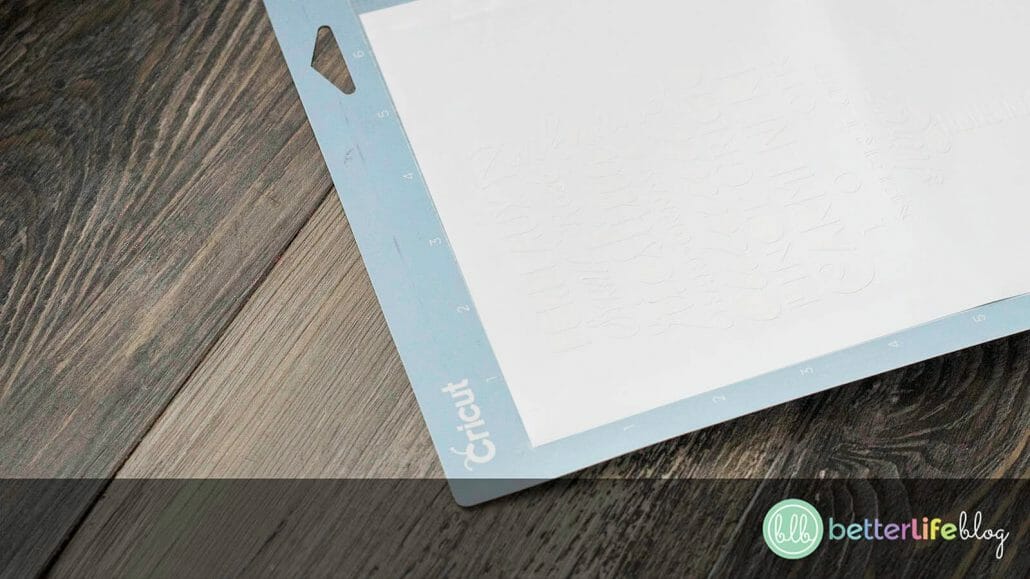
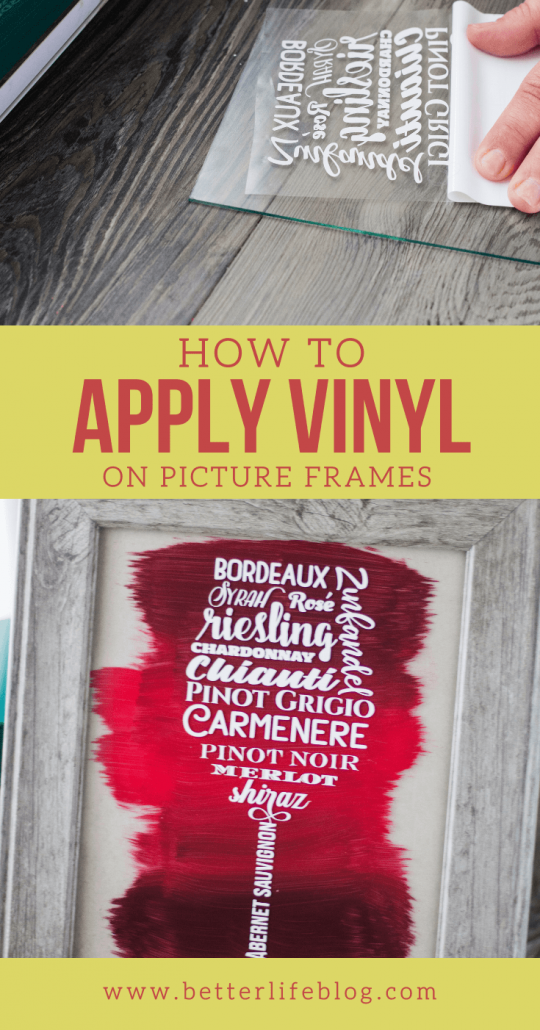
Once everything is cut out, it is time to start weeding your design/removing all excess vinyl using your weeding tools.
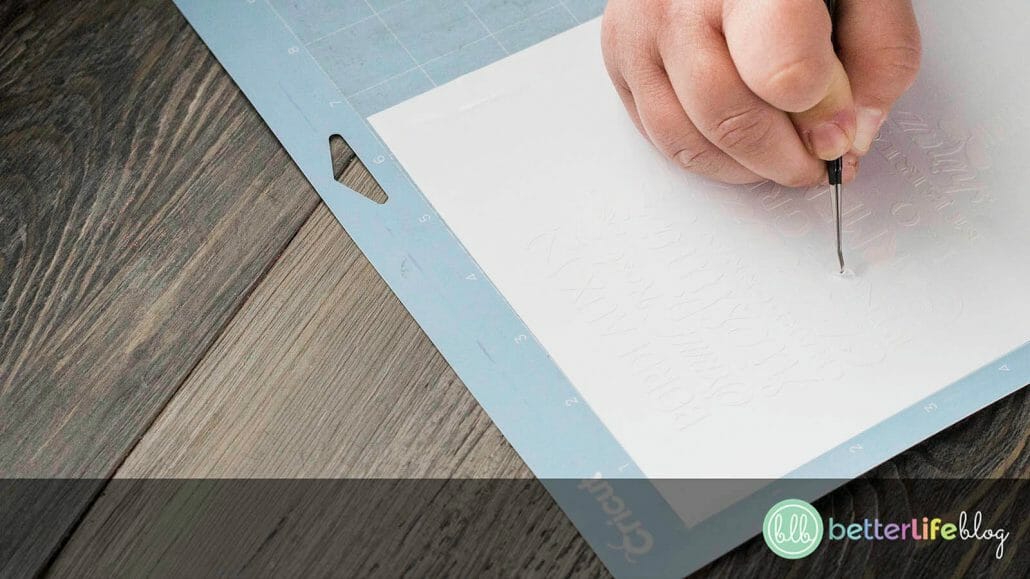
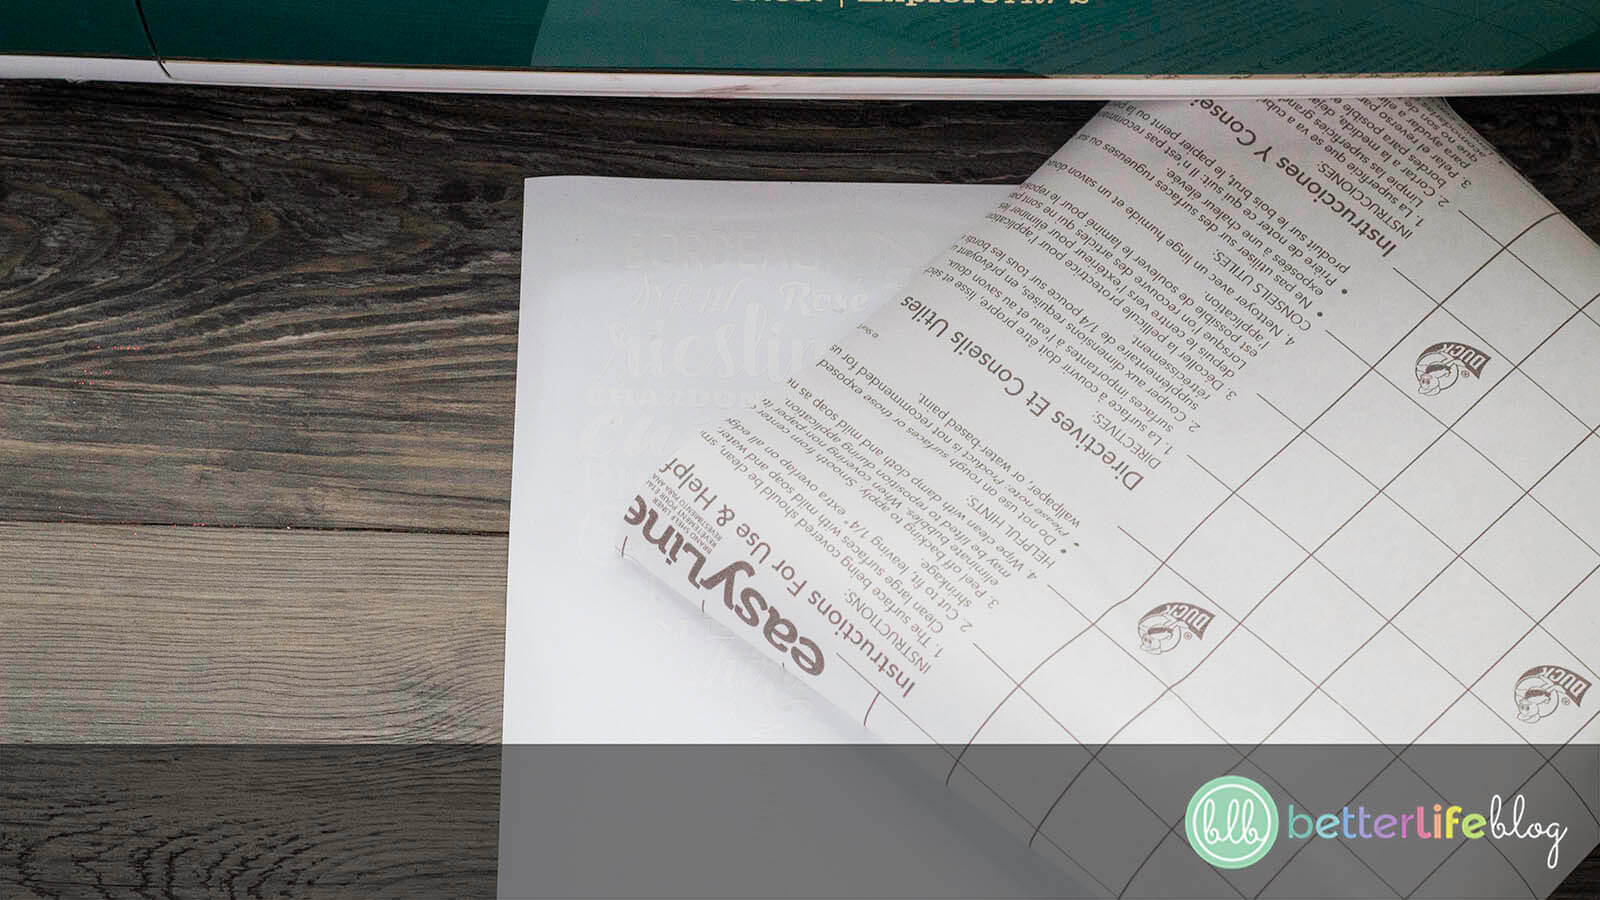
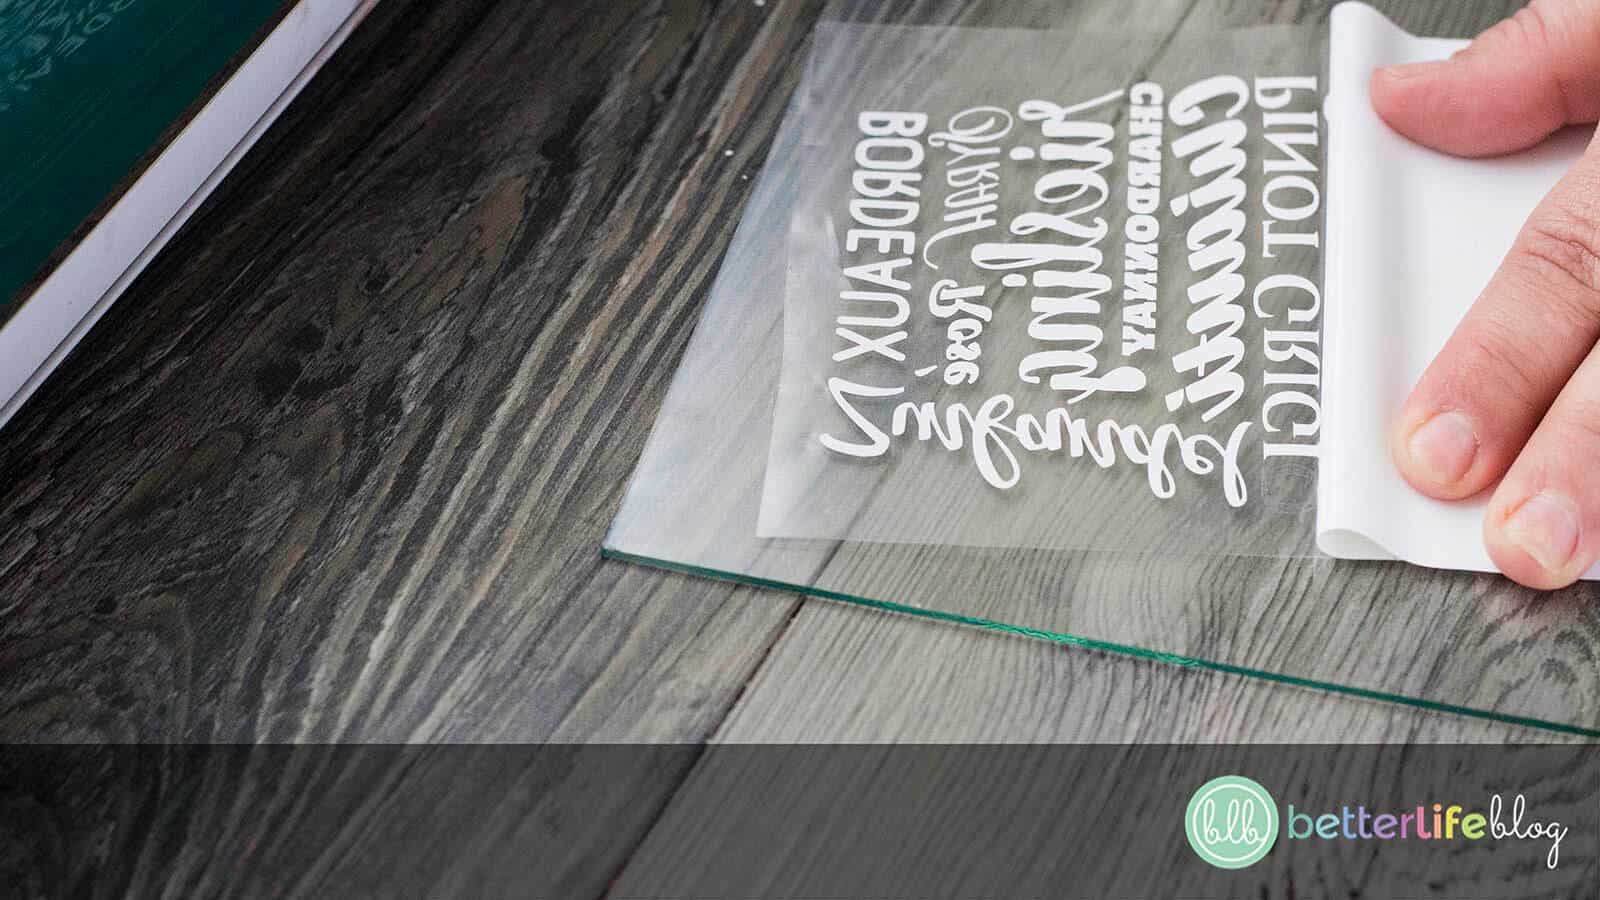
Once your design is completely weeded out, place your clear transfer tape over top of your design. Smooth it out and cut off any excess.
Next, take your scraper tool (you may also use a credit card), and make sure the design is stuck to the transfer tape in all areas.
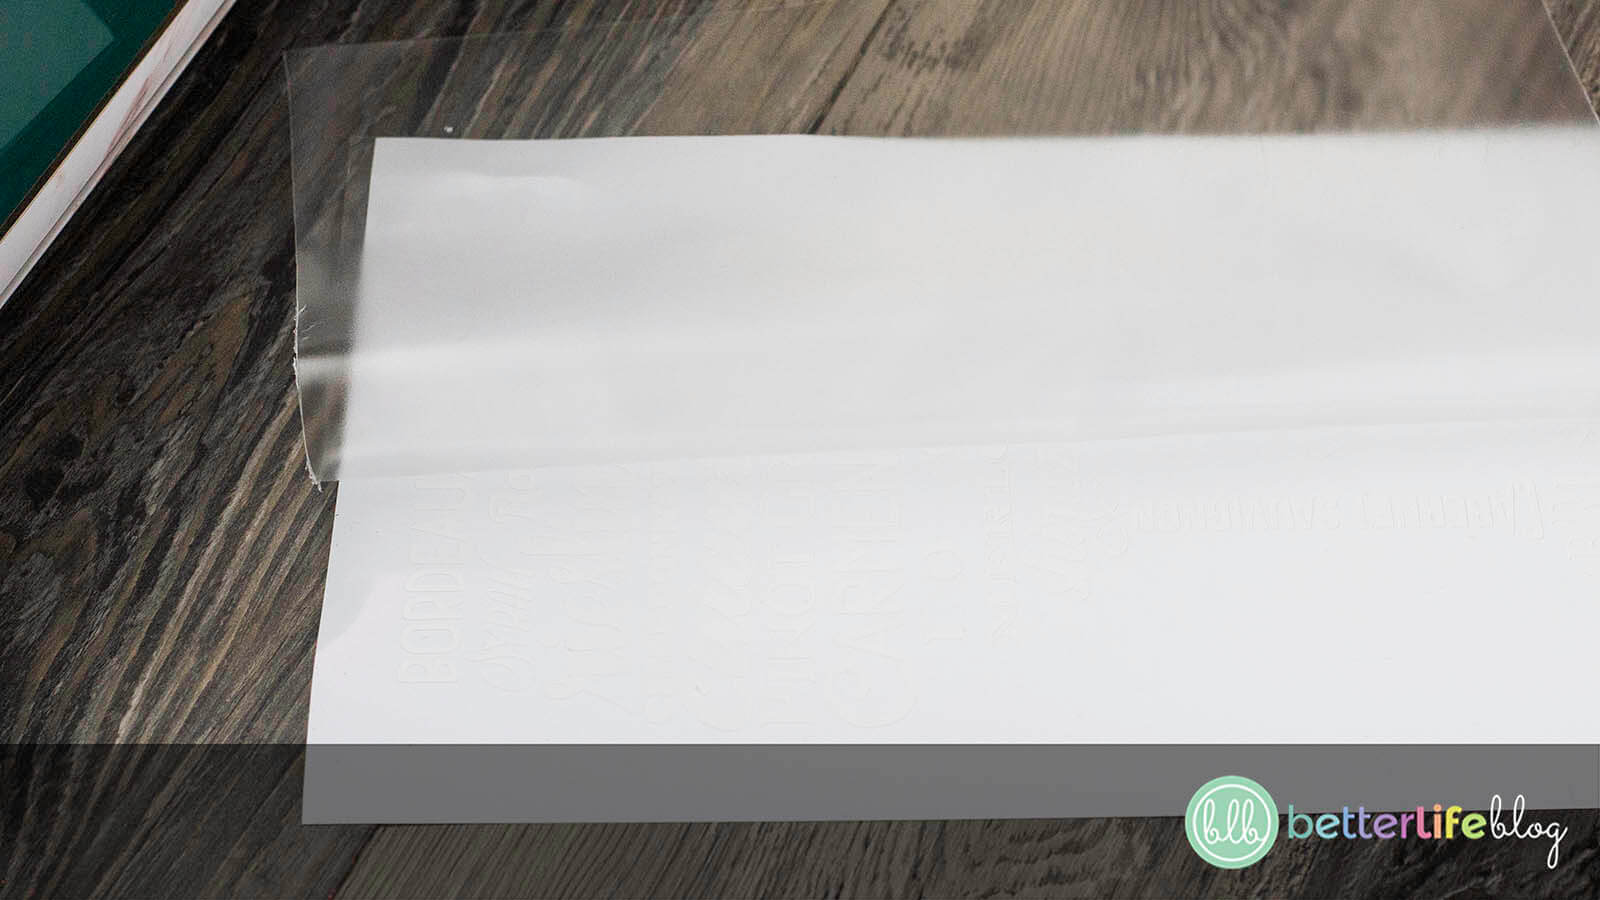
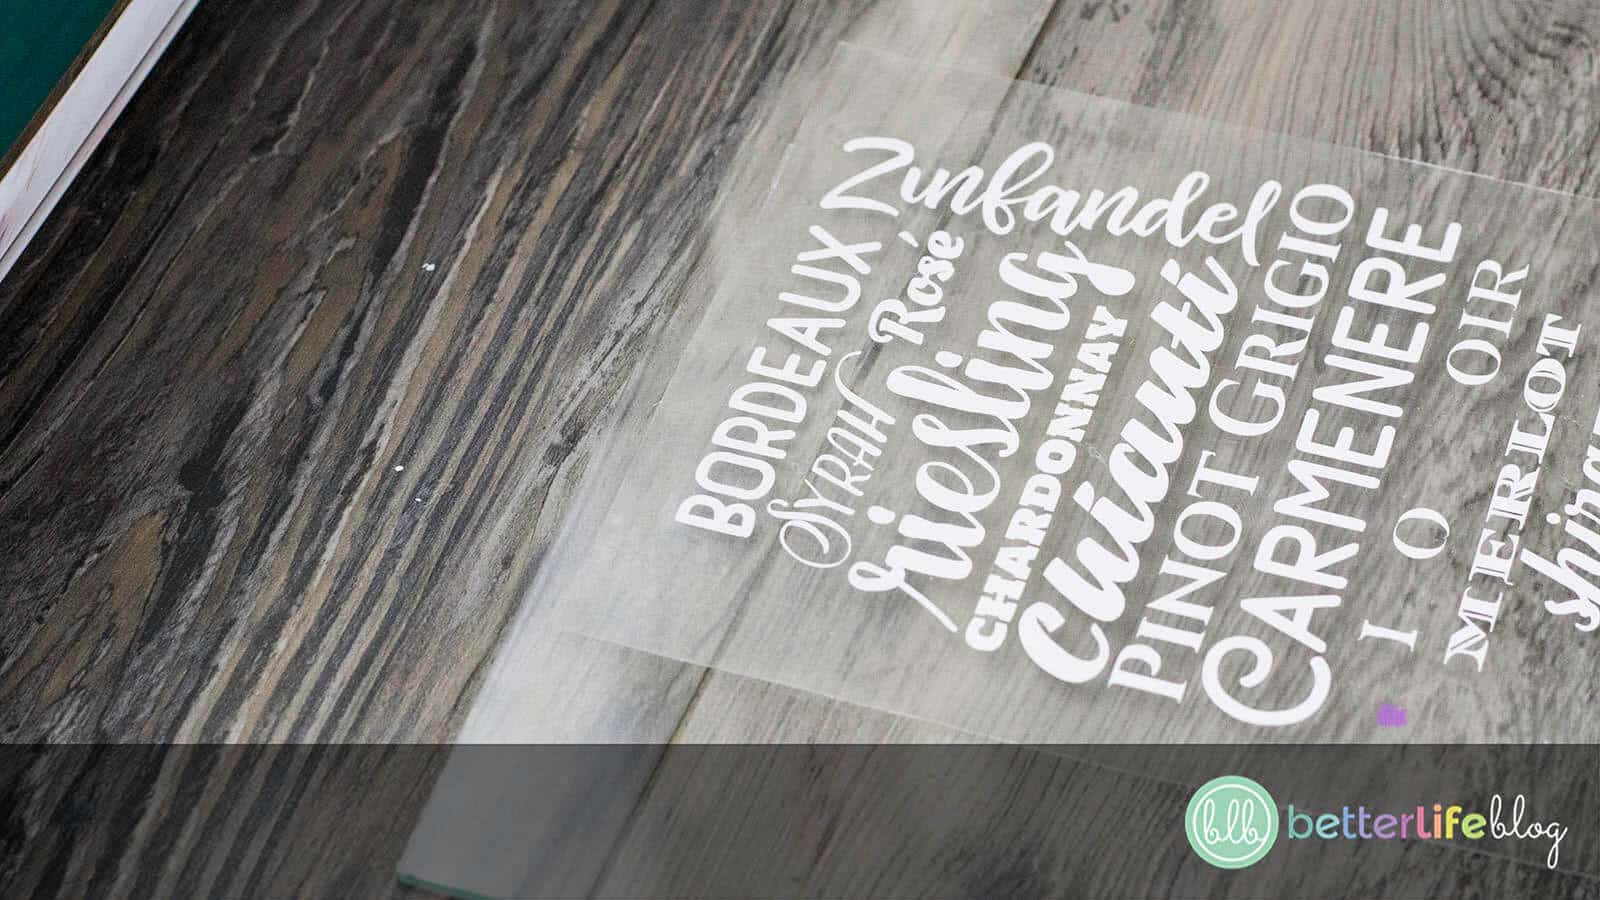
Remove the white backing, being careful to make sure your design is sticking to your transfer tape.
Next, remove the glass from your frame and place your design evenly in the center. Measure if necessary.


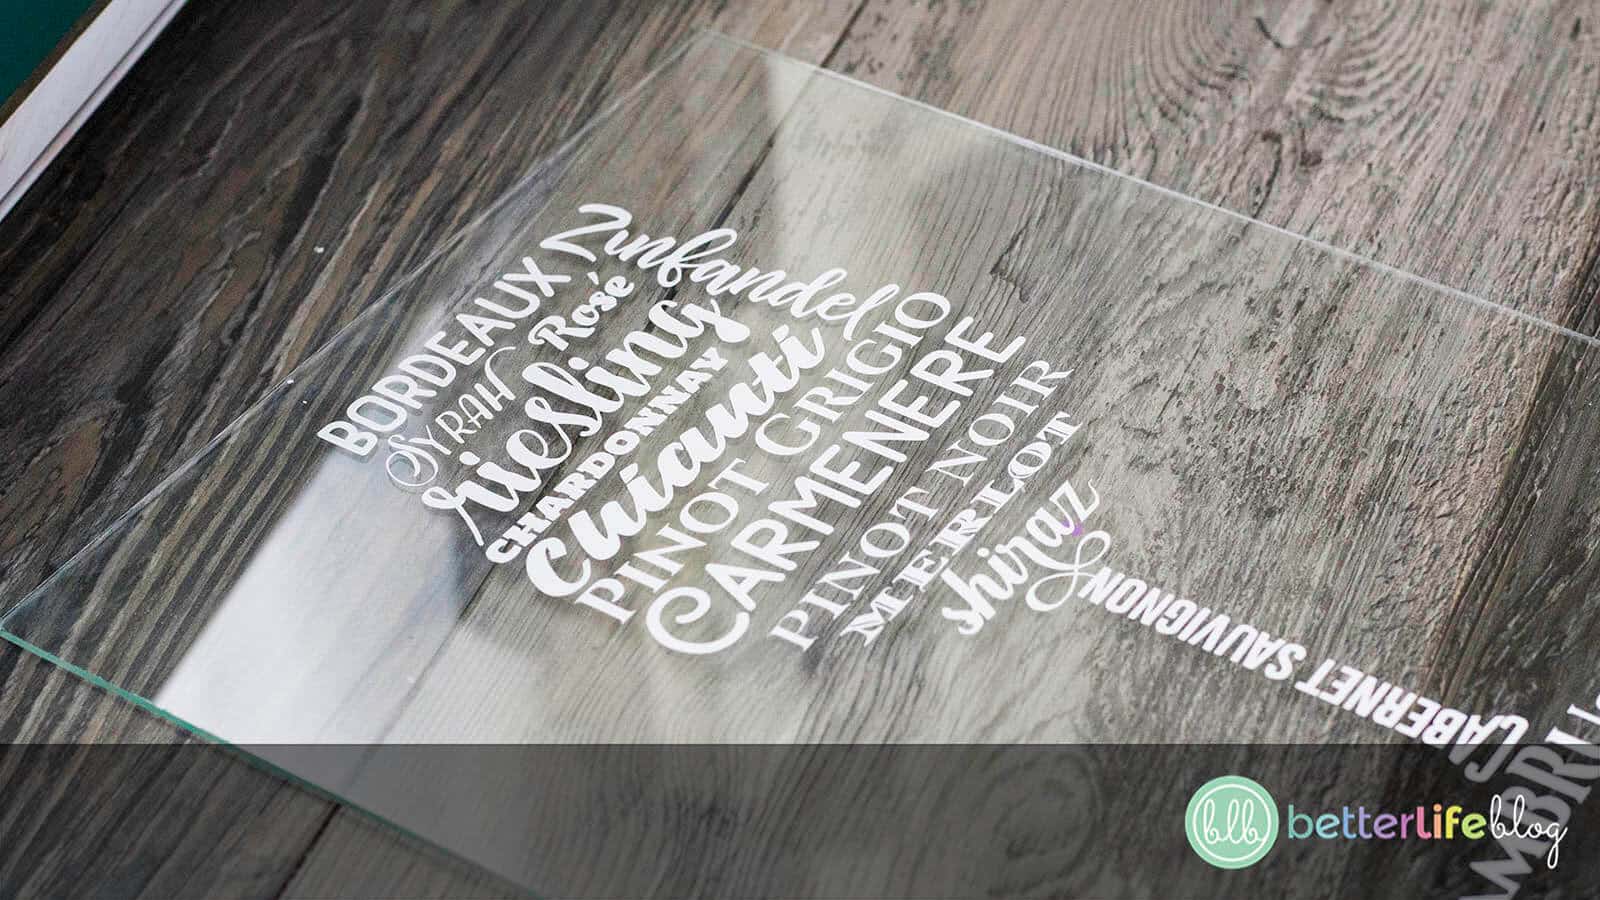
Use your scraper tool once more and firmly press the design to the glass.
Carefully remove the clear transfer tape, ensuring that the design is sticking to the glass.
Once the design is transferred to your glass, flip it over. Now it’s time to paint!
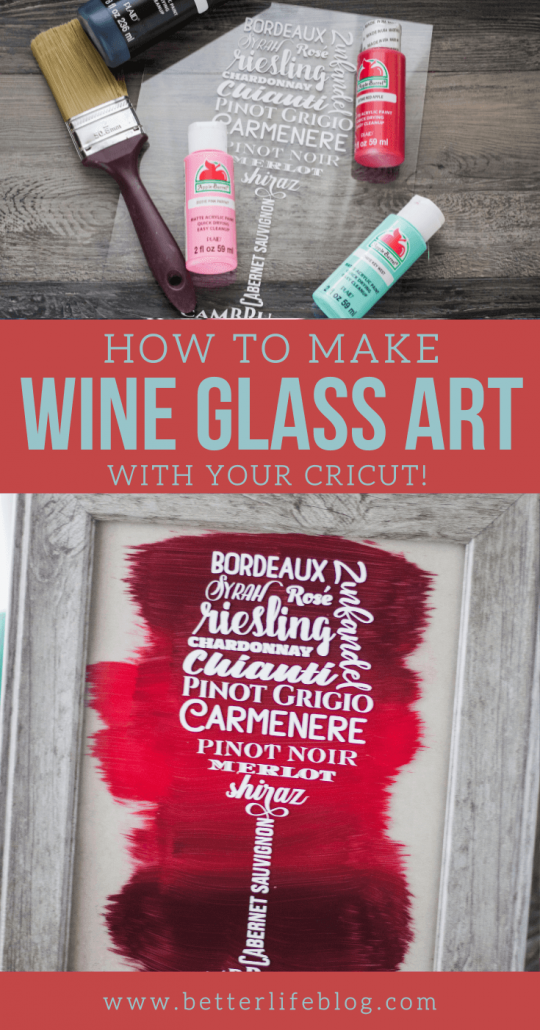
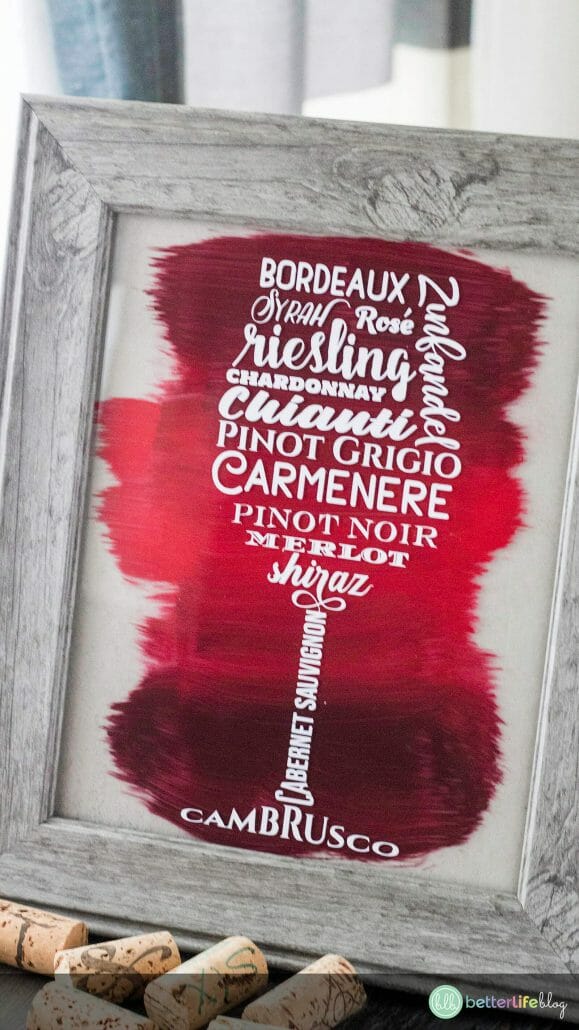
Grab two similar colors and your paint brush. I chose burgundy and red.
Start with your darker color and make brush strokes at the top of your glass. Push the brush (away from you) and lift it up before you get to the edge to create brush stroke lines.
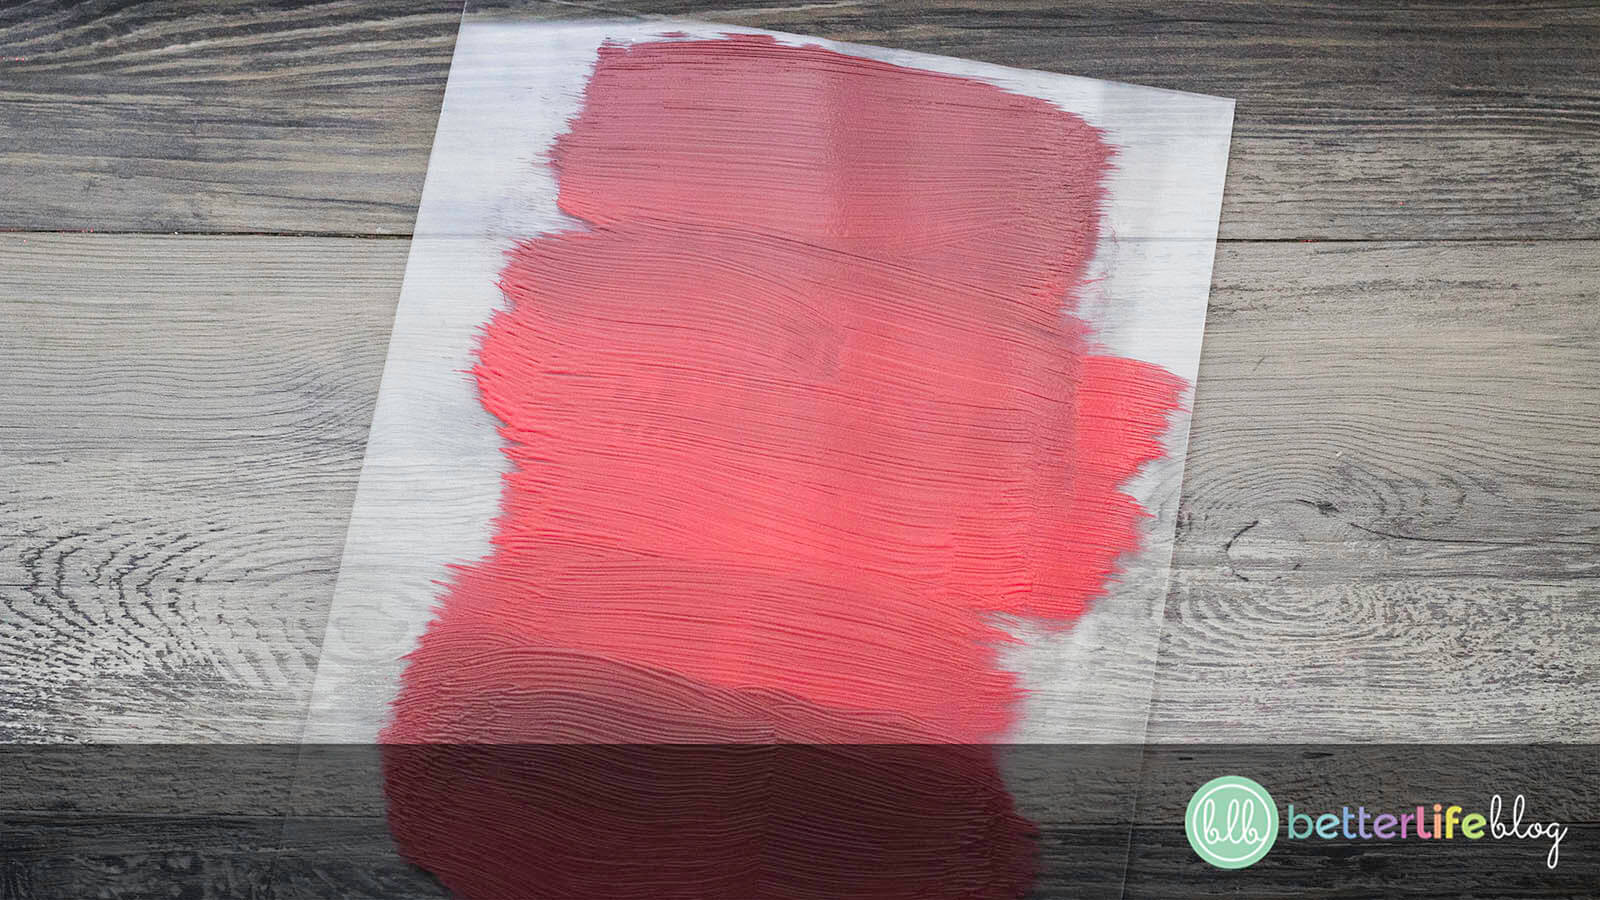
Do the same with your lighter color, but for the bottom of the glass.
Allow for the paint to dry completely and place it back in the frame. Enjoy!
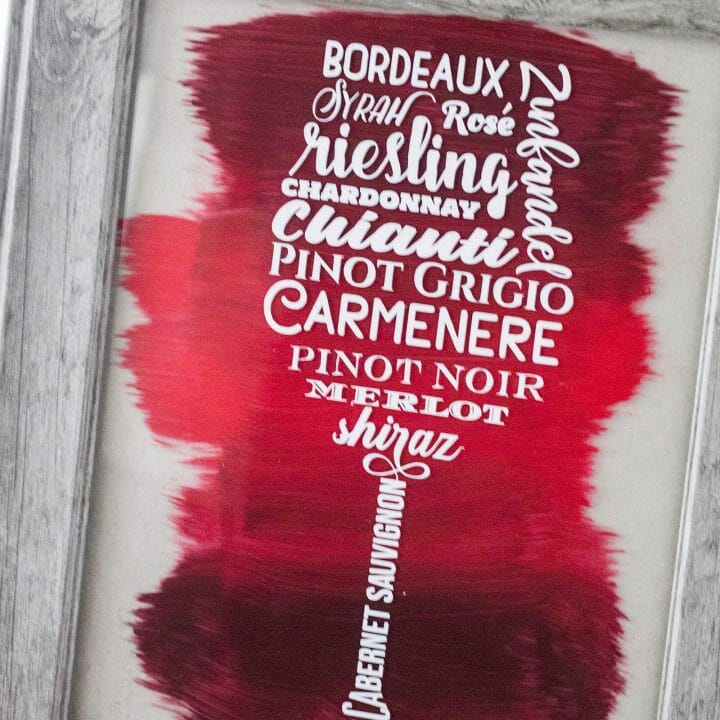
Wine Glass Art
Looking to spruce up your kitchen with some beautiful artwork? Then you’re in luck because today, I am teaching you how to put together this Wine Glass Art - the perfect touch to any kitchen décor!
Materials
Instructions
- Start by plugging your Cricut in and connecting the USB cord to your computer.
- Press the “Power” button followed by the “Open” button.
- Lay a 12x12 piece of vinyl on your mat, and make sure it is pressed down firmly and evenly.
- Feed your mat into your Cricut by pressing the arrow button and making sure your mat evenly feeds into the guides on both sides.
- If you haven’t already, download the Wine Glass Art SVG onto your computer.
- Open Design Space on your computer and click “New Project” on the left-hand side.
- Next, click “Upload image” followed by “Browse”.
- Look for your Wine Glass Art SVG file and click on it to highlight.
- In the lower right-hand corner, click “Upload.”
- On the next screen, you will see that your file has been uploaded to your image database. Click the file and then click on “Insert.”
- In the lower right hand corner you will see “upload”. On the next screen you will see your file has been uploaded to your image database. Click the file, followed by the “Insert” button.
- Your image should now be on Design Space.
- On the right-hand side of your screen, you will see a list labeled “Groups.”
- Click on the group you do NOT wish to design and you will see a square around the design.
- Click “Delete” directly on your keyboard and you should now be left with only the design you wish to create.
- From here, click “Select All,” followed by “Weld” in the bottom right corner.
- Make your image the size you will need to fit it inside of your glass frame. I made mine 4 inches wide and 9 inches long for an 8x10 frame.
- Next, click “Make It.”
- Click continue on the next screen and follow the on-screen prompts.
- Once everything is cut out, it is time to start weeding your design/removing all excess vinyl using your weeding tools.
- Once your design is completely weeded out, place your clear transfer tape over top of your design. Smooth it out and cut
off any excess. - Next, take your scraper tool (you may also use a credit card), and make sure the design is stuck to the transfer tape in all areas.
- Remove the white backing, being careful to make sure your design is sticking to your transfer tape.
- Next, remove the glass from your frame and place your design evenly in the center. Measure if necessary.
- Use your scraper tool once more and firmly press the design to the glass.
- Carefully remove the clear transfer tape, ensuring that the design is sticking to the glass.
- Once the design is transferred to your glass, flip it over. Now it’s time to paint!
- Grab two similar colors and your paint brush. I chose burgundy and red.
- Start with your darker color and make brush strokes at the top of your glass. Push the brush (away from you) and lift it up before you get to the edge to create brush stroke lines.
- Do the same with your lighter color, but for the bottom of the glass.
- Allow for the paint to dry completely and place it back in the frame. Enjoy!