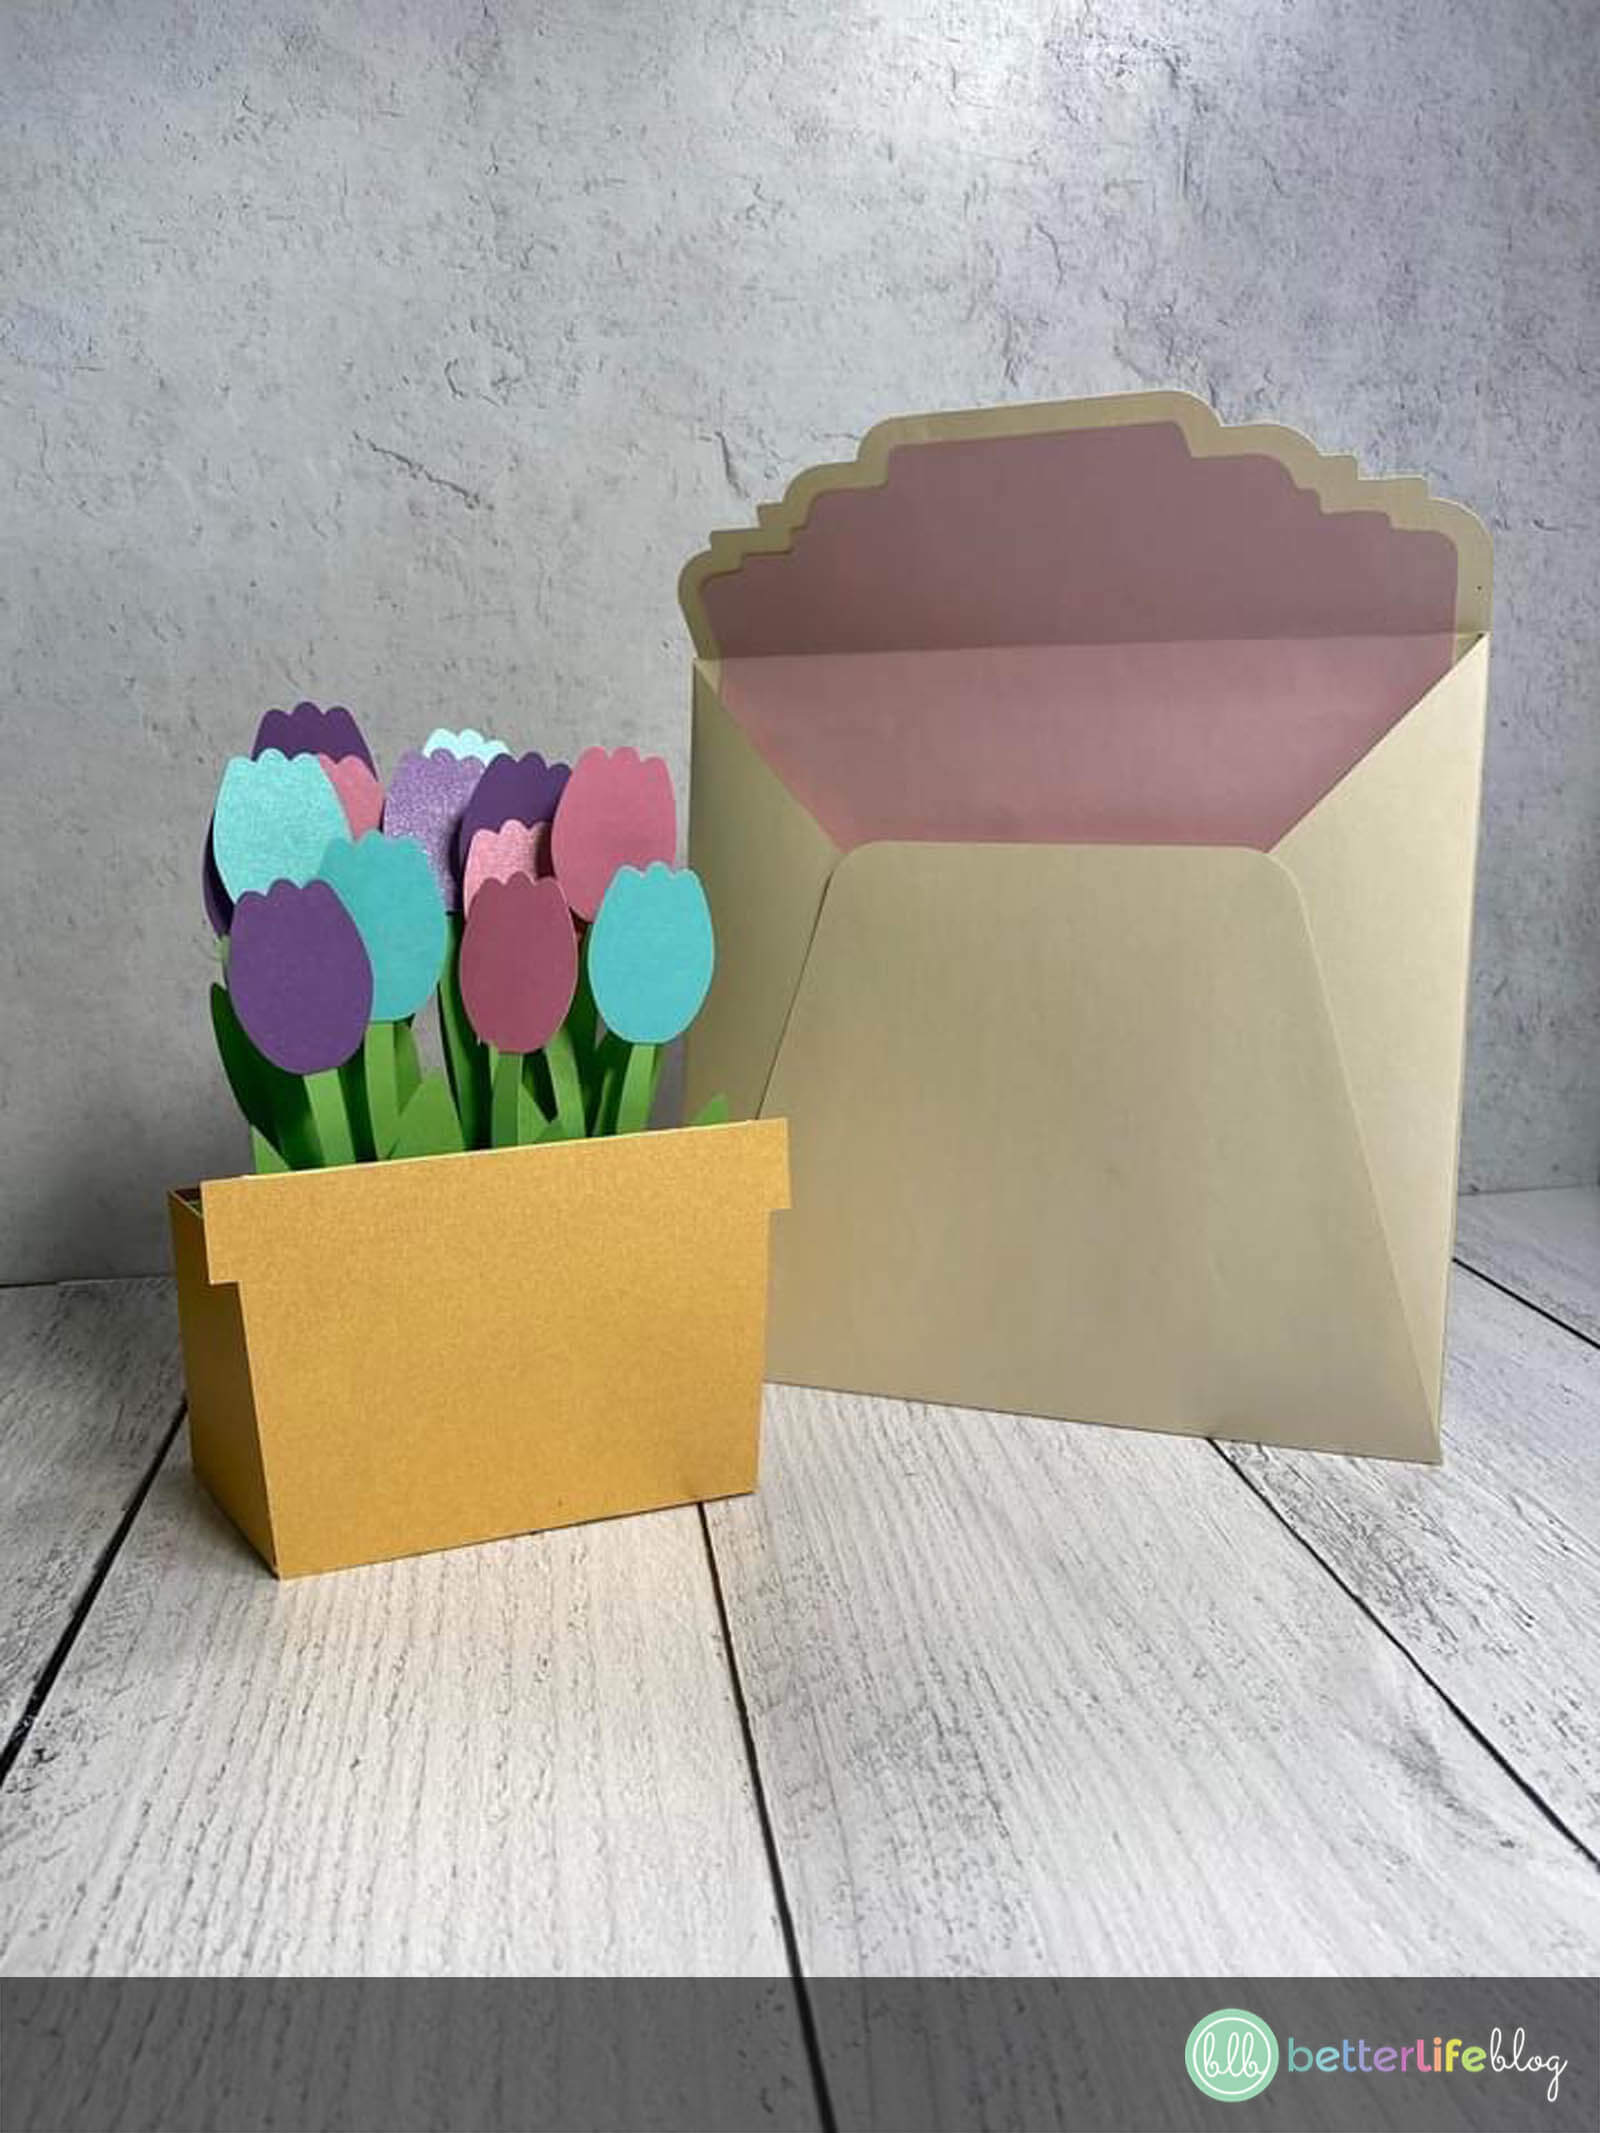
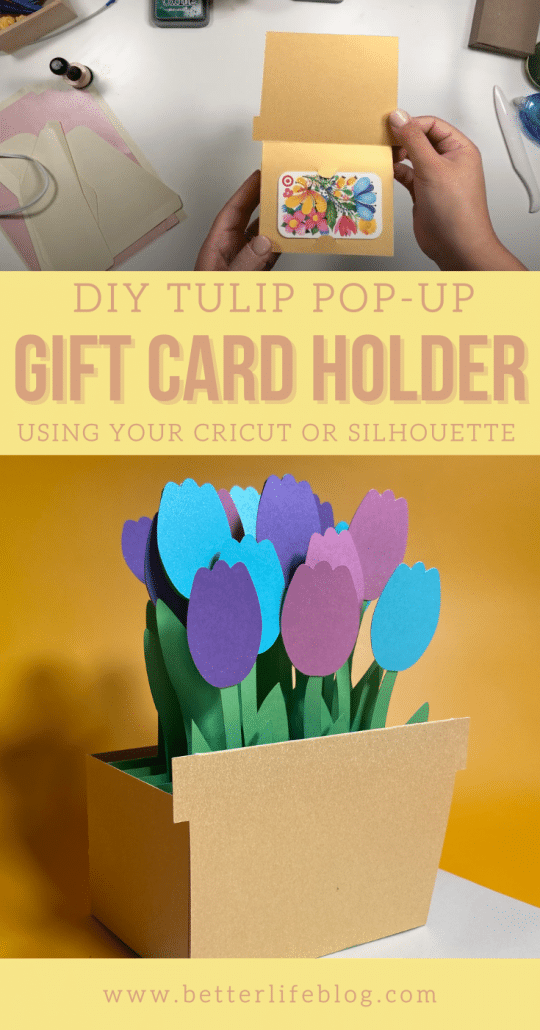
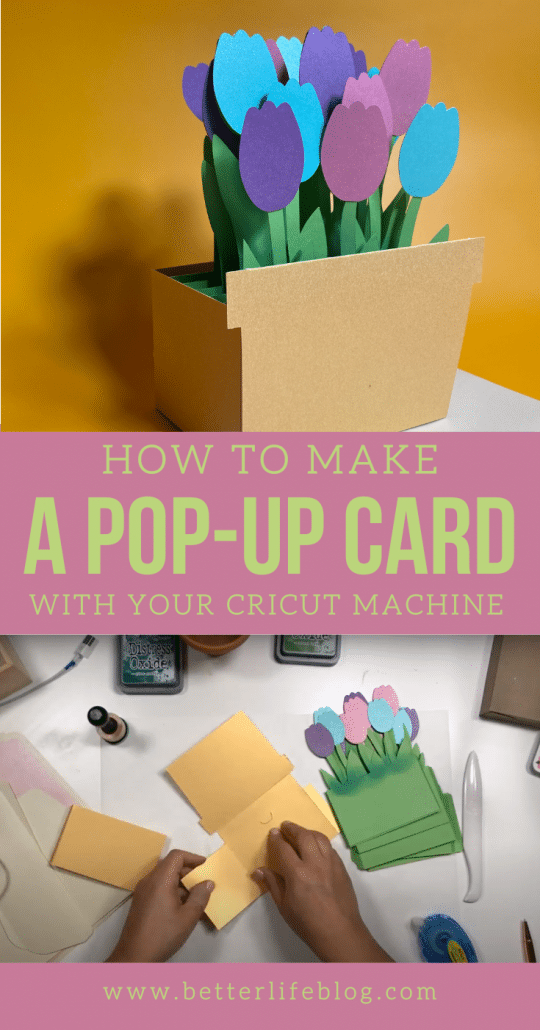
Hello there, crafty friends! Today, I’m showing you how to make a gorgeous 3D Tulip Gift Card Holder. I think unique gift card holders like these really elevate the gift-giving experience. Sometimes, I feel so dull when I just hand over a gift card for a special occasion. By making this handmade gift card holder, it feels like I am putting a personalized touch for the end receiver.
Such a Unique Gift!
Truly, I would love receiving this 3D Tulip Gift Card Holder even without the gift card because it’s SO lovely! I love the idea of handmade gifts. When I know that someone’s put in extra effort to gift me something, it makes even more grateful!

Today, I am going to walk you through how to put together this beautiful craft. It may look daunting and you may think, “How am I supposed to assemble something like this?!” Keep on scrolling because down below, I have written instructions AND a video tutorial to help you out!
Please Note: The photos below have been taken from a live stream I did on Youtube and Facebook, so the quality may not be as good as an actual photo. However, these screenshots are intended for your benefit so as you are watching the video, you can follow along with this blog post.
Where Do I Start?
First thing’s first, let’s talk SVG files! In order to complete this Cricut/Silhouette project, you’ll need to download the dedicated SVG files. My VIP Crafters Club members received this file last month. If you want access to this 3D Tulip Gift Card Holder DIY plus hundreds of other Cricut/Silhouette crafts, be sure to join my exclusive club! A membership will grant you access to all sorts of files and you’ll have access to our online community where we make beautiful crafts every month.

Score Lines
First thing’s first, let’s talk about score lines! When you’re on your cutting program, don’t forget to click on “Score Lines” to turn those dotted lines into score lines (this way, your cutting machine doesn’t cut them).
If you’re not sure how to set up score lines, I’ve created this handy video to show you how to do that in both Circuit Design Space and Silhouette Studio! This video is for a different project, but it will still give you a good idea on how to properly set up score lines for all of your DIYs!
How to Make a 3D Tulip Gift Card Holder
Read below for the full instructions on how to make this gorgeous gift card holder! And don’t forget to watch the video for a more visual experience. Happy crafting!
Equipment and Supplies Needed
- 3D Tulip Gift Card Holder SVG file
- Cricut machine (or another cutting machine of your choice, like the Silhouette Cameo)
- Colored cardstock
- Standard grip mat
- Glue roller
- Scoring tool
- Gift card
Instructions
Begin by cutting then gathering all of your pieces from your 3D Tulip Gift Card Holder SVG File (it comes with the membership to my VIP Crafters Club!). Don’t forget to take into consideration the score lines on your SVG files: these are lines that that need to be turned into “score lines” when opening up the file on your dedicated cutting program. The lines that need to be changed are a different color from the other lines that need to be cut.
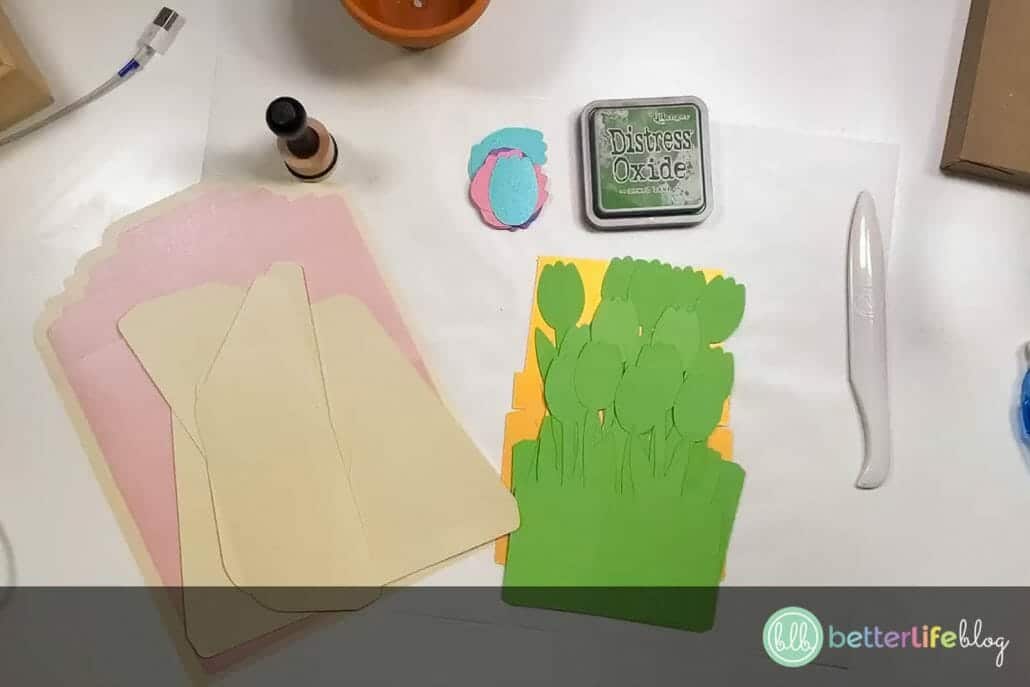
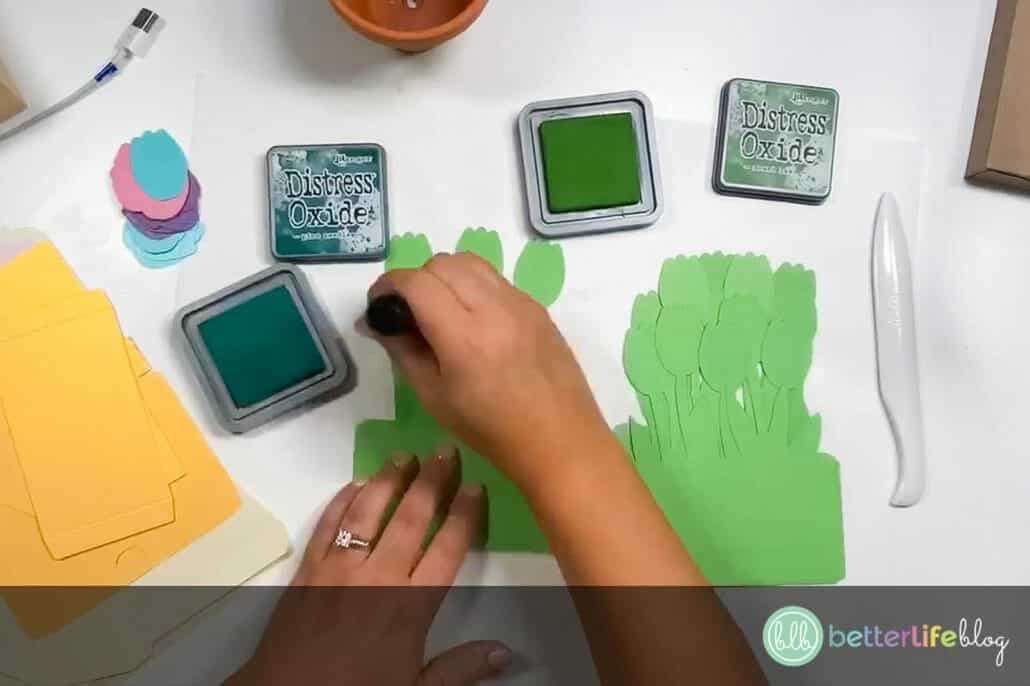
Score and fold the sides of the green pieces (where score lines are indicated).
Glue the tulip pieces onto the green pieces (ie.: the stems for the tulips).
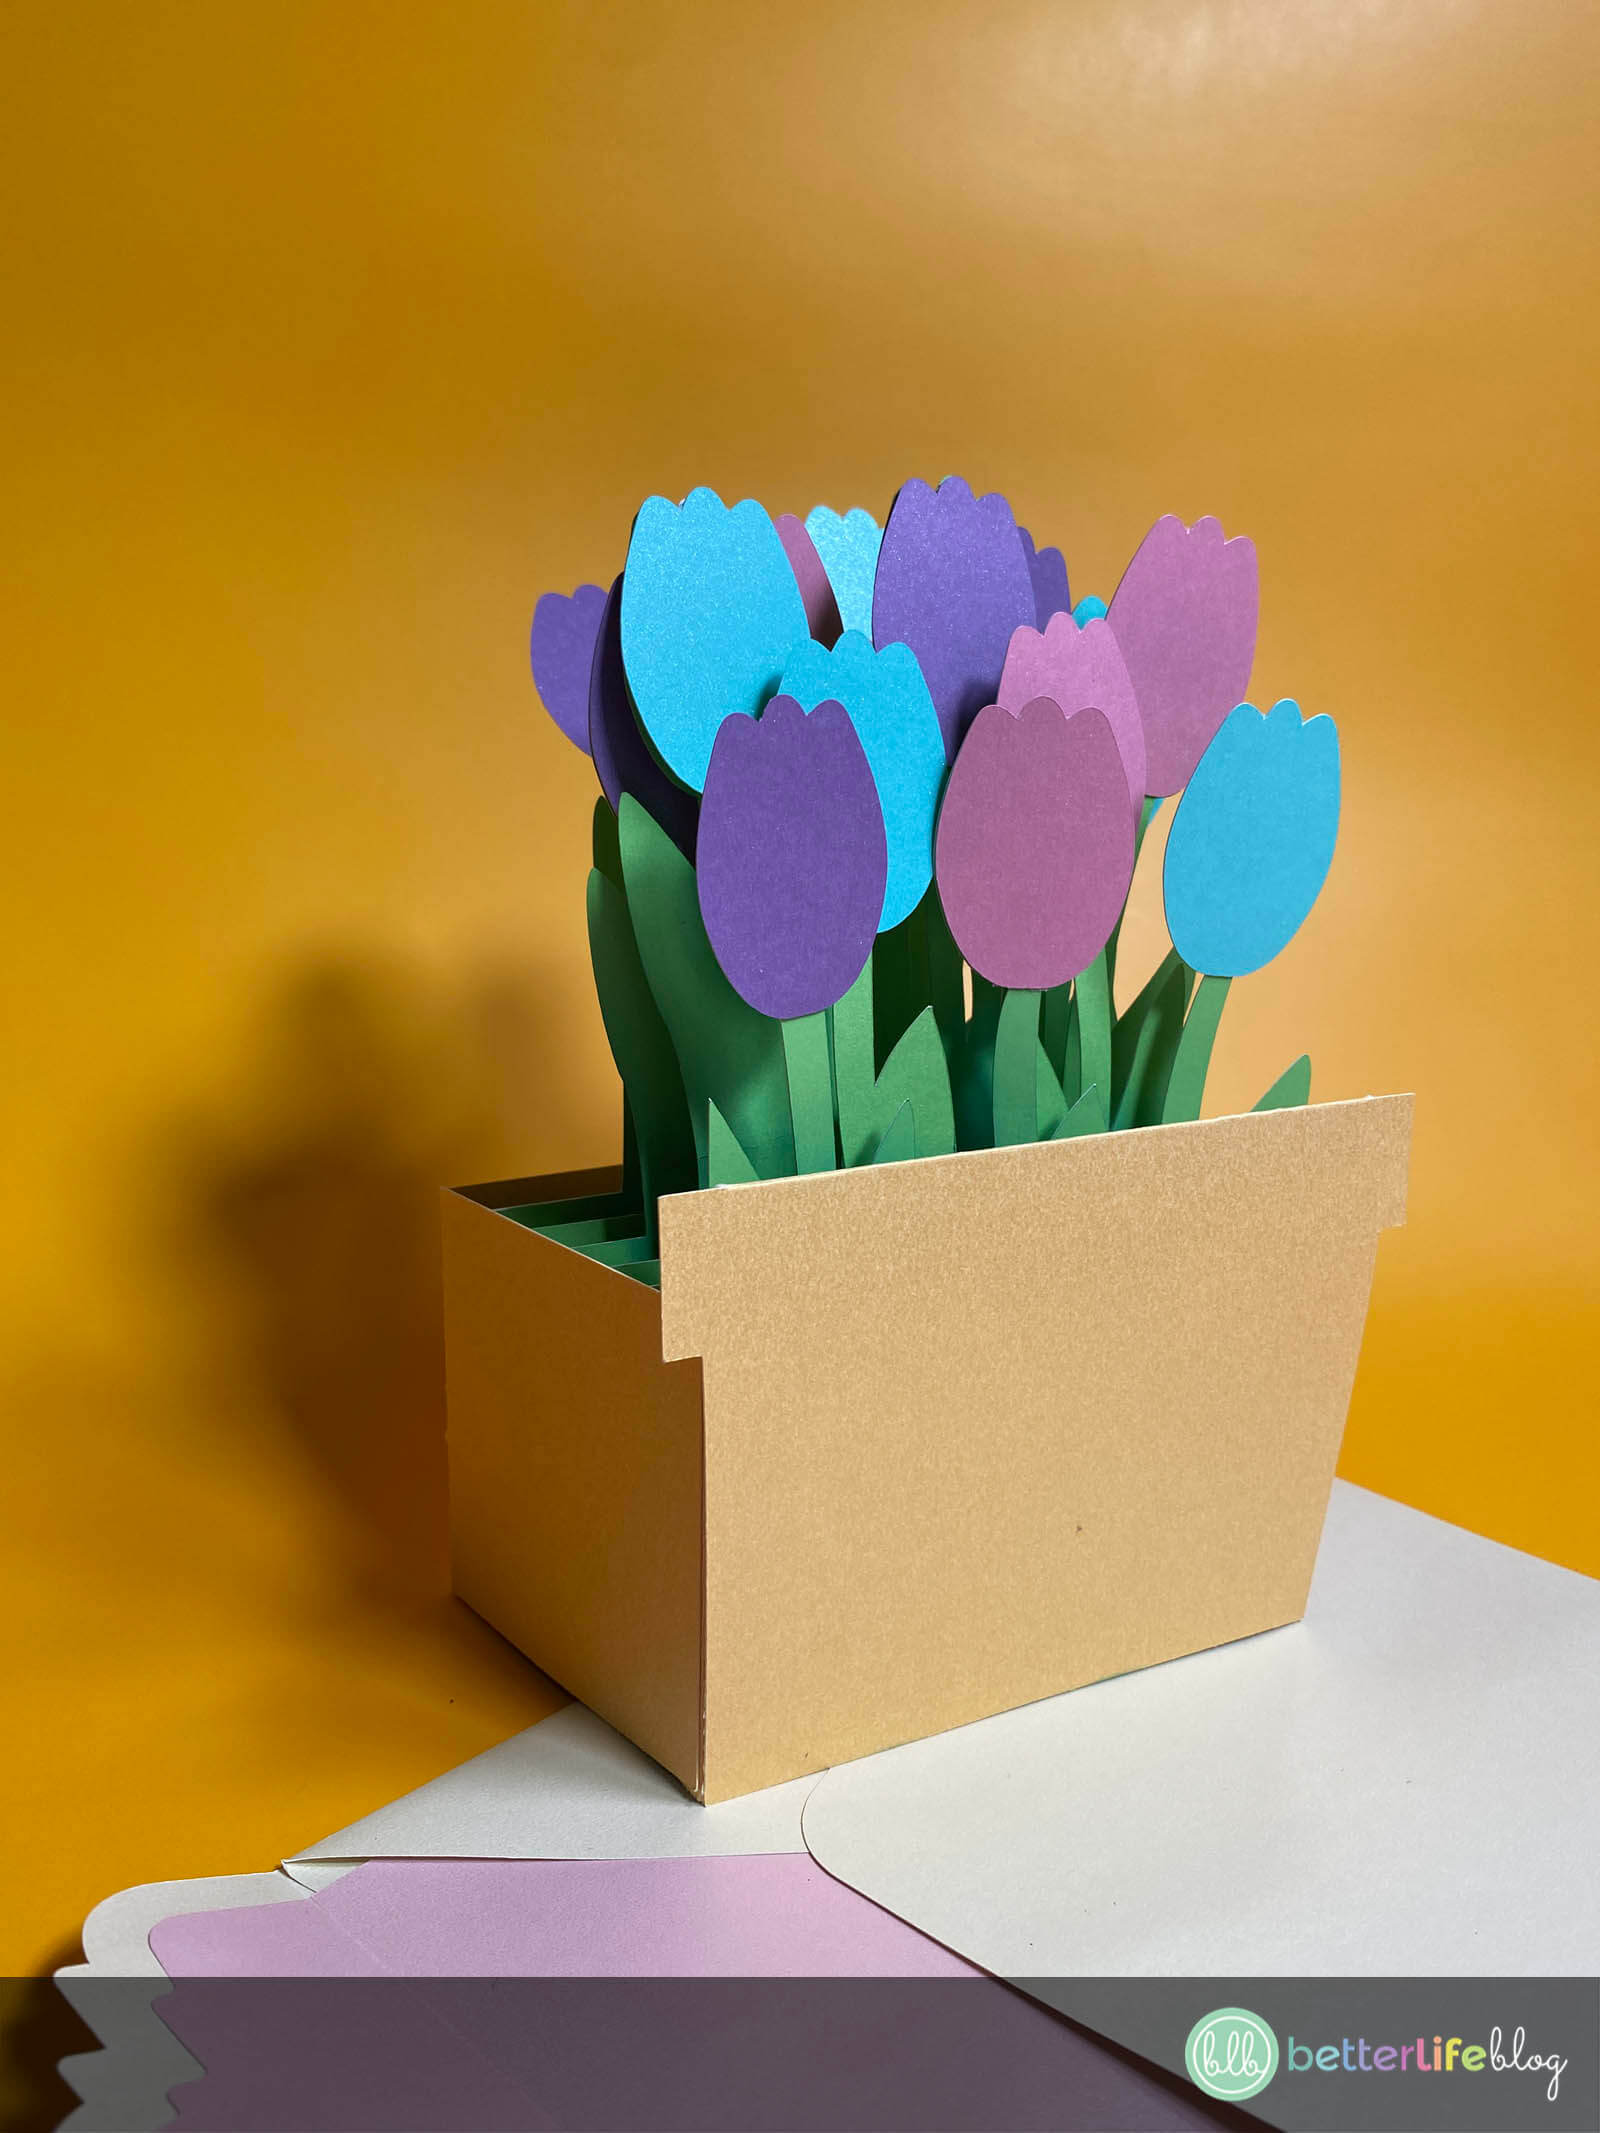
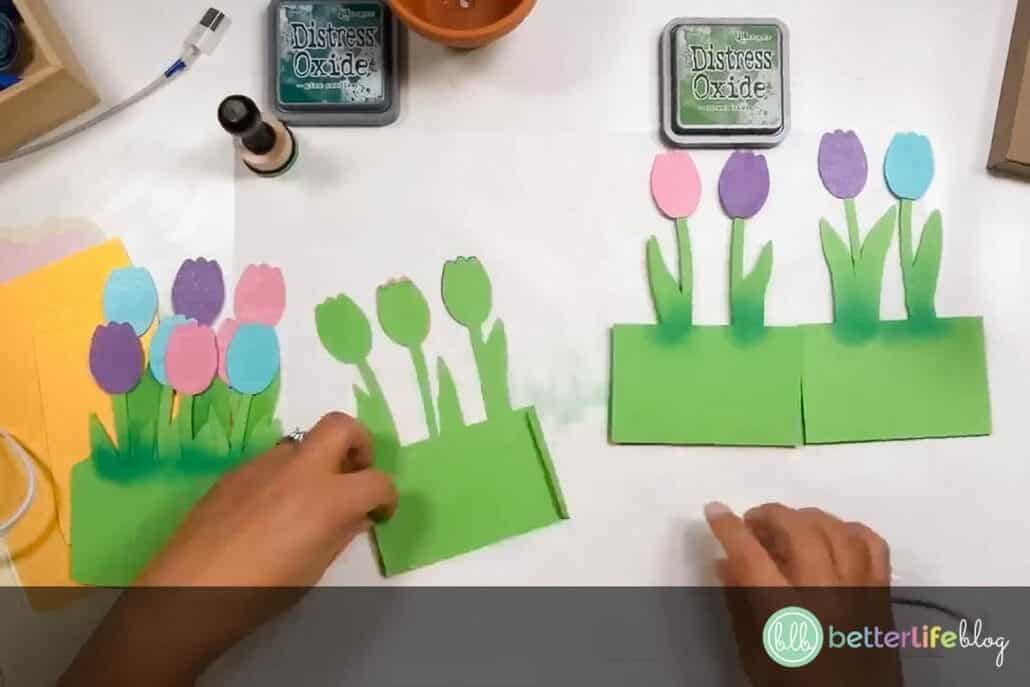
You will notice that the green pieces are different heights. This will help with the layering process.

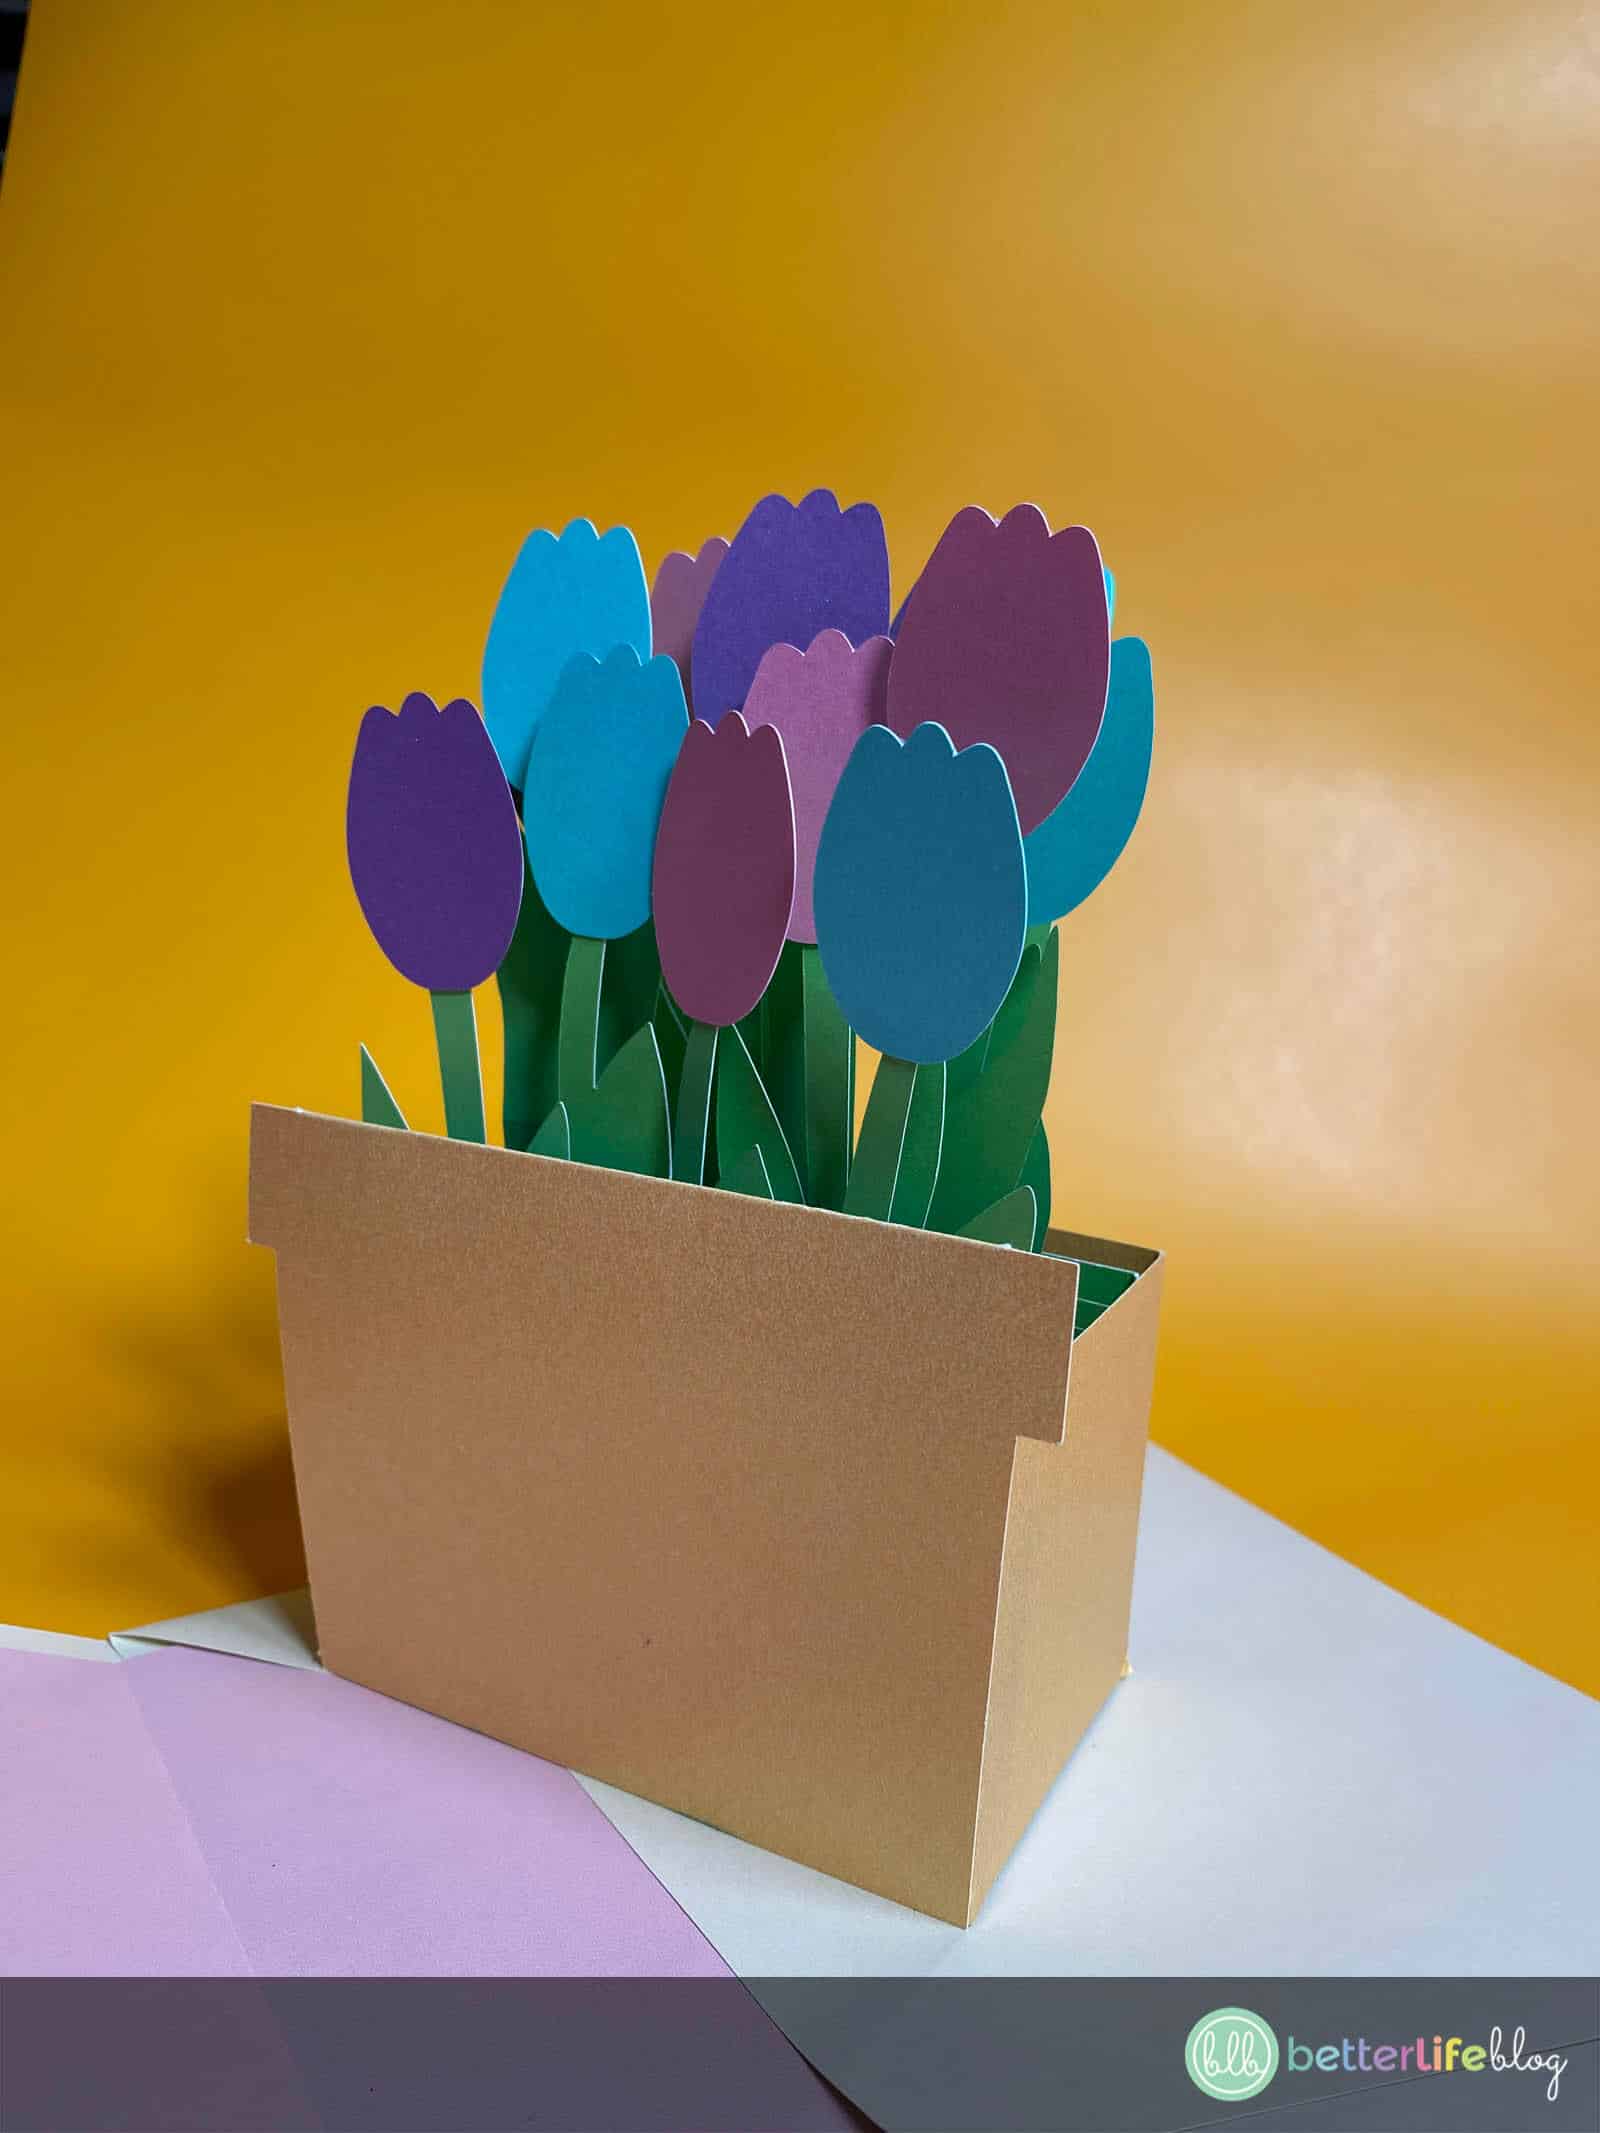
Once all of the pieces are glued on, layer the tulips from tallest to shortest (tallest go in the back).
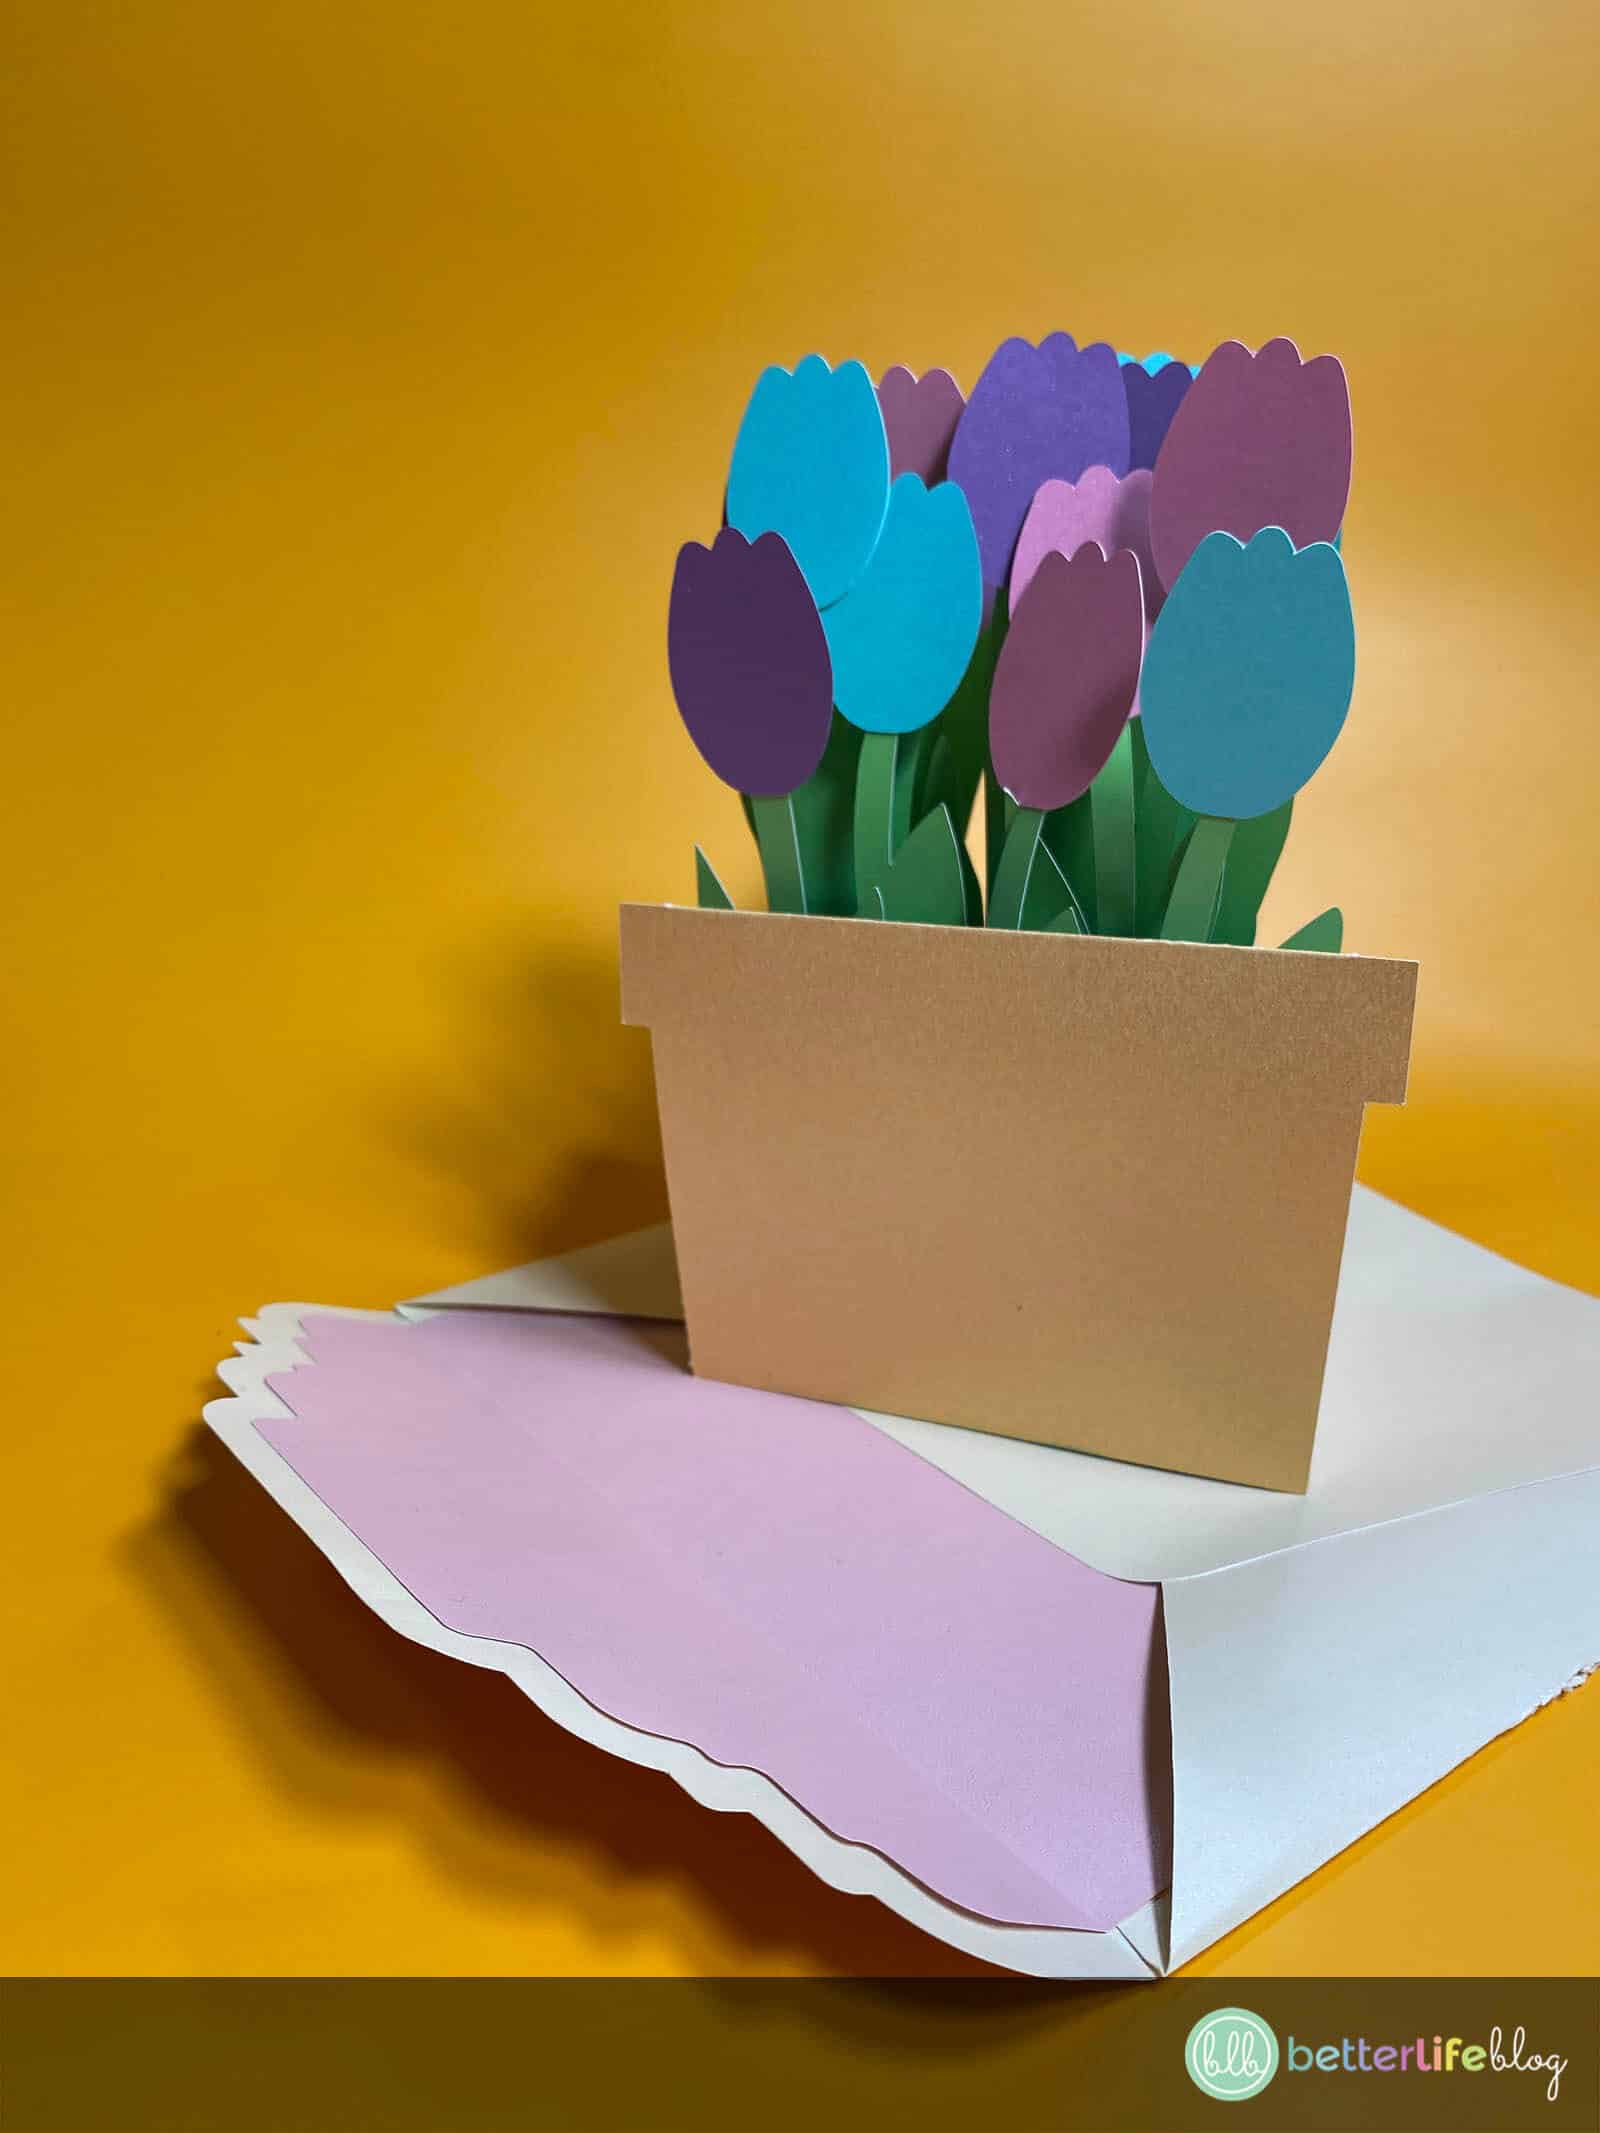
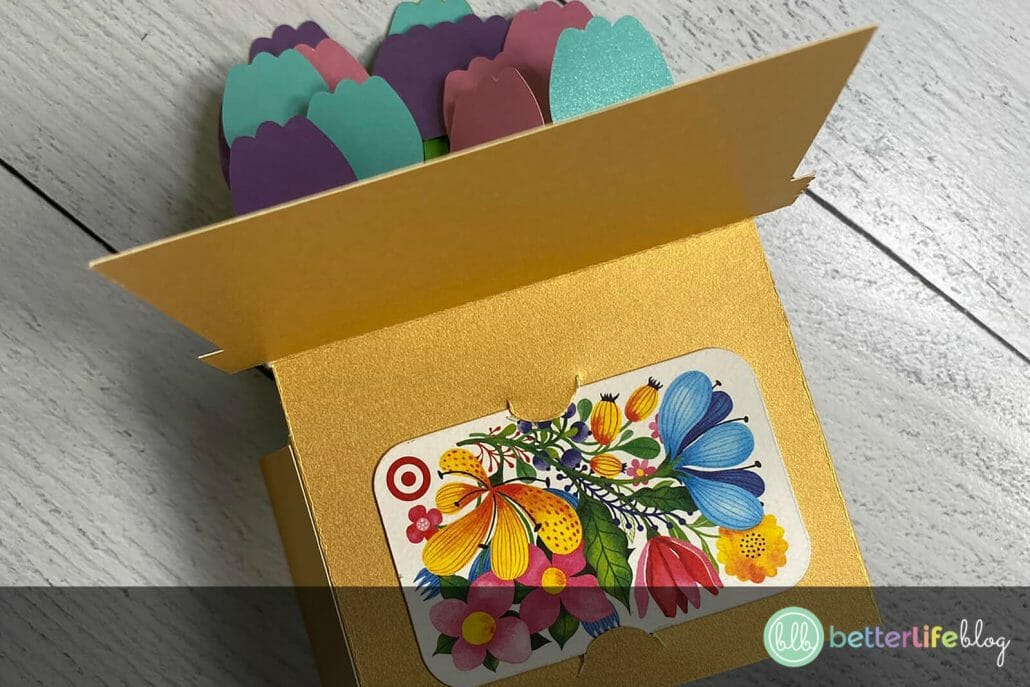
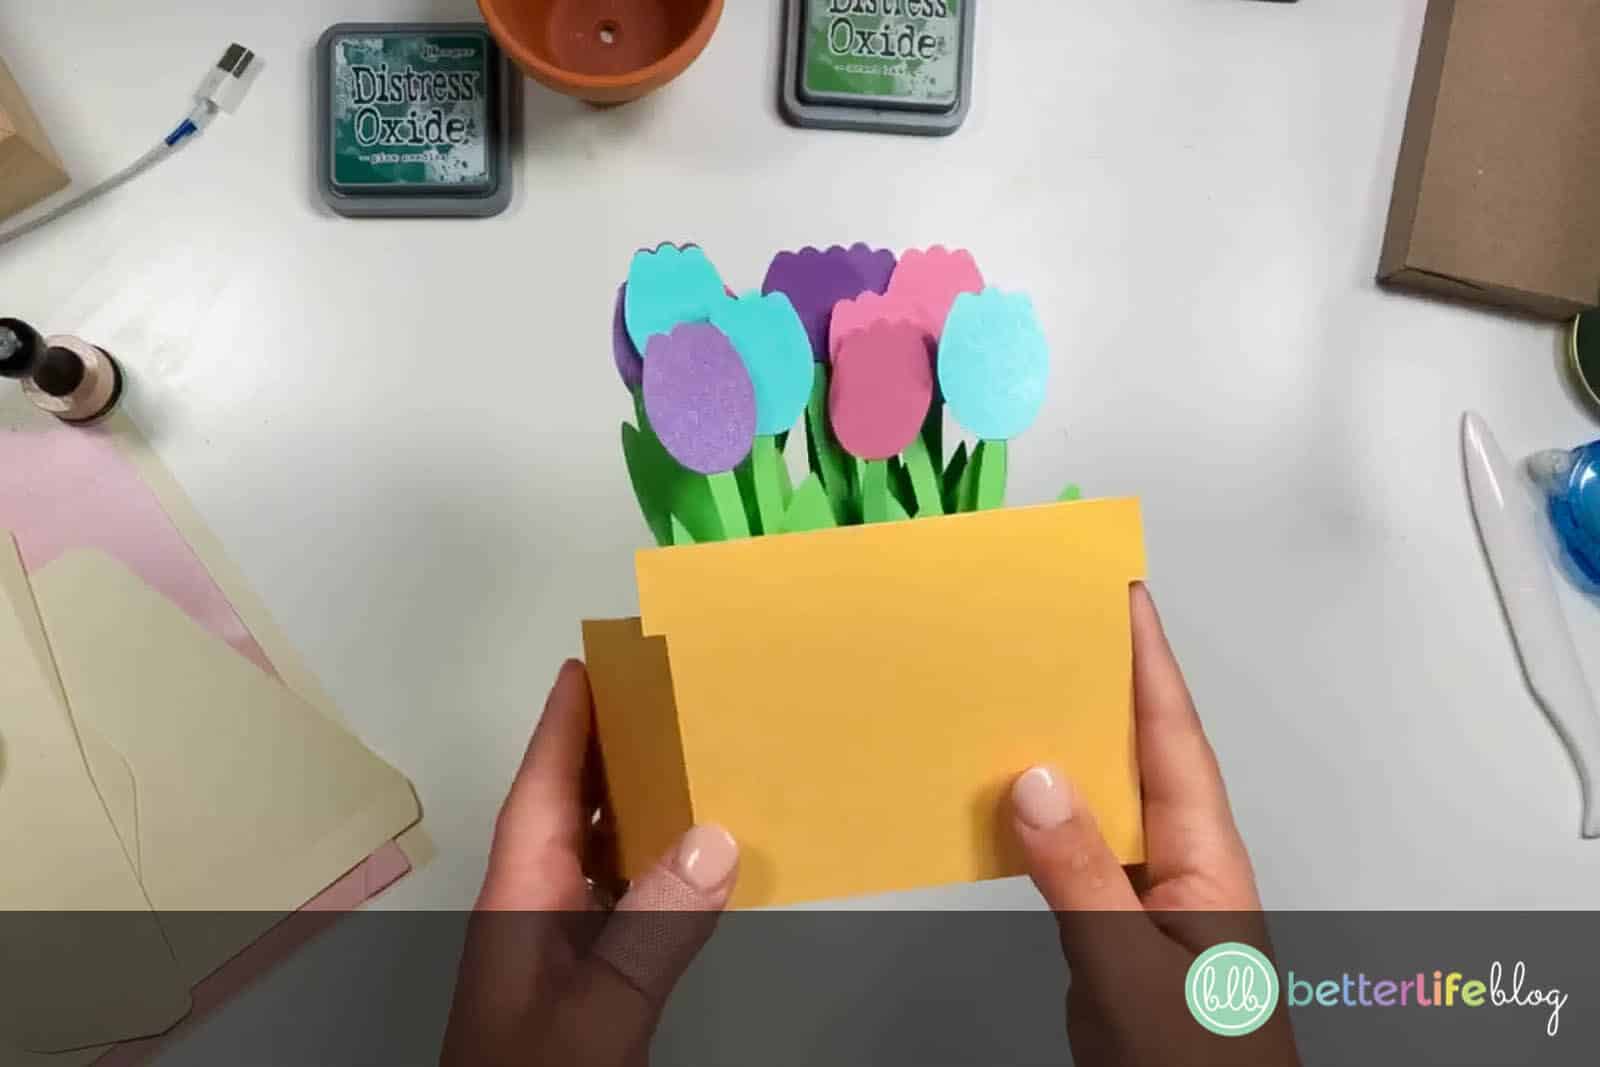
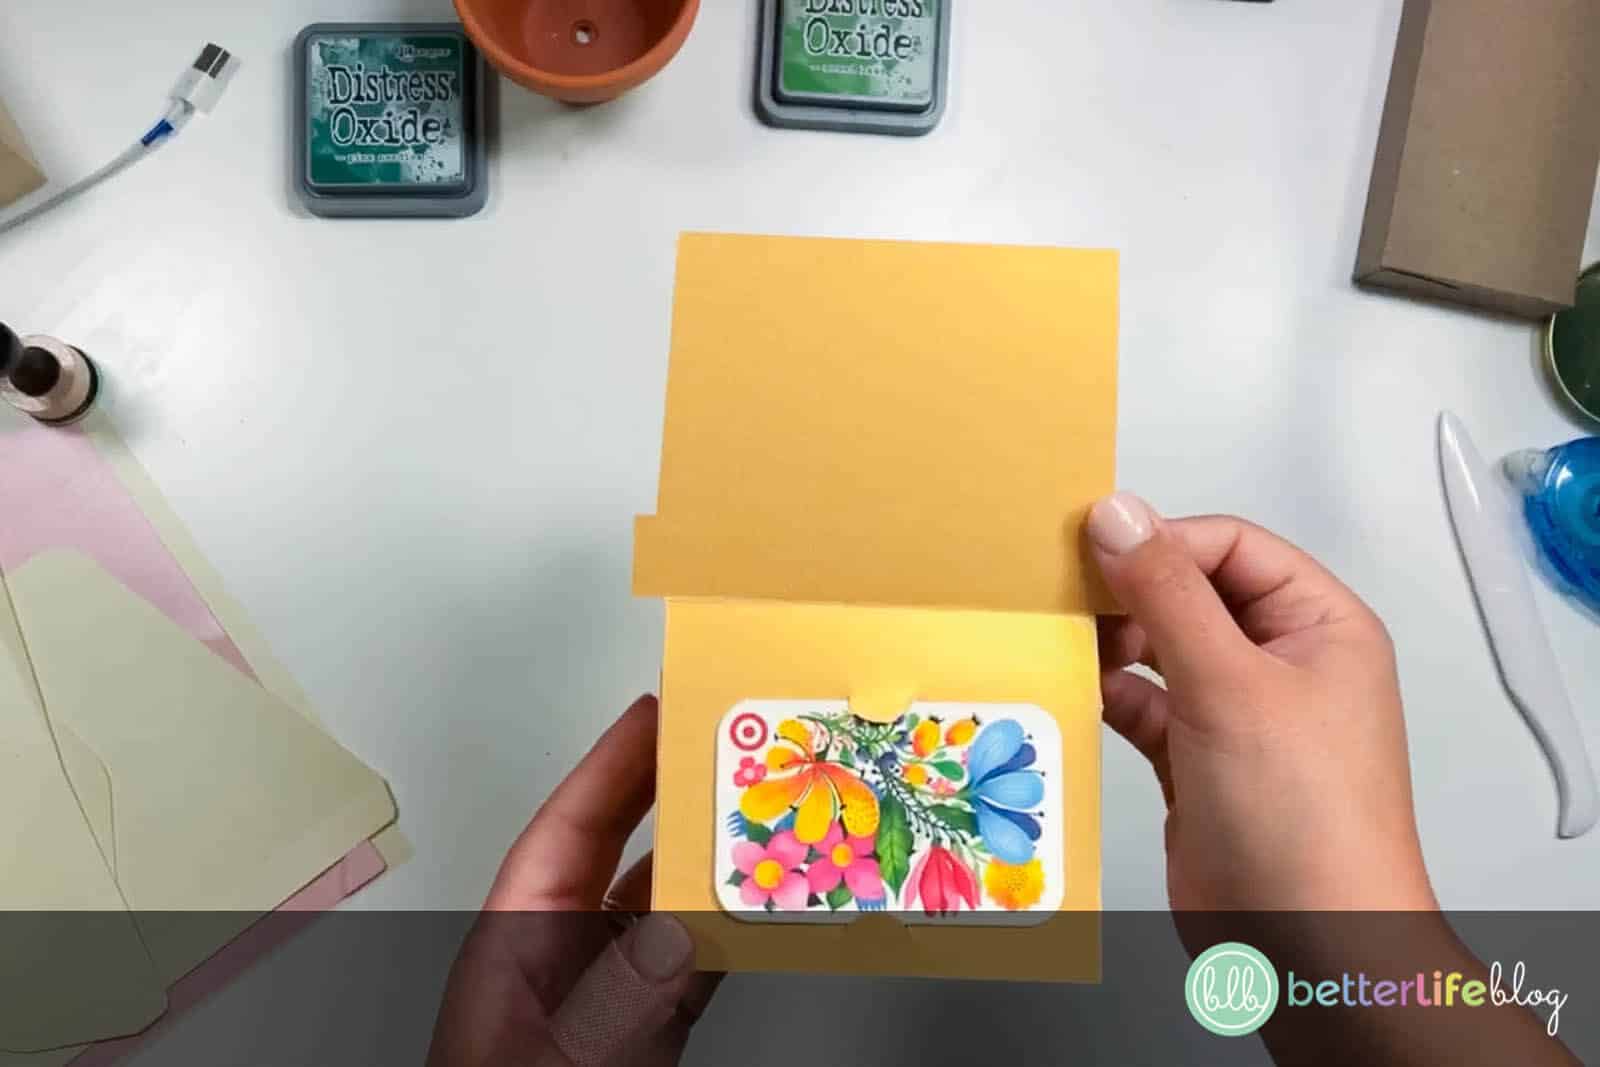
Take the 4 pieces of your tulip “pot.” The piece that goes in the front is the one that holds the gift card. Fold where indicated.
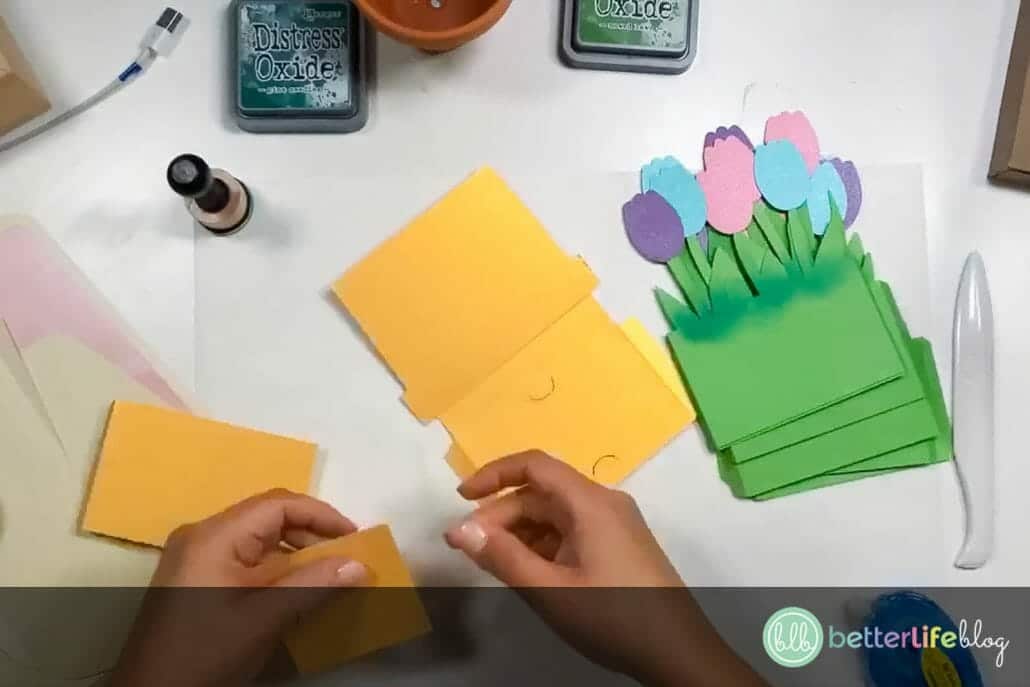
Fold the two tabs on the back piece of the pot. Glue one side piece on each tab.
Attach the front piece of the pot to the left wall of the pot (ie.: the left side piece you had glued onto the back piece’s tab).
Take the tallest tulip and glue its tab to the left wall of the pot.
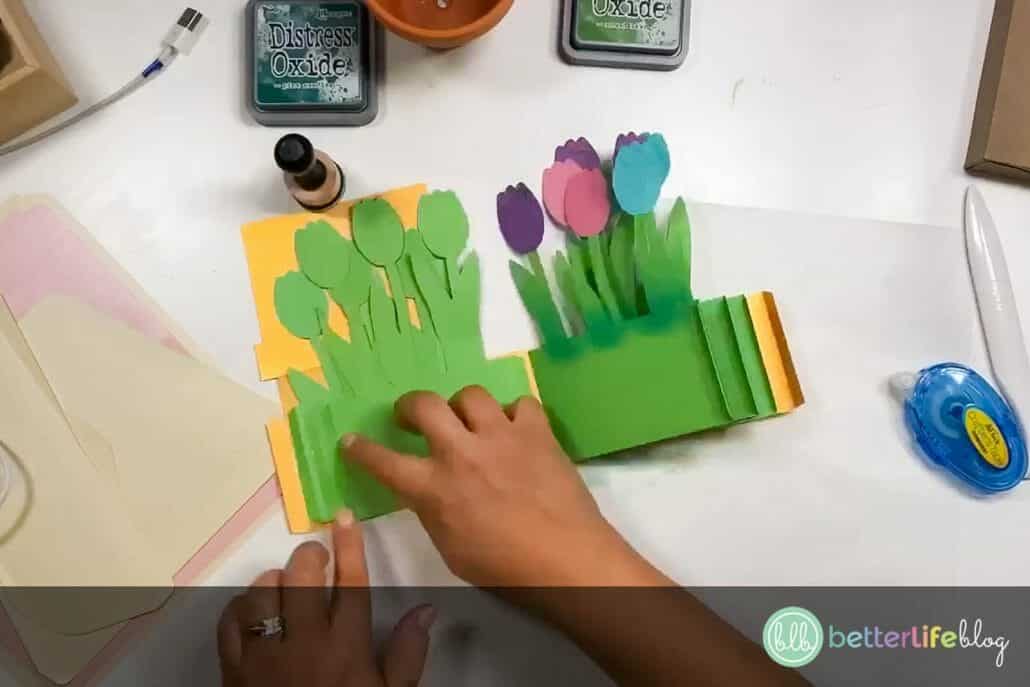
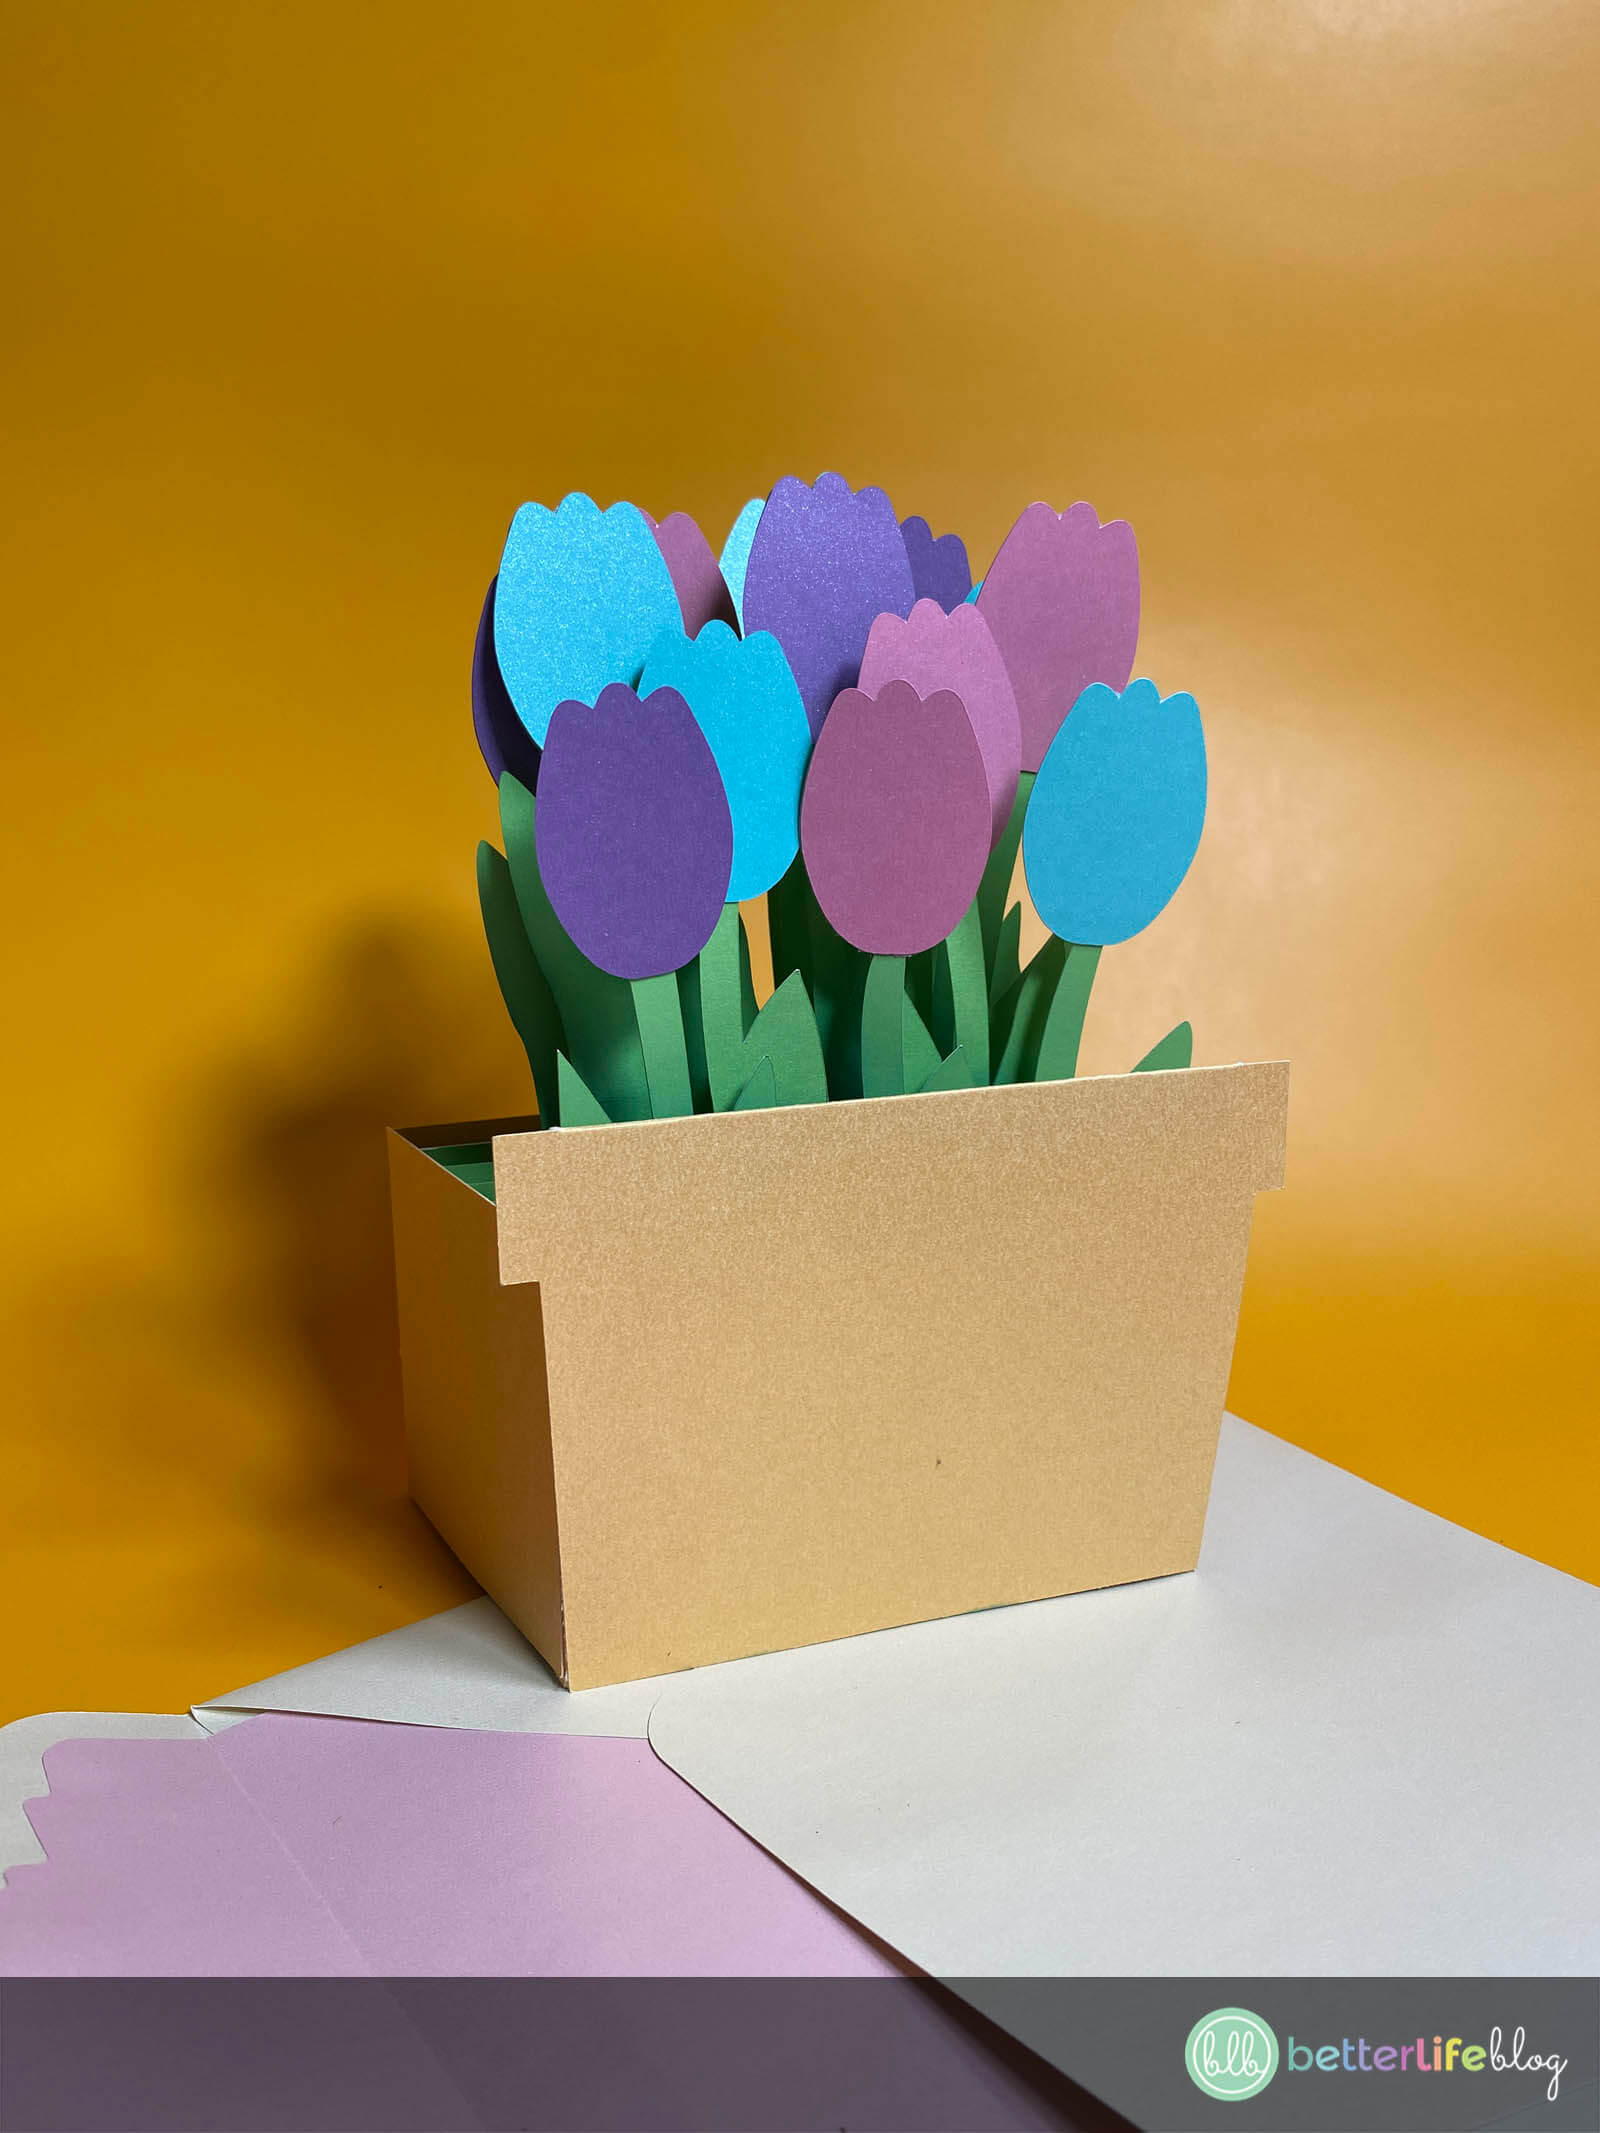
Continue for the rest of the tulips, working from the tallest to the shortest (remember, the shortest one goes in the front). The tulip pieces should be spaced out from one another. When you are done attaching them to the left wall of the pot, it should almost look like the pages of a book.
Next, apply glue on the right-hand tabs of each tulip. Also apply glue on the left-hand side of the pot’s tab (on the inside).
Fold over the right-hand side of the pot and press down onto the green tabs then close it off by pressing down the left-hand side. You should have a 3D gift card holder!
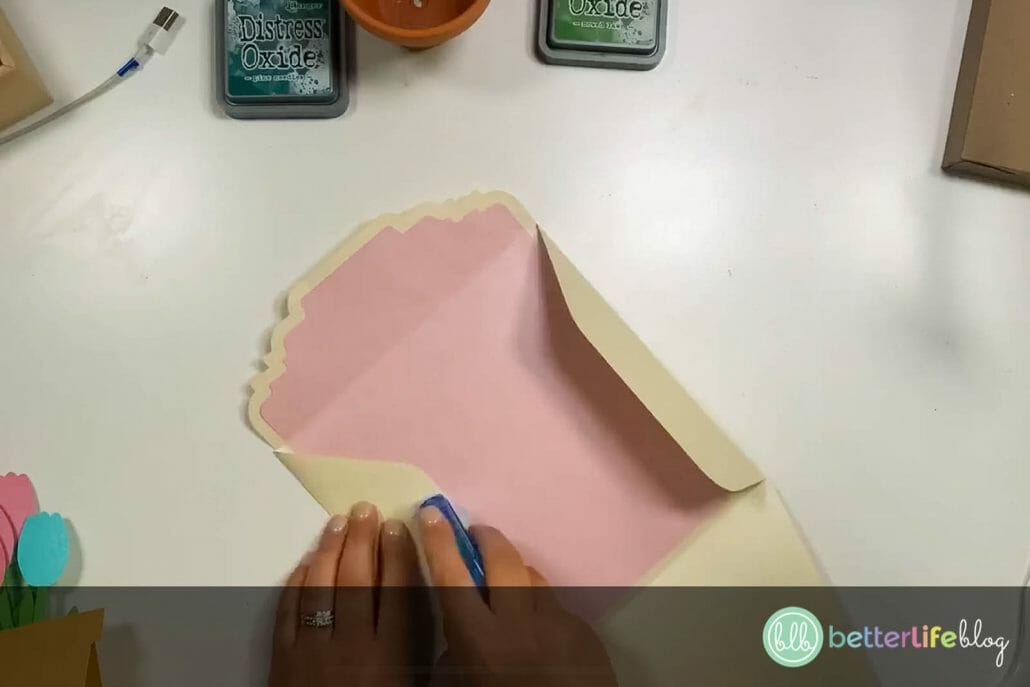
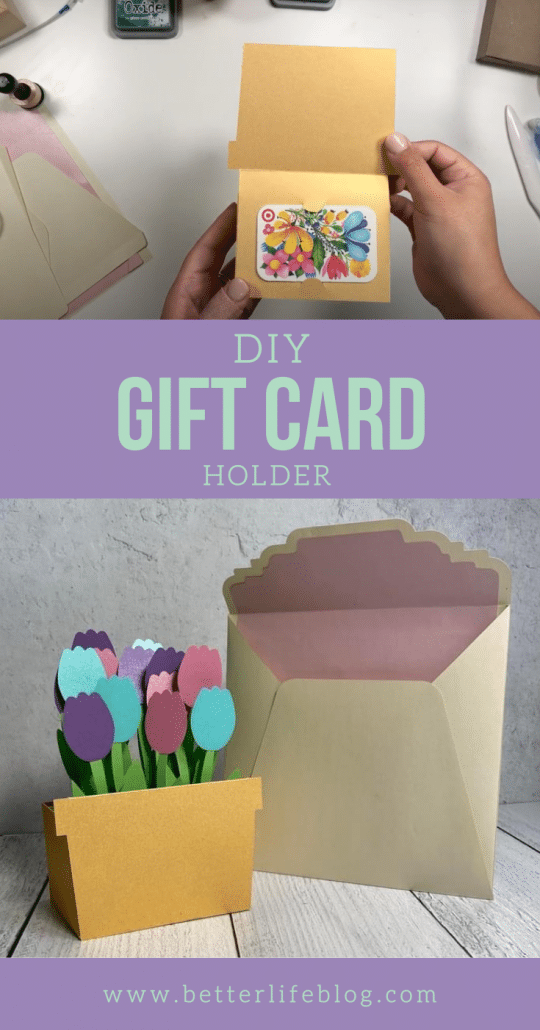
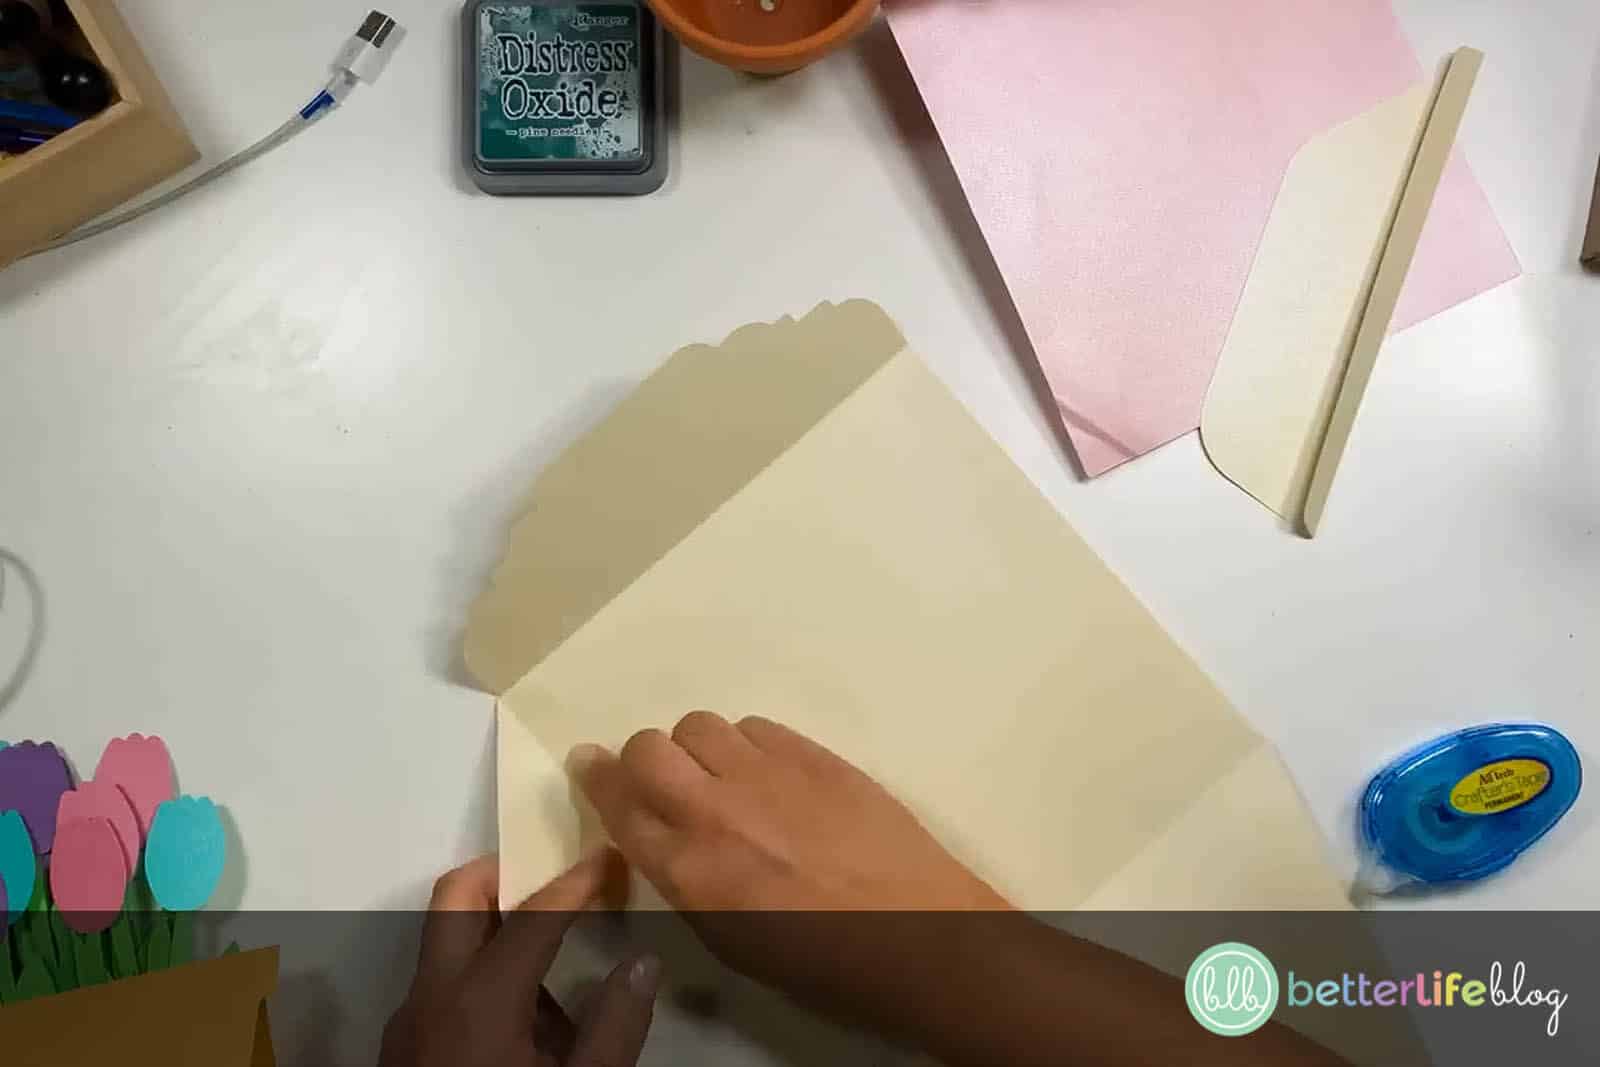
To assemble the envelope, you will have pieces for the actual envelope and the envelope’s lining.
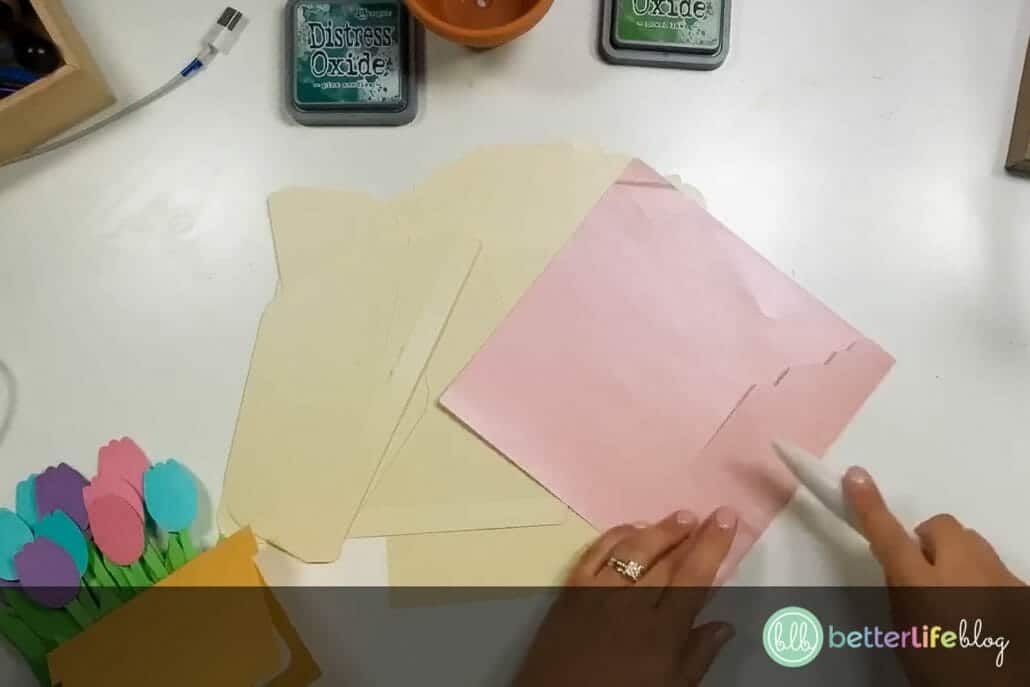
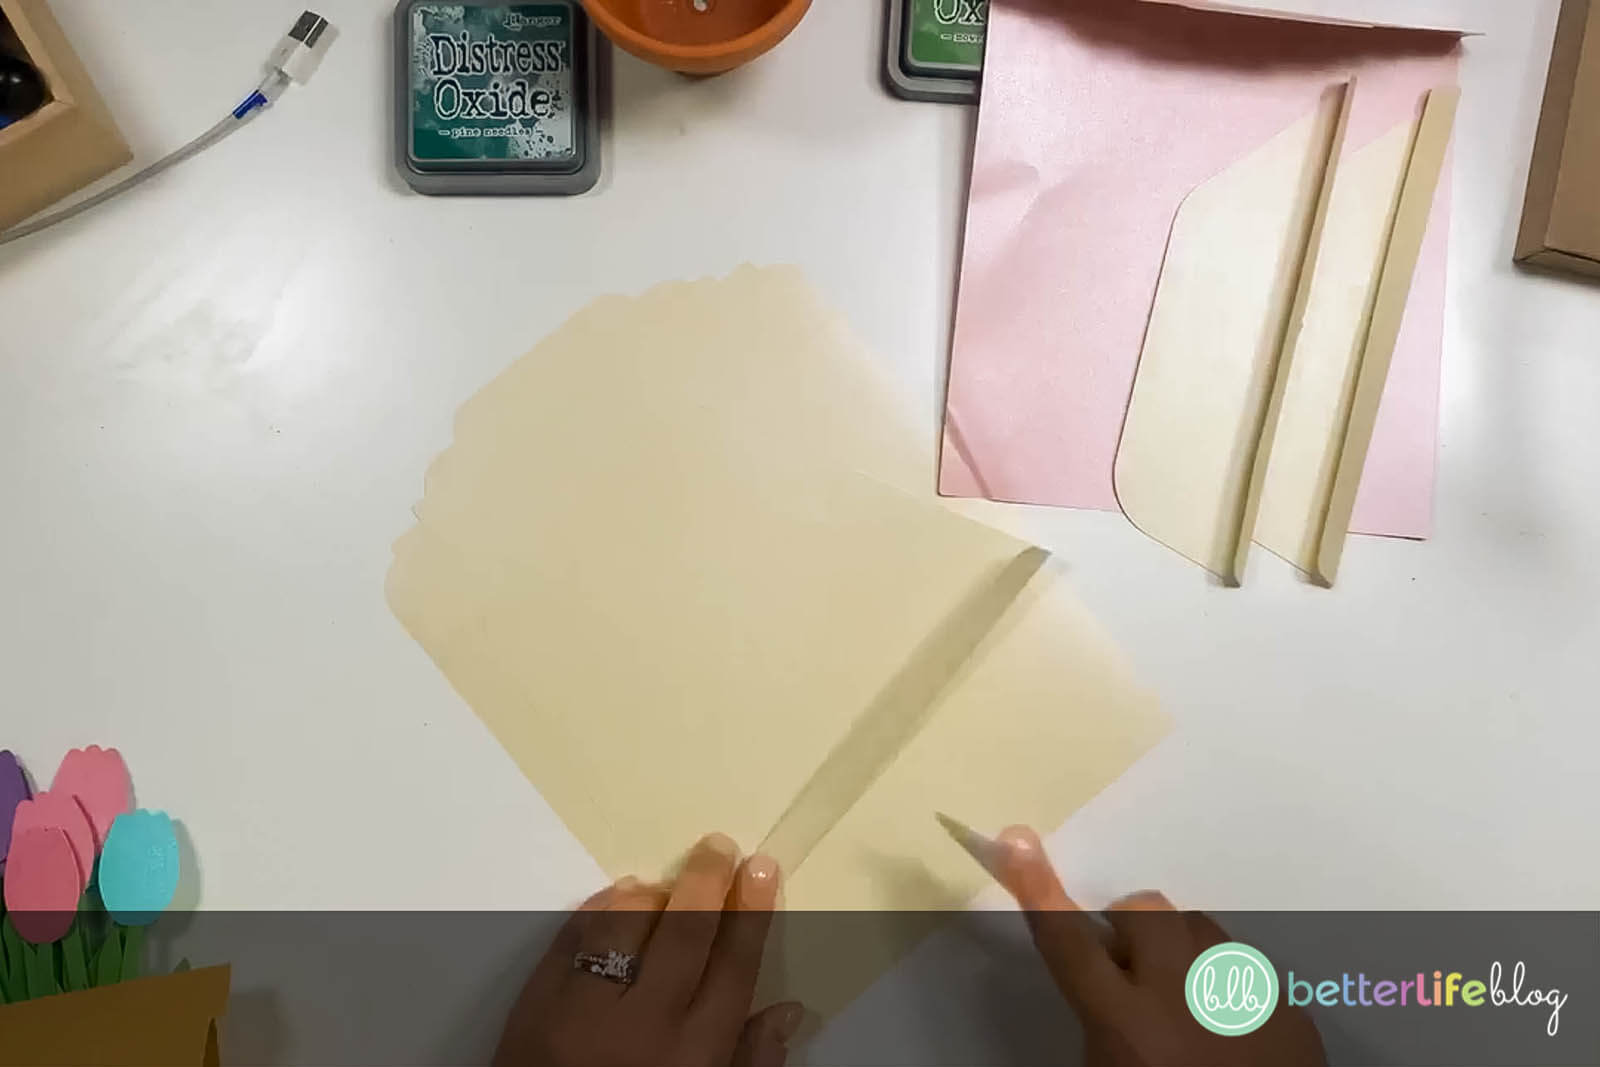
Score and fold along all the score lines.
Glue the bottom part onto the main piece of the envelope.
Glue the envelope’s side pieces.
Next, add glue to the envelope’s liner and secure it in the center of the envelope.
Fold the side pieces and apply glue then fold the bottom section upwards and secure. The envelope is complete!