Hey there, crafty friends! Have you ever used infusible ink? If you’d like to try it out for your next Cricut DIY, then keep on reading! This tutorial for DIY Taco Socks will show you exactly how to apply it.

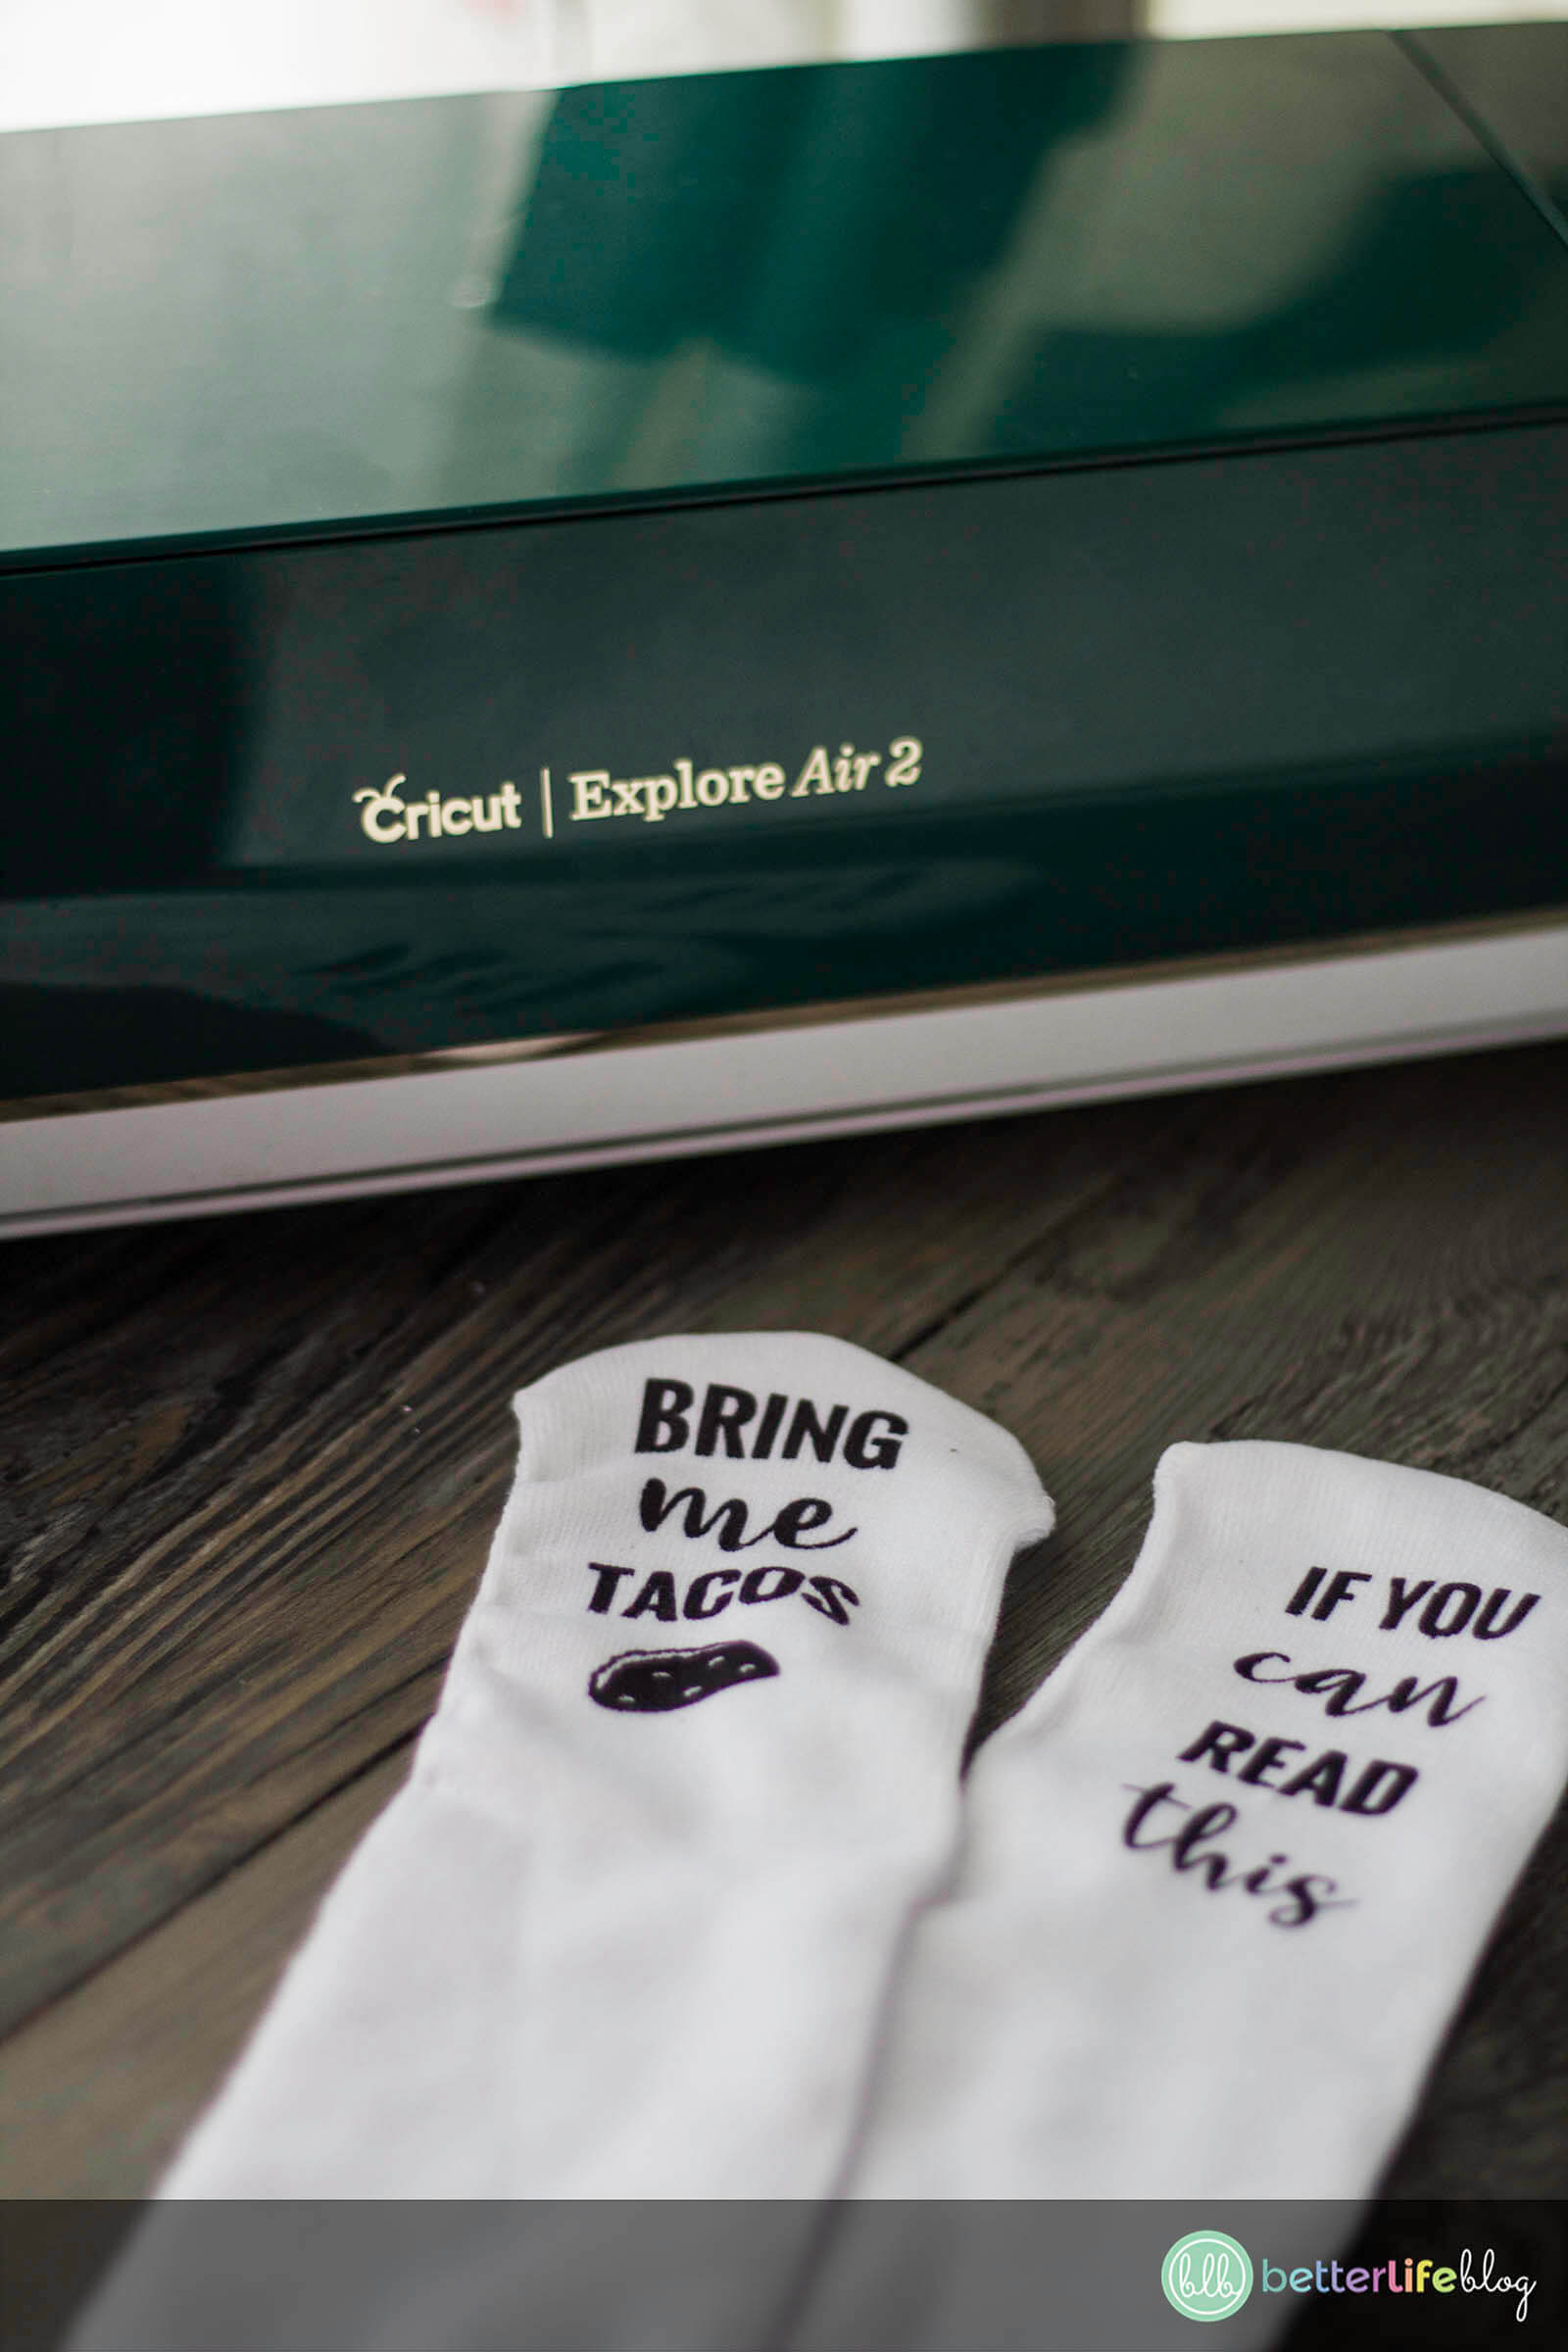
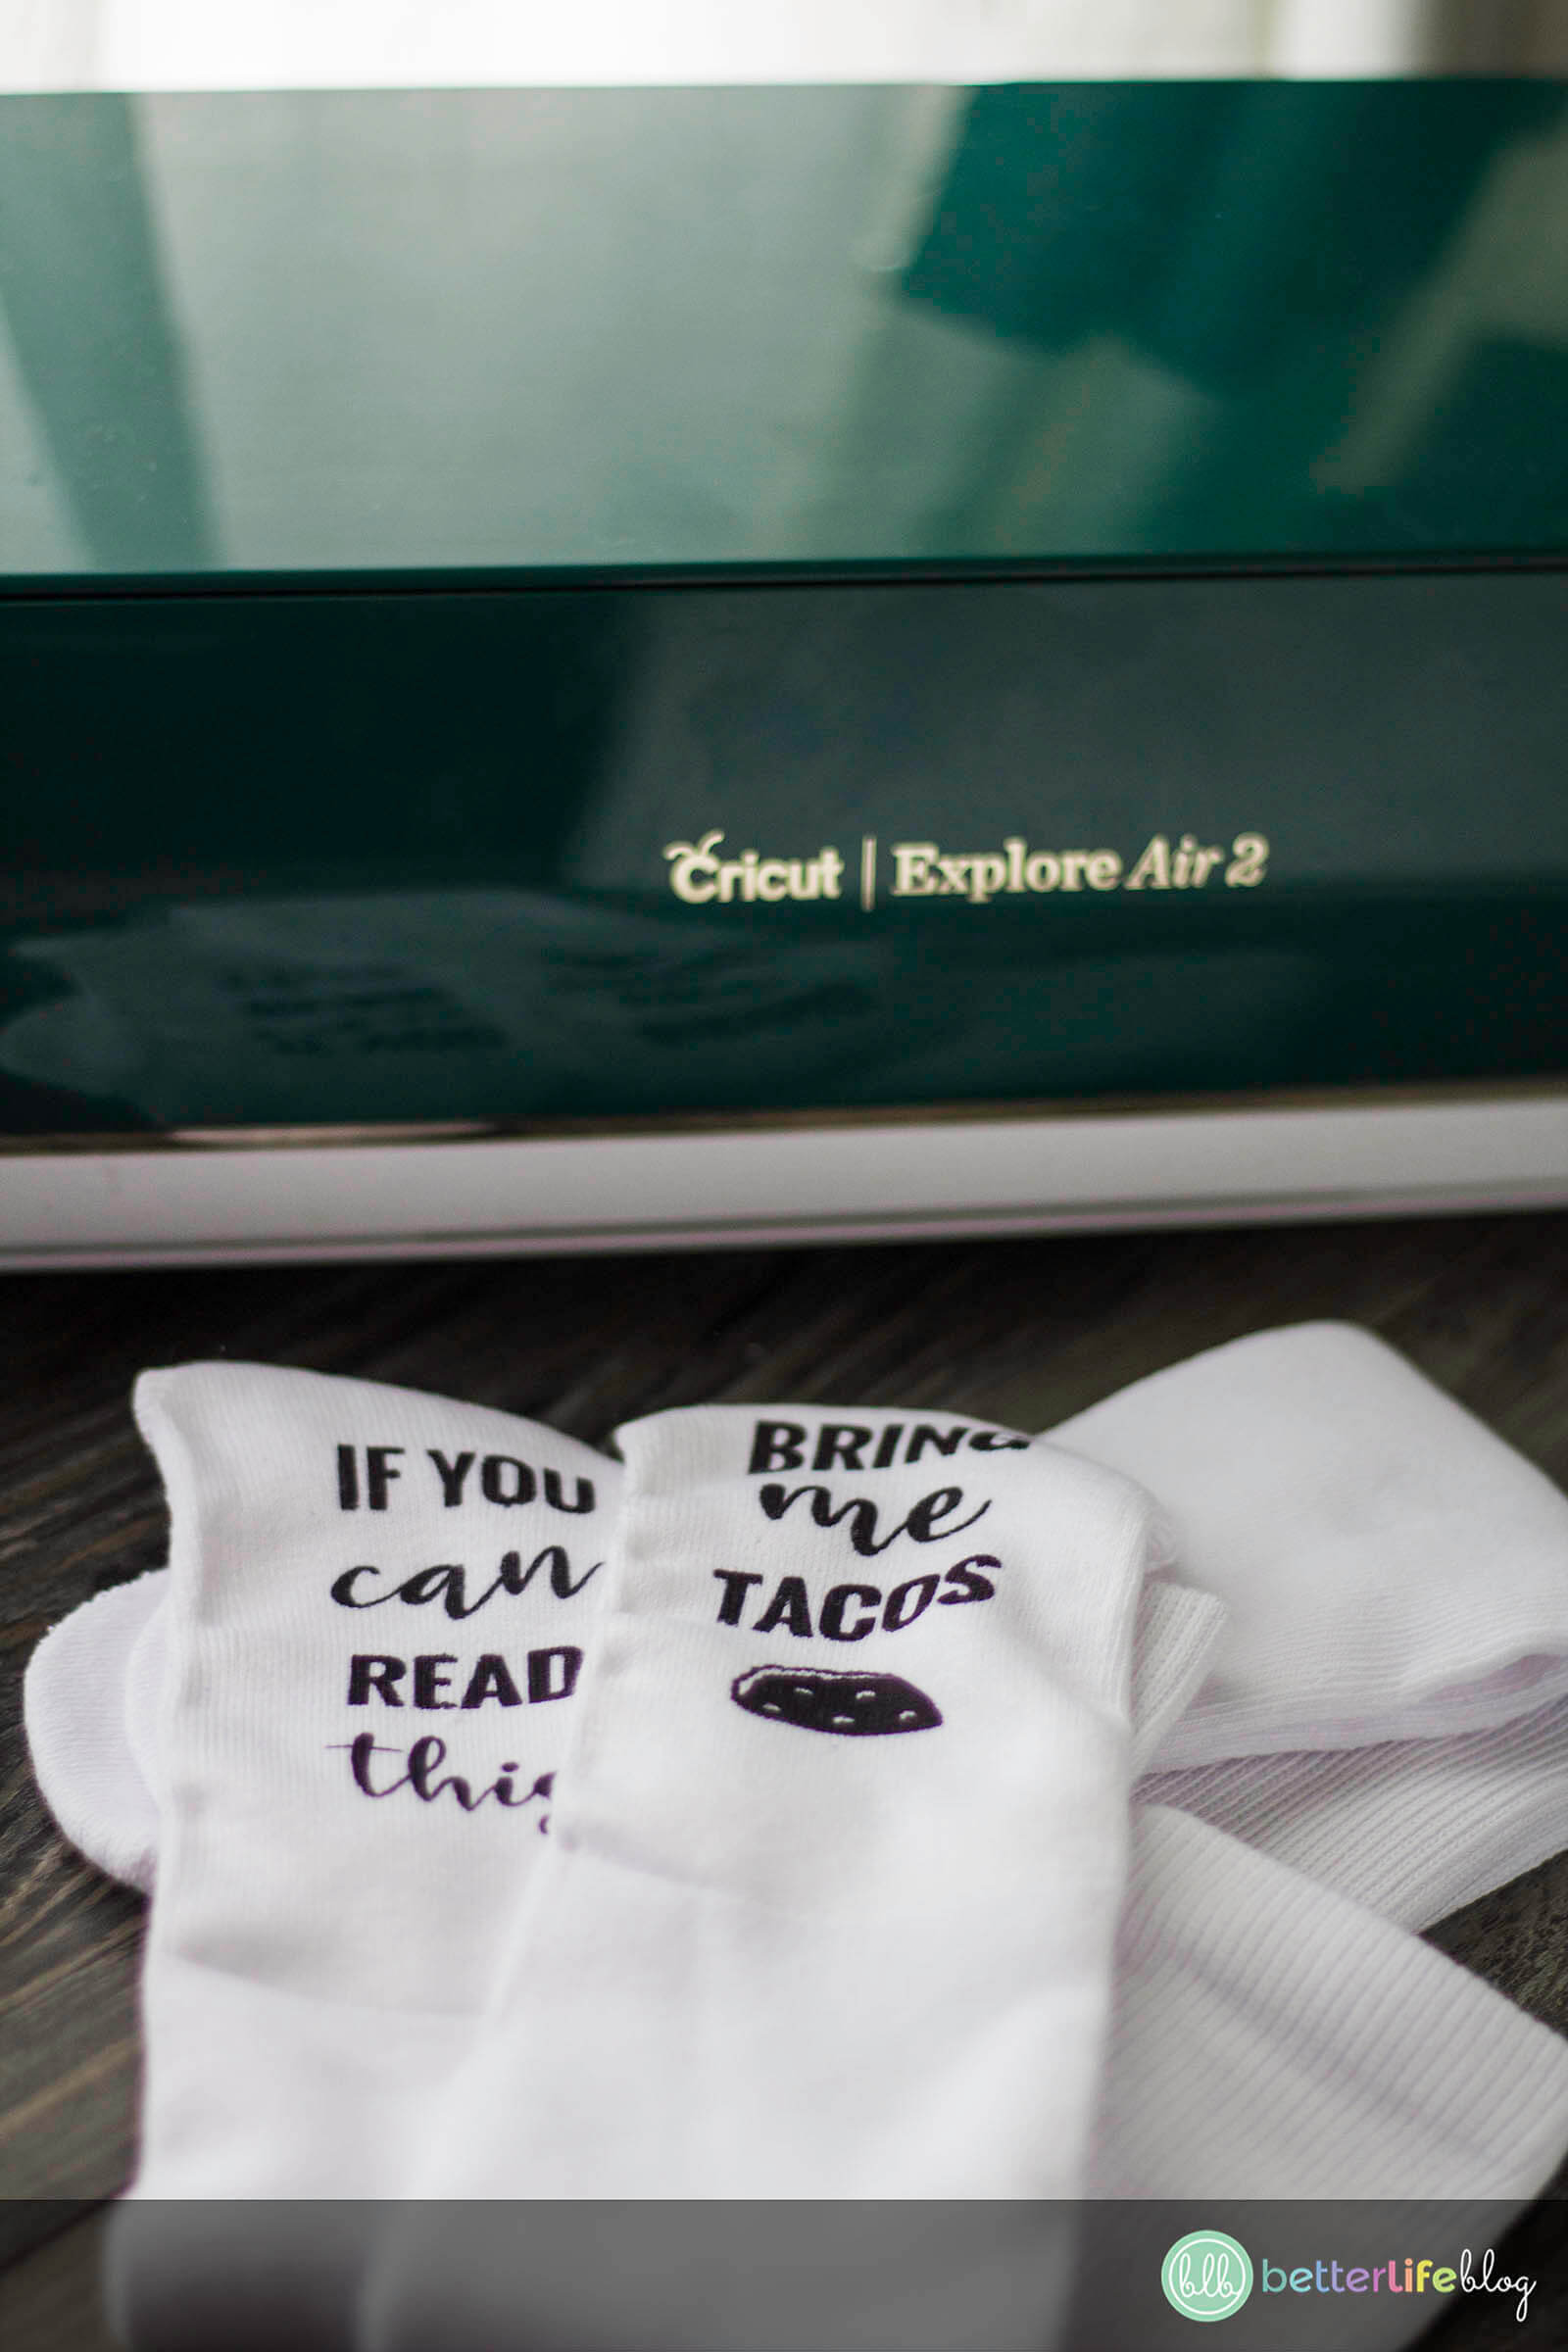
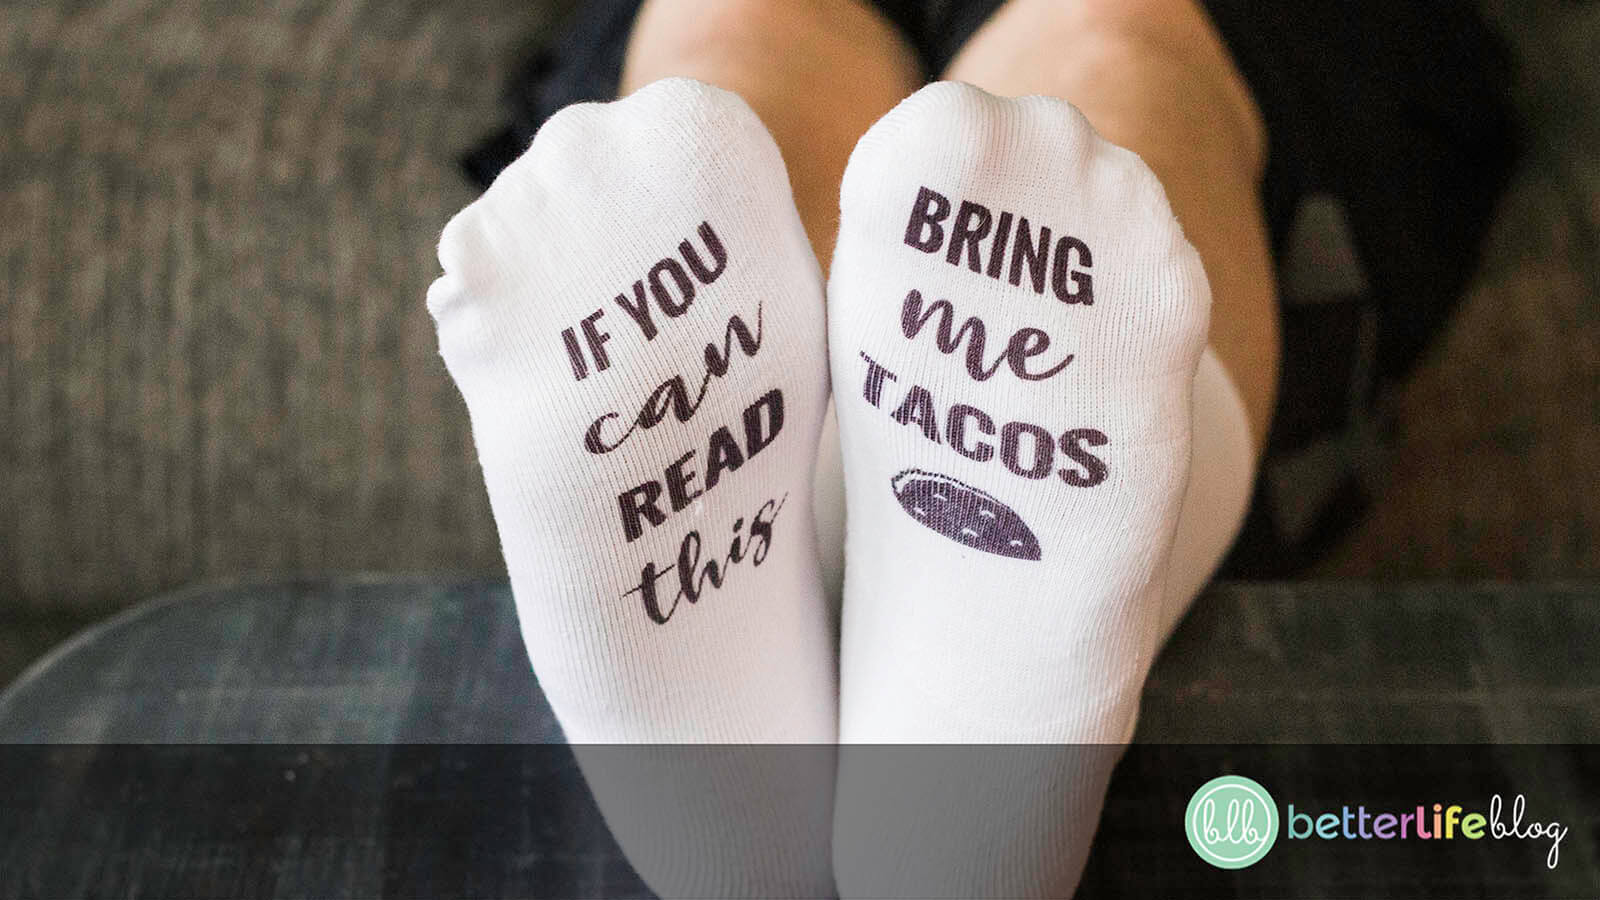
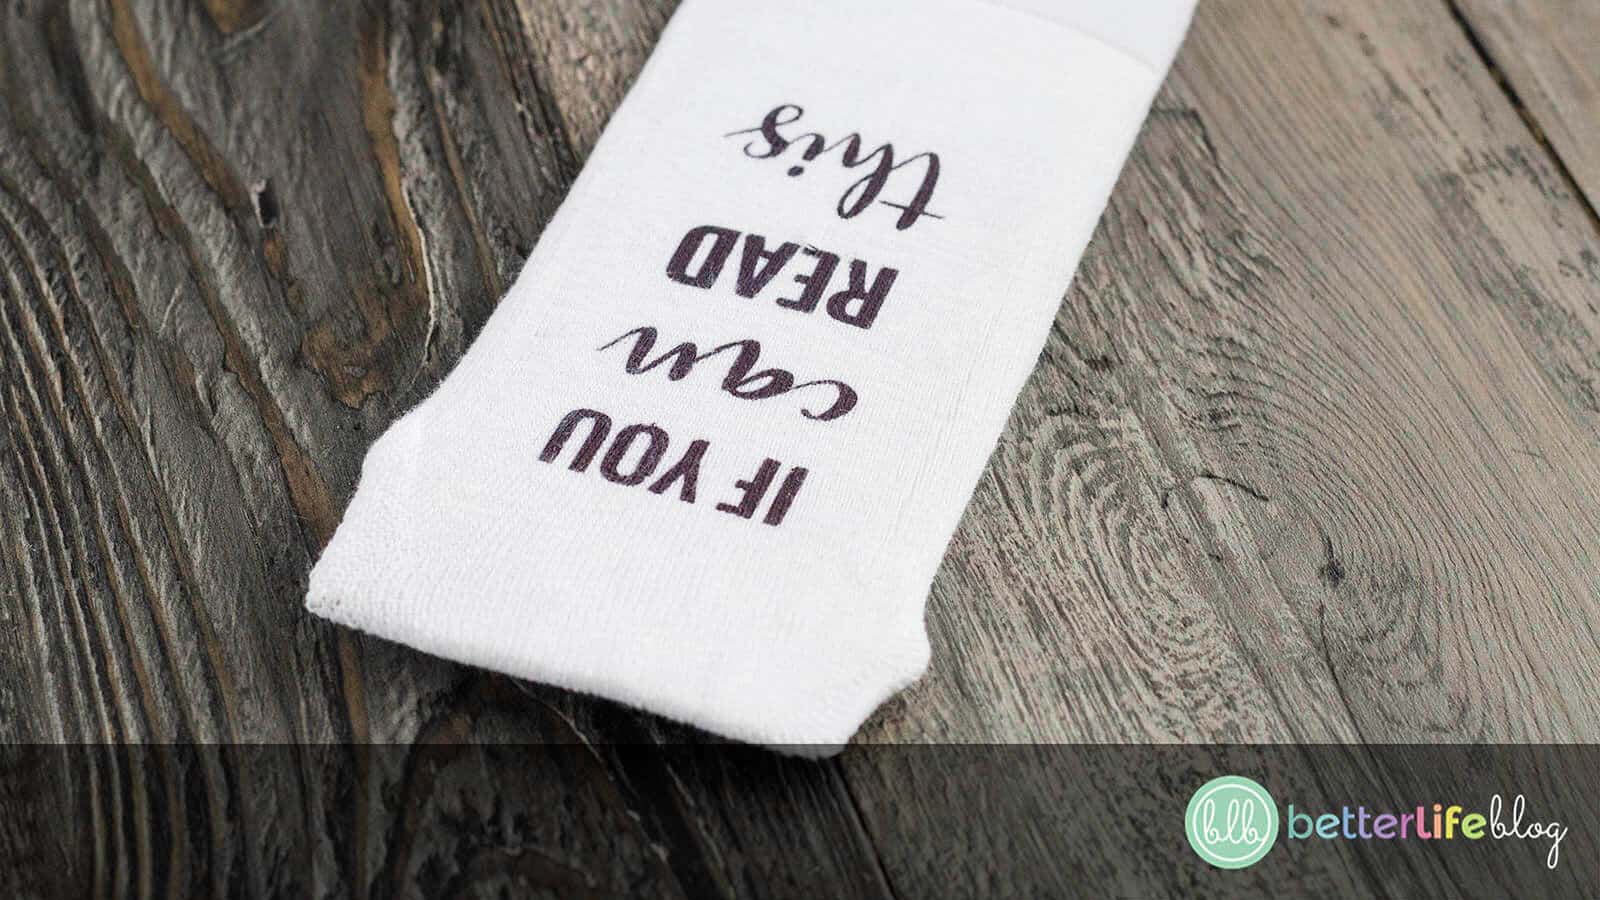
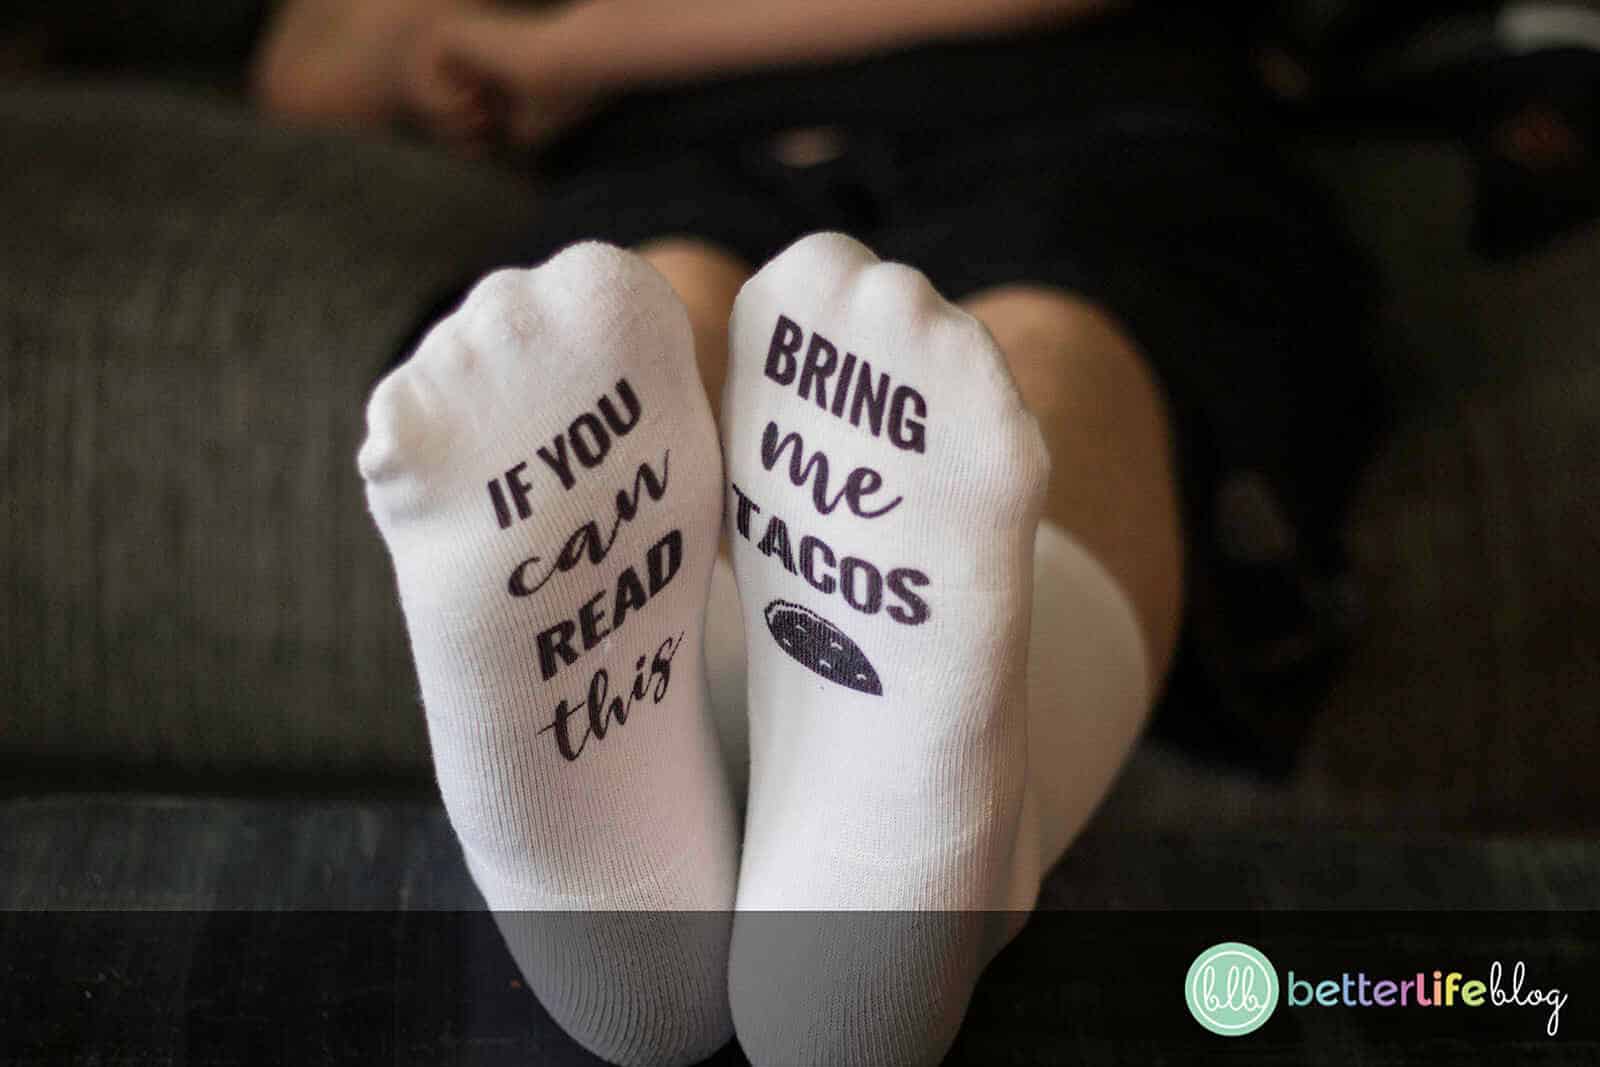
How cute are these Taco Socks? You must be thinking: “What exactly makes them ‘taco socks’?” Well, if you look closely on the sole of each sock, you’ll notice text that it says “If you can read this… bring me tacos.” Don’t you just love them?!


I LOVE Tutorials Like These, Where Can I Find More?!
I am SO glad you asked! I love creating craft tutorials! Crafting is my passion and I am SO grateful to be able to create these kinds of blog posts for you. Be sure to check out the rest of my blog so that you can read through more of my DIY tutorials.
You can also follow me on Instagram where I post the cutest videos and photos, with hopes to inspire you for your next Cricut project!
What is Cricut Infusible Ink?
Cricut’s Infusible Ink is a type of ink that helps you achieve professional-looking heat transfers. Unlike traditional permanent vinyl, infusible Ink becomes one with the material itself (whereas vinyl almost “sits” on the fabrics / materials).
Because Infusible Ink “infuses” into its fabric / material, it never flakes, cracks, peels or wrinkles. This makes it ideal for using on fashion projects!

Want to Be Part of My Crafting Club?
Beyond my blog, did you know that I also have a VIP Crafting Club? It’s a members-only club where you get access to hundreds of SVG cut files made by me!
Plus, when you join, you get added to a an exclusive online community where we make a new craft together every month.
Learn more about it here.
Taco Socks Tutorial: How to Sublimate Socks with Infusible Ink
Okay, enough chit-chat from me! Here is my easy-to-follow tutorial for my Taco Socks. With my step-by-step instructions, you’ll learn how to sublimate socks with infusible ink. It’s a lot easier than you think!
Supplies
- Taco Socks SVG file
- Cricut machine
- Infusible ink sheets (color of your choice)
- Standard grip mat
- Parchment paper (Cricut sheets come with this)
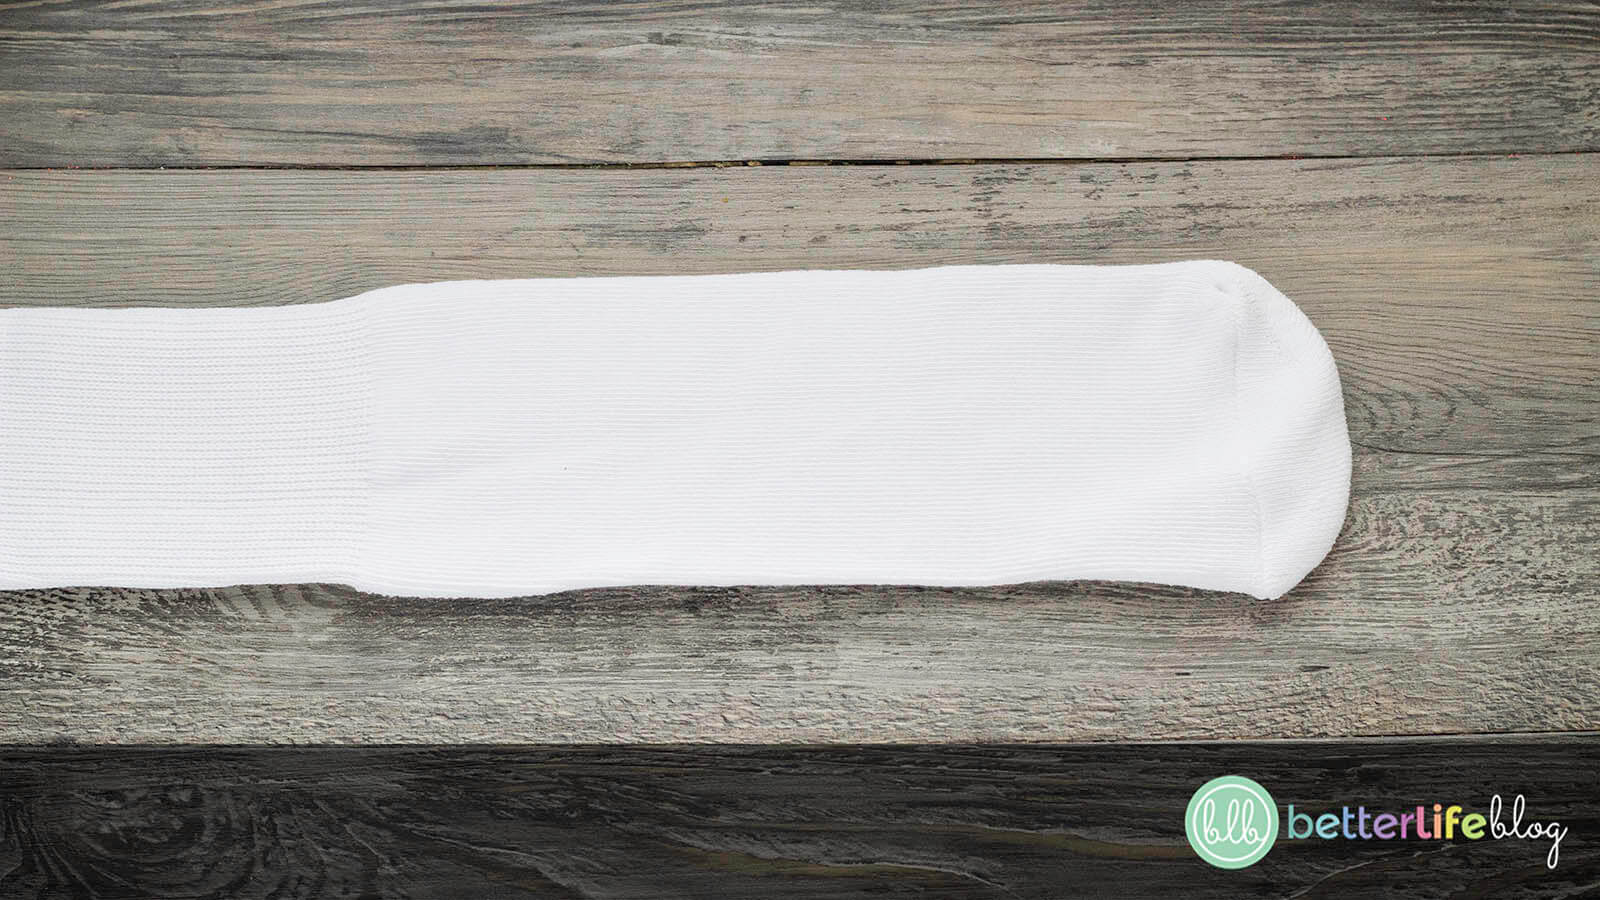
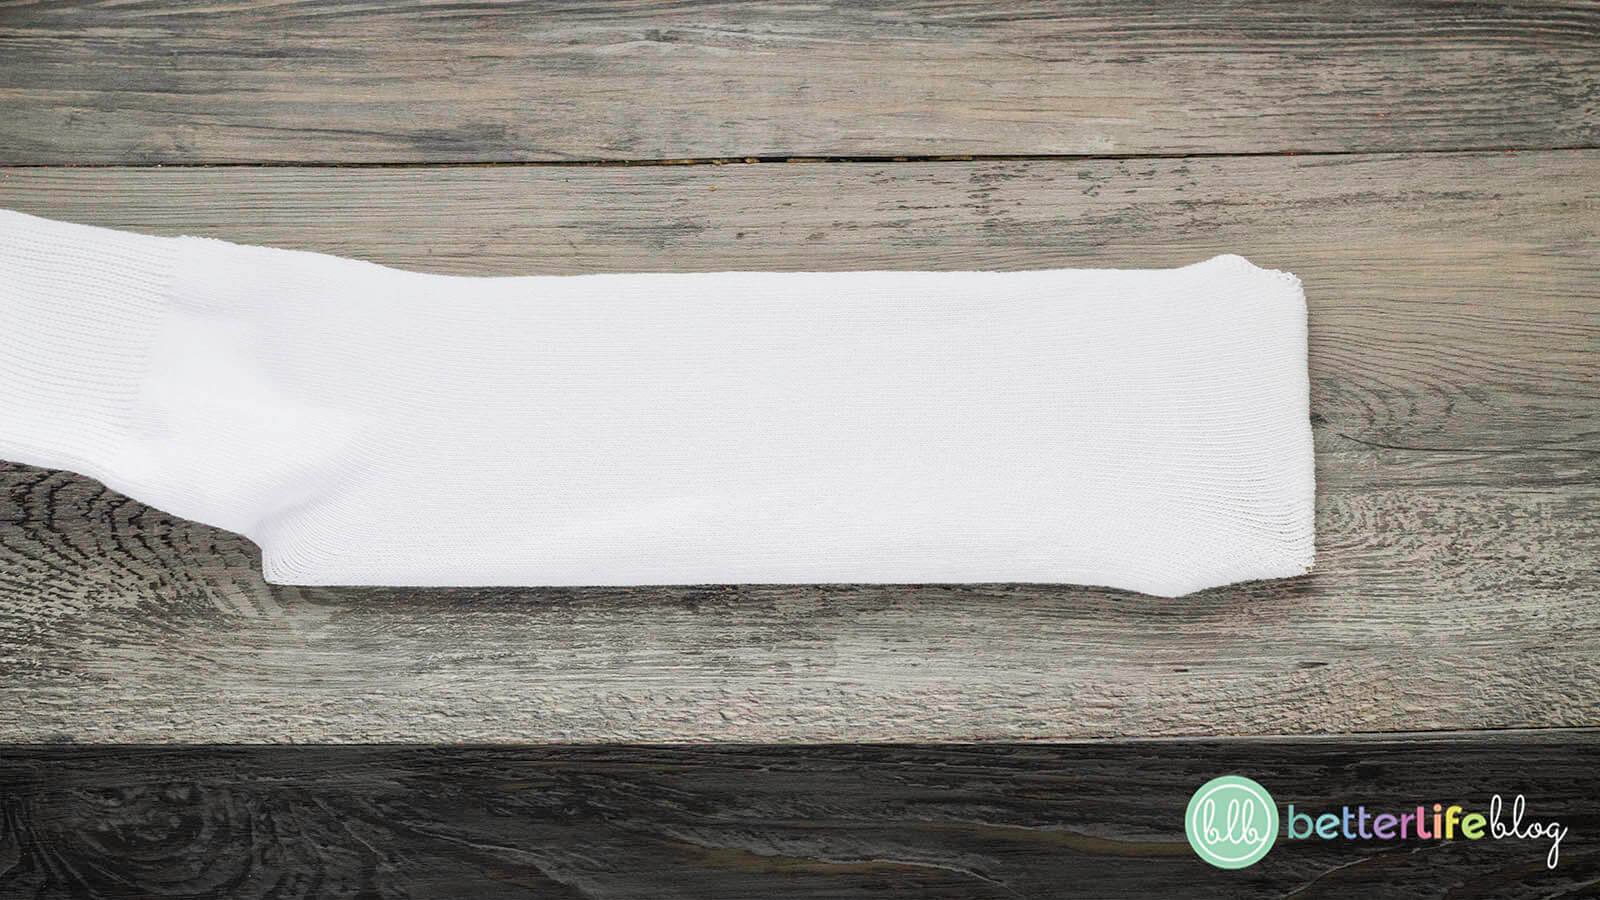
- Blank white sublimation socks
- Card stock
- Weeding tools
- Scissors
- Iron or Heat Press
Instructions
Start by downloading the provided design. Also be sure that your Cricut is plugged in, turned on and connected to your computer.
Open Cricut Design Space and click on “New Project.”

Next, click on “Upload Image” then, “Browse.”


Select your newly downloaded file by clicking it.
Click on “Upload” on the lower right-hand corner of the screen.
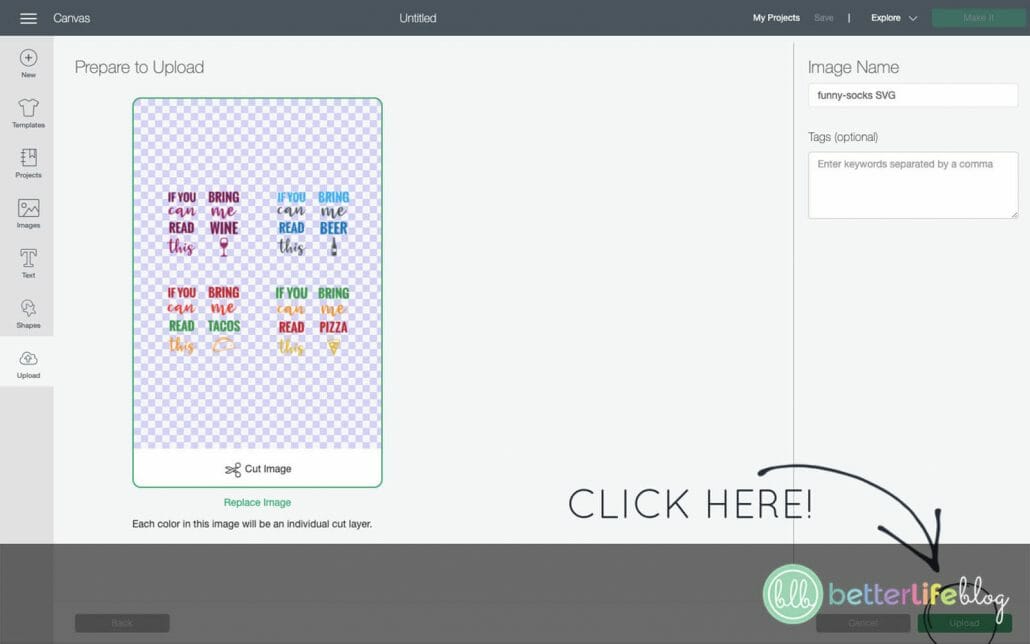
Next, you will see your file and that it’s been uploaded to the image database.
Click on the uploaded file and click “Insert.”
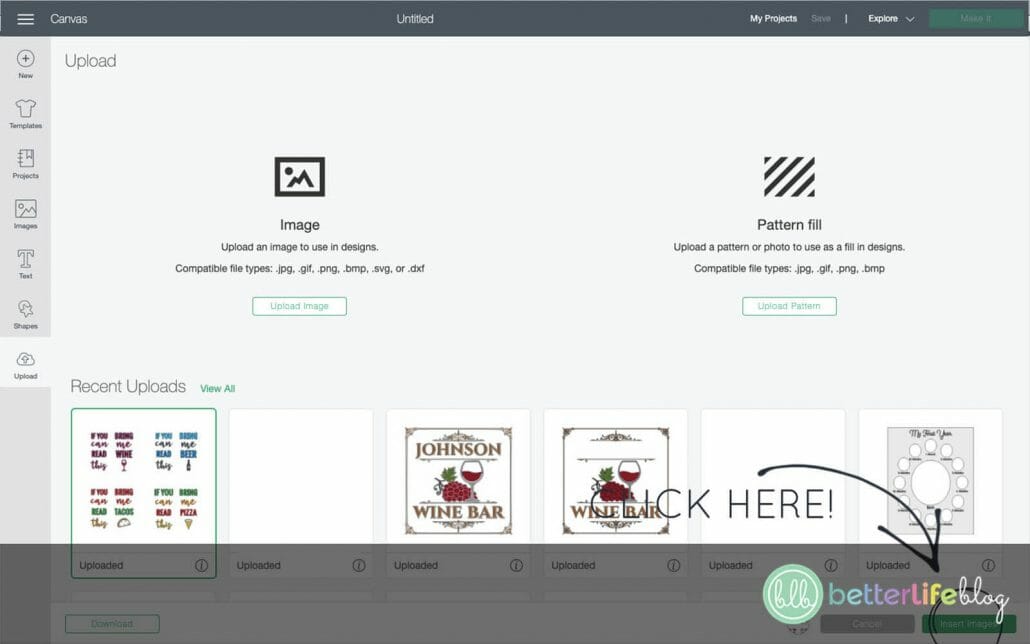
You have successfully uploaded your image onto a canvas on Design Space.
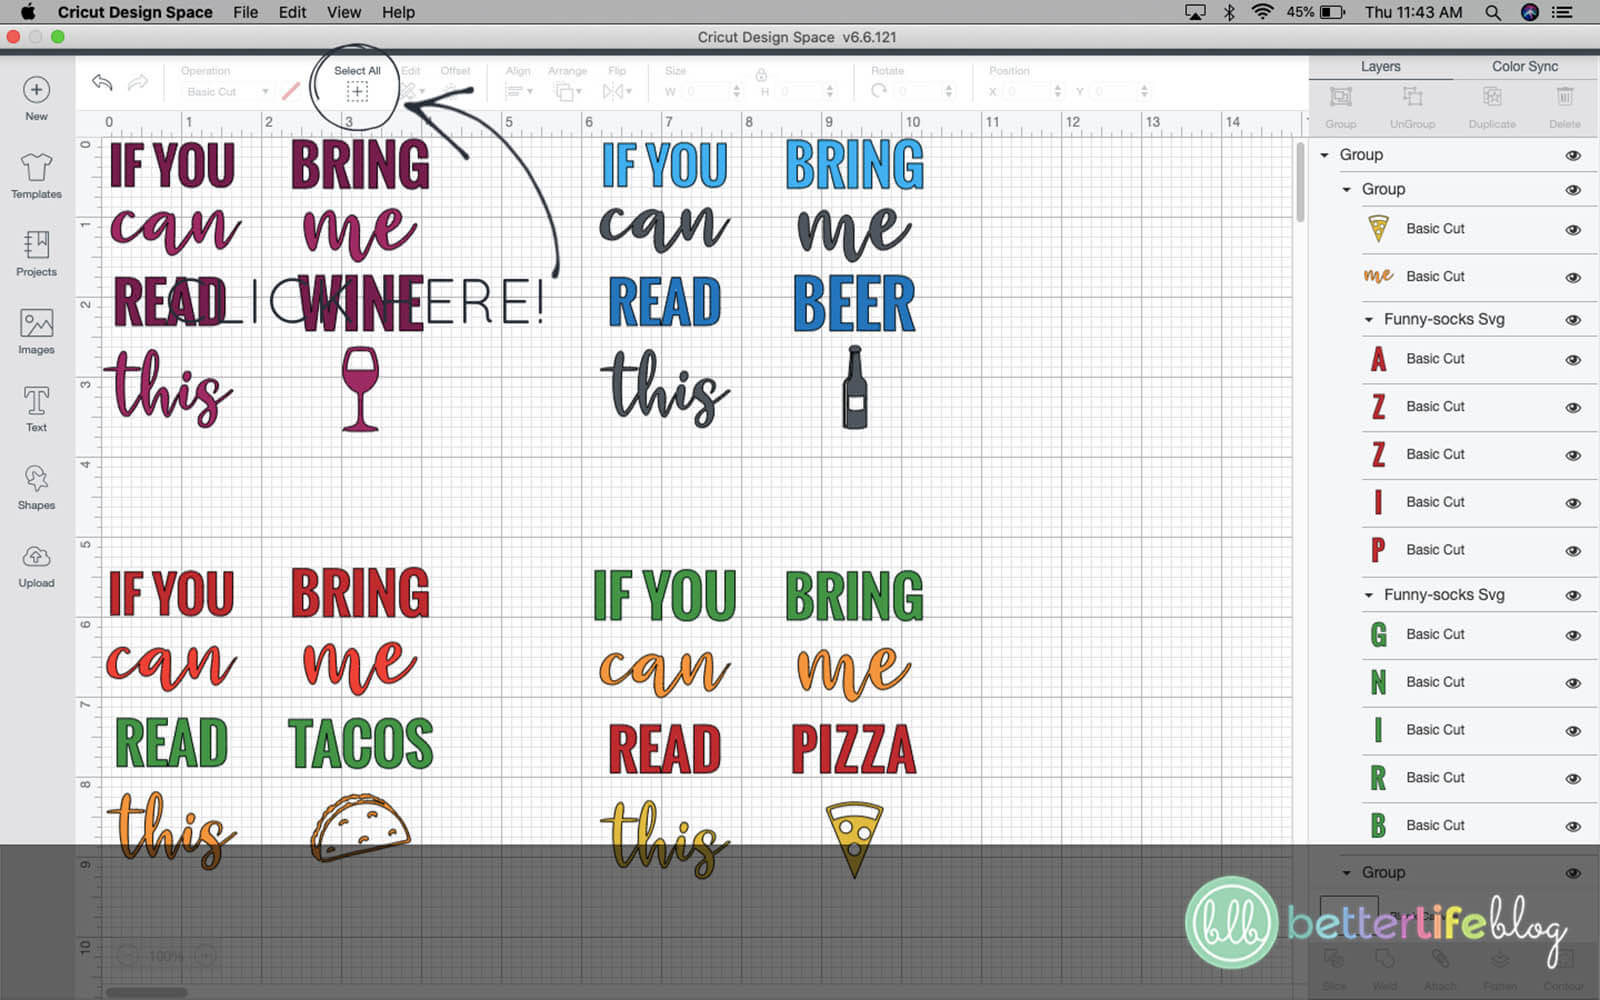
Now, look to the top left of the screen and you should see “Select All.” Click on this option and there should now be a square around your image.
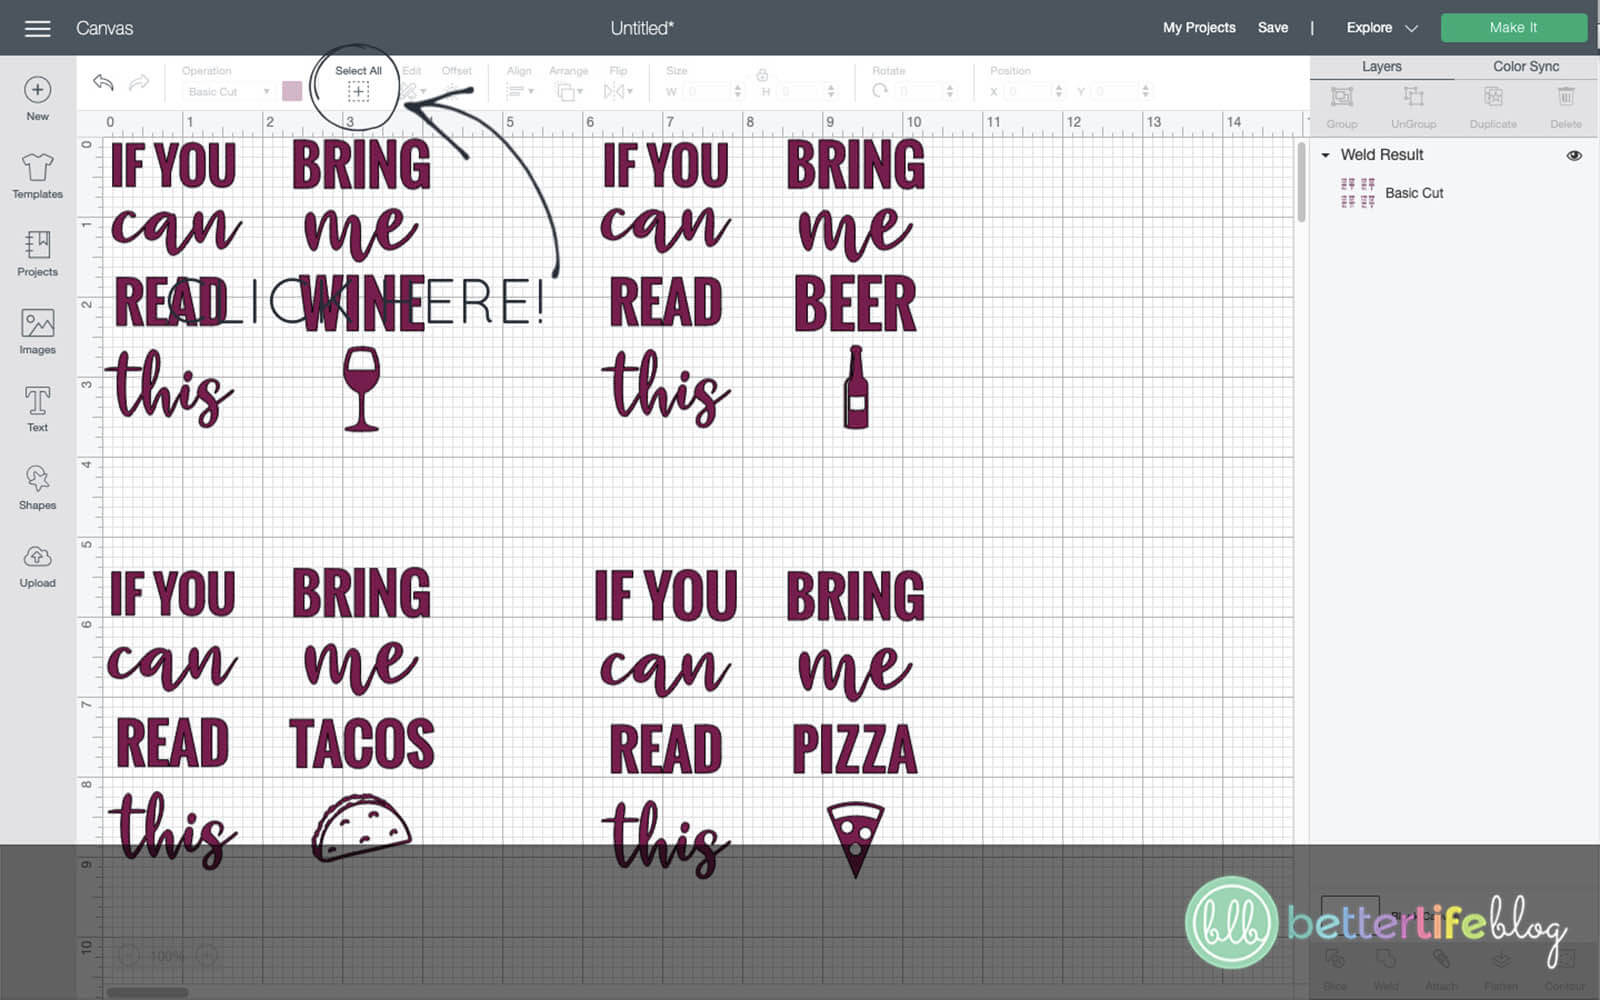
Next, on the lower right-hand side of the screen, click on “Weld.”

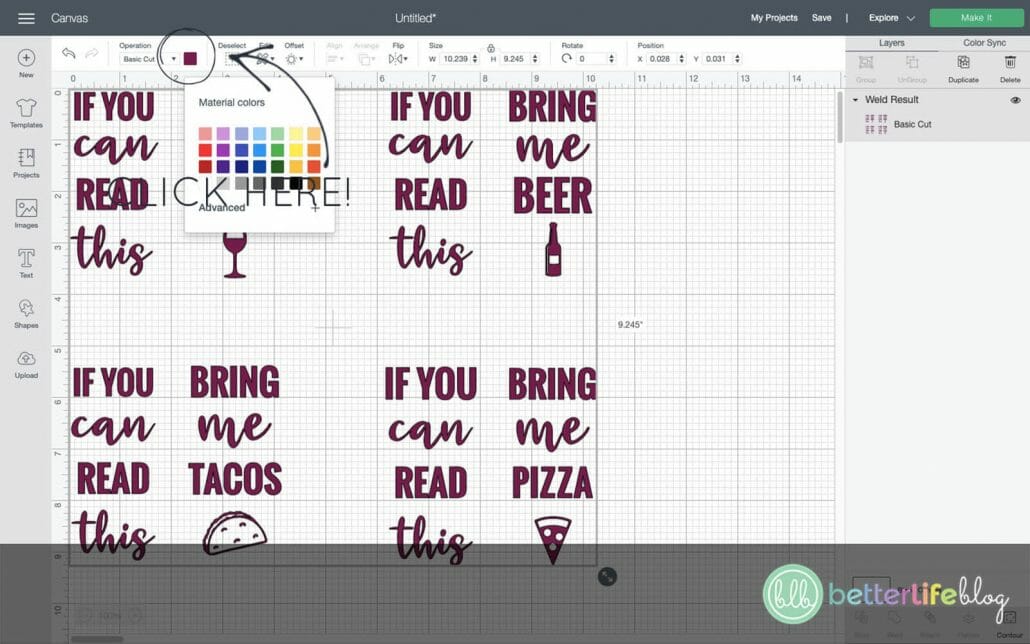
Go back up to the top of the screen and click the colored square next to “Basic Cut.” Click the color of the infusible ink sheet that you are using for this particular project.
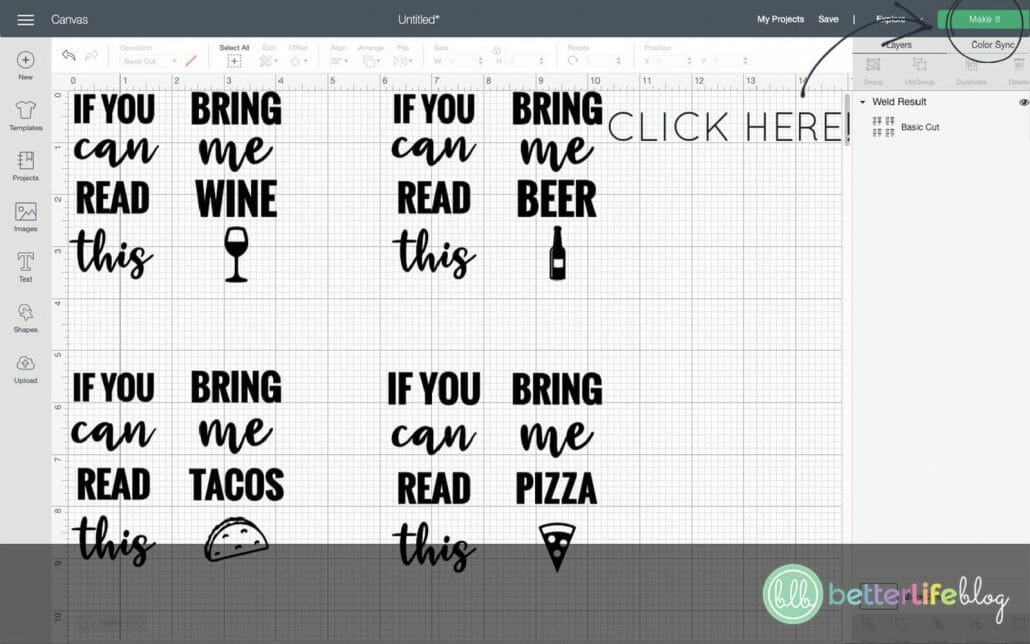
The design is now ready to be cut!
Click on “Make It” on the top of the screen.
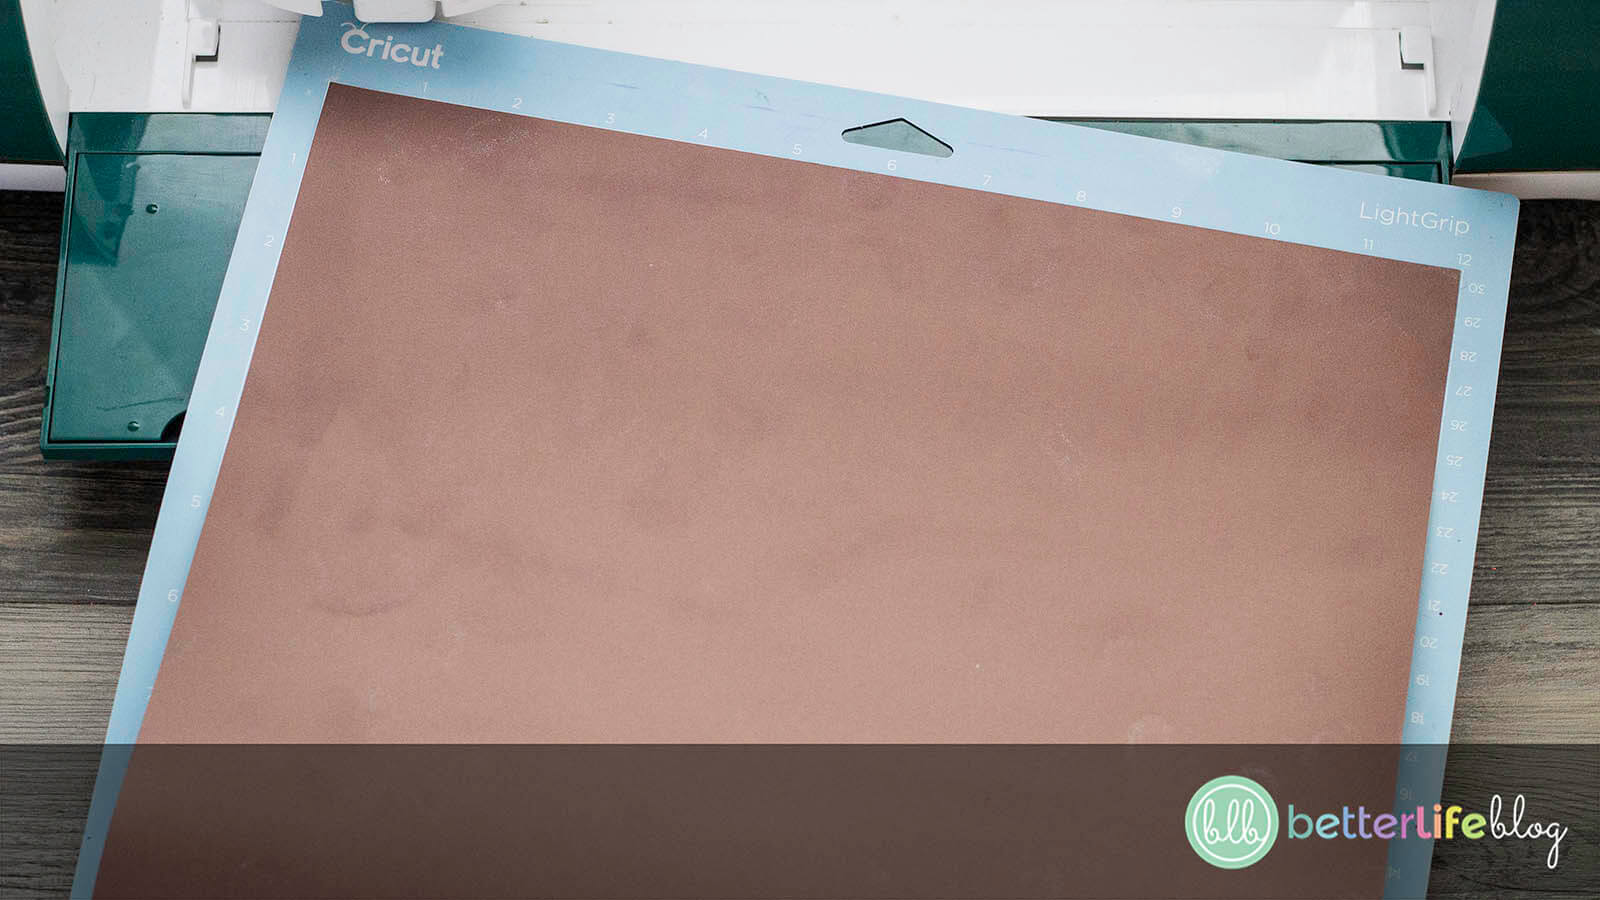
Lay a 12 x 12 sheet of infusible ink on your mat, color side up, and make sure it is pressed down firmly and evenly.
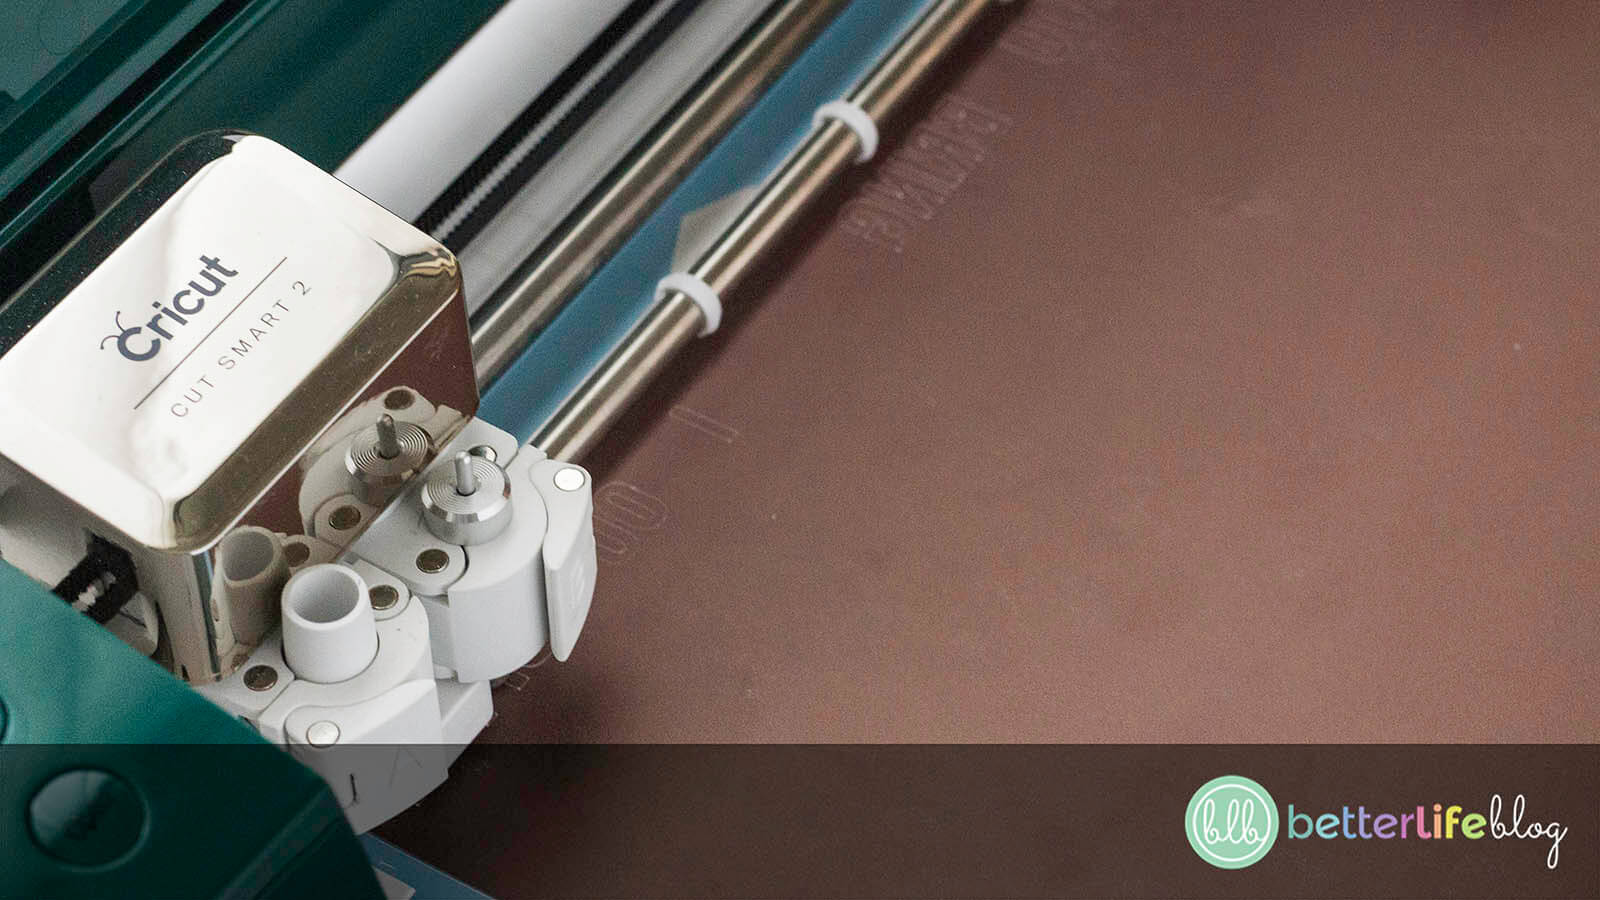
Feed the mat into the Cricut by pressing the arrow button. Be sure your mat evenly feeds into the guides on both sides.
Turn the dial to “Custom.”
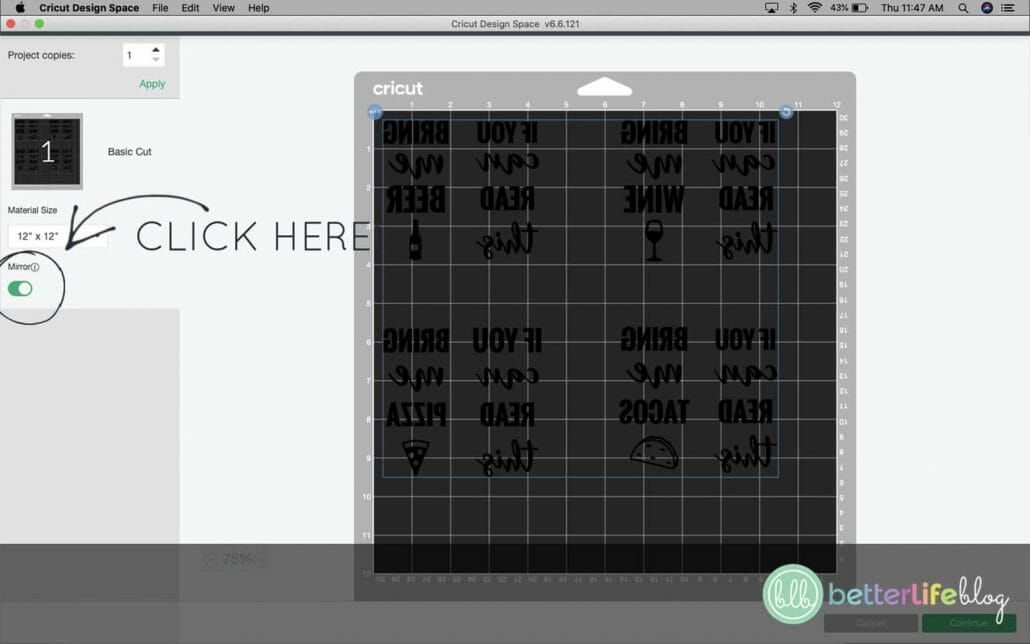
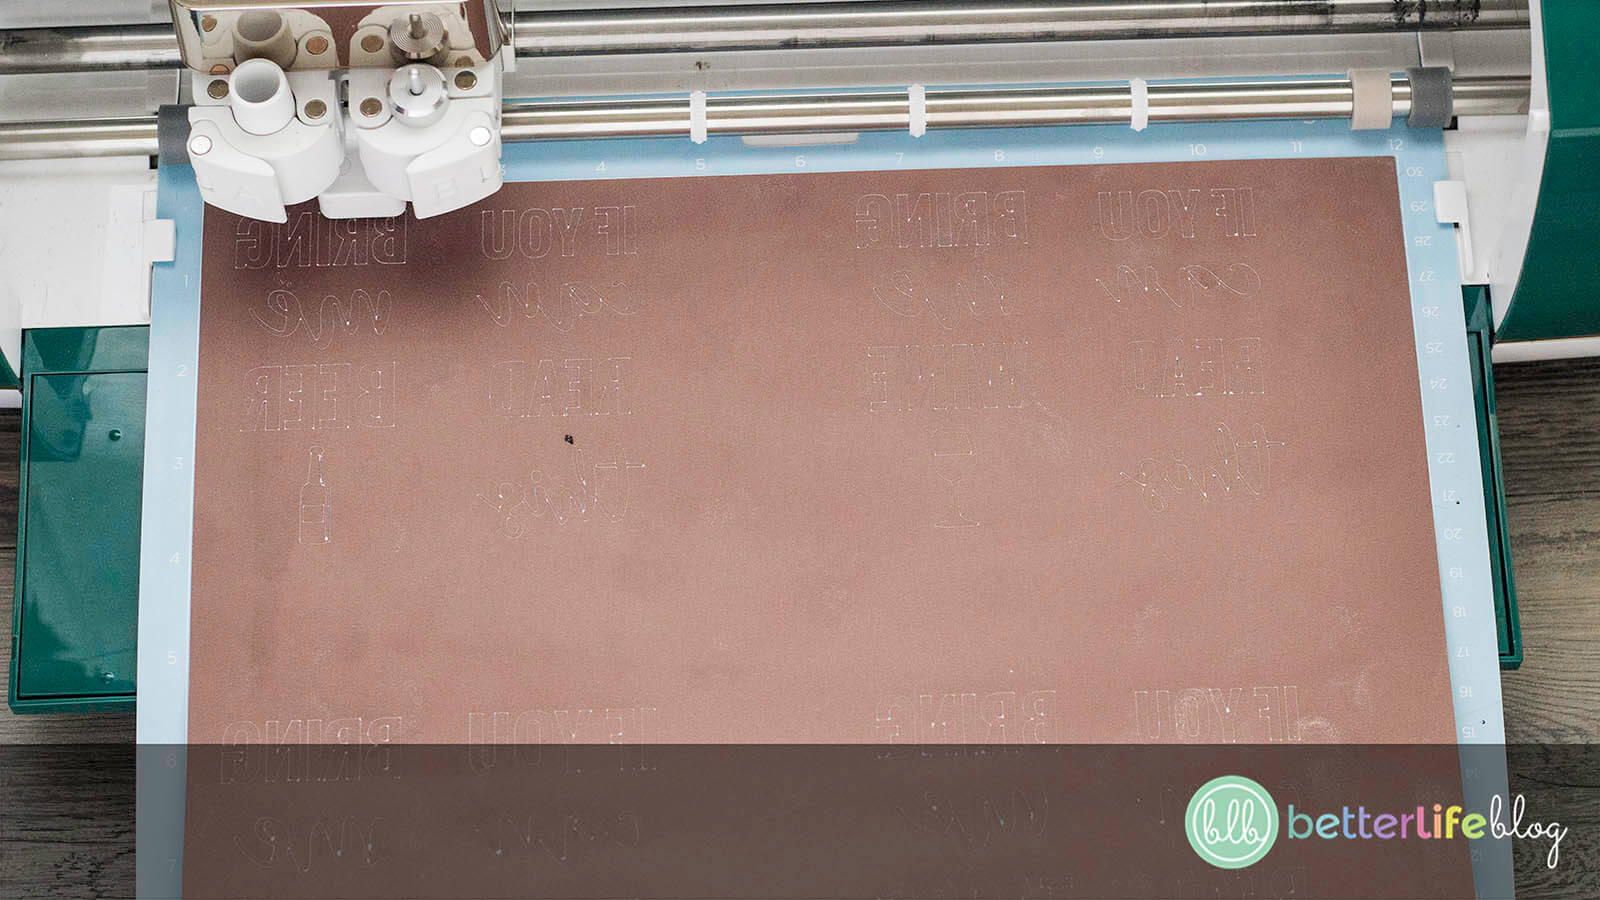
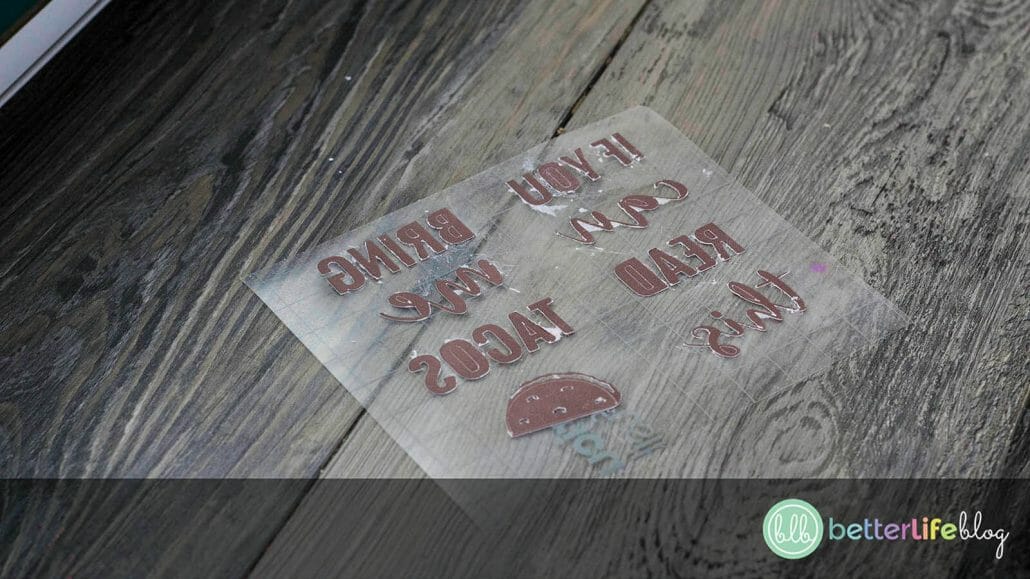
On your computer, click the button on the left-hand side labeled “Mirror.” Then, click on “Continue.”
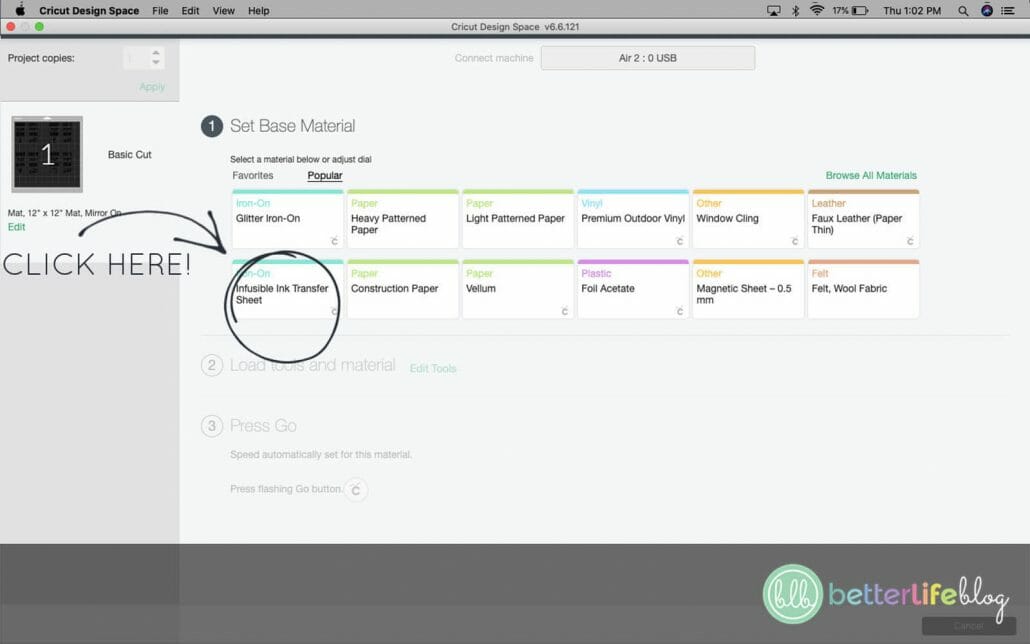
From here, select “Infusible Ink Sheets” for the material.
Press the flashing Cricut button on your machine. The machine will start cutting!
Once your design is done cutting, cut out each individual design. This will make it easier to transfer onto the sock.
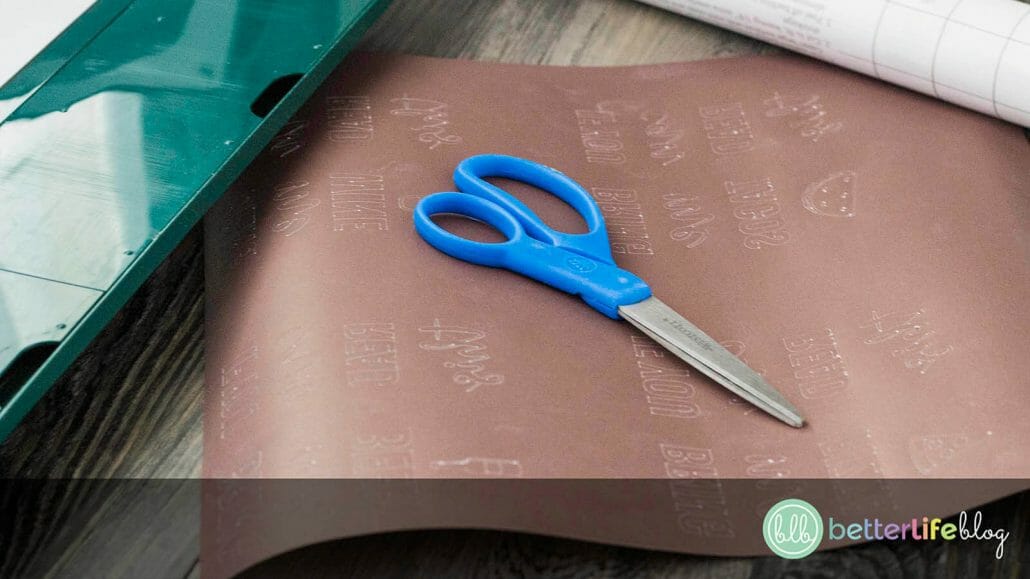
With the help of your weeding tools, weed out the design carefully.


Once you are done weeding, the design is ready to be placed on the socks.
Fold up a piece of card stock and place it inside each sock. This makes sure that your ink does not transfer all the way through.
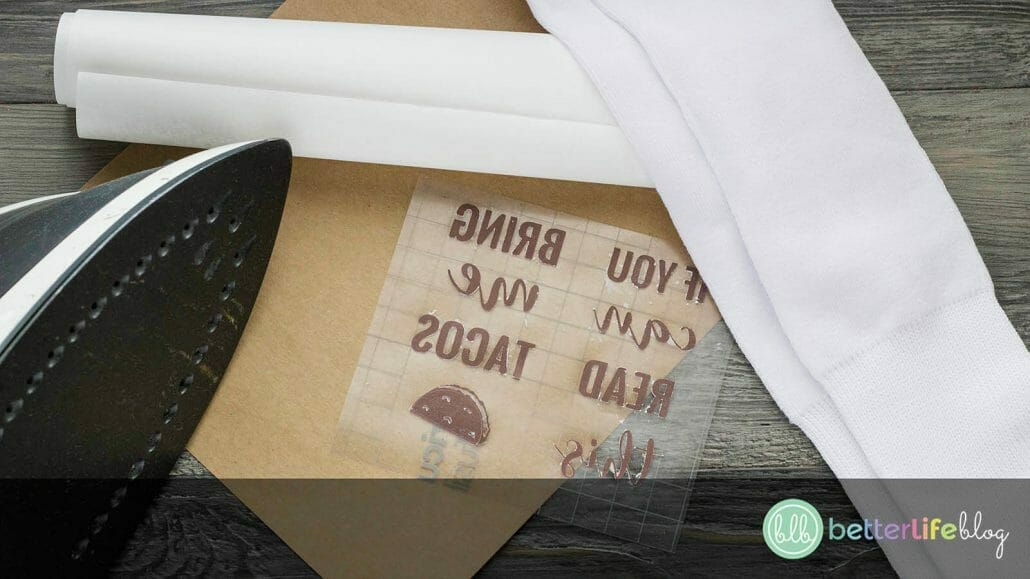
Place your design color side down on to the bottom of your sock. Place your parchment paper right on top.
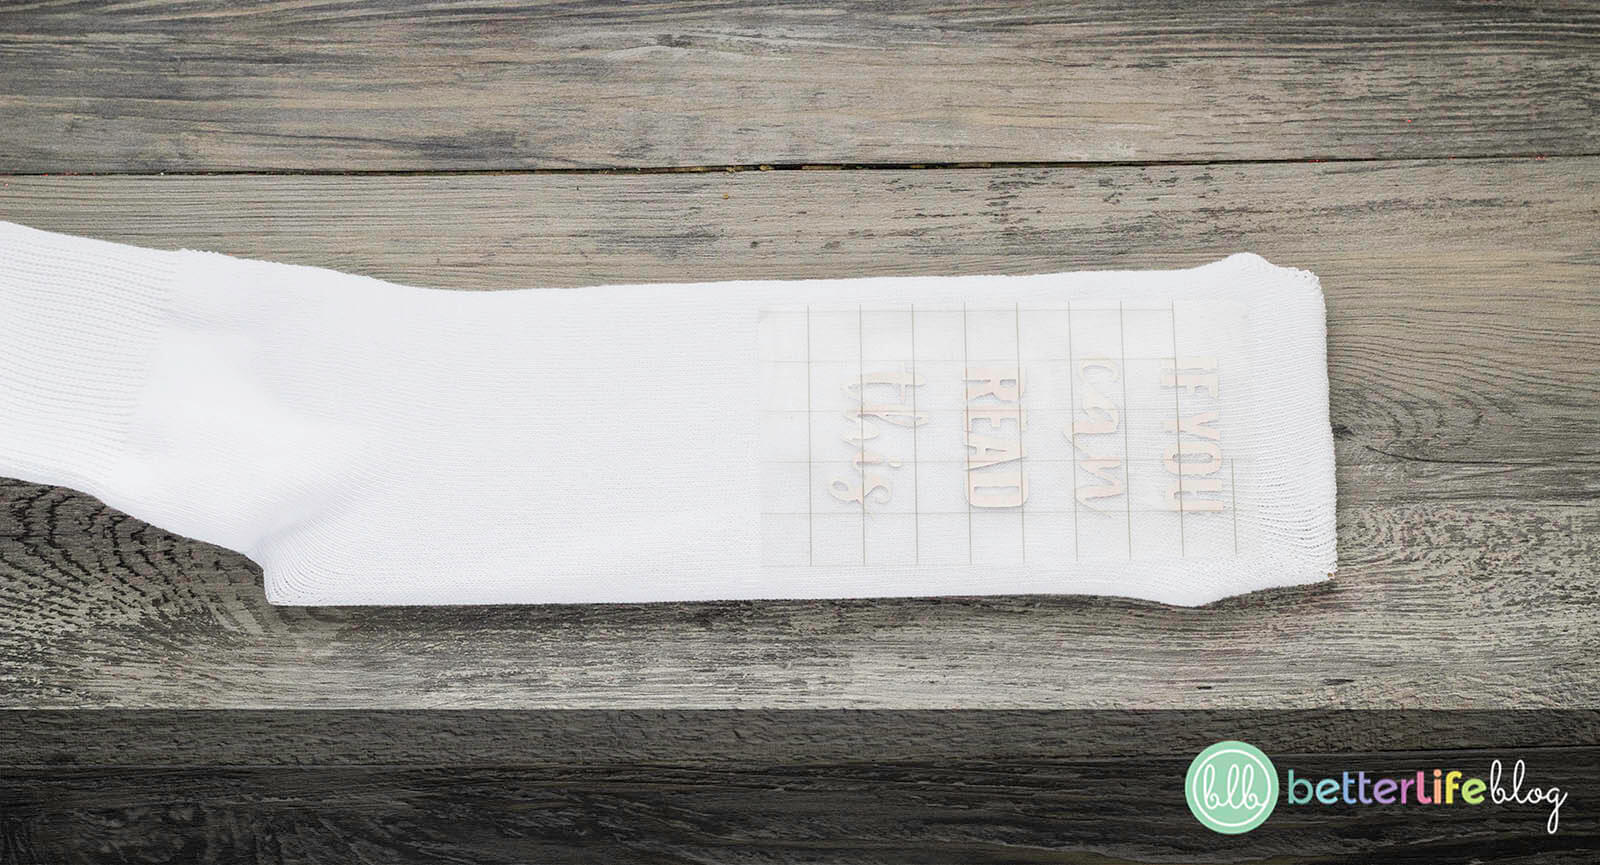
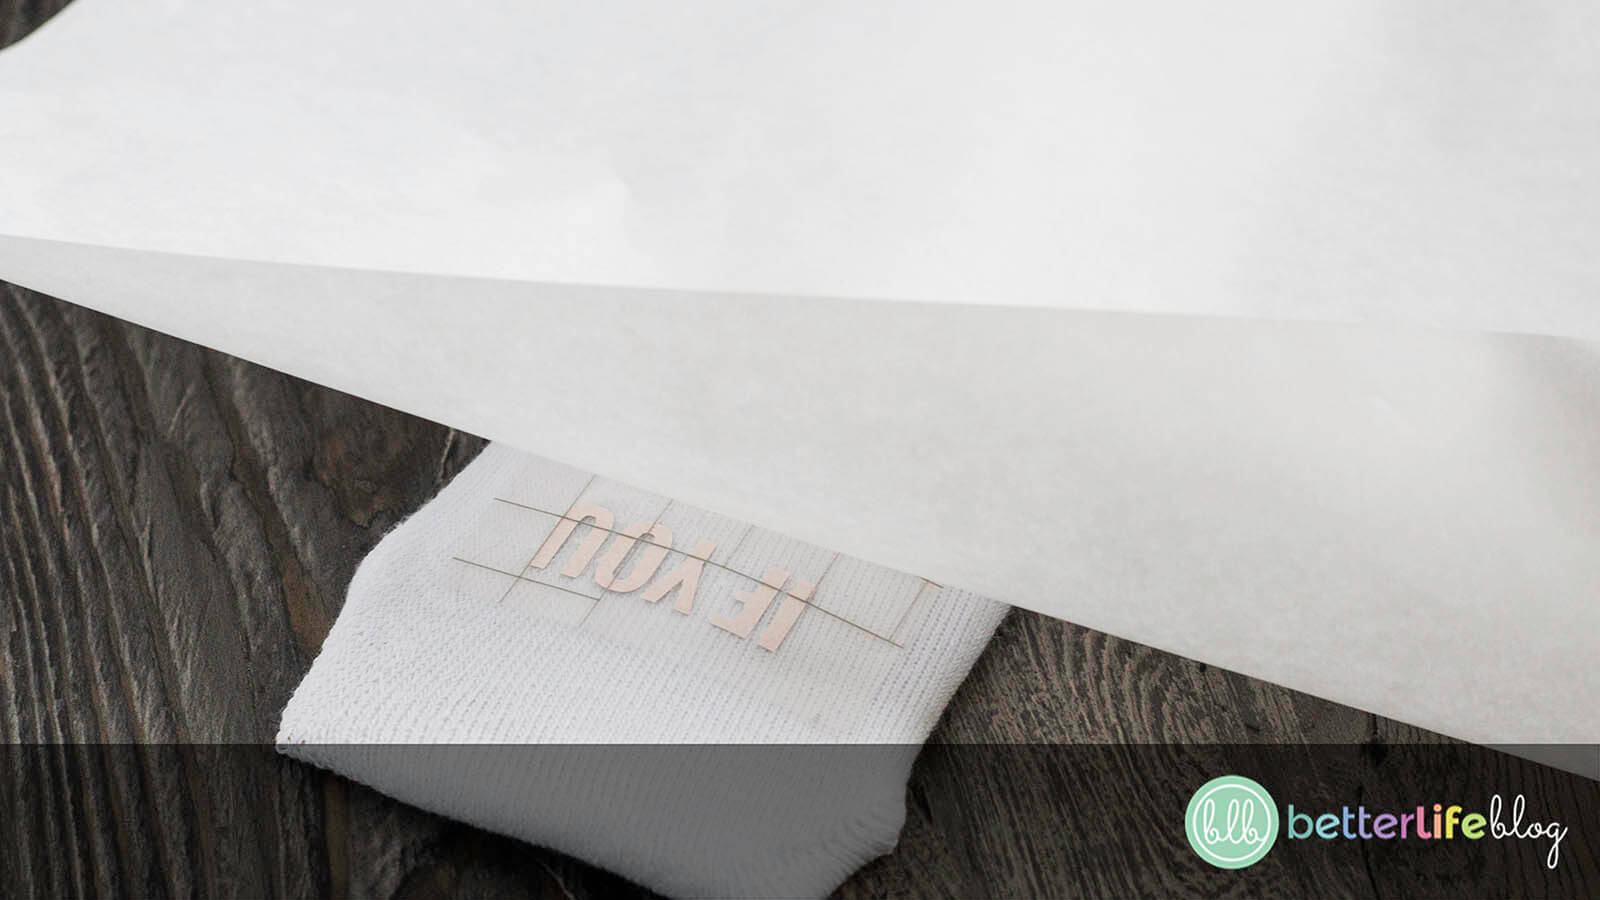
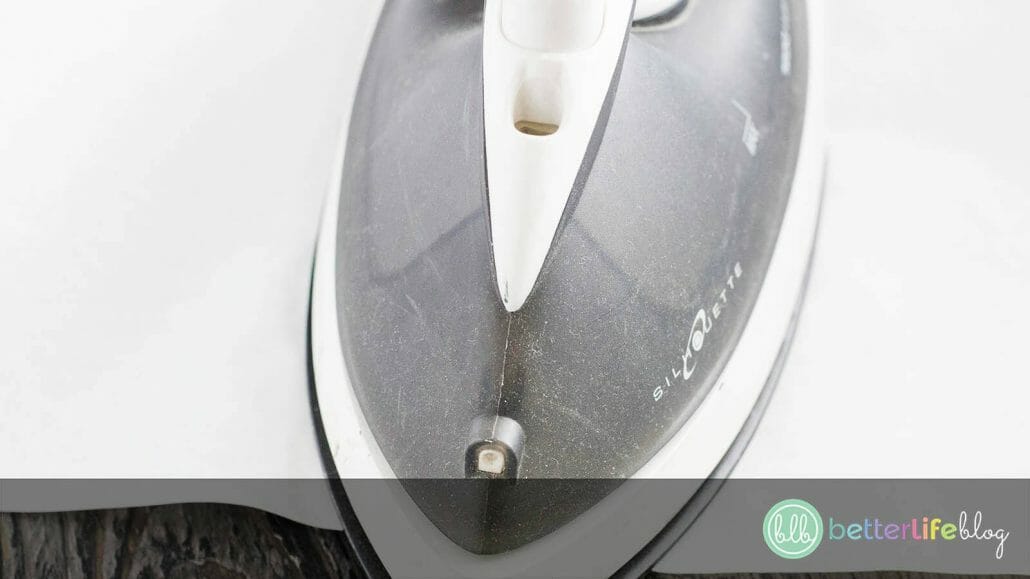
Set your iron to its hottest setting and press it down on your design firmly and evenly. Hold it down for one minute.
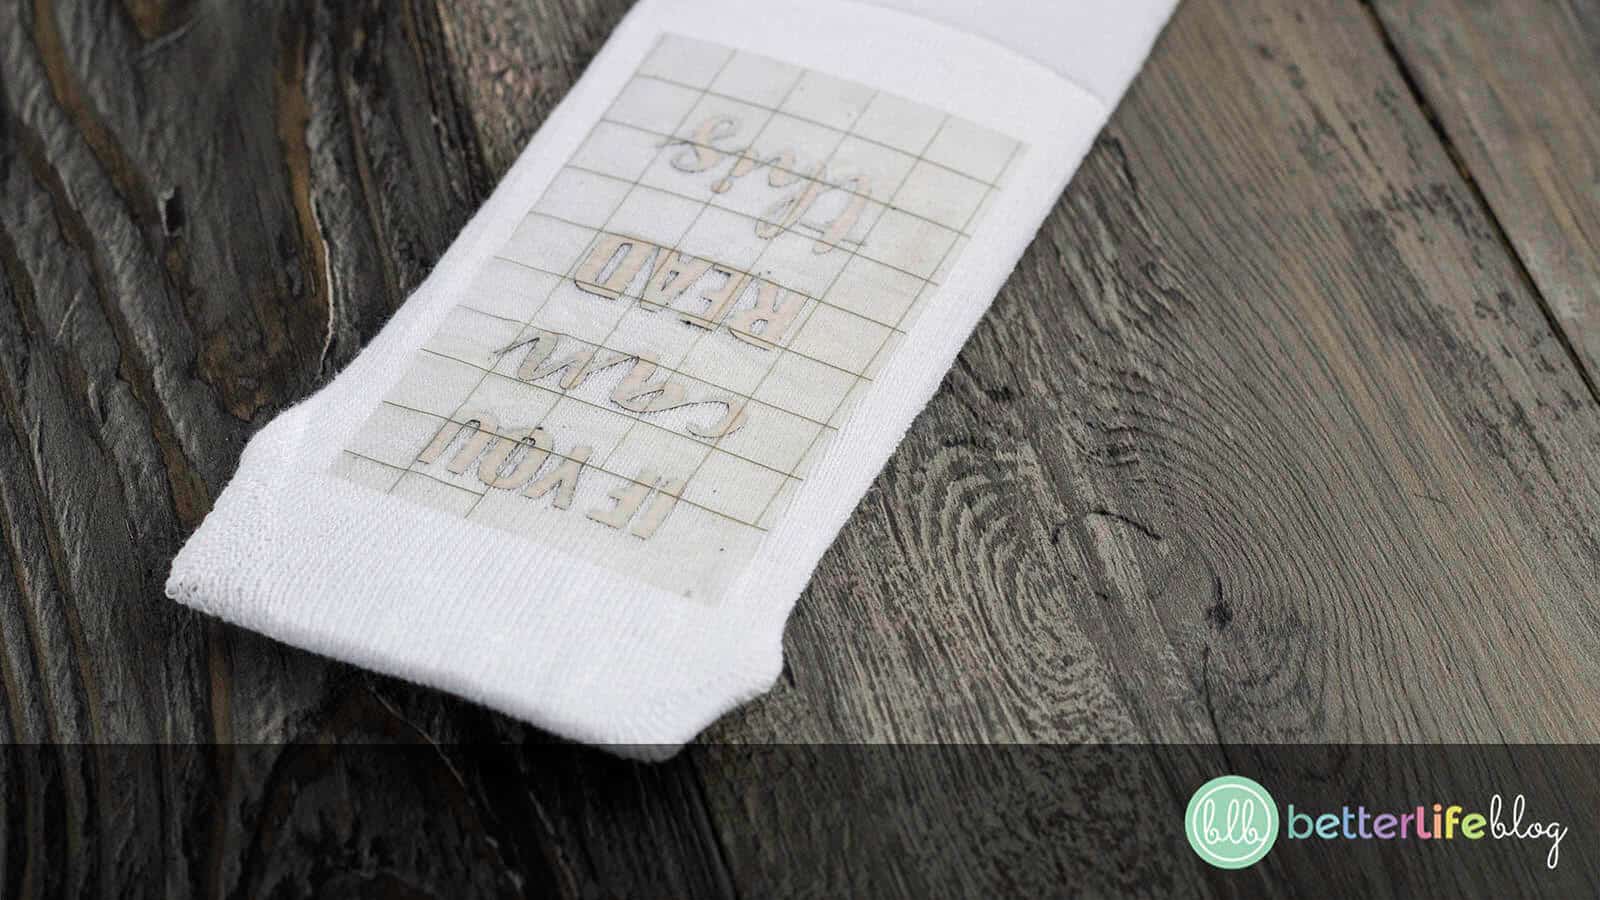
Allow the socks to cool – this is a vital step in making sure that everything is set.
Once the socks are cooled, remove the design from the sock.


DIY Taco Socks with Infusible Ink
Let's TACO 'bout how adorable these socks are! I'm always in the mood for tacos, so these socks are totally made for me!
Materials
Instructions
- Start by downloading the provided design - click here to download yours now! Also be sure that your Cricut is plugged in, turned on and connected to your computer.
- Open Cricut Design Space and click on “New Project.”
- Next, click on “Upload Image” then, “Browse.”
- Select your newly downloaded file by clicking it.
- Click on “Upload” on the lower right-hand corner of the screen.
- Next, you will see your file and that it’s been uploaded to the image database.
- Click on the uploaded file and click “Insert.”
- You have successfully uploaded your image onto a canvas on Design Space.
- Now, look to the top left of the screen and you should see “Select All.” Click on this option and there should now be a square around your image.
- Next, on the lower right-hand side of the screen, click on “Weld.”
- Go back up to the top of the screen and click the colored square next to “Basic Cut.” Click the color of the infusible ink sheet that you are using for this particular project.
- The design is now ready to be cut!
- Click on “Make It” on the top of the screen.
- Lay a 12 x 12 sheet of infusible ink on your mat, color side up, and make sure it is pressed down firmly and evenly.
- Feed the mat into the Cricut by pressing the arrow button. Be sure your mat evenly feeds into the guides on both sides.
- Turn the dial to “Custom.”
- On your computer, click the button on the left-hand side labeled “Mirror.” Then, click on “Continue.”
- From here, select “Infusible Ink Sheets” for the material.
- Press the flashing Cricut button on your machine. The machine will start cutting!
- Once your design is done cutting, cut out each individual design. This will make it easier to transfer onto the sock.
- With the help of your weeding tools, weed out the design carefully.
- Once you are done weeding, the design is ready to be placed on the socks.
- Fold up a piece of card stock and place it inside each sock. This makes sure that your ink does not transfer all the way through.
- Place your design color side down on to the bottom of your sock. Place your parchment paper right on top.
- Set your iron to its hottest setting and press it down on your design firmly and evenly. Hold it down for one minute.
- Allow the socks to cool - this is a vital step in making sure that everything is set.
- Once the socks are cooled, remove the design from the sock.