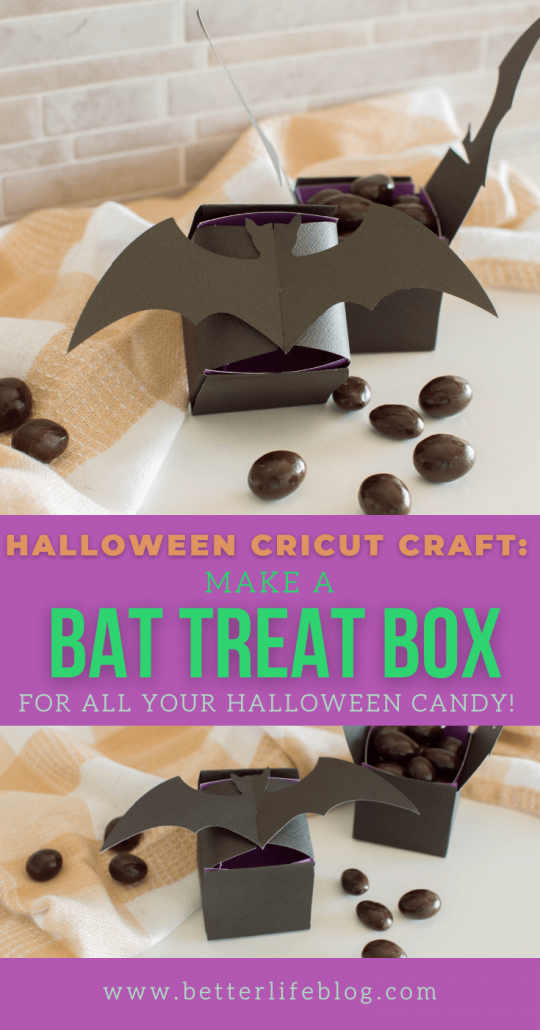
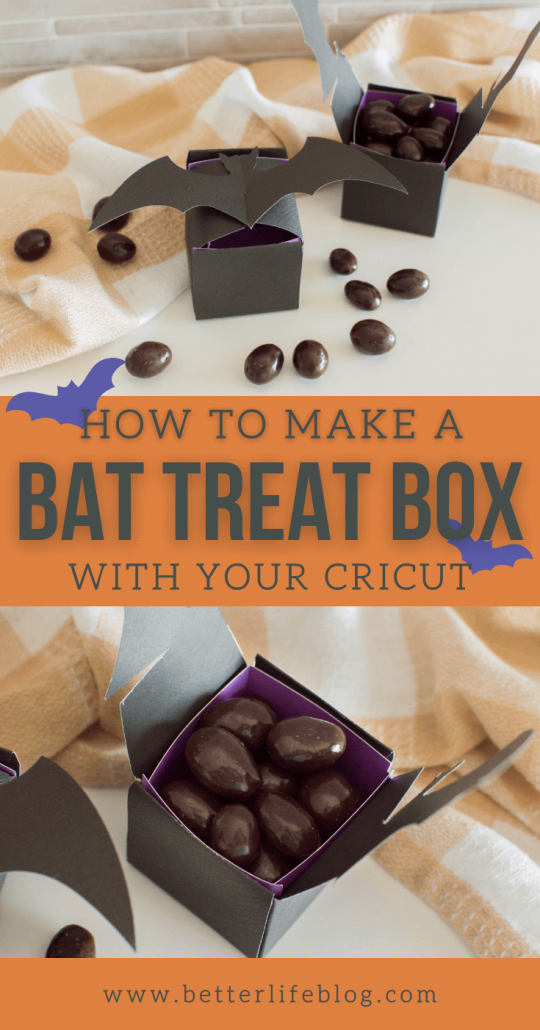
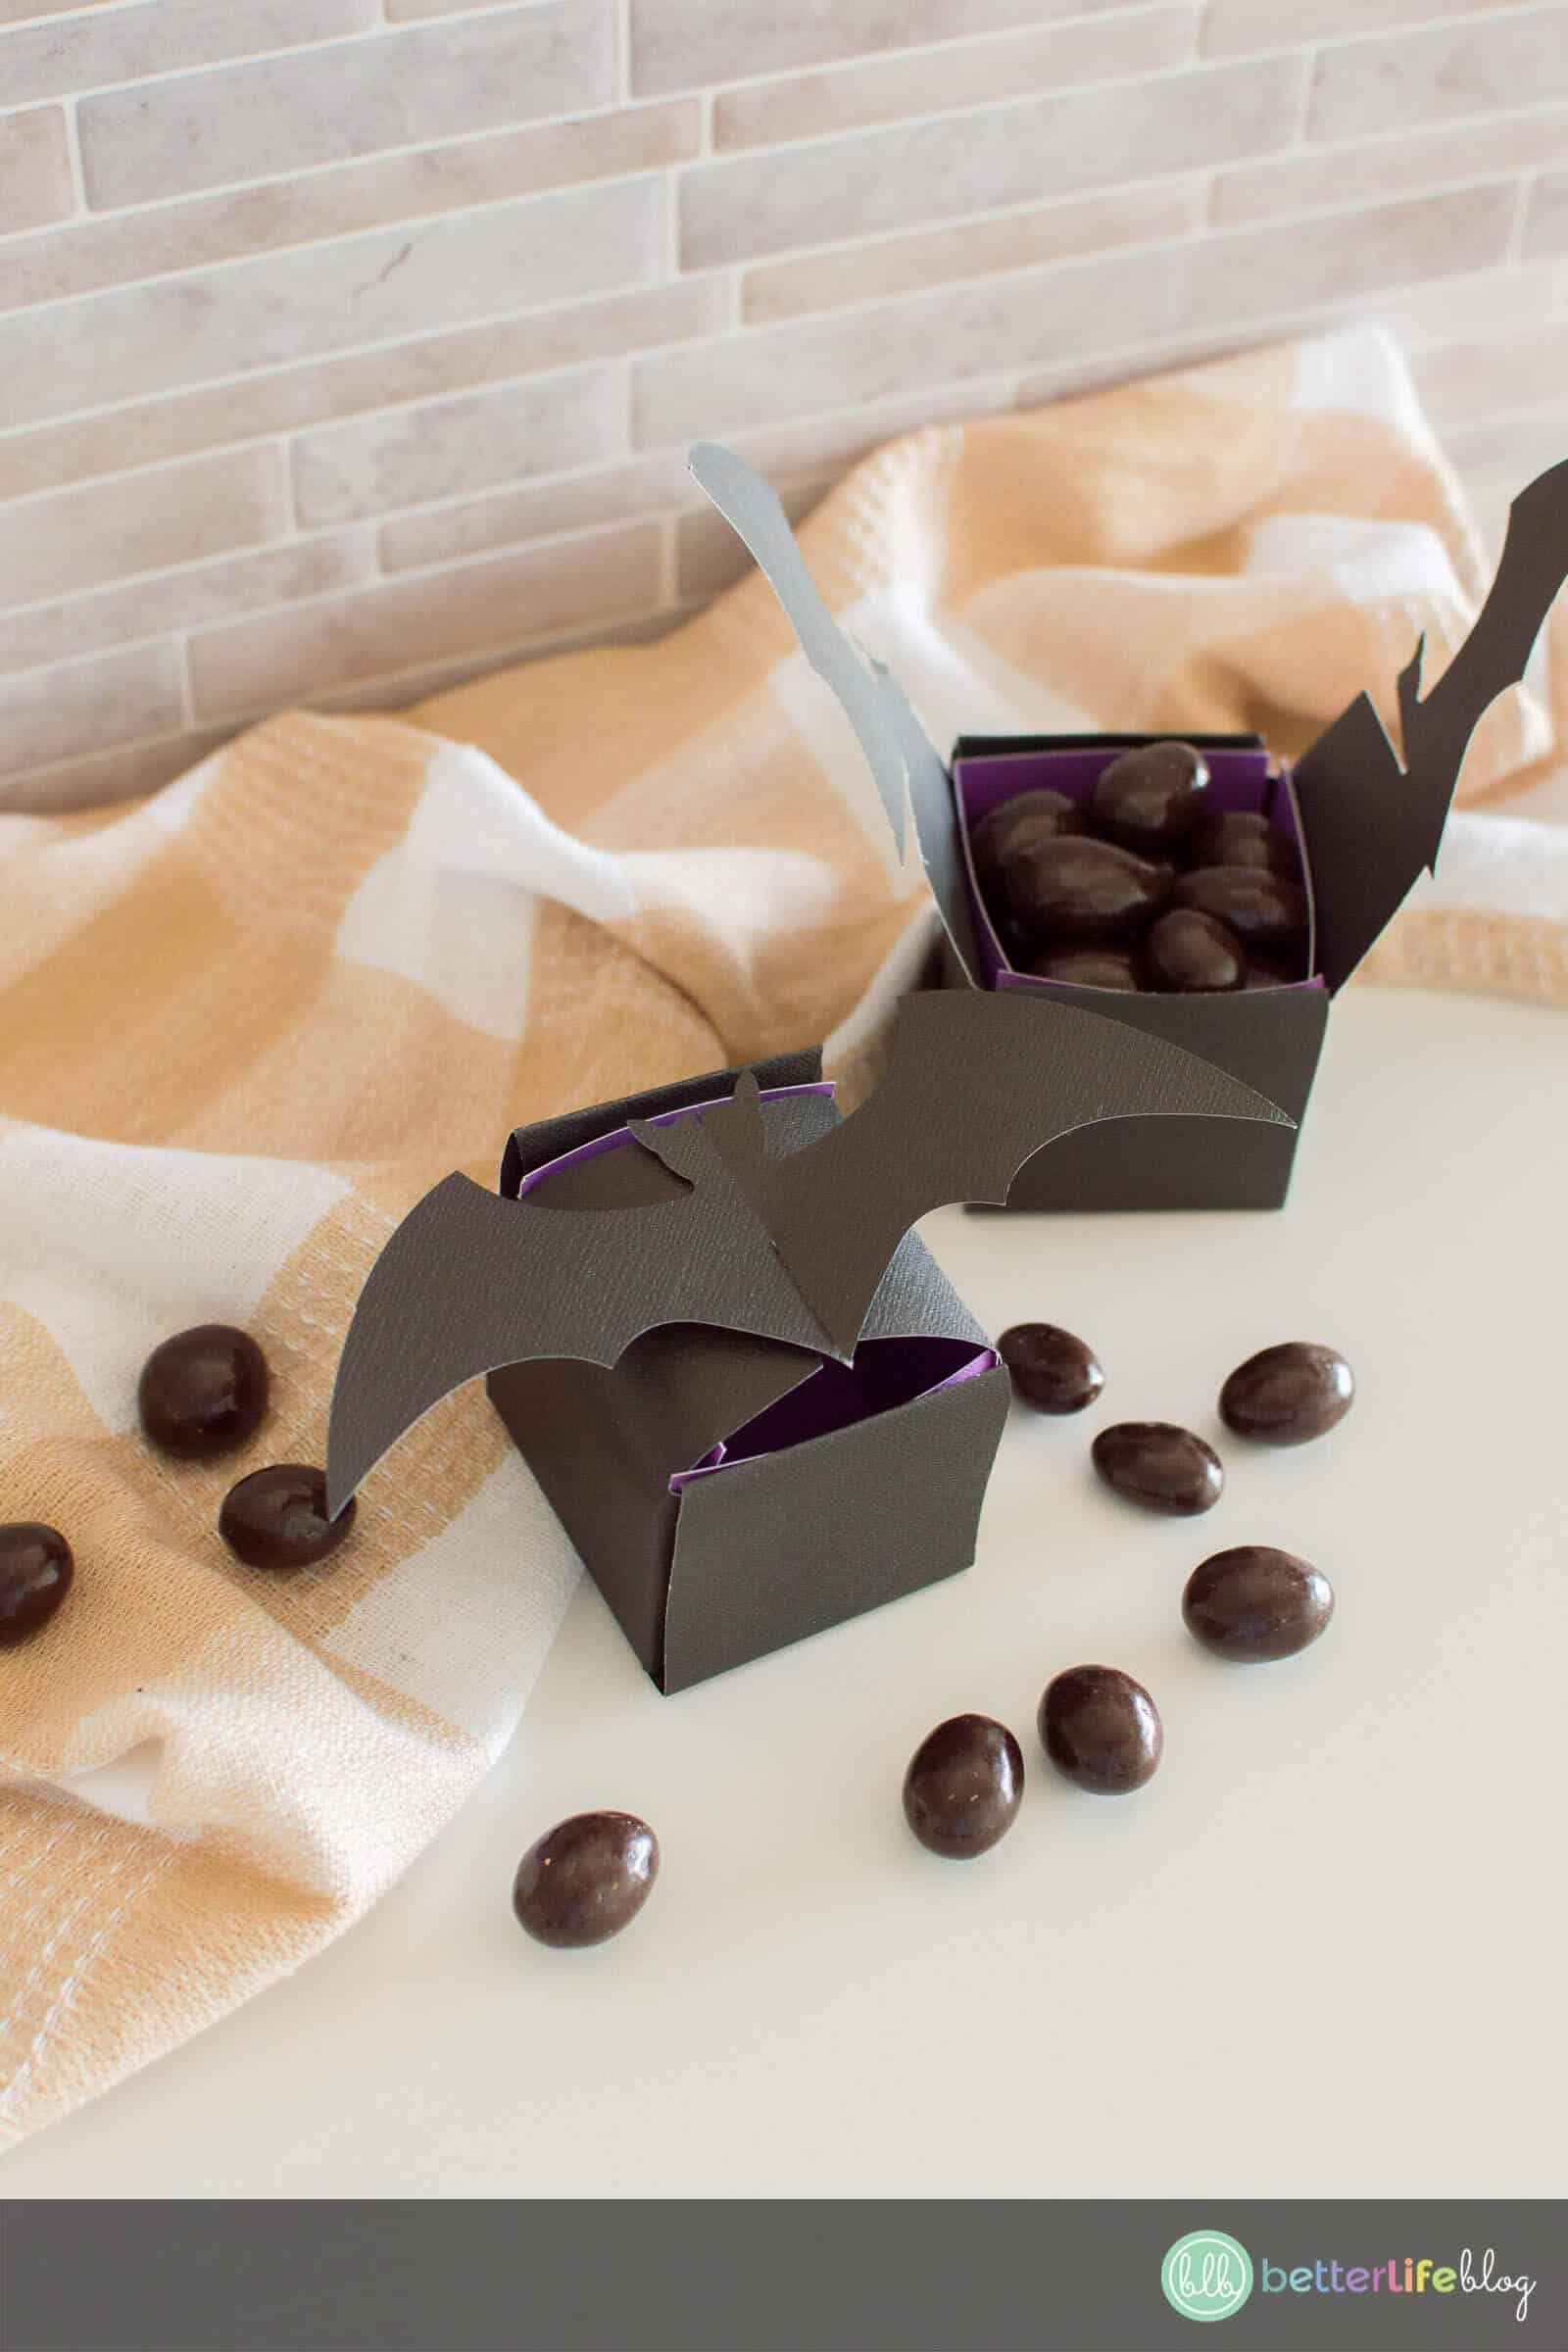
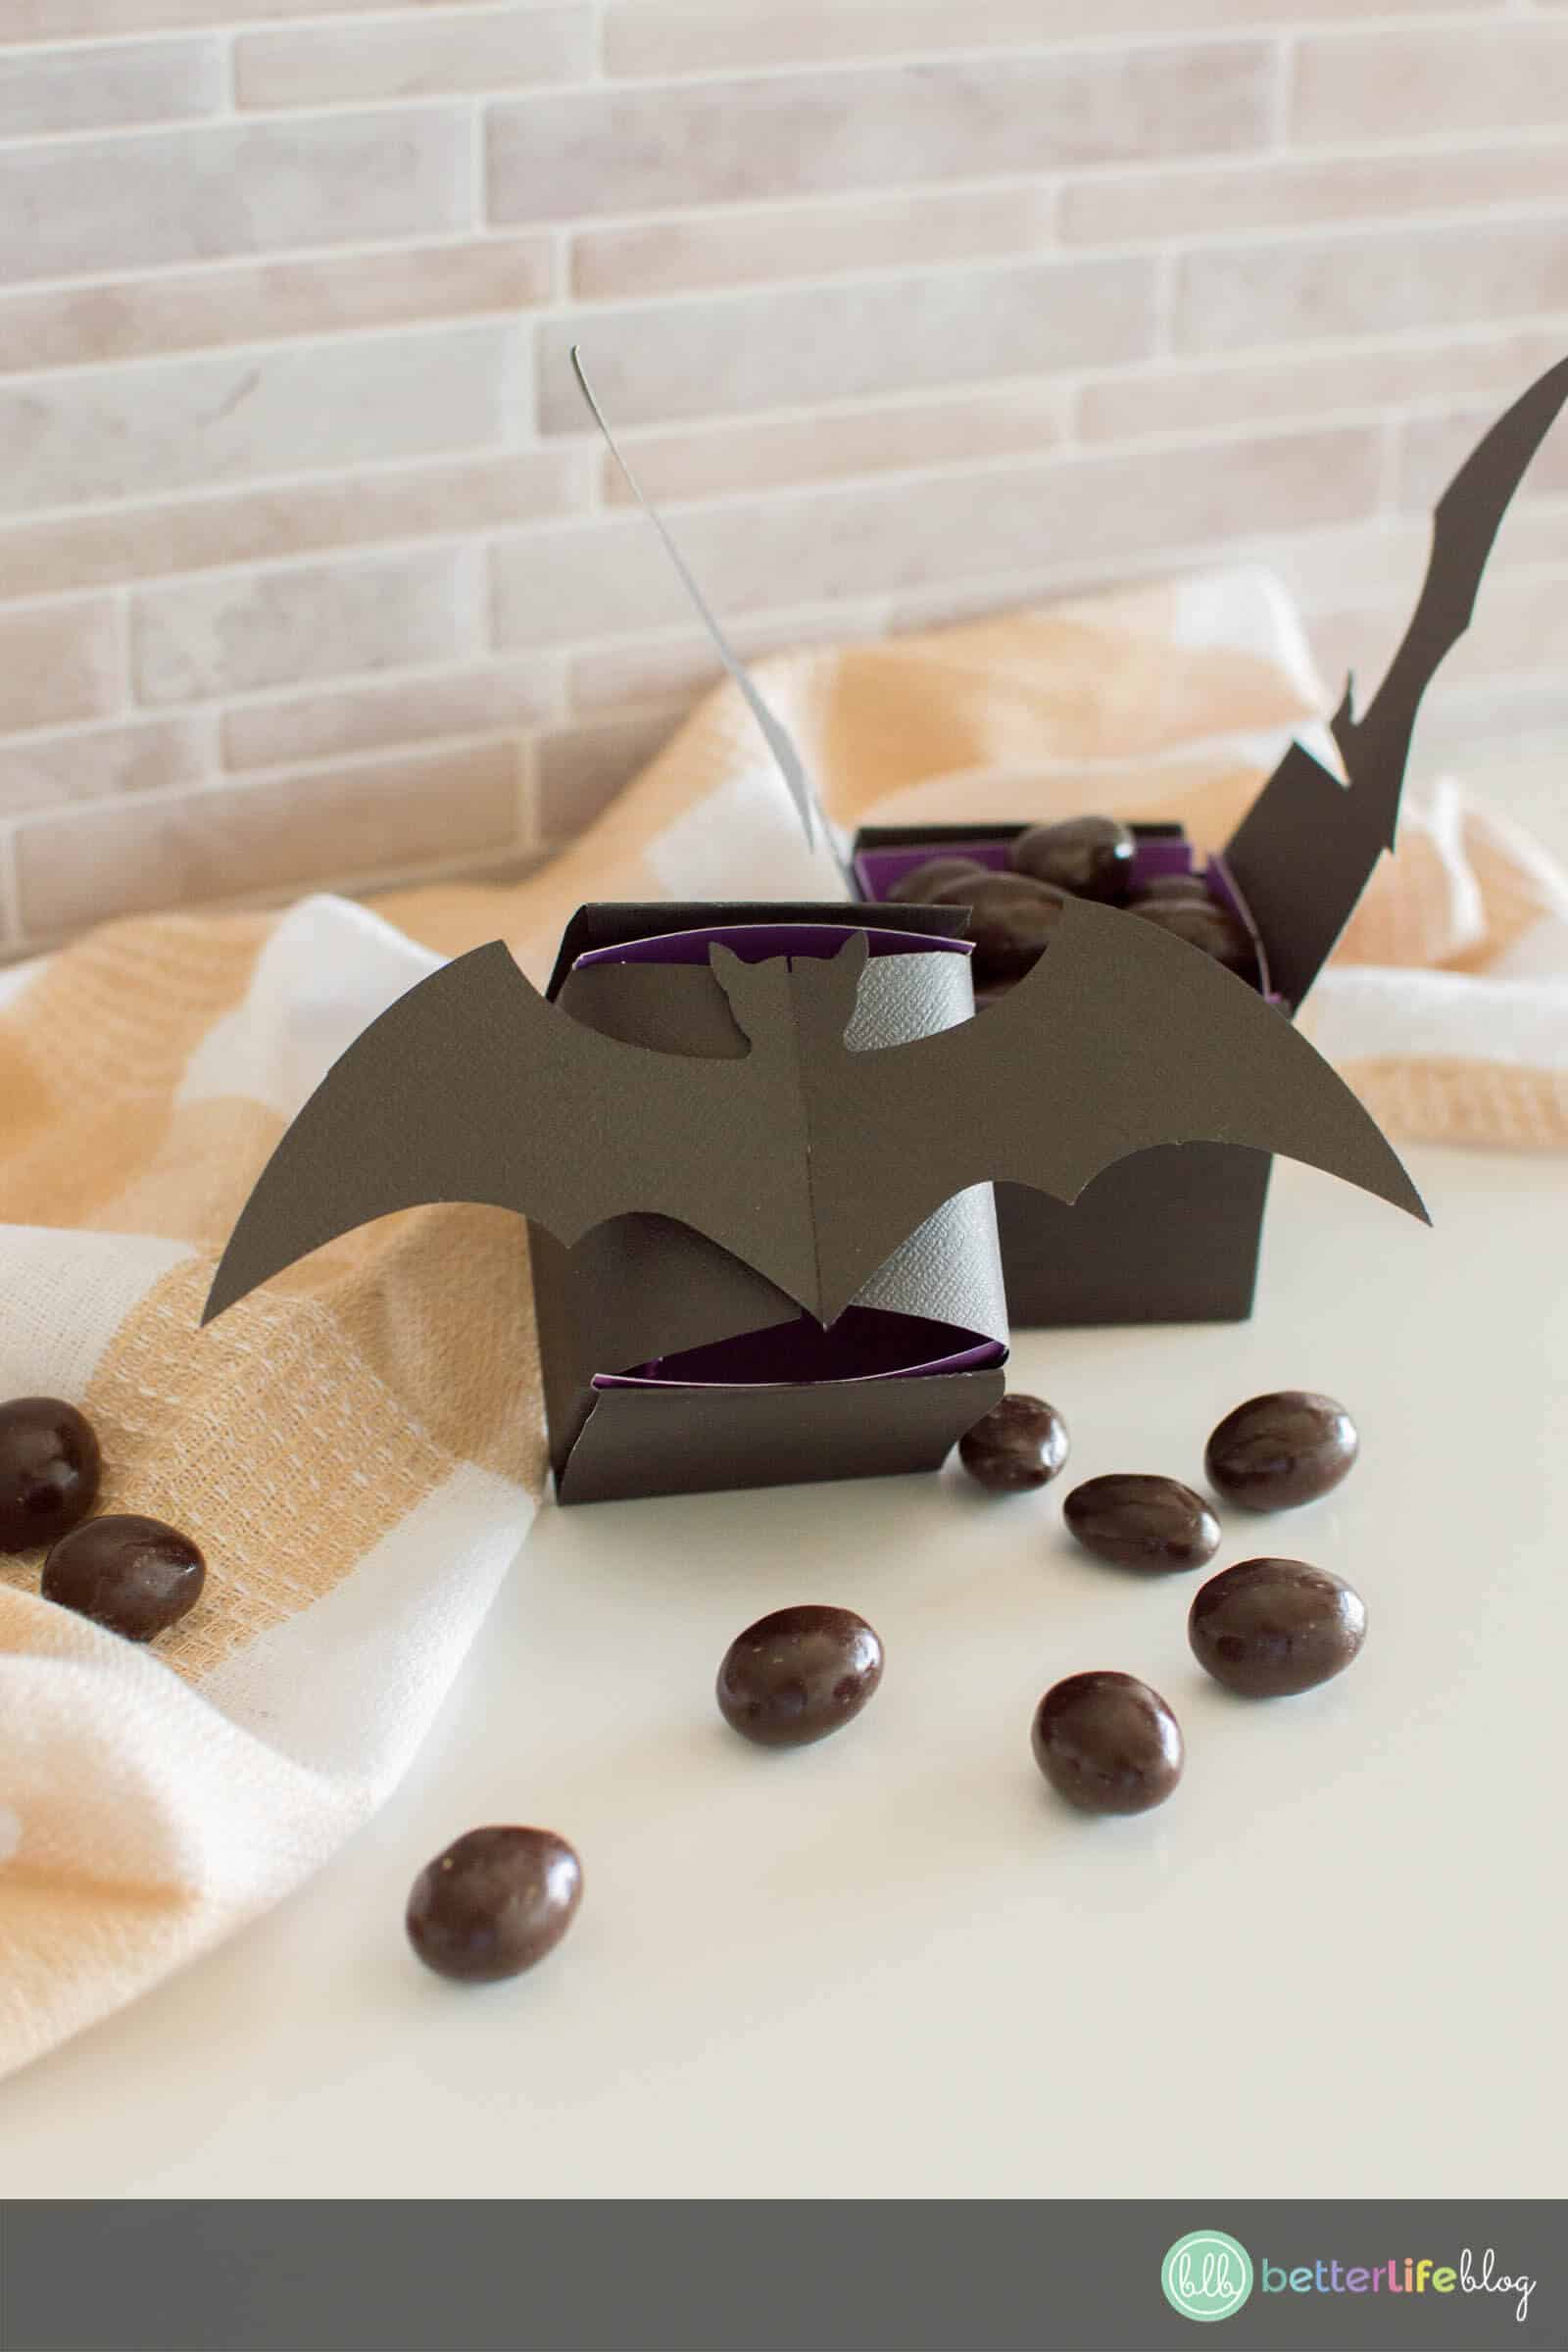
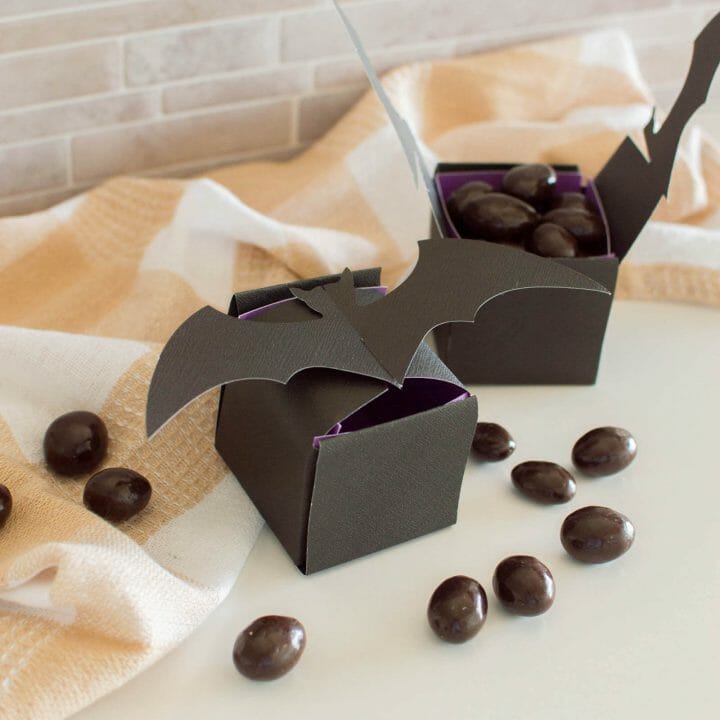
This Bat Treat Box is a unique way to offer goodies at your upcoming Halloween festivities! They look great on sweet tables and candy charcuterie boards – perfect for ANY October 31st party!
Welcome back, crafty friends! I am SO glad you’re here today because I have a fantastic Cricut Halloween Idea that I know you’ll love: Halloween Bat Treat Box.
My Bat Treat Box is incredibly easy to put together, and requires very few supplies. Keep on reading below for my full step-by-step instructions!
Where Do I Get The File To Make My Own Halloween Bat Treat Box?
Grabbing the SVG file to my Halloween Bat Treat Box is very easy!
All you have to do is login to your VIP Crafters Club dashboard. From there, you can download the Halloween Bat Treat Box SVG file, which came with your September 2020 VIP files!

Not yet a part of my VIP Crafters Club? Don’t worry! We accept members every day. All you have to do is sign up here, and get instant access to hundreds of SVG files, made personally by me!
How Do I Use My Bat Treat Box?
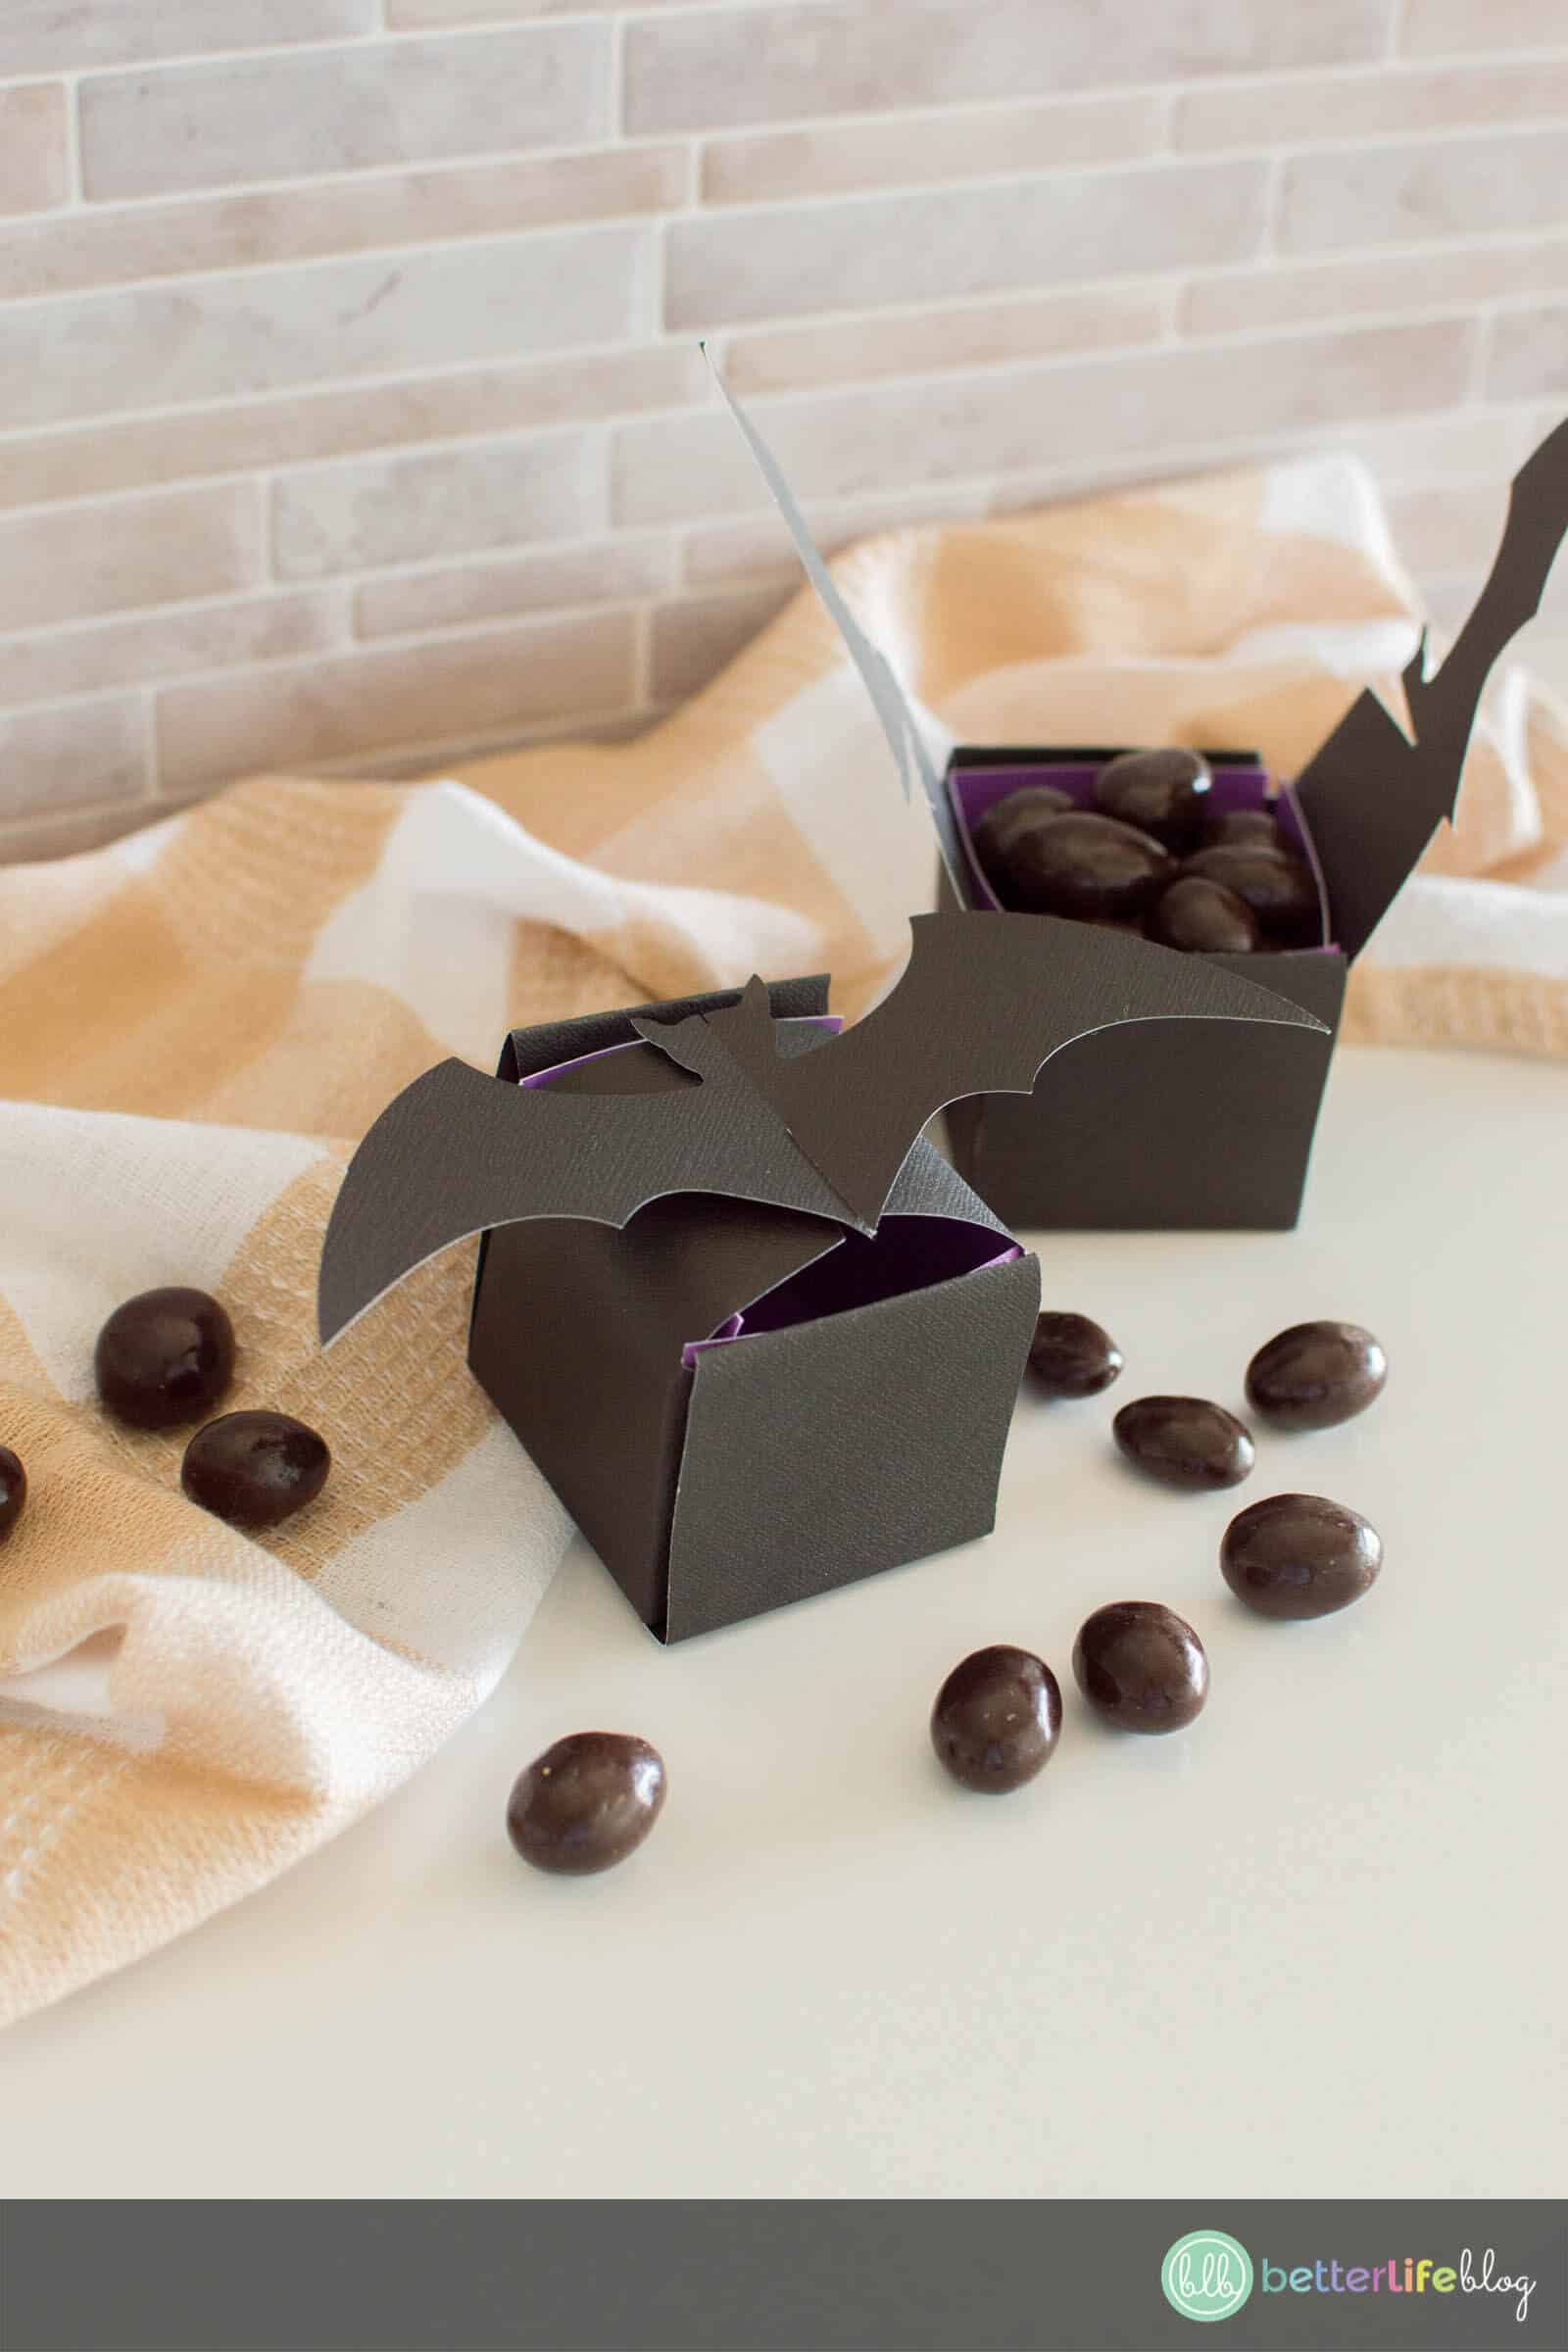
The possibilities are endless when it comes to treat boxes! You can add all sorts of delicious treats inside like candies, chocolate, mini cookies, etc.
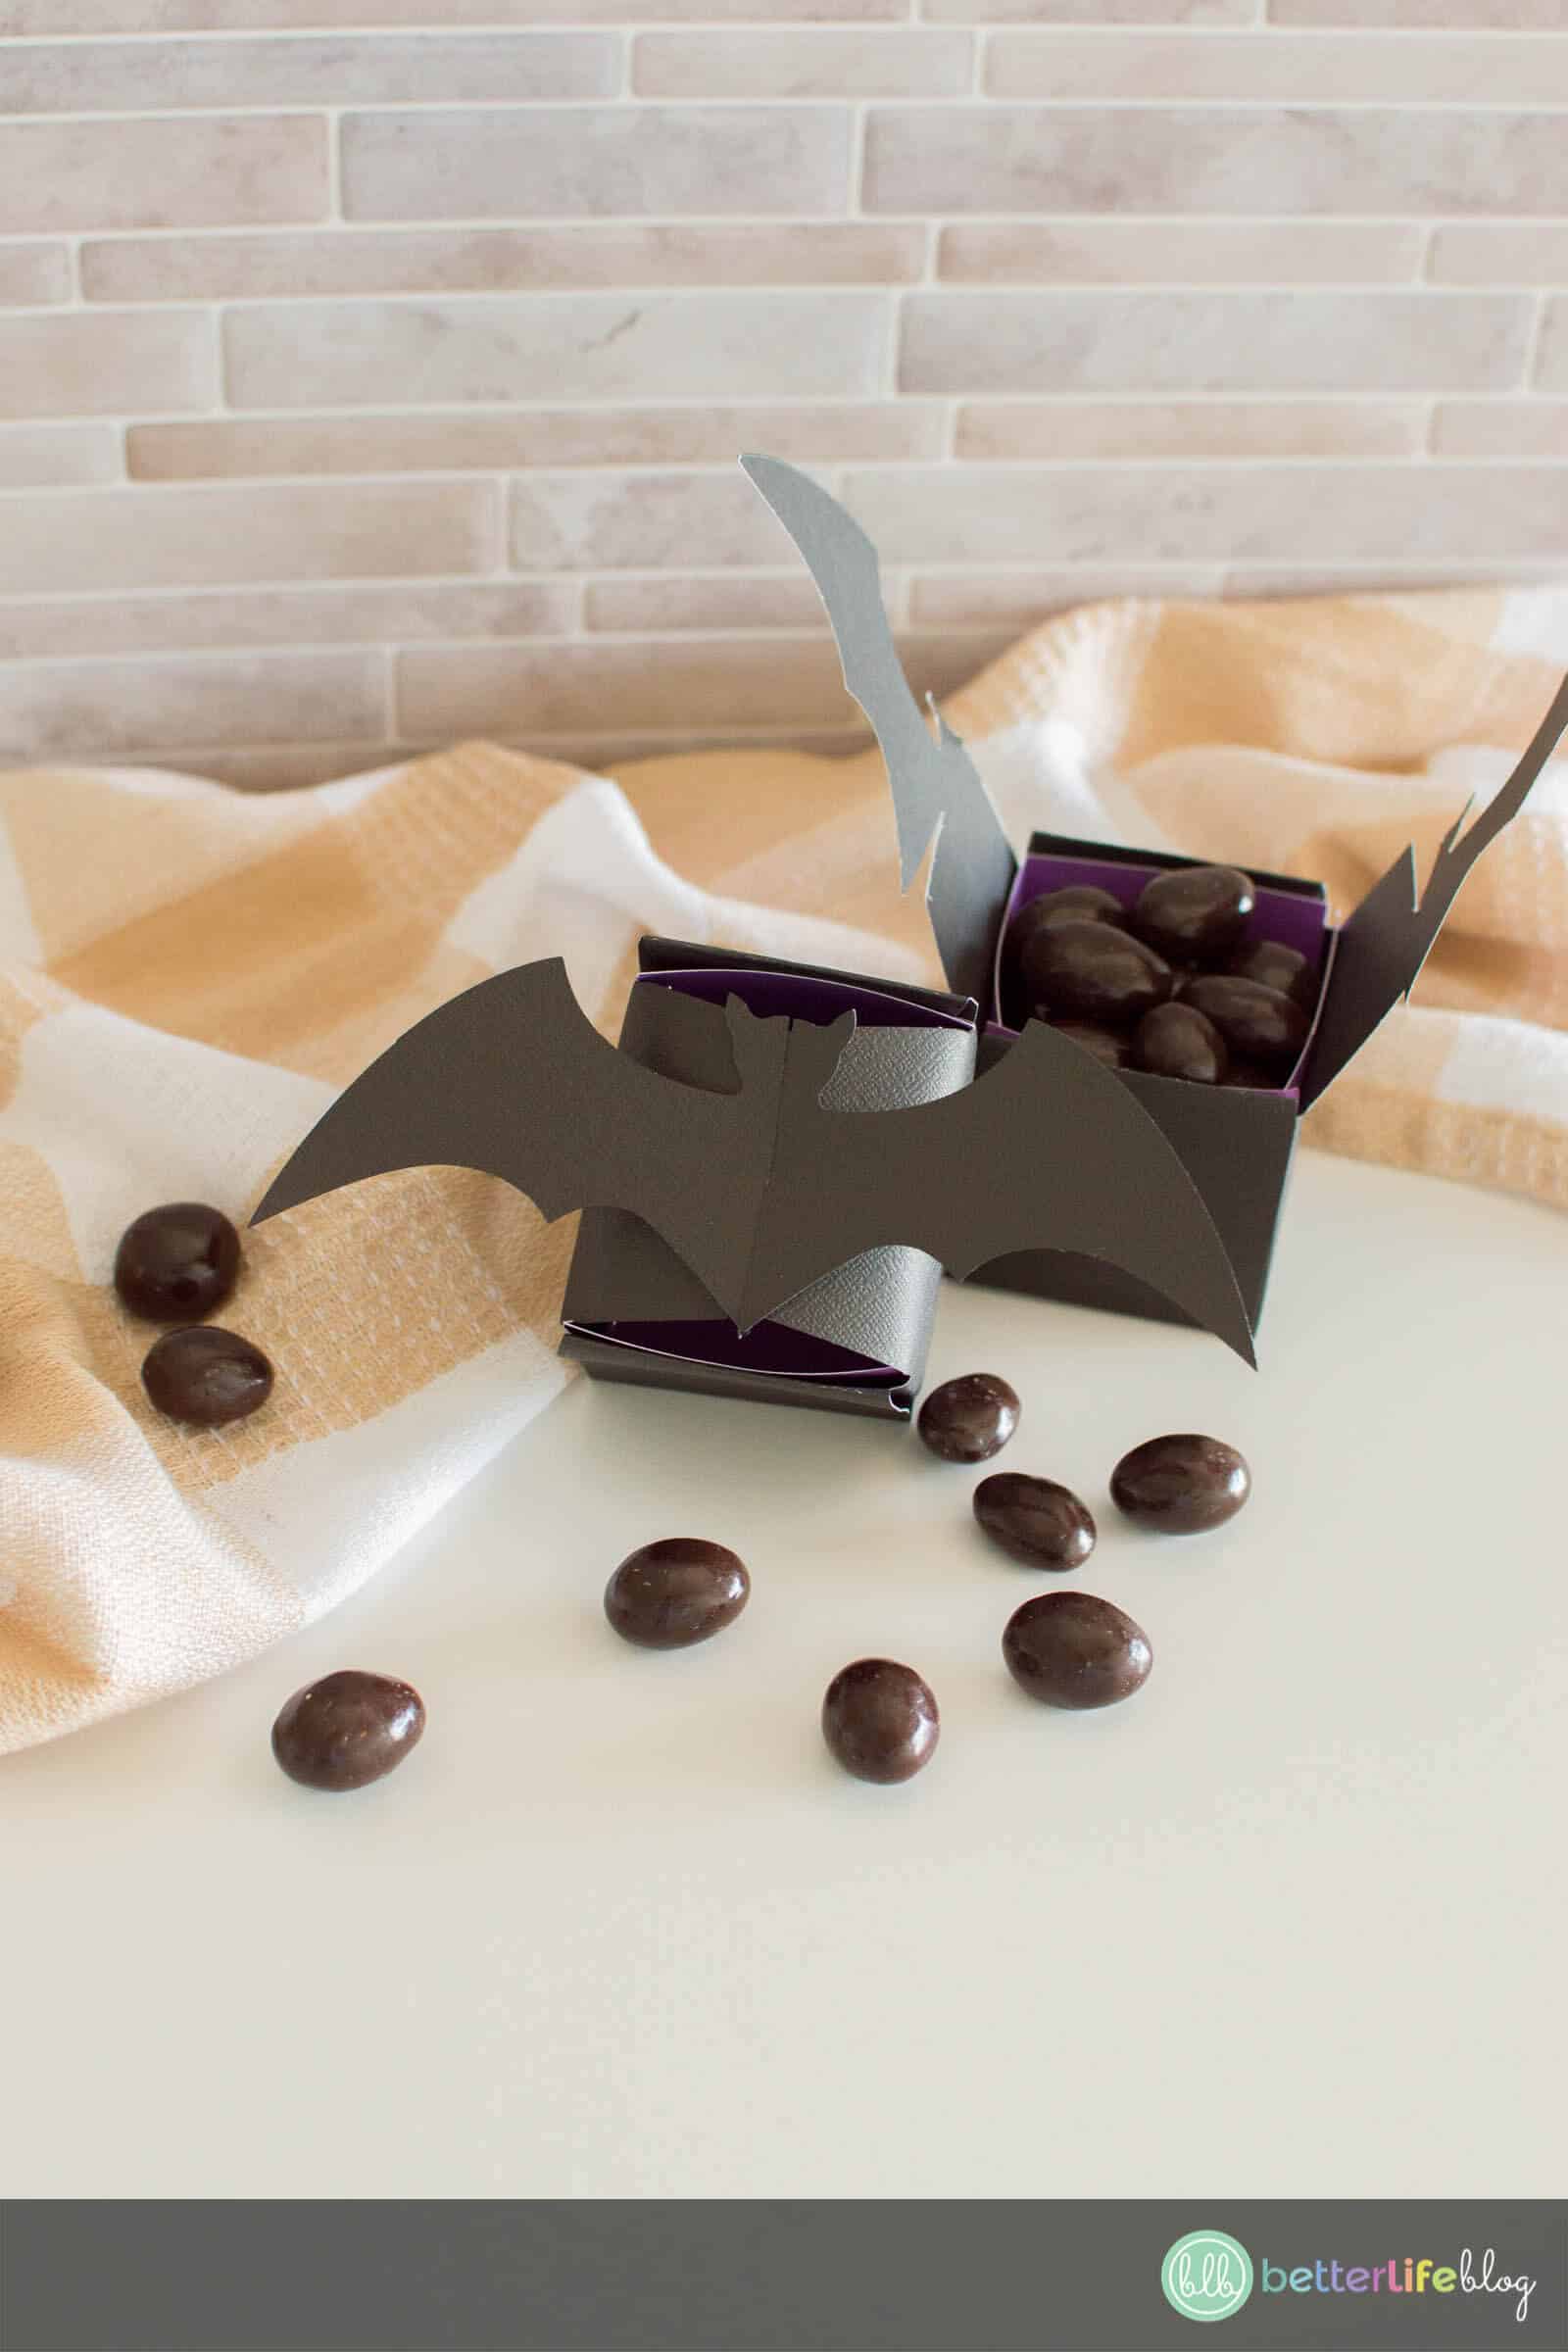
Treat boxes are also great for adding fun items like small toys, Halloween-themed jewellery, etc. I am so happy I came up with this Halloween Cricut Idea because so many of my friends look for creative ways to hand out treats at their Halloween parties! This Bat Treat Box is a perfect way to offer some thematic goodies to your trick or treaters!
What Supplies Do I Need To Make A Halloween Bat Treat Box
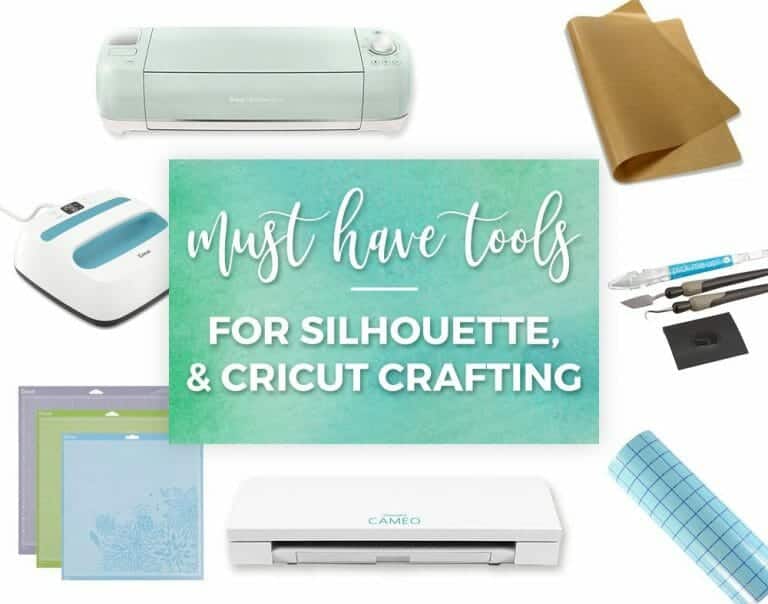
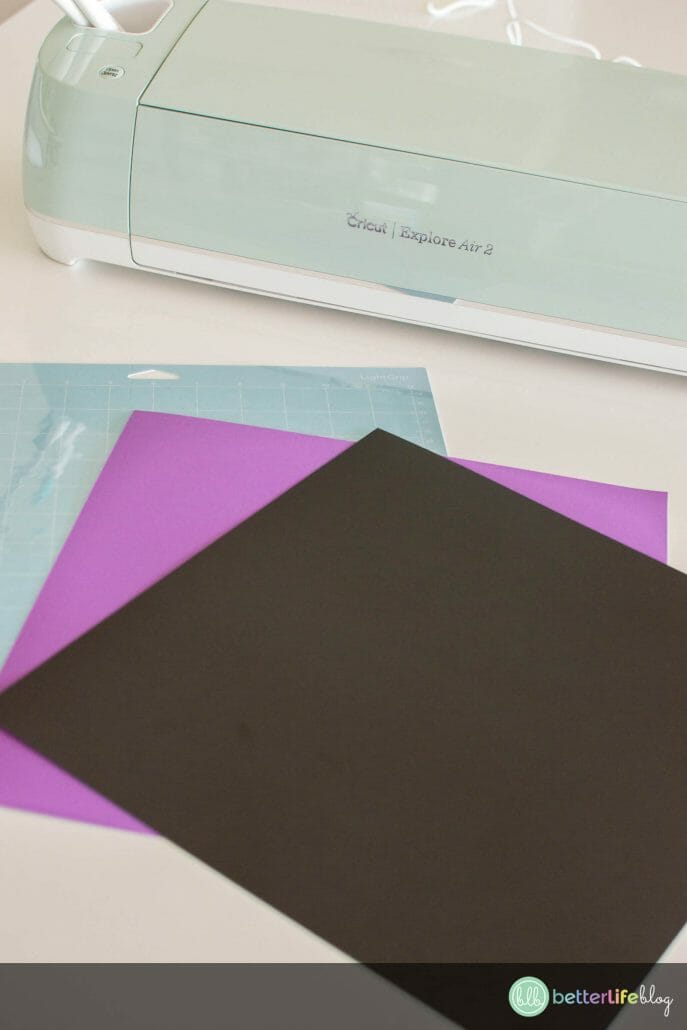
The best part to this Cricut Halloween craft is that it does not require many supplies. If you’re an avid crafter, you probably already have everything you need at home! Be sure to grab the following:
- Cricut
- Halloween Bat Treat Box SVG
- 12×12 inches black cardstock
- 12×12 inches purple cardstock
- Light grip mat
- Tape or adhesive glue dots
- Scoring tool (optional)
What Kind Of Cardstock Do I Need To Make This Treat Box?
We recommend a light cardstock for this particular Halloween Cricut project, which is usually 65 lb.
Halloween Bat Treat Box Video Tutorial
Are you more of a visual learner? You’re in luck because we have a video tutorial on how to make this adorable Bat Treat Box! Check it out just down below and be sure to subscribe to Better Life Blog on YouTube!
How Do I Make A Halloween Bat Treat Box?
I’m glad you asked! Putting together my Halloween Bat Treat Box is very easy! Don’t worry: I’m going to take you through each step so that you can have these ready (and filled with yummy goodies!) right in time for Halloween.
Begin by downloading the Halloween Bat Treat Box SVG. All you have to do is login to your VIP Crafters Club Dashboard and search for the SVG in the October 2020 files. You can also grab the SVG file here.
Once you have downloaded your file, head over to Cricut Design and click “New Project.”
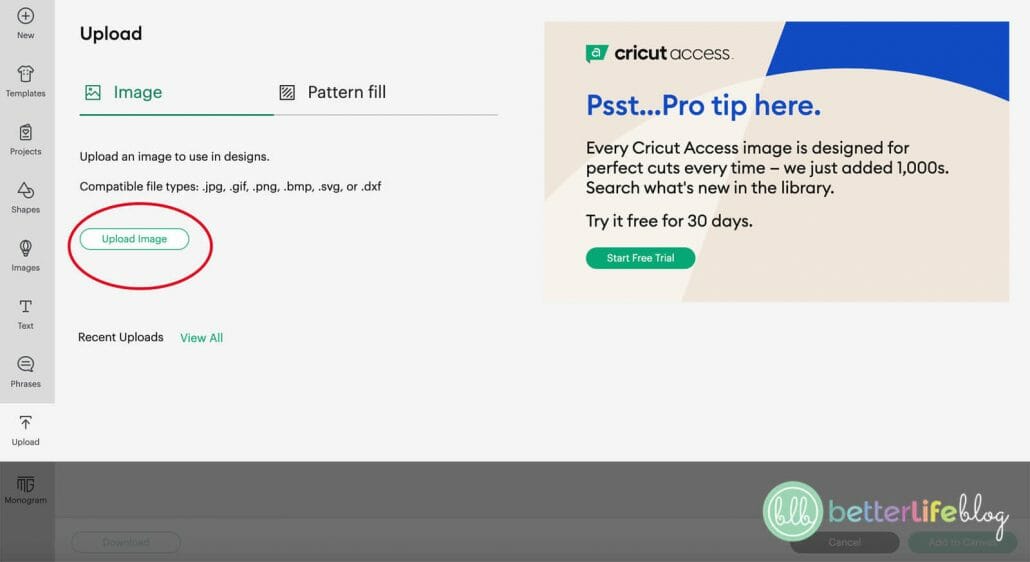
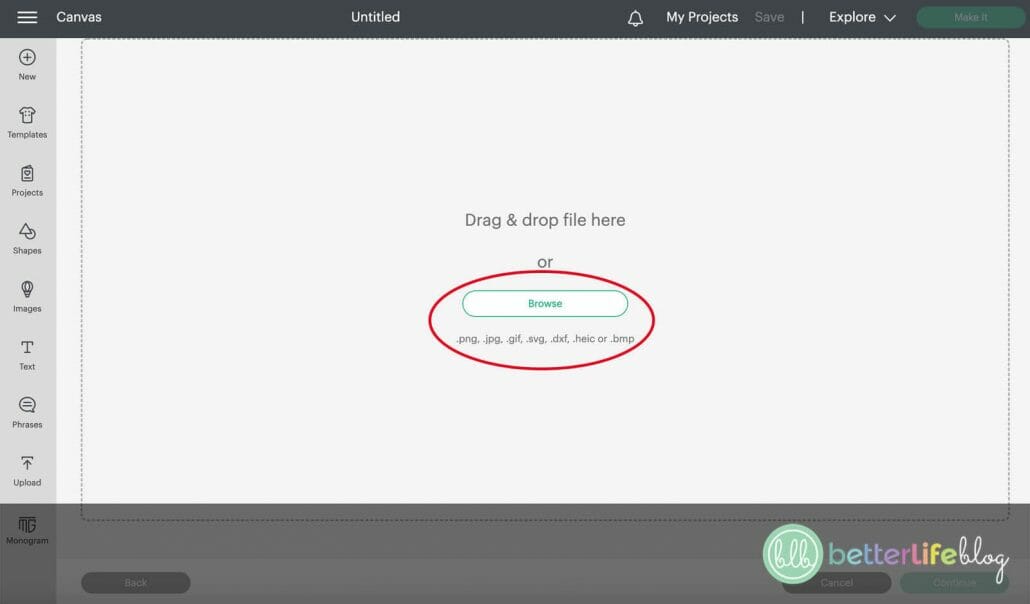
After clicking on “New Project,” go ahead and click on “Upload Image,” followed by “Browse.”
Locate the Coffee Cup Gift Card Holder file and click it/select it.
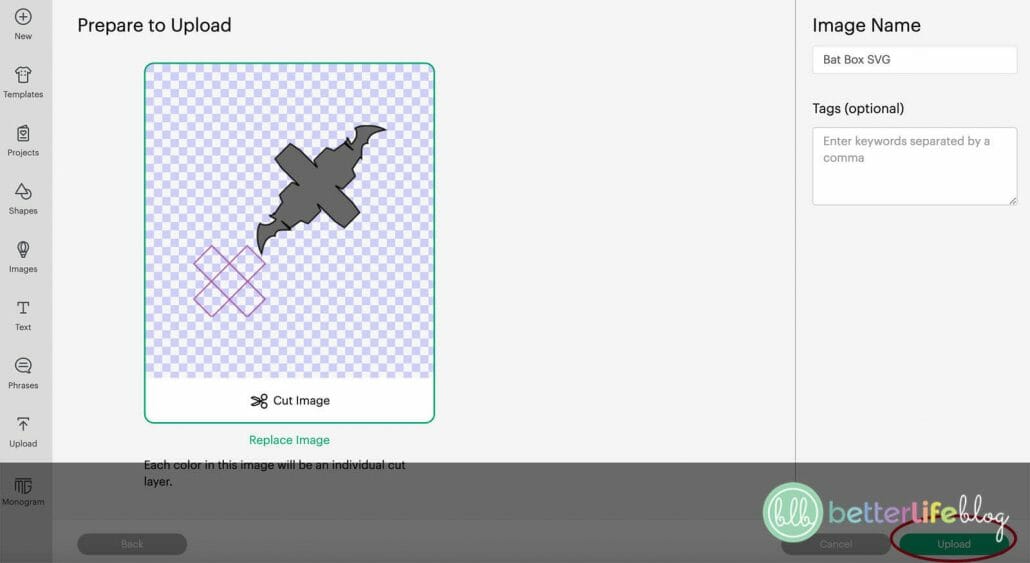
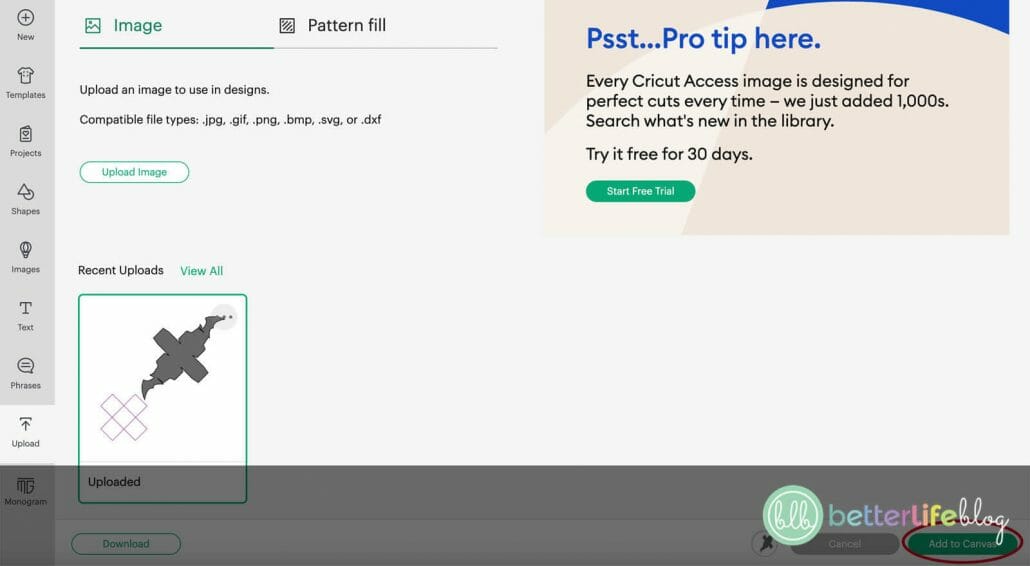
In the lower right-hand corner of your screen, you will see an option to “Upload.” Click on it and it will take you to another screen where you’ll see the file uploaded into the image database. Click on the file, followed by “Add to Canvas.”
Your Bat Treat Box will now be on the canvas of your Cricut Design program.
On the top right-hand corner, click on “Ungroup” to separate the images.
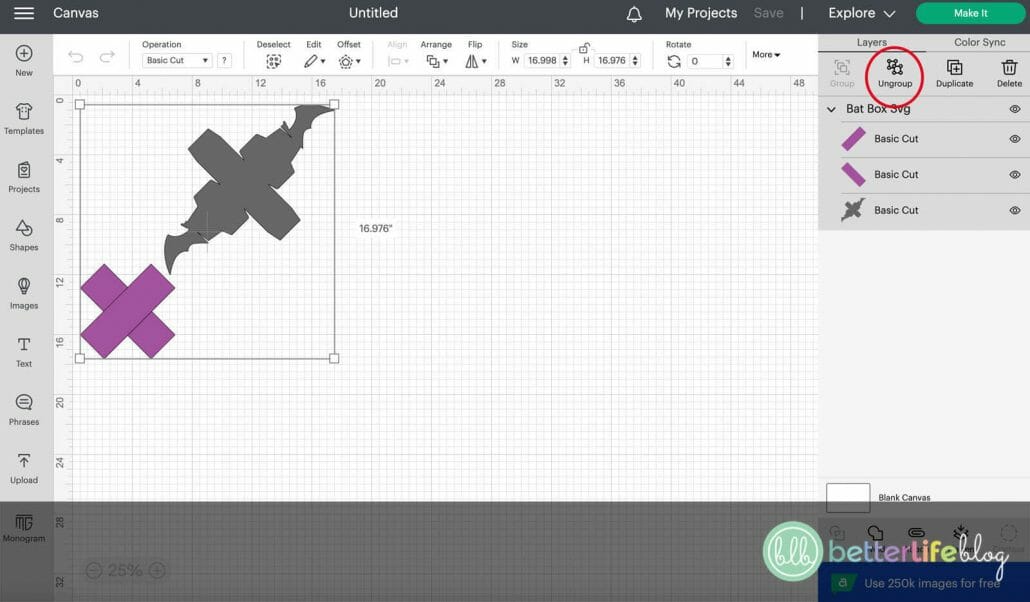
Now that everything is ungrouped, you’re going to want to re-group the two purple rectangles. To do this, head over to the list on the right-hand side of your screen. On the list, select each purple rectangle by holding “ctrl” on your keyboard and clicking on both rectangles. Then, head over to the top-right corner of your screen and click “Group.”
With the newly-grouped purple rectangles selected, head over to the right-hand bottom of your screen and select “Weld.”
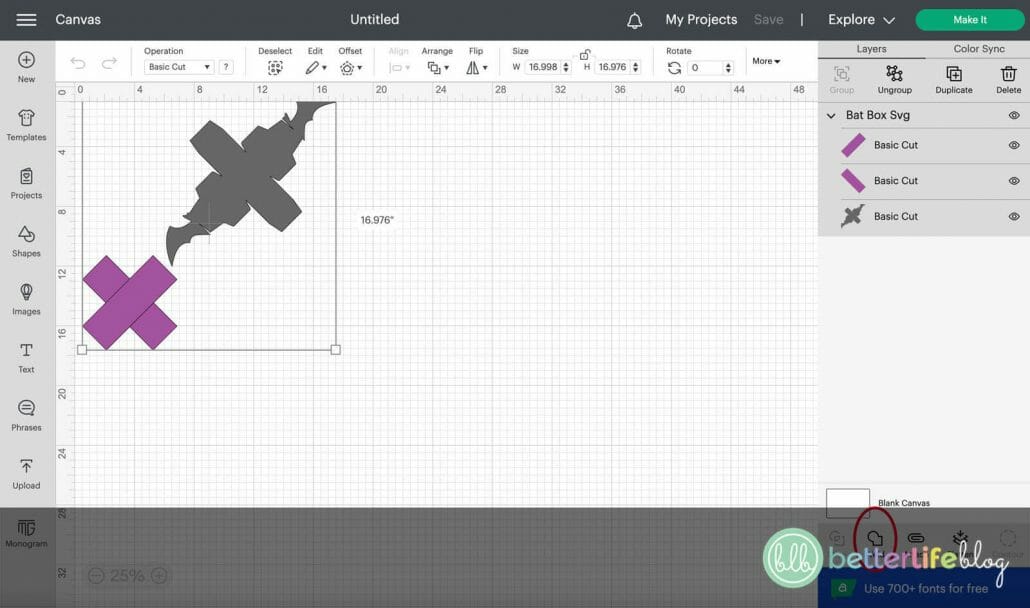
Your file is ready to be cut, so head over to the “Make It” button on the top right-hand corner of your screen and click it.
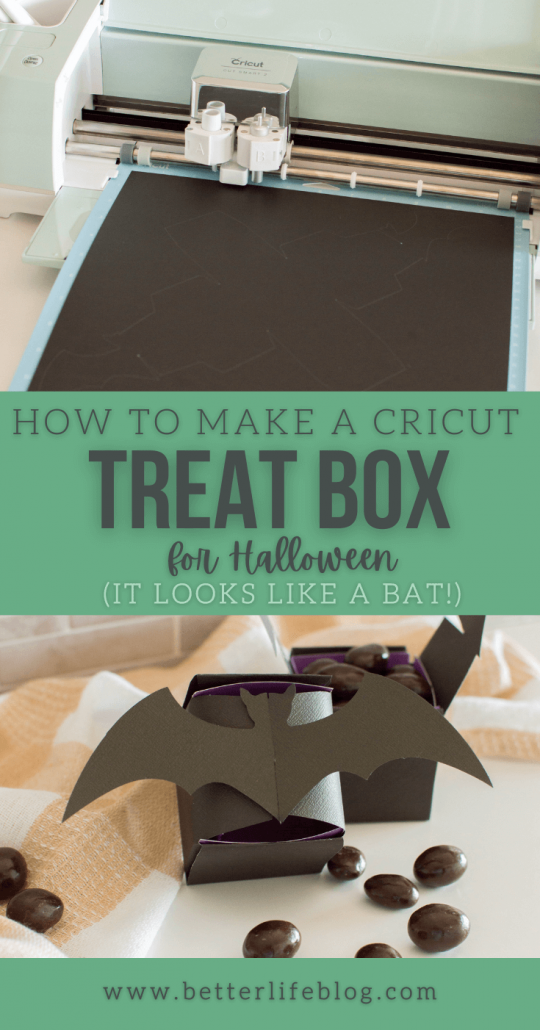
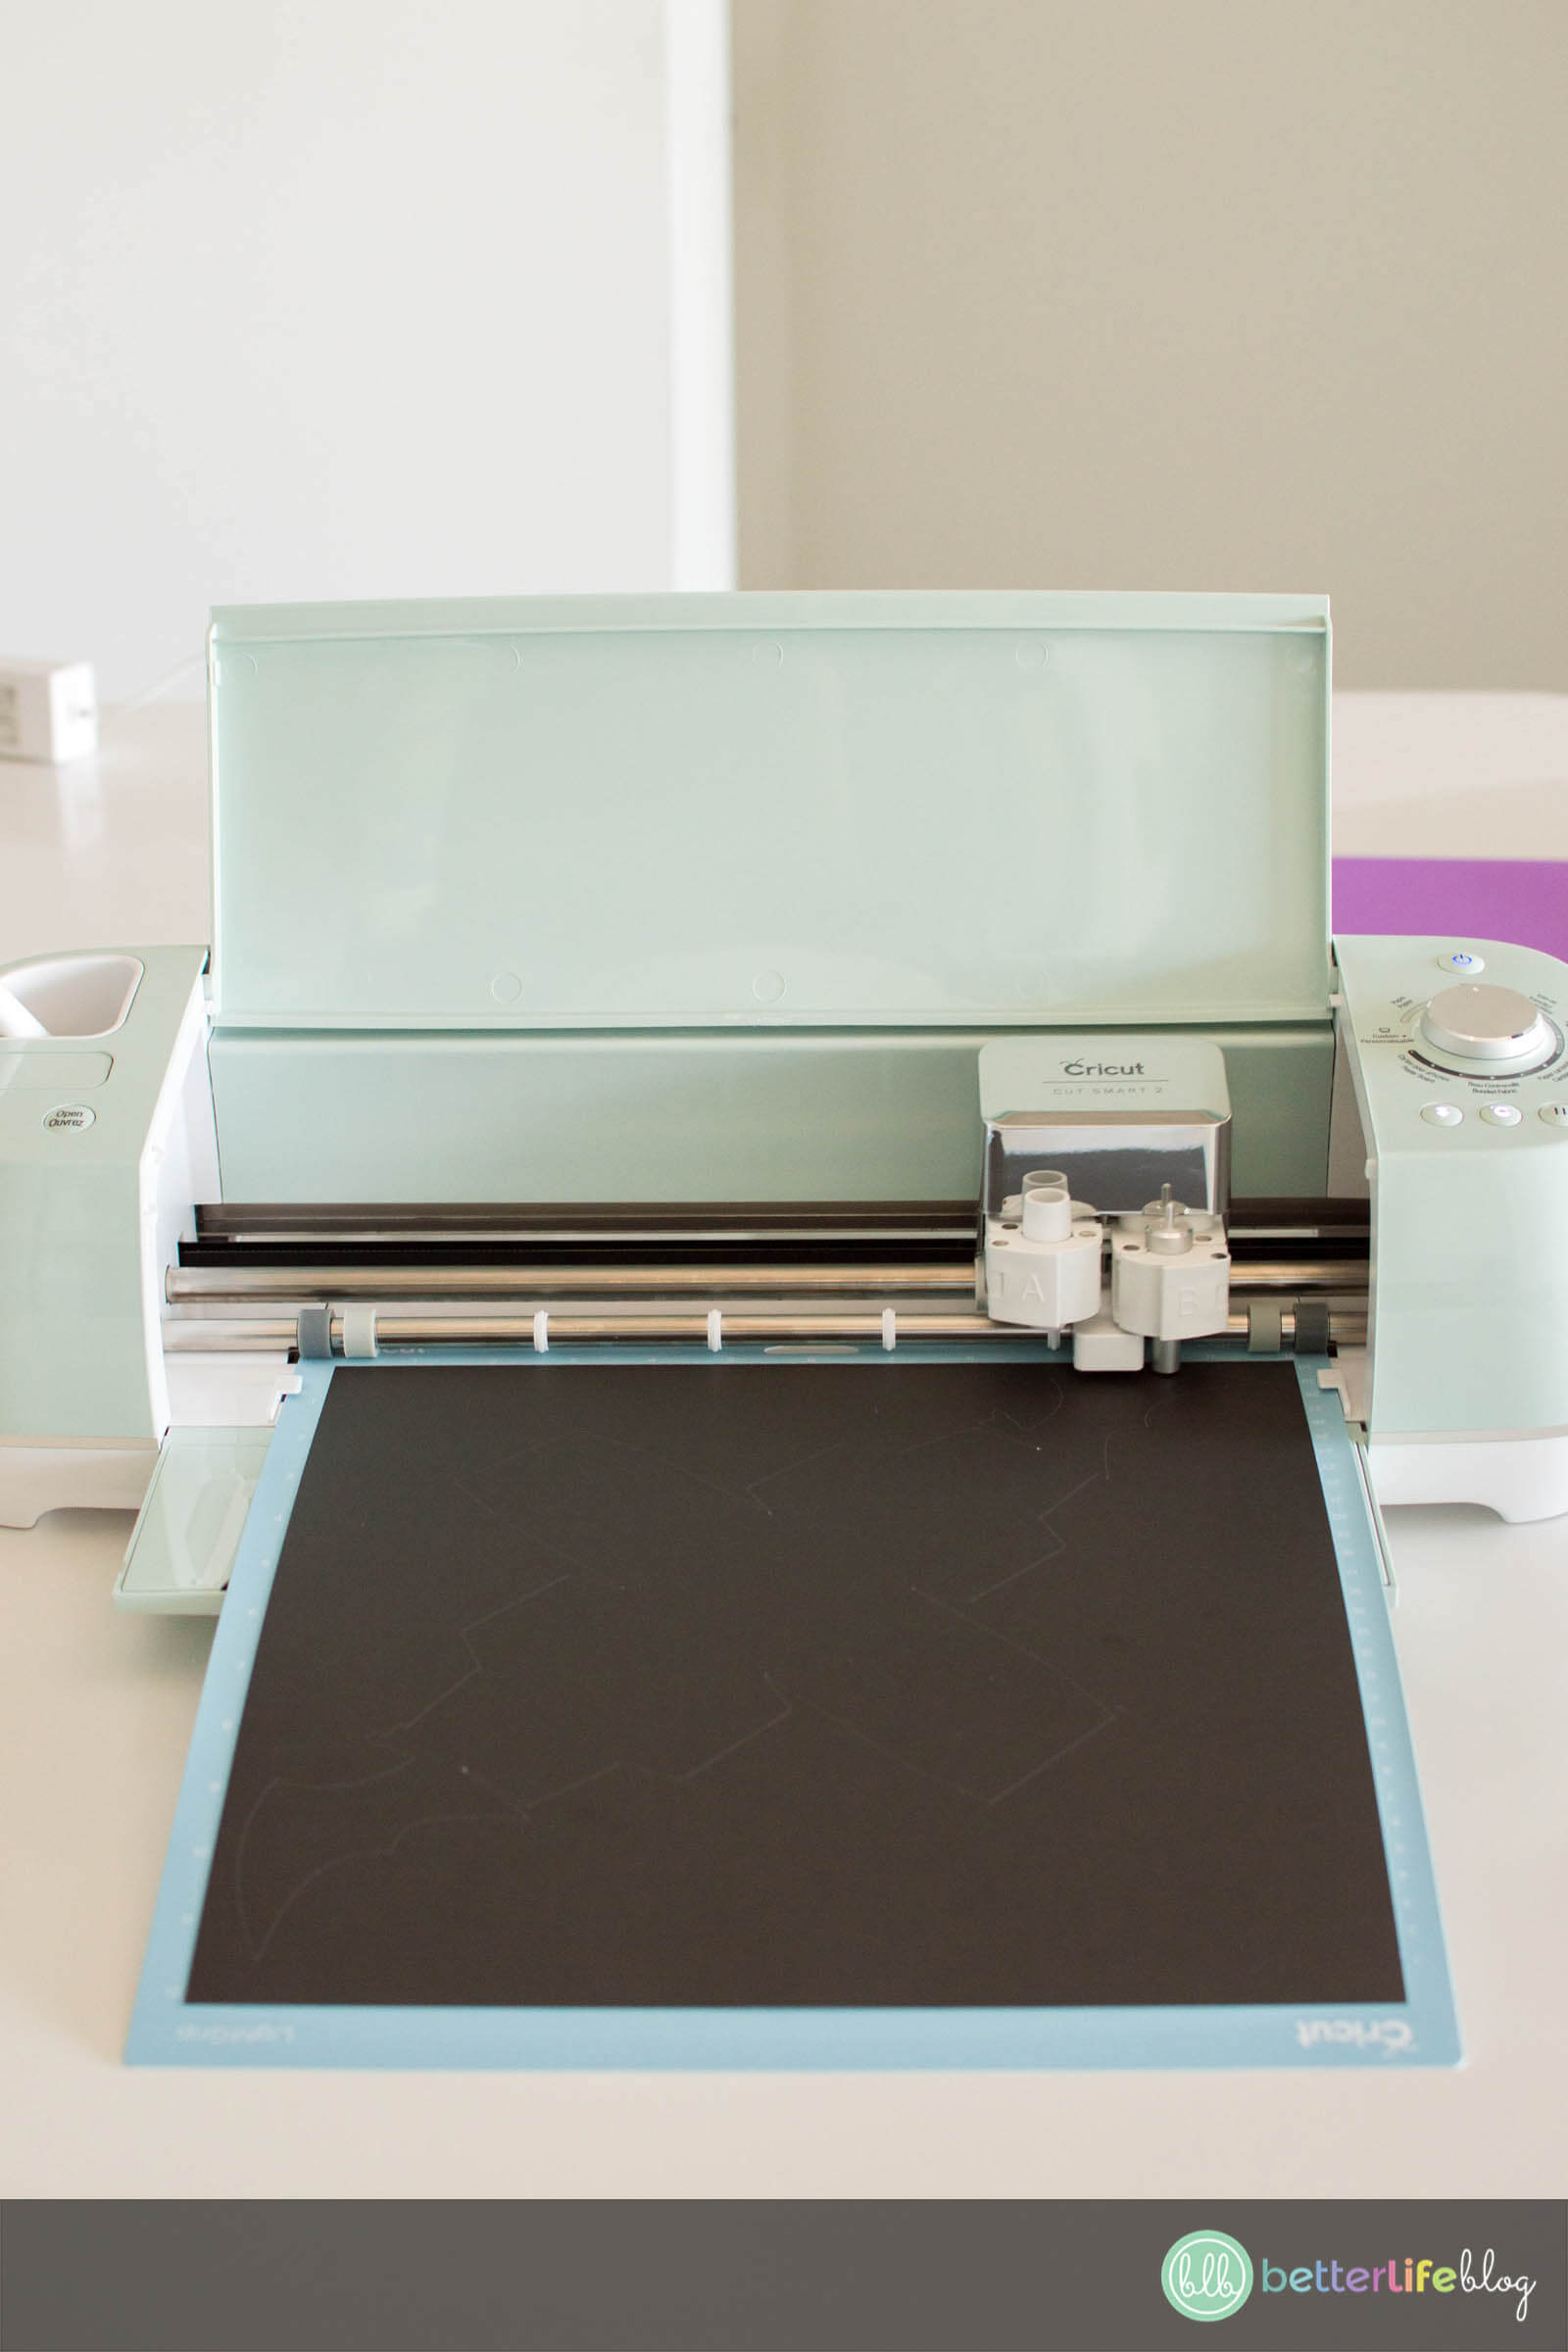
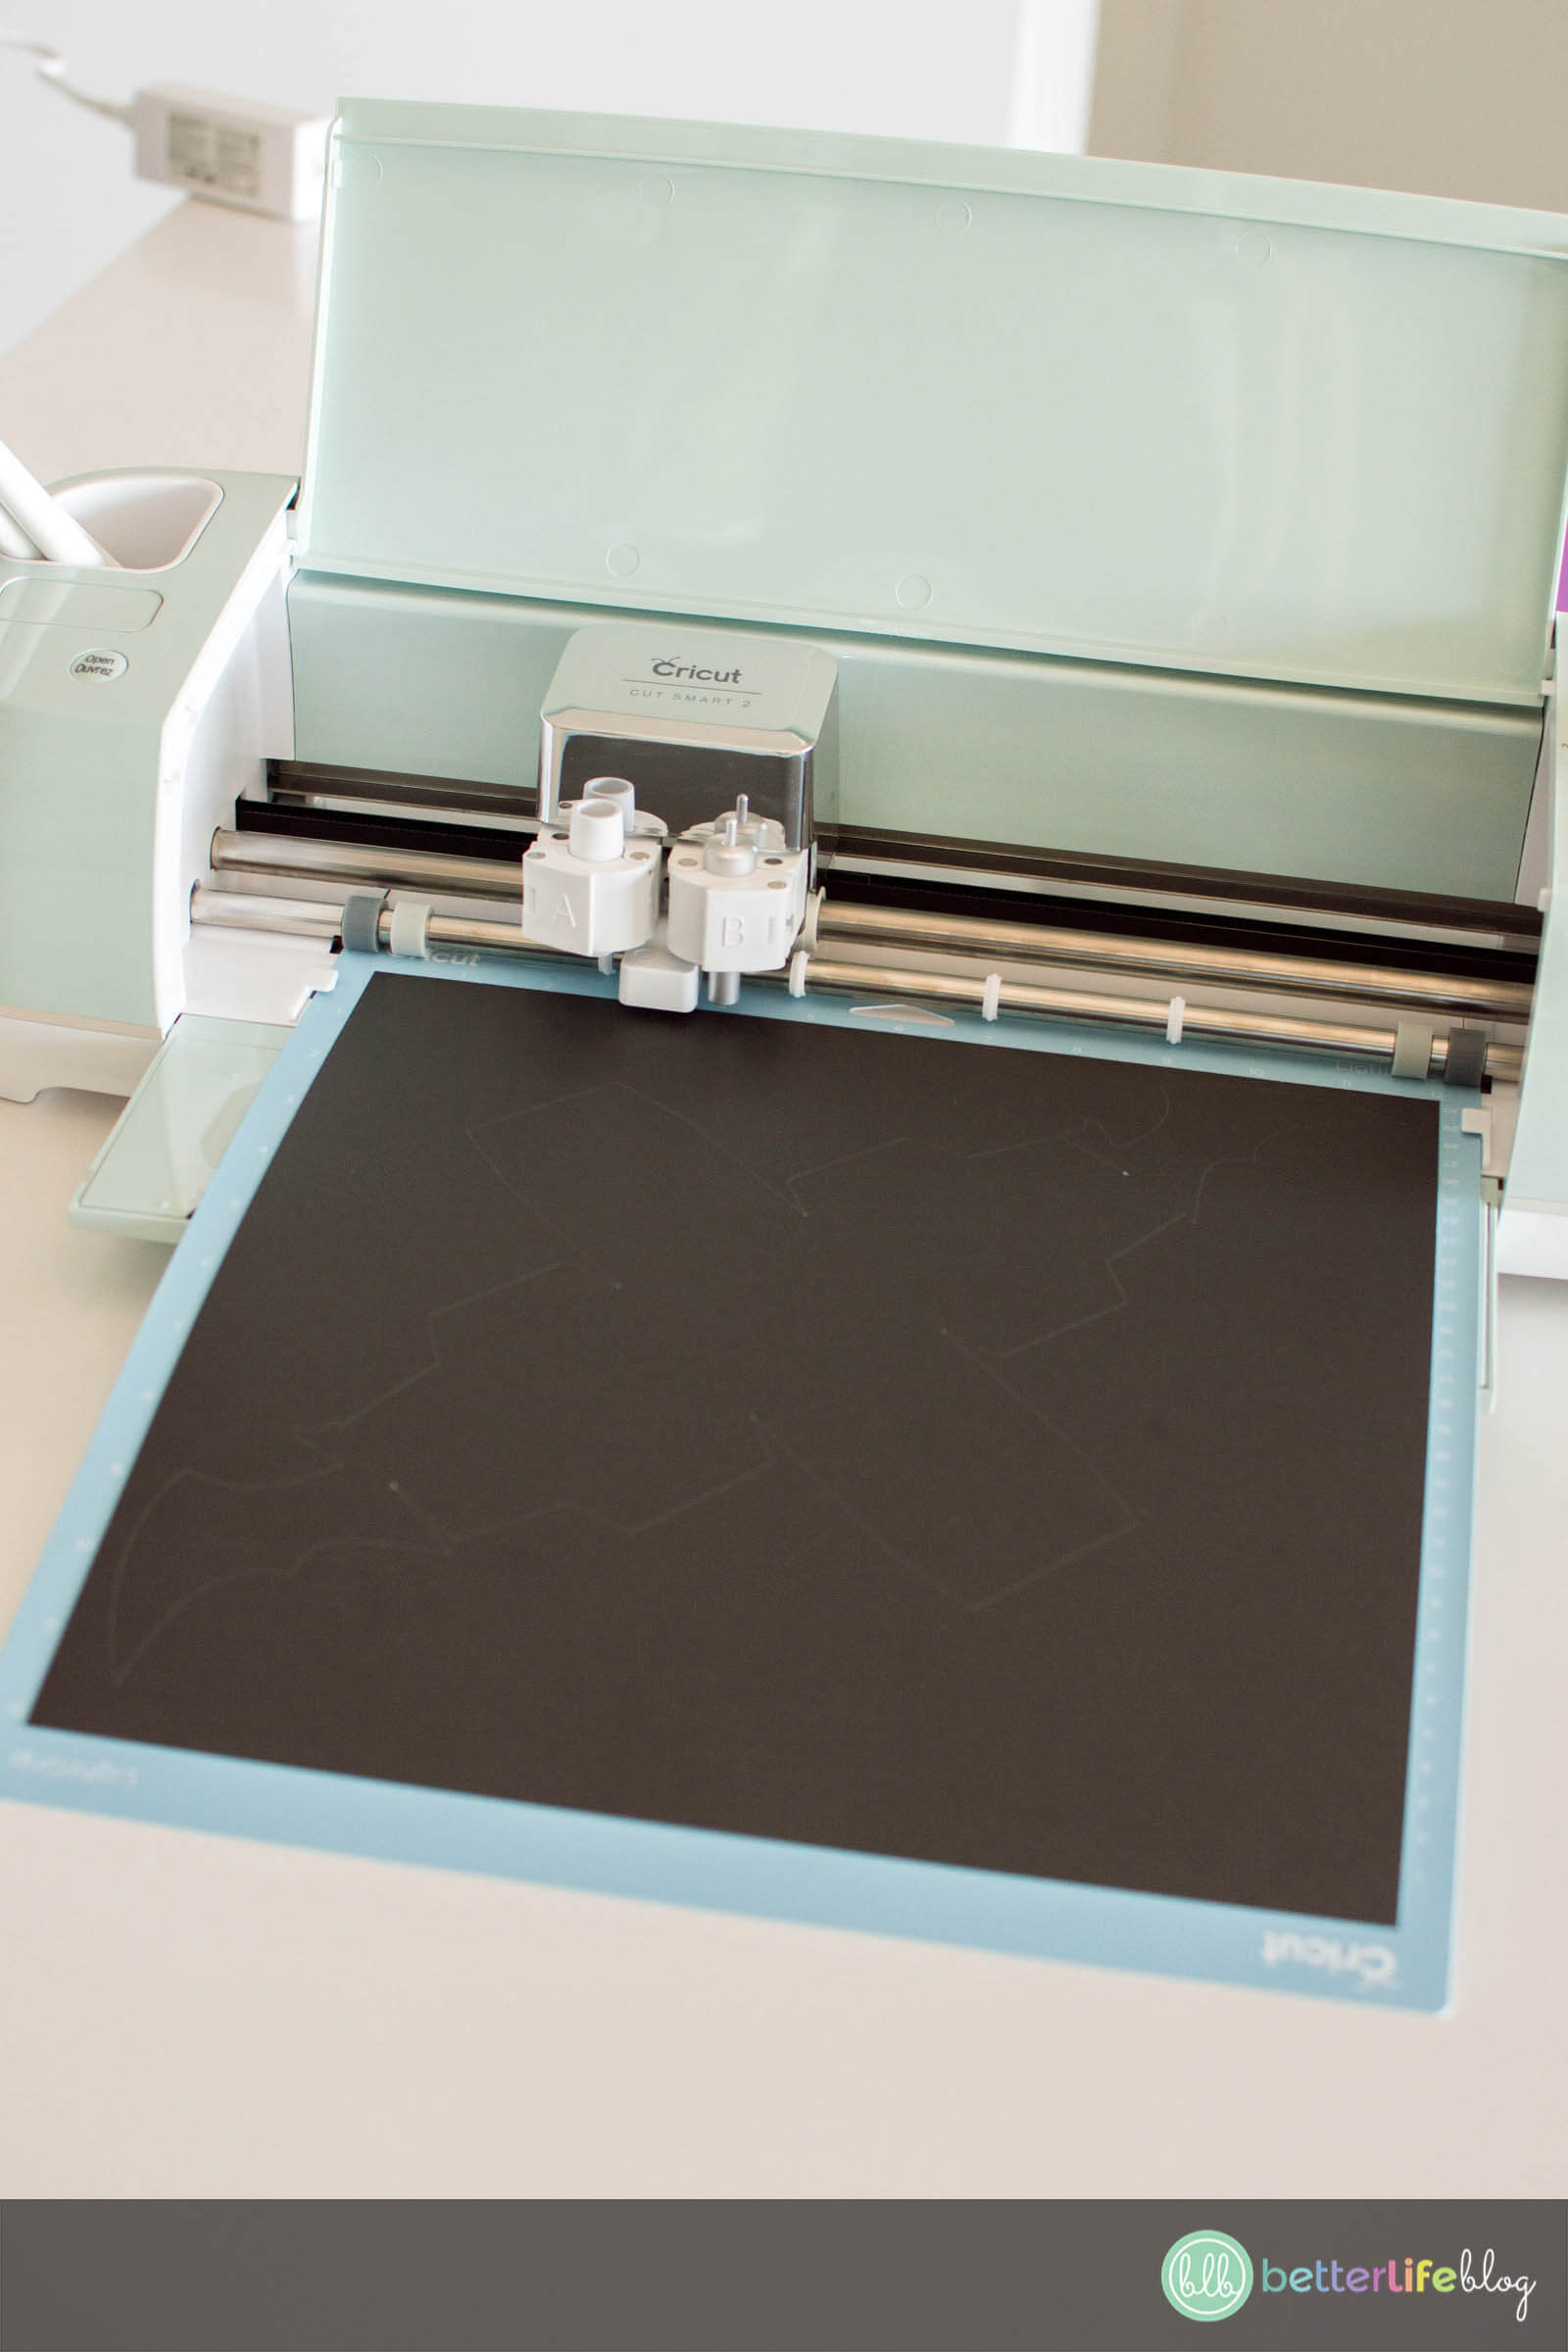
You will be taken to a screen where you will be prompted to place your cardstock on your grip mat. For this project, begin with the black cardstock.

Click on the “Continue” button on the bottom right-hand corner of your screen.
You will then be taken to a screen where you will be prompted to turn the dial on your machine to “Light Cardstock.” Then, you will load the grip mat into your Cricut and press the flashing arrow button. Once it’s loaded, press the flashing “C” button and let your Cricut work its magic!
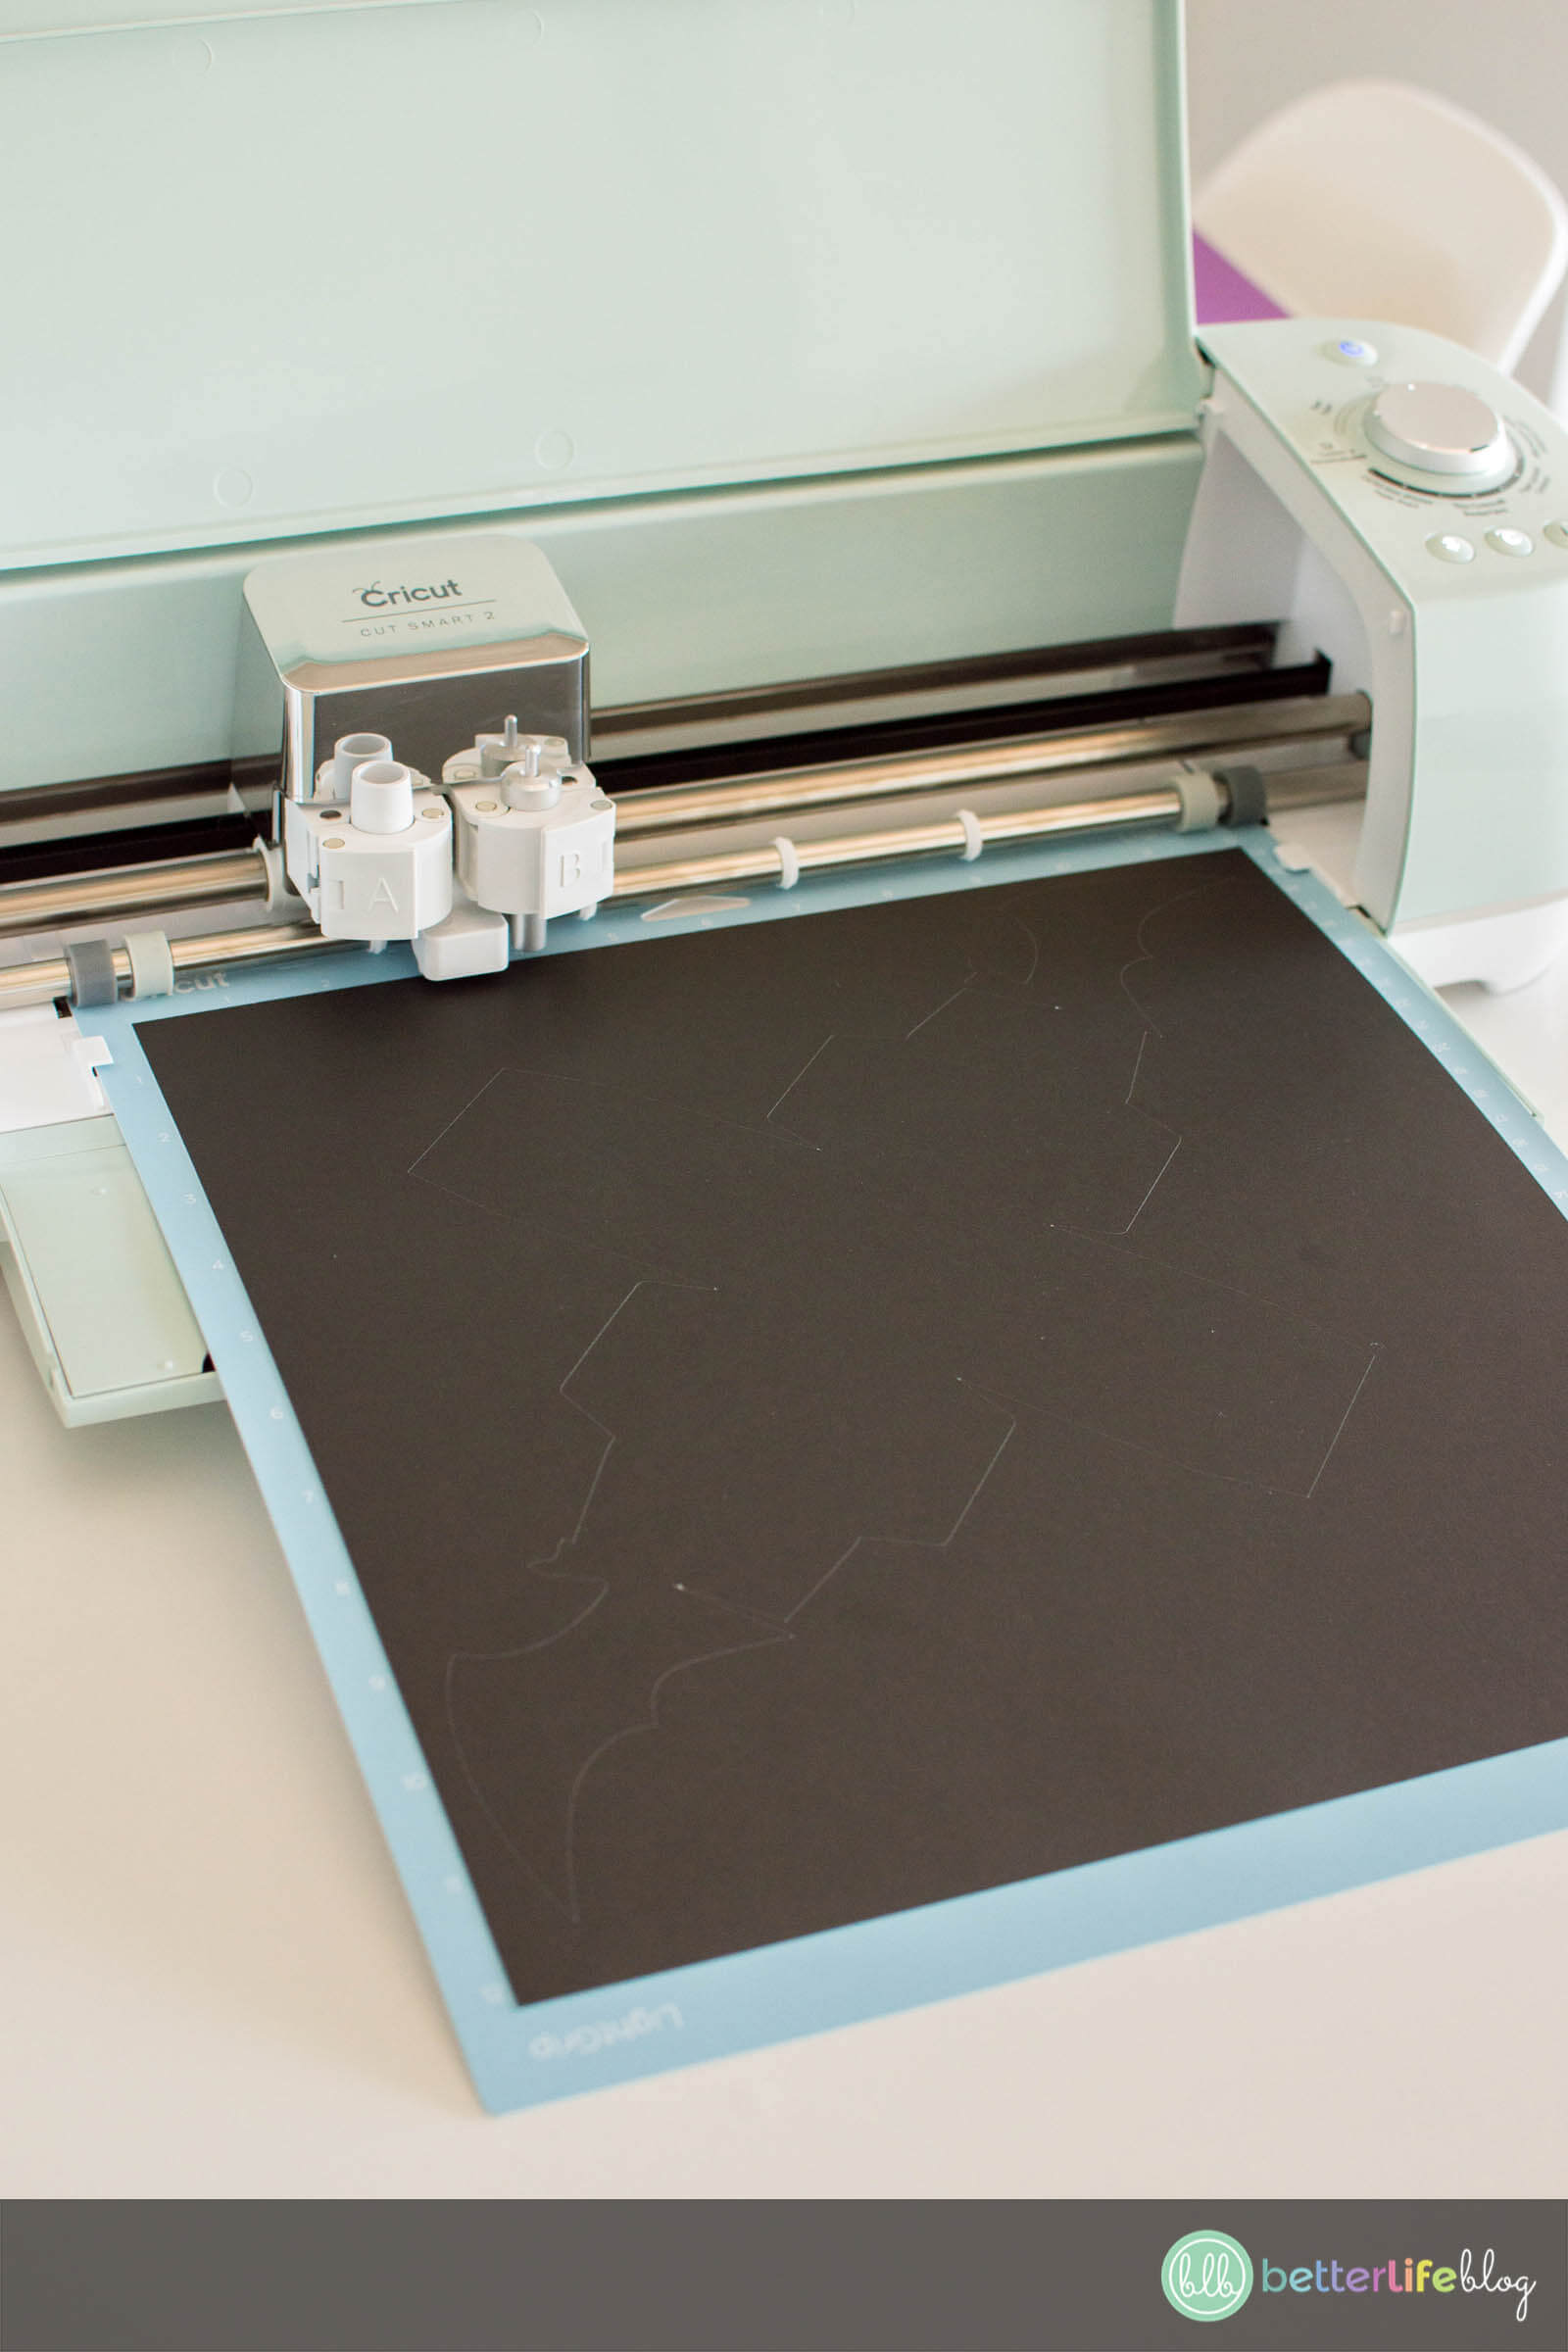
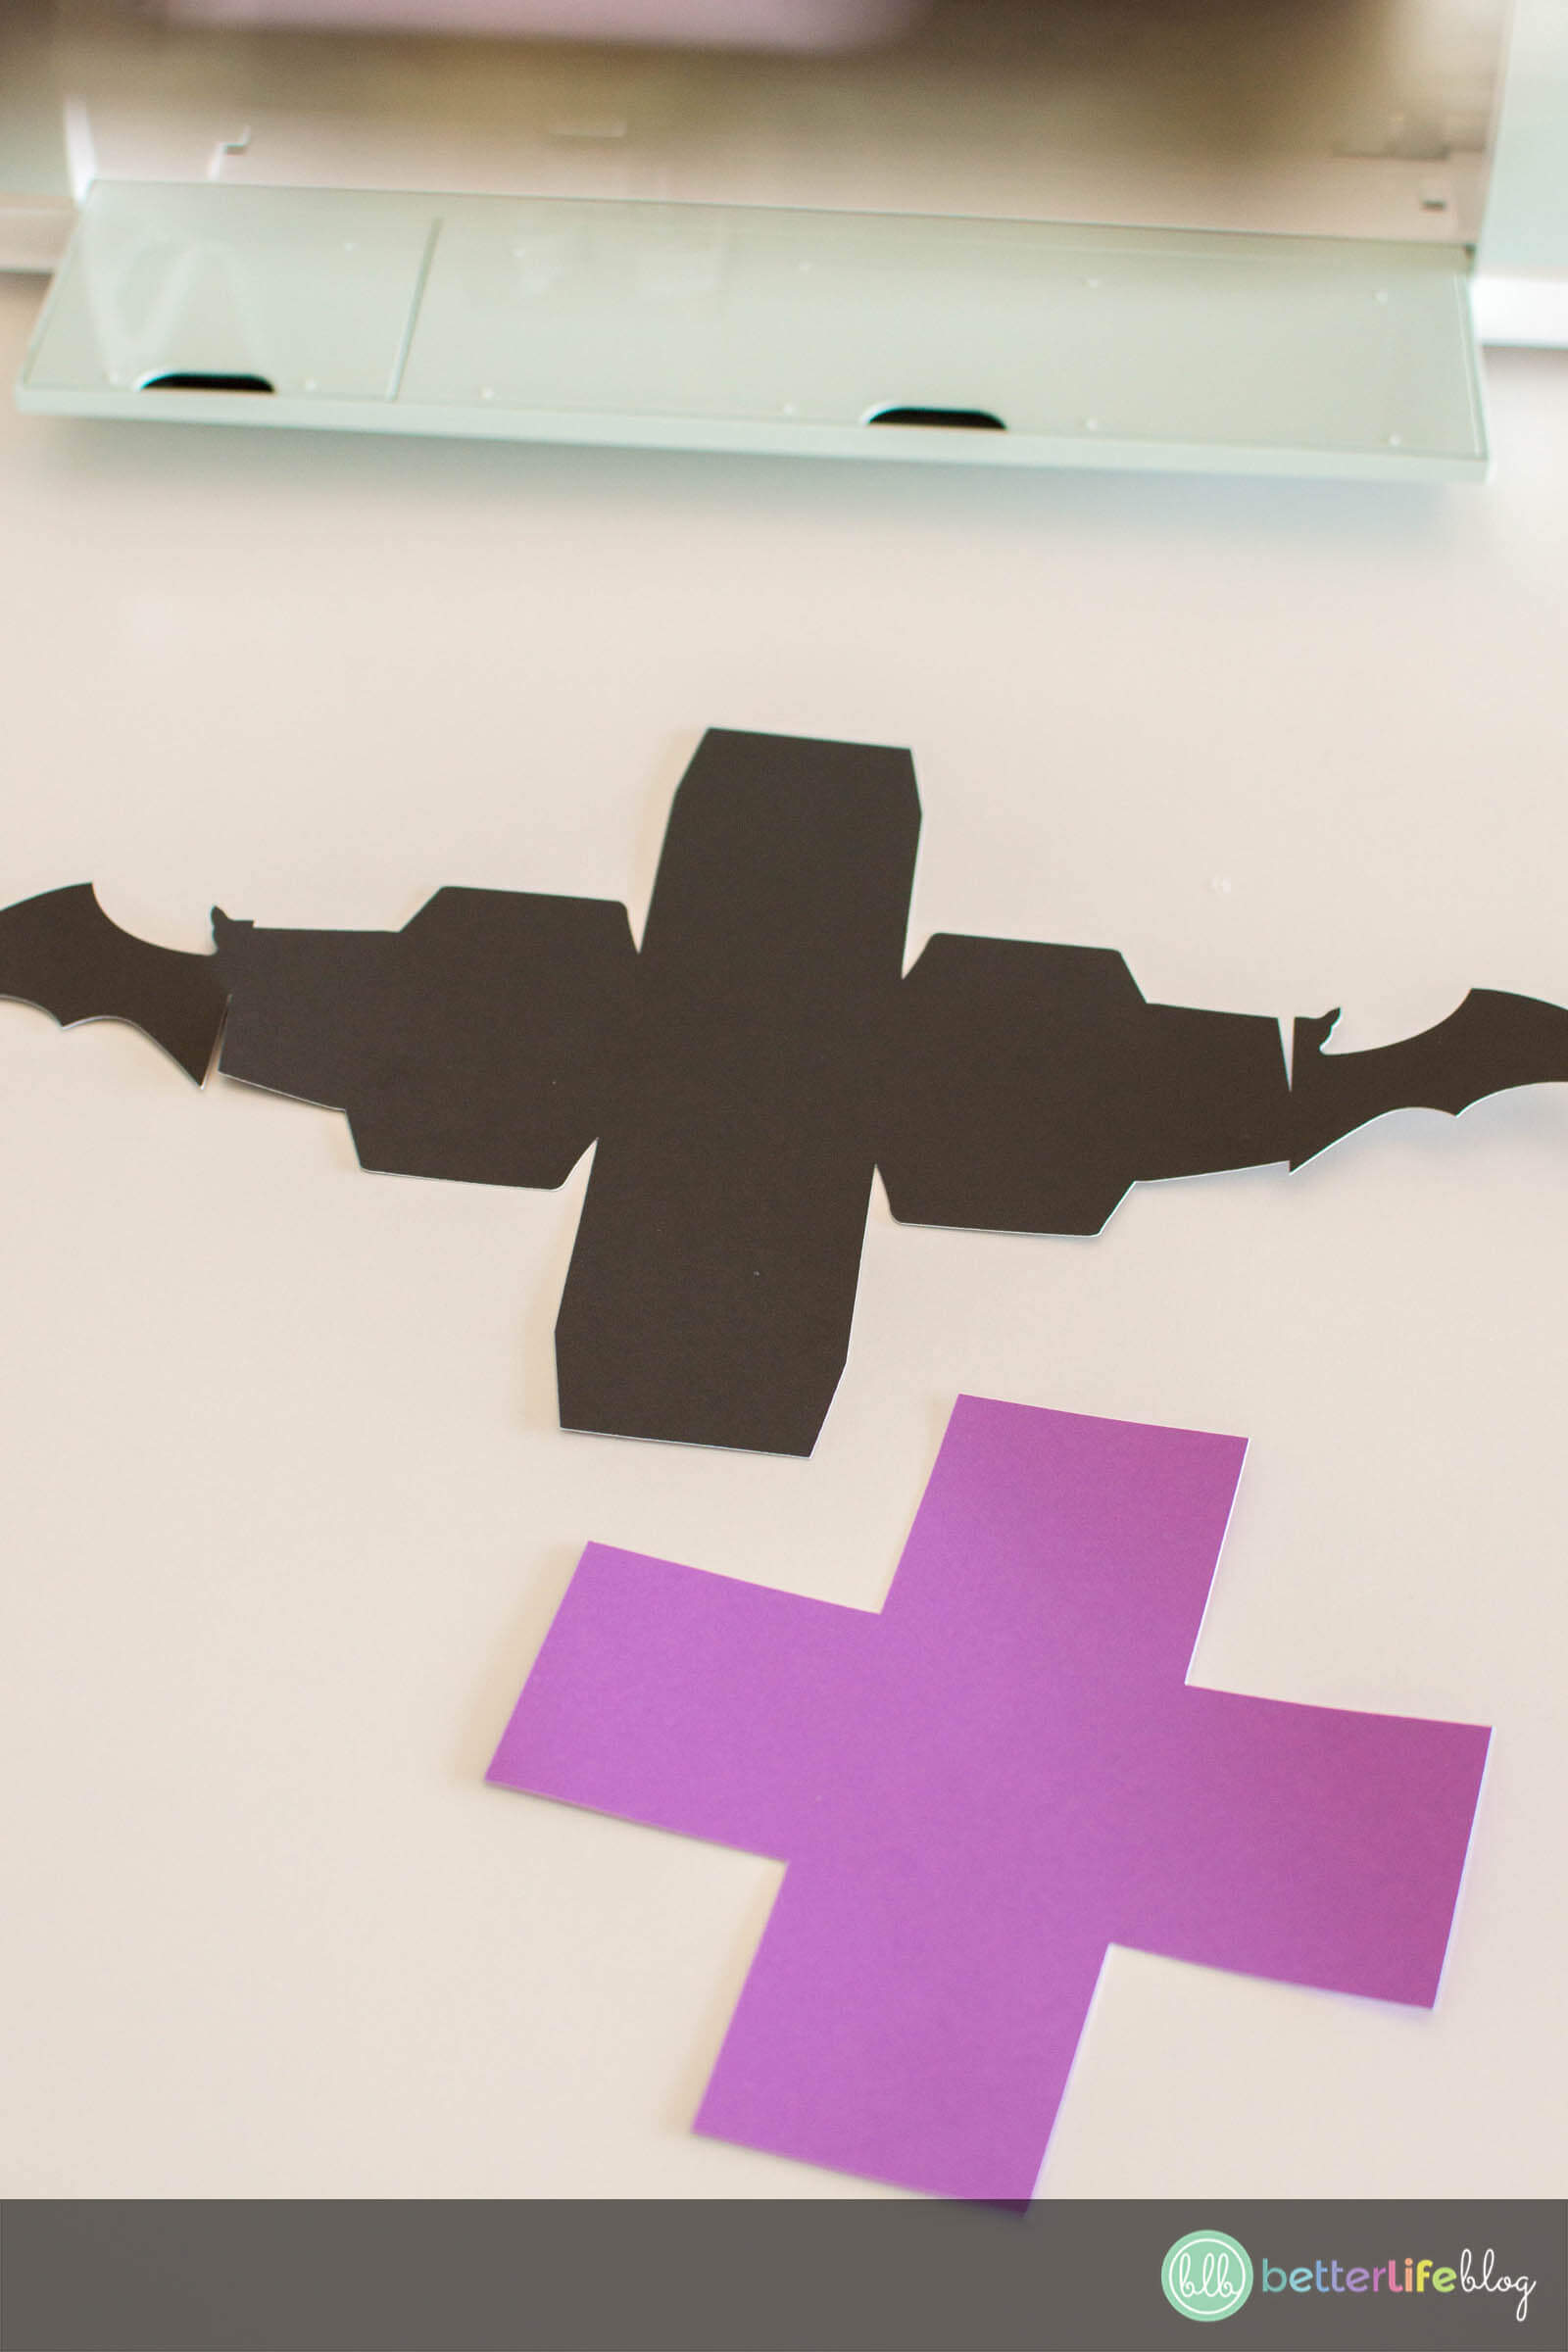
Once the cut is complete, remove it from the grip mat and set aside.
Now, it’s time cut out the purple portion of your Bat Treat Box. This will serve as the box’s inner layer.

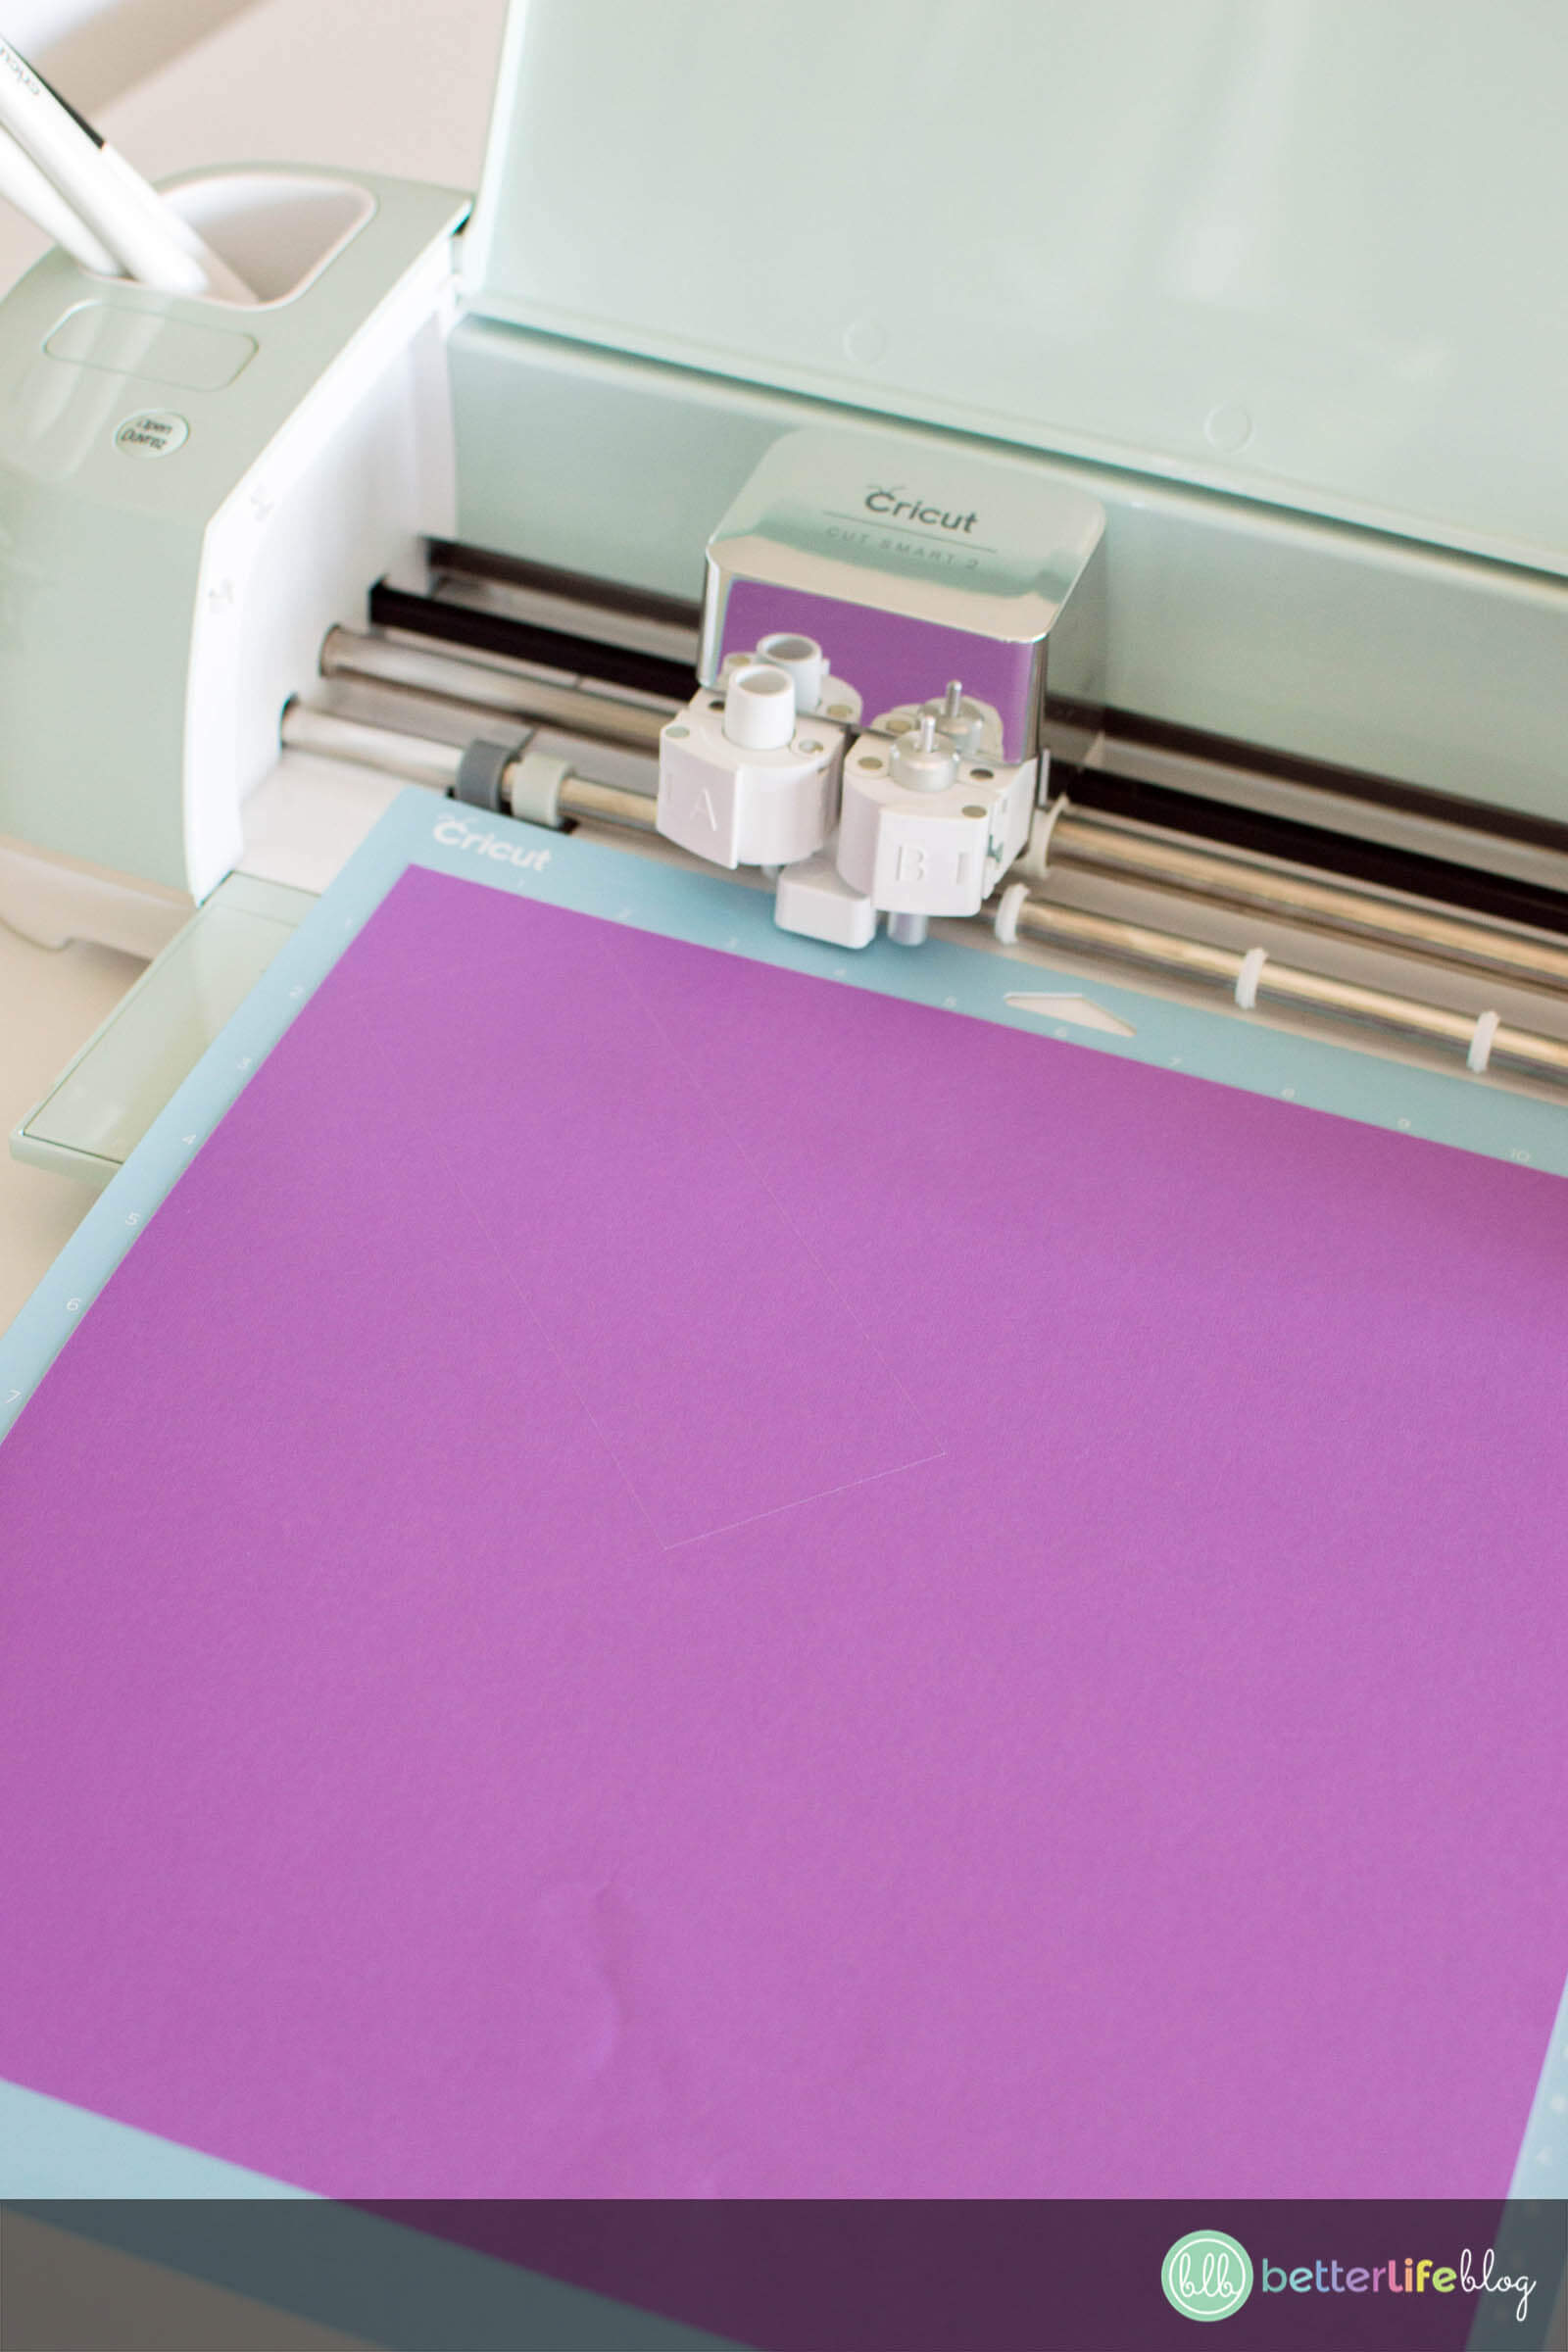
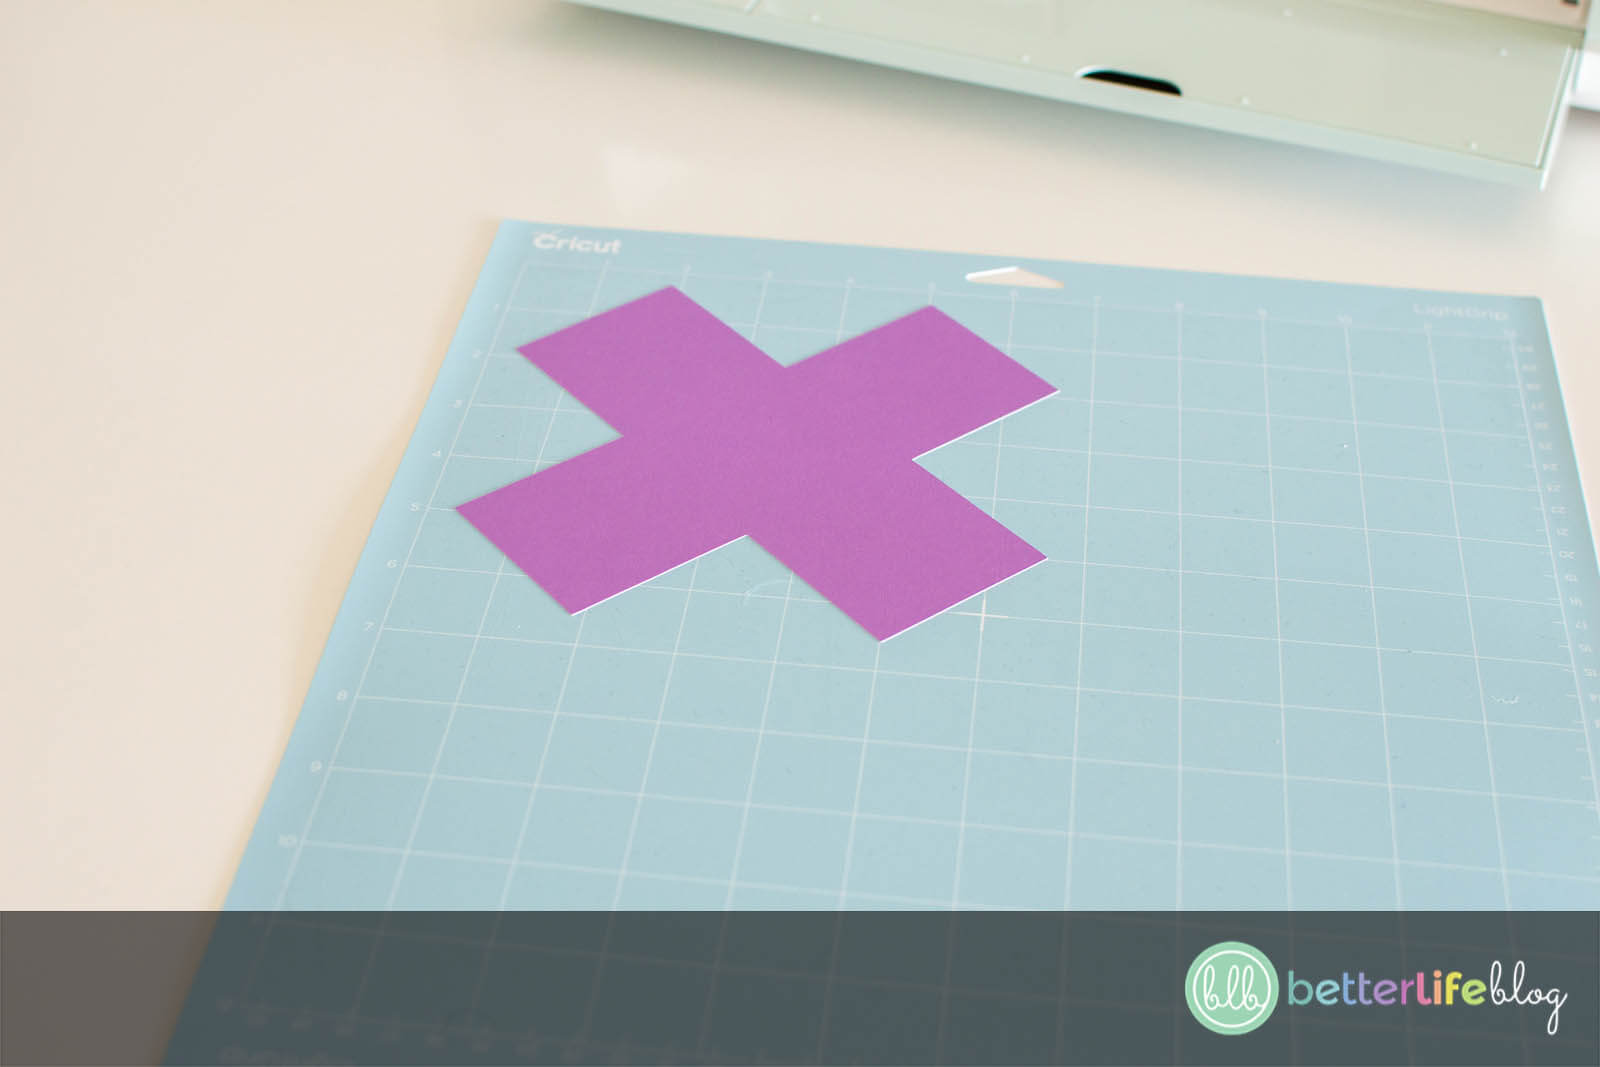
Place your purple cardstock onto your grip mat. Load it into the machine then press the flashing arrow button. Once it’s loaded, press the flashing “C” button and the Cricut will begin cutting your piece.
Gather your two pieces and have tape or glue dots ready.
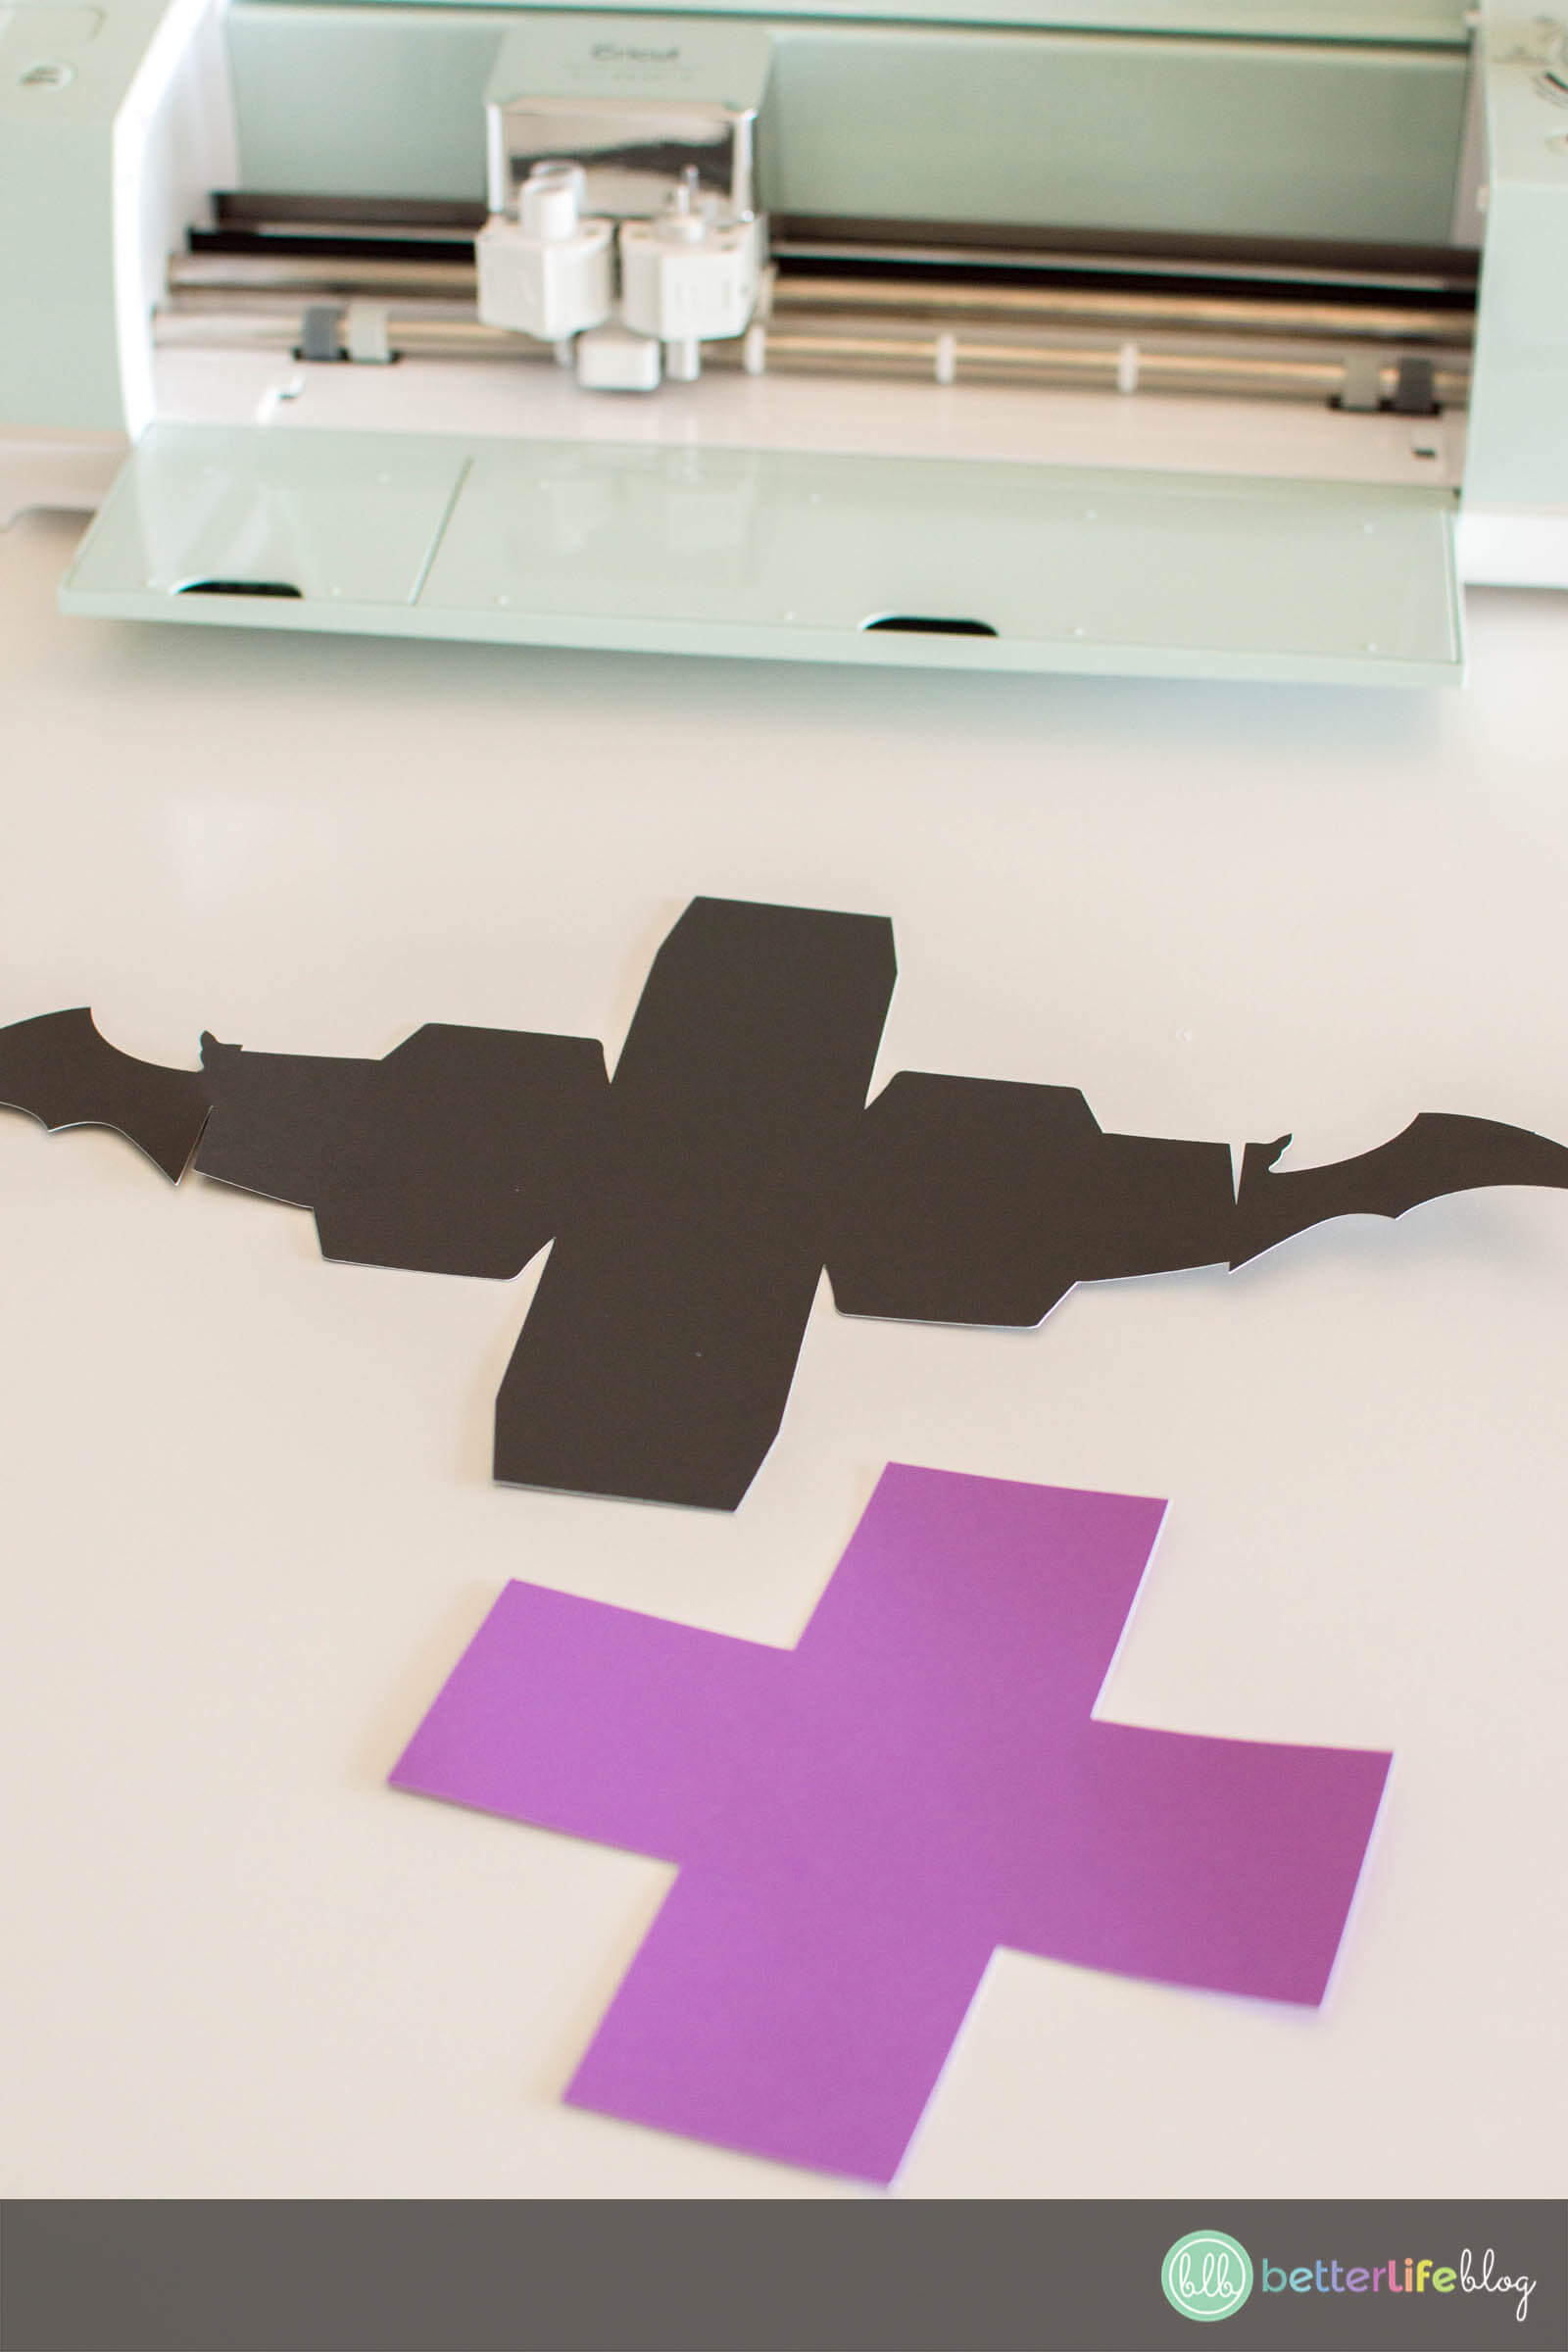
Begin by folding the black portion of your project. Fold its four sides inwards. On each end of treat box’s sides, you will notice tabs. Fold those inwards.
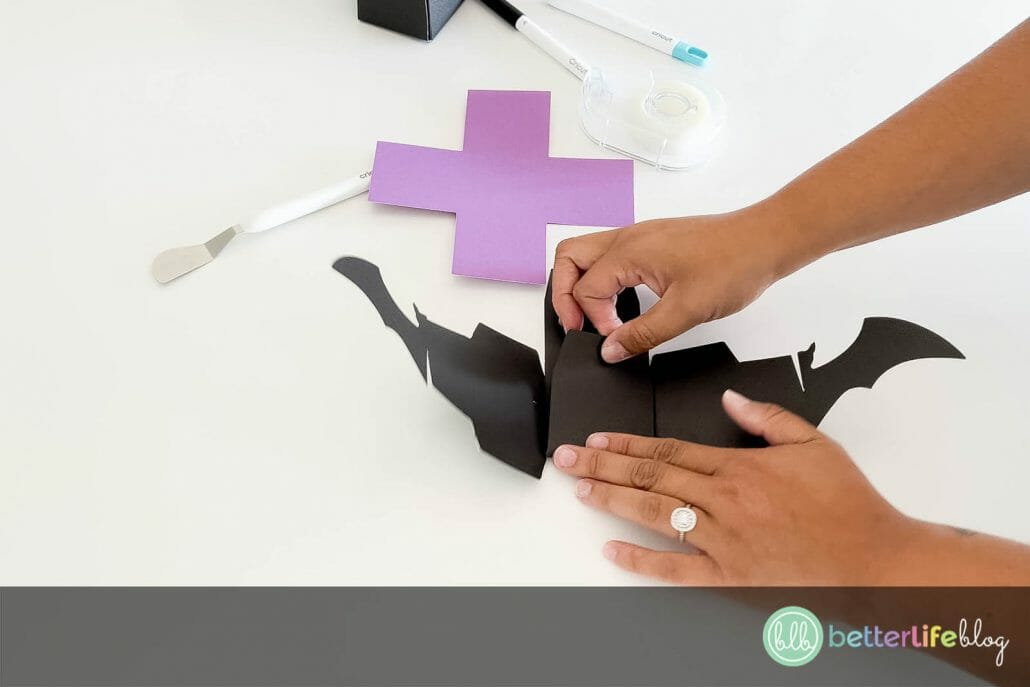
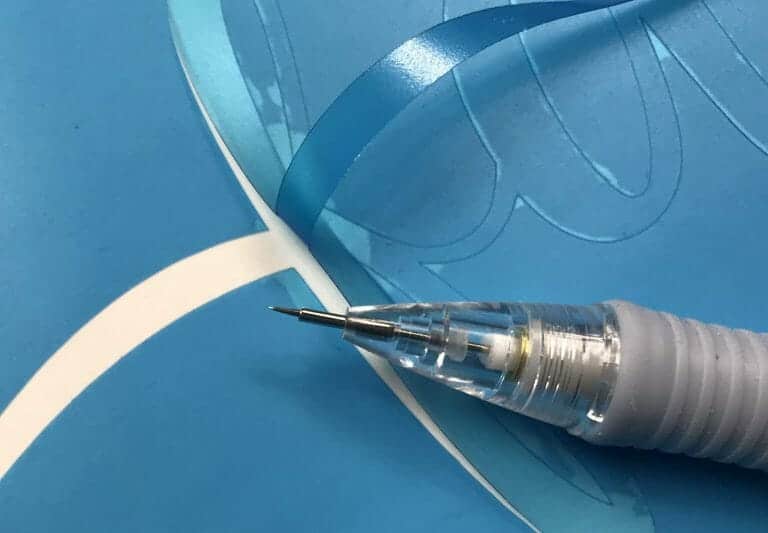
Pro tip: use a scoring tool to fold over the sides of your treat box.
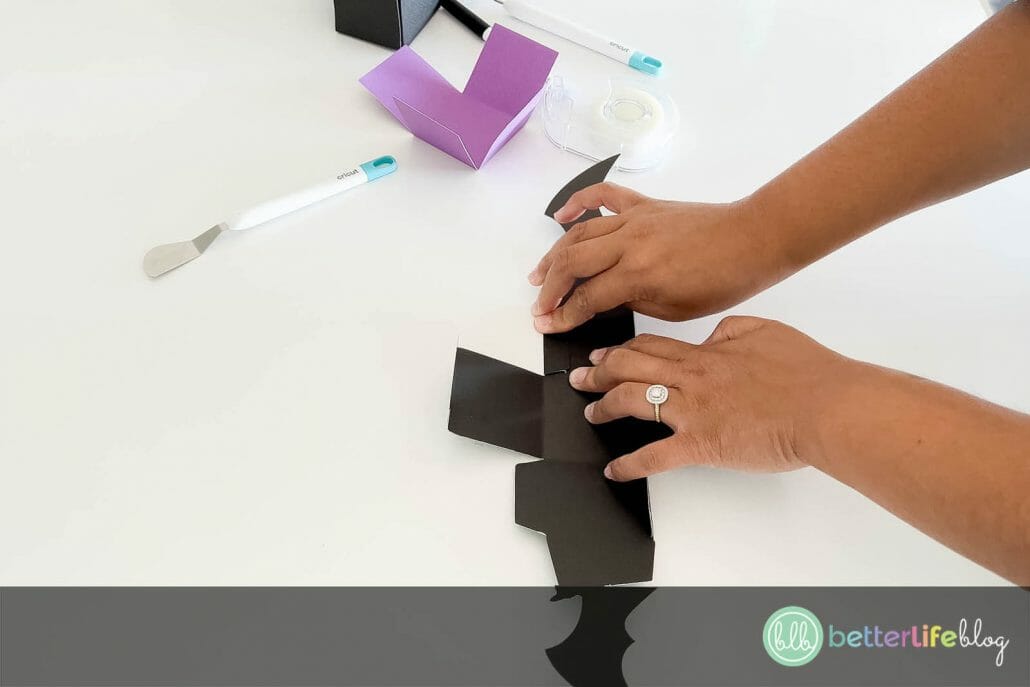
Now that everything is pre-folded, fold the sides of the box upwards to give it its form. Connect the tabs to the corresponding sides and secure with tape or glue dots.
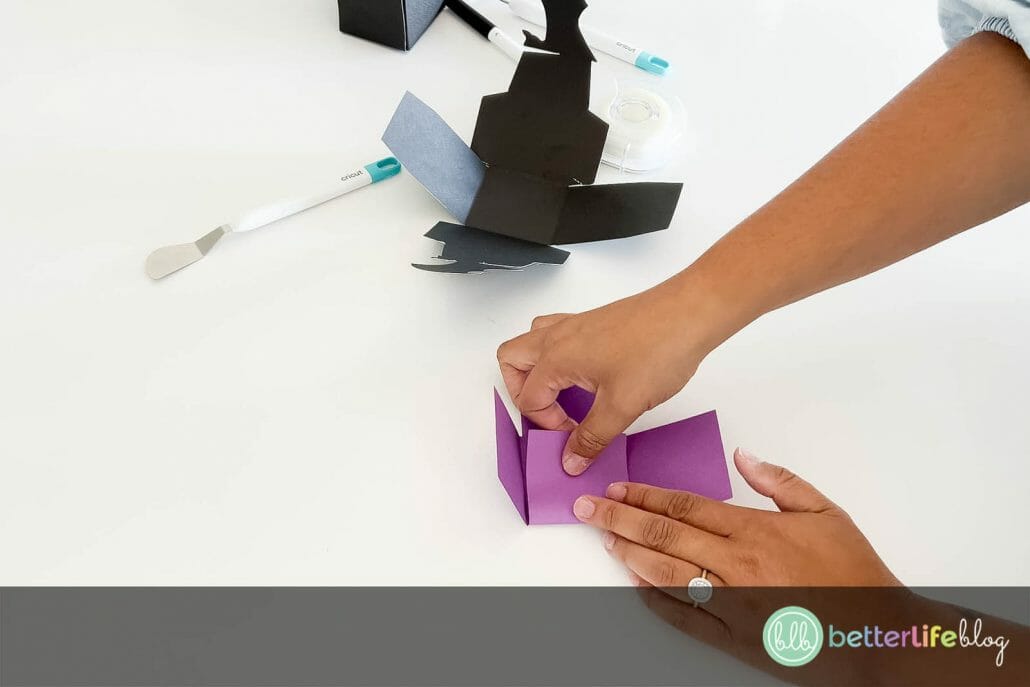
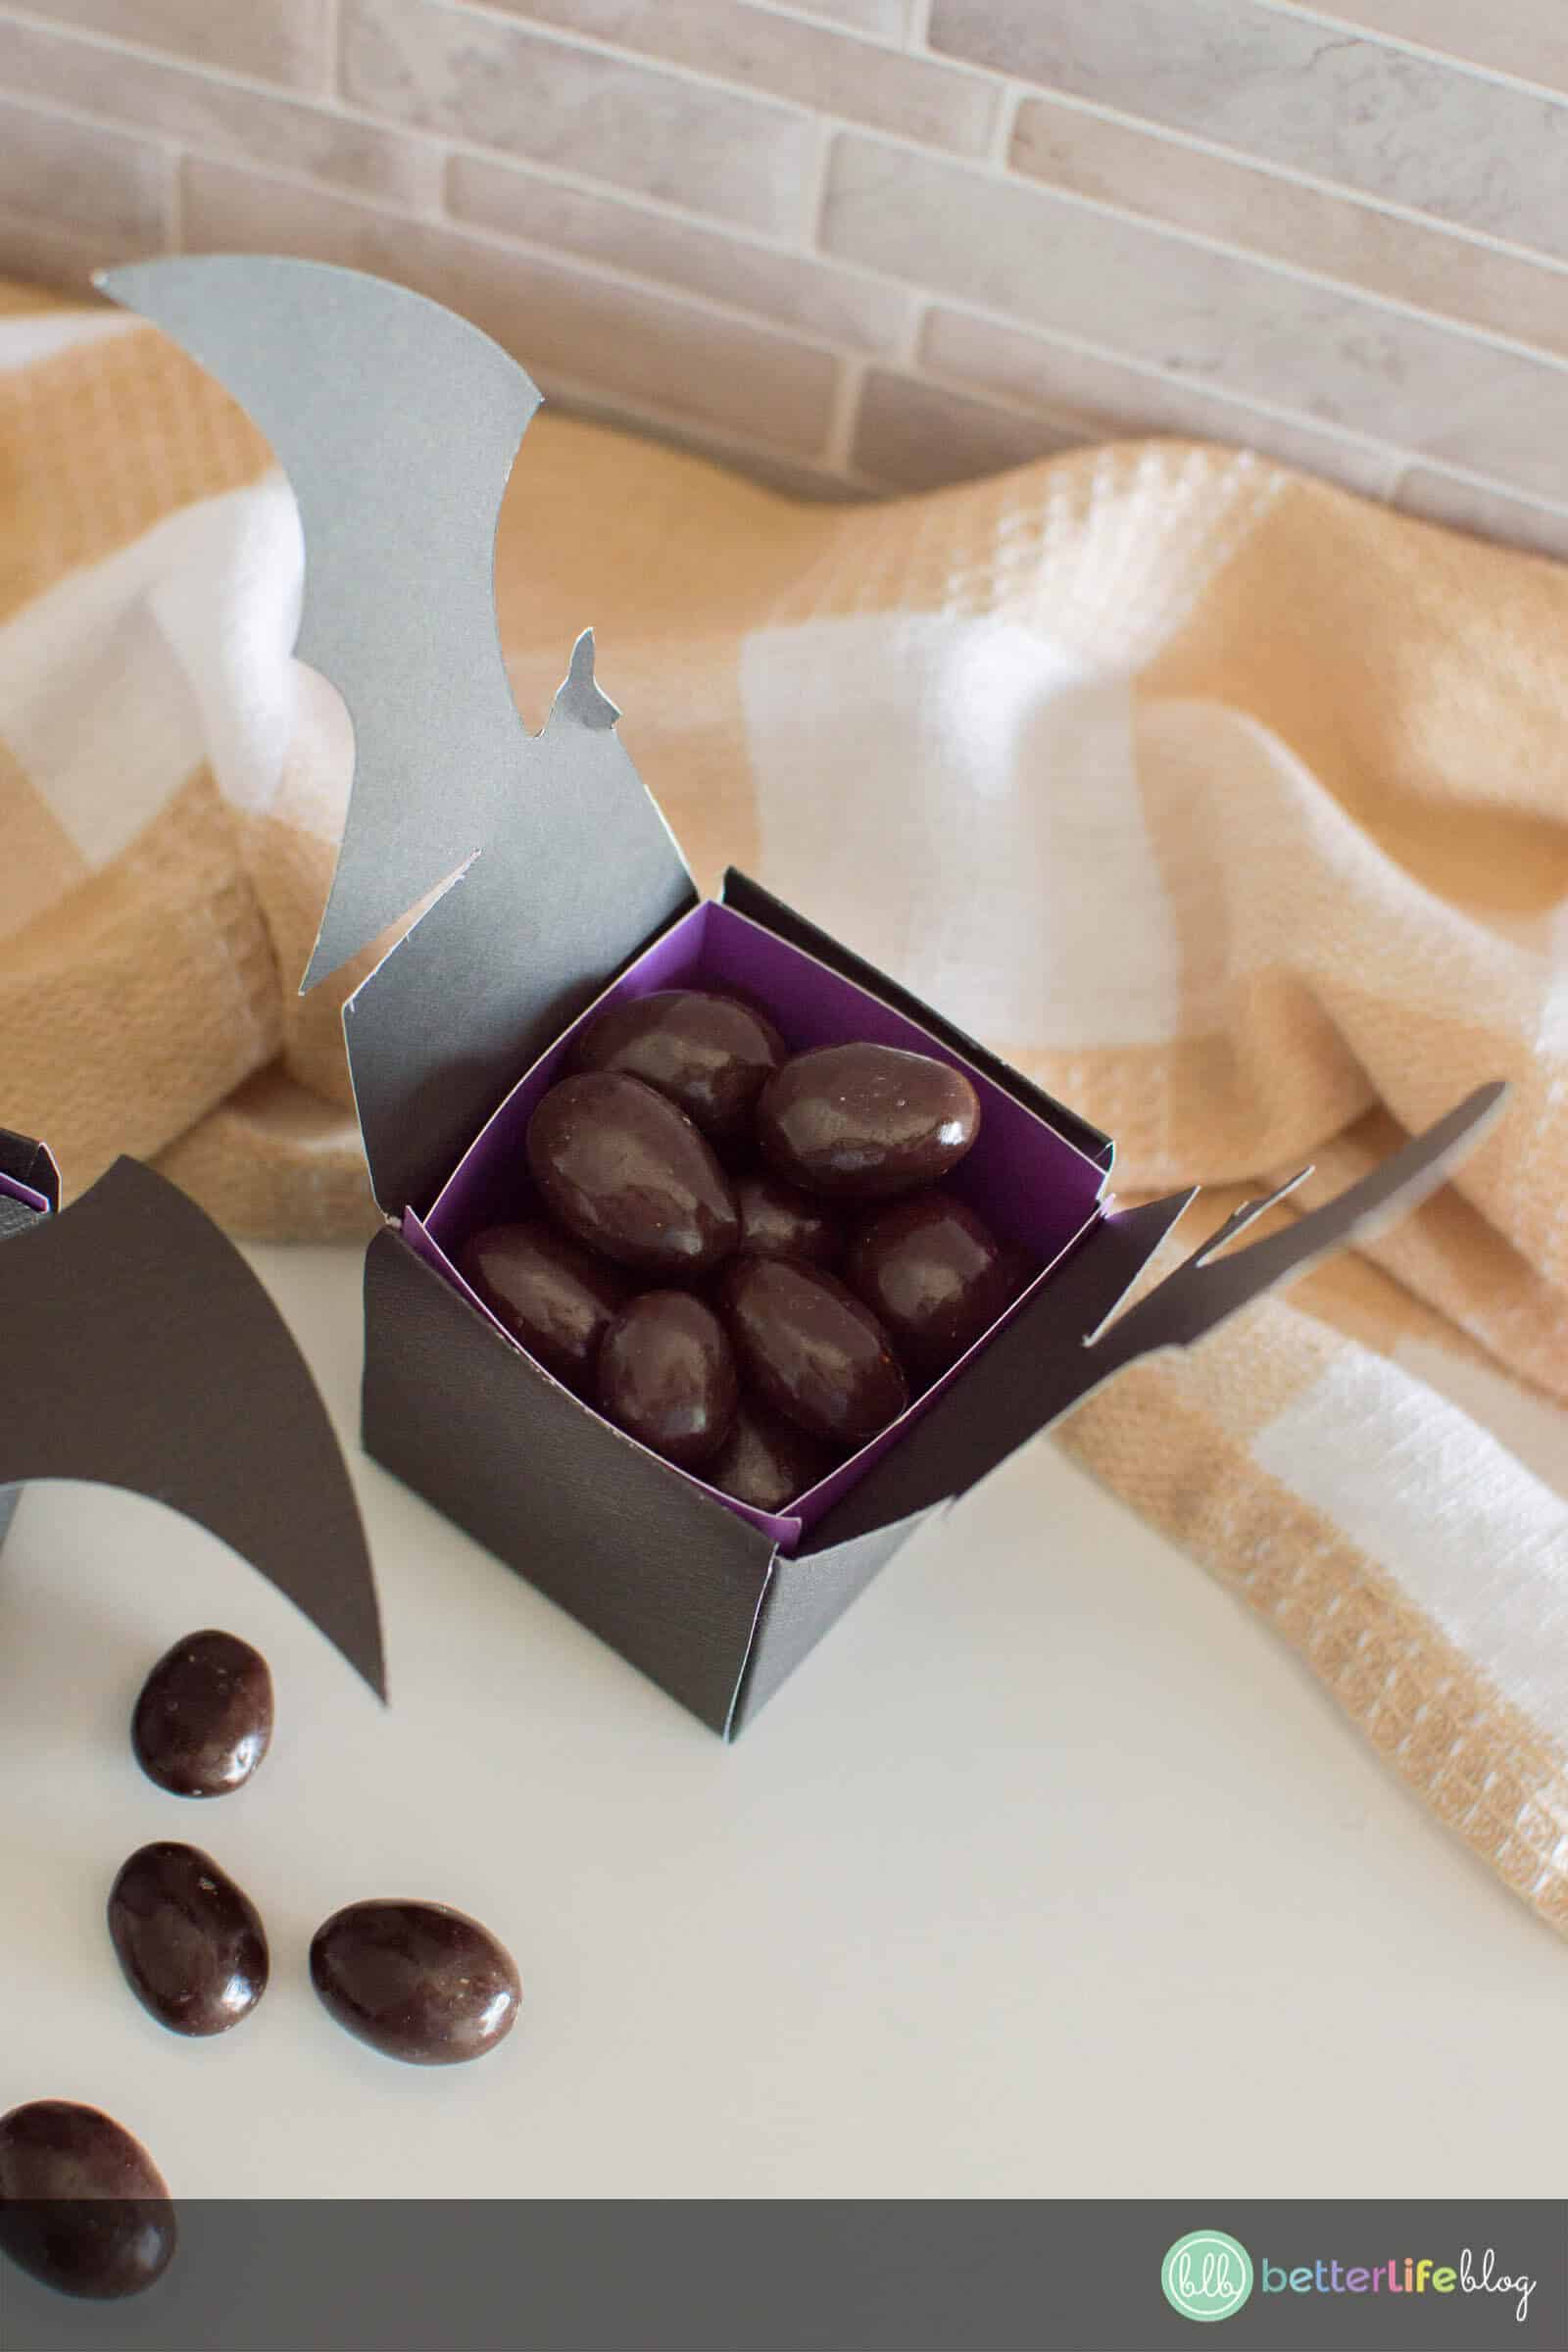
Next, fold the sides of the purple piece inwards. Place a piece of tape or glue dot on the bottom side of the piece and gently insert into your bat box. This serves as an inner layer for your treat box.
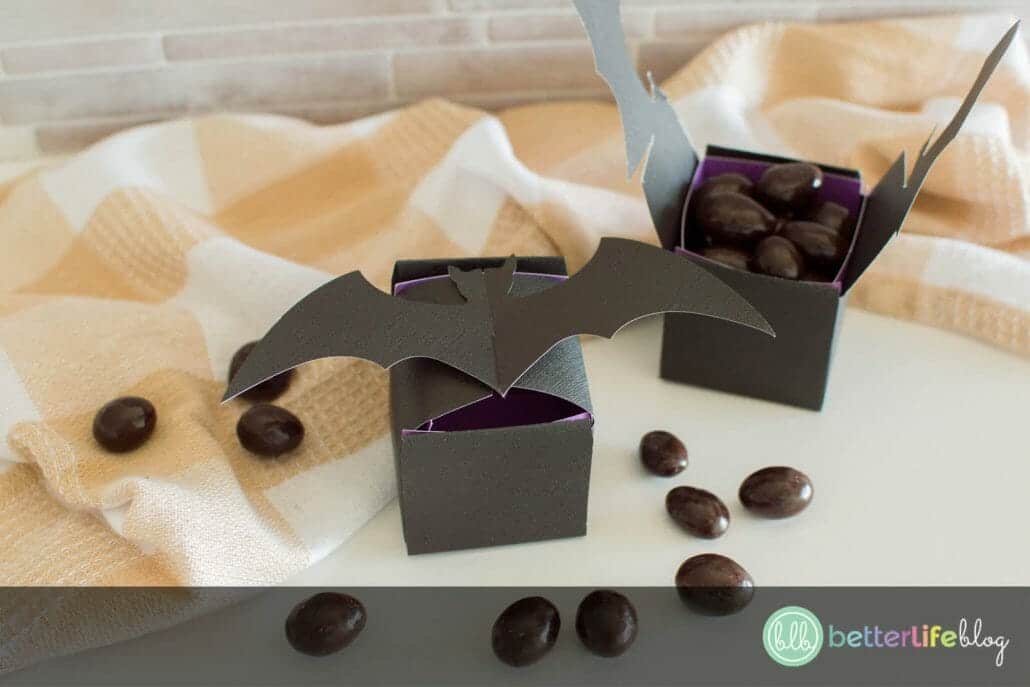
Fill the treat box with goodies and fold the two bat halves inwards, towards the center and connect. Enjoy!
Cricut Halloween Idea: Halloween Bat Treat Box
This Bat Treat Box is made directly with your Cricut Machine and makes for the cutest box to hold your delicious Halloween goodies.
Materials
Instructions
- Begin by downloading the Halloween Bat Treat Box SVG. All you have to do is login to your VIPCrafters Club Dashboard and search for the SVG in the October 2020 files. You can also grab the SVG file here.
- Once you have downloaded your file, head over to Cricut Design and click "New Project."
- After clicking on “New Project,” go ahead and click on “Upload Image,” followed by “Browse.”
- Locate the Coffee Cup Gift Card Holder file and click it/select it.
- In the lower right-hand corner of your screen, you will see an option to “Upload.” Click on it and it will take you to another screen where you’ll see the file uploaded into the image database. Click on the file, followed by “Insert.”
- Your Bat Treat Box will now be on the canvas of your Cricut Design program.
- On the top right-hand corner, click on "Ungroup" to separate the images.
- Now that everything is ungrouped, you're going to want to re-group the two purple rectangles. To do this, head over to the list on the right-hand side of your screen. On the list, select each purple rectangle by holding "ctrl" on your keyboard and clicking on both rectangles. Then, head over to the top-right corner of your screen and click "Group.
- With the newly-grouped purple rectangles selected, head over to the right-hand bottom of your screen and select "Weld."
- Your file is ready to be cut, so head over to the "Make It" button
on the top right-hand corner of your screen and click it. - You will be taken to a screen where you will be prompted to place your cardstock on your grip mat. For this project, begin with the black cardstock.
- Click on the "Continue" button on the bottom right-hand corner of your screen.
- You will then be taken to a screen where you will be prompted to turn the dial on your machine to "Light Cardstock." Then, you will load the grip mat into your Cricut and press the flashing arrow button. Once it's loaded, press the flashing "C" button and let your Cricut work its magic!
- Once the cut is complete, remove it from the grip mat and set aside.
- Now, it's time cut out the purple portion of your Bat Treat Box. This will serve as the box's inner layer.
- Place your purple cardstock onto your grip mat. Load it into the machine then press the flashing arrow button. Once it's loaded, press the flashing "C" button and the Cricut will begin cutting your piece.
- Gather your two pieces and have tape or glue dots ready.
- Begin by folding the black portion of your project. Fold its four sides inwards. On each end of treat box's sides, you will notice tabs. Fold those inwards.
- Pro tip: use a scoring tool to fold over the sides of your treat box.
- Now that everything is pre-folded, fold the sides of the box upwards to give it its form. Connect the tabs to the corresponding sides and secure with tape or glue dots.
- Next, fold the sides of the purple piece inwards. Place a piece of tape or glue dot on the bottom side of the piece and gently insert into your bat box. This serves as an inner layer for your treat box.
- Fill the treat box with goodies and fold the two bat halves inwards, towards the center and connect. Enjoy!