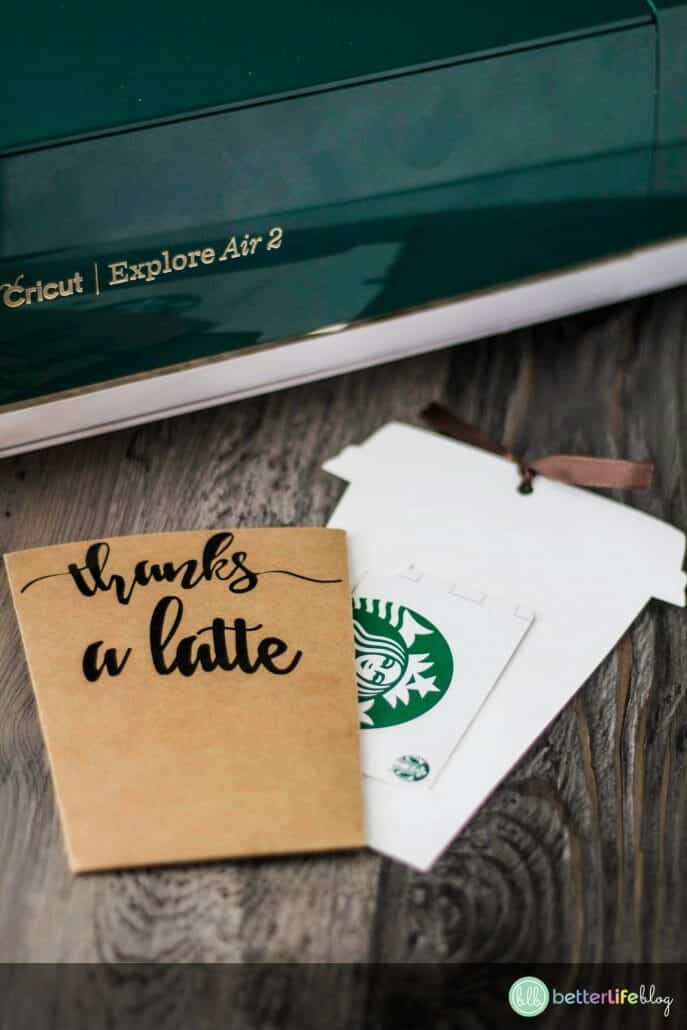
Welcome back, crafty friends! I’m absolutely stoked that you’re joining me today because we’ll be making the cutest gift card holder out there: a DIY Cricut Coffee Cup Gift Card Holder that says, “Thanks a Latte!”
Isn’t it just the sweetest thing you’ve ever seen? Scroll down to find out how you can get this and several other Teacher-Themed SVG files for free!

How Do I Make A Gift Card Holder?
Making gift card holders is really easy… especially when you have a Cricut machine! Lucky for you, I have an SVG / gift card holder template that you can download. Just click here to get the file!

If you keep on scrolling below, you’ll get my full tutorial on how to make this Cricut Coffee Cup Gift Card Holder! It’s really easy to put together!
Who Can I Give This “Thanks a Latte” Card To?
This Cricut-made gift card holder can be given to just about anyone!


I particularly love gifting this DIY greeting card to my kids’ teachers! I find teachers always LOVE receiving gift cards, especially to their favorite cafés.
Where Do I Get The File To Make My Own Cricut Coffee Cup Gift Card Holder Gift Card Holder?
I am so glad you asked! Grabbing the file to my Cricut “Thanks A Latte” gift card holder is as easy as 1-2-3!
All you have to do is click through here to grab your file.
You can also join our VIP Crafters Club where you gain unlimited access to all of my original SVG files (I’ve got hundreds for you to choose from!). All you have to do is sign up here to get instant access, and you’ll be added to our exclusive crafting community.
What Supplies Do I Need To Make This Coffee Cup Gift Card Holder?
The best part about this project is that it requires very little supplies – which is why it’s so easy to make!
If you want to be extra prepared, be sure to gather the following supplies in advance. This way you have everything on-hand when you’re ready to craft!
Supplies Needed For Making A Coffee Cup Gift Card Holder:
- Coffee Cup Gift Card Holder SVG file
- Cricut machine
- Cricut standard grip mat
- Black permanent vinyl
- Transfer tape
- Weeding tools
- Brown cardstock
- White cardstock
- Hot glue gun and sticks
- Single hole punch
- Ribbon
- Gift Card
How Do I DIY My Very Own Cricut Coffee Cup Gift Card Holder?
Now that you have all the necessary materials to make a Coffee Cup Gift Card Holder, here are my detailed instructions (and tips and tricks!) to make one of your very own. Keep on scrolling for the full details!
Begin by downloading my Coffee Cup Gift Card Holder SVG file – you can do this by logging onto your VIP Crafters Club dashboard and downloading the file. If you’re not yet a member, you can join here to gain full access to my SVG files or, you can download the individual file here.
Next, open up Cricut Design and click “New Project.”
After clicking on “New Project,” go ahead and click on “Upload Image,” followed by “Browse.”
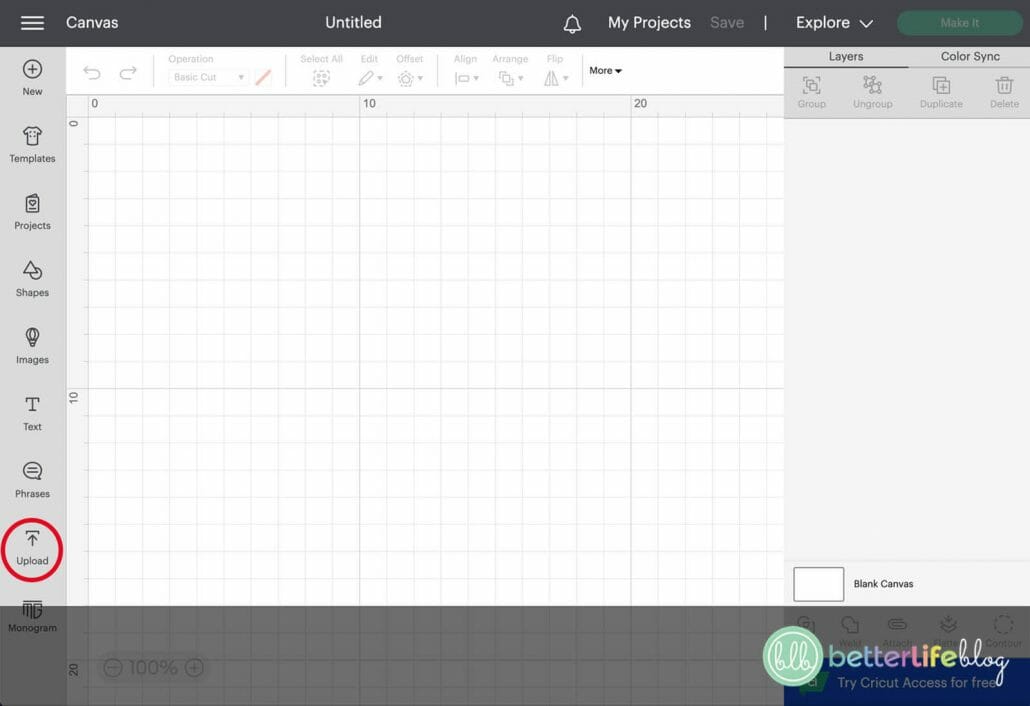
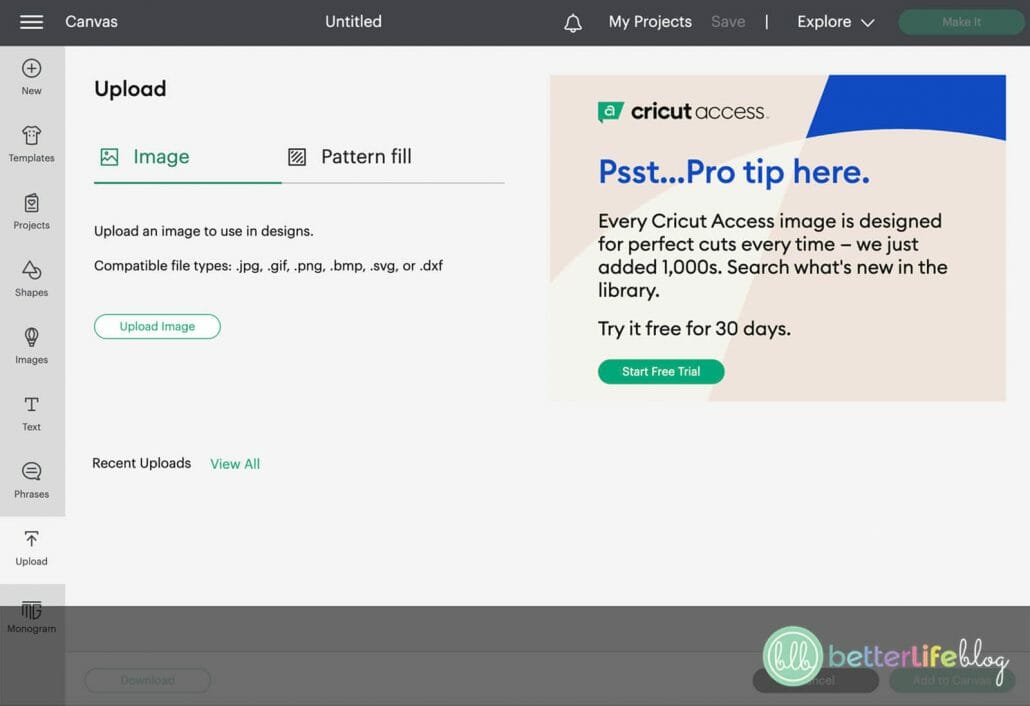

Locate the Coffee Cup Gift Card Holder file and click it/select it.
In the lower right-hand corner of your screen, you will see an option to “Upload.” Click on it and the it will take you to another screen where you’ll see the file uploaded into the image database. Click on the file, followed by “Insert.”
To the right of the screen, you will see a list of “Groups.” Click the first group, which is the blank coffee cup.
Adjust the coffee cup measurements to your desired size. In the bottom right-hand corner, click “Weld.” Repeat this step with each group.
Click the coffee cup once more.
On the top right toolbar, you will see “Operation” and your color choice. Set the coffee cup to “Cut” and white.
Repeat this with the wording: make sure it is set to “Cut” and the color, black.

Finally, click the card holder. Set it to “Cut” and leave the color as is. So long as each group is set to a separate color, you won’t need to change it.
Time to cut out your gift card holder! Click on “Make It.”
Once you click on “Make It,” you will see 3 separate project cuts.

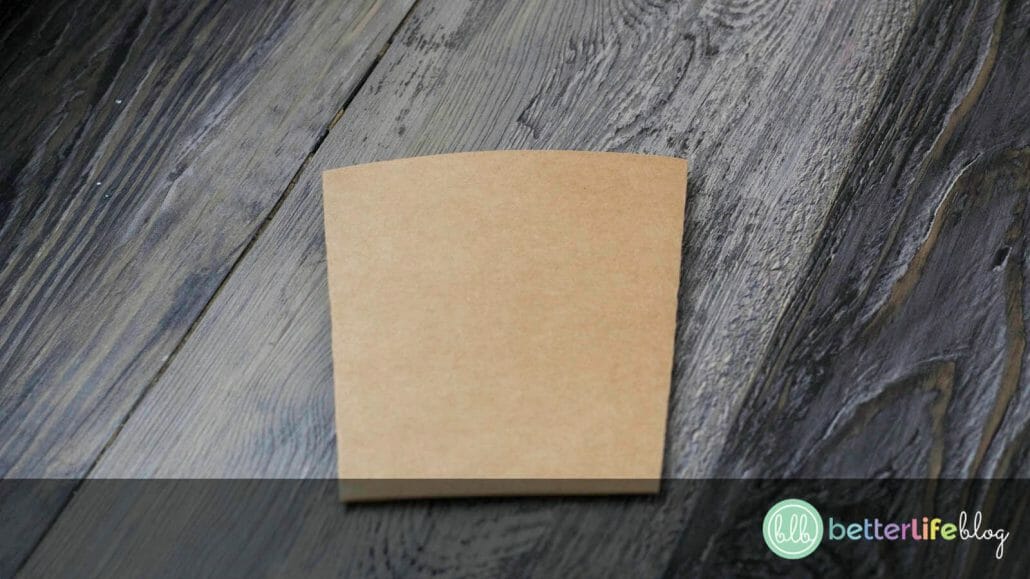
To start the cutting procedure, place a piece of white cardstock on a cutting mat. This will be for the coffee cup. Load the cutting mat into the Cricut and be sure to set its dial to “Cardstock.”
Next, press “Continue” on your machine and follow all of the on-screen prompts. Watch your Cricut do its magic and cut out the cardstock coffee cup!

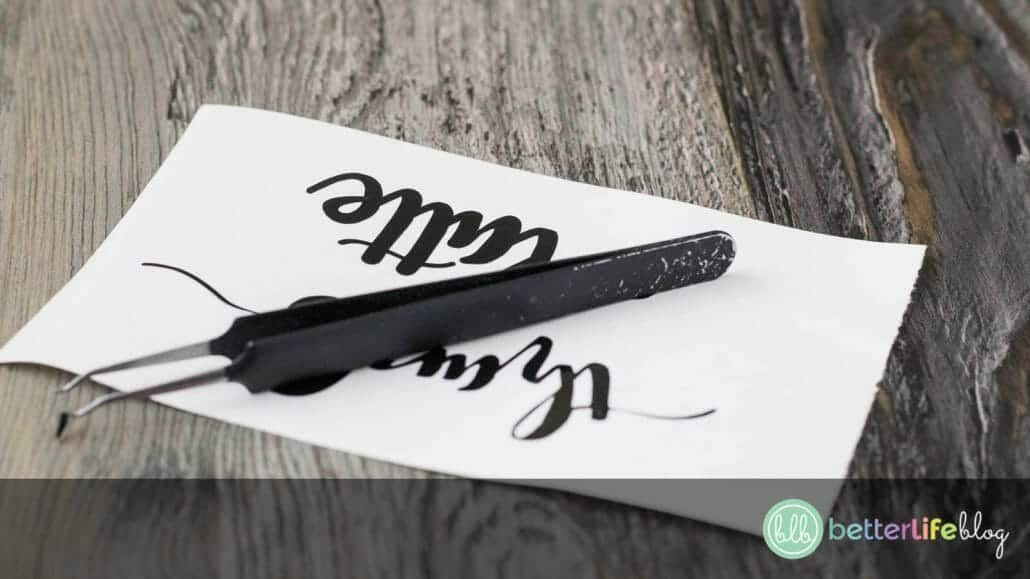
Now, place black vinyl onto your cutting mat (this will be for the gift card holder’s wording) and load the mat into the Cricut. Set its dial to “Vinyl.”
Press “Continue” and follow the on-screen prompts. The wording will now cut out on the black vinyl.

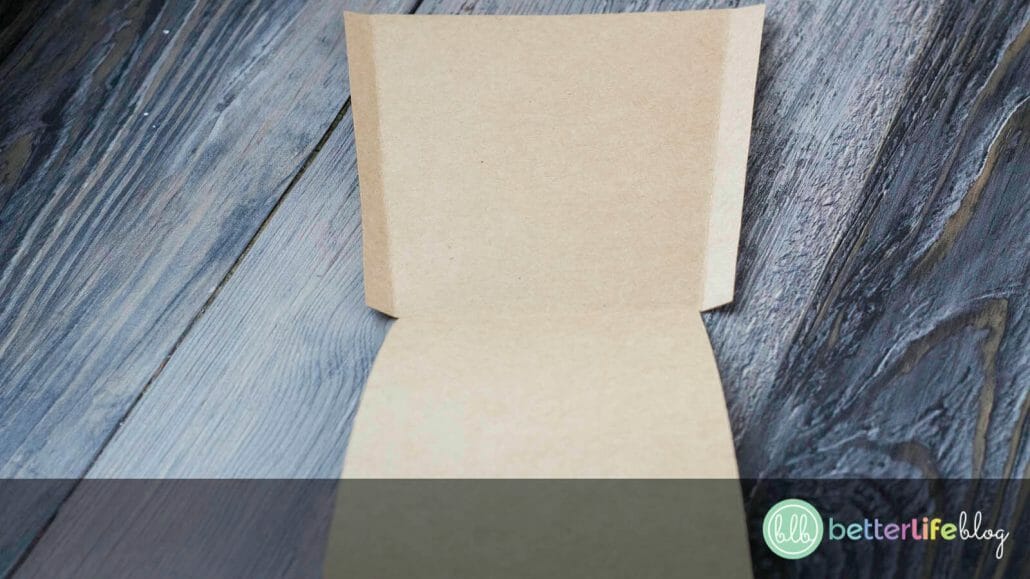
Finally, place a piece of brown cardstock onto your cutting mat. The brown cardstock will be for the card holder portion of the greeting card. Load the mat into the Cricut and set its dial to “Cardstock.”
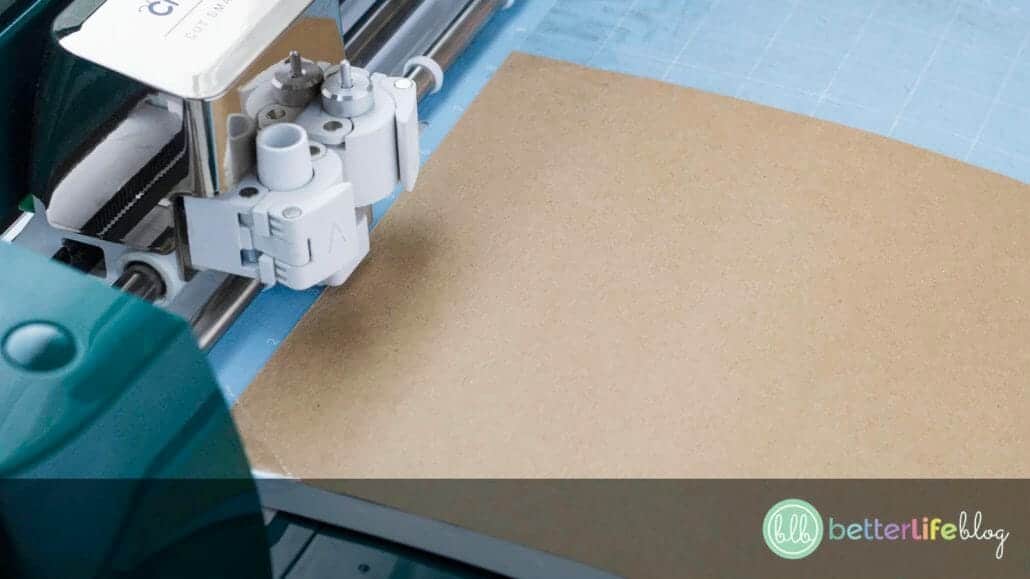
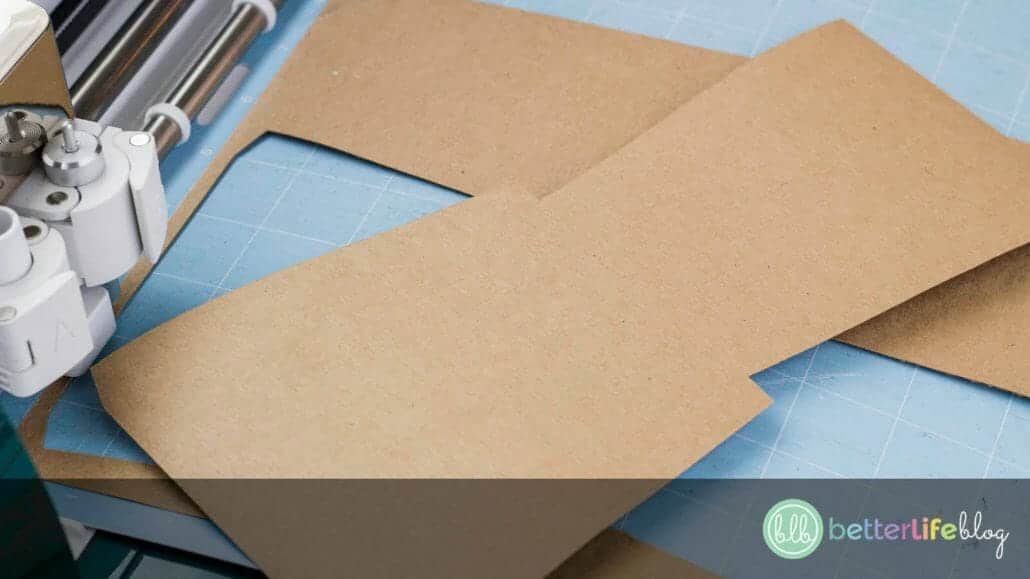
Press “Continue” and follow the on-screen prompts.
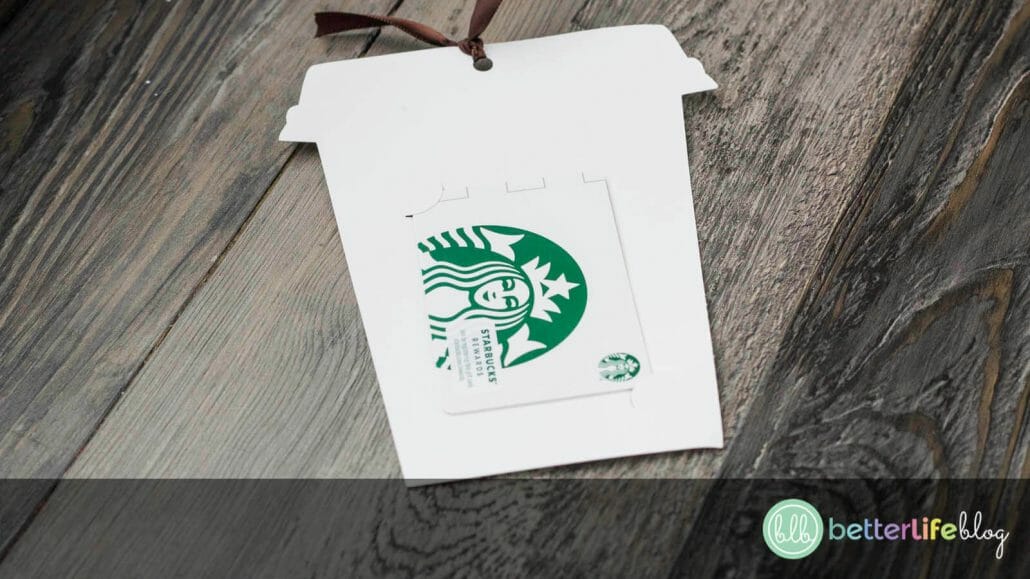
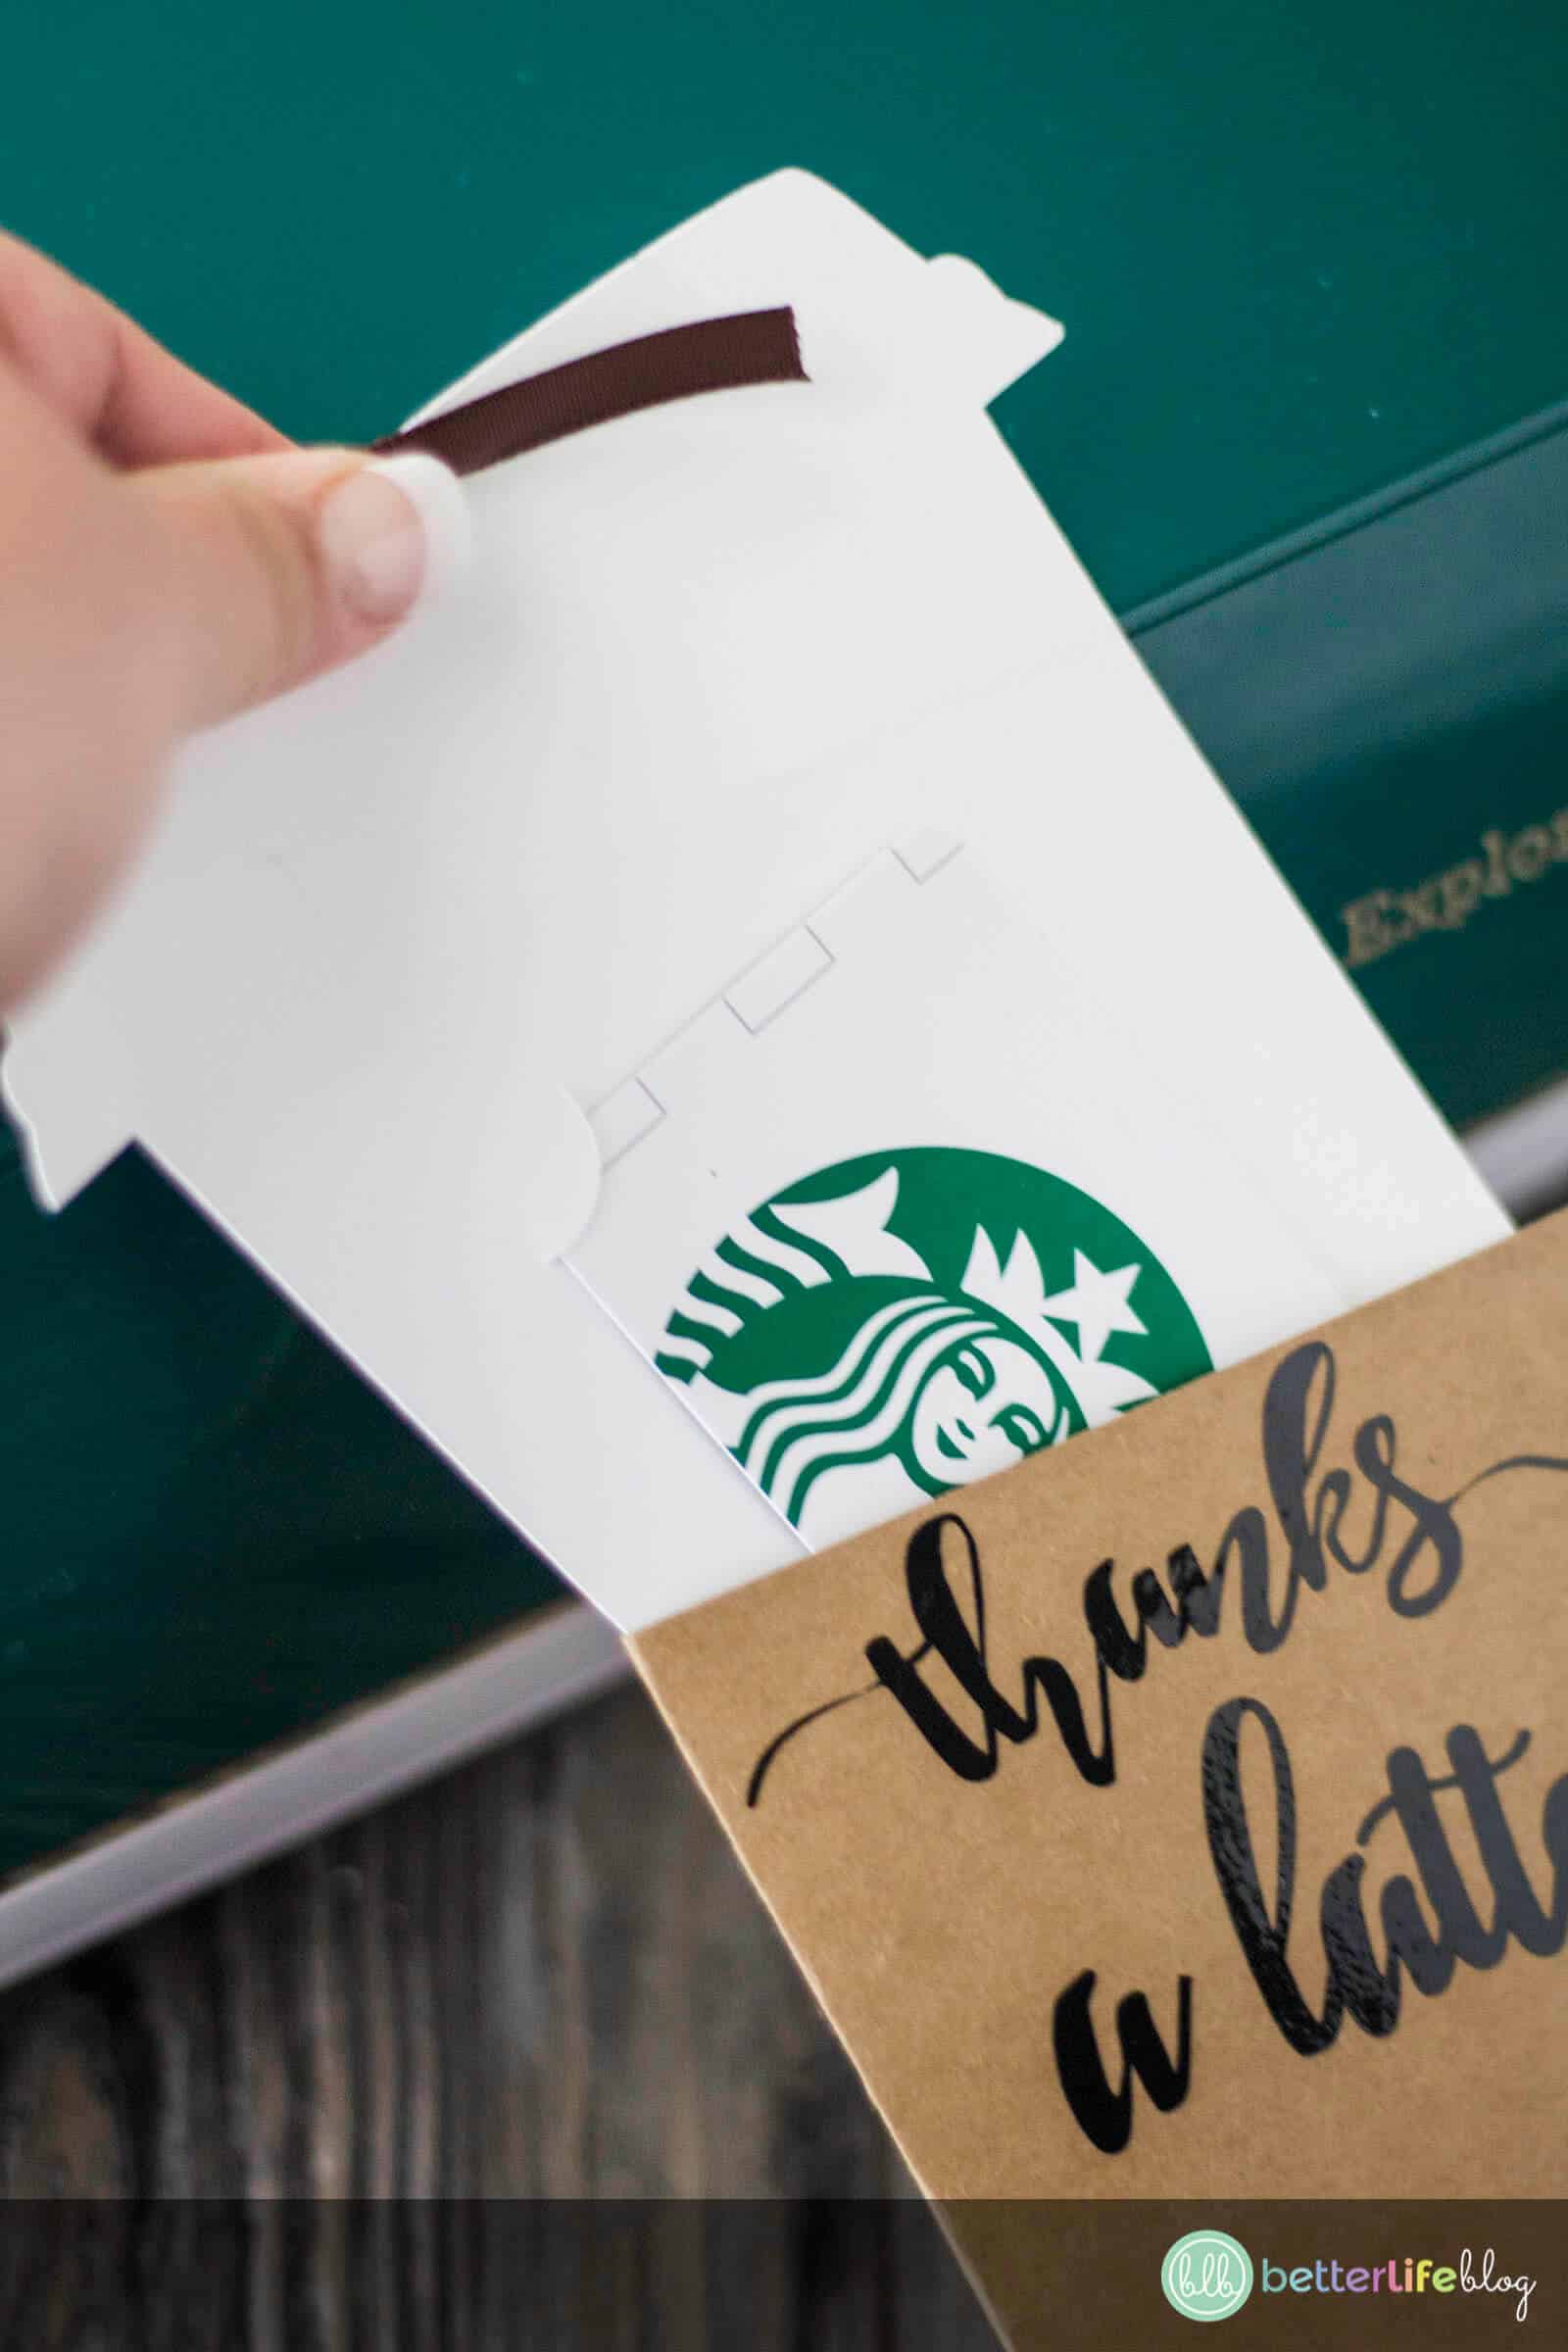
Use a hole puncher to make a hole at the top of the white coffee cup. Insert a gift card in the cuts made for the card.
For the outer portion of the card (brown cardstock), fold over length wise and fold the side tabs backwards and secure with tape or glue.
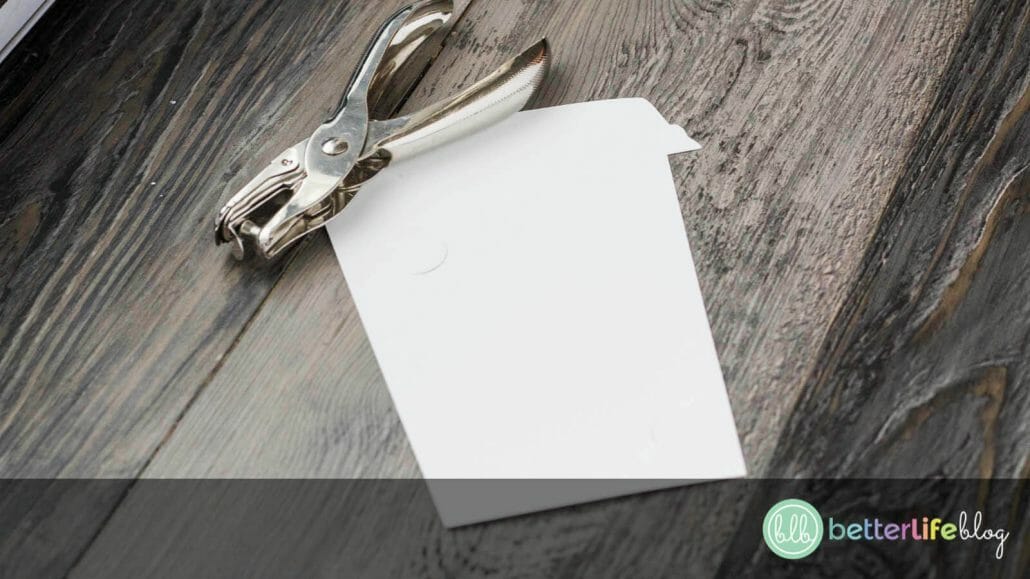

For a beautiful finishing touch, tie a ribbon through the hole.


Next, use weeding tools to weed out the letters in your newly-cut black vinyl.
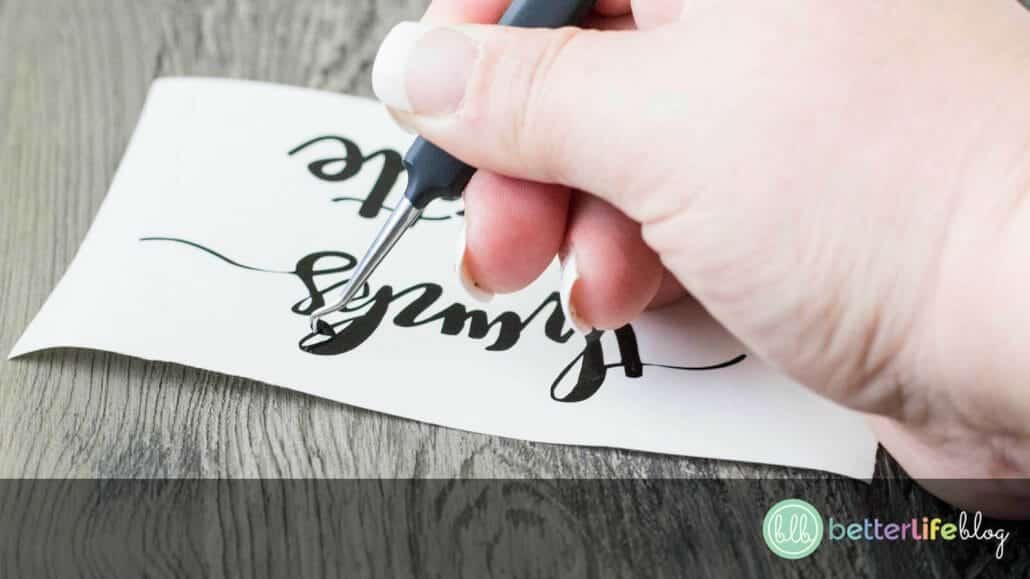
Once the words are weeded out, place transfer on top of it and remove the white backing.


Place the transfer tape down on the brown cardstock and press down firmly. Gently pull of the transfer tape, leaving the black vinyl behind.


Insert the white portion of the gift card holder into the brown cardstock. It is now ready to be gifted!


Get 18 Teacher-Themed SVG Files {FREE}
I’ve collaborated with some of my crafty friends to bring you an amazing collection of FREE Teacher-Themed SVG craft files! Check them out below:

Thank a Latte Gift Card Holder SVG

Best Teacher Ever SVG

Teach Love Inspire SVG
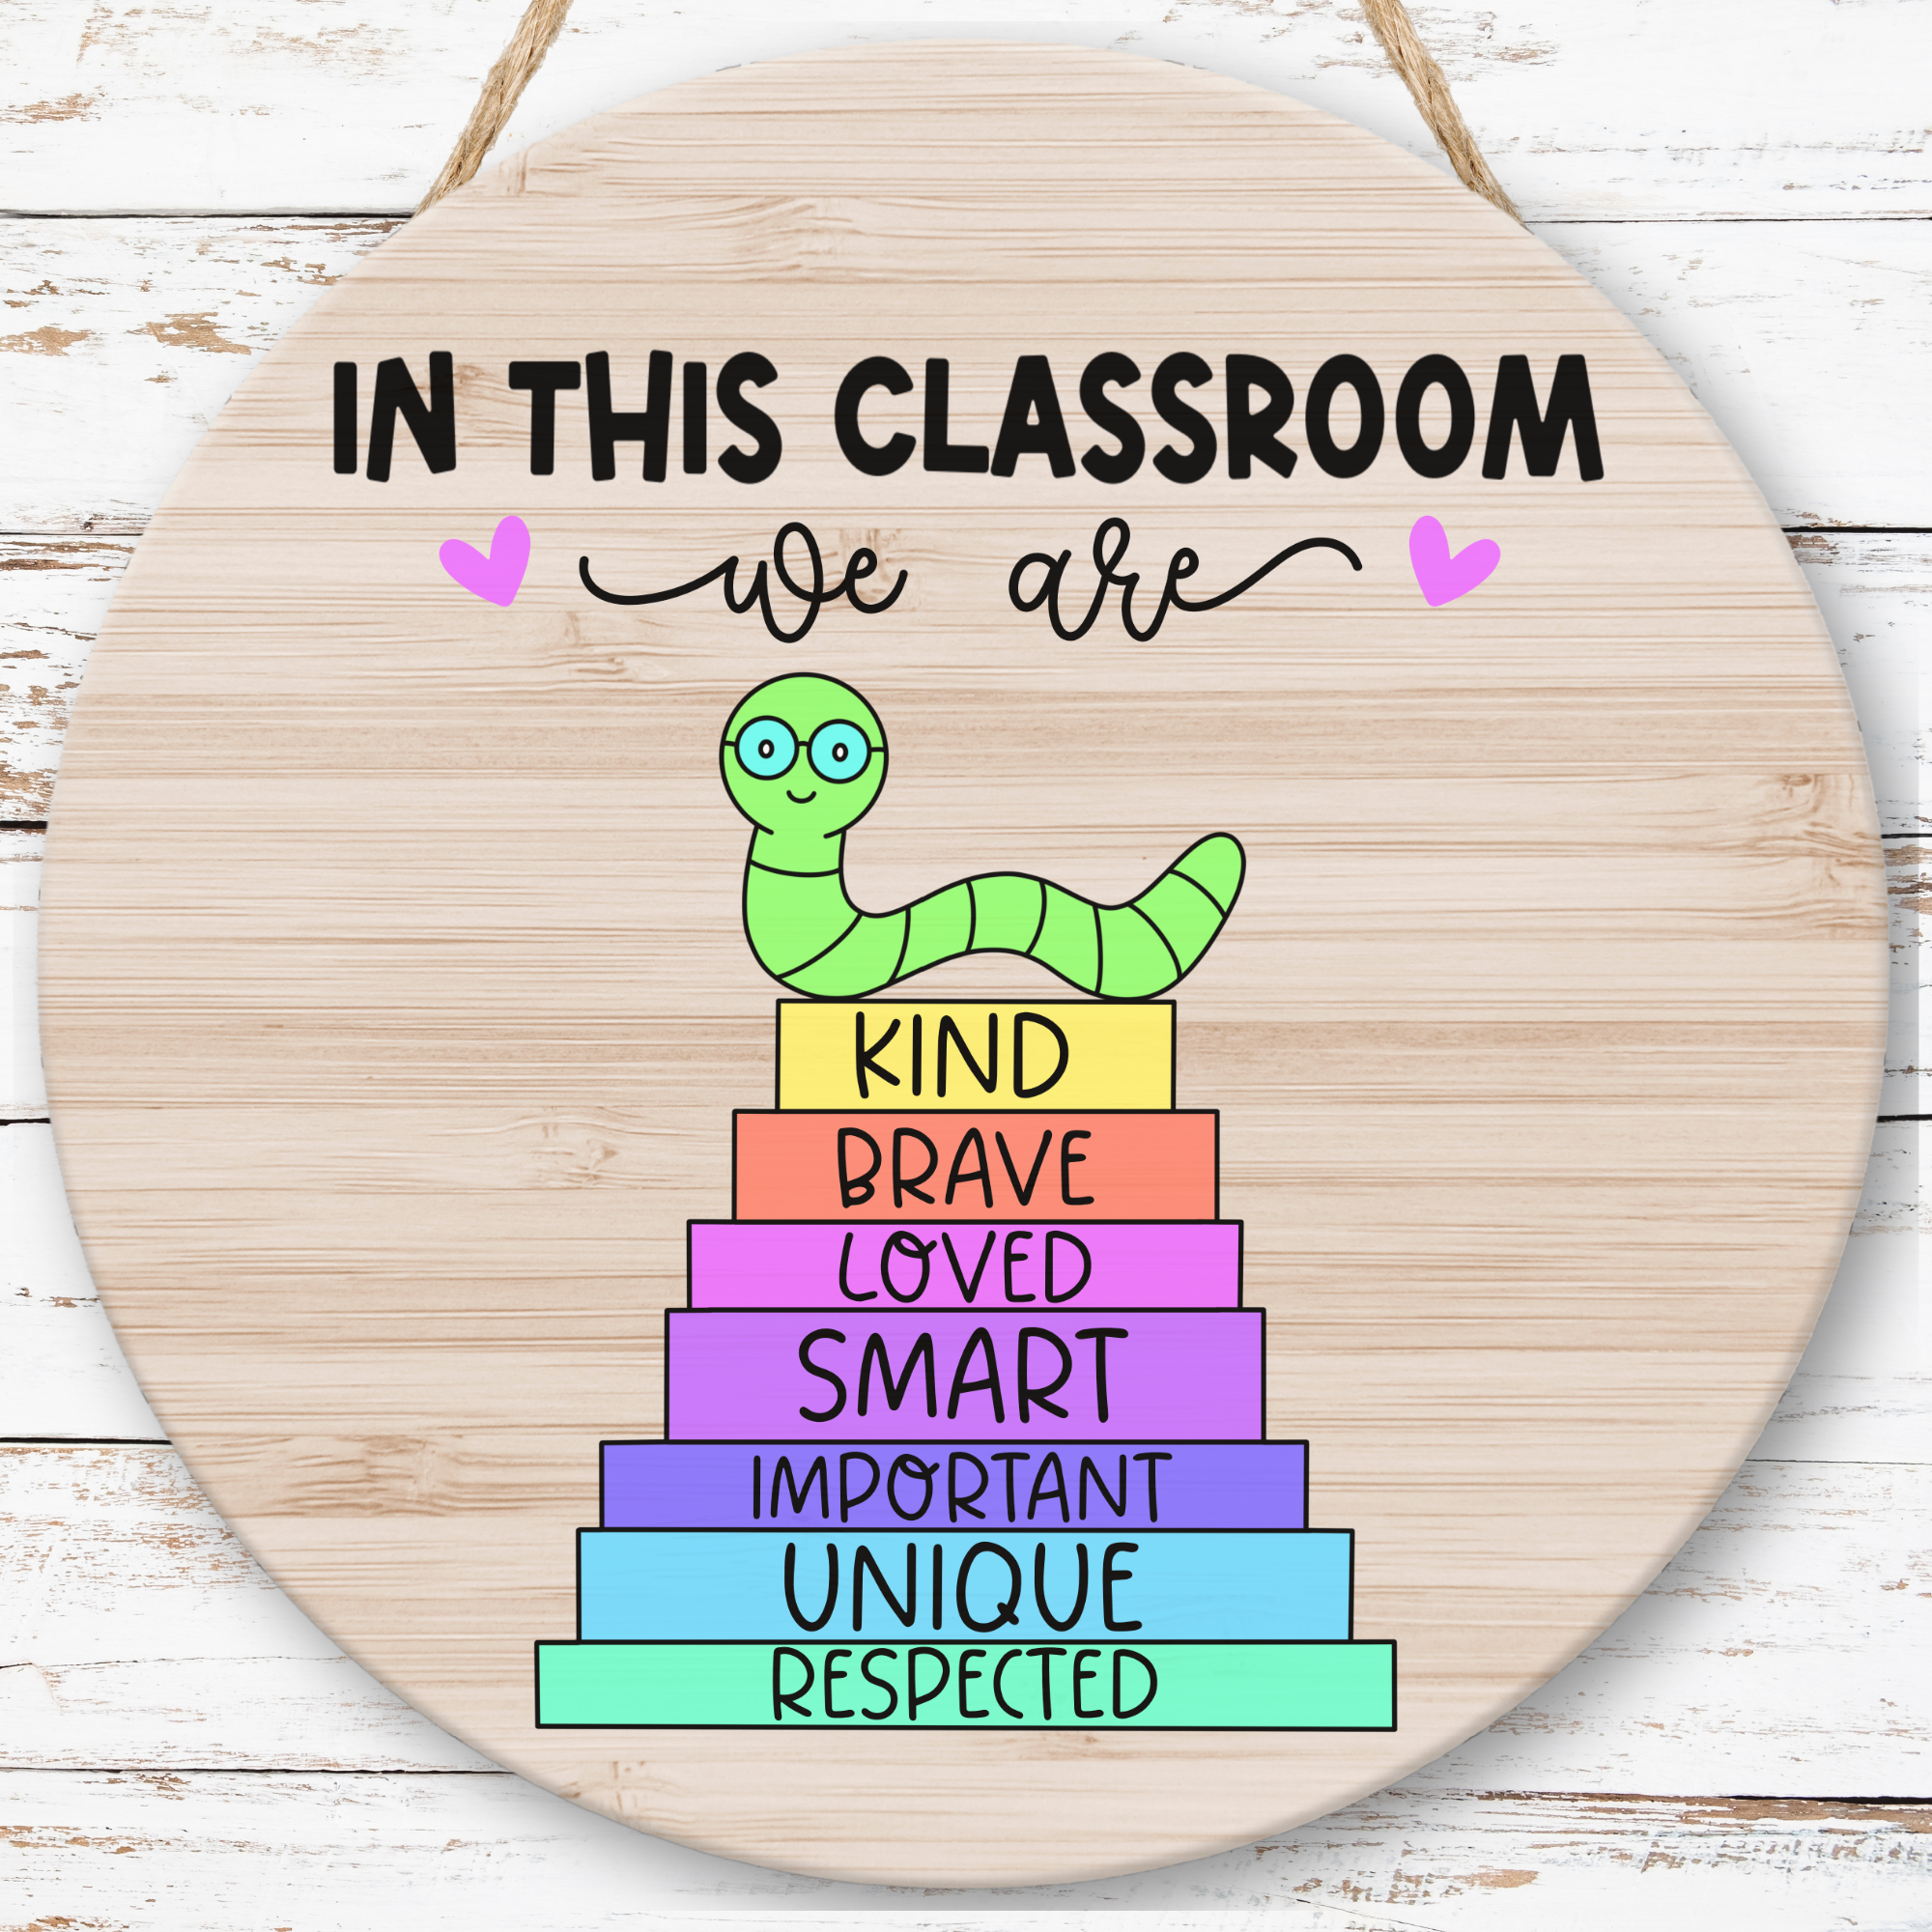
In This Classroom SVG

Teachers Gonna Teach SVG

I’m Silently Correcting Your Grammar SVG
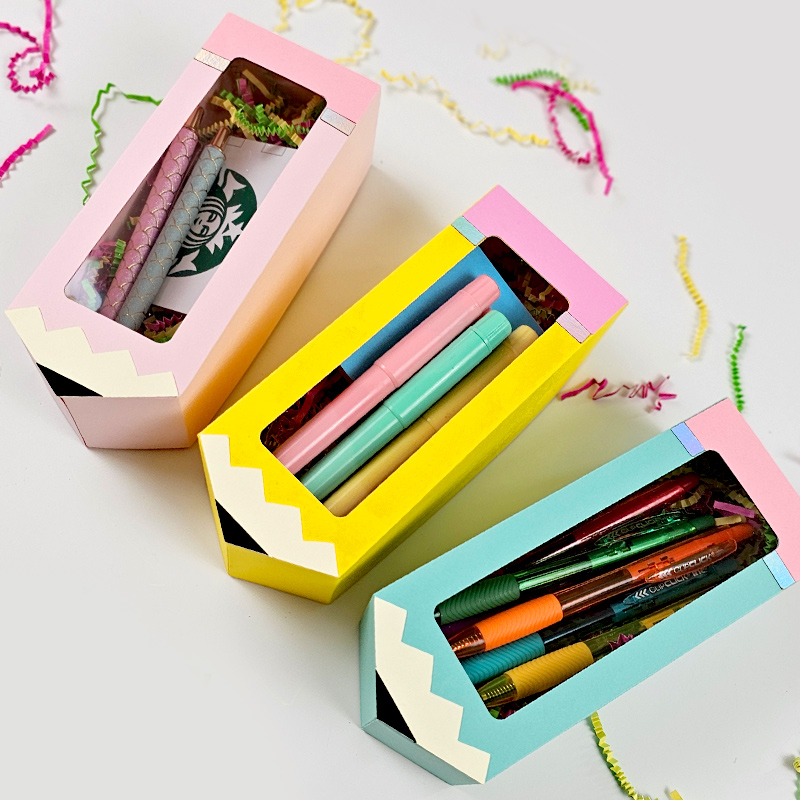
Pencil Gift Box SVG

Teacher T-Shirt SVG

School Supplies Heart Design SVG

I Teach Tiny Humans SVG
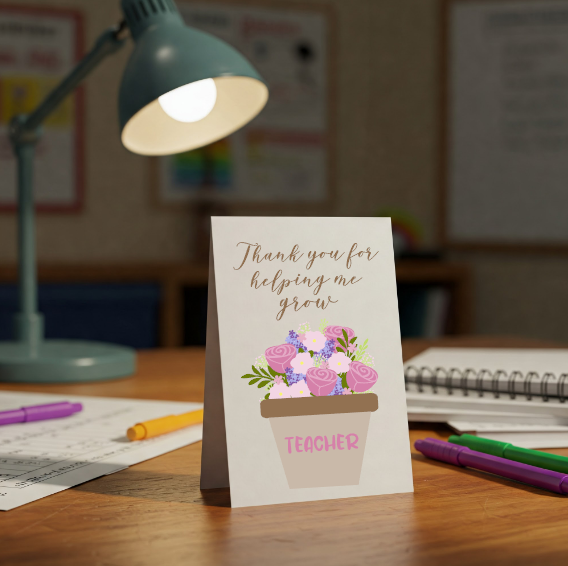
Thank You For Helping Me Grow SVG

Having a Weird Teacher Builds Character SVG

#teacherlife SVG

Best Teacher Box Card SVG

Teaching is a Work of Heart SVG

Math Puns SVG
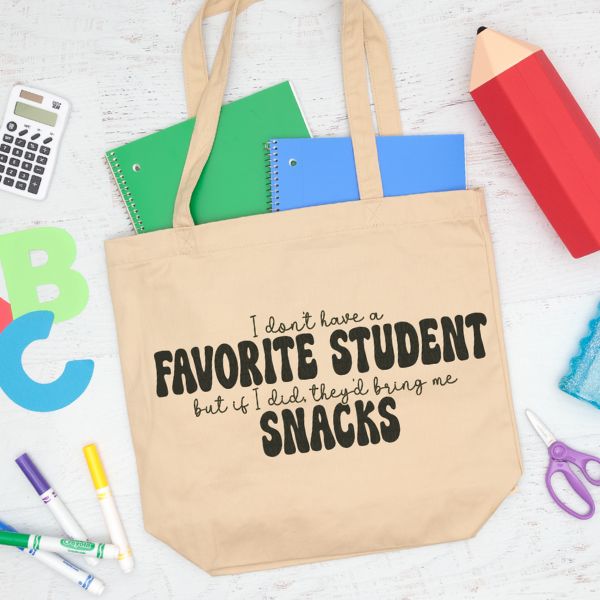
Favorite Student SVG

You Make a Difference Everyday SVG

DIY Cricut Coffee Gift Card Holder
Gift cards to the best coffee houses are always a special treat! Learn how to make this gorgeous Coffee Gift Card Holder in a few simple steps. Plus, you’ll have access to my SVG file that makes this Cricut craft easy-peasy to put together!
Materials
Instructions
- Begin by downloading the Coffee Gift Card Holder SVG file.
- Next, open up Cricut Design and click “New Project.”
- After clicking on “New Project,” go ahead and click on “Upload Image,” followed by “Browse.”
- Locate the Coffee Gift Card Holder file and click it/select it.
- In the lower right-hand corner of your screen, you will see an option to “Upload.” Click on it and the it will take you to another screen where you’ll see the file uploaded into the image database. Click on the file, followed by “Insert.”
- To the right of the screen, you will see a list of “Groups.” Click the first group, which is the blank coffee cup.
- Adjust the coffee cup measurements to your desired size. In the bottom right-hand corner, click “Weld.” Repeat this step with each group.
- Click the coffee cup once more.
- On the top right toolbar, you will see “Operation” and your color choice. Set the coffee cup to “Cut” and white.
- Repeat this with the wording: make sure it is set to “Cut” and the color, black.
- Finally, click the card holder. Set it to “Cut” and leave the color as is. So long as each group is set to a separate color, you won’t need to change it.
- Time to cut out your gift card holder! Click on “Make It.”
- Once you click on “Make It,” you will see 3 separate project cuts.
- To start the cutting procedure, place a piece of white cardstock on a cutting mat. This will be for the coffee cup. Load the cutting mat into the Cricut and be sure to set its dial to “Cardstock.”
- Next, press “Continue” on your machine and follow all of the on-screen prompts. Watch your Cricut do its magic and cut out the cardstock coffee cup!
- Now, place black vinyl onto your cutting mat (this will be for the gift card holder’s wording) and load the mat into the Cricut. Set its dial to “Vinyl.”
- Press “Continue” and follow the on-screen prompts. The wording will now cut out on the black vinyl.
- Finally, place a piece of brown cardstock onto your cutting mat. The brown cardstock will be for the card holder portion of the greeting card. Load the mat into the Cricut and set its dial to “Cardstock.”
- Press “Continue” and follow the on-screen prompts.
- Use a hole puncher to make a hole at the top of the white coffee cup. Insert a gift card in the cuts made for the card.
- For a beautiful finishing touch, tie a ribbon through the hole.
- Next, use weeding tools to weed out the letters in your newly-cut black vinyl.
- Once the words are weeded out, place transfer on top of it and remove the white backing.
- Place the transfer tape down on the brown cardstock and press down firmly. Gently pull of the transfer tape, leaving the black vinyl behind.
- Insert the white portion of the gift card holder into the brown cardstock. It is now ready to be gifted!