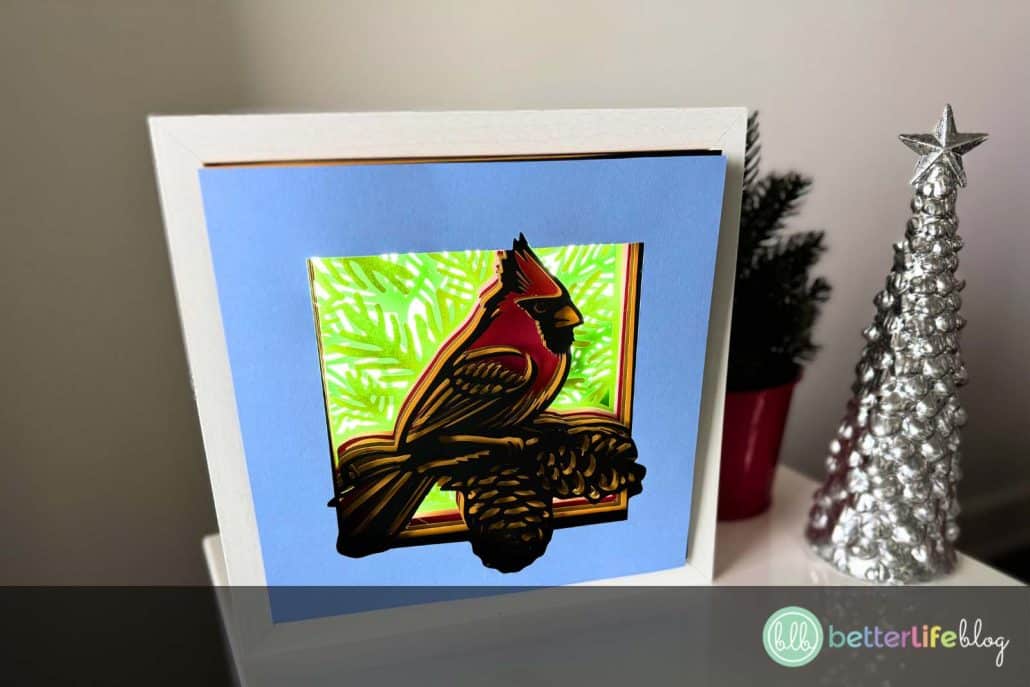
Turn your love for holiday crafting into a stunning 3D masterpiece with this Cardinal Shadow Box! Using your trusty Cricut and a few supplies, I’ll guide you step-by-step to create this festive décor piece that will bring a touch of nature and holiday charm to your home.
Welcome back, crafty friends! Thanks for stopping by! I’m Nancy, the designer and founder of Better Life Blog. I’m so glad you’re here!
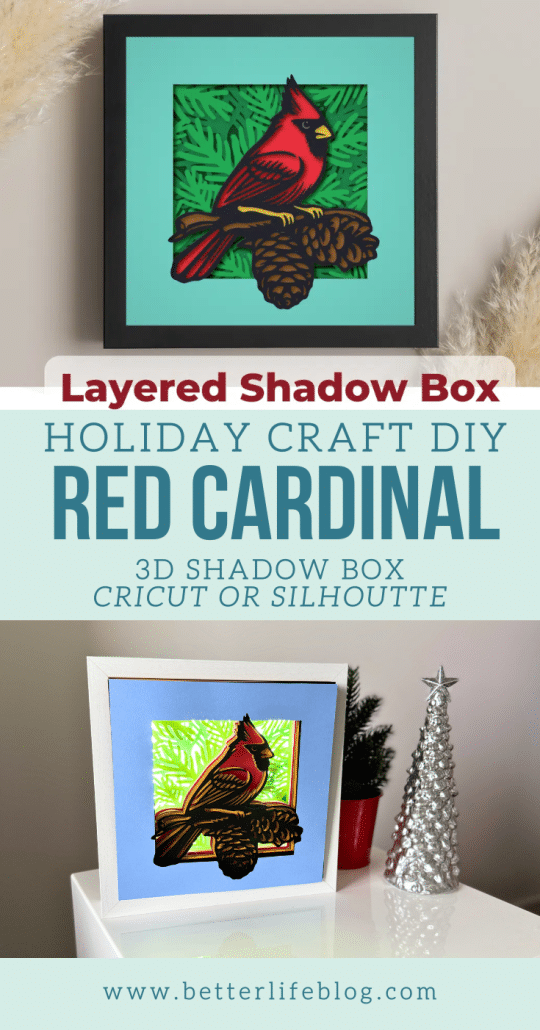
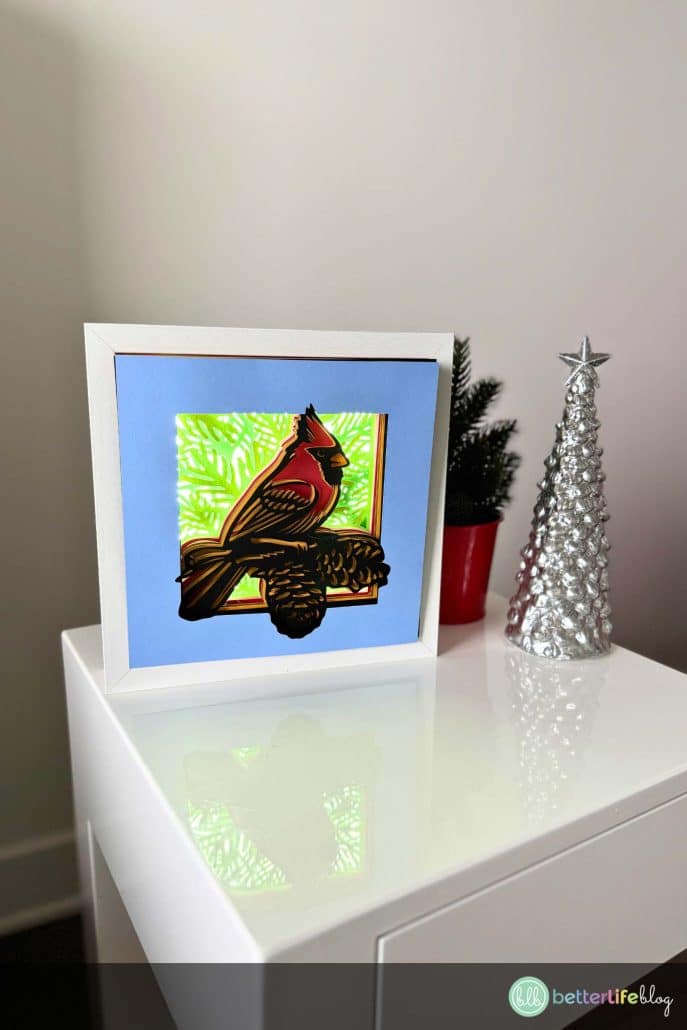
If you’re new here, welcome! Feel free to browse our collection of beautiful SVG designs for your Cricut projects. Today, we’re creating a Cardinal Shadow Box. It’s perfect for the winter and holiday season.
What I love most about our Cardinal Shadow Box is that it’s a layered paper craft that captures the vibrant beauty of a red cardinal in a snowy wonderland – a décor piece that’s sure to wow your guests!
What is a Shadow Box?
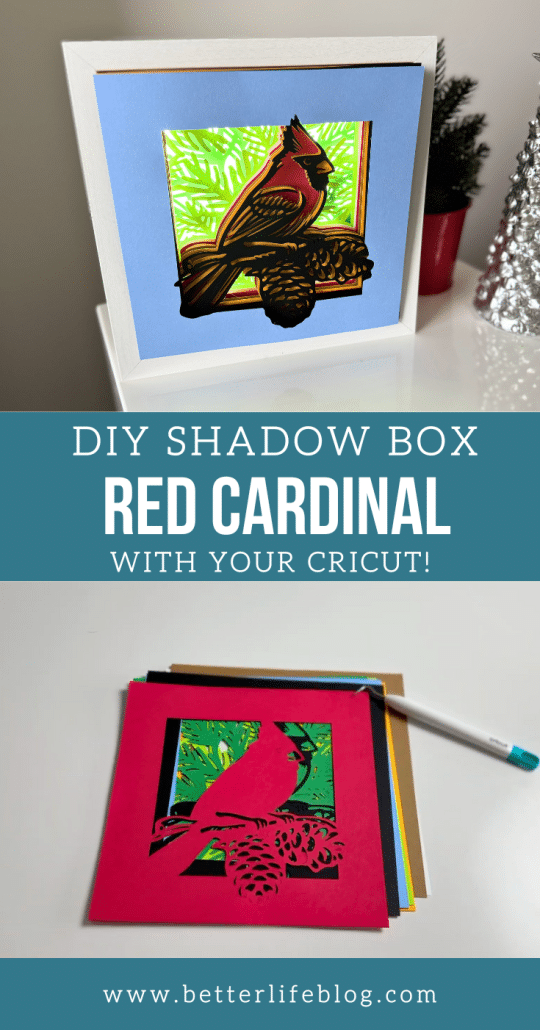
Our version of a Cricut shadow box is a beautiful, dimensional craft where layered cardstock designs are placed within a shadow box frame to create a 3D effect. Using a cutting machine like the Cricut, we cut each design onto different colored sheets of cardstock and then stack them to create a stunning layered look.

Our Cardinal Shadow Box SVG file makes it easy to craft this festive project, with every layer contributing to the final masterpiece.
Our Shadow Boxes are some of most popular SVG designs: take a look at our entire roster of shadow boxes here.
Materials You’ll Need
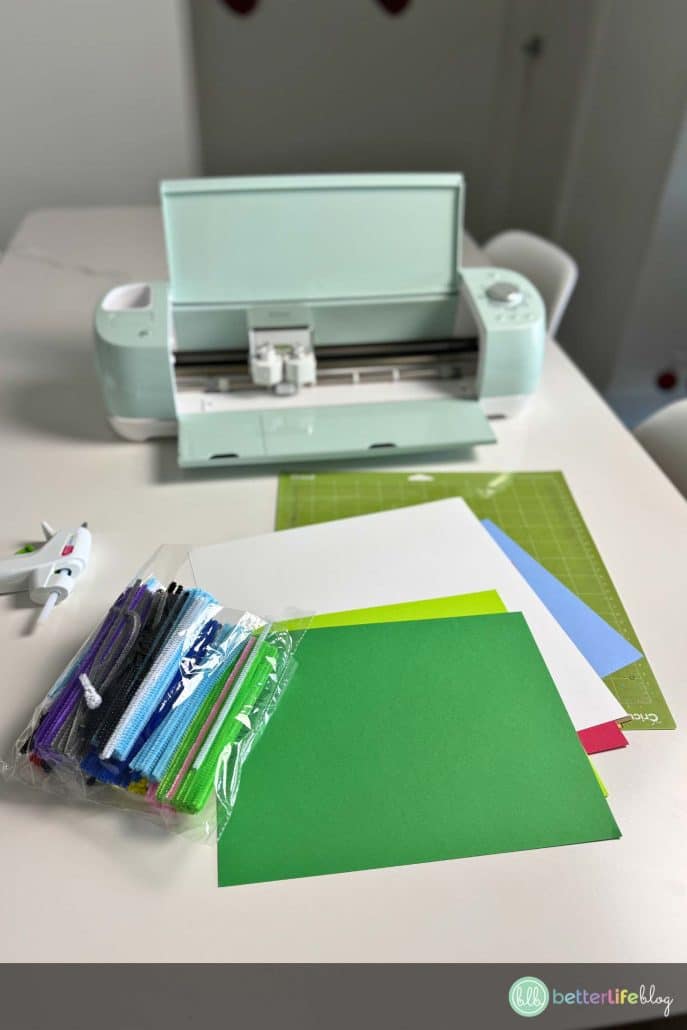
Gather the following supplies to complete your Cardinal Shadow Box:
- Cricut or Silhouette cutting machine
- 9 x 9 Shadow Box
- Hot glue gun and glue sticks
- Pipe cleaners
- Cardstock (use red, white, black, and other colors as shown in the SVG layers)
- Cutting mat
- Weeding tools
- LED light strip (optional, for added glow)
- Cardinal Shadow Box SVG file
How to Make Your Cardinal Shadow Box
Prepare Your Shadow Box Frame
Begin by opening the shadow box and remove the backing. Add an LED light strip around the edges of the inside of the frame for a glowing effect (optional).
Upload the SVG File into Cricut Design Space
Open Cricut Design Space and upload the Cardinal Shadow Box SVG. If using a 9×9” shadow box, the size is already set. Adjust if needed for a different frame size.
Cut Your Cardstock Layers
Select “Make It” in Design Space. Follow the prompts to cut each layer of the design using your cardstock colors.
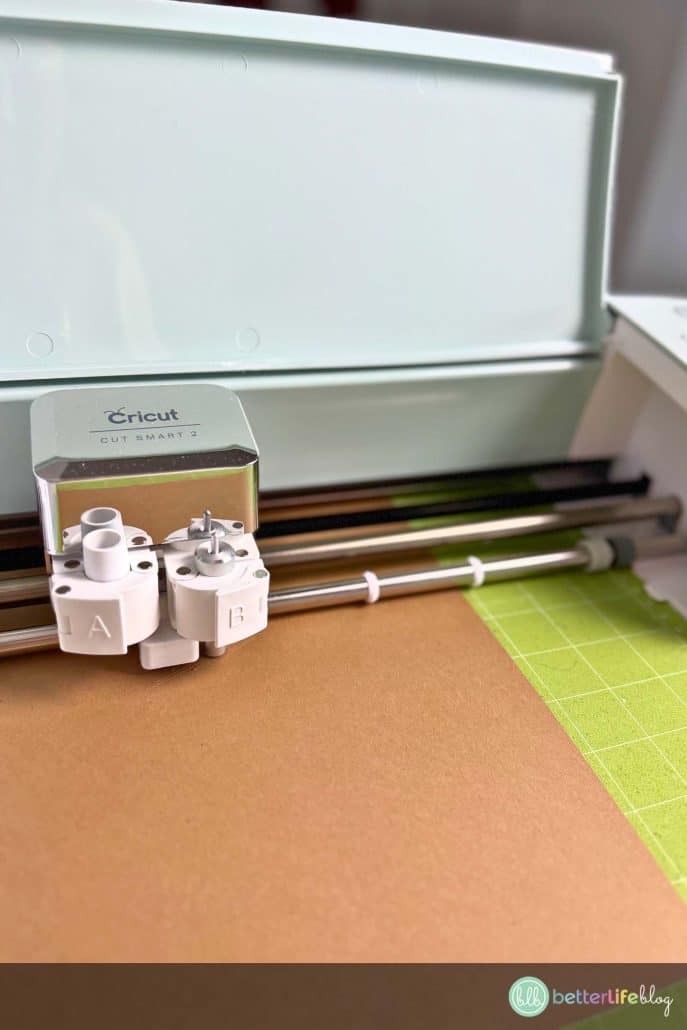
Pro Tip: Refer to the included PNG or layer guide for the correct layering order.
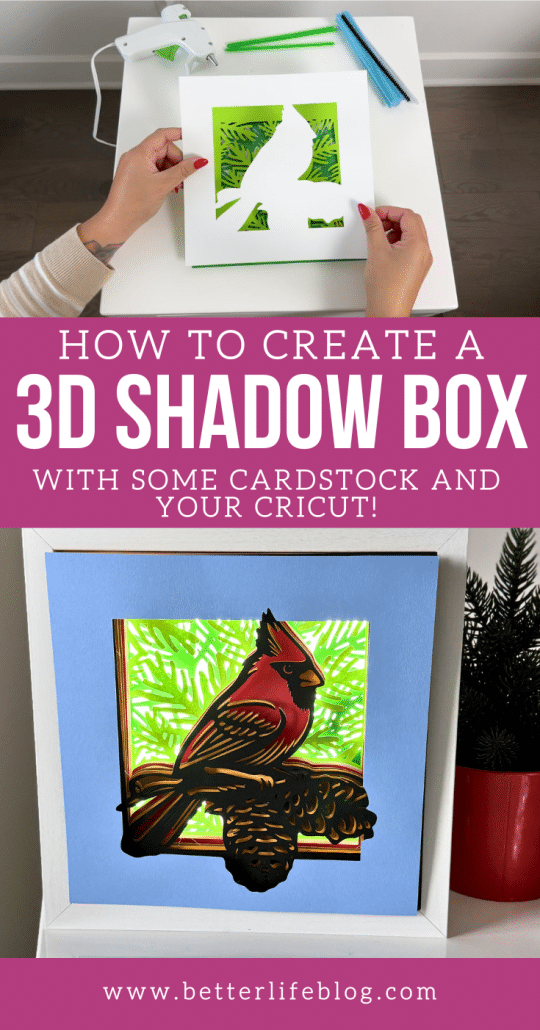
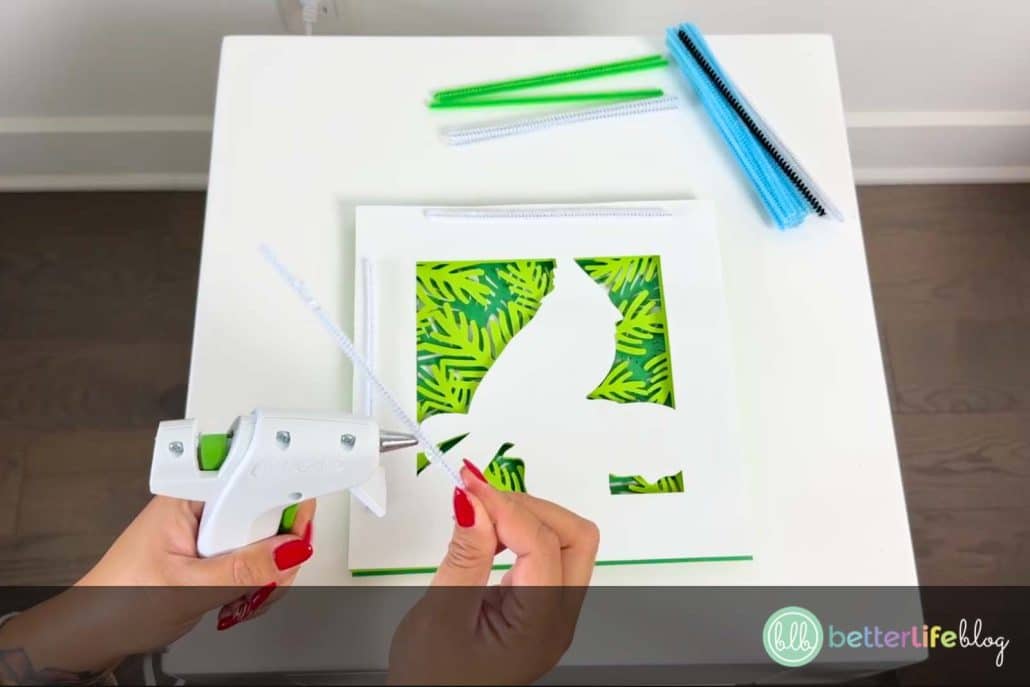
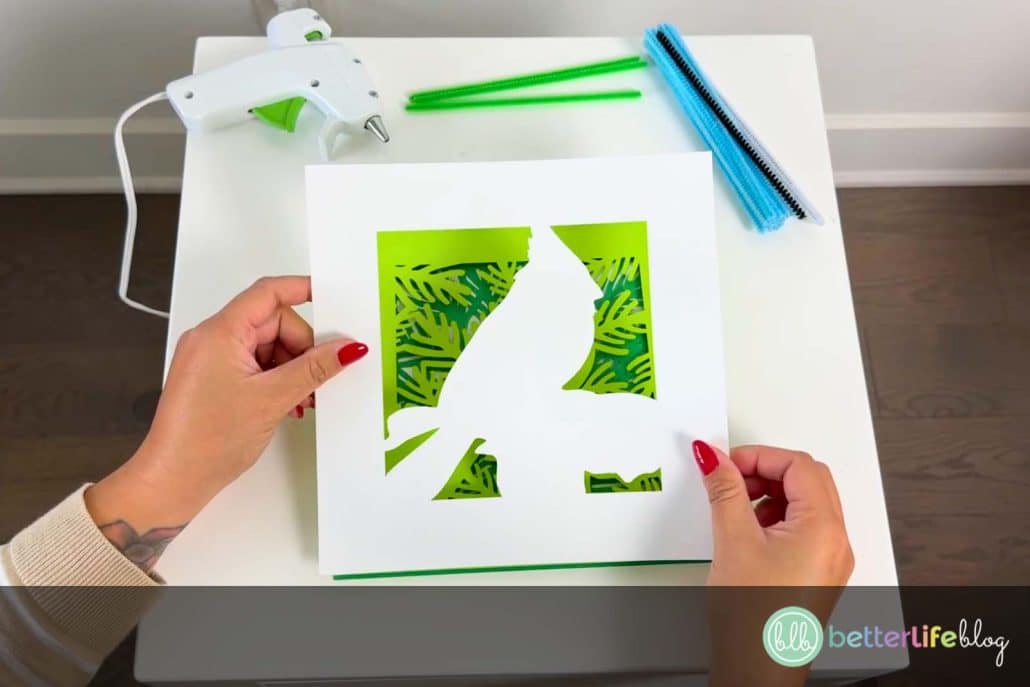
Weed and Assemble the Layers
Using your weeding tools, weed out any small, unnecessary cardstock pieces. Starting with the bottom layer, glue pipe cleaners or foam spacers along the edges of the cardstock. This will add space and depth.

Add glue to the top of the spacers, then attach the next layer on top. Repeat for all layers, ensuring everything aligns perfectly.
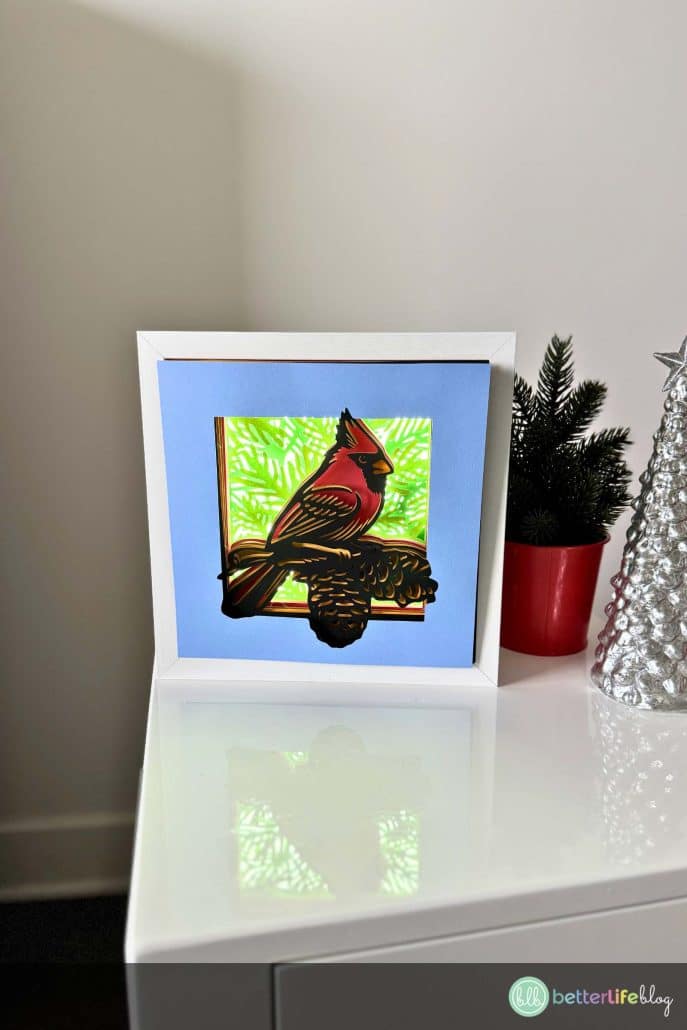
Place the Layers in the Frame
Carefully insert your assembled cardstock layers into the shadow box. Secure it into place. If you’re using LED lights, light it up to see the magic!
Notes and Tips
- If you don’t have pipe cleaners, small pieces of foam board or straws work as great spacers.
- LED lighting adds a cozy, illuminated effect to your shadow box, especially during the holiday evenings.
- You can find our Cardinal Shadow Box SVG file here
- If you liked this tutorial, be sure to check out our Christmas Window Shadow Box.
Don’t forget to share your final project with us! Tag us on Instagram – I can’t wait to see your creations.