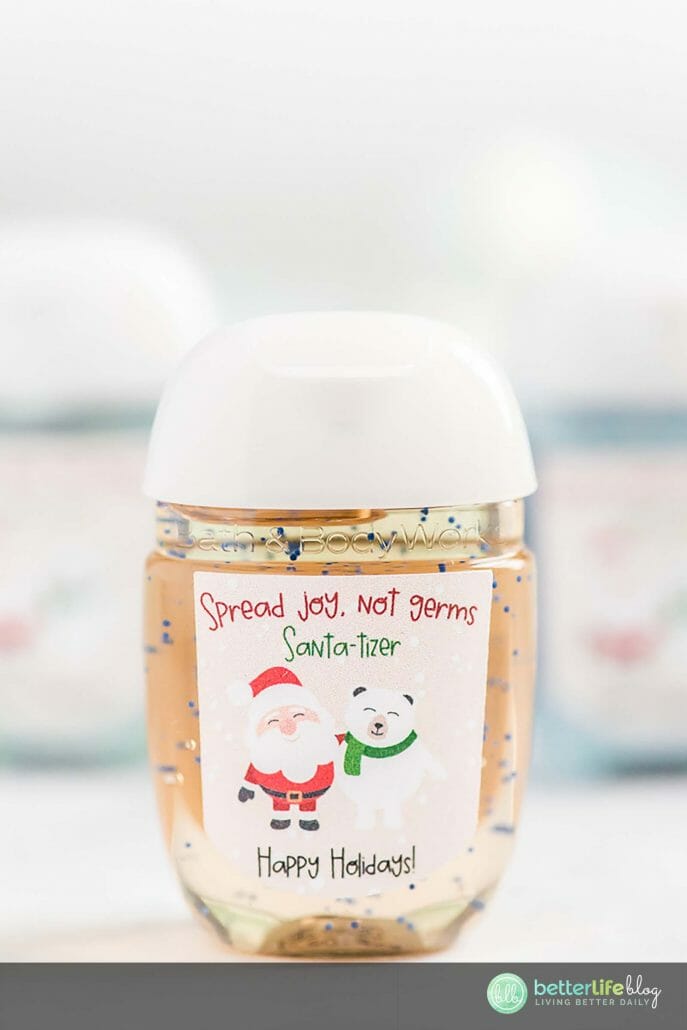
Looking for a unique stocking stuffer? My Christmas “Santa-tizer” makes for an adorable and practical gift that everyone will appreciate!
In five easy steps, you can make these cute personalized hand sanitizers… and all with the help of a Cricut machine! Below, you’ll find all the instructions as well as a free SVG file so that you can start putting together this easy DIY.


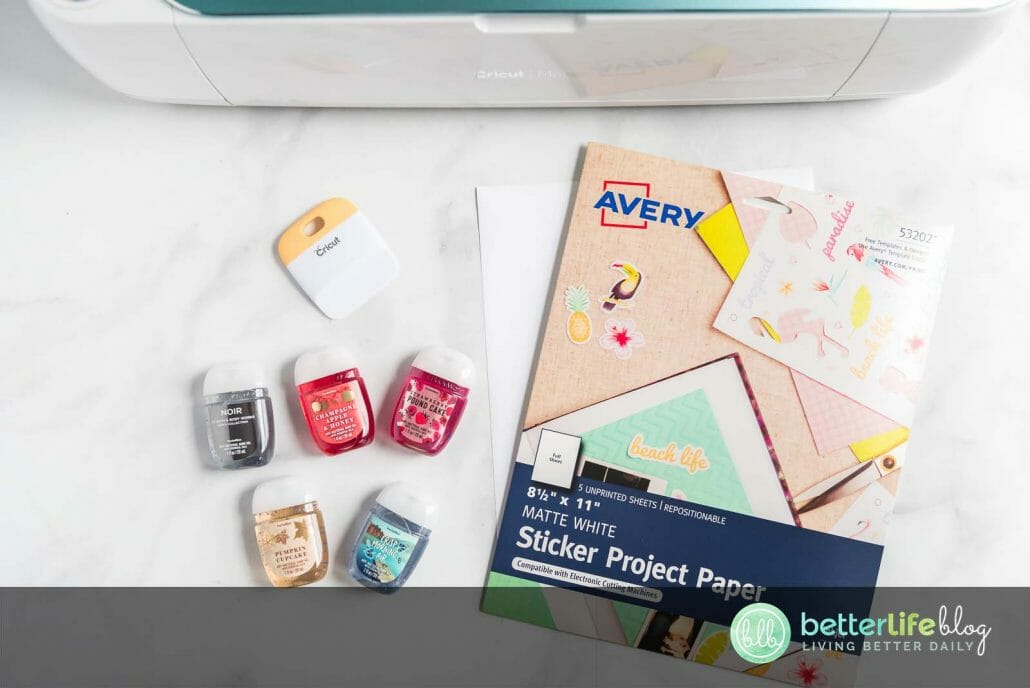
Materials List:
- Cricut Machine
- Avery Sticker Project Paper (8.5” x 11”)
- Color Printer
- Bath and Body Works PocketBac Hand Sanitizer (the new style)
- Cricut weeding tools
- Santa-tizer FREE SVG file

Instructions:
Gather all materials. Load the “Santa-tizer” SVG file into Cricut Design. Ensure that the height of the image is 2.949 inches. Click and drag to select the entire image then “flatten” it (the “flatten” button can be found in the lower right-hand corner.
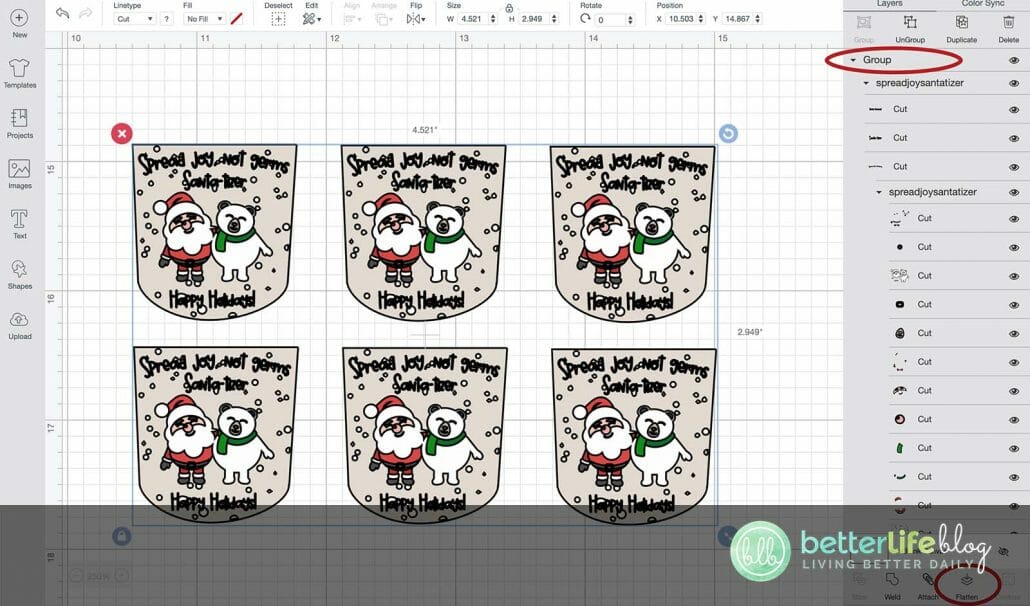
After you have flattened it, if you look over the layers panel on the right-hand side, you should now see that the layers have been replaced by a single Cut|Print layer.
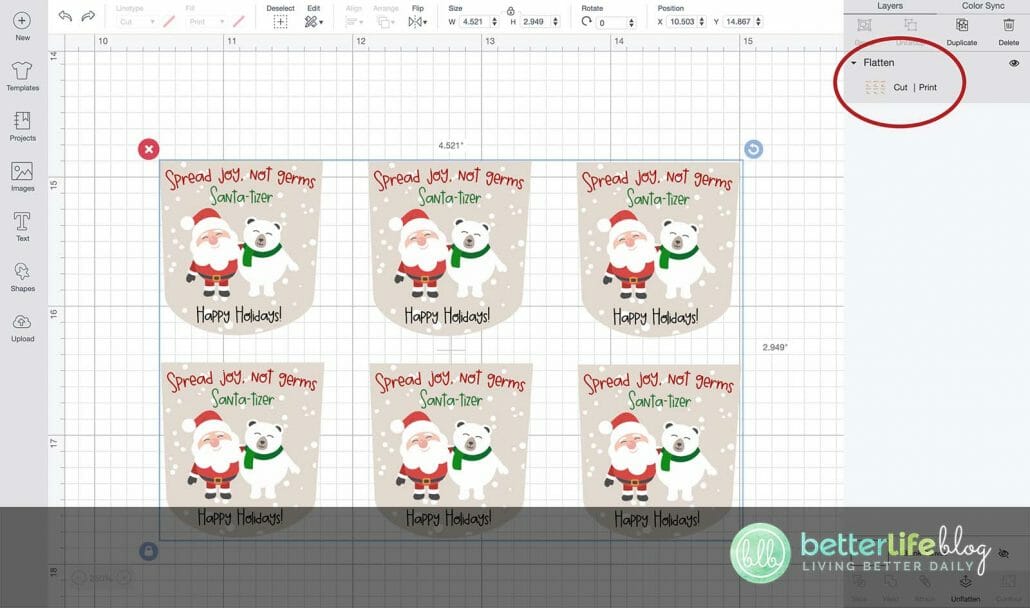
Select the “Make It” button.
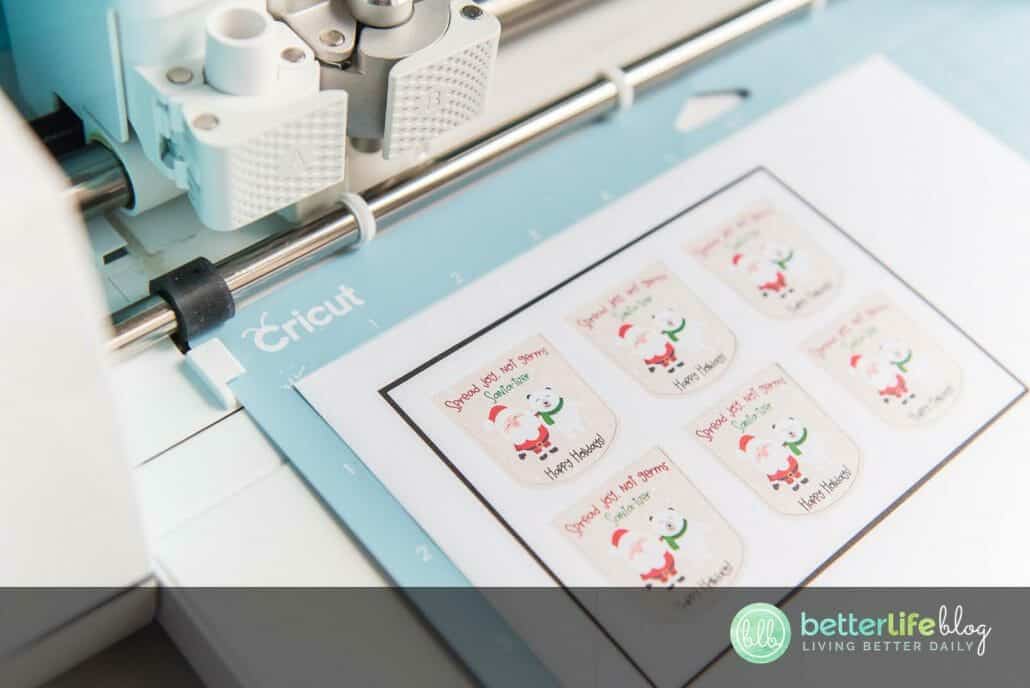
On the next screen, follow the prompts so that you can begin your project. Load the sticker paper into your printer. Follow the instructions on Design Space to print.

Next, place sticker paper printed side up on the Cricut mat. Cut your image.
Peel the front label off of the hand sanitizer. Next, remove the backing material from cut-out stickers and carefully place onto the sanitizer bottle. Use the top edge as your guide.


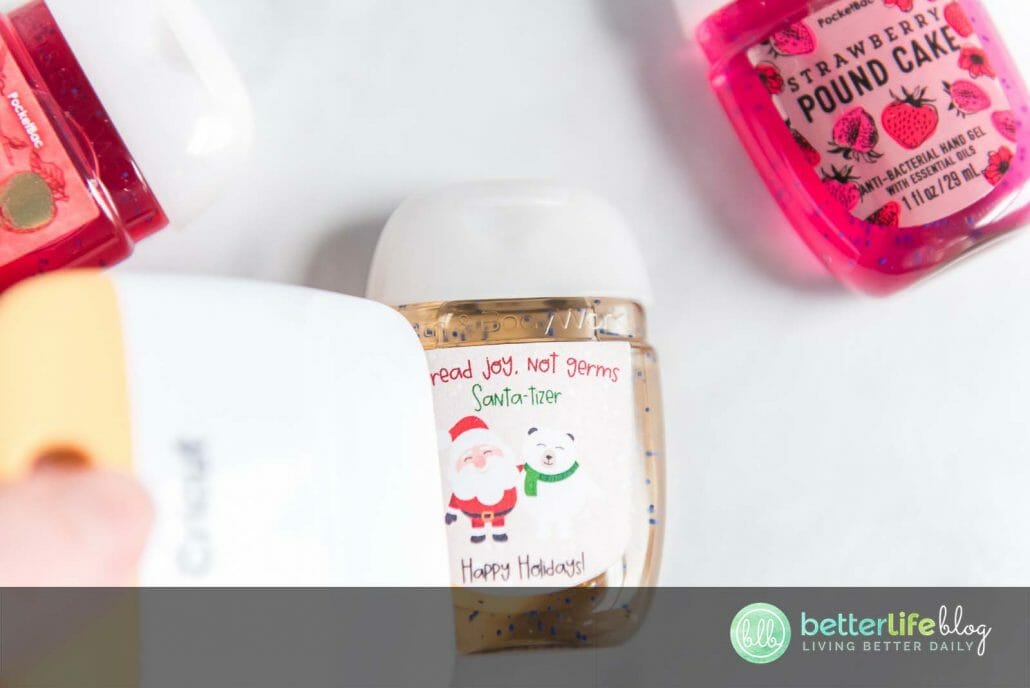
Press your sticker to make sure it is adhered well. Enjoy your new holiday Santa-tizer!
Notes:
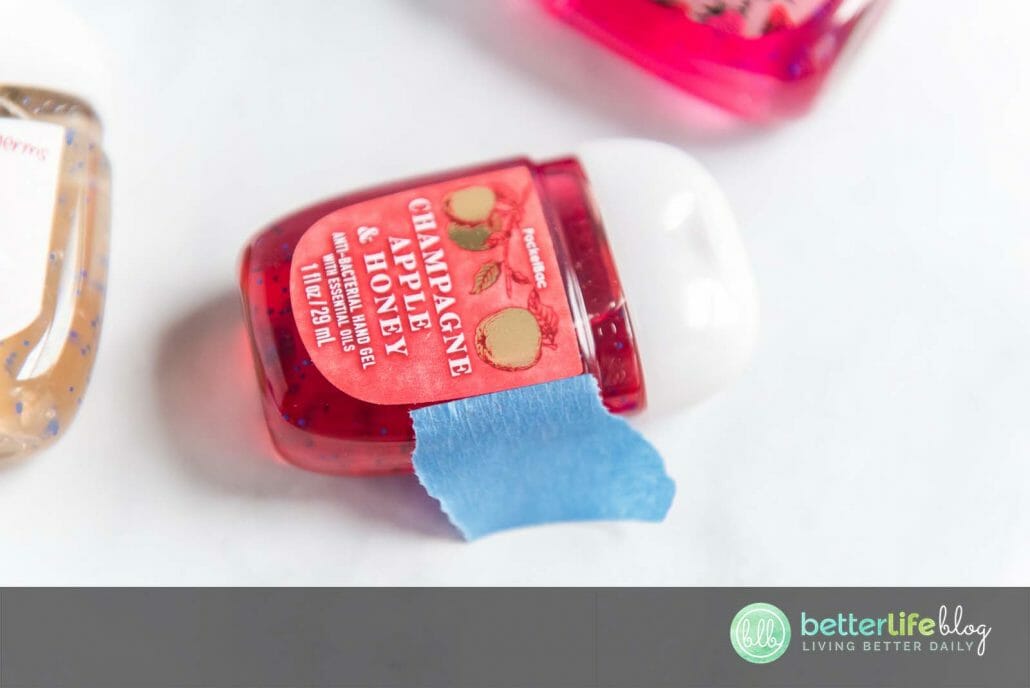
You may use painter’s tape to place the stickers straight onto the bottle of sanitizer. Use the original sticker on the bottle to help to where you can place the painter’s tape.
This is such a quick and easy project. Have the kids help with this one!


Cricut Christmas Santatizer
Looking for a unique stocking stuffer? My Christmas “Santatizer” makes for a unique, personalized gift. It’s great for
anyone at any age! Plus, it’s made using a Cricut machine and makes for SUCH an easy project!
Materials
- Cricut Machine
- Avery Sticker Project Paper (8.5” x 11”)
- Inkjet Printer with colored inks
- Bath and Body Works PocketBac Hand Sanitizer
- Cricut weeding tools
- Santatizer SVG file
Instructions
- Gather all materials. Load the “Santatizer” SVG file into Cricut Design. If needed, adjust the height of the image to 2.949 inches. Select the entire image and flatten it. At this step, you should now see the Layers panel showing the Cut|Print label. Select the “Make It” button.
- On the next screen, follow the prompts so that you can begin your project. Load the sticker paper into your printer. Follow the instructions on Design Space to print.
- Next, place sticker paper printed side up on the Cricut mat. Cut your image.
- Peel the front label off of the hand sanitizer. Next, remove the backing material from cut-out stickers and carefully place onto the sanitizer bottle. Use the top edge as your guide.
- Press your sticker to make sure it is adhered well. Enjoy your new holiday Santatizer!
Notes
You may use painter’s tape to place the stickers straight onto the bottle of sanitizer. Use the original sticker on the bottle as a guide to where you can place the painter’s tape.
This is such a quick and easy project. Kids and adults can do this!
This Christmas “Santatizer” makes an awesome stocking suffer and teacher’s gift!