Looking to make more Cricut paper crafts? Let us show you how to turn your cardstock into a cozy winter wonderland by making a Hot Cocoa Shadow Box. All it takes is some layered cardstock, hot glue, and a sprinkle of winter imagination!

Hi there, and welcome back to Better Life Blog! I’m Nancy, your go-to crafting expert, designer and founder of the Better Life Blog. If this is your first visit here, welcome to our crafty family! Feel free to explore my library of unique SVG designs – we’ve got hundreds for you to choose from!

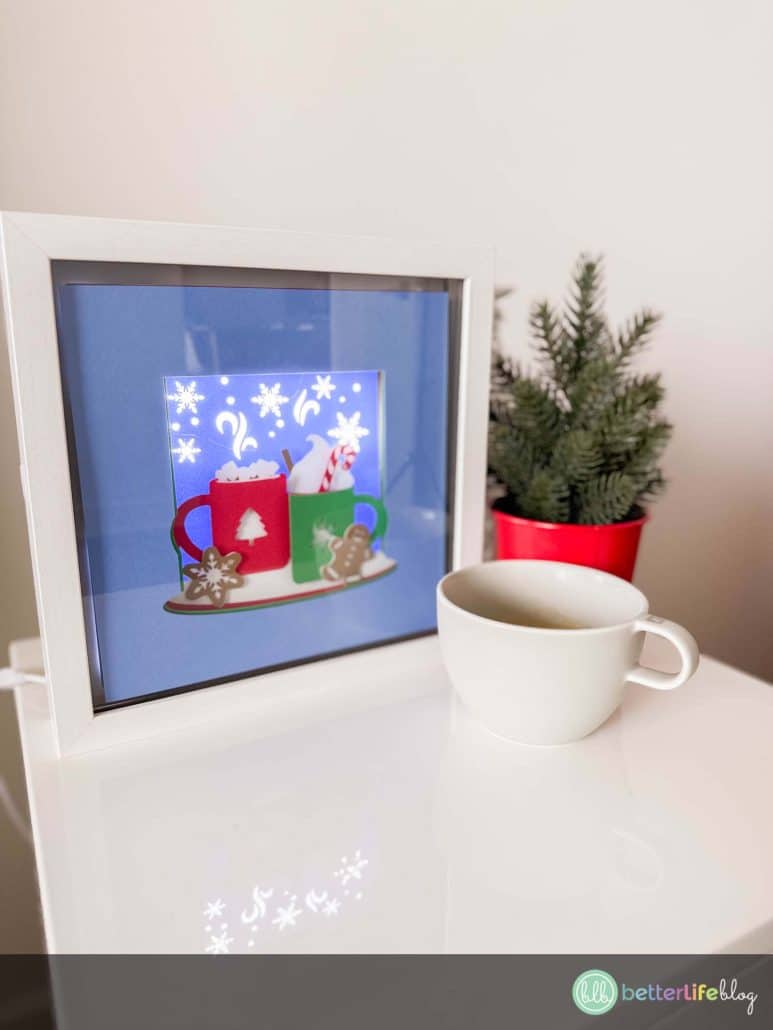
Today, we’re diving into the warmth of winter with this charming Hot Cocoa Shadow Box project. Featuring two steaming mugs, a candy cane, and gingerbread cookies, this design brings the cozy vibes of the season to life. Let’s get crafting!
What is a Shadow Box?
Traditionally, shadow boxes are used as display cases to showcase cherished keepsakes. In the world of crafting, we’ve reimagined shadow boxes as layered paper crafts that bring your designs to life with stunning 3D effects. Using your Cricut machine, you’ll cut intricate designs onto layers of cardstock and stack them to create a masterpiece that fits perfectly into a shadow box frame. Our Hot Cocoa Shadow Box SVG file is designed for ease and beauty, making it a perfect weekend project.

Some of our other popular shadow box files include:
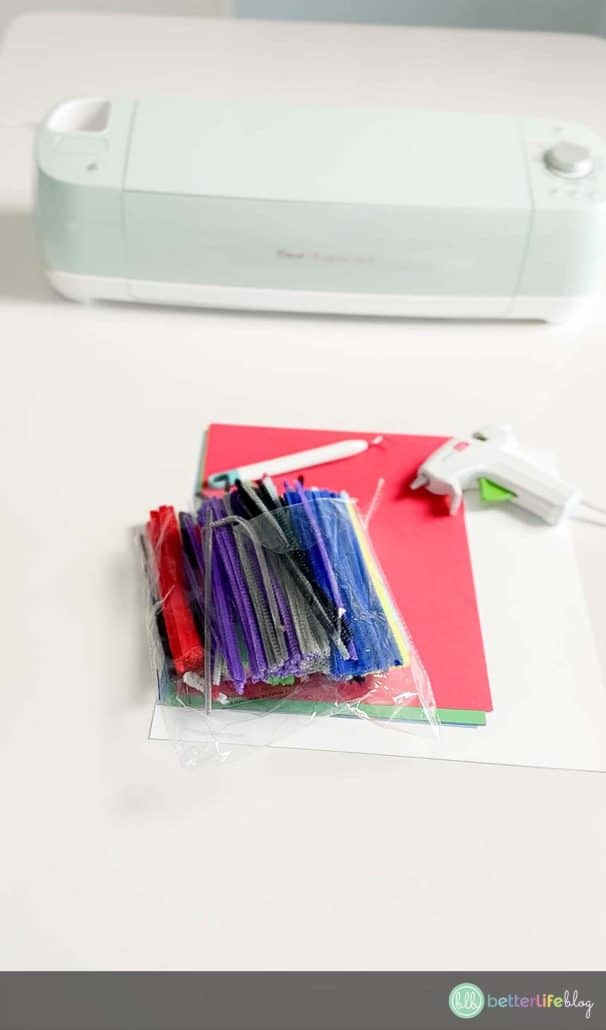
Materials Needed
Gather the following materials to create your Hot Cocoa Shadow Box:
- Cricut or Silhouette cutting machine
- Hot glue gun and glue sticks
- Weeding tools
- 9×9” Shadow Box Frame (white or black works best)
- LED light strip (optional, for added ambiance)
- Cutting mat
- Scissors
- Cardstock (choose colors to match the layers in the SVG file)
- Pipe cleaners or foam core (for spacers)
- Hot Cocoa Shadow Box SVG file (available for download in my shop)
Instructions
Step 1: Prepare Your Shadow Box Frame
- Open the back of your shadow box frame and remove any pre-attached materials, like the canvas-covered backing.
- Attach the LED light strip to the inside edges of the frame for a glowing effect.
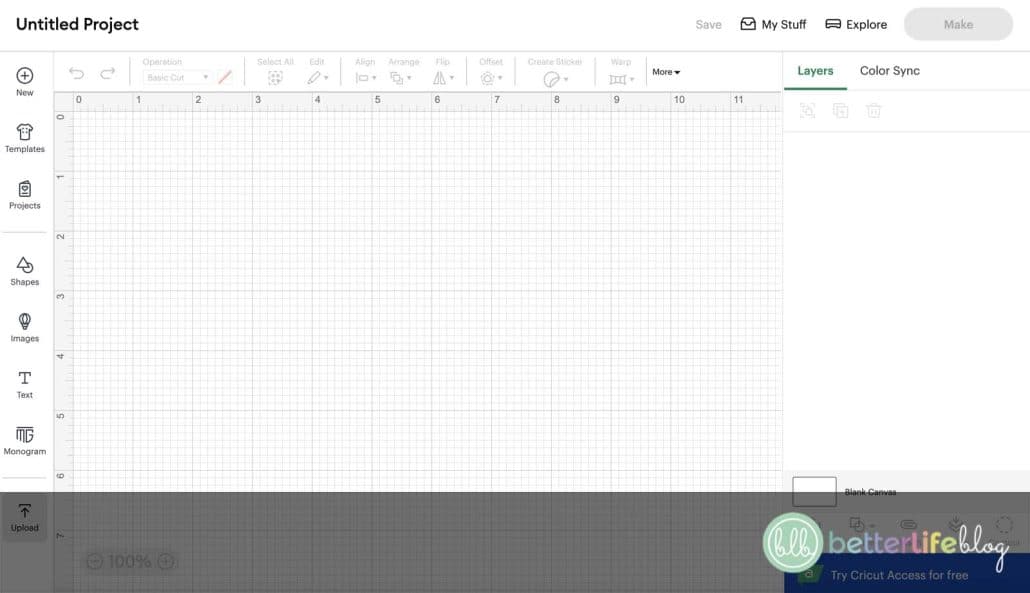
Step 2: Upload Your SVG File
- Upload the Hot Cocoa Shadow Box SVG file into Cricut Design Space (or your cutting software of choice).
- The design is pre-sized for a 9×9” frame, but you can adjust as needed for other sizes.
- Click “Make It” and let your Cricut cut each layer according to the color-coded SVG file.


Step 3: Weed and Assemble
- After cutting, carefully weed each layer to remove excess cardstock.
- Refer to the PNG preview file (included with the SVG) to stack the layers in the correct order. The leftmost image is the top layer, working down to the rightmost image for the back layer.
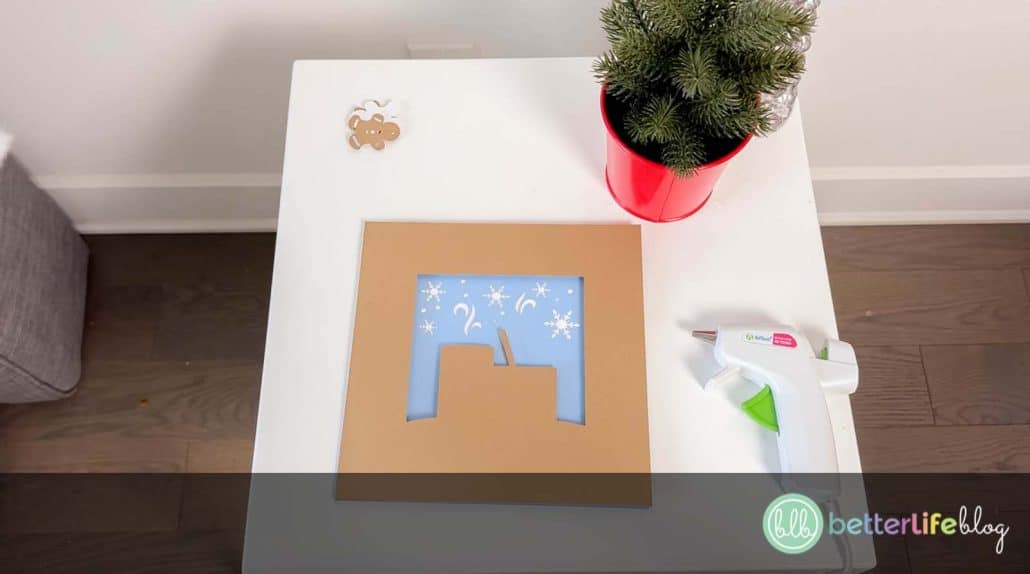
Step 4: Layer with Spacers
- To create depth, glue pipe cleaners (4-5 inches long) or foam core along the edges of each layer.
- Add glue to the top of each spacer and carefully place the next cardstock layer on top. Repeat this process until all layers are assembled.

Step 5: Final Assembly
- Place your finished layered design into the shadow box frame.
- Light it up with your LED strip for an extra-cozy glow!

Tips and Tricks
- If you don’t have pipe cleaners, small straws or foam spacers work just as well.
- Experiment with cardstock textures (like glitter or metallic paper) to make your design pop.
- Hot glue dries quickly, so work in small sections for precise placement.
More of a Visual Learner?
No problem! We’ve got you covered! Take a look at our video tutorial so you can take a further look at the step-by-step process!
This Hot Cocoa Shadow Box makes a delightful addition to your winter décor or a thoughtful handmade gift. Plus, with just a few materials, you’ll create a piece that looks professionally crafted and radiates warmth and charm.
Ready to get started? Download the Hot Cocoa Shadow Box SVG file from my shop and bring this cozy design to life! Be sure to tag me on Instagram when you post your lovely creation! Happy crafting!