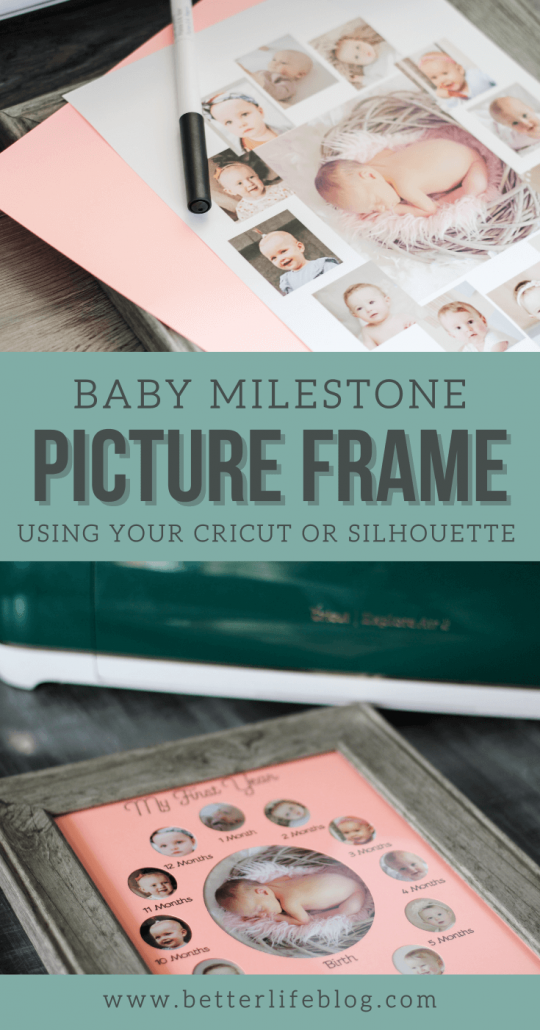
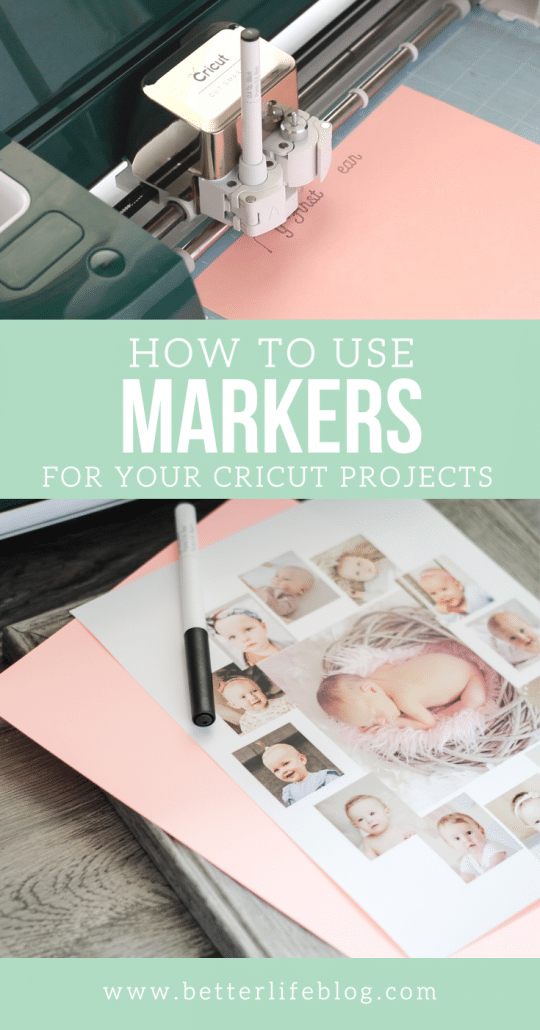
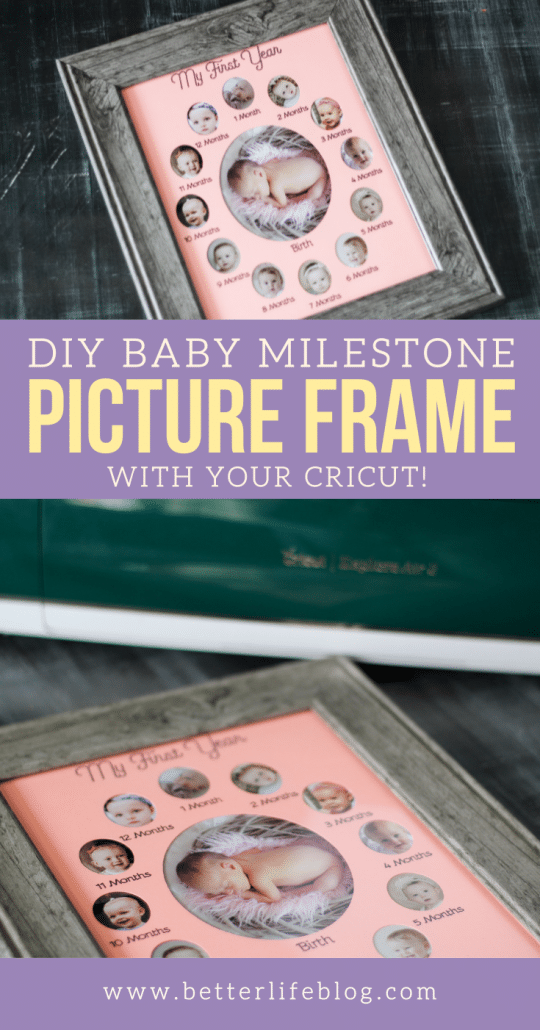
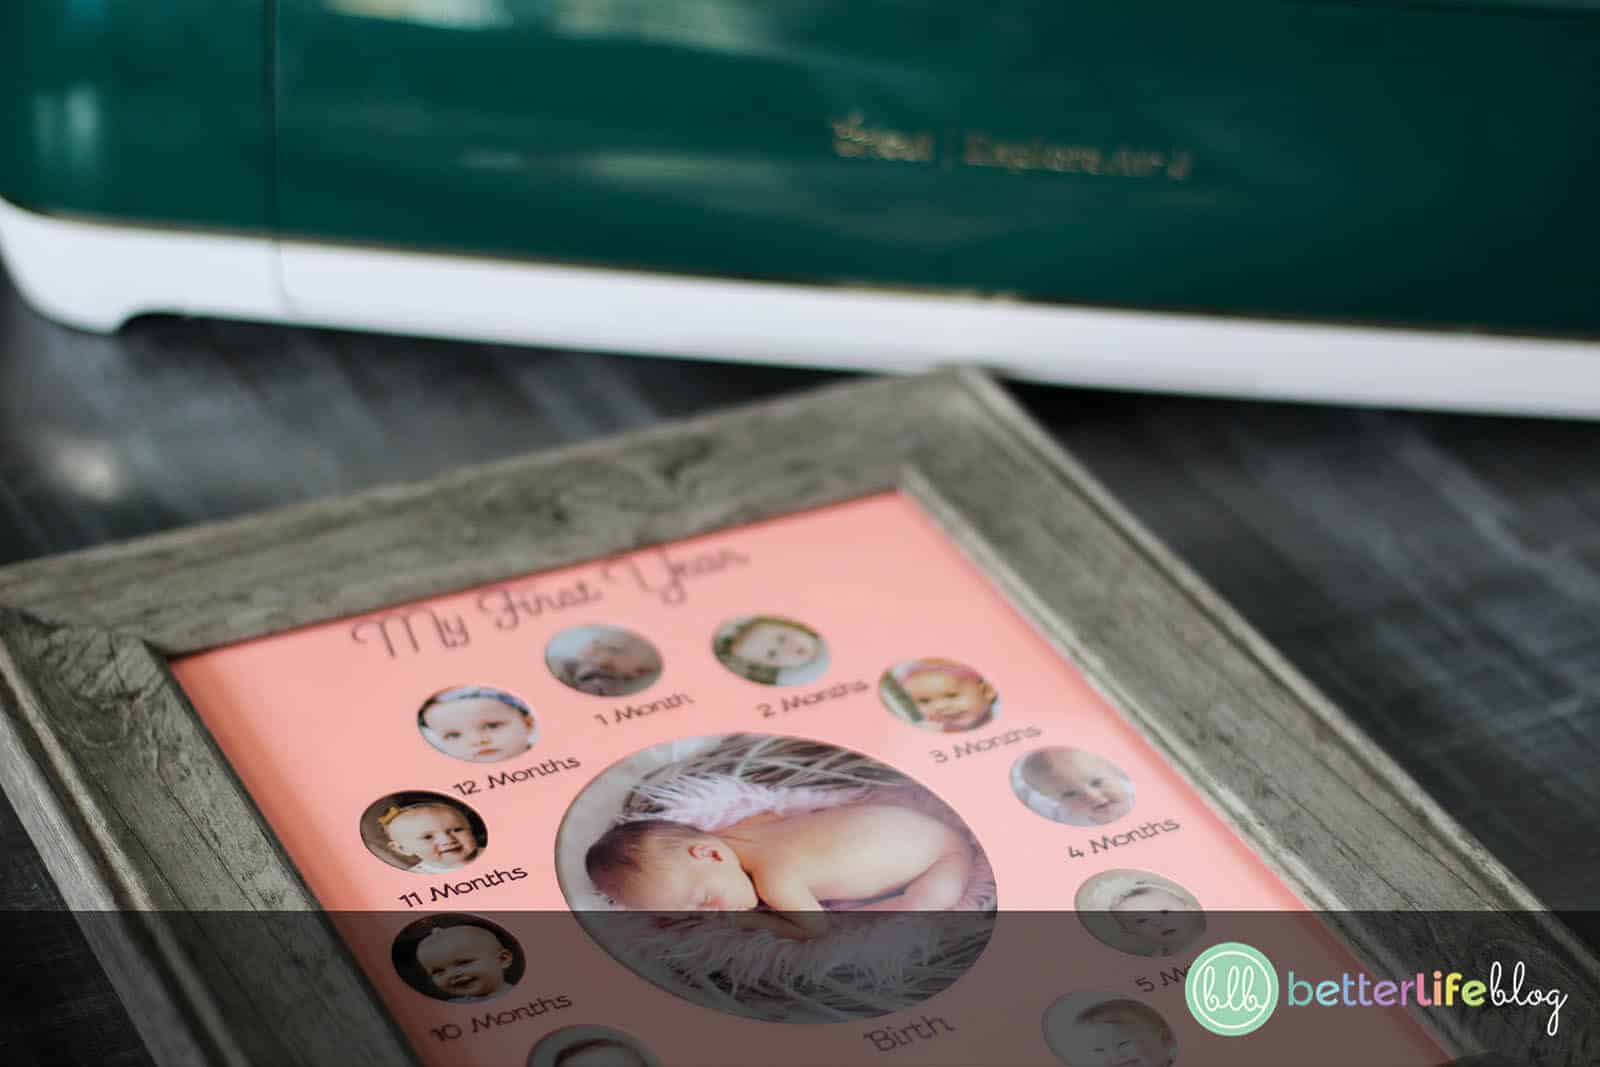
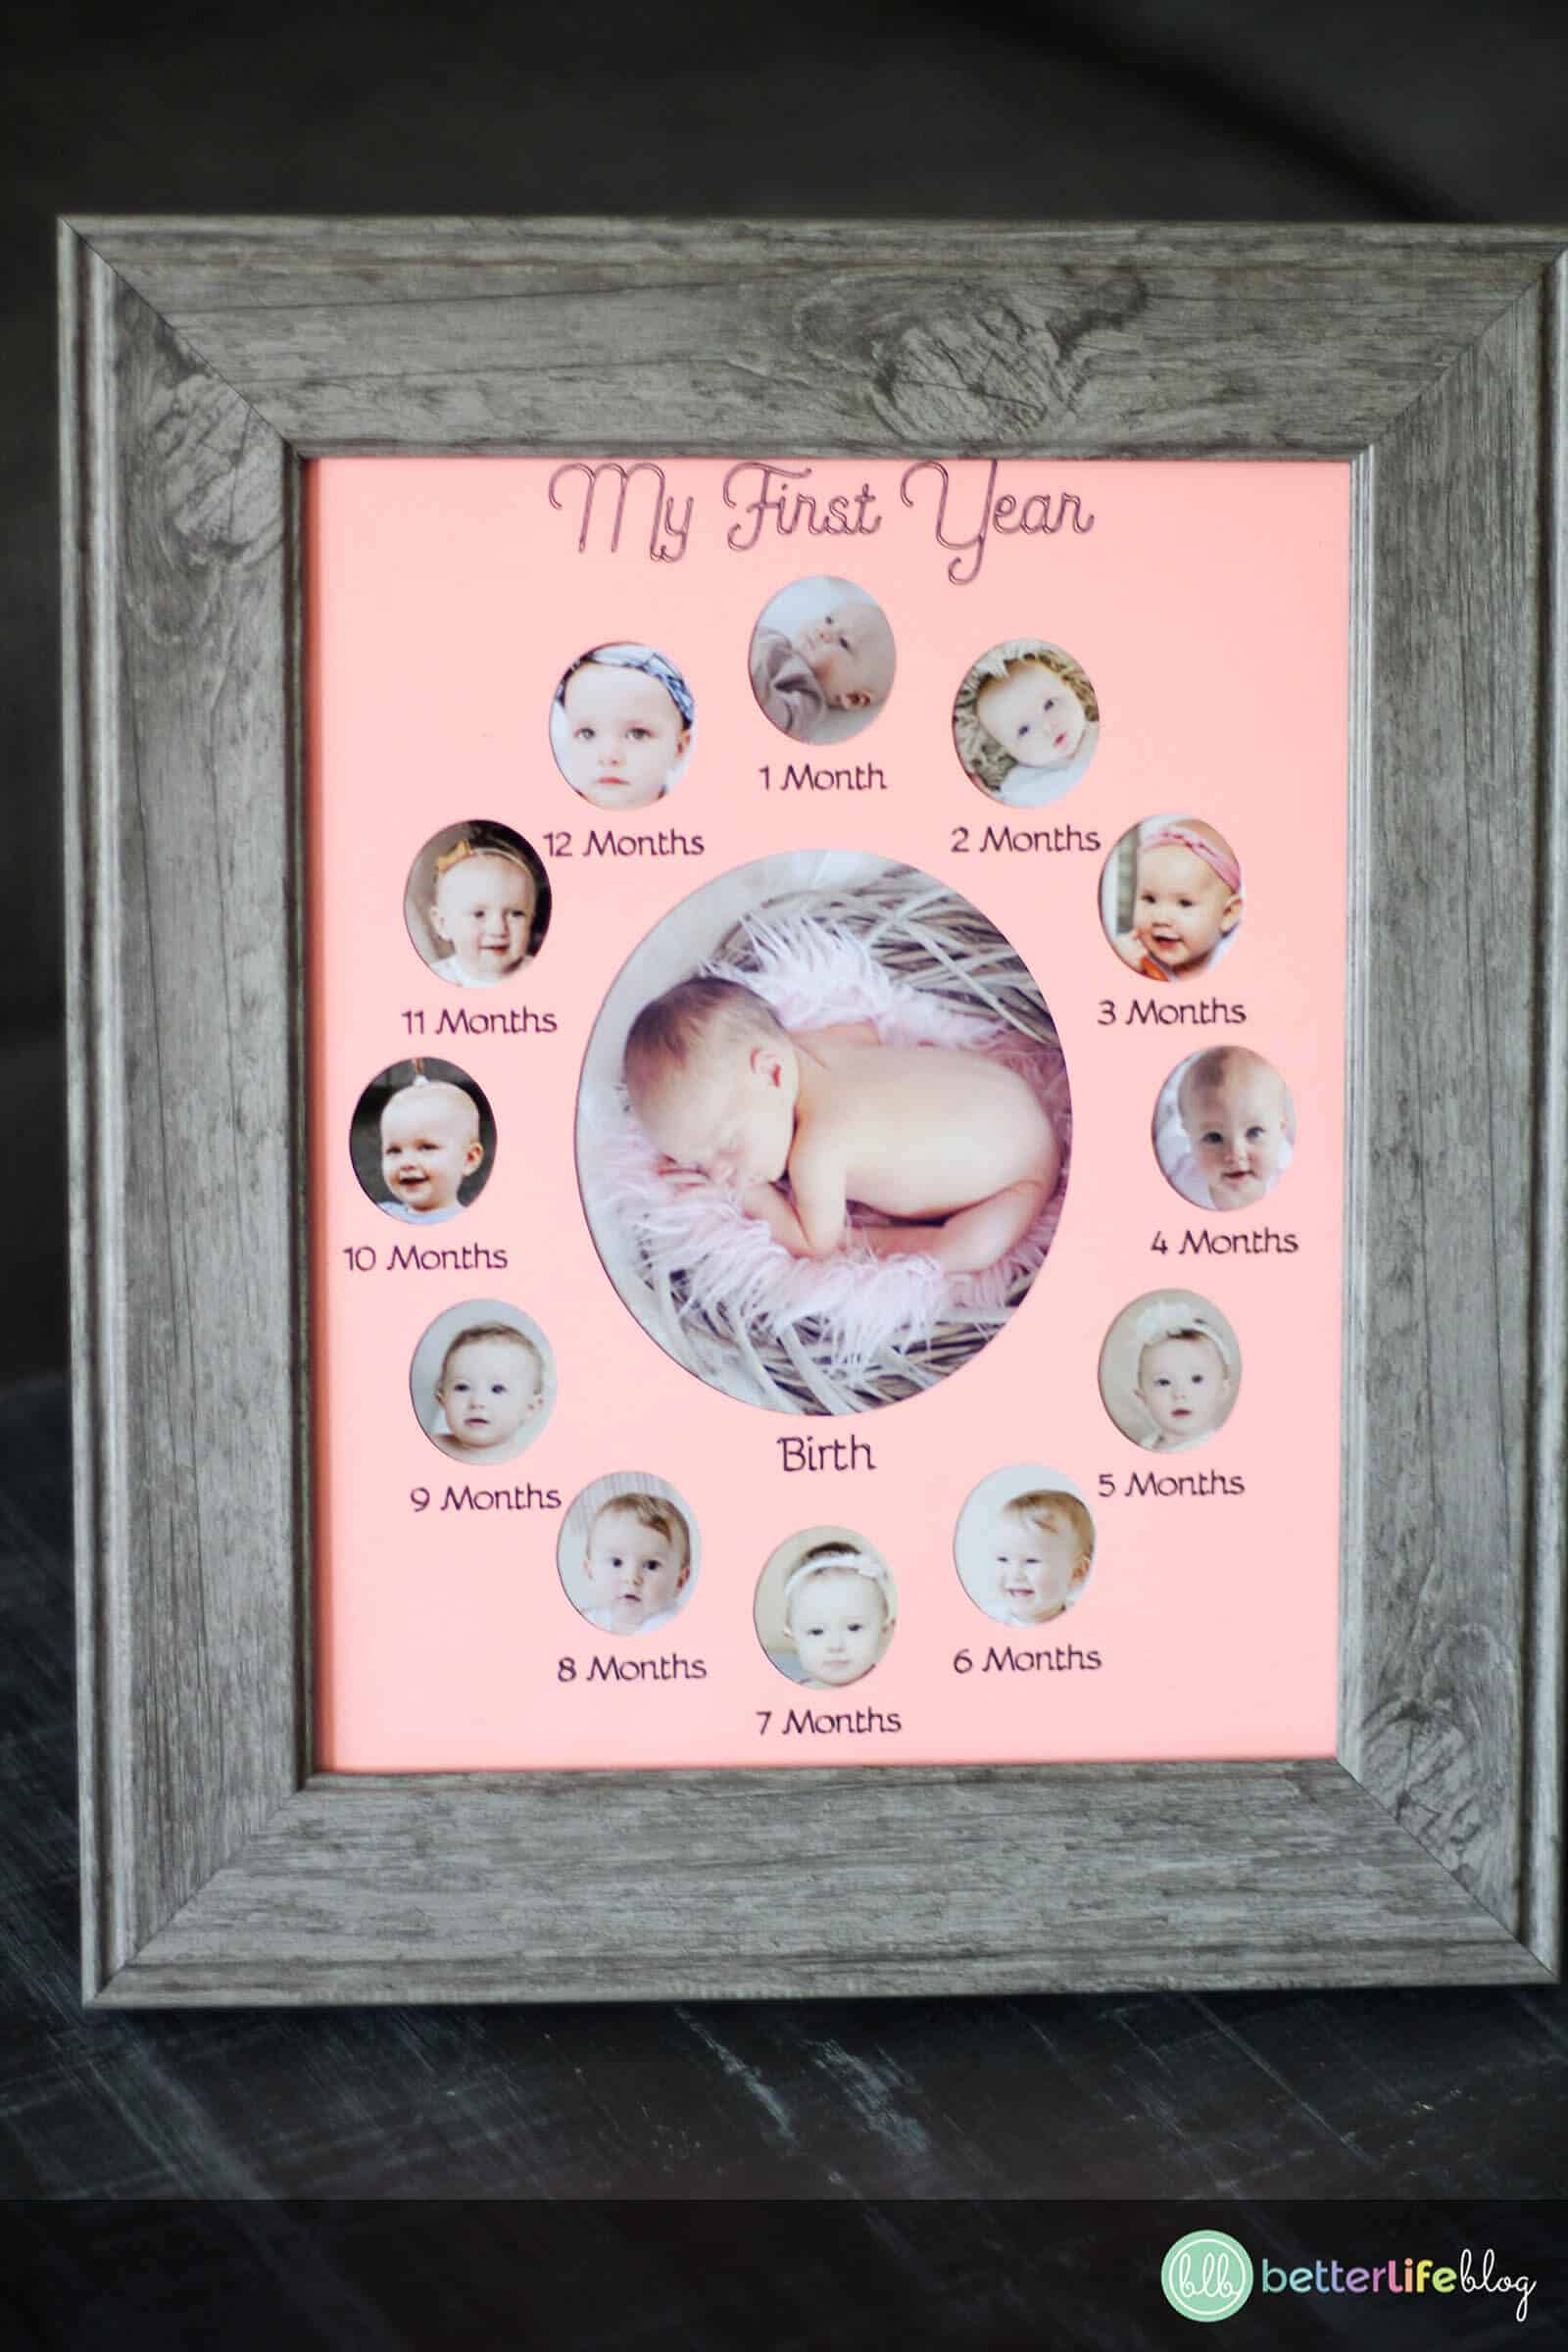
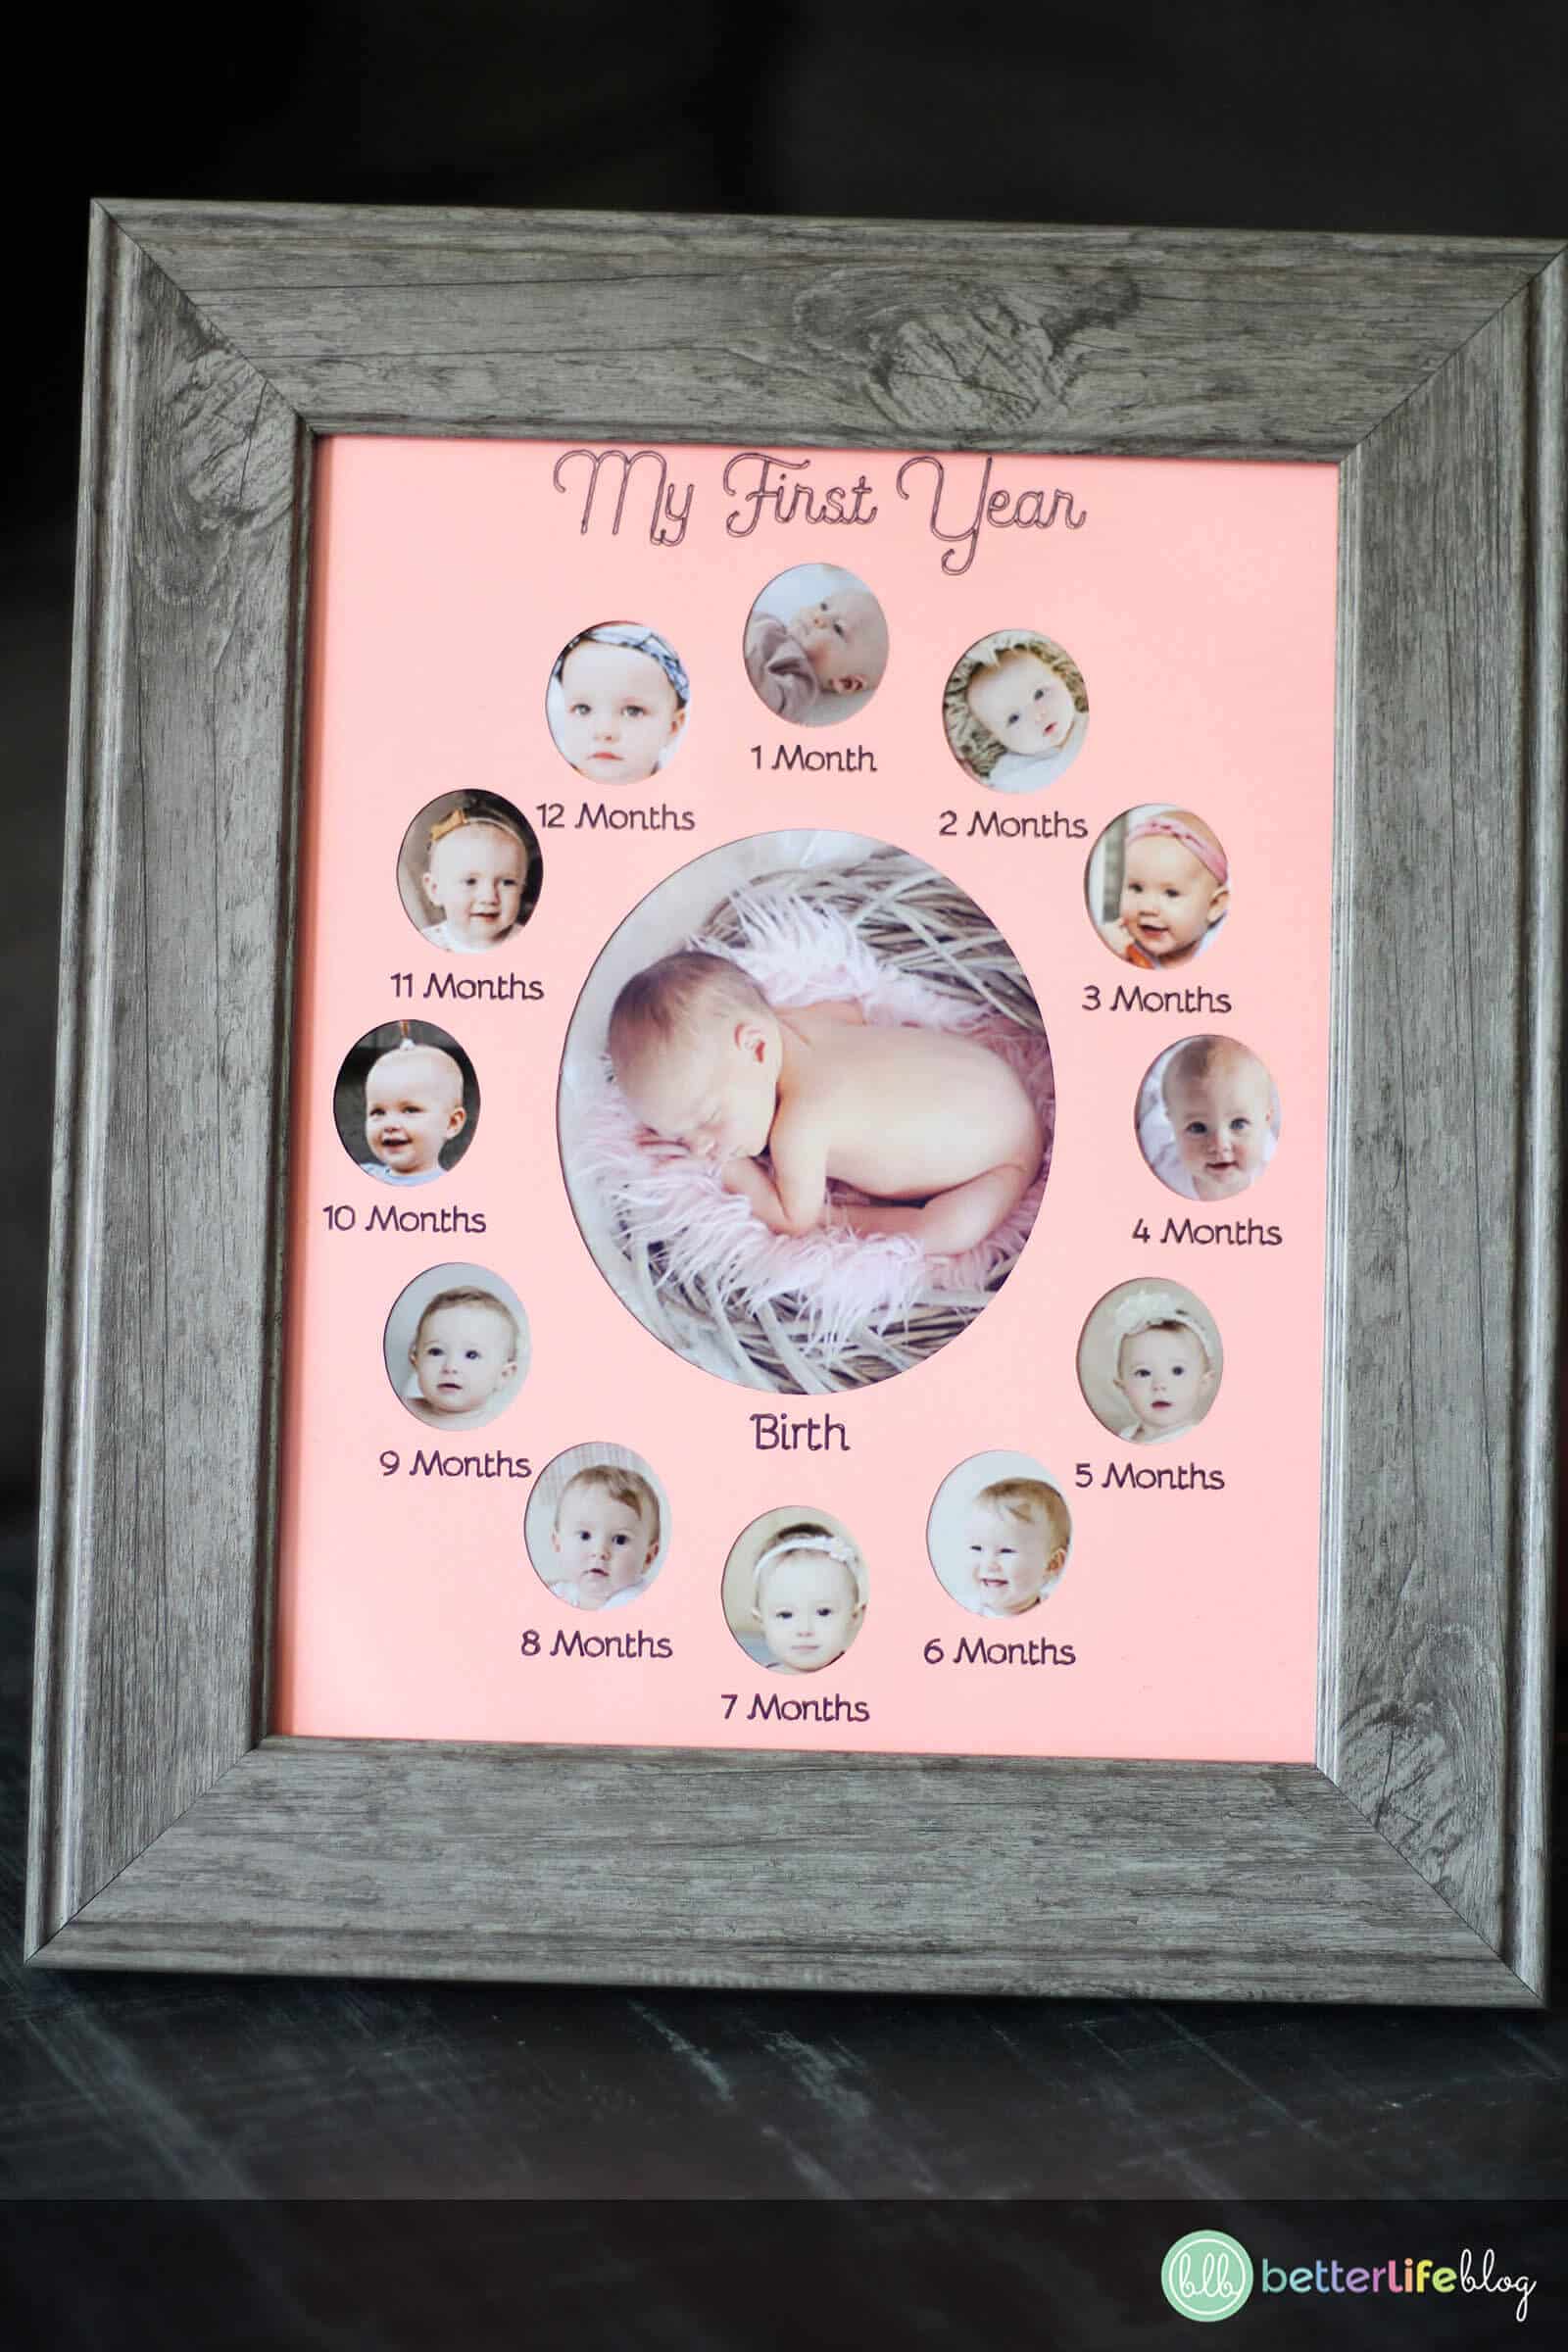
Welcome back, crafty friends! If you’ve been curious about Cricut Markers, you’re in luck! Today, I am showing you how to use a Cricut Marker to make an adorable Baby Milestone Frame.
As any parent can tell you, a child’s first year goes by SO FAST 💨 – so this is a wonderful day to preserve those memories in one thoughtful and easy-to-make keepsake! This would be perfect to give as a 1st birthday gift. The hardest part will be deciding between all of those adorable photos!

How Do I Get the Files I Need to Make my Own Baby Milestone Frame?
Making this Baby Milestone Frame is simple! All you need is to download this file and then follow the instructions below. I’ll take you through the easiest step-by-step instructions so that you can make this gorgeous craft with your Cricut machine!


I Love Cutting Files Like These, How Can I Get My Hands on More?
I’m so happy you asked! Just like you, I absolutely ADORE crafting! That’s why I started a VIP Crafting Club!
My VIP Crafting Club is an exclusive membership that gives you access to hundreds of original cut files, made by yours truly! Plus, when you join, you’ll be added to a members-only online community where we make a new craft together every month.
If you’re intrigued, click through this link to join. We’re a community of hundreds of crafters, driven by our passion to handmake beautiful items and keepsakes.
How to Make a Baby Milestone Frame
Without further ado… here is the full tutorial on how to make a Baby Milestone Frame. I hope you love it!
Supplies
- Baby Milestone Frame SVG File
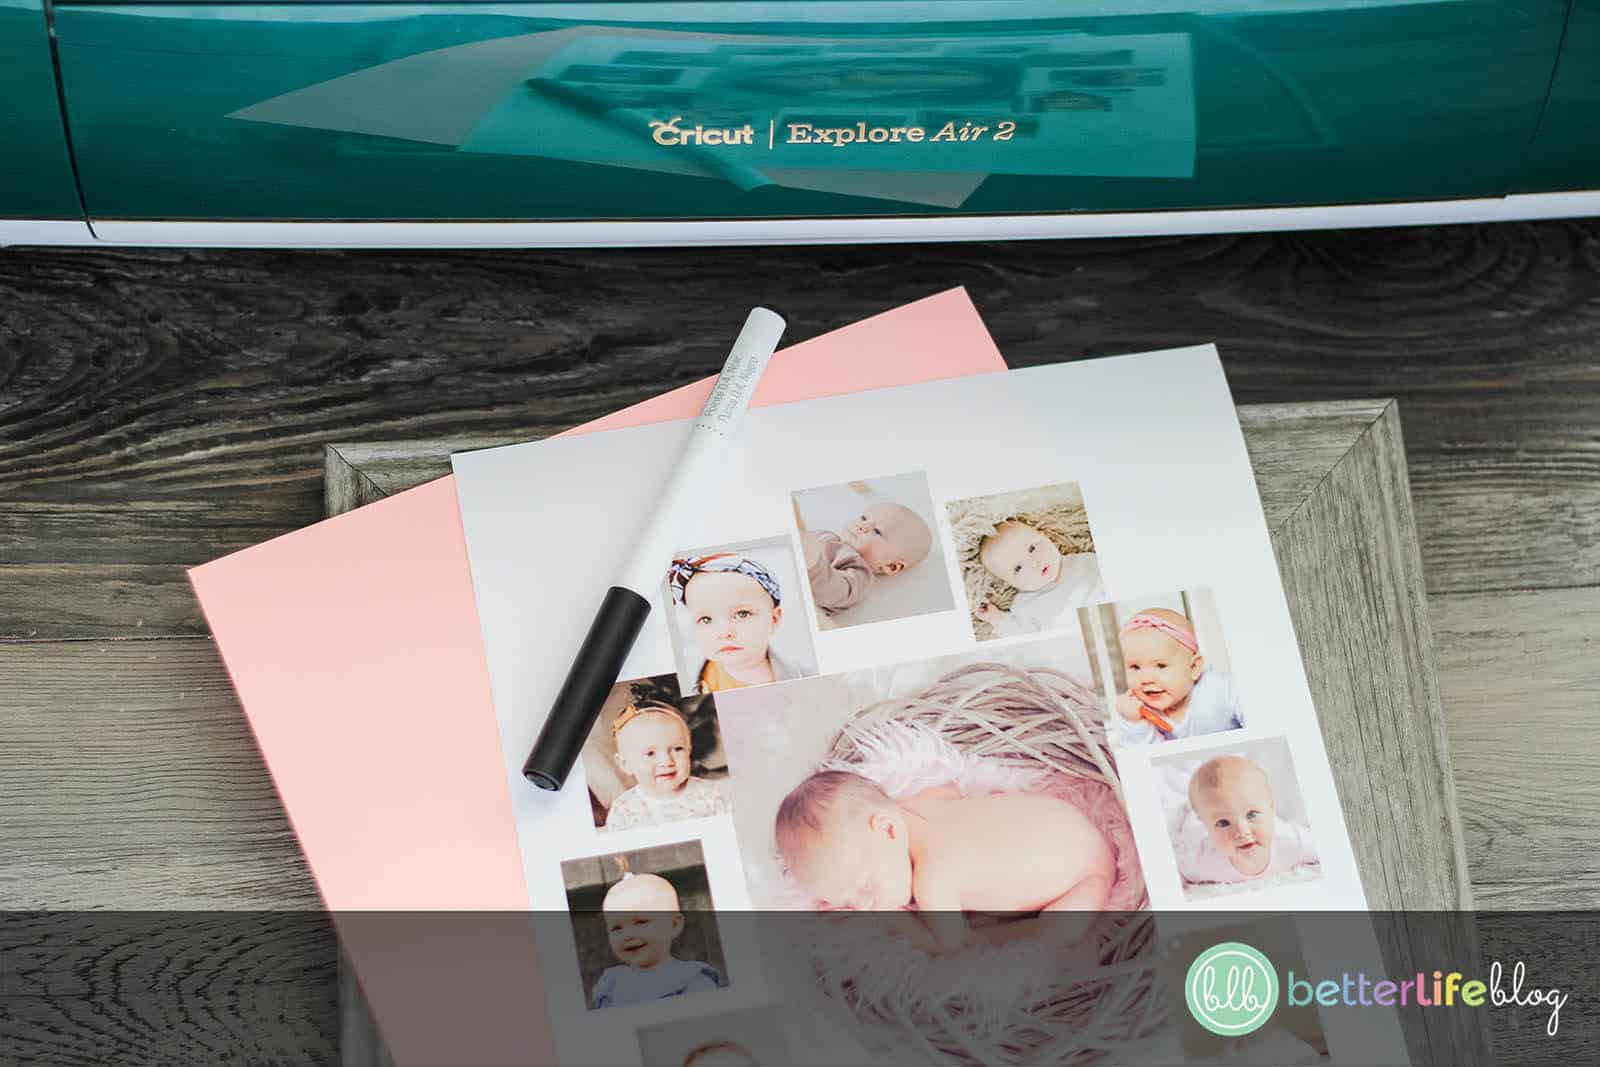
- Cricut machine
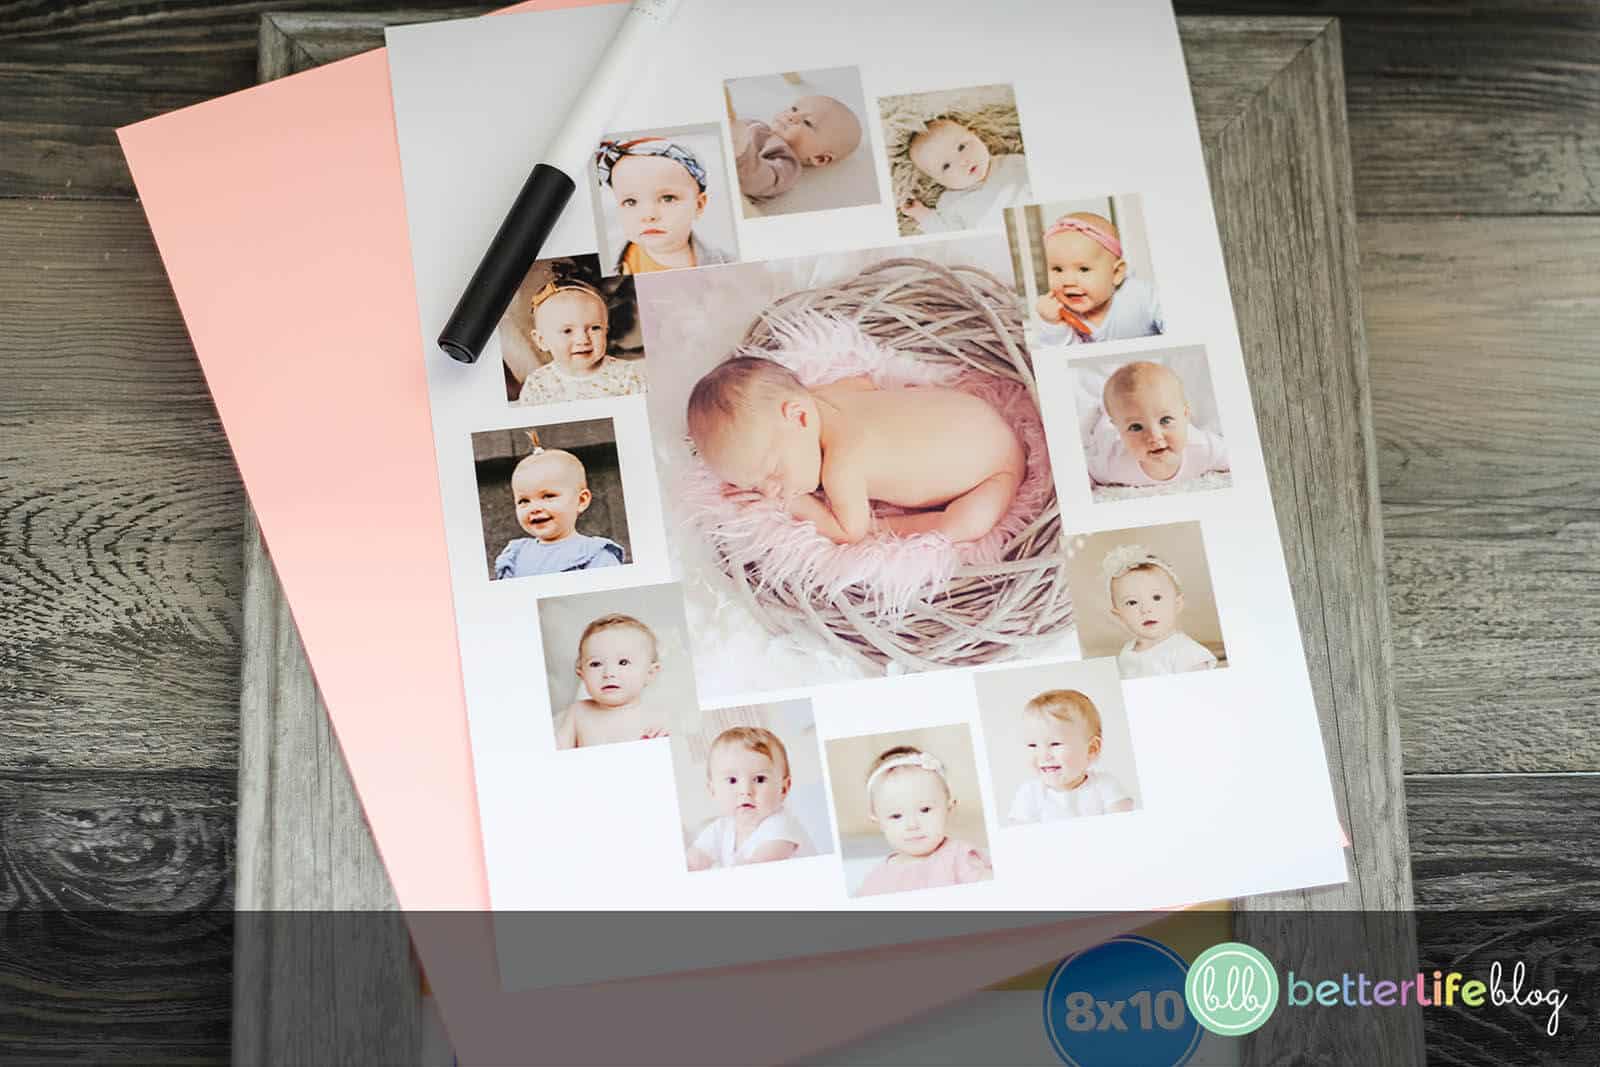
- Cardstock (in the color of your choice)
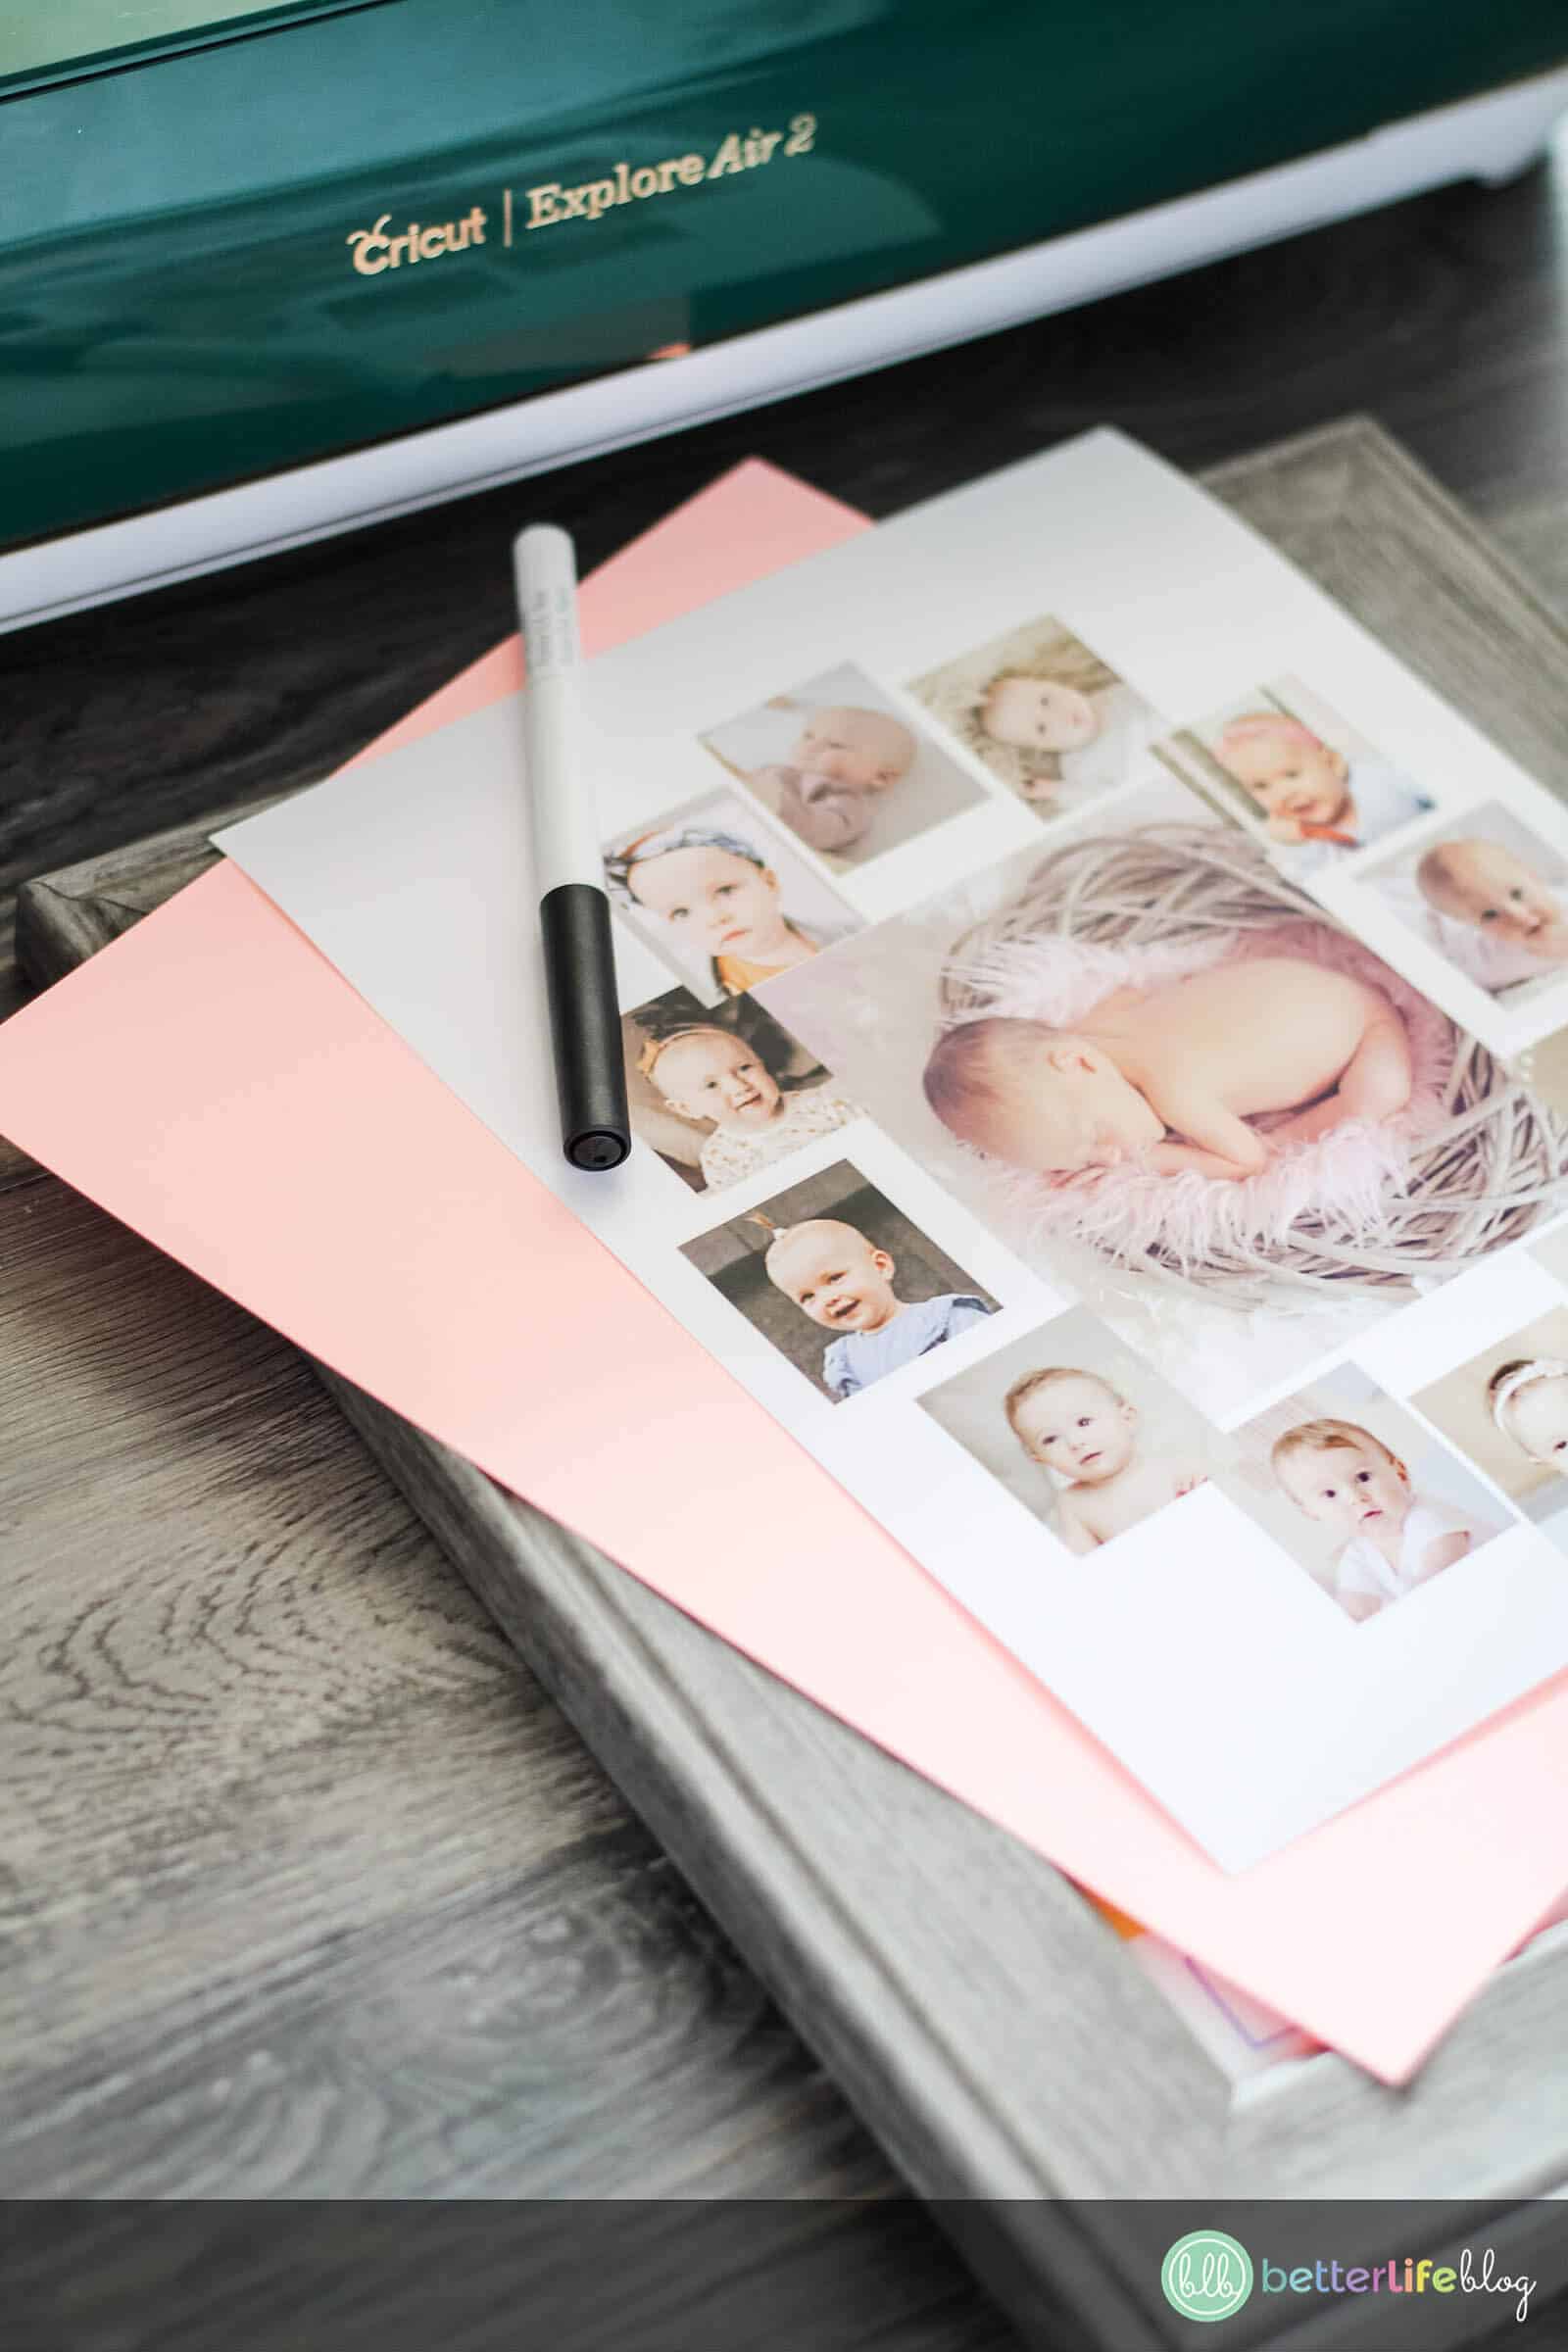
- 0.4 Cricut Black Marker
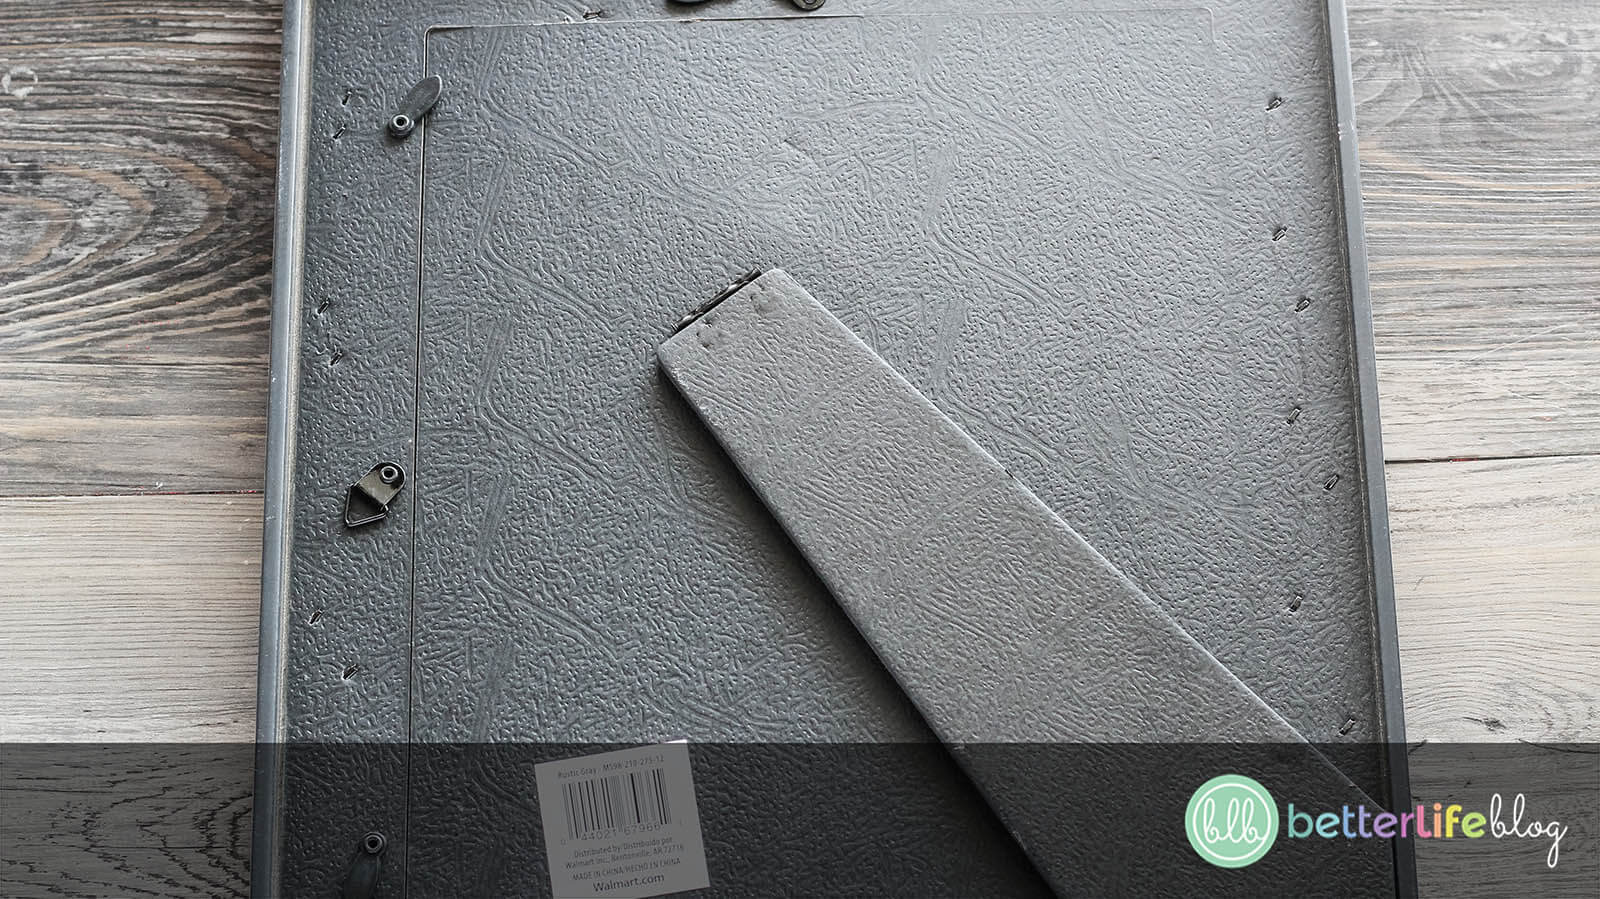
- 8 x 10 Picture Frame
- Cutting mat
- Baby pictures

Instructions
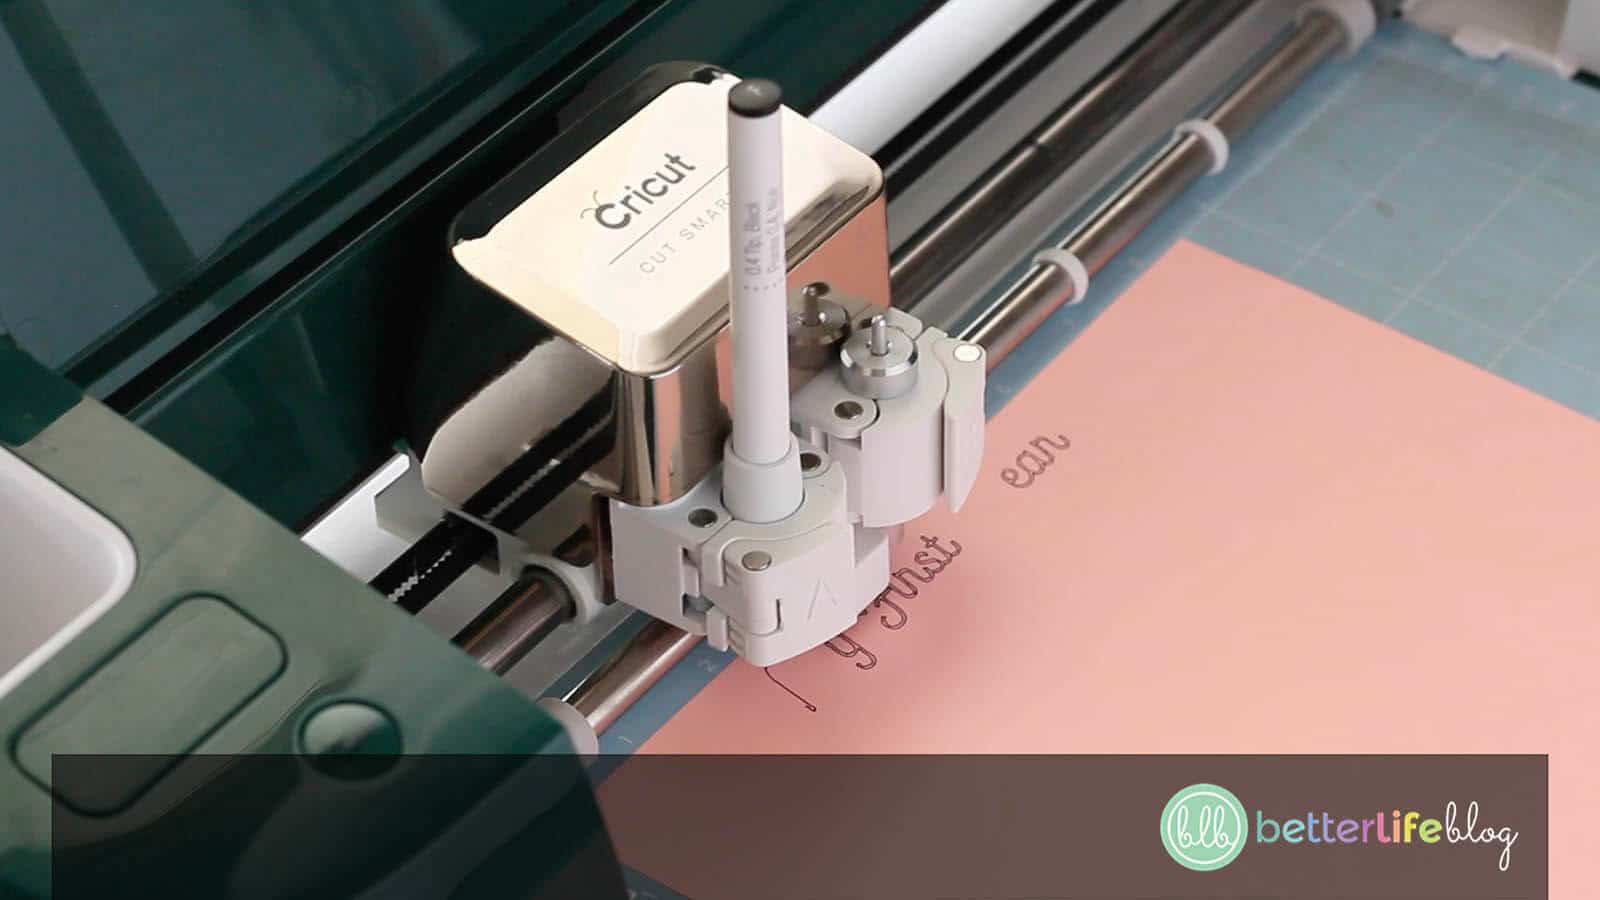
Begin by turning on your Cricut machine.
Next, locate the machine’s A clasp and open it.
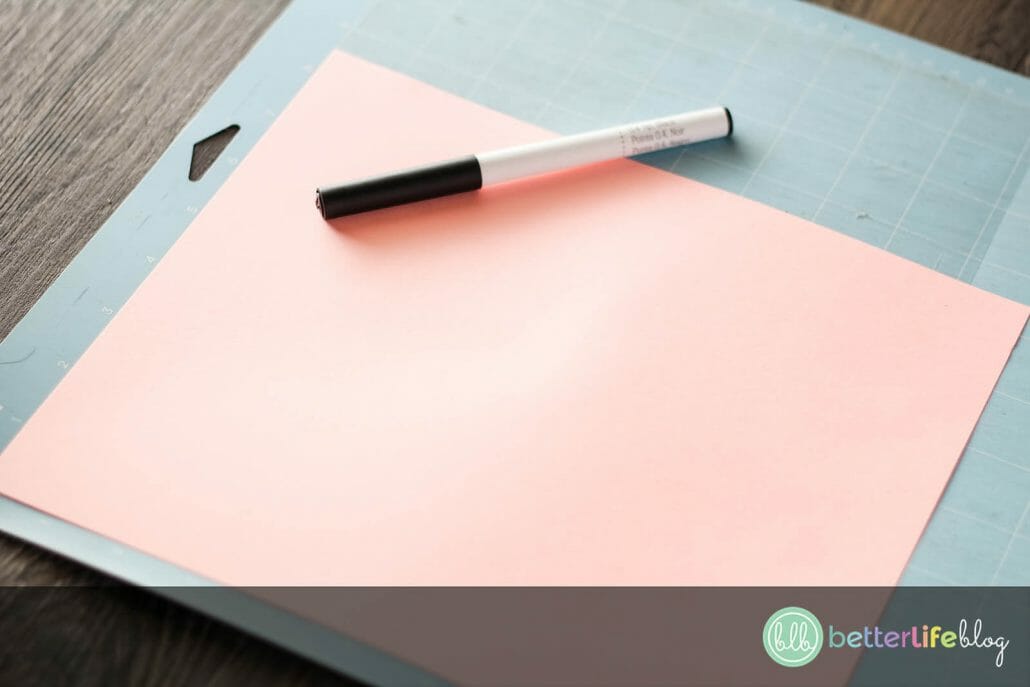
Place Cricut marker into the A clasp (tip down) and push until it clicks into place. Then, close the A clasp.

Next, place the cardstock carefully and evenly on a cutting mat.
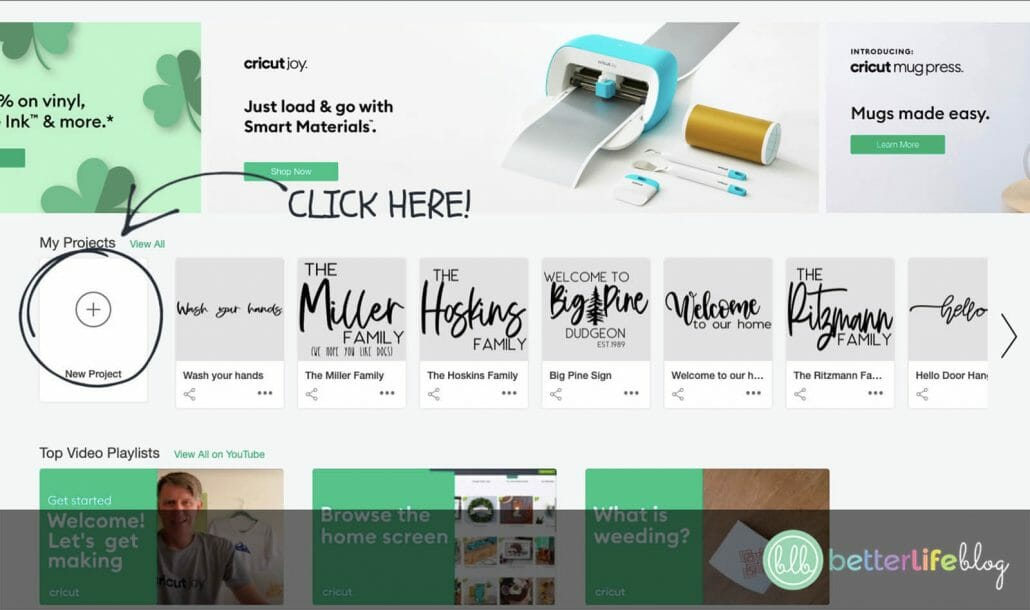
Open Cricut workspace and click on “New Project”.
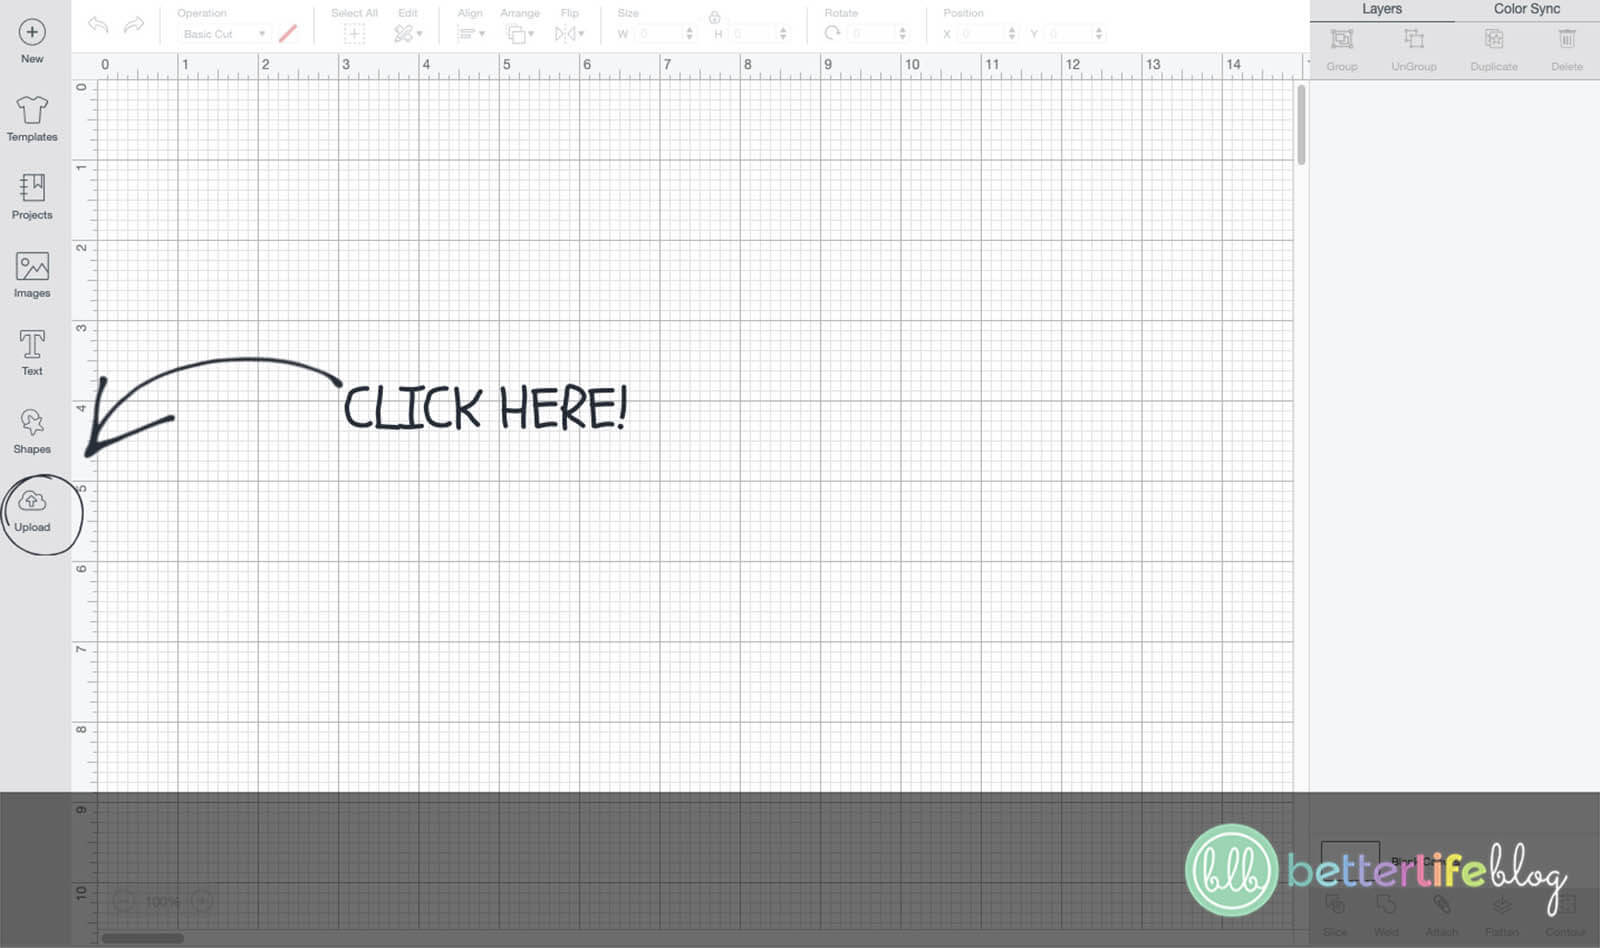
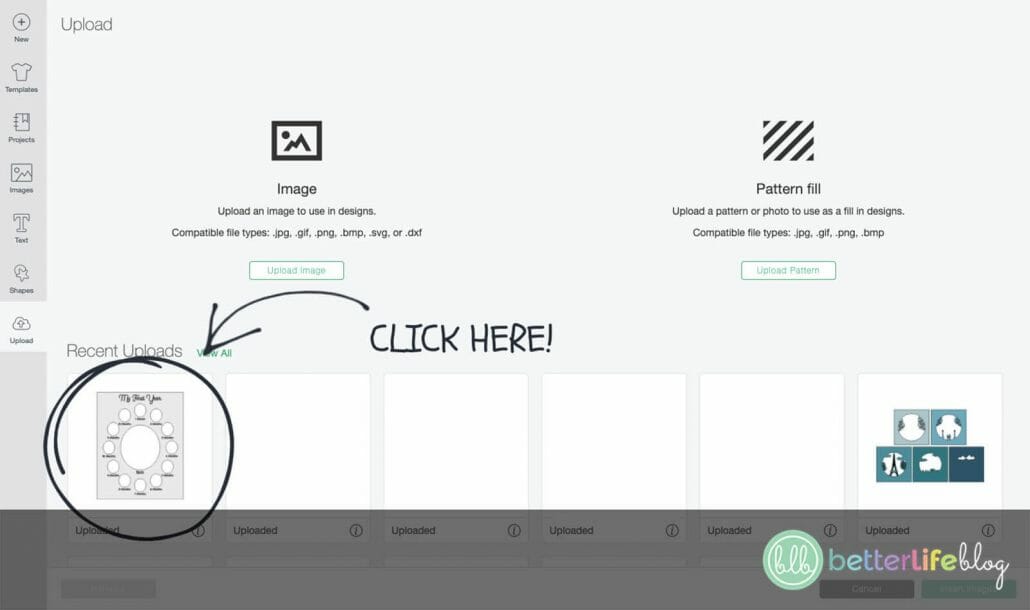
Click “Upload” on the bottom left hand side and select “Upload Image.” Find the provided SVG file that you downloaded onto your computer.

Find the “Upload” button in the lower right corner.
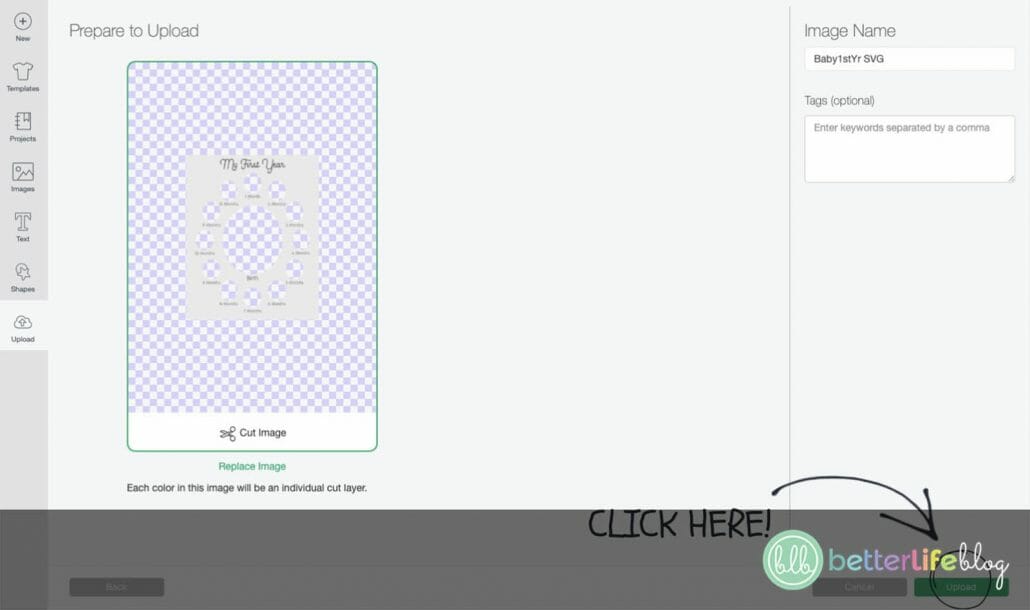
Next, click on the uploaded image and select “Insert Image”. The image should now be uploaded to your design space.
On the right-hand side, there will be a list of components that make up the image. Click on the list labeled “Baby1styr SVG”
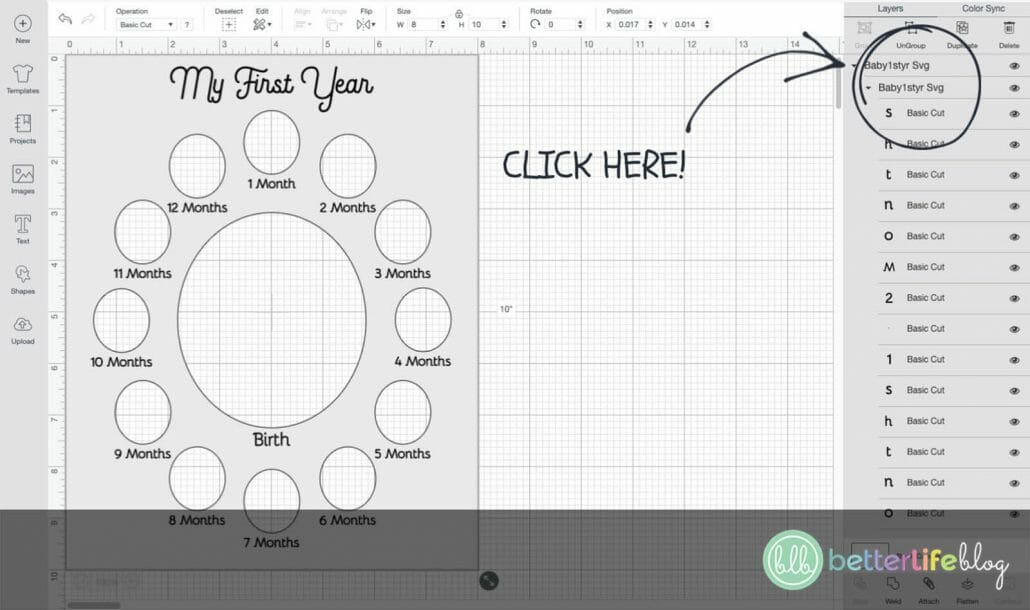
Press the “Weld” button. From here, look for the “Operation” button on the top left. Click the arrow to drop down the menu and click “Draw.”
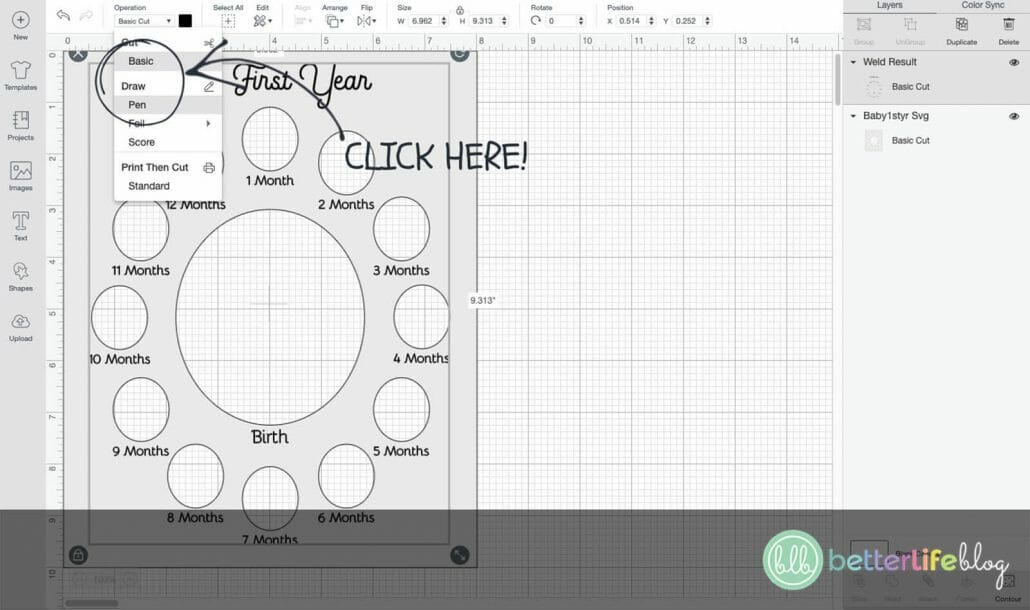
Select “Make It.”
On the screen find the drop down menu labeled “Material Size.” Select the size of the cardstock, and line up the design.
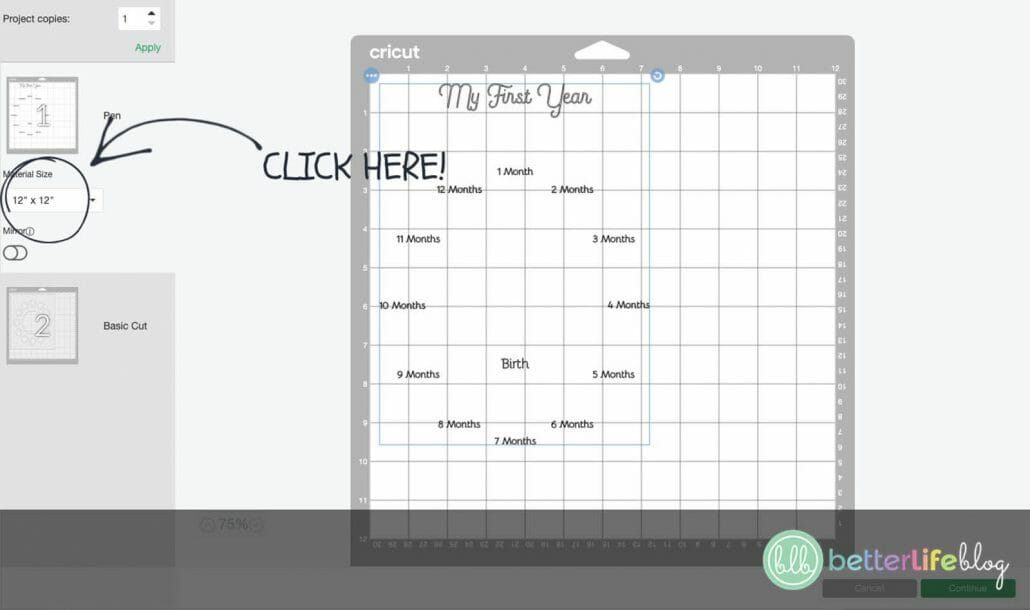
If you run into trouble lining up your design, connect your phone to your Cricut (via Bluetooth) and use the “Snap Mat” feature. It allows you to see your paper on the mat and line up your design.
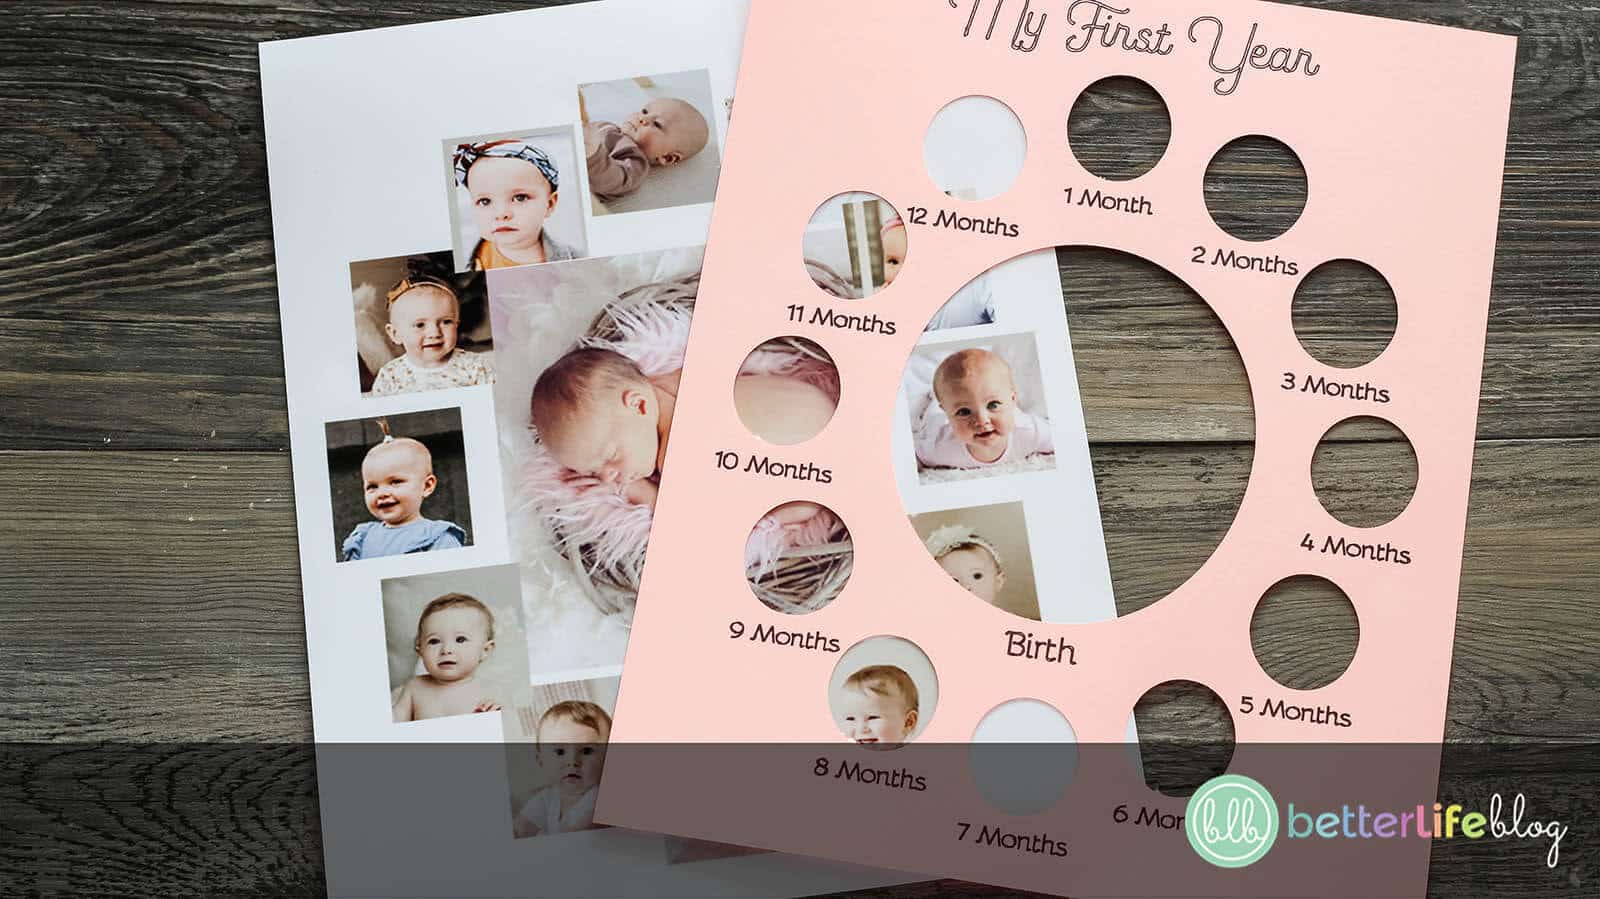
Finally, click “Continue” and follow the on-screen prompts to draw and cut your design.

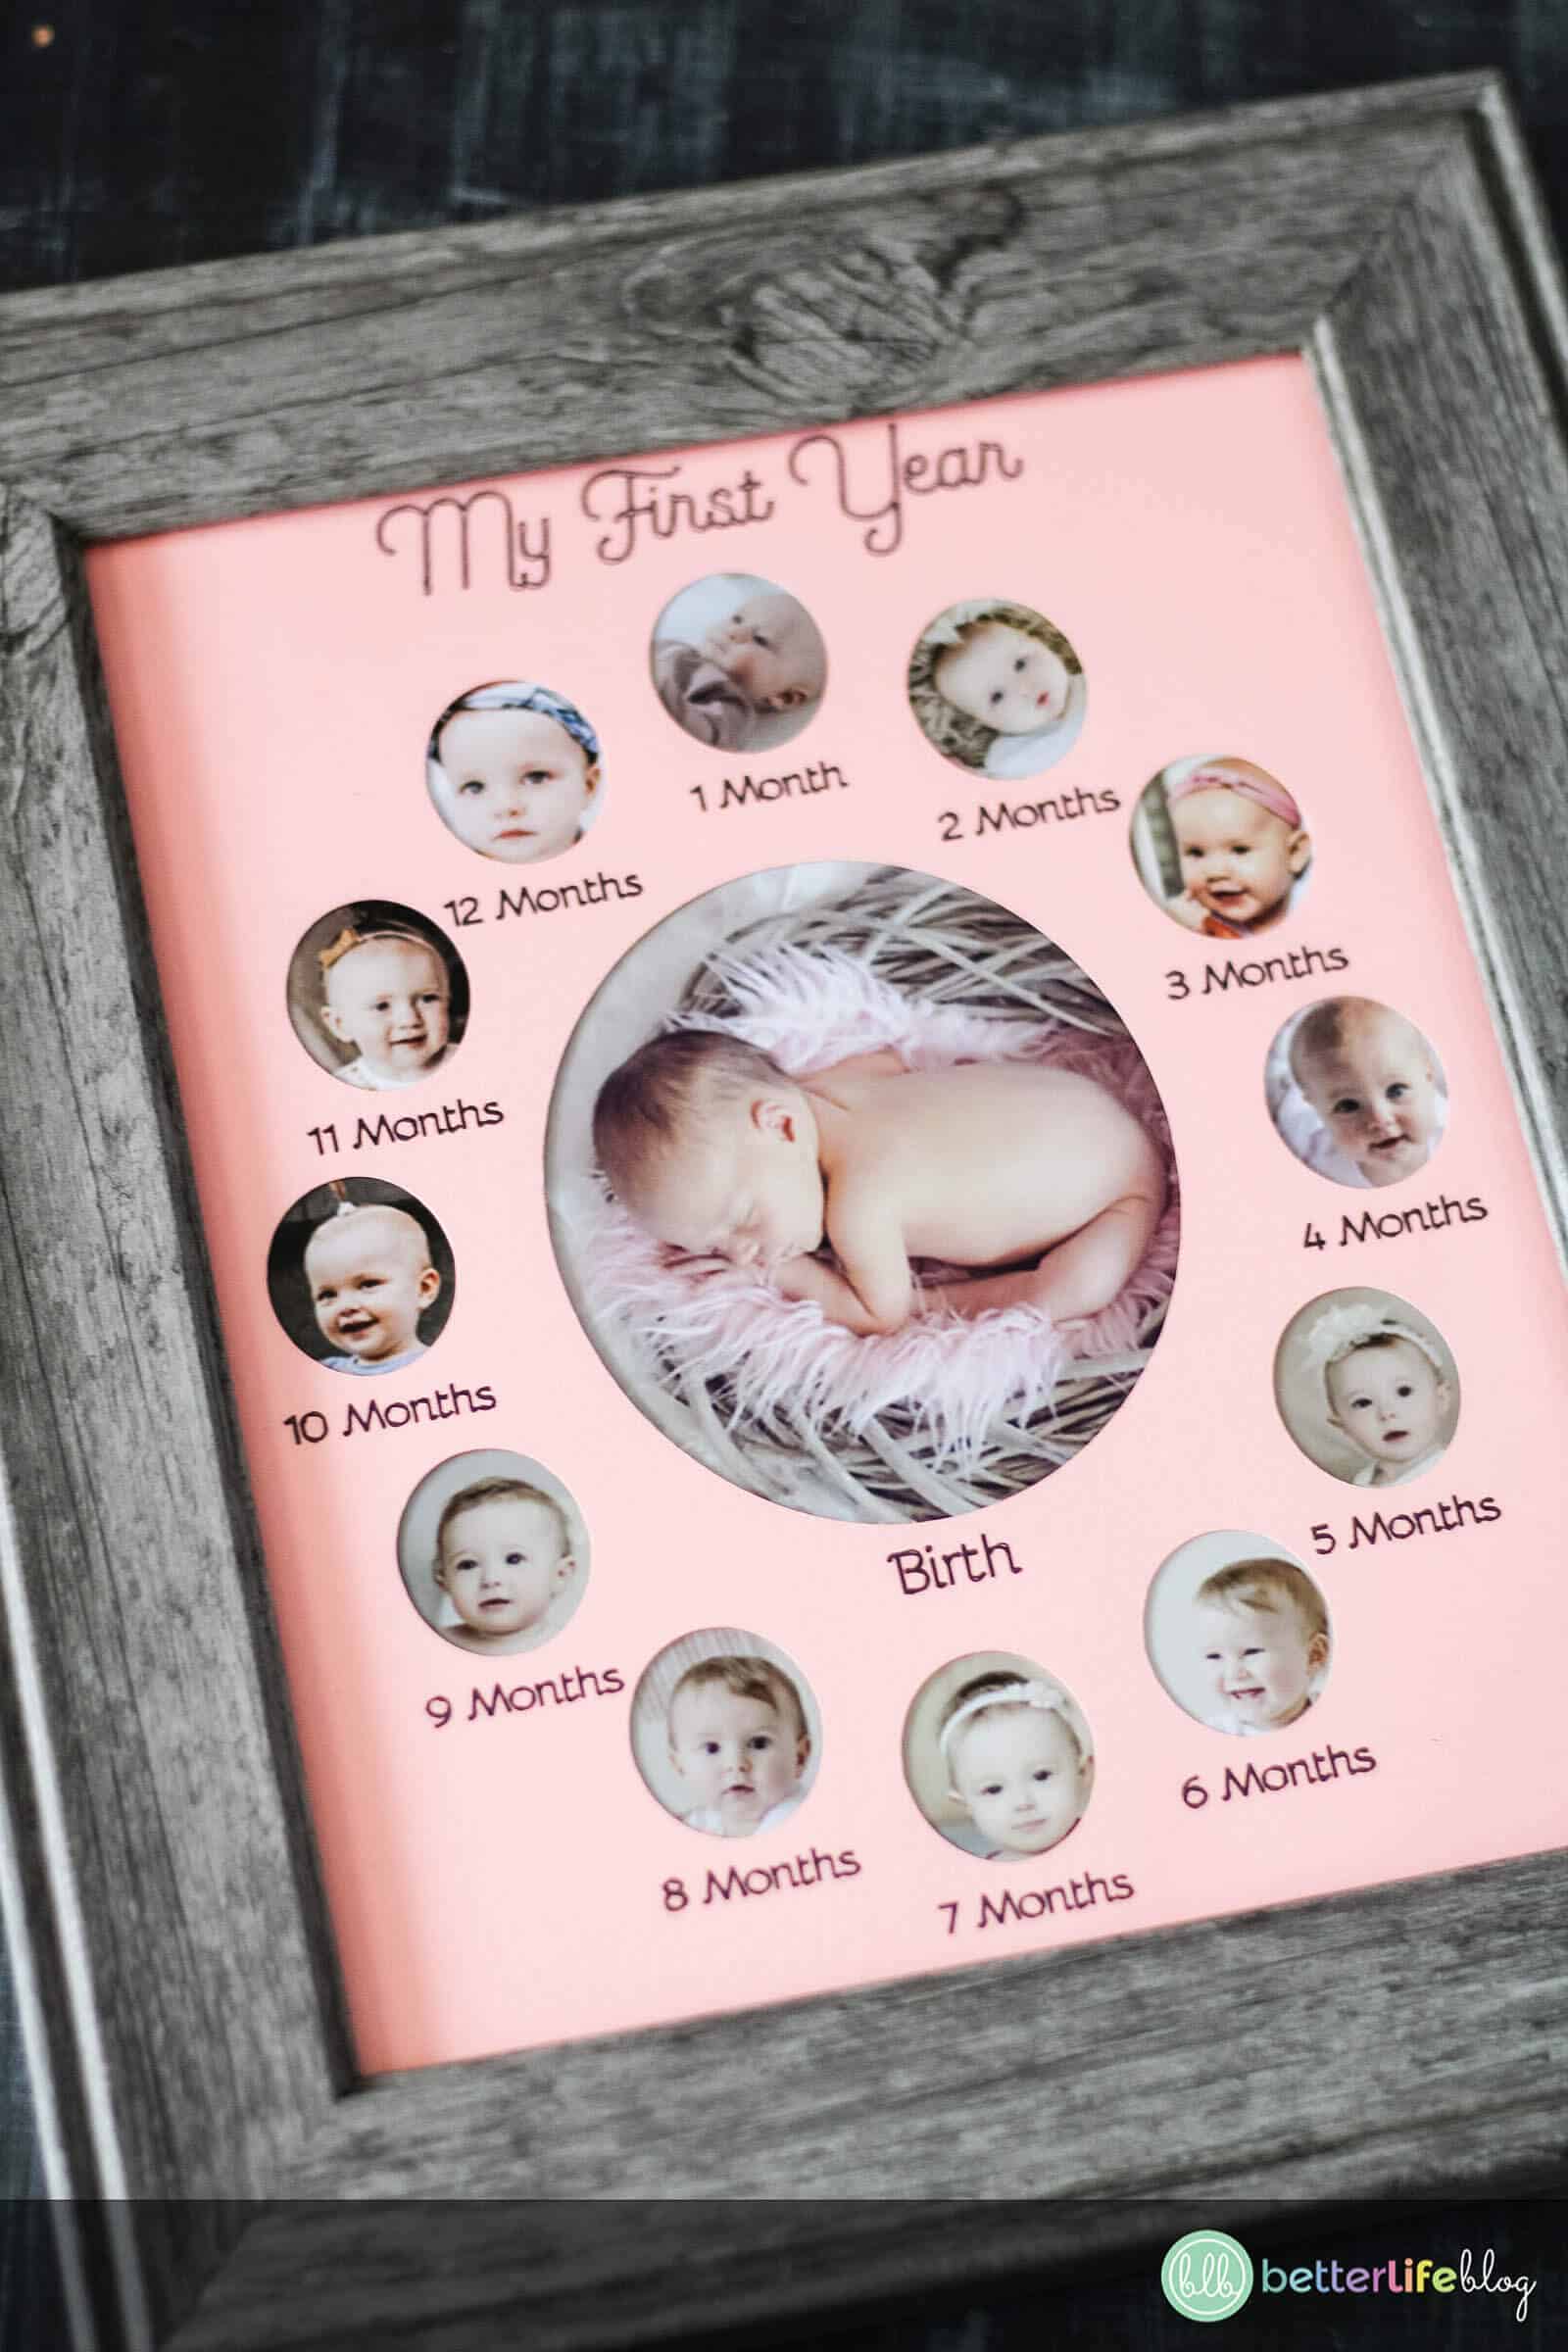
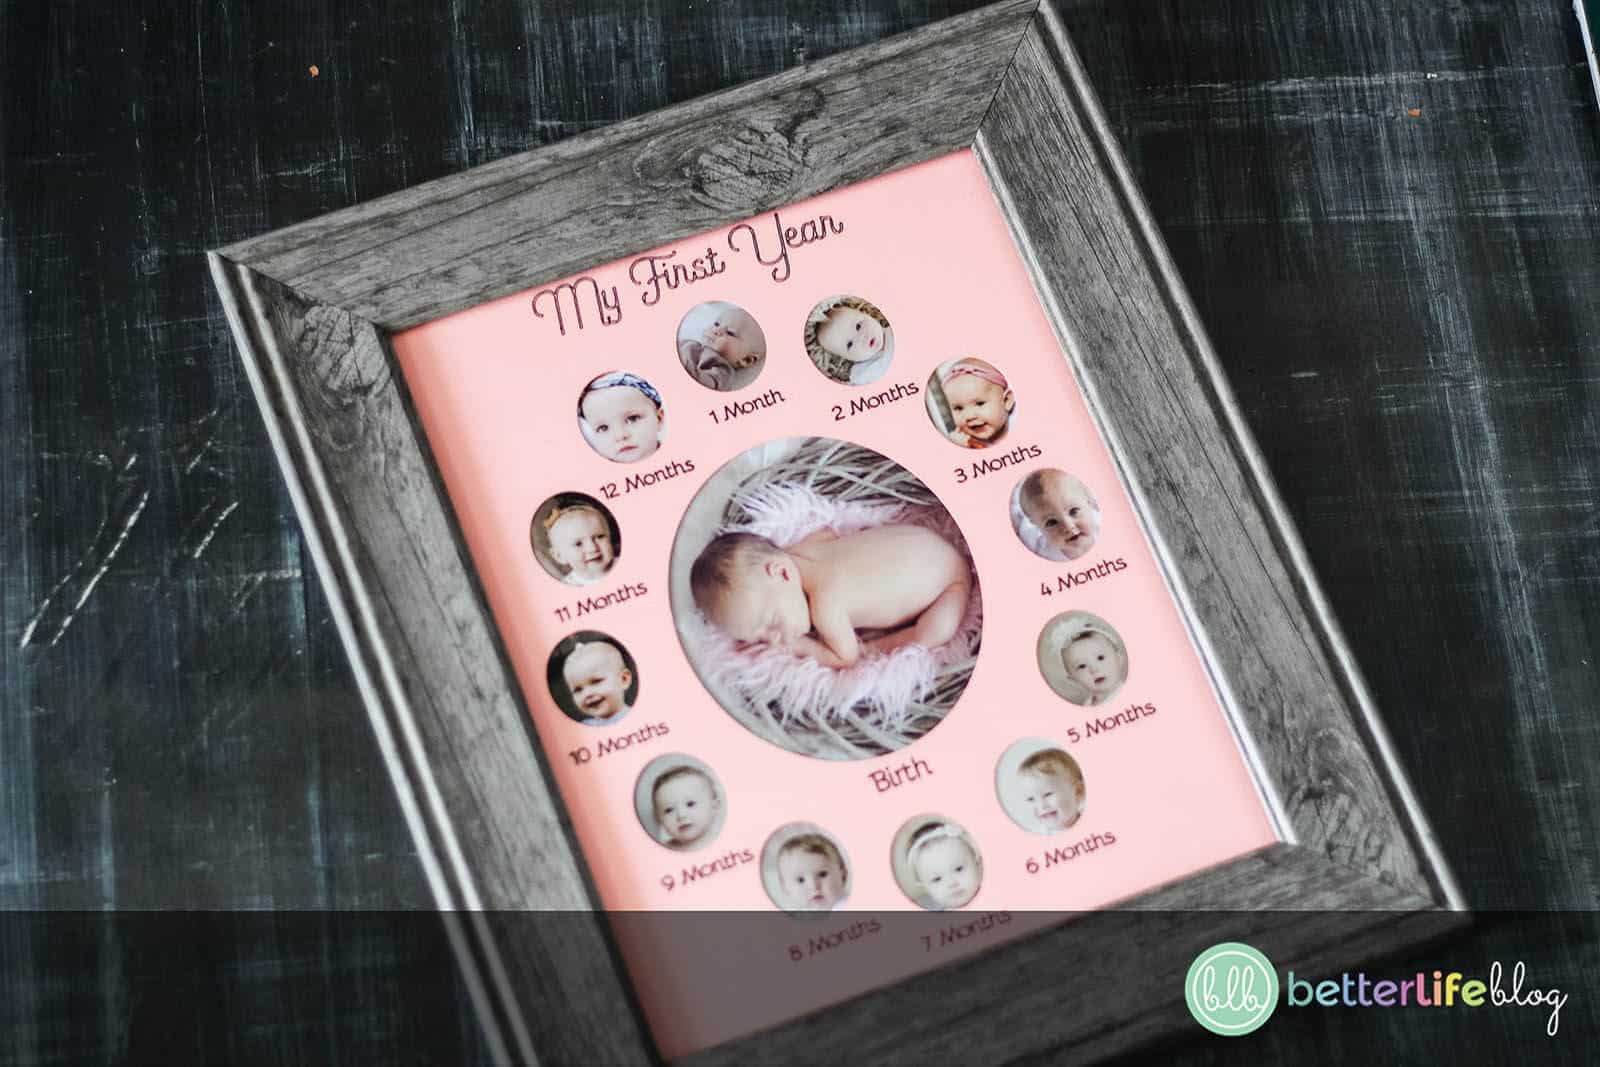
Place your creation and pictures in your 8×10 frame.
Baby Milestone Frame
Oh, baby! This Baby Milestone Frame is a gorgeous keepsake that’s handmade with love!
Materials
Instructions
- Begin by turning on your Cricut machine.
- Next, locate the machine’s A clasp and open it.
- Place Cricut marker into the A clasp (tip down) and push until it clicks into place. Then, close the A clasp.
- Next, place the cardstock carefully and evenly on a cutting mat.
- Open Cricut workspace and click on “New Project”.
- Click “Upload” on the bottom left hand side and select “Upload Image.” Find the provided SVG file that you downloaded onto
your computer. - Find the “Upload” button in the lower right corner.
- Next, click on the uploaded image and select “Insert Image”. The image should now be uploaded to your design space.
- On the right-hand side, there will be a list of components that make up the image. Click on the list labeled “Baby1styr SVG”
- Press the “Weld” button. From here, look for the “Operation” button on the top left. Click the arrow to drop down the
menu and click “Draw.” - Select “Make It.”
- On the screen find the drop down menu labeled “Material Size.” Select the size of the cardstock, and line up the design.
- If you run into trouble lining up your design, connect your phone to your Cricut (via Bluetooth) and use the “Snap Mat” feature. It allows you to see your paper on the mat and line up your design.
- Finally, click “Continue” and follow the on-screen prompts to draw and cut your design.
- Place your creation and pictures in your 8x10 frame.