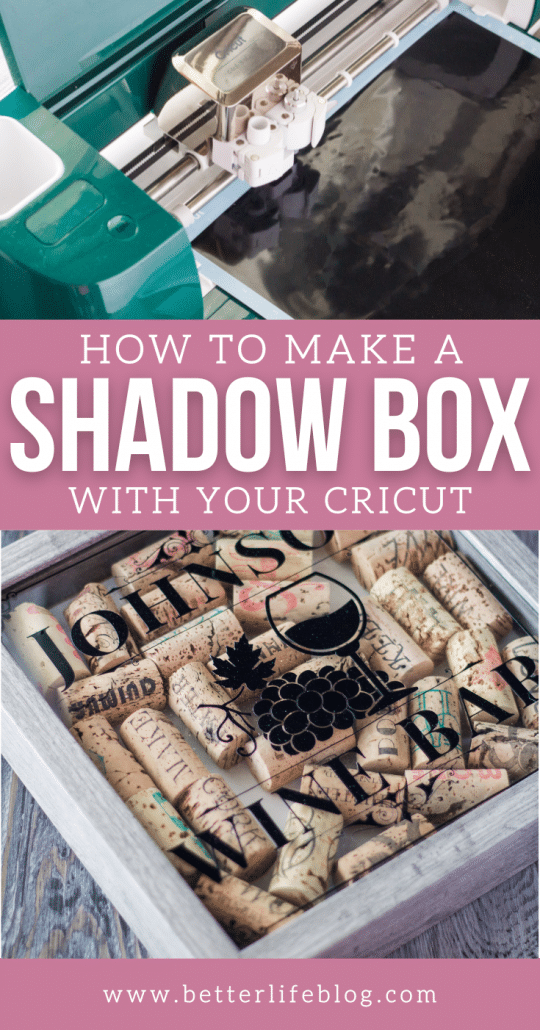
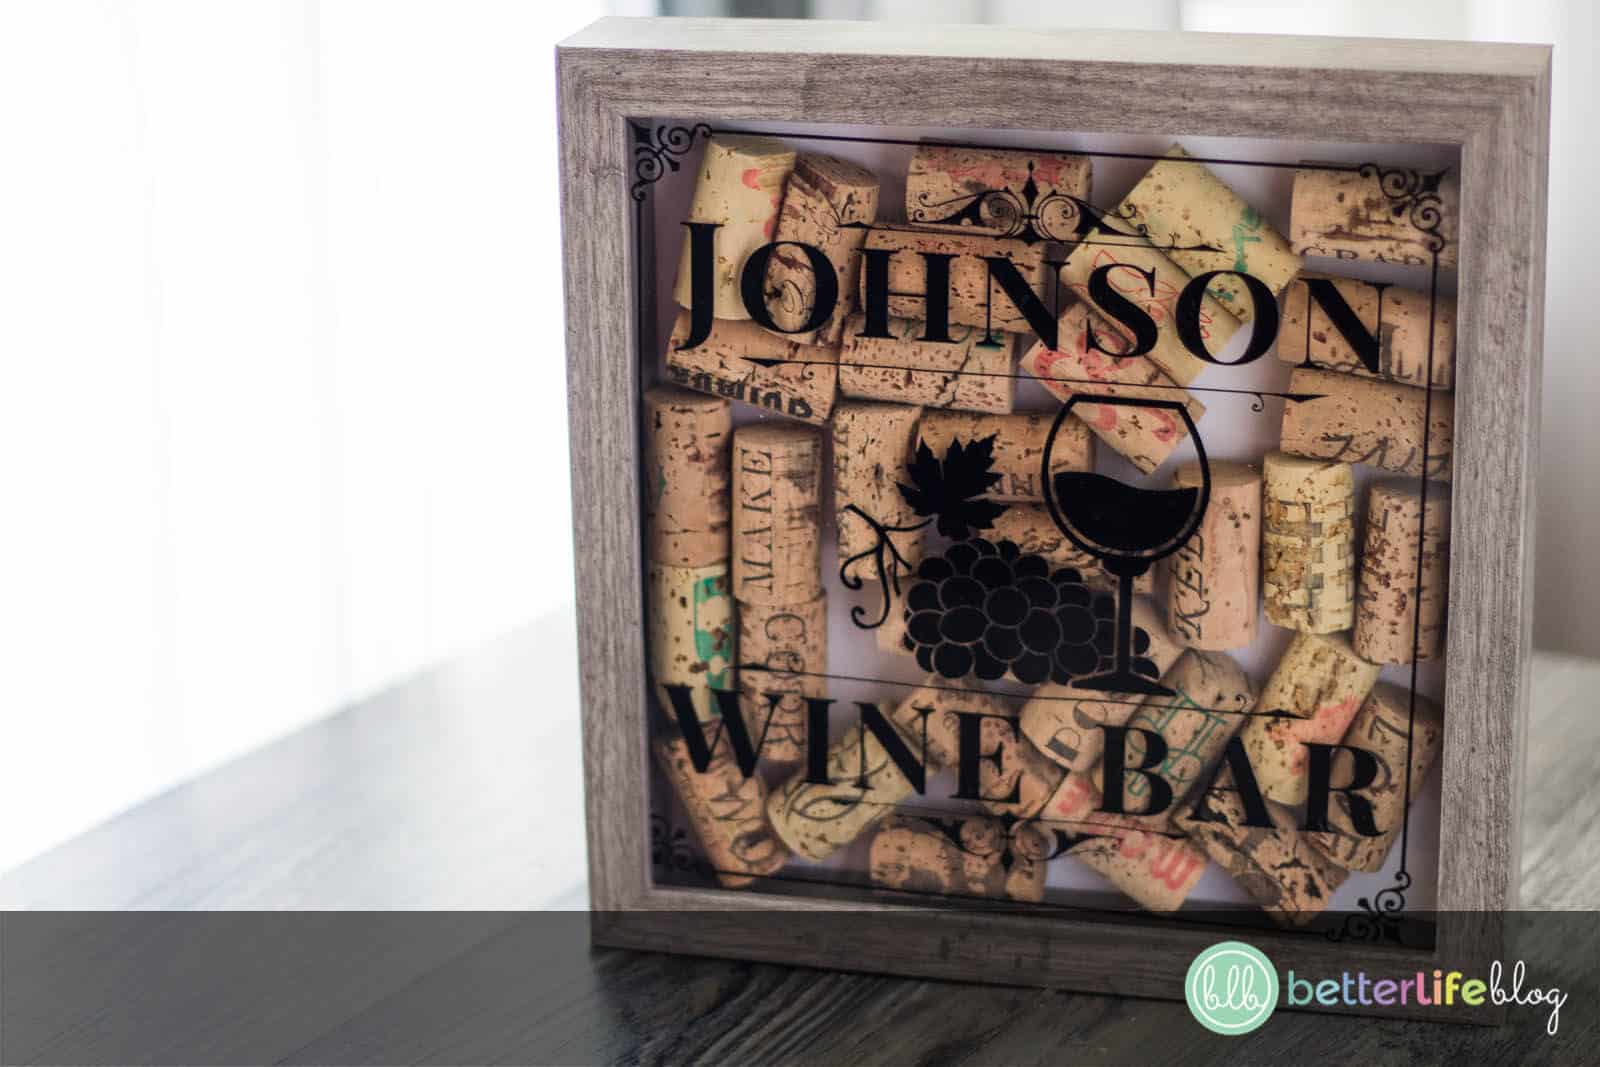
Greetings, crafty friends! I am thrilled that you’re back for another Cricut DIY! Today, we’re going to be making the most gorgeous Wine Cork Shadow Box.
My DIY Wine Cork Shadow Box makes the perfect personalized gift! If you have a wine or foodie enthusiast in your life, then you’ll definitely want to make one for them! Better yet, this Cricut Wine Cork Shadow Box is a great way to commemorate your wedding. You can collect all of the corks from the wine bottles served on your wedding day, and put it in this gorgeous shadow box.
Where Can I Get The SVG To Make My Very Own Cricut Wine Cork Shadow Box?
You can download the Wine Cork Shadow Box SVG here! You can also click on the image below to download it.

Can You Make a Shadow Box With Cricut?
Absolutely! I just LOVE making shadow boxes with my Cricut! You can take a look at my Paris-inspired Eiffel Tower Shadow Box that I made just a few months ago. It’s made up of beautiful cardstock layers, with fairy lights surrounding it. The lights help give off the most romantic feel! It’s definitely one of my favorite Cricut DIYs to-date!
Today’s shadow box is styled a little differently, but still just as beautiful. Keep on reading below to get my easy-to-follow instructions so that you can make one of your very own.


What Other Tools and Supplies Do I Need to Make This Cricut DIY?
Now that you’re good and ready with our Wine Cork Shadow Box SVG file, these are the other tools and supplies you’ll need to complete this Cricut DIY:
- Cricut or other cutting machine
- Permanent vinyl (color of your choice)
- Clear transfer tape
- Cardstock (color of your choice)
- Craft scissors
- Shadow box
- Used wine corks
How To Make a Cricut Wine Cork Shadow Box
Here are our easy step-by-step instructions to make your very own Wine Cork Shadow Box… all with the help of your Cricut machine!
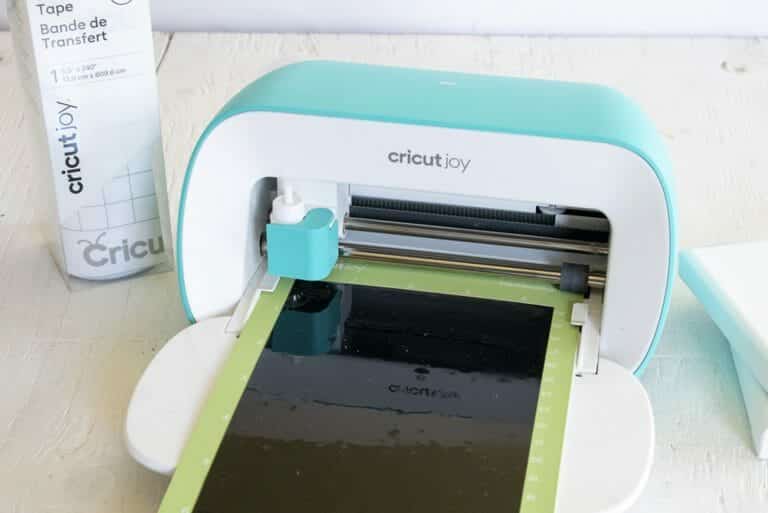
Begin by plugging in your Cricut and connecting the USB cord to your computer. Turn on your Cricut by pressing the “Power” button, followed by the “Open” button.
Next, lay a 12×12 piece of vinyl on your transfer mat. Ensure that it is pressed down firmly and evenly.
Feed your transfer mat into your Cricut by pressing the “Arrow” button and making sure your mat evenly feeds into the guides on both sides.
If you don’t have the font “Playfair Display,” be sure to download it here and install it so it can be used on your computer. (It’s free!)
Be sure to also download this project’s SVG file.
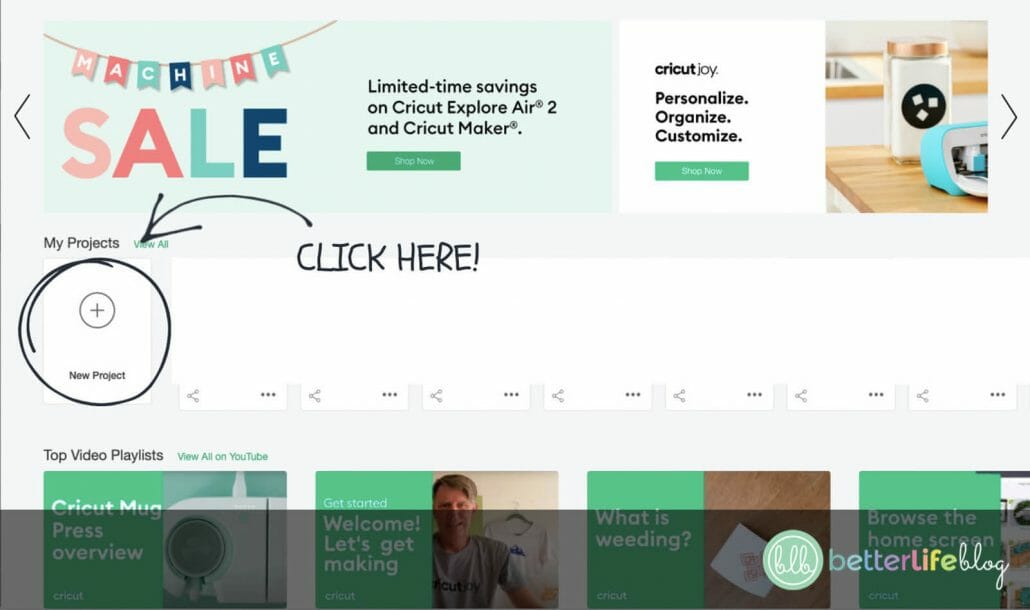
Once you have everything downloaded, open Cricut Design on your computer. Click on “New Project” on the left-hand side.
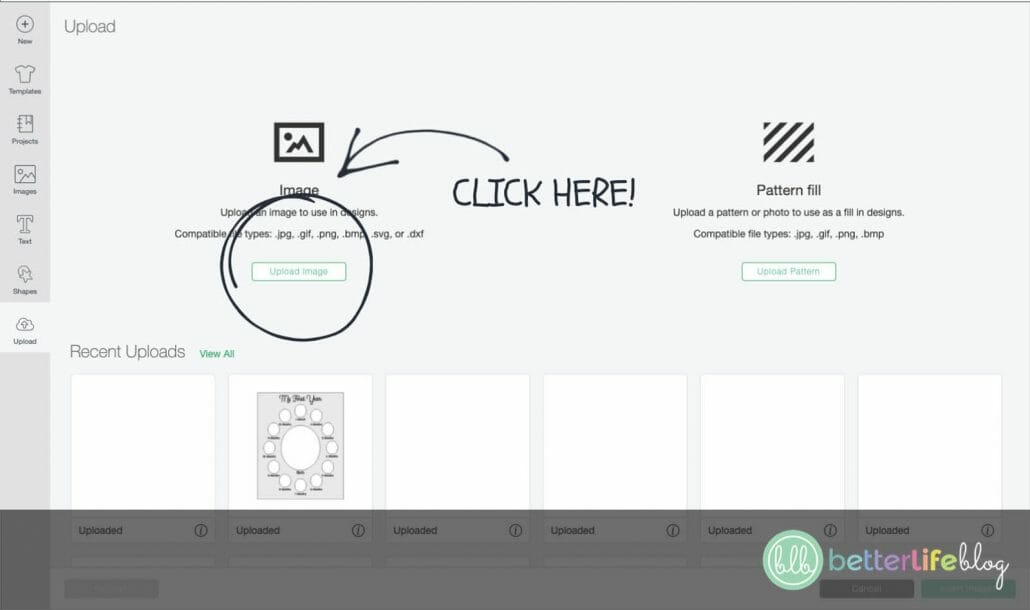
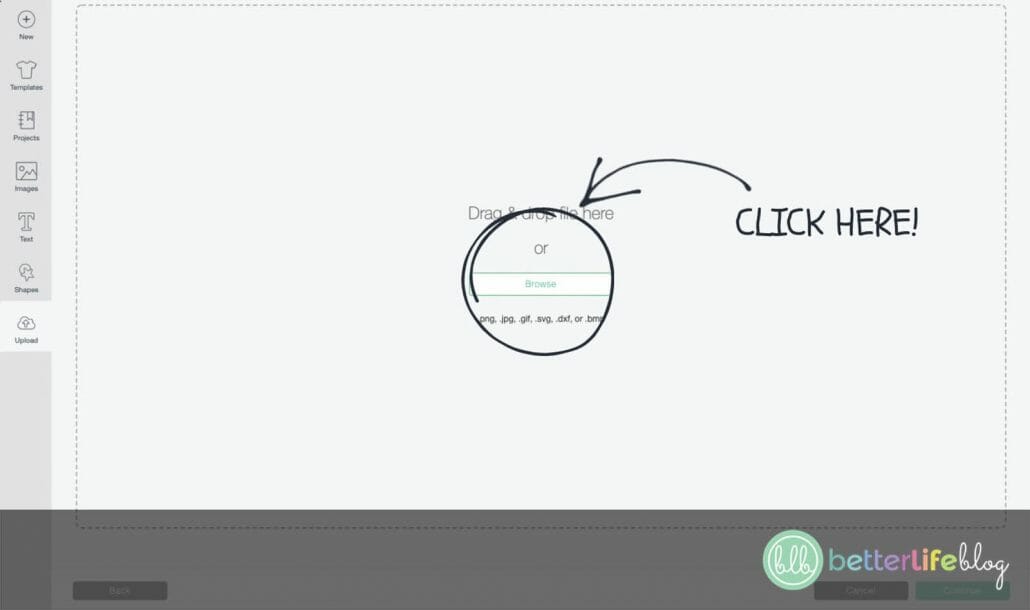
Next, click “Upload Image” followed by “Browse.” From here, locate the SVG file on your computer and click it.
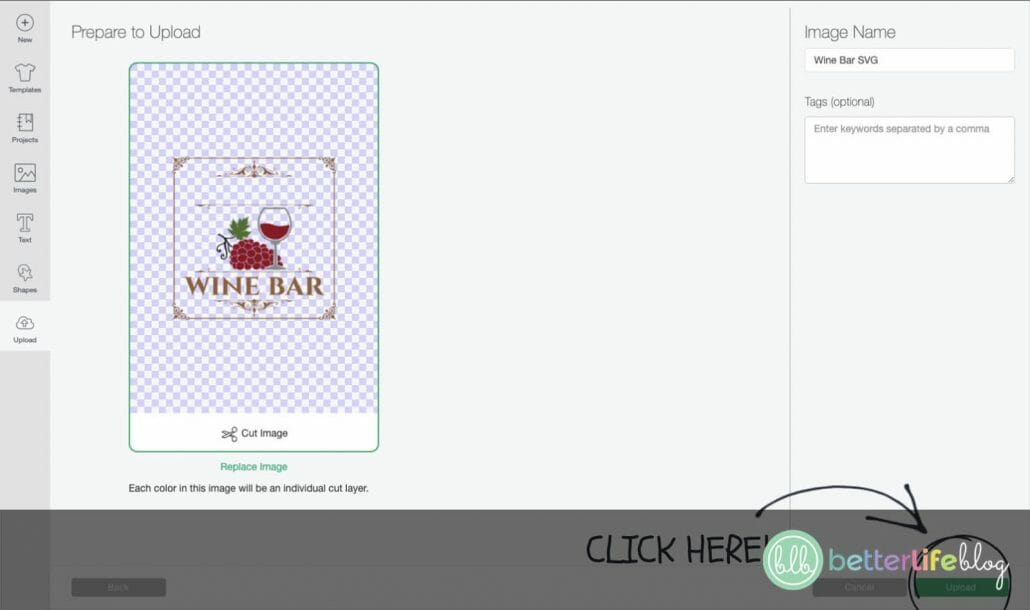
In the lower right-hand corner of your screen, you will see the option to “Upload.” Click on this and you’ll see that on the next screen, your file has been uploaded into Design Space’s image database. Click on the file and then click, “Insert.”
Your image will now be on your Design Space canvas.
On the top menu bar, locate the button that says “Select All.” Click on this button and your image should now have a square around it.
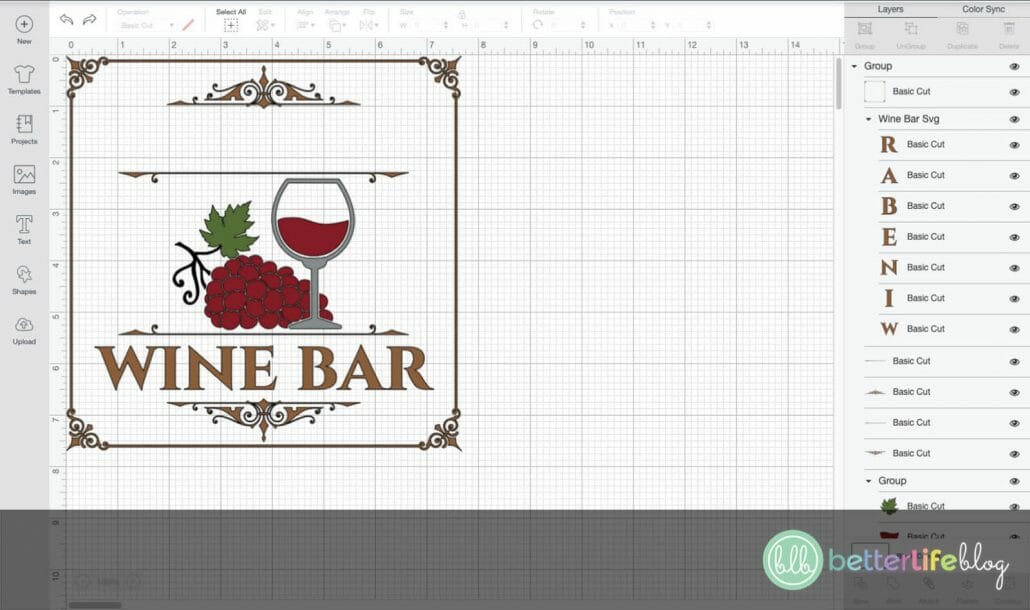
Click the box next to where it says “Basic Cut.” Here, you will see a drop down with a color selection. Select the color of your vinyl.
Now, add some text. To do this, click the “Text” button on the left-hand side of your screen. Type in the name you want to use for this project in the textbox provided.
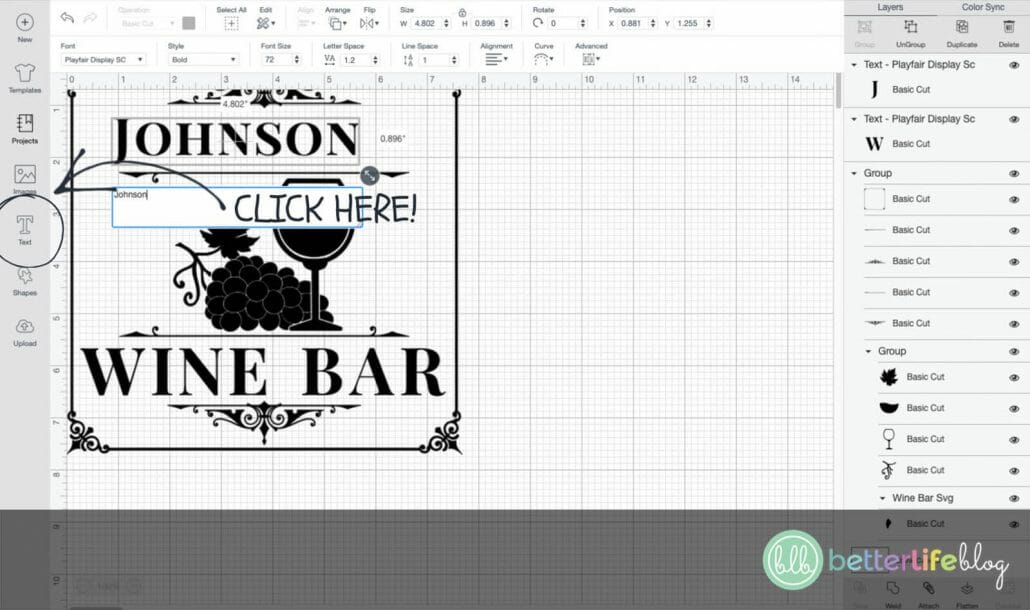
In the top menu bar, click the drop down arrow for “Font,” and change your font to “Playfair Display SC.”
Select the name you typed out and drag it so that it is centered on the top line. You may need to resize it so that it fits on the line. To make it larger, drag one of the corners of the box outwards. To make it smaller, drag a corner inwards.
Next, change the color of the font to match your vinyl.
Click on “Select All” once more, followed by the “Weld” button (found on the bottom right of your screen).
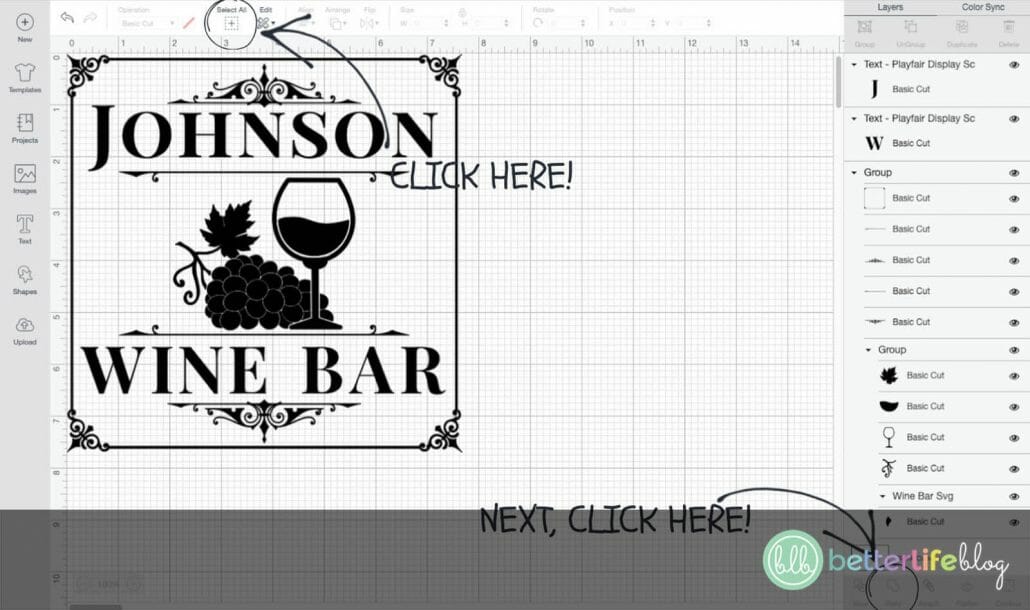
Click on “Select All” once more, and make sure your image is the right size for your shadow box’s glass. The glass on mine was 9x9in, so I resized my image to be 8.5×8.5in. To resize your entire image, drag the corner of the box in and out.

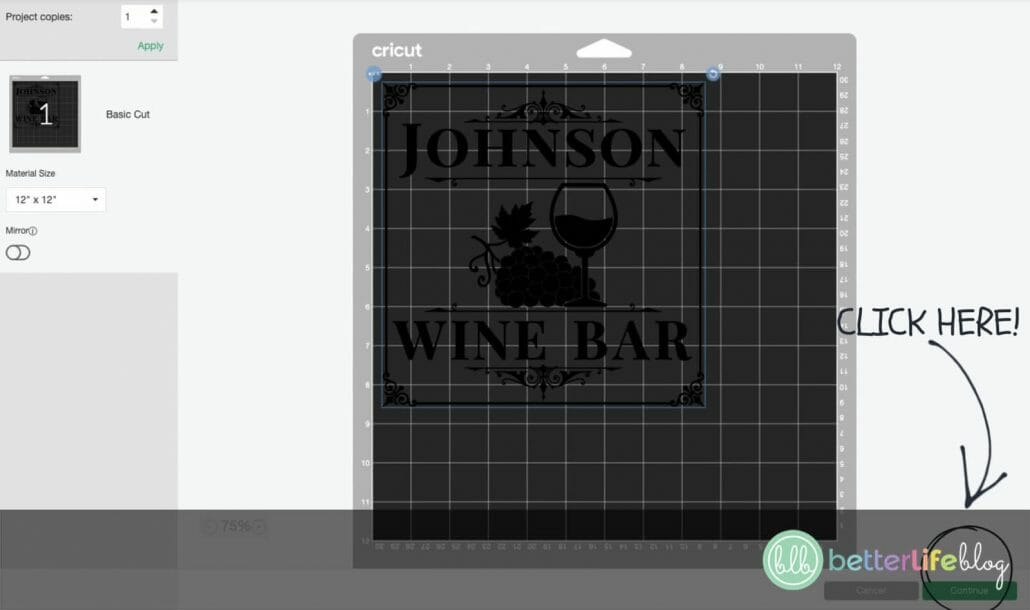
You are now ready to cut out your design! Start by clicking the “Make It” button on the top right-hand corner of your screen.

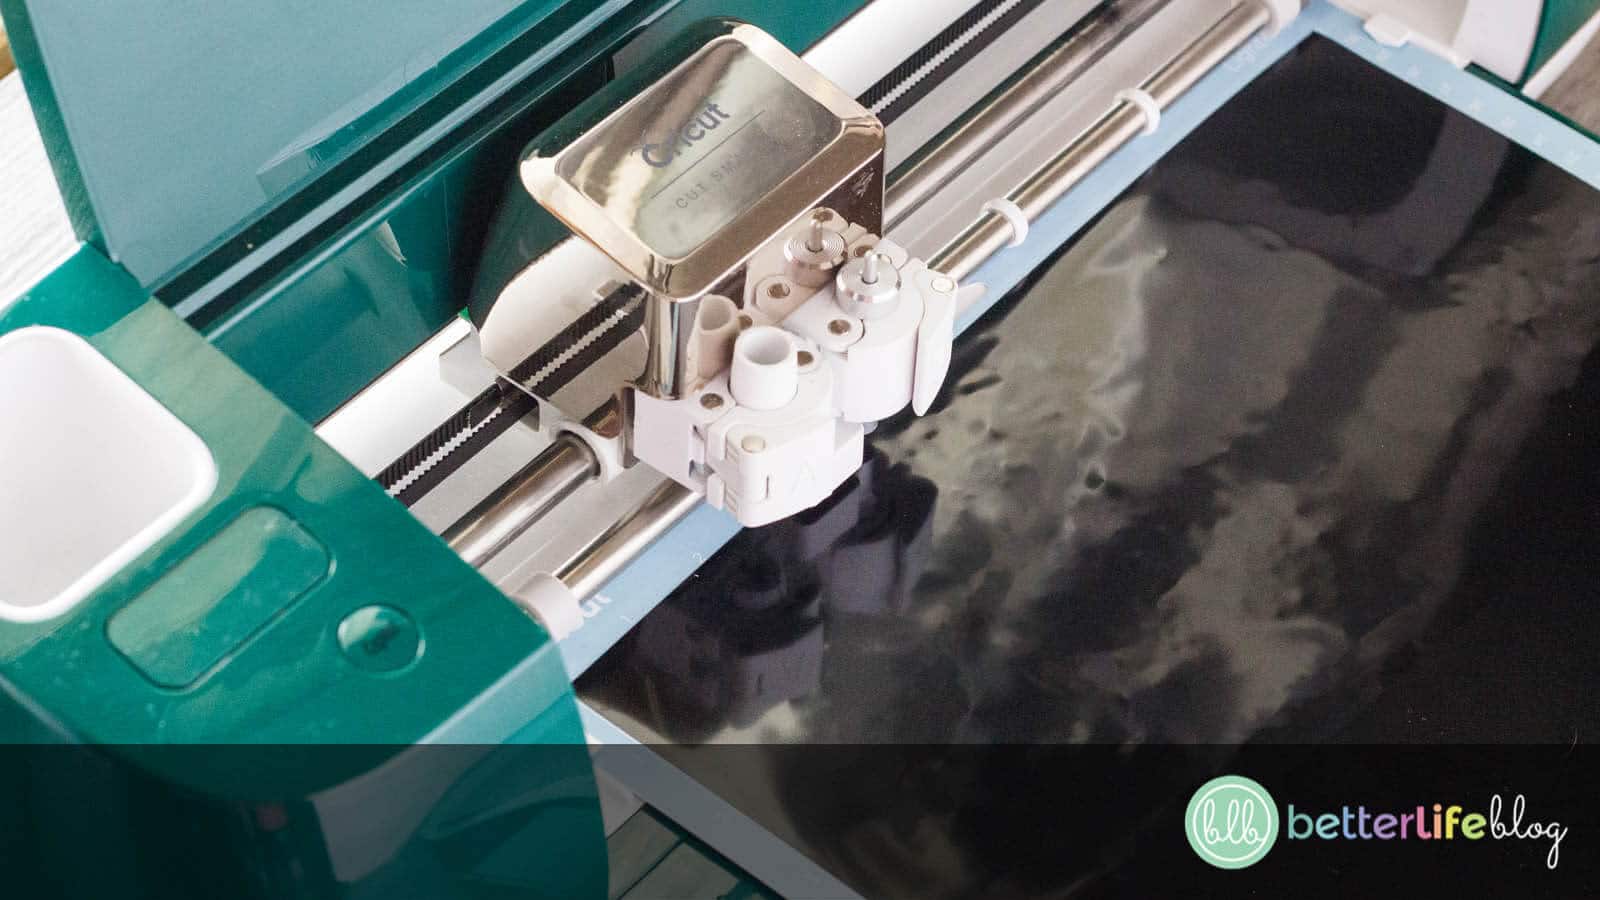
From here, you will see your design as it will appear on your vinyl. Click “Continue,” and follow all of the on-screen prompts. Make sure your dial on your Cricut is set to vinyl and that your mat is fed into your Cricut. Next, press the Cricut button on your machine to cut!
Once your design is cut out, weed it out with the help of your weeding tools.
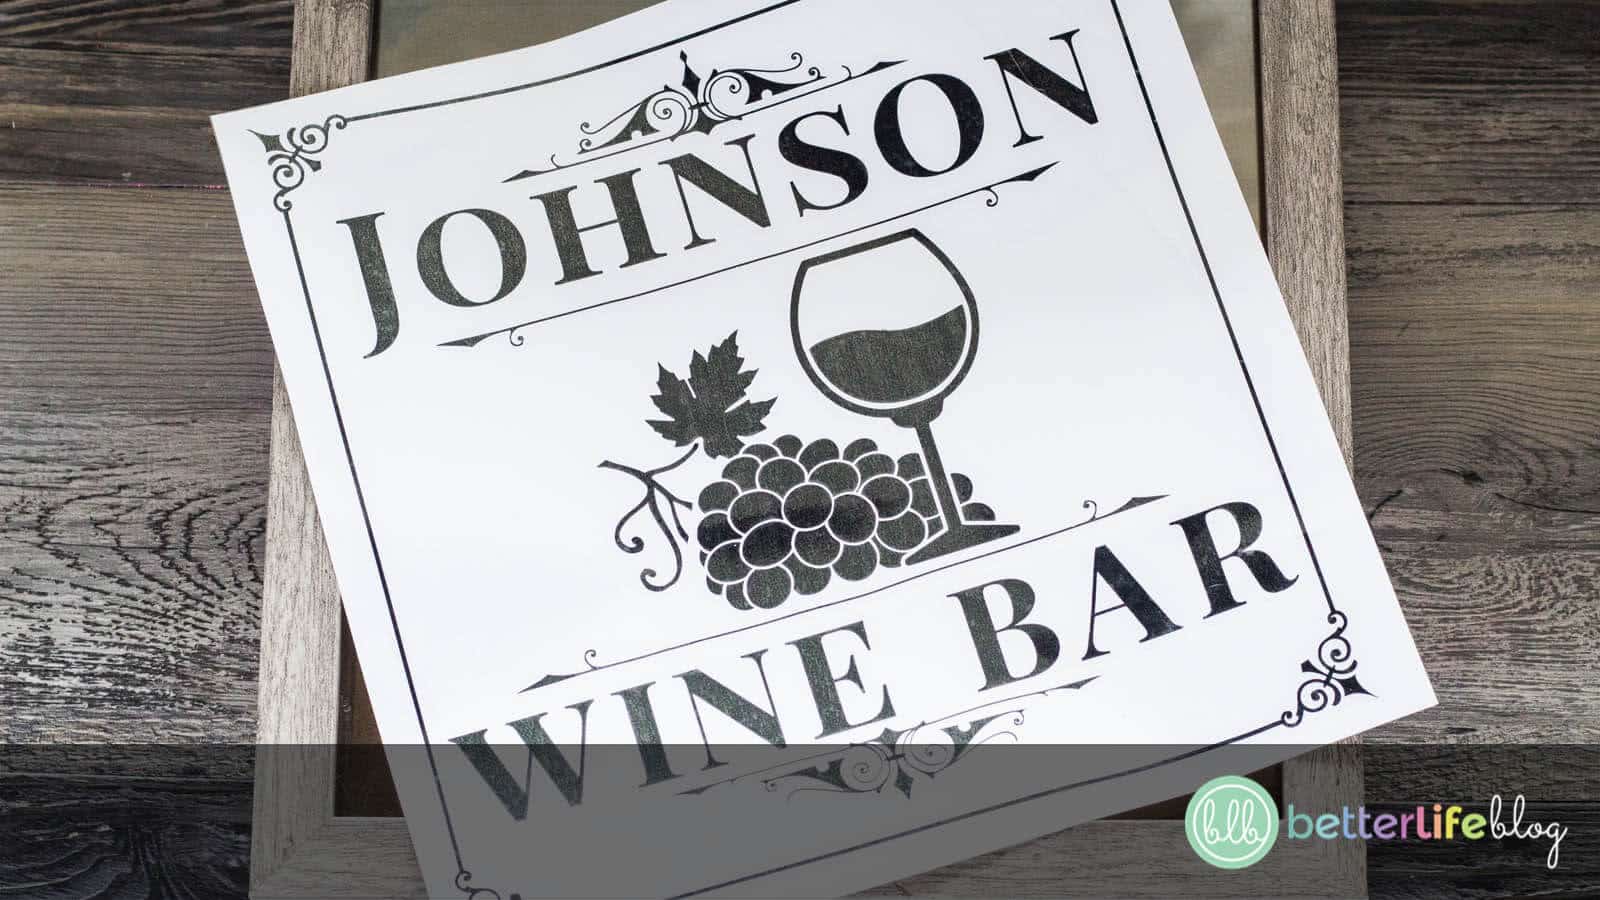
Next, cut a clear piece of transfer tape to size (ie.: the same size as your design).
Place the transfer tape over on top of your weeded design.
Pull the white paper backing off of the back of your vinyl design, while making sure your design is sticking to the transfer tape.
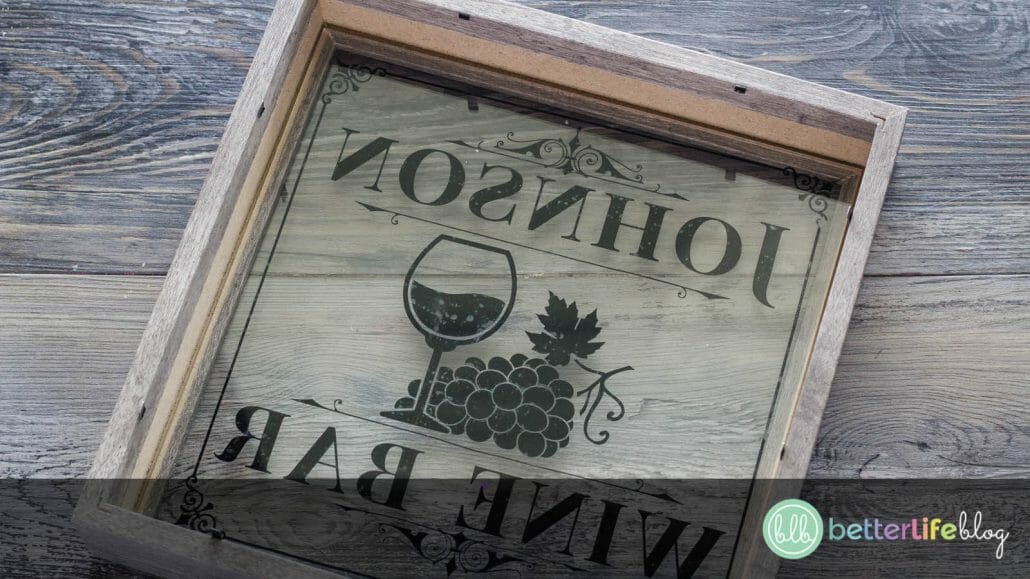
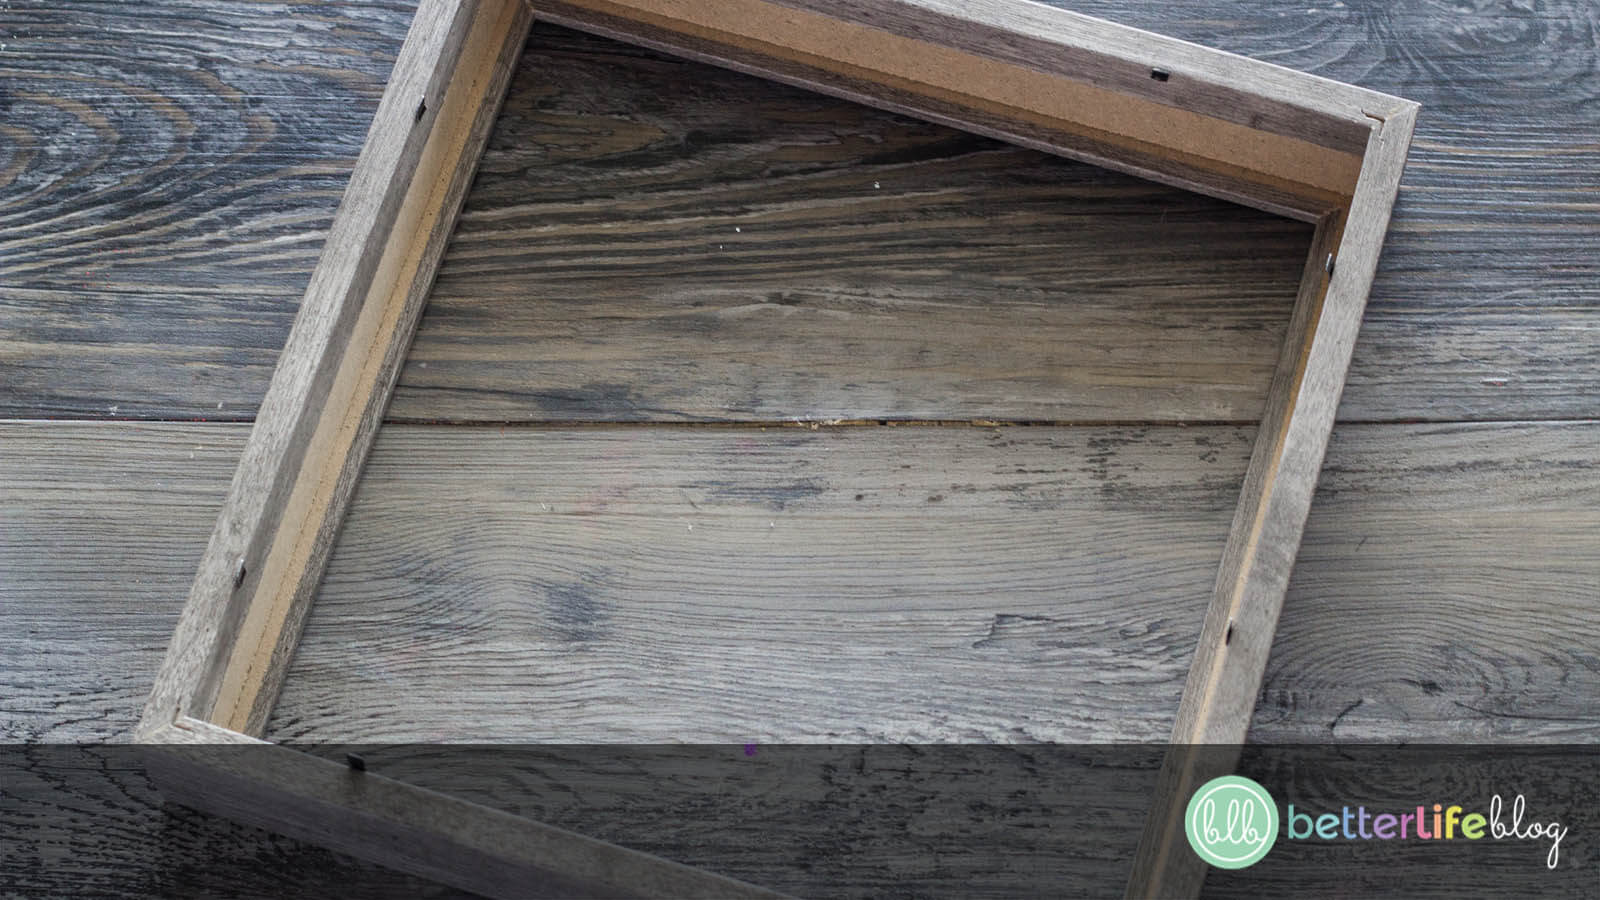
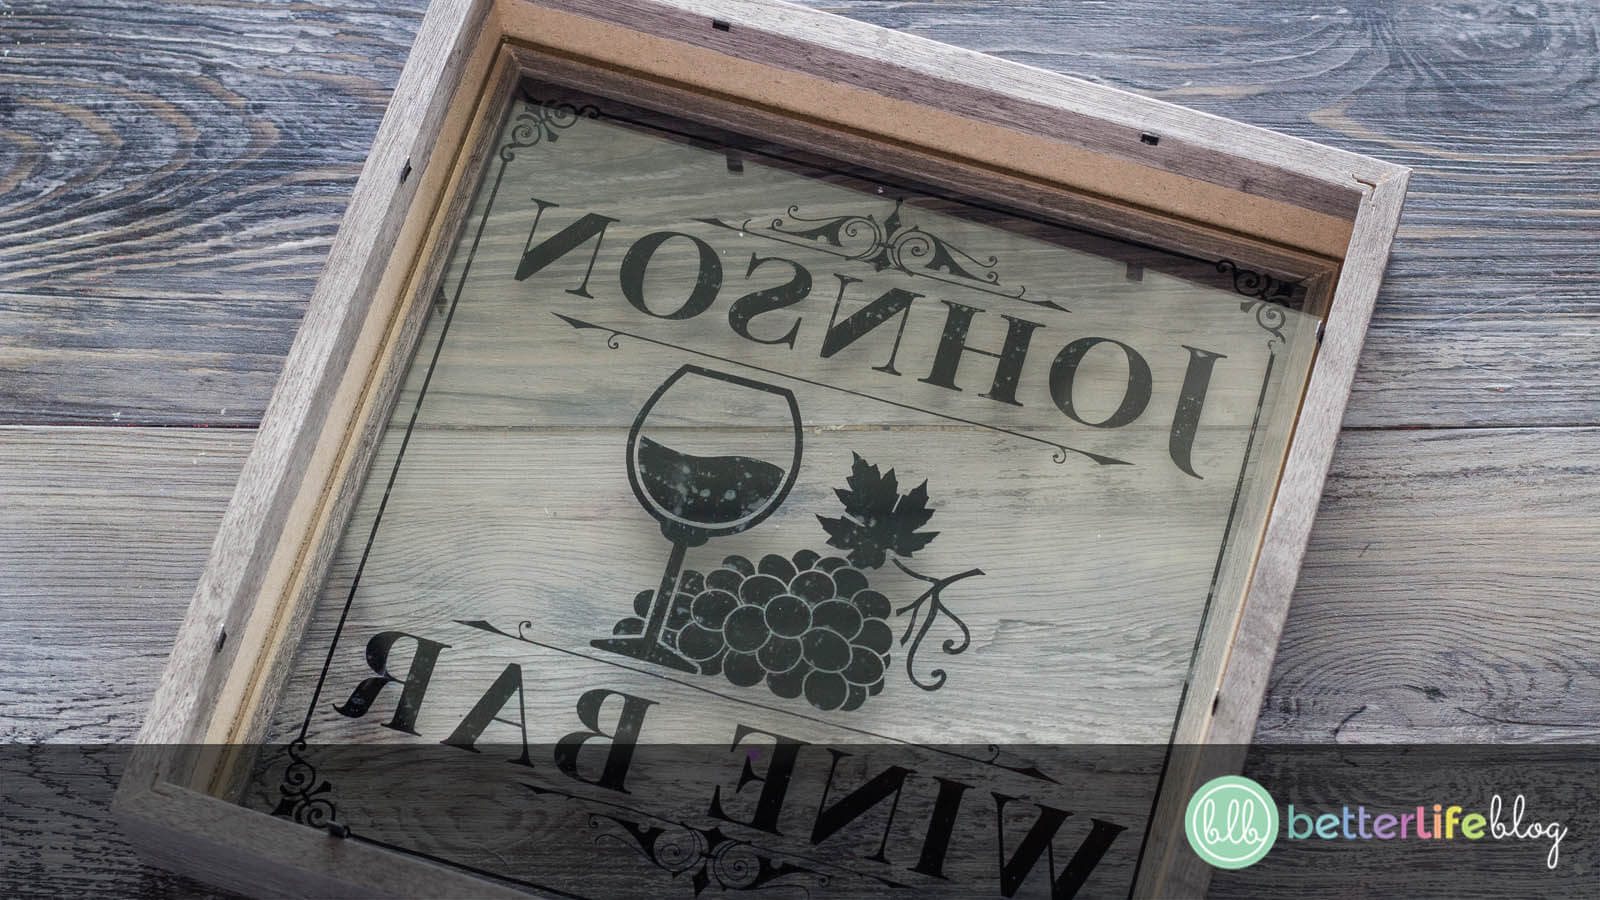
Remove the glass from your shadow box, and place your design evenly on the glass. Use your Cricut tools (or a credit card) to make sure your design is pressed firmly to the glass and all air bubbles are removed.
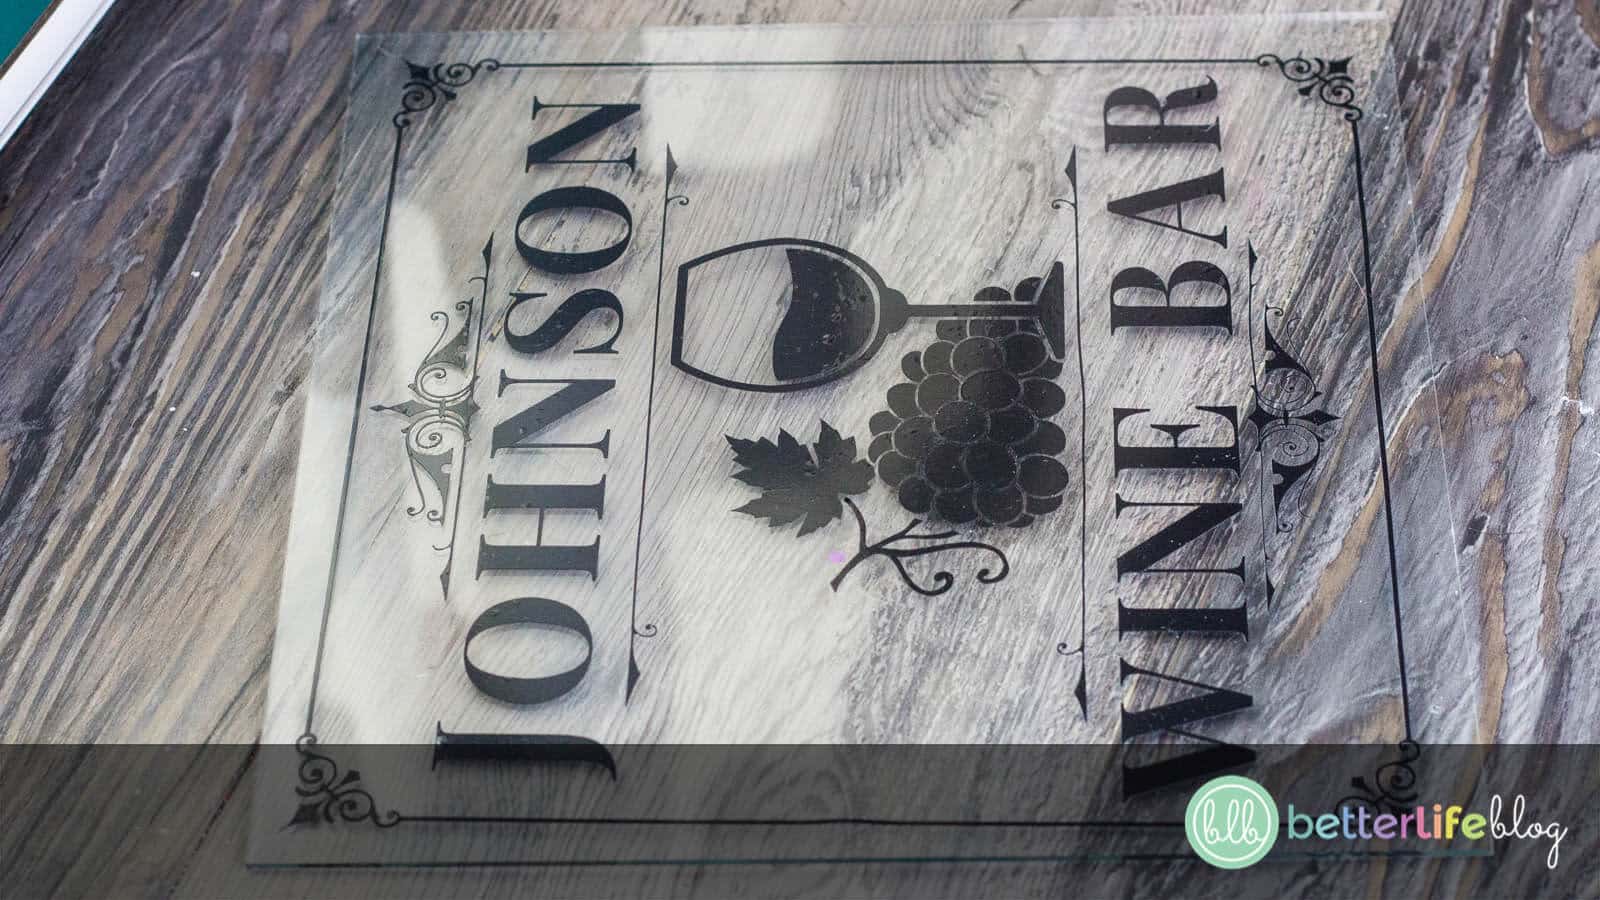
Slowly remove the transfer tape from the glass, making sure your design is sticking to the glass.
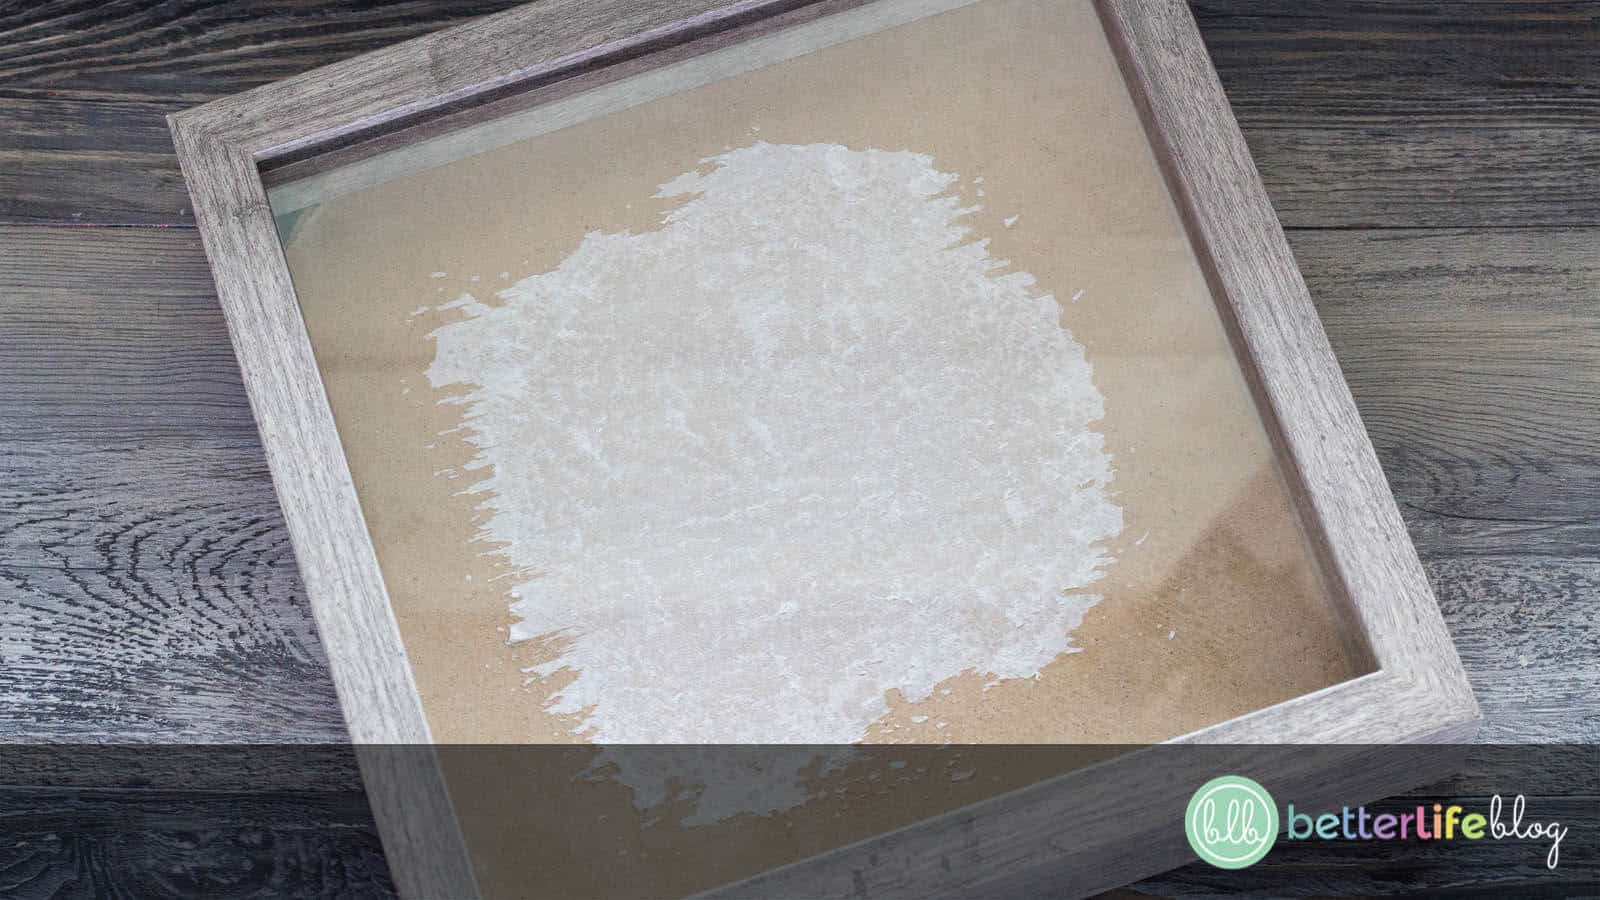
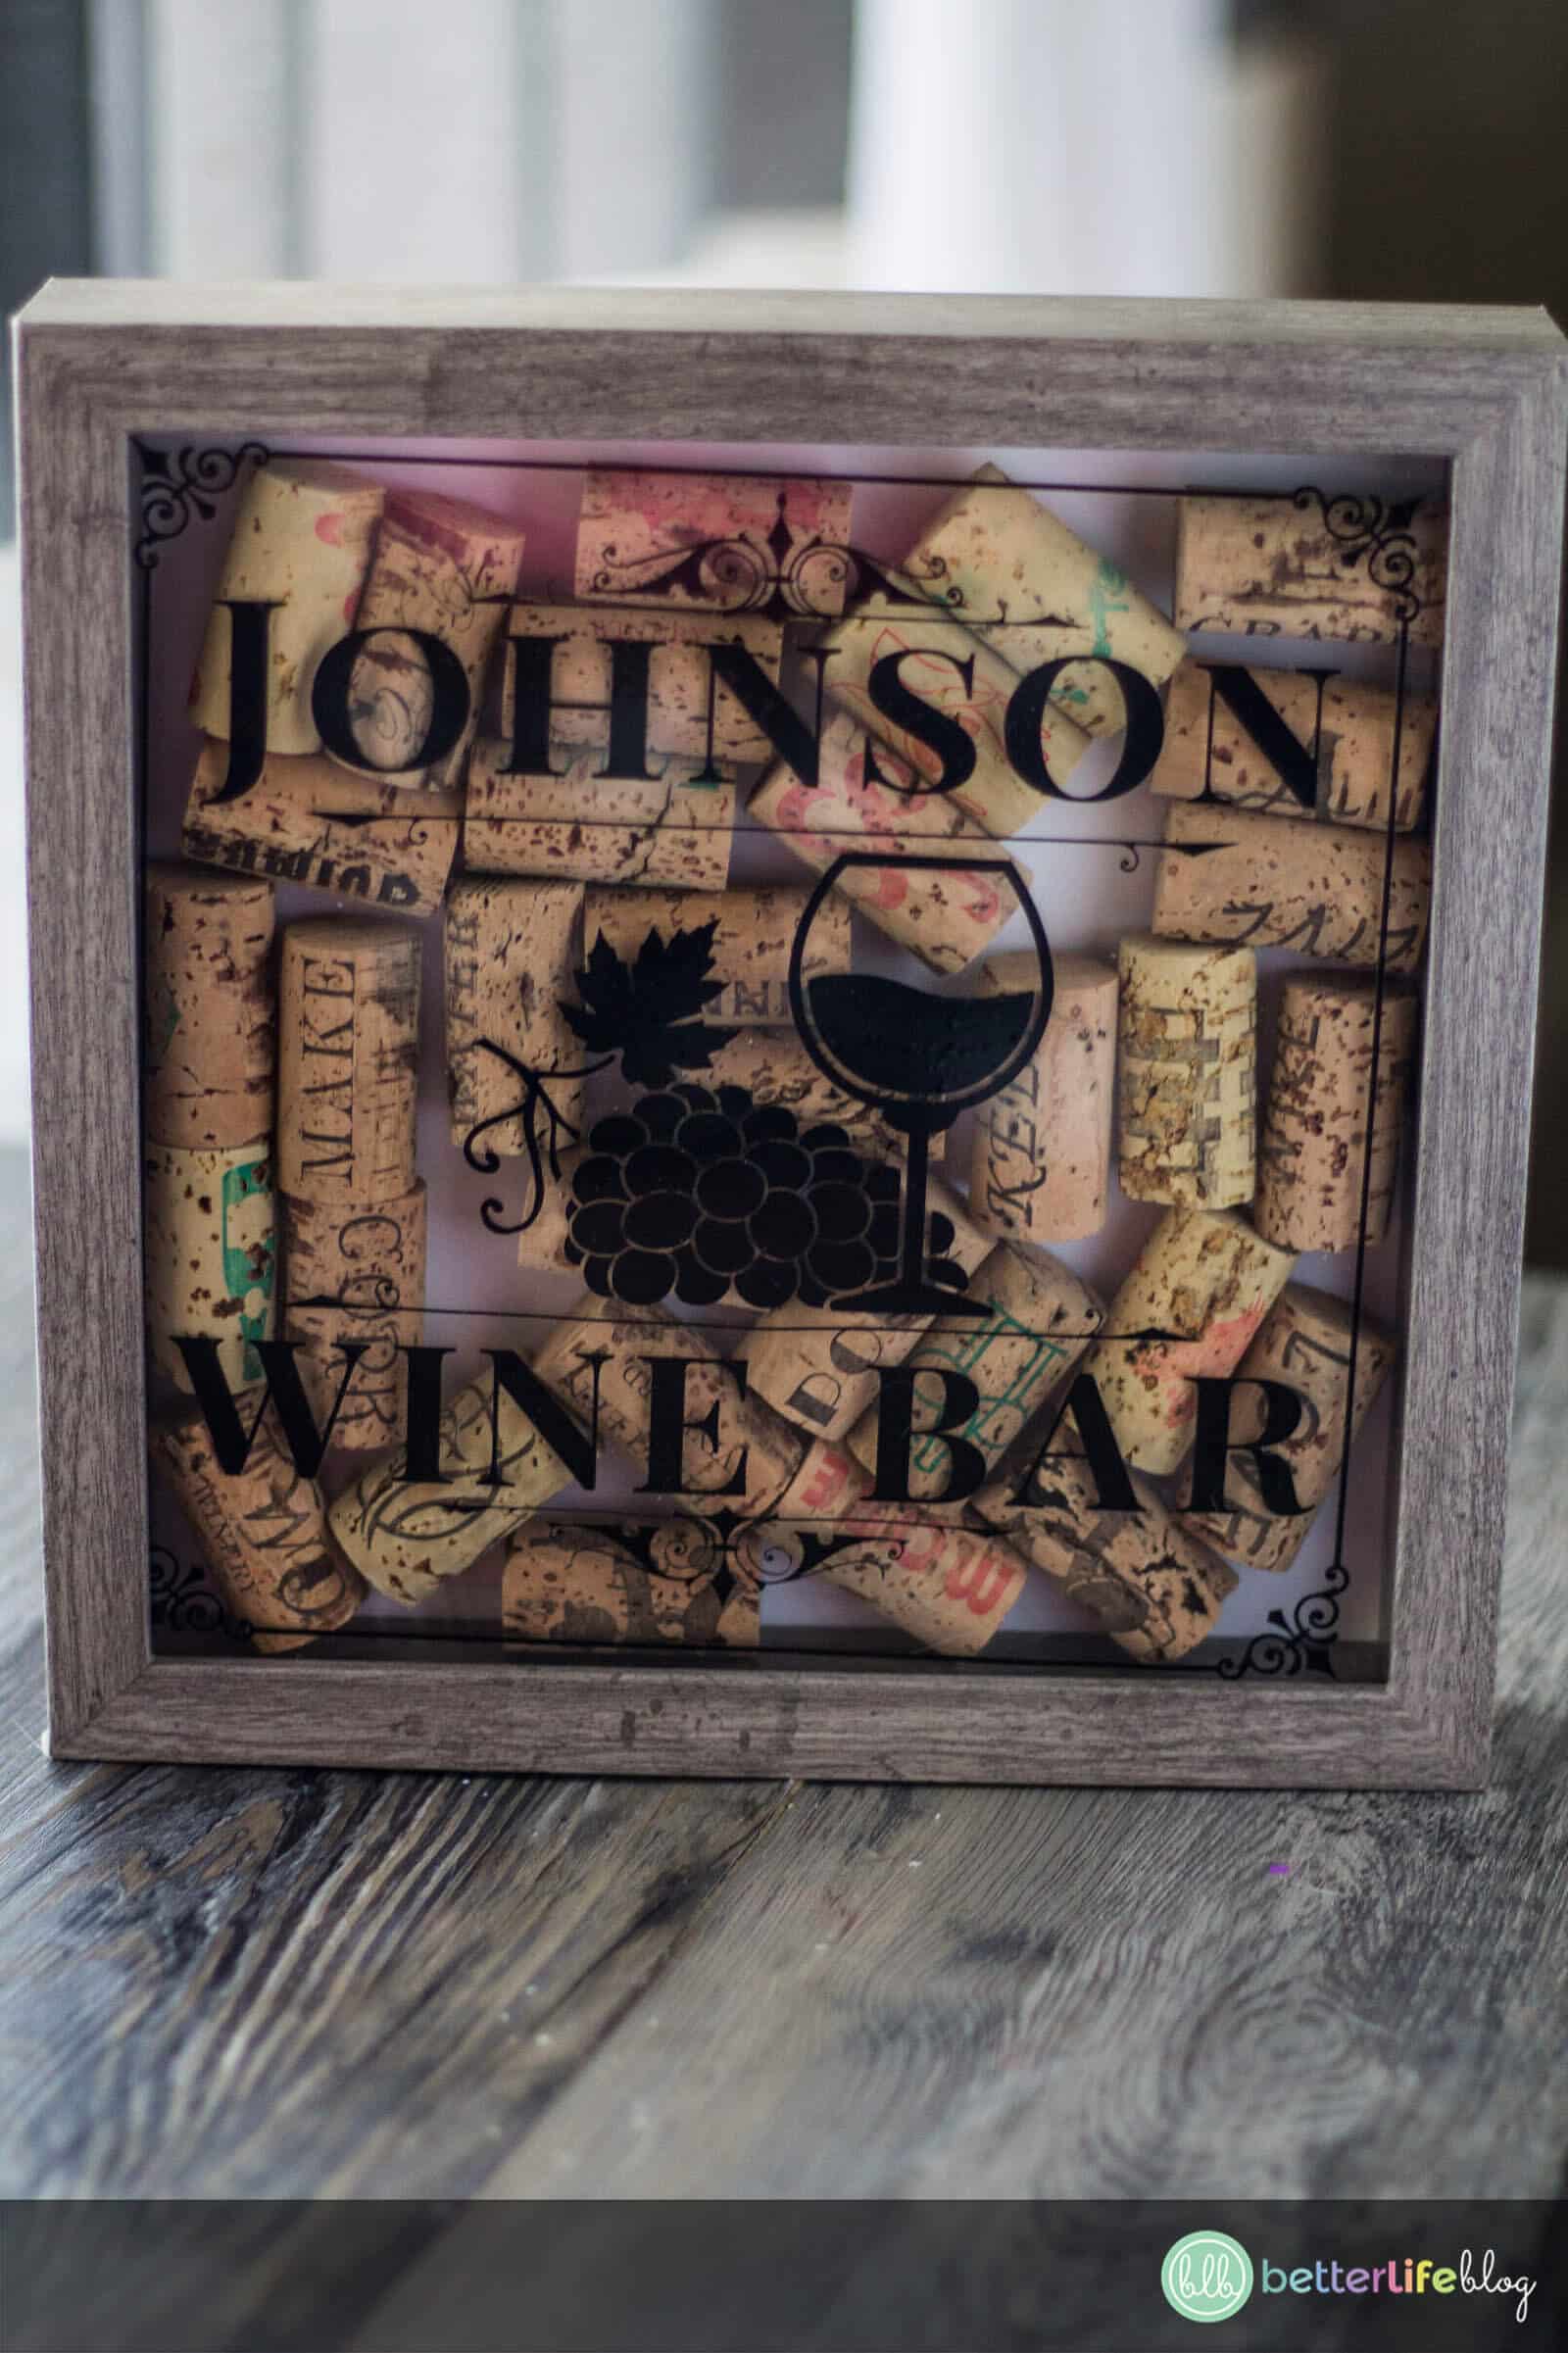
Now it’s time to assemble the shadow box: begin by placing the glass back into your shadow box, with the design facing out.
Next, fill the shadow box with used wine corks.

Take your card stock and cut it down to size. I cut mine to 9 x 9in so that it would fit evenly on the back side of my shadow box.
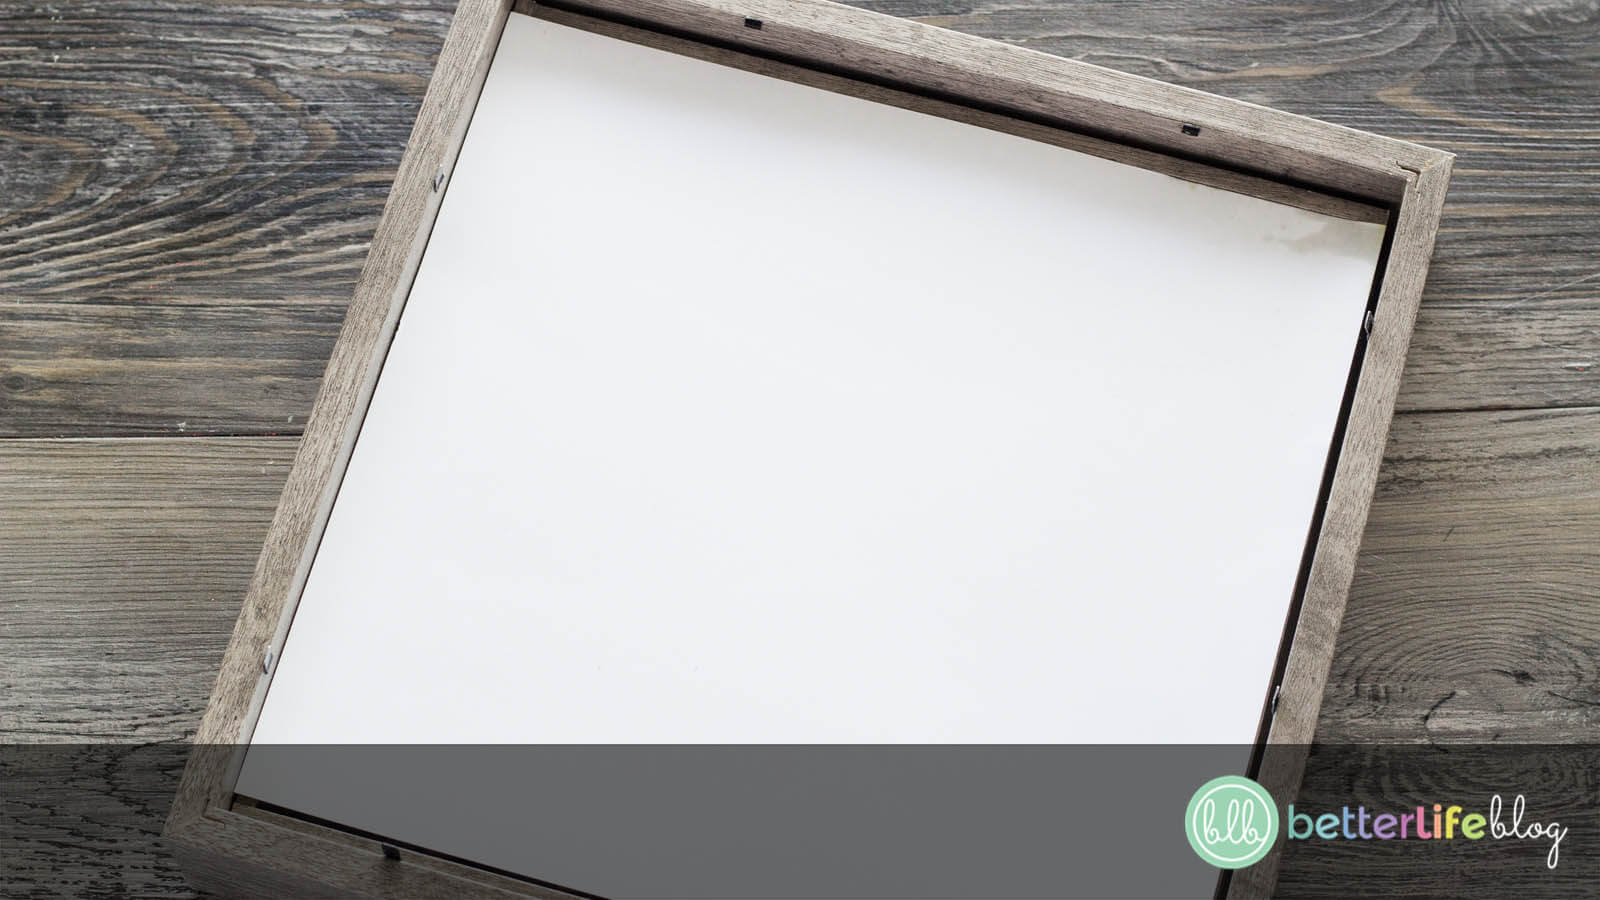
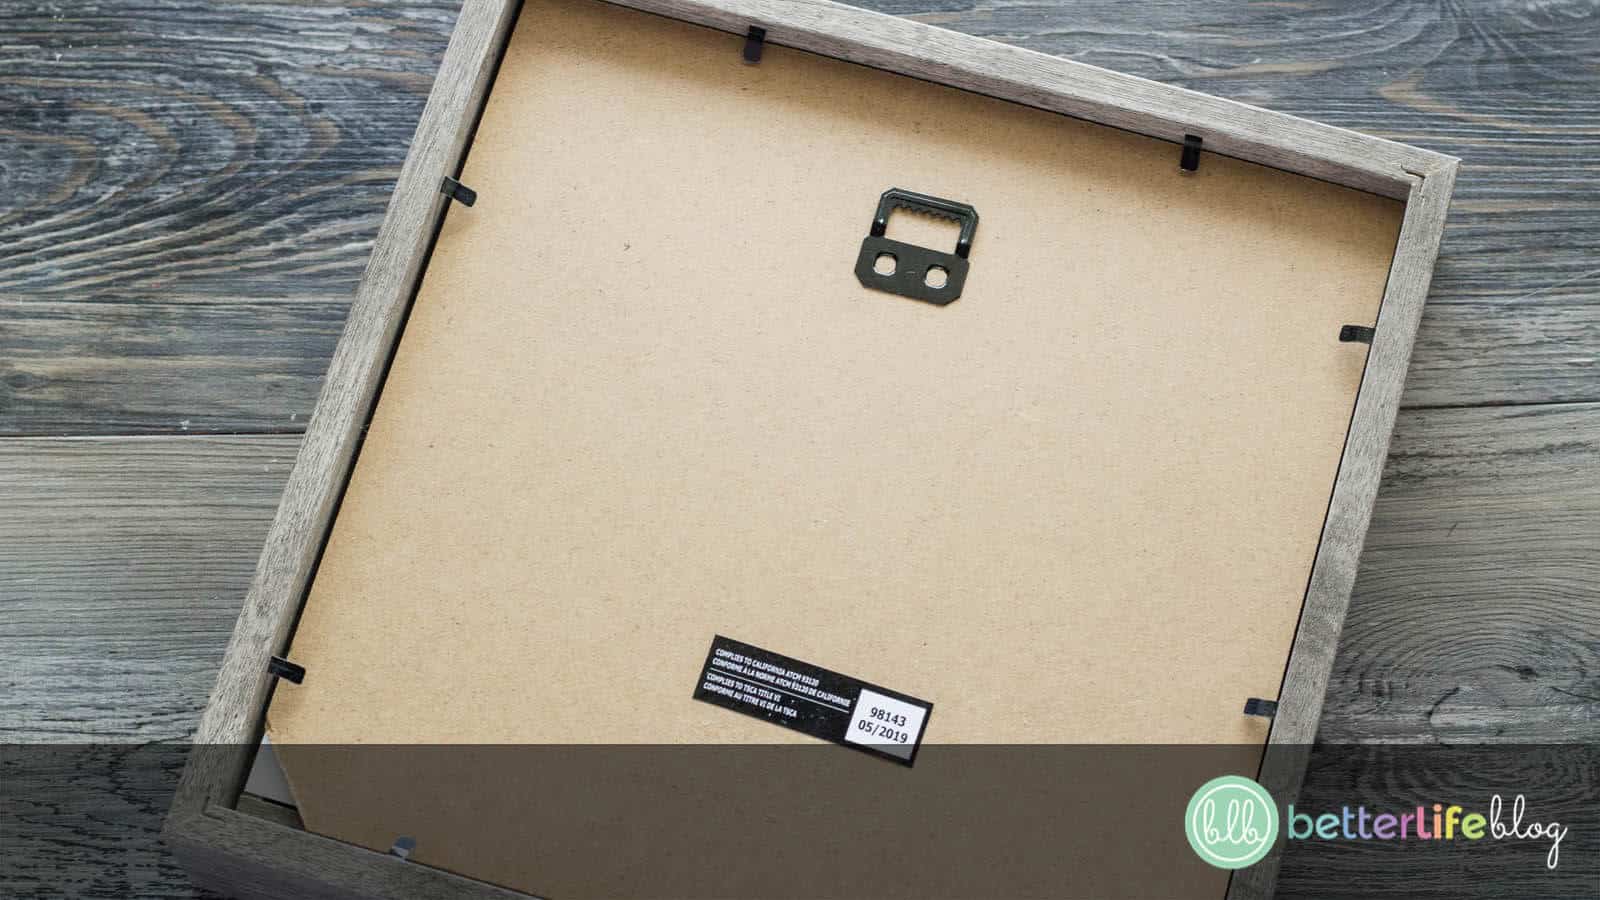
Place the card stock over the corks, and then place the back of the shadow box back on and secure. I removed the foam backing from my shadow box to allow more room for the corks. Enjoy your new shadow box!


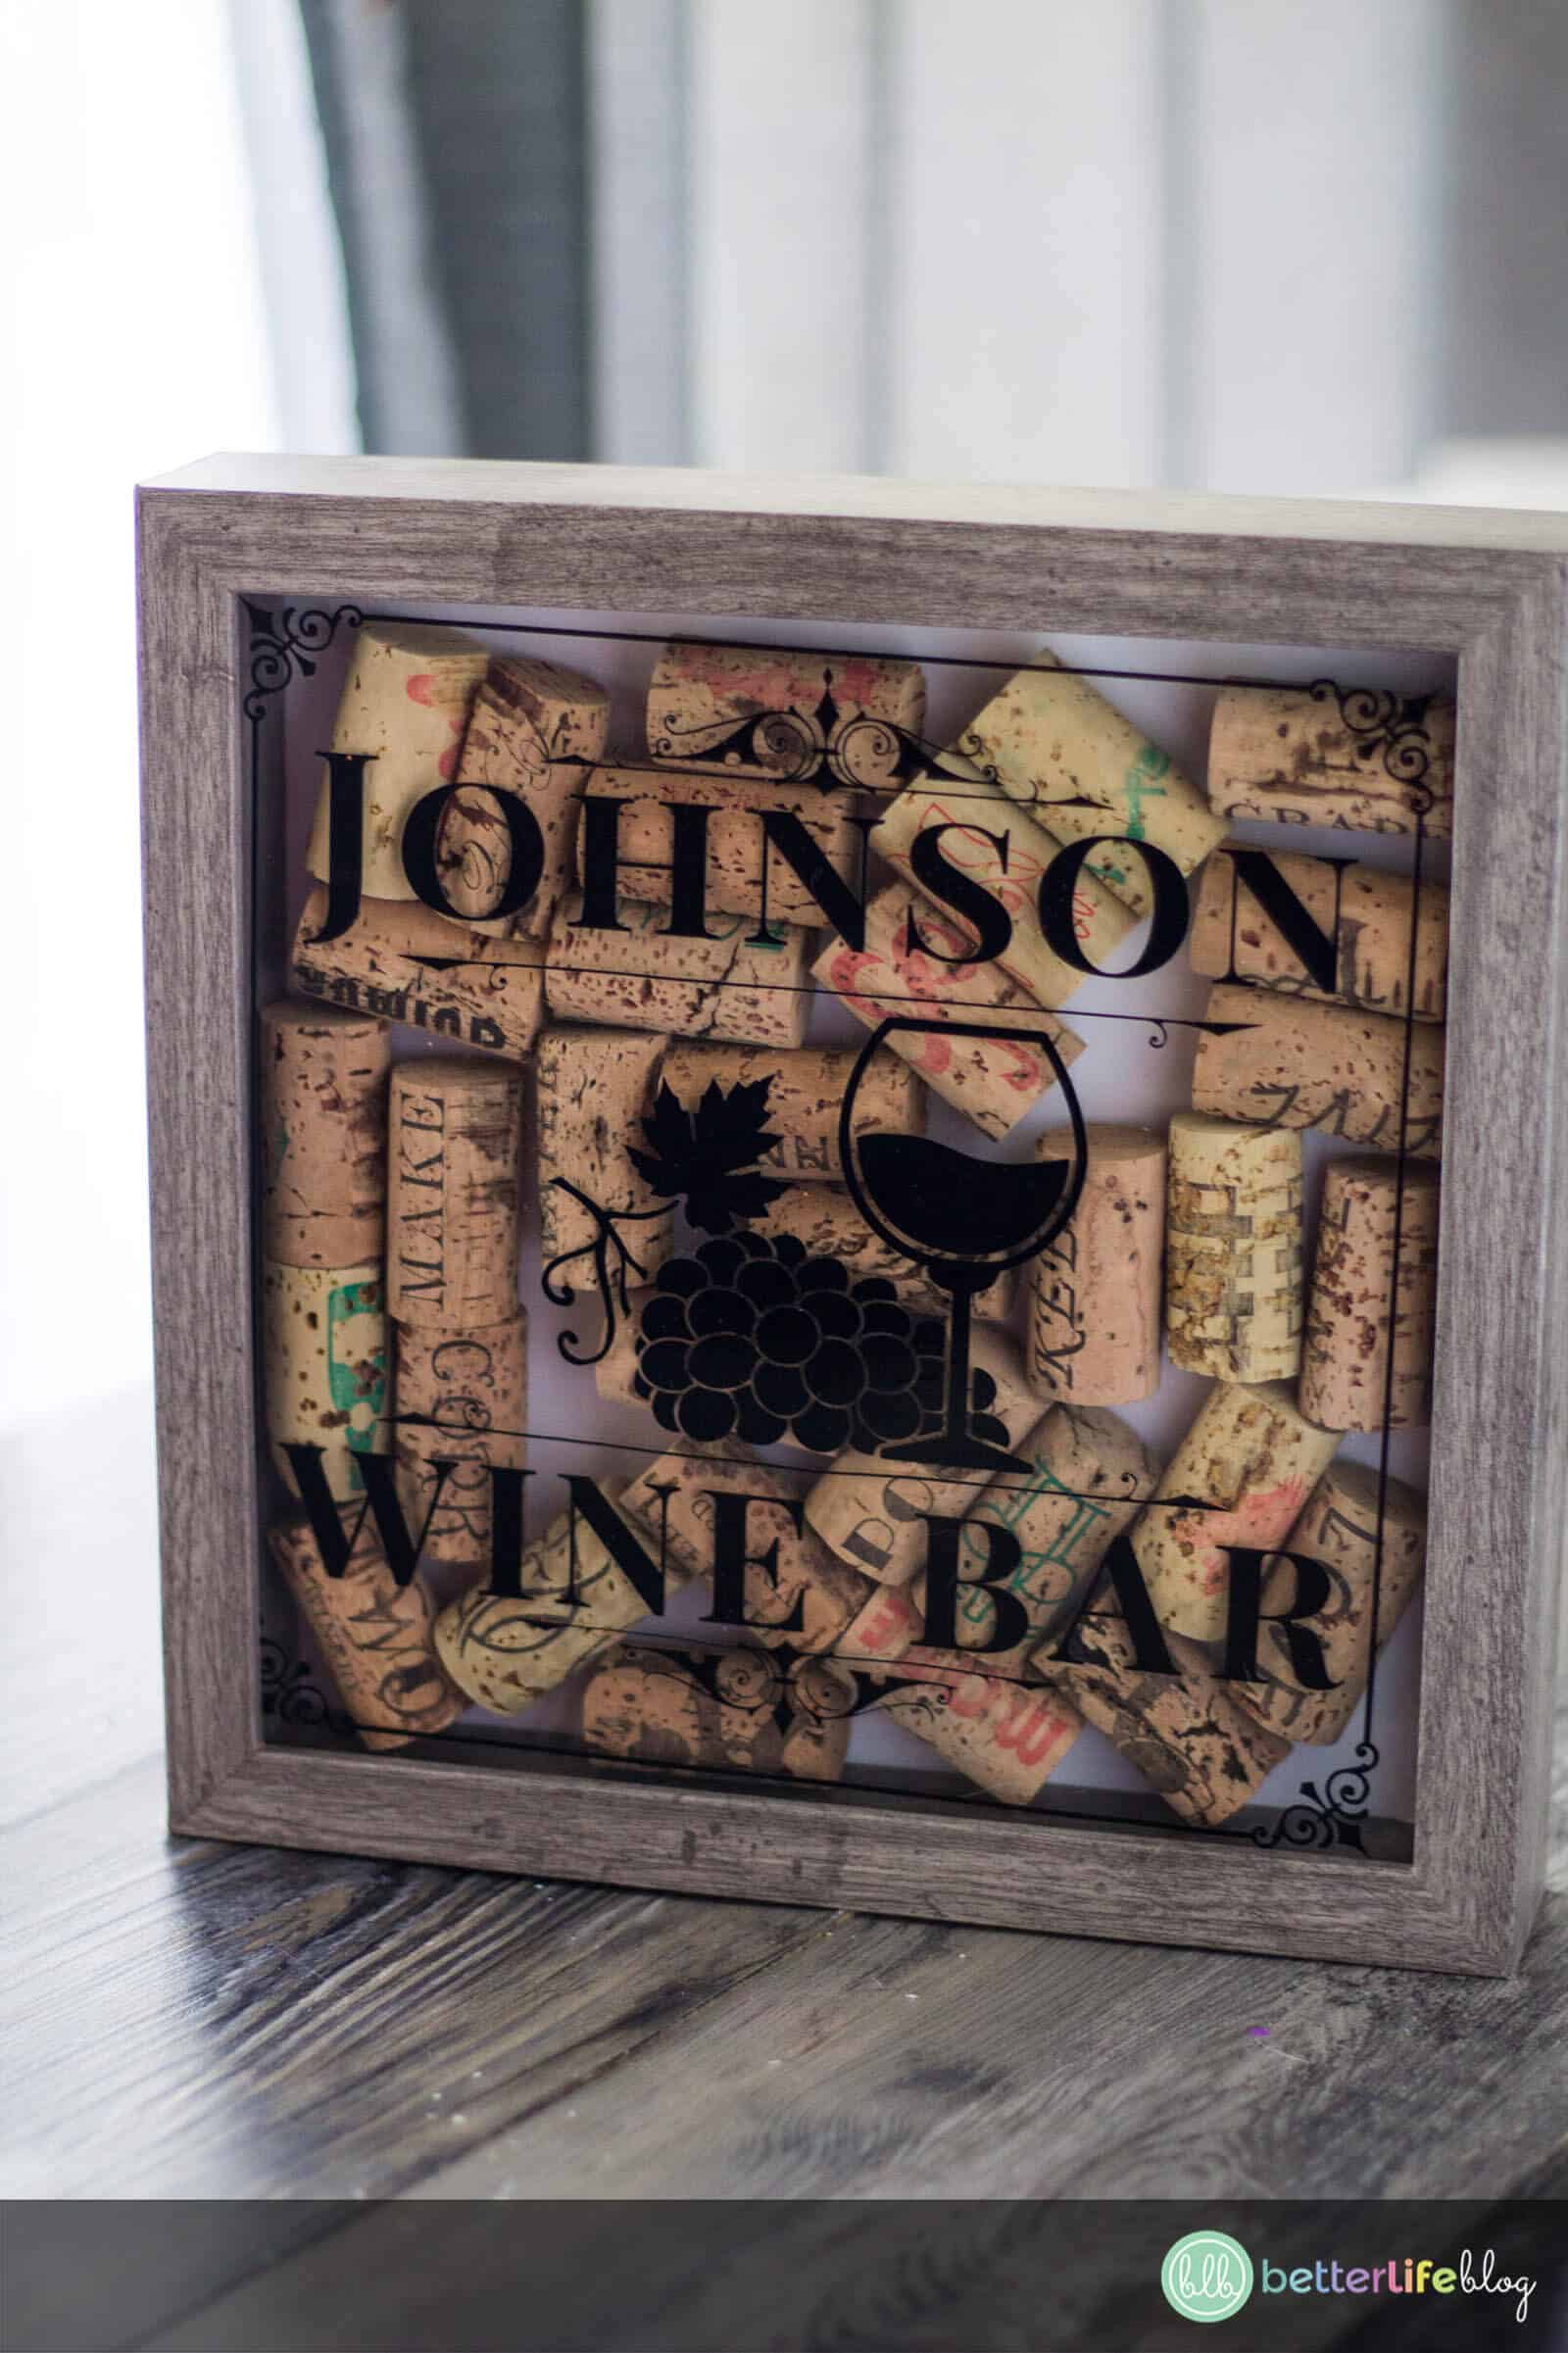

Wine Cork Shadow Box - Cricut Shadow Box DIY
My DIY Wine Cork Shadow Box makes the perfect personalized gift! If you have a wine or foodie enthusiast in your life, then you’ll definitely want to make one for them!
Materials
Instructions
- Here are our easy step-by-step instructions to make your very own Wine Cork Shadow Box… all with the help of your Cricut machine!
- Begin by plugging in your Cricut and connecting the USB cord to your computer. Turn on your Cricut by pressing the “Power” button, followed by the “Open” button.
- Next, lay a 12x12 piece of vinyl on your transfer mat. Ensure that it is pressed down firmly and evenly.
- Feed your transfer mat into your Cricut by pressing the “Arrow” button and making sure your mat evenly feeds into the guides on both sides.
- If you don’t have the font “Playfair Display,” be sure to download it and install it so it can be used on your computer. (It’s free!)
- Be sure to also download this project’s SVG file.
- Once you have everything downloaded, open Cricut Design on your computer. Click on “New Project” on the left-hand side.
- Next, click “Upload Image” followed by “Browse.” From here, locate the SVG file on your computer and click it.
- In the lower right-hand corner of your screen, you will see the option to “Upload.” Click on this and you’ll see that on the next screen, your file has been uploaded into Design Space’s image
database. Click on the file and then click, “Insert.” - Your image will now be on your Design Space canvas.
- On the top menu bar, locate the button that says “Select All.” Click on this button and your image should now have a square around it.
- Click the box next to where it says “Basic Cut.” Here, you will see a drop down with a color selection. Select the color of your vinyl.
- Now, add some text. To do this, click the “Text” button on the left-hand side of your screen. Type in the name you want to use for this project in the textbox provided.
- In the top menu bar, click the drop down arrow for “Font,” and change your font to “Playfair Display SC.”
- Select the name you typed out and drag it so that it is centered on the top line. You may need to resize it so that it fits on the line. To make it larger, drag one of the corners of the box outwards. To make it smaller, drag a corner inwards.
- Next, change the color of the font to match your vinyl.
- Click on “Select All” once more, followed by the “Weld” button (found on the bottom right of your screen).
- Click on “Select All” once more, and make sure your image is the right size for your shadow box’s glass. The glass on mine was 9x9in, so I resized my image to be 8.5x8.5in. To resize your entire image, drag the corner of the box in and out.
- You are now ready to cut out your design! Start by clicking the “Make It” button on the top right-hand corner of your screen.
- From here, you will see your design as it will appear on your vinyl. Click “Continue,” and follow all of the on-screen prompts. Make sure your dial on your Cricut is set to vinyl and that your mat is fed into your Cricut. Next, press the Cricut button on your machine to cut!
- Once your design is cut out, weed it out with the help of your weeding tools.
- Next, cut a clear piece of transfer tape to size (ie.: the same size as your design).
- Place the transfer tape over on top of your weeded design.
- Pull the white paper backing off of the back of your vinyl design, while making sure your design is sticking to the transfer tape.
- Remove the glass from your shadow box, and place your design evenly on the glass. Use your Cricut tools (or a credit card)
to make sure your design is pressed firmly to the glass and all air bubbles are removed. - Slowly remove the transfer tape from the glass, making sure your design is sticking to the glass.
- Now it’s time to assemble the shadow box: begin by placing the glass back into your shadow box, with the design facing out.
- Next, fill the shadow box with used wine corks.
- Take your card stock and cut it down to size. I cut mine to 9 x 9in so that it would fit evenly on the back side of my shadow box.
- Place the card stock over the corks, and then place the back of the shadow box back on and secure. I removed the foam backing from my shadow box to allow more room for the corks. Enjoy your new shadow box!