There’s nothing more comforting during this time of the year than cozying up on the sofa with a good movie and a nice hot cup of cocoa. I wanted to make my mug feel just a bit more special, and thought I could try adding a cute design to the top of my drink. This is perfect to make for the kiddos or someone special! Today, I’m going to show you how to make a snowflake stencil of your very own using your Cricut, (or Silhouette Cameo or your favorite cutting machine) and some acetate!

Making this fun design was actually really simple!
If you’re a fan hot chocolate, don’t forget to check out my Edible Hot Chocolate Shots. In the meantime, take a look at my quick tutorial just below for my Cricut Hot Cocoa Stencil Art.
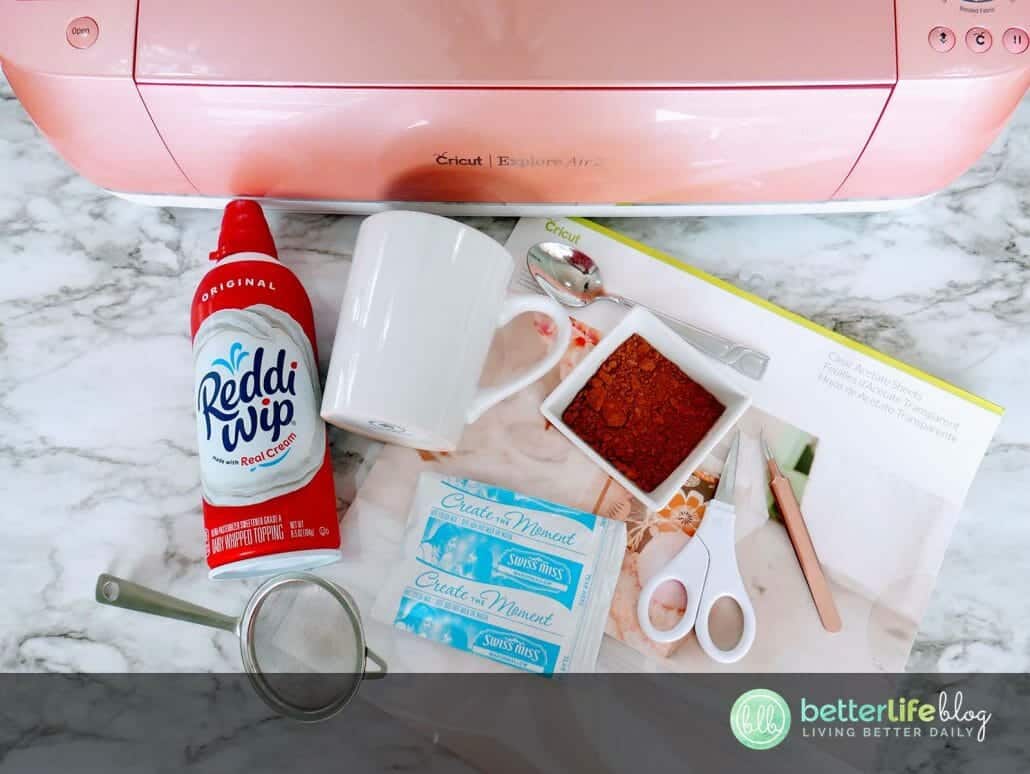
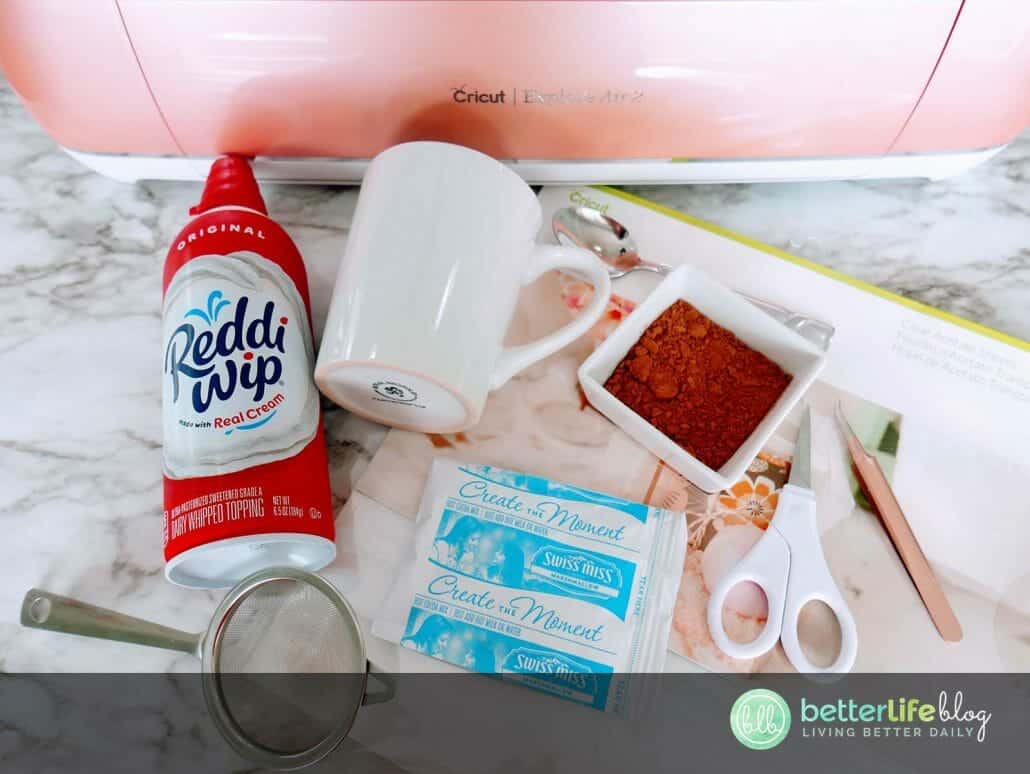
Materials Needed:
- Cricut or cutting machine
- Cricut grip mat
- Sheet of acetate
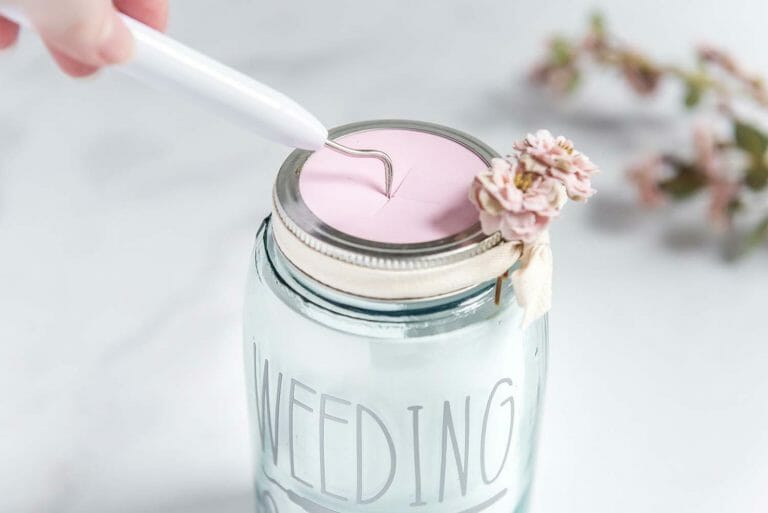
- Cricut weeding tools
- Scissors
- Hot cocoa mix + hot water or milk
- Whipped cream
- Cocoa powder
- Hand sifter

Instructions:
First choose a simple design – you don’t want anything too complex. I used this very basic snowflake from my Ultimate Christmas SVG Bundle but you can use any design you like! Upload your SVG file to Cricut Design Space. Make proper adjustments according to your mug’s size.
Click “Make it”, “Continue” and then adjust your dial or setting to the custom Acetate setting.

Cut and weed snowflake stencil. Be sure to clean your stencil before using it on your drink!
Prepare hot cocoa to your liking. Top with whipped cream. Then, smooth the whipped cream with the back of a spoon to create a flat surface.
Place the newly-cut stencil over your mug.
Place cocoa powder in hand sifter and shake over the stencil.

Remove the stencil to reveal your beautiful design. Now serve and enjoy!

Notes:
If the acetate setting to you, you can select the Custom Setting, and then under the plastic category select “Transparent”. Then edit the settings to 310 for the cut pressure, and 2x for the multi-cut.

For best results, the stencil should rest very close to the whipped cream, but should not be touching.


Hot Cocoa Stencil Art With Your Cricut
I decided to go the extra mile to spruce-up my serving of hot chocolate with a gorgeous snowflake stencil. Today, I’m going to show you how to make a snowflake stencil of your very own - and with your Cricut Machine!
Materials
Instructions
- Upload your SVG to Design Space. Make proper adjustments according to your mug’s size.
- Click “Make it”, “Continue” and then adjust your dial or setting to the custom Acetate setting.
- Cut and weed snowflake stencil.
- Clean your snowflake stencil properly before using it on your drink.
- Prepare your hot cocoa to your liking. Top with whipped cream.
- Smooth whipped cream with the back of a spoon so that the top is a flat surface.
- Place your newly-cut (and clean) stencil over your mug.
- Place cocoa powder in hand sifter and shake over the stencil.
- Remove the stencil carefully to reveal your beautiful design - serve and enjoy!
Notes
If the Acetate setting is not available, you can select the Custom Setting, and then under the plastic category choose "Transparent". Then edit the settings to 310 for the cut pressure, and 2x for the multi-cut.
For best results, the stencil should rest very close to the whipped cream, but should not be touching.