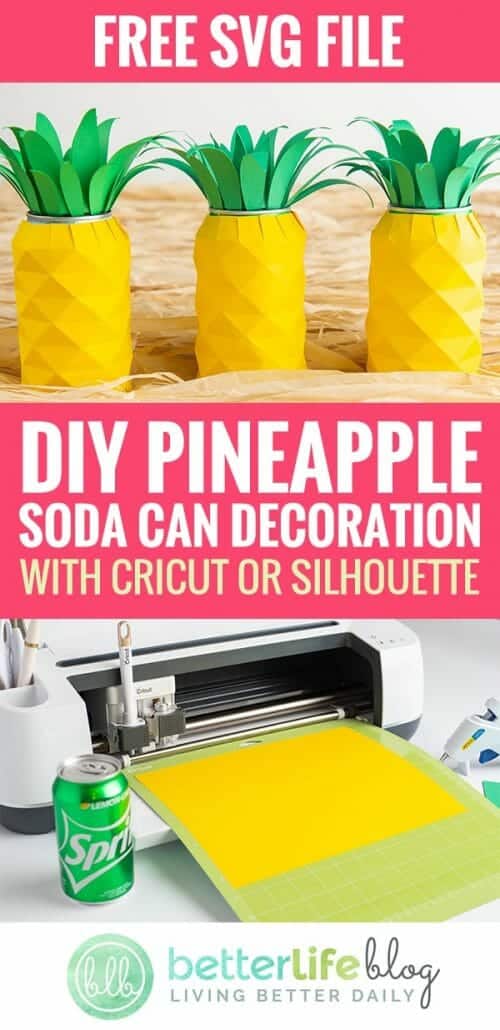
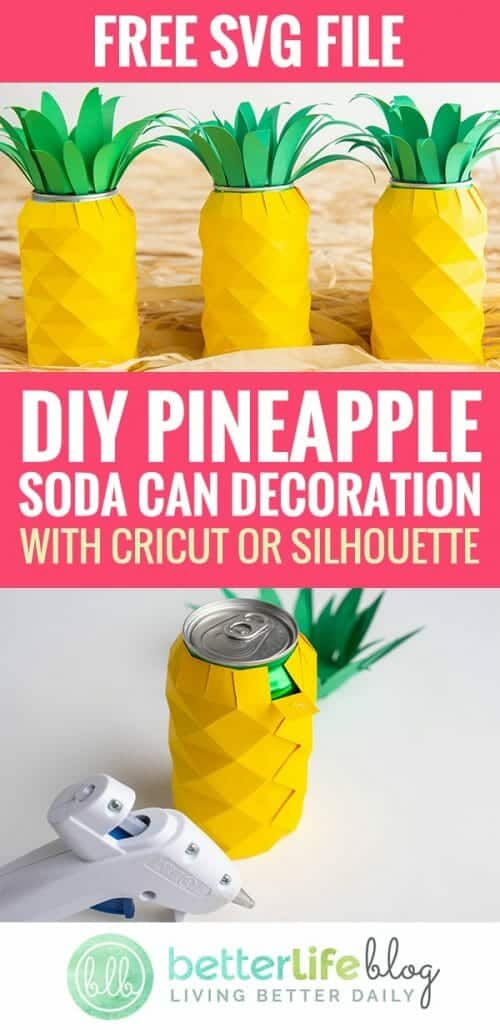
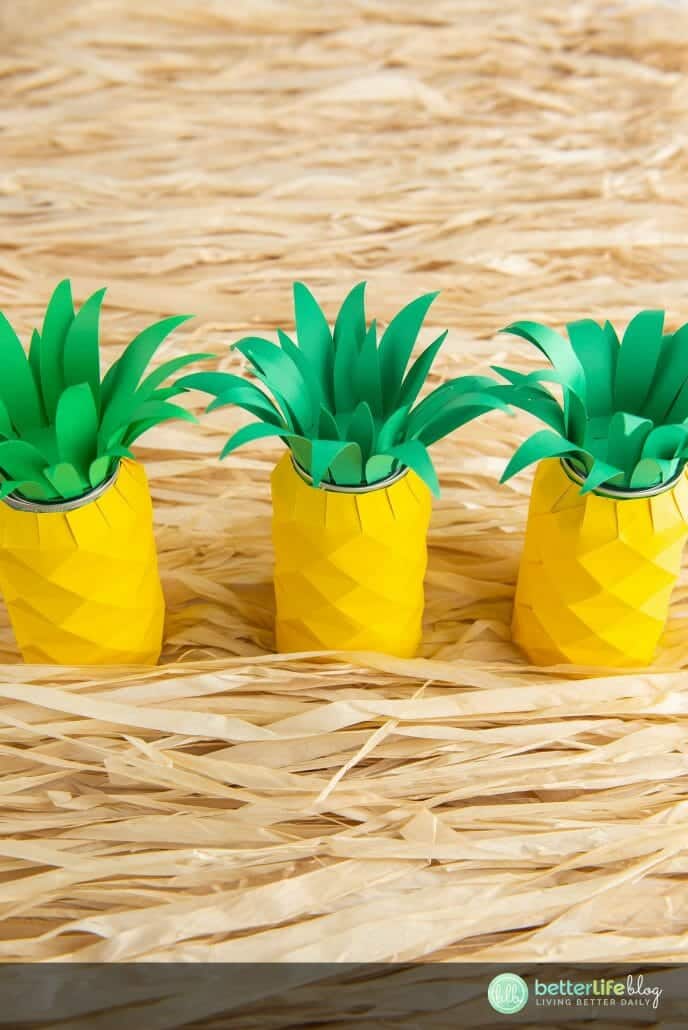
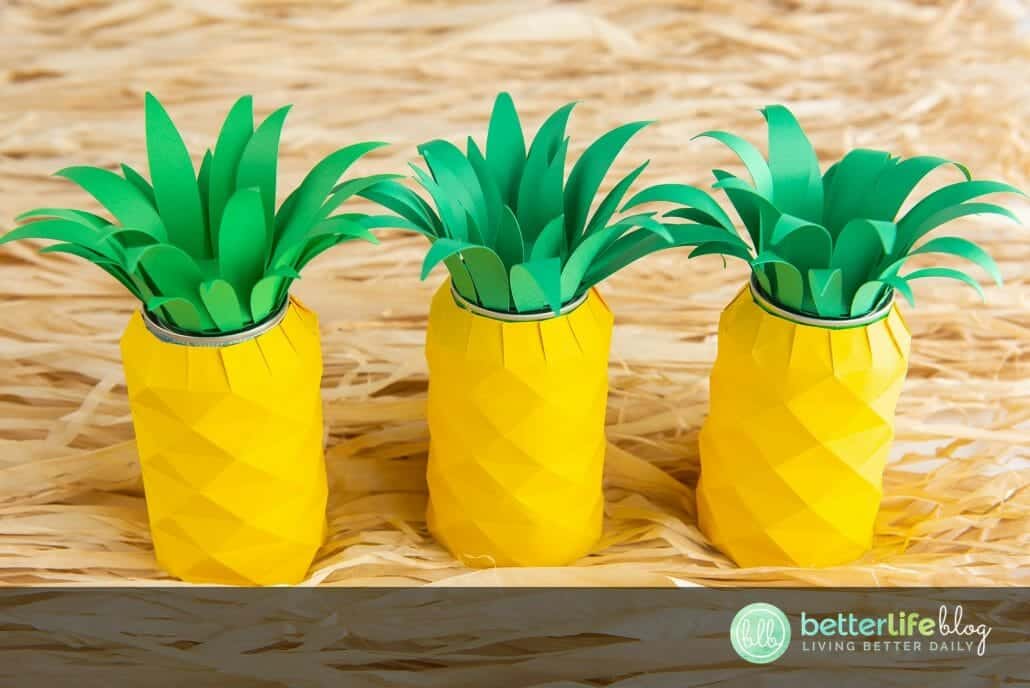
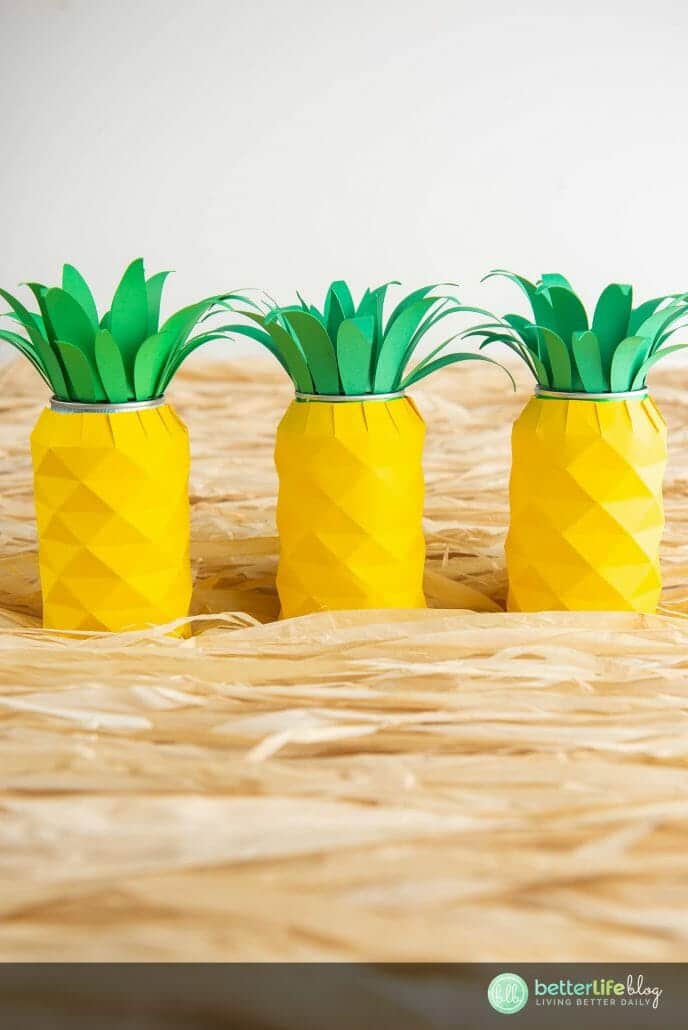
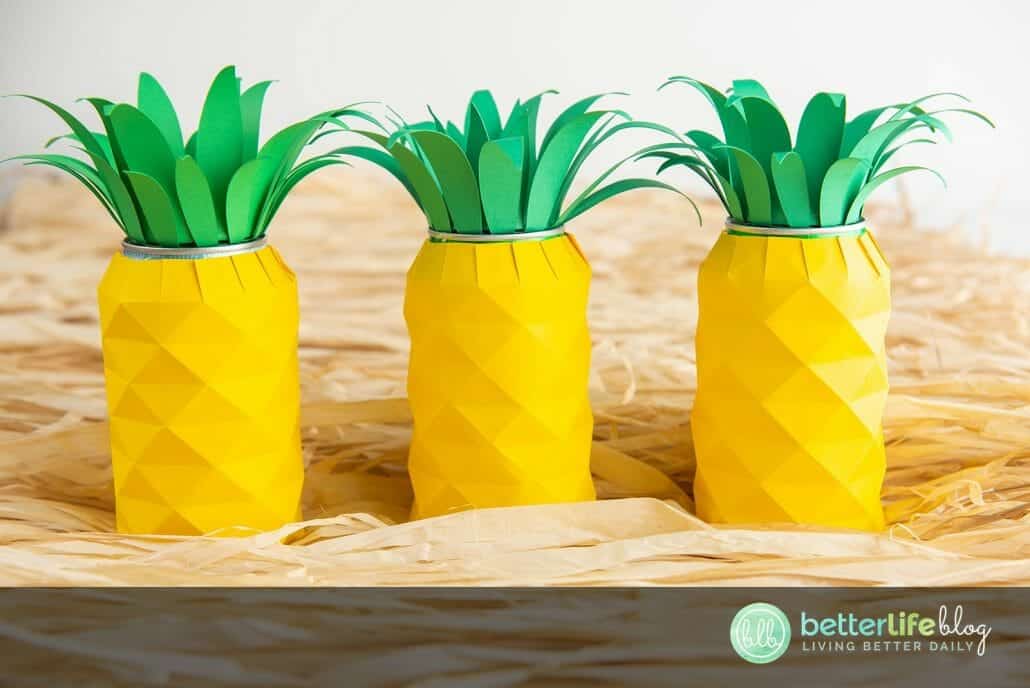
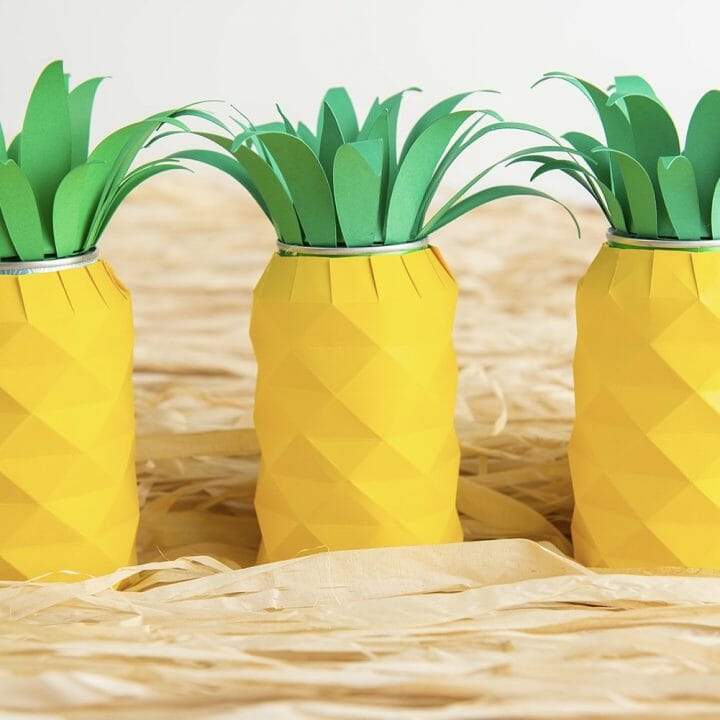
Today, I’ve got a really fun Cricut craft for you! This Pineapple Soda Can decoration is perfect for any Hawaiian-themed bash! I’ve provided you with a free SVG file and super easy step-by-step instructions.
Throwing a Luau? I have an entire suite of decorations for you, whether you’re doing a grown-themed outdoor party or a Moana birthday party for your little one, these Cricut party decorations will make things a lot easier and way more fun!
Be sure to check out my other Hawaiian-themed Cricut crafts, like this super cute (and super colorful!) paper lei. You can DIY your way through a beautiful luau party… and your guests will be super impressed!
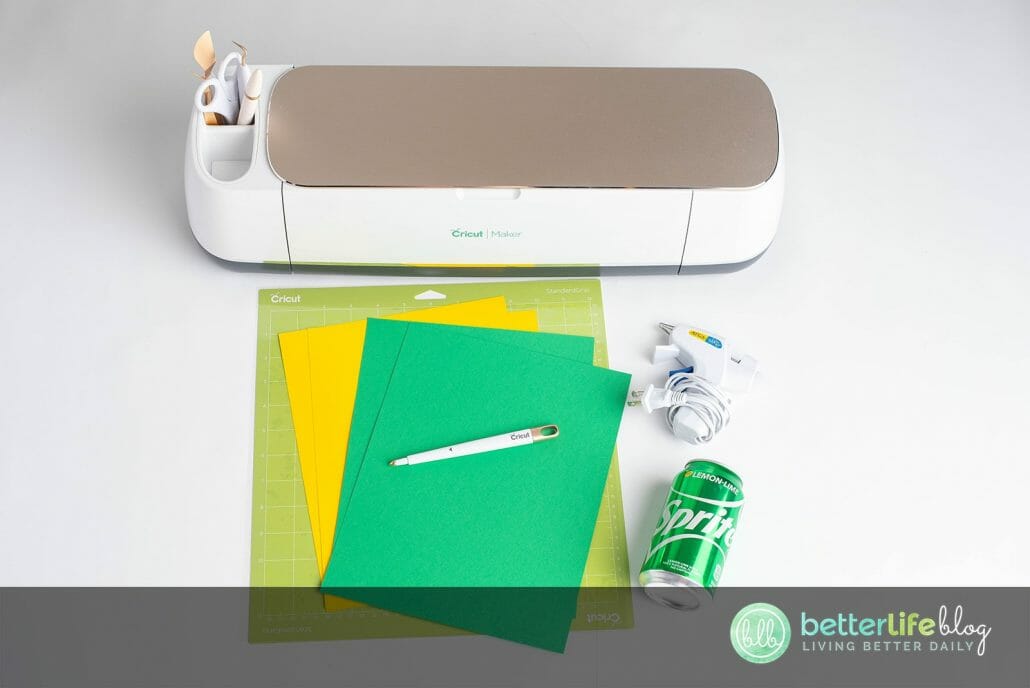
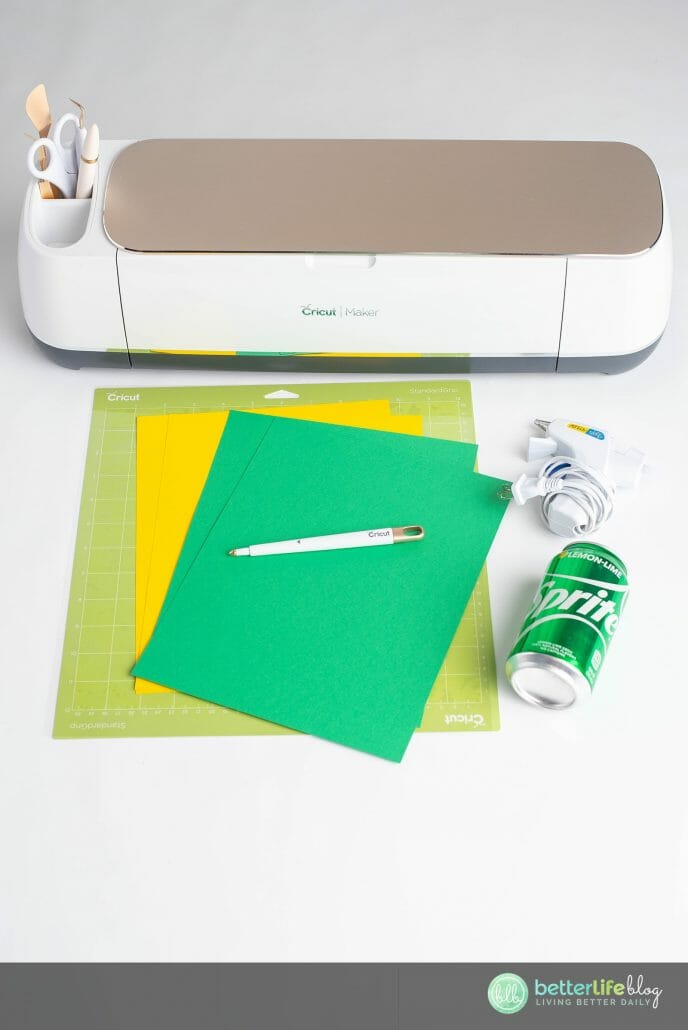
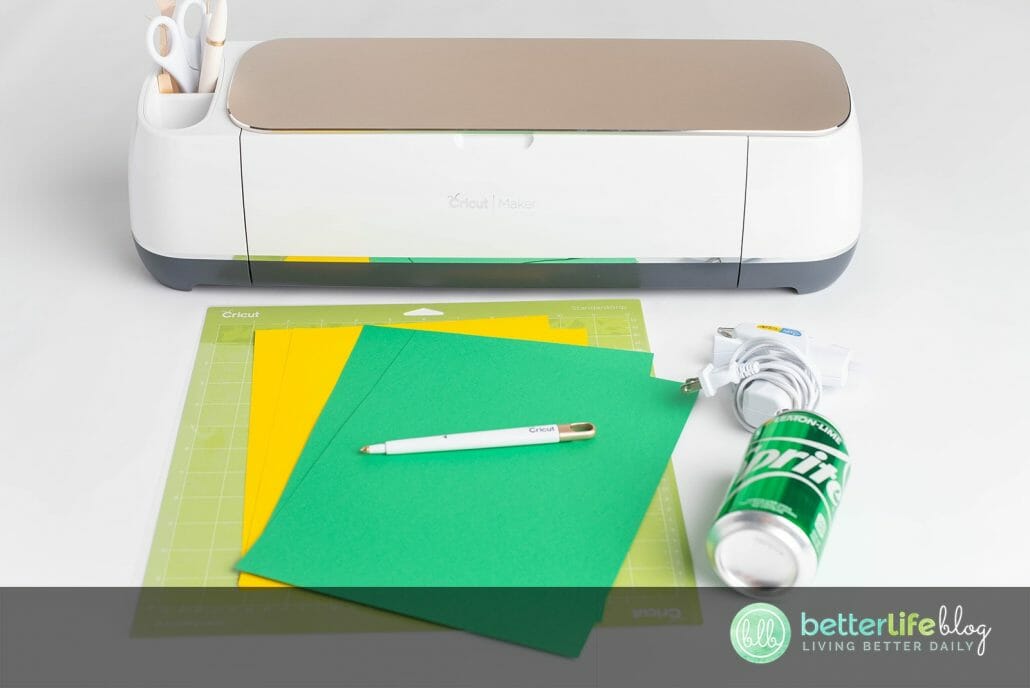
Tools and materials needed:
- Cricut or other cutting machine
- Cricut scoring wheel or scoring stylus
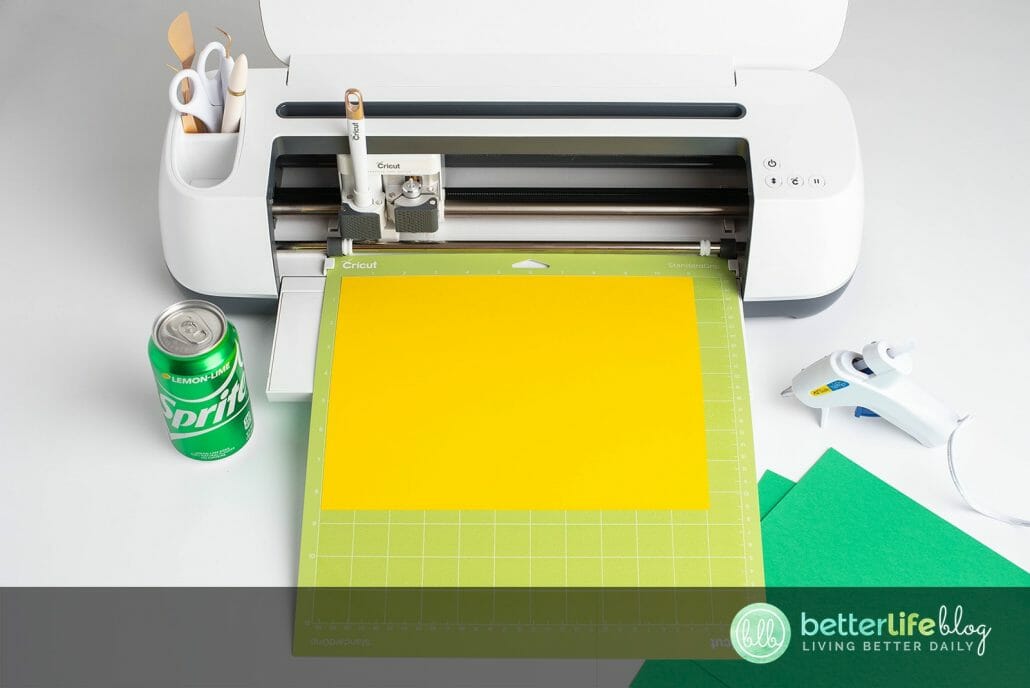
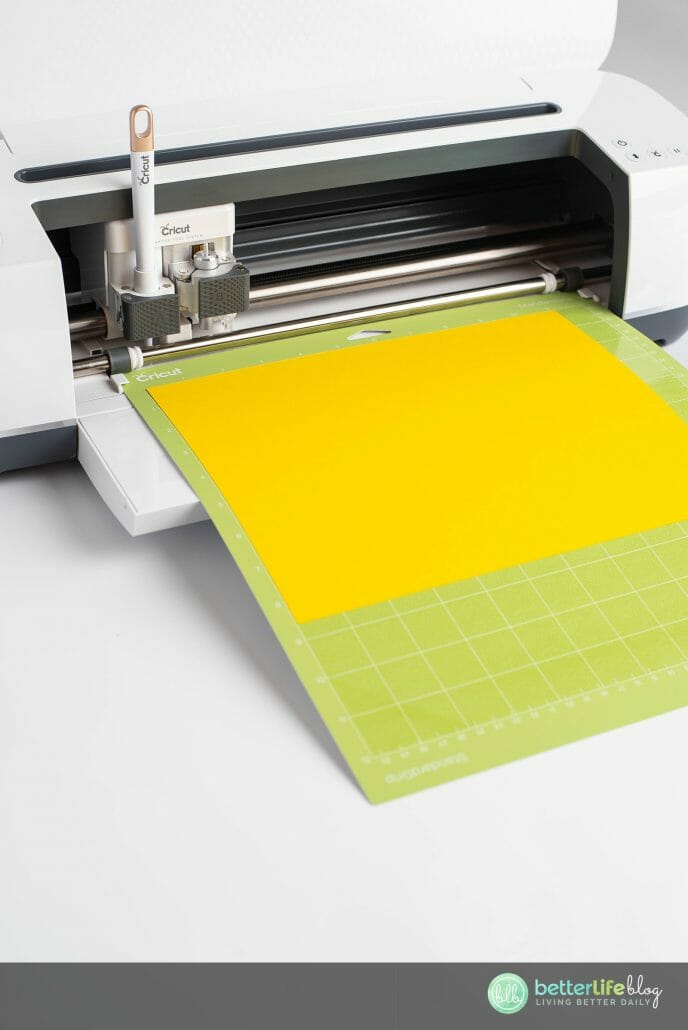
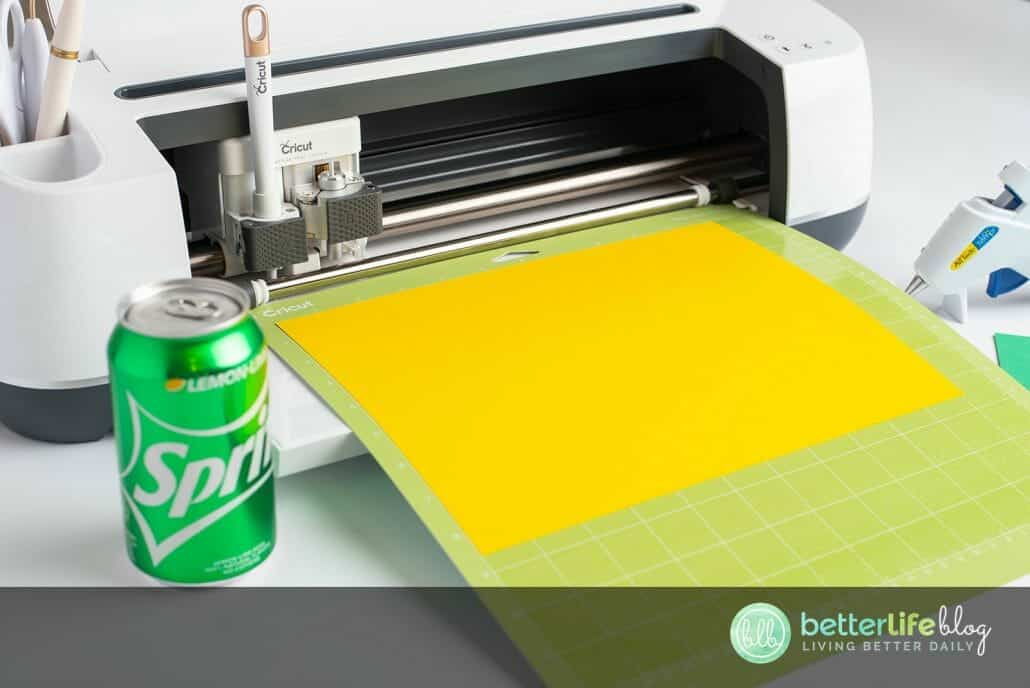
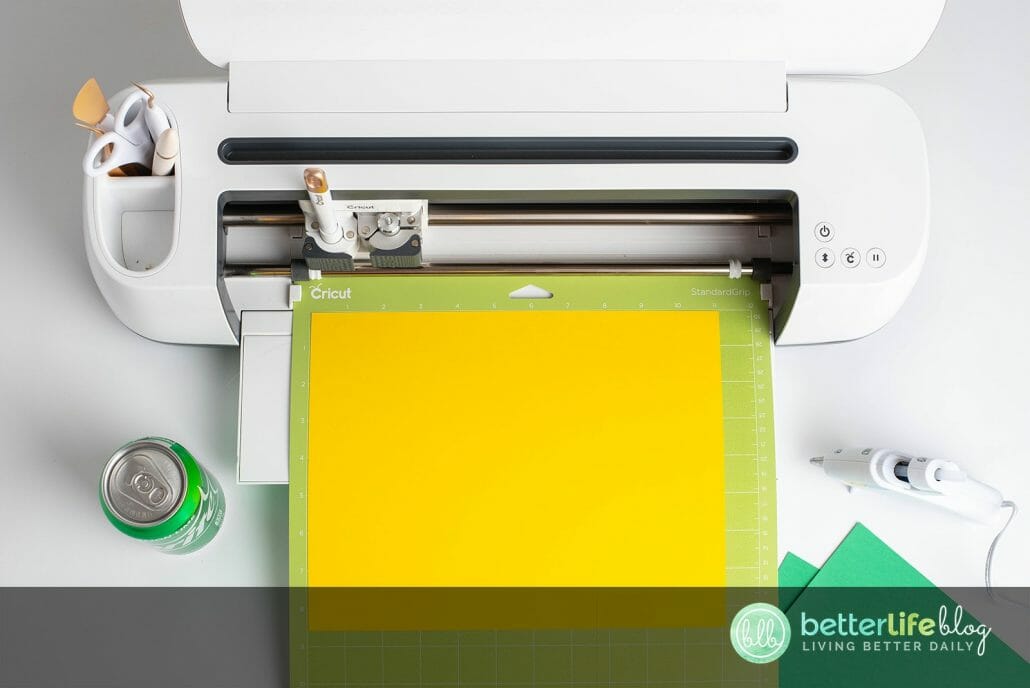
- Card stock (8.5×11” 65-80lb), yellow and green
- Cricut blue light or green standard grip mat
- Hot glue gun and glue sticks
- Soda cans
- FREE Pineapple Soda Can SVG File
Directions:
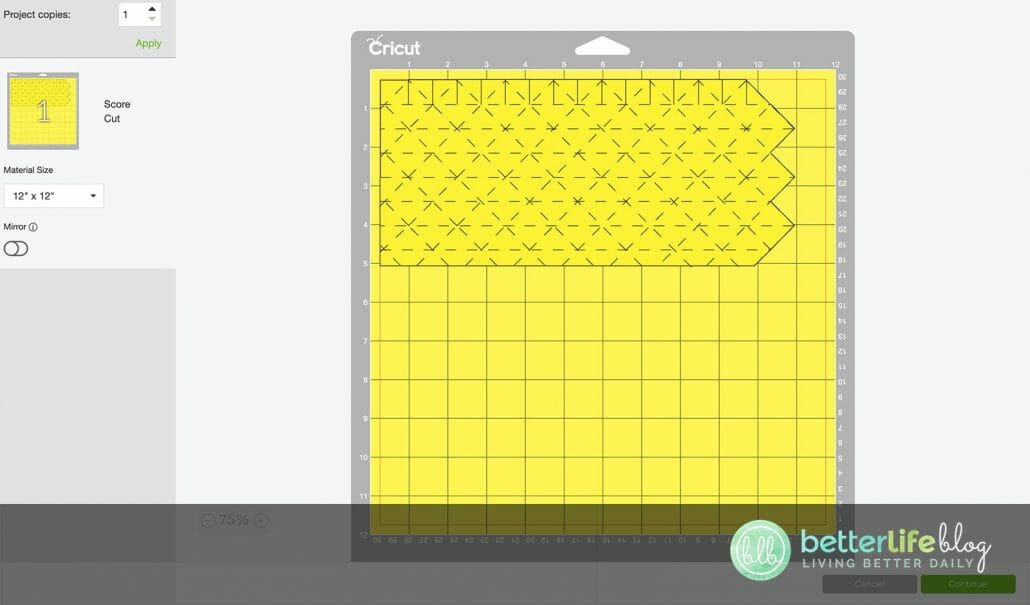
Download the free SVG Cut File here, then unzip/extract and upload your SVG file to Design Space. Once uploaded, click on “Ungroup” on the layers panel. Click to select the two yellow circles for the pineapple crown and the criss-crossed line layers of the pineapple. Next, click “line type” (which is towards the left of the top toolbar). Click the drop down menu and select “Score.”
*You will need to score the circle on the inside of the pineapple crown. This will allow you to fold the leaves and secure it on to the top of the can.
*The lines of the pineapple will need to be scored as well. They will help create the points of the pineapple.
*It is important to select the cut lines at the very top of the pineapple. Those need to remain as cut lines in order to fit around the can.
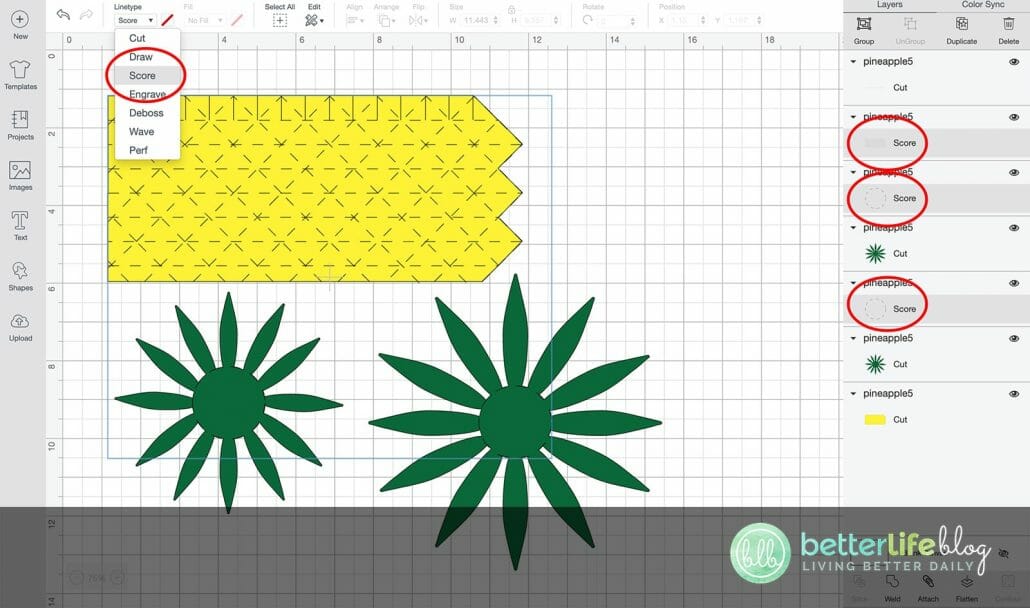


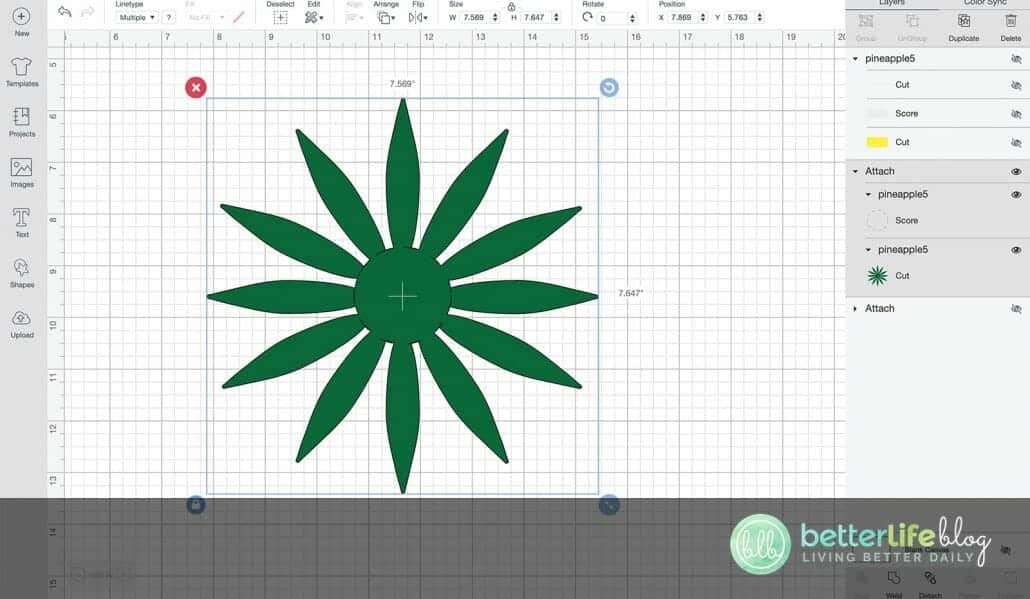
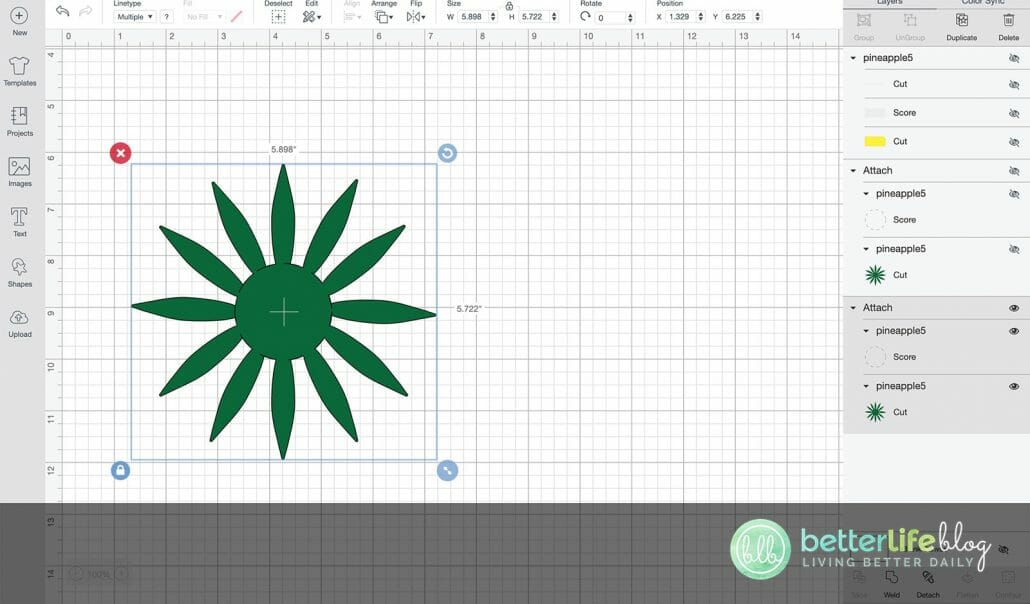

Select the circular score line and smaller crown layer and hit attach – hide that layer until ready to cut. Next, select the circular score line and the larger crown layer. Hit attach. Just like the smaller crown, hide the larger crown layer until you are ready to cut.
Select the yellow pineapple cut layer, the score lines for the pineapple and the small lines layer that cut at the top of the pineapple, then hit attach.
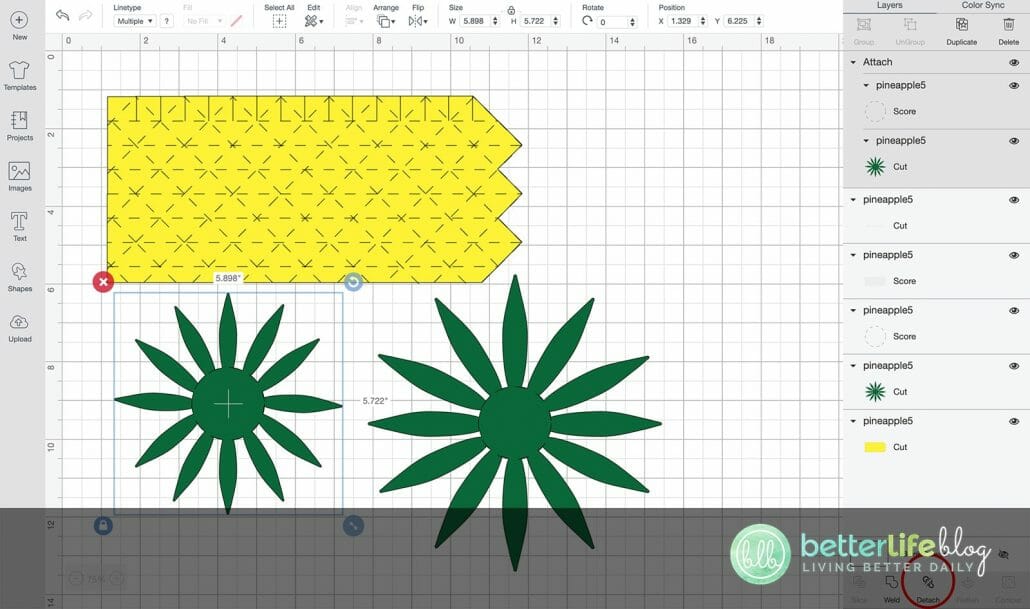
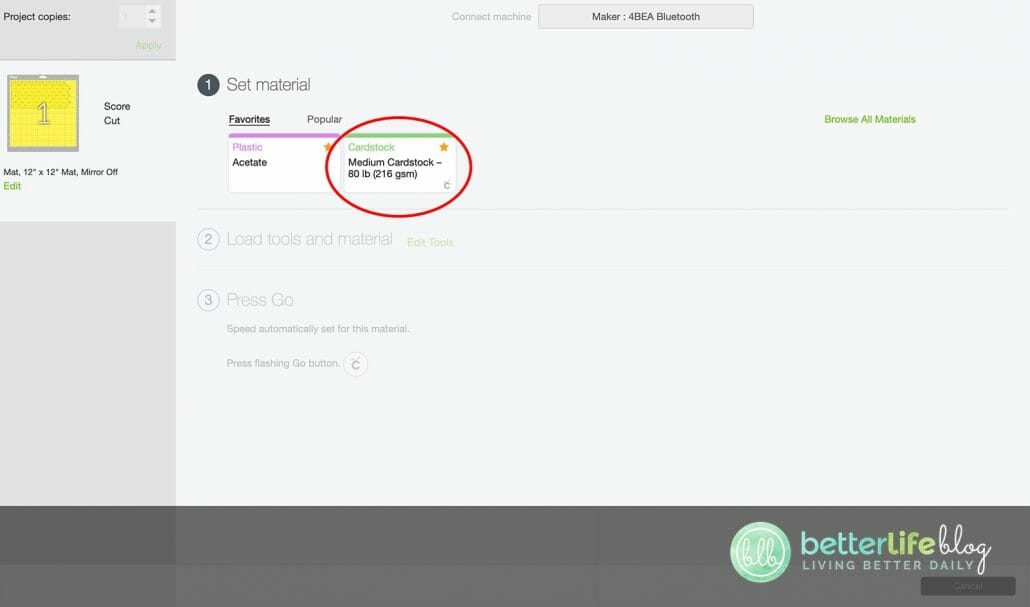
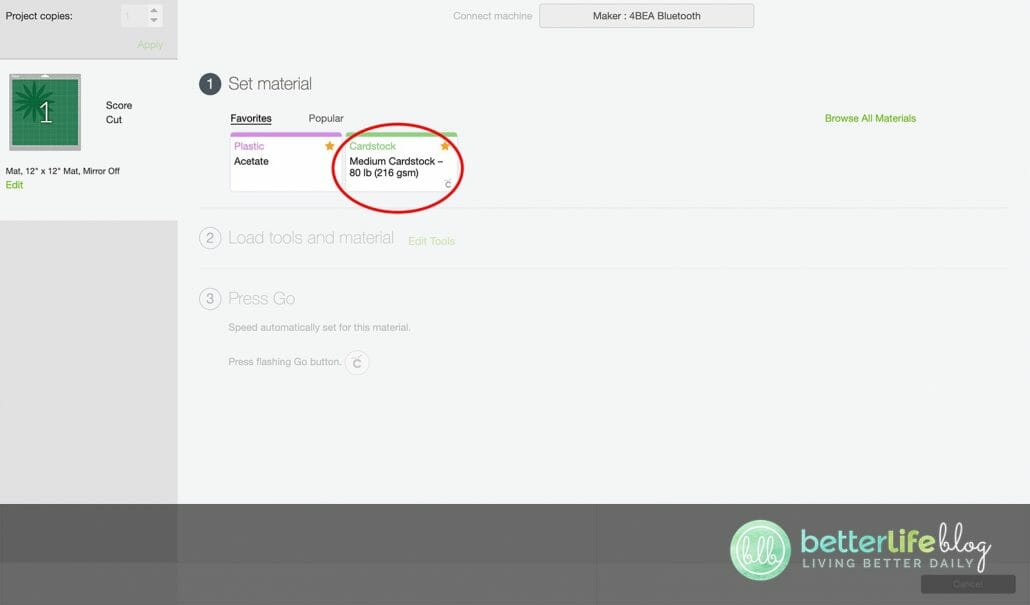
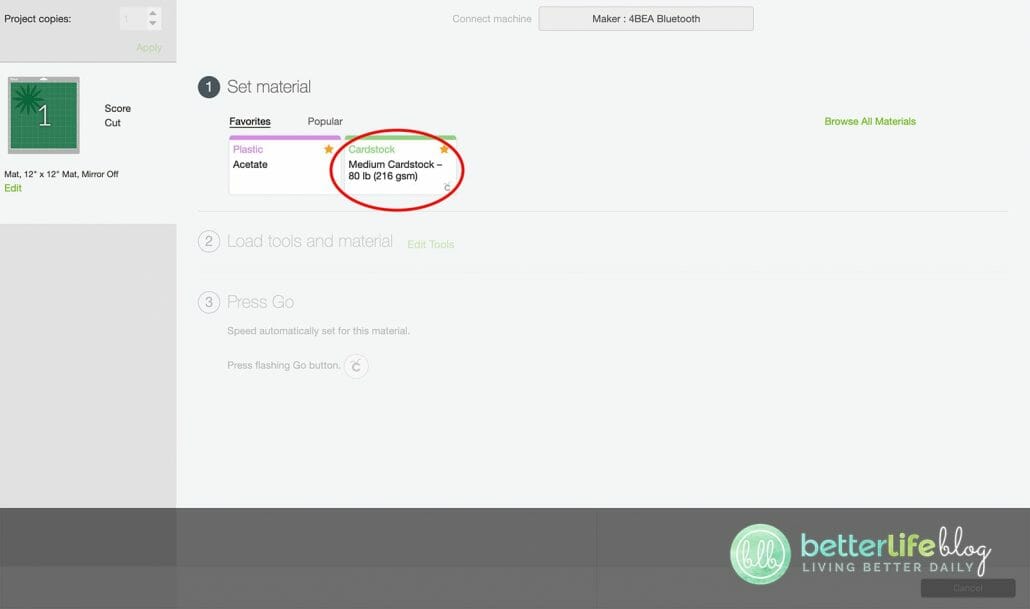
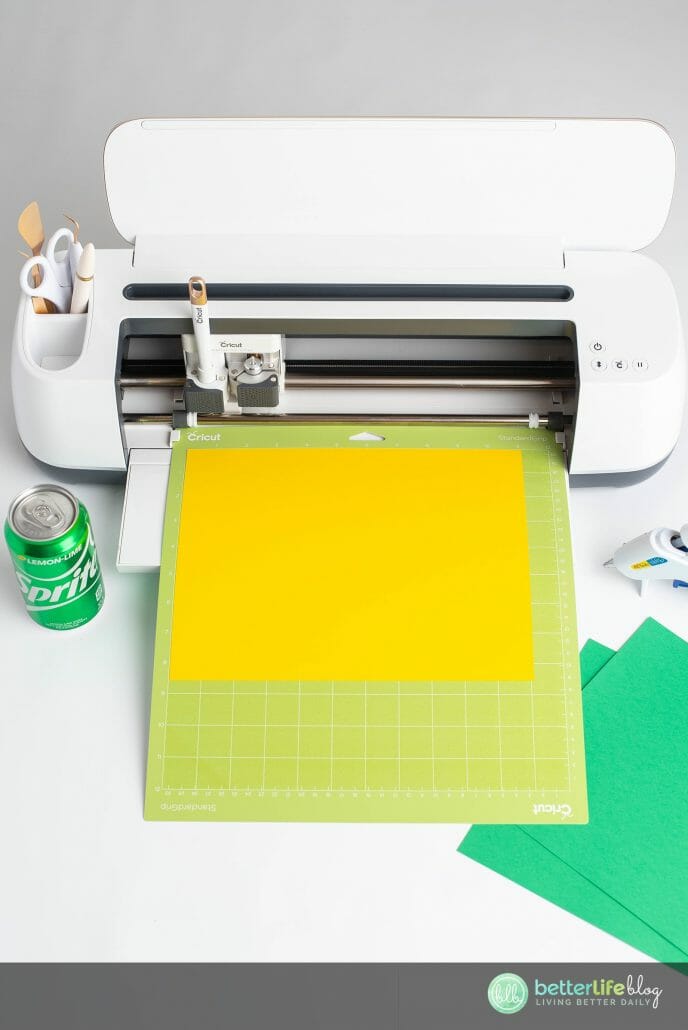
Next, hit “Make It” to cut the pineapple layer first. Adjust the material dial/setting to medium card stock. Load the card stock on your blue or green grip mat. When prompted, adjust your tool to your scoring wheel/stylus and load it into the machine. Hit the “Flashing Go” button.

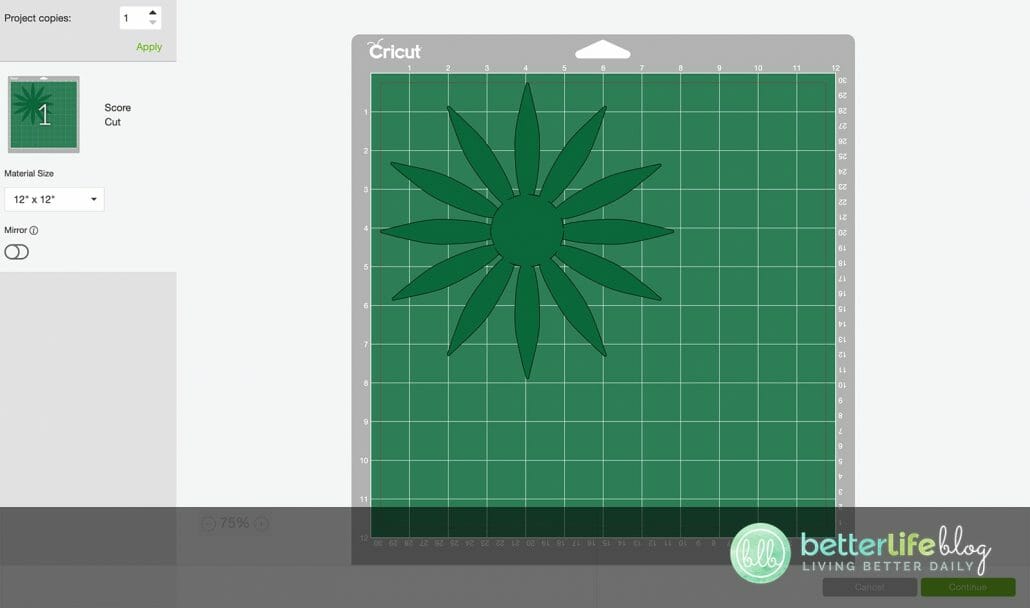
Once the cut is complete, return to the canvas. Turn off the pineapple layer. Repeat with the cut crown layers.
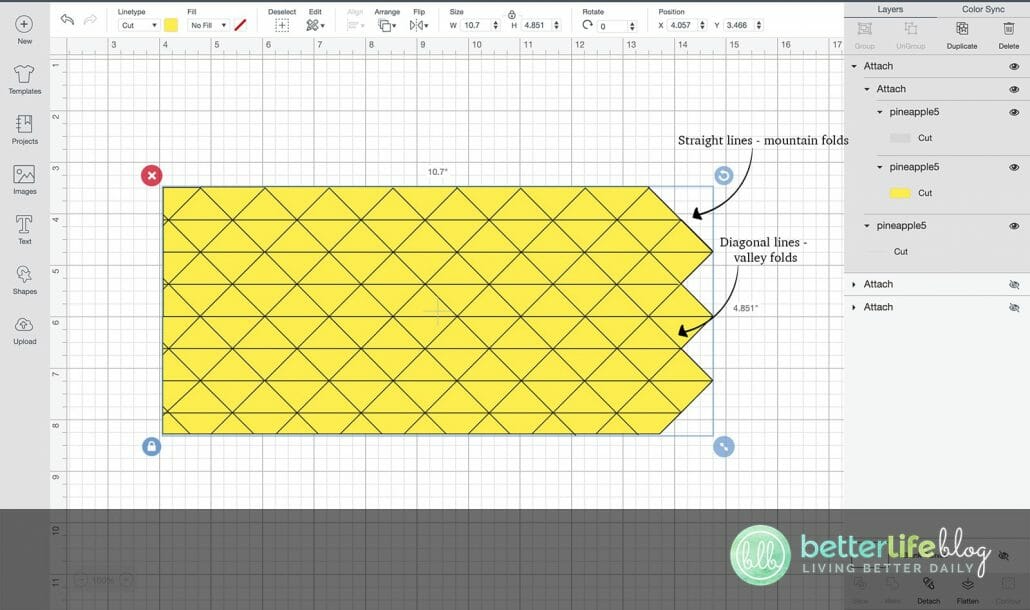
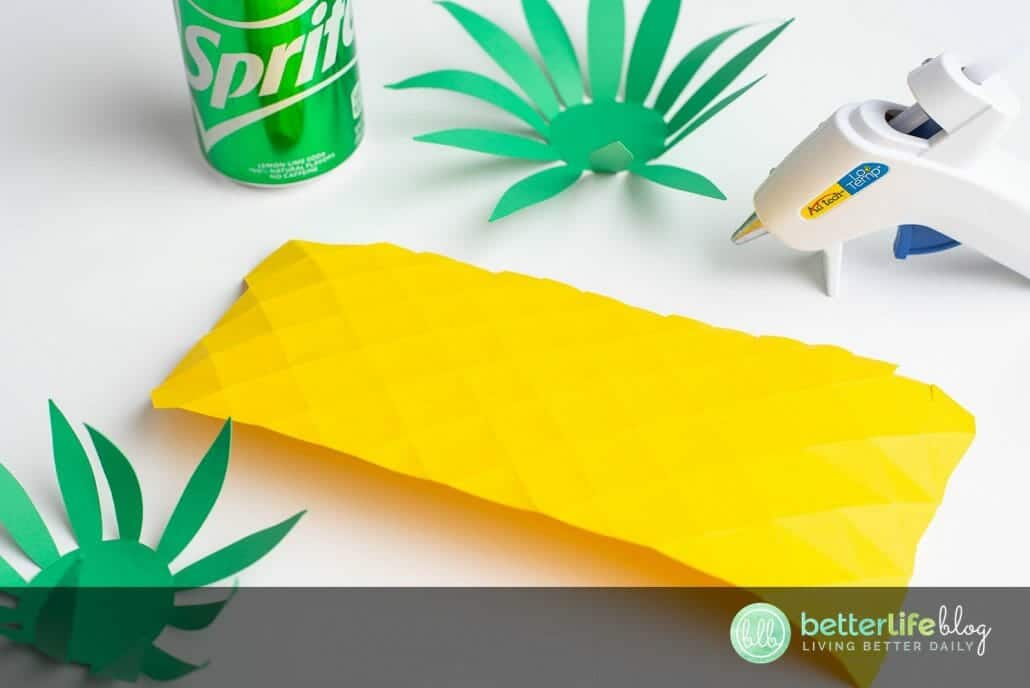
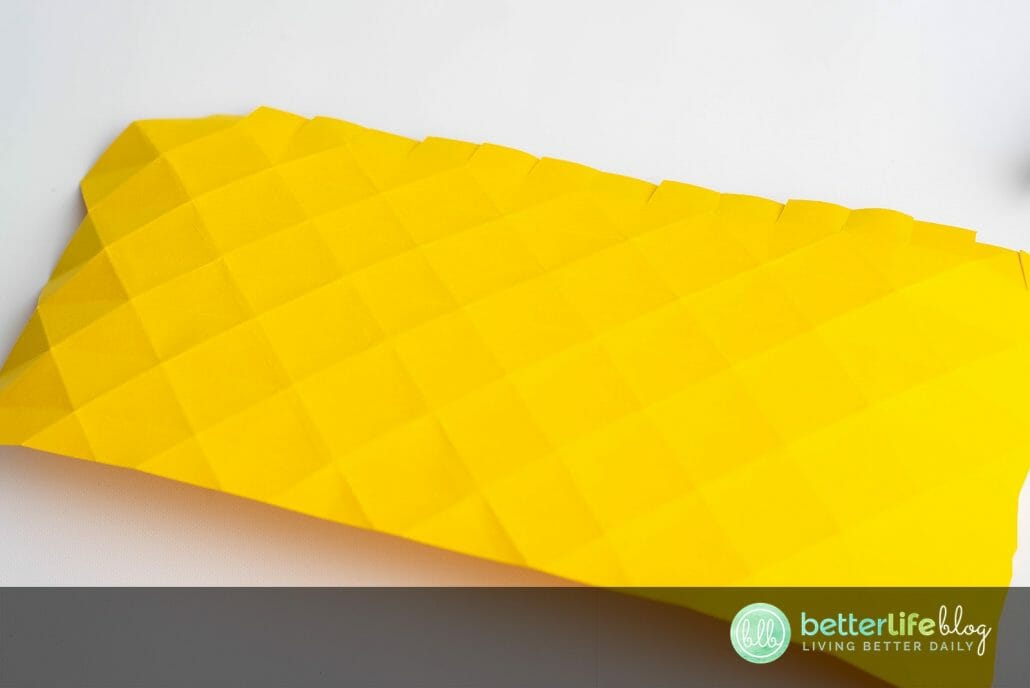
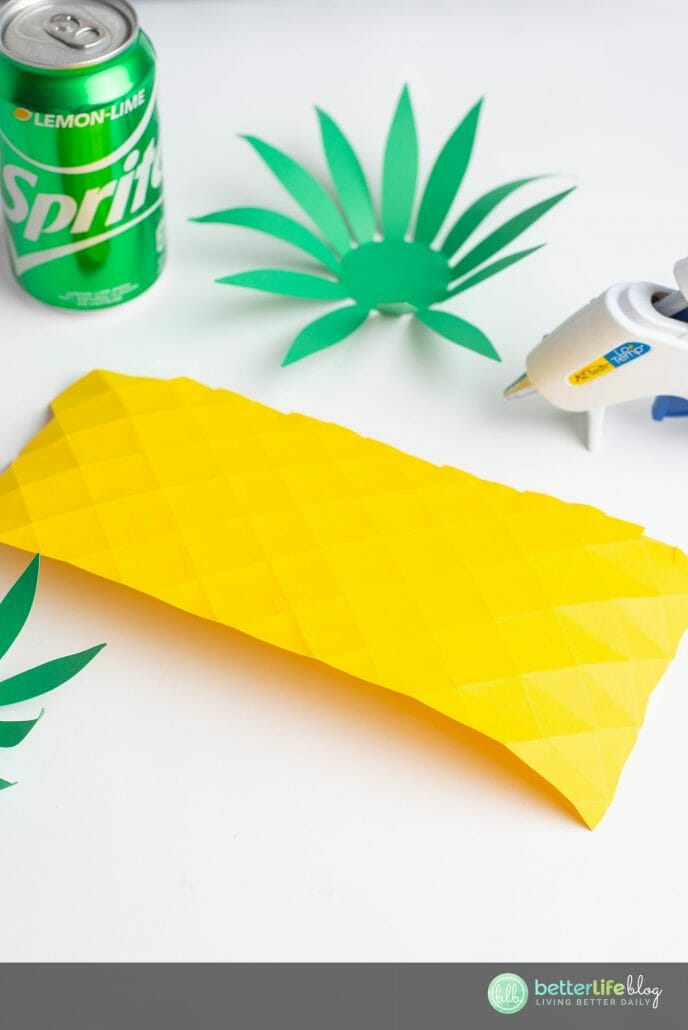
Now that everything is cut and scored, it’s time for the folding portion of the craft. Begin with the pineapple piece. Begin by folding all the straight lines. The straight lines will all be mountain folds. Next, fold all diagonal lines (they will be folded as valley folds).

Next, prepare the crown by folding all stems inwards. Use the handle of a spoon or bone folder to curl the tips of the crown leaves. You may follow the photos and screen shot with folding guide.
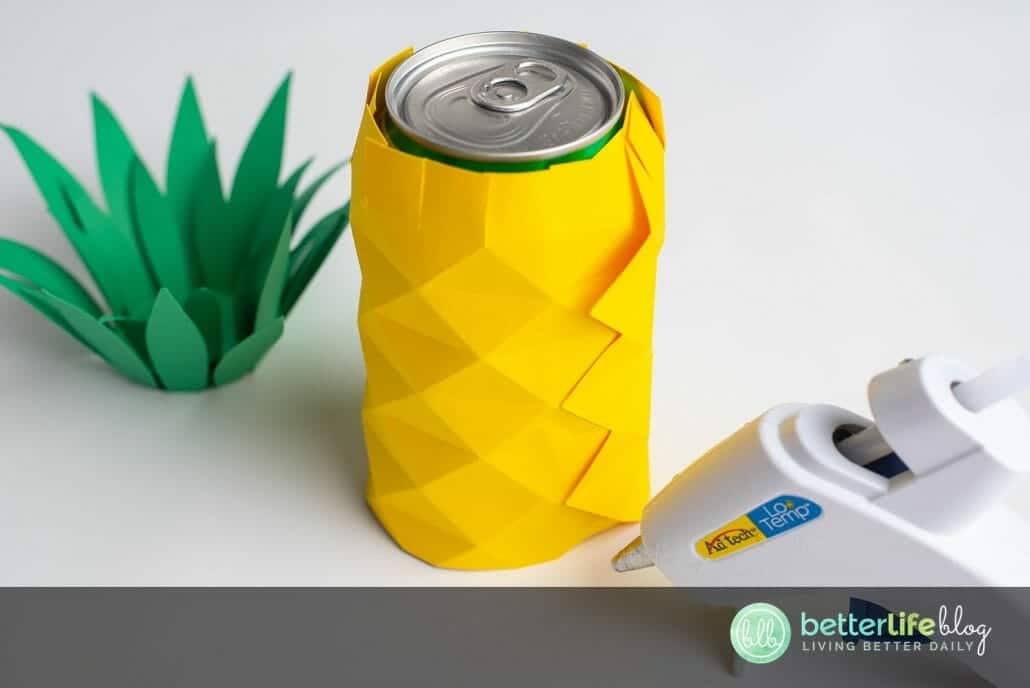
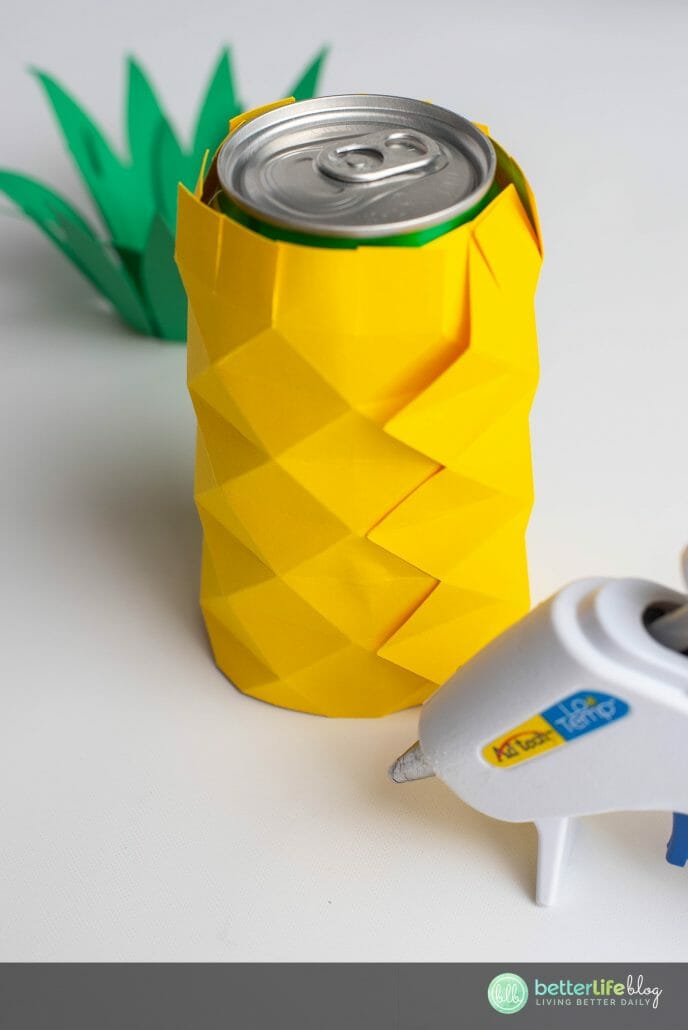
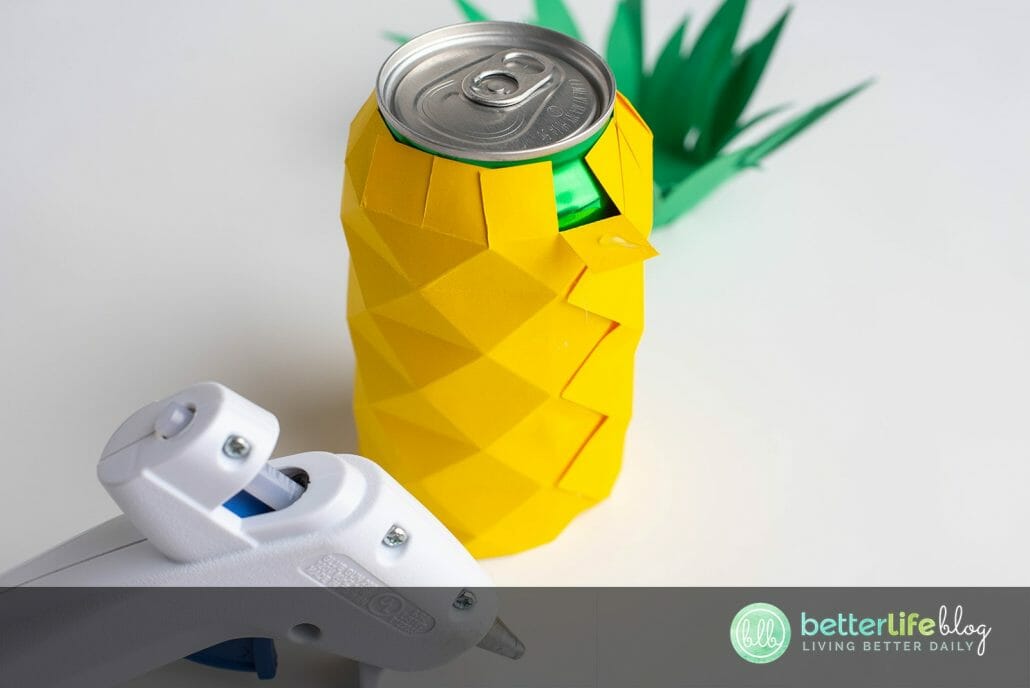
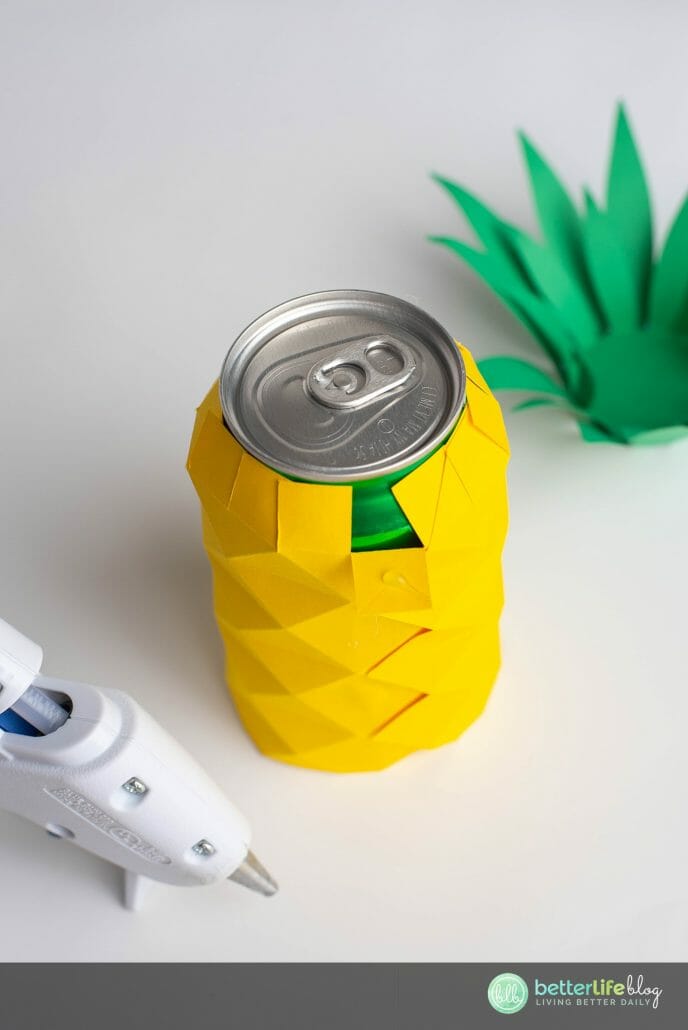
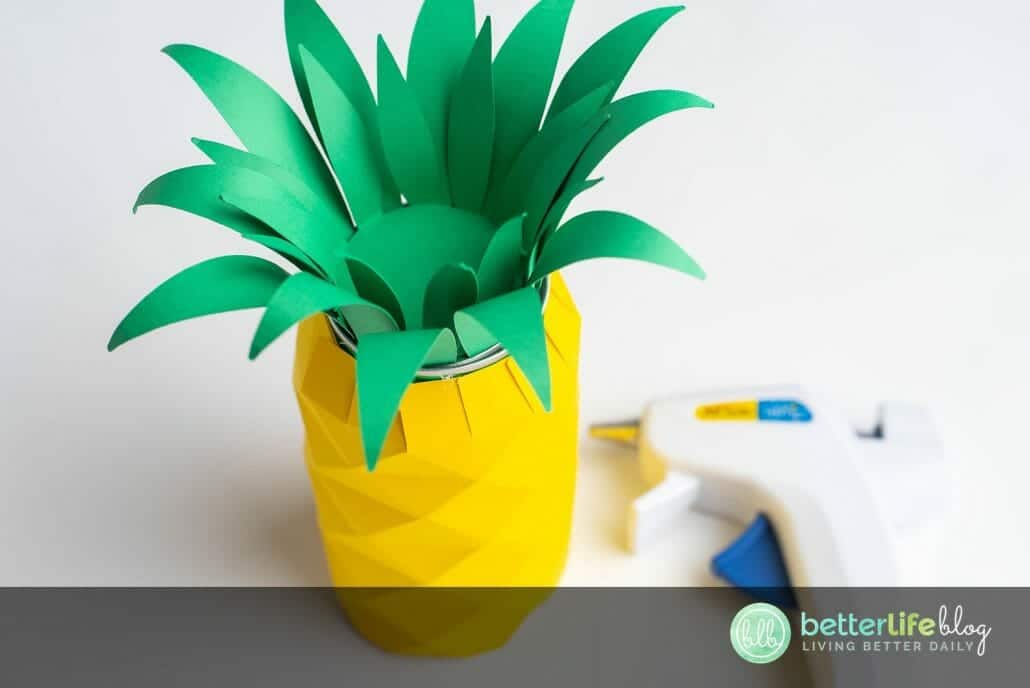
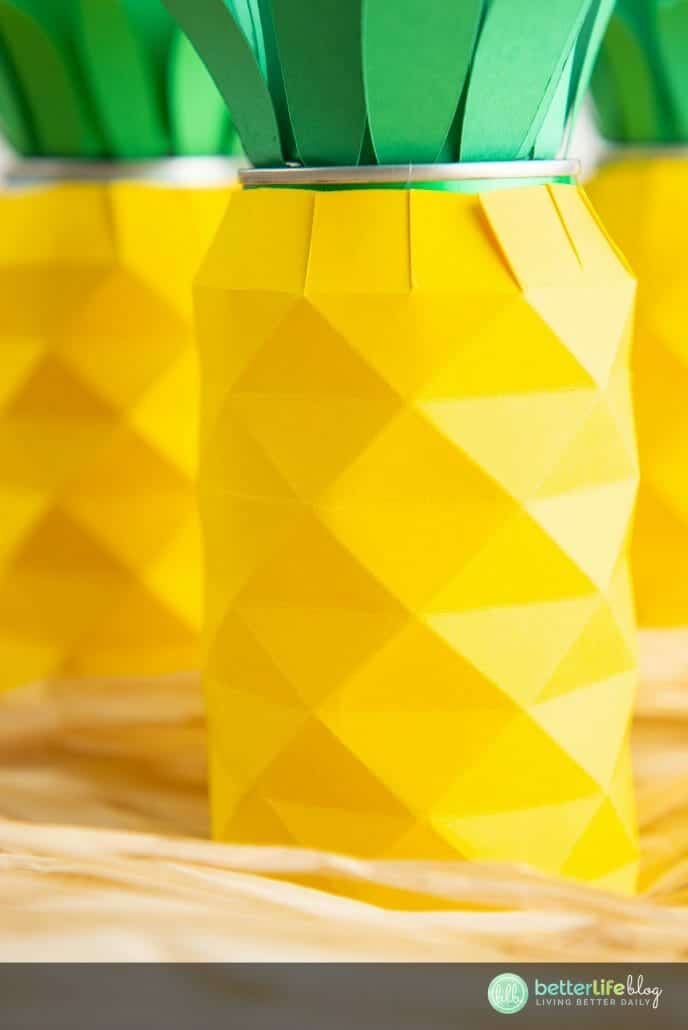
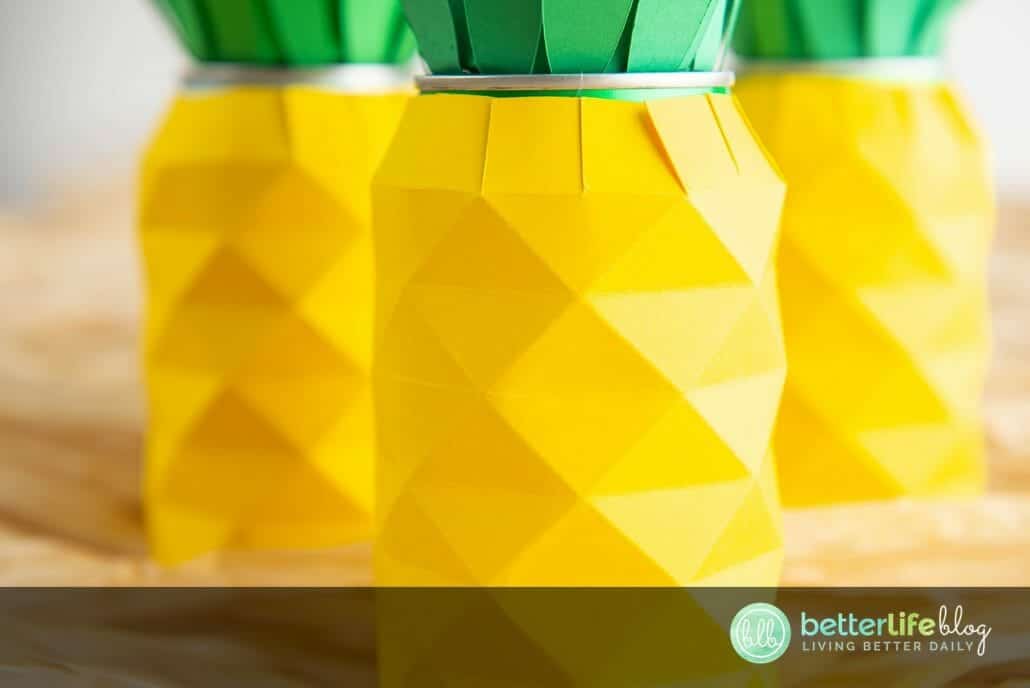
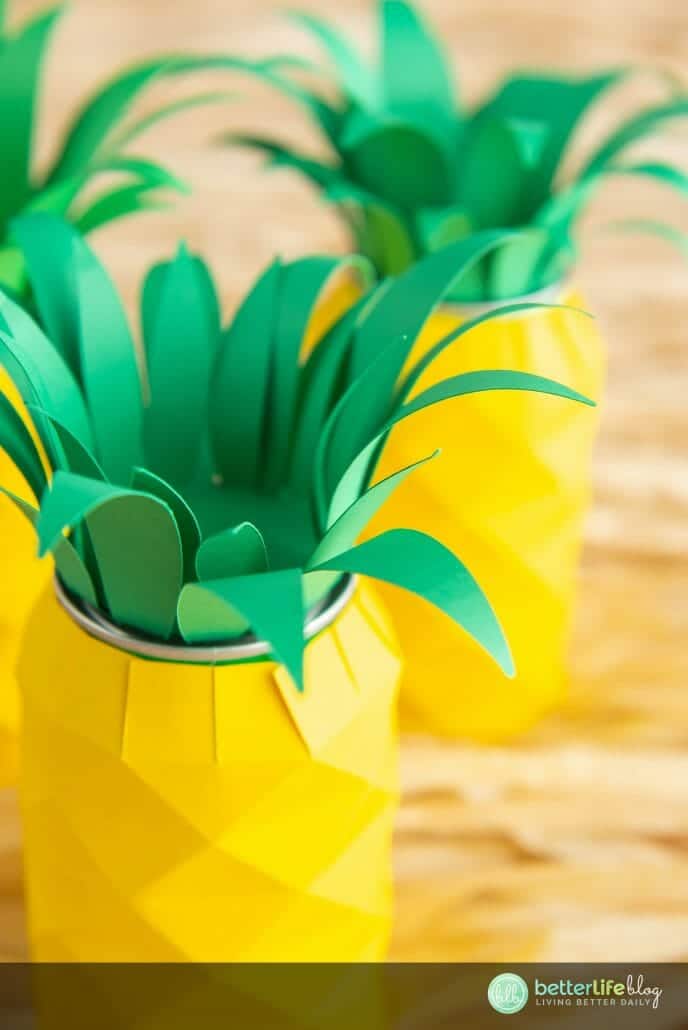
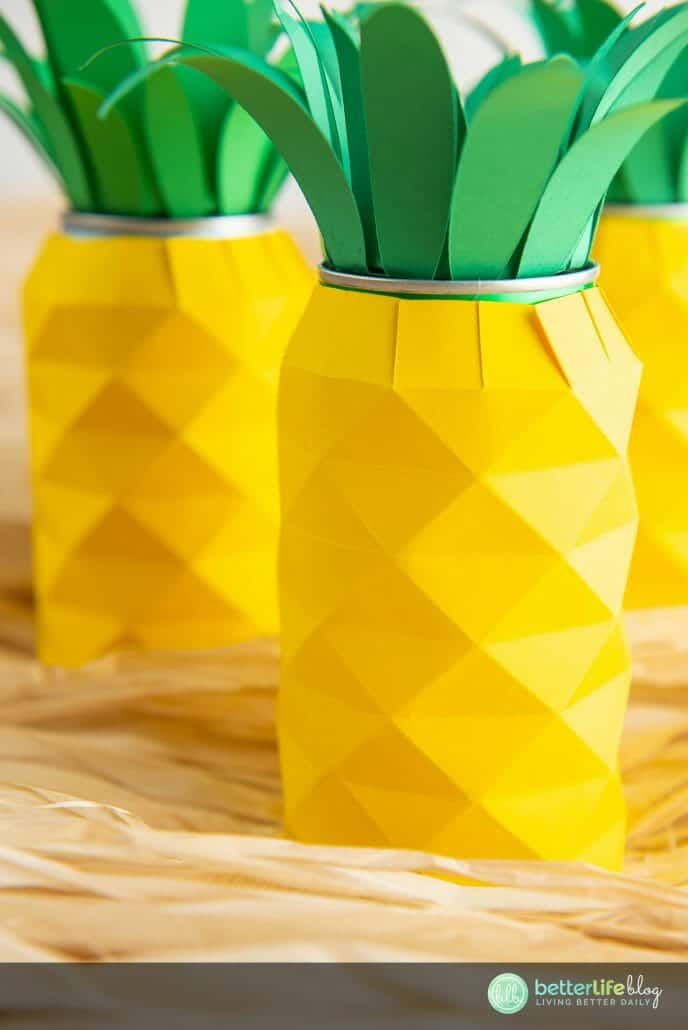
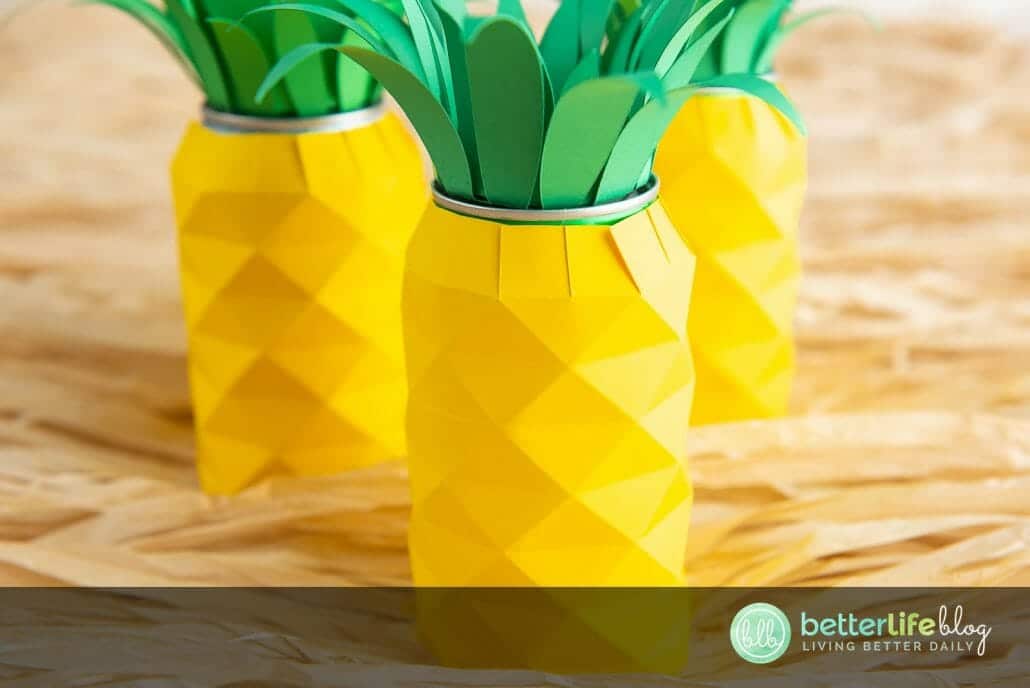
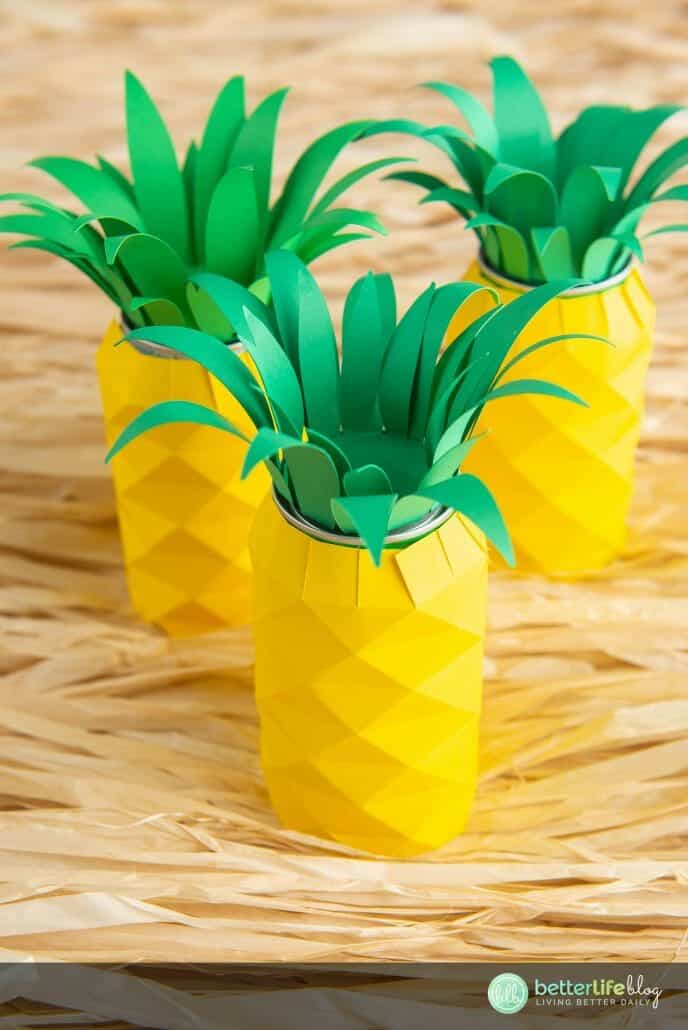
Glue the pineapple koozie piece around the can. The side with the three triangles will line up with the points of the pineapple where it needs to be glued. Hot glue those points to close the koozie.
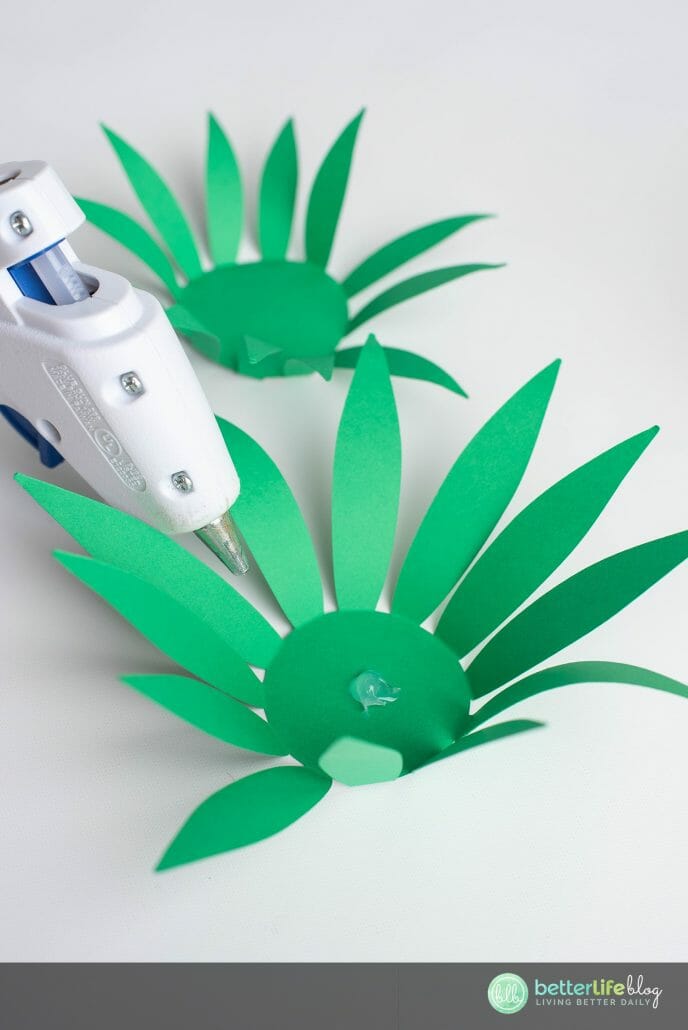
Hot glue the large crown inside and on top of the small crown. Once layered, glue those to the top of the can.


CRICUT - Pineapple Soda Can Decoration for Luau
This Cricut craft is perfect for any Hawaiian-themed party. Learn how to make this Pineapple Soda Can decoration with cardstock and leftover soda cans.
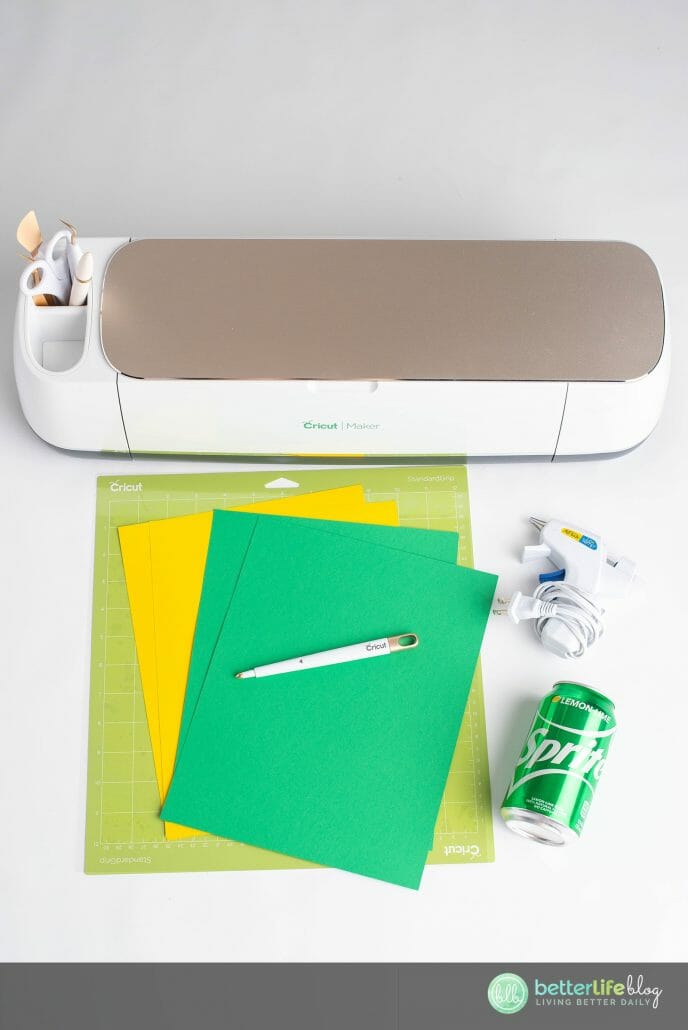
Materials
- Cricut or other cutting machine
- Cricut scoring wheel or scoring stylus
- Card stock (8.5x11” 65-80lb), yellow and green
- Cricut blue light or green standard grip mat
- Hot glue gun and glue sticks
- Soda cans
Instructions
- Uploaded my free SVG file to Design Space. Once uploaded, click on “Ungroup” on the layers panel. Select the two yellow circles for the pineapple crown and the criss-crossed line layers of the pineapple. Next, click “line type” (which is towards the left of the top toolbar). Click the drop down menu and select “Score.” (Please see notes below for important notes for this step).
- Select the circular score line and smaller crown layer and hit attach - hide that layer until ready to cut. Next, select
the circular score line and the larger crown layer. Hit attach. Just like the smaller crown, hide the larger crown layer until you are ready to cut. - Select the yellow pineapple cut layer, the score lines for the pineapple and the small lines layer that cut at the top of the pineapple, then
hit attach. - Next, hit “Make It” to cut the pineapple layer first. Adjust the material dial/setting to medium card stock. Load the
card stock on your blue or green grip mat. When prompted, adjust your tool to your scoring wheel/stylus and load it into the machine. Hit the “Flashing Go” button. - Once the cut is complete, return to the canvas. Turn off the pineapple layer. Repeat with the cut crown layers.
- Now that everything is cut and scored, it’s time for the folding portion of the craft. Begin with the pineapple piece. Begin by folding all the straight lines. The straight lines will all be mountain folds. Next, fold all diagonal lines (they will be folded as valley folds).
- Next, prepare the crown by folding all stems inwards. Use the handle of a spoon or bone folder to curl the tips of the crown leaves. You may follow the photos and screen shot with folding guide.
- Glue the pineapple koozie piece around the can. The side with the three triangles will line up with the points of the pineapple where it needs to be glued. Hot glue those points to close the koozie.
- Hot glue the large crown inside and on top of the small crown. Once layered, glue those to the top of the can.
Notes
Important notes for Step 1:
*You will need to score the circle on the inside of the pineapple crown. This will allow you to fold the leaves and secure it on to the top of the can.
*The lines of the pineapple will need to be scored as well. They will help create the points of the pineapple.
*It is important to select the cut lines at the very top of the pineapple. Those need to remain as cut lines in order to fit around the can.