When I first purchased my Cricut machine, I had the full intention of personalizing everything! Of course, this nifty machine goes beyond “name labelling,” but it’s still fun to create simple crafts with its basic functions.

Today, I am showing you how to make these easy and adorable ornaments with your Cricut. These Christmas ornaments make for a great gift. I used a house shaped ornament, but you can really use whatever wooden ornament shapes you’re able to find!
This easy tutorial uses Design Space to quickly type out the family name for the ornament’s design. Then, permanent vinyl is used to complete the look! Check out the simple step-by-step instructions just down below.
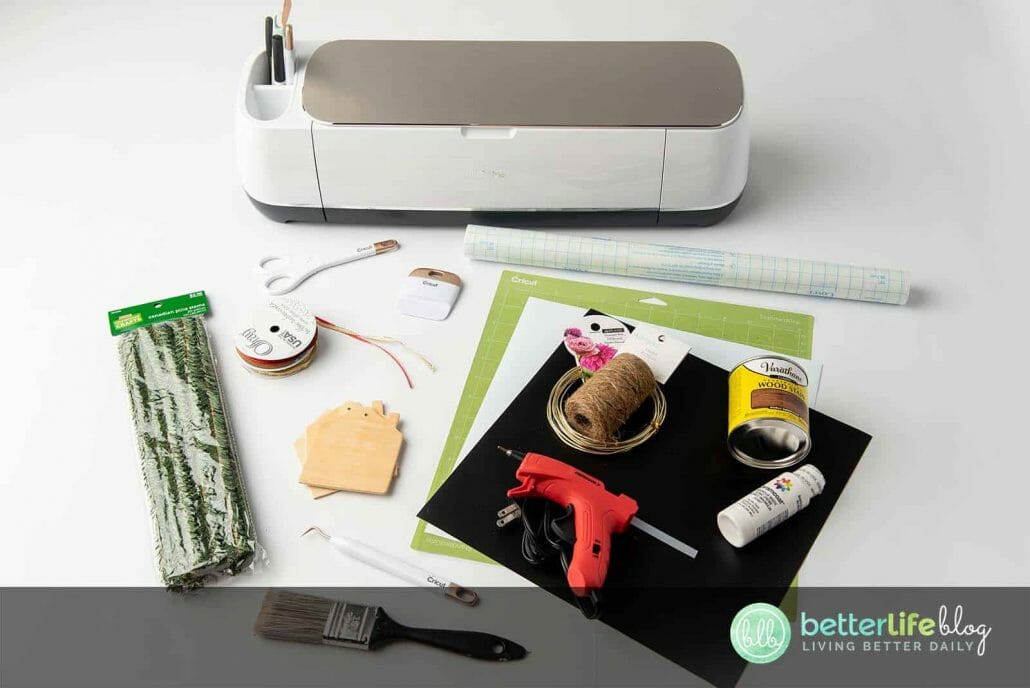
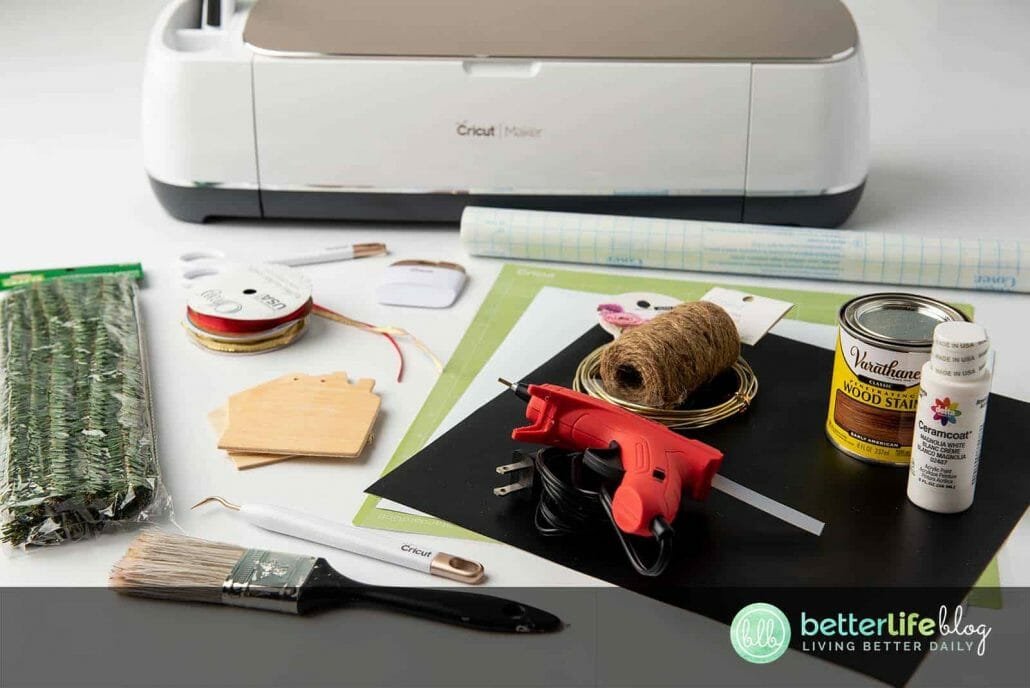
Materials and Tools:
- Cricut or other cutting machine
- Cricut blue light or green standard grip mat
- Oracle 651 vinyl or permanent vinyl of your choice
- Transfer tape
- Unfinished wood ornament blanks (can find at craft stores, make your own, or purchase from Amazon)
- Cricut weeding tool
- Cricut scraper tool or old credit card
- Twine
- Paint or stain of choice
- Paint brush and/or sponge brush
- High heat hot glue gun
- Scissors
- Thin ribbon of choice
- Floral wire
- Pine stems (or dark green pipe cleaners)


Instructions:
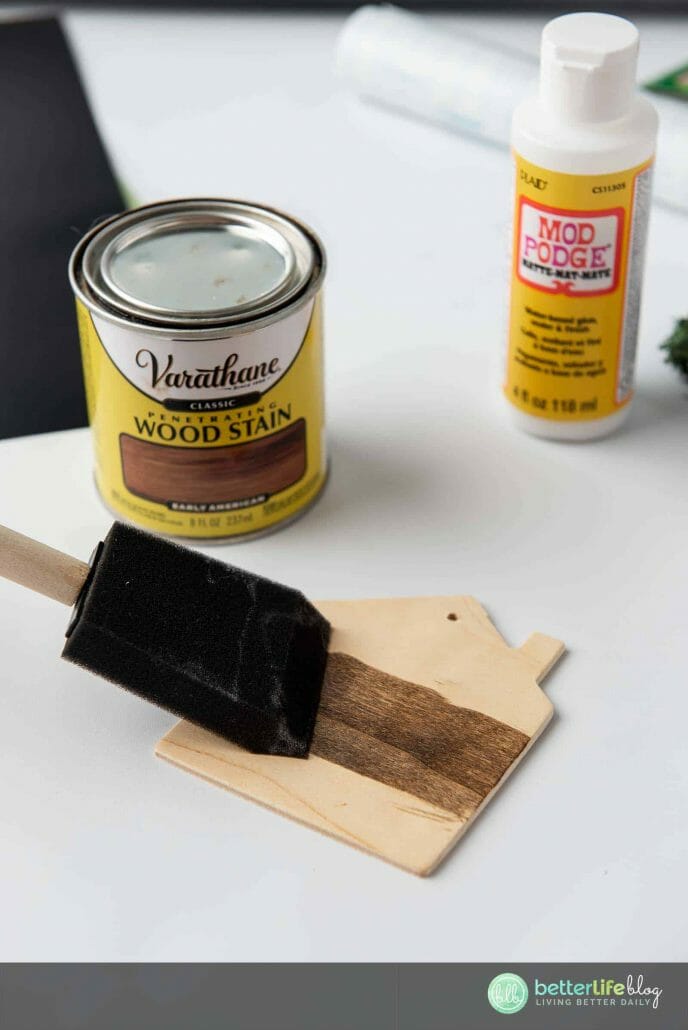
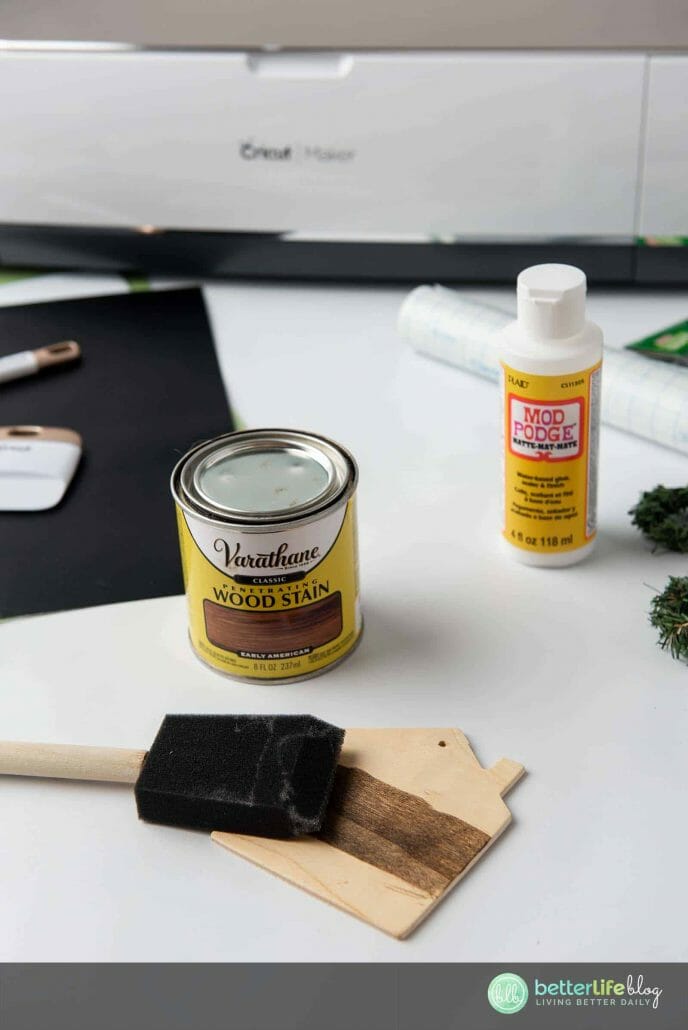
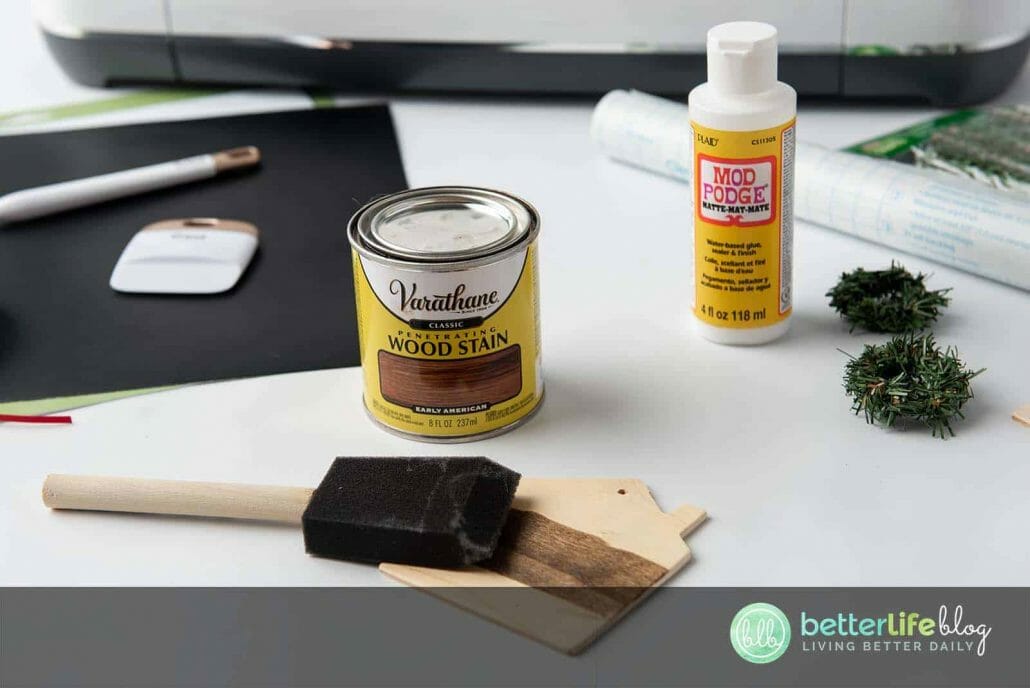
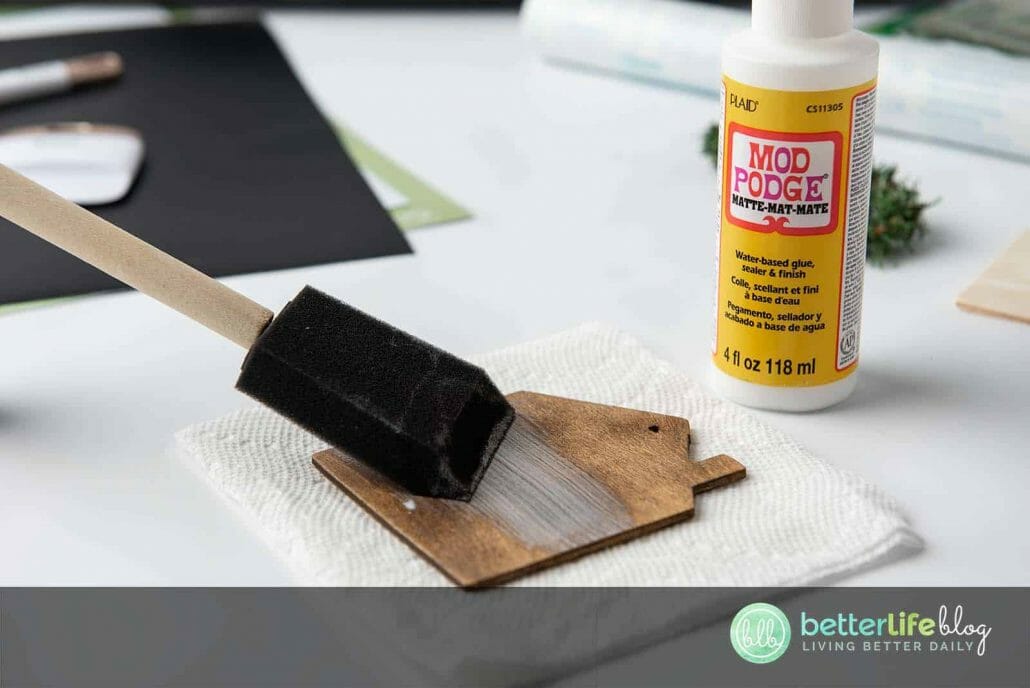
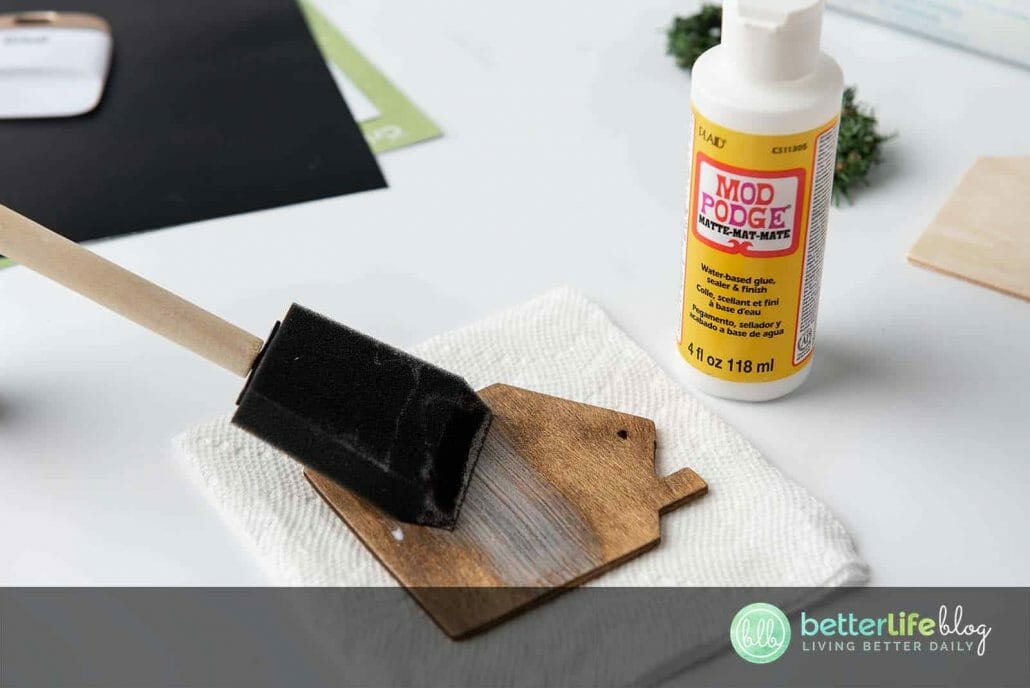
Begin by painting or staining each of the wood house cutouts. If you decide to go with paint, we recommend a matte finish. If staining, be sure to dry completely and then add a layer of Mod Podge.


Once paint/stain has dried completely, make the wreath for the front of the house ornament. To do so, bend some floral wire into a circle – this will be the wreath’s base. It should be around the size of a quarter.


Next, wrap one of the pine stems (or pipe cleaners) in and around the wreath base.


Add a bow to the wreath and secure with hot glue. Next, hot glue the wreath to the top of the house peak.


On Design Space, prepare family name using font of choice. Use the text layer and add any name. Adjust the size depending on the size of the house cut-out. Don’t forget to kern the letters by adjusting the spacing of the letters with letter spacing action.
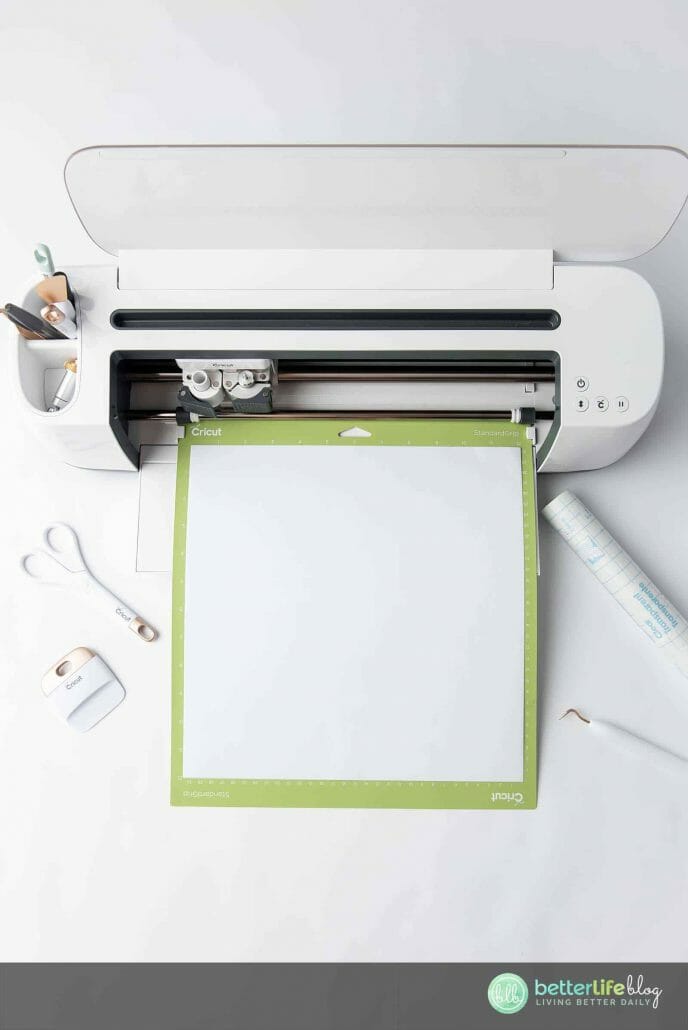
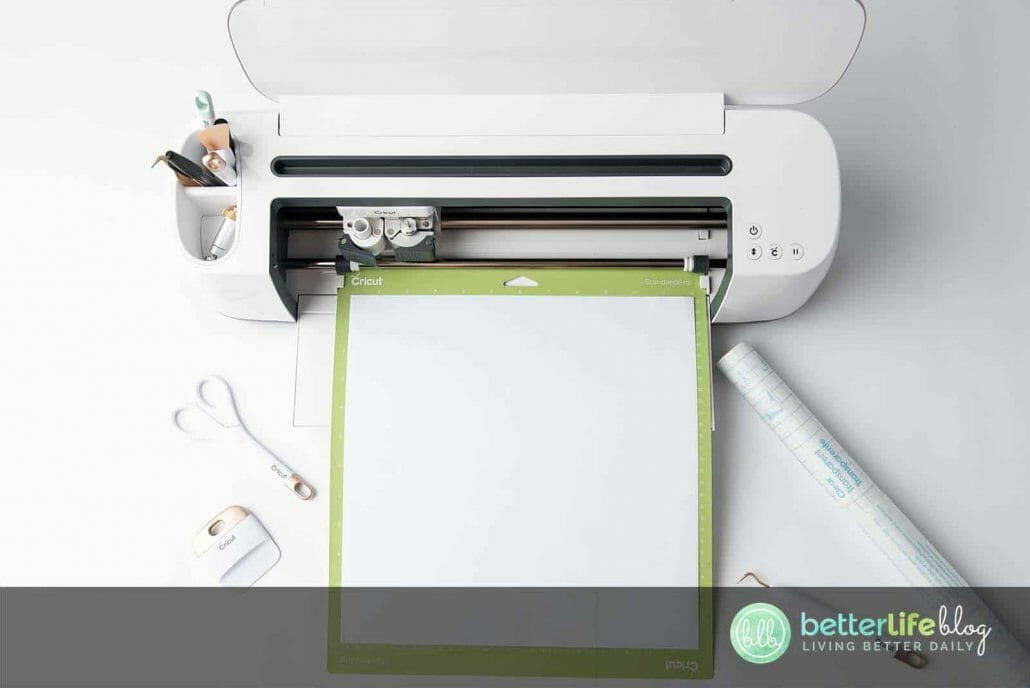
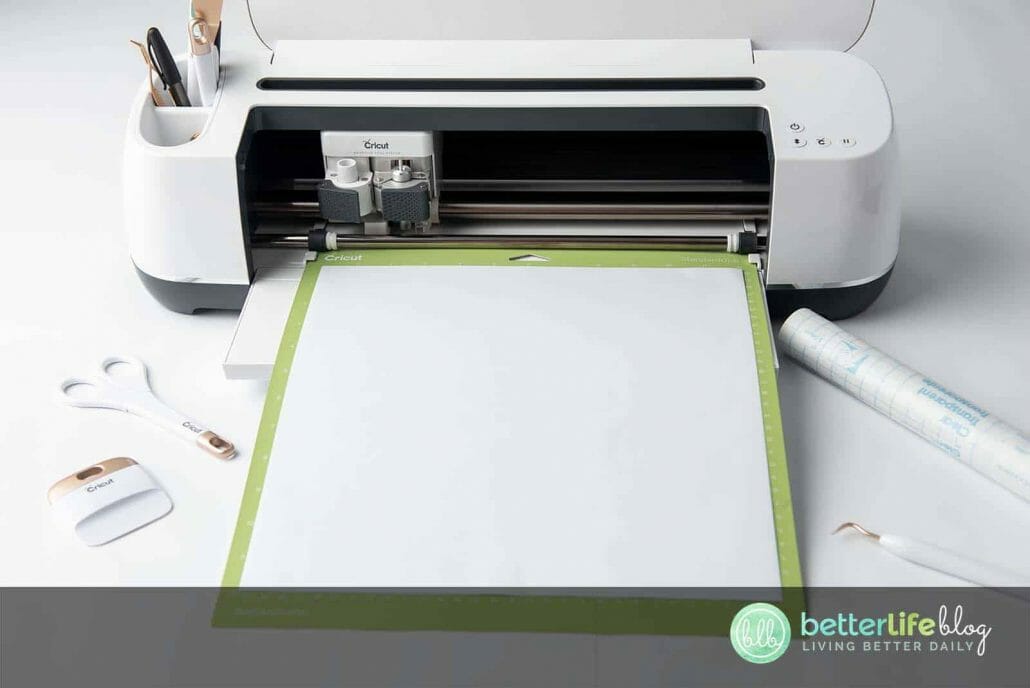
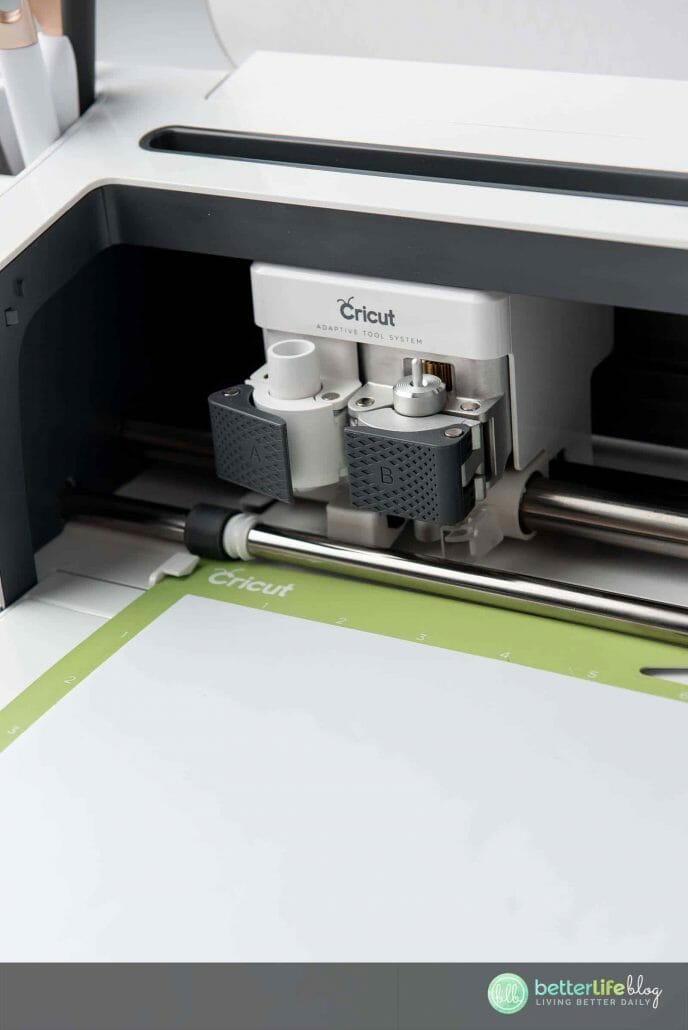
Hit “Make It.” Adjust the machine’s setting/material dial to vinyl. Load the permanent vinyl into the machine while on the green or blue light grip mat. Hit “Go.”

Once the cut is complete, use the Weeding Tool to weed vinyl off from the design.


After the design is weeded off, apply a piece of transfer tape the size of the vinyl directly on it. Apply pressure to it with the scraper tool.


Turn the entire design face down gently apply pressure. Pull off the vinyl’s carrier sheet off and away from the transfer tape – this way, the vinyl will be left solely on the transfer tape.
Place the vinyl (which is now on the transfer tape) at the bottom of the house under the wreath. Apply pressure and smooth over the design using the scraper tool.
Once enough pressure has been applied, slowly remove the transfer tape.
Add twine to the ornament and hang it on the tree!


Adorable Ornaments with Cricut
Today, I am showing you how to make the most adorable ornaments with Cricut. These Christmas ornaments make for a great gift. They also have a farmhouse/rustic feel to them, elevating the look of your holiday setup.
Materials
- Cricut or other cutting machine
- Cricut blue light or green standard grip mat
- Oracle 651 vinyl or permanent vinyl of your choice
- Transfer tape
- Unfinished thin house cutouts (can find at craft stores, make your own, or purchase from Amazon)
- Cricut weeding tool
- Cricut scraper tool or old credit card
- Twine
- Paint or stain of choice
- Paint brush and/or sponge brush
- High heat hot glue gun
- Scissors
- Thin ribbon of choice
- Floral wire
- Pine stems (or dark green pipe cleaners)
Instructions
- Begin by painting or staining each of the wood house cutouts. If you decide to go with paint, we recommend a matte finish. If staining, be sure to dry completely and then add a layer of Mod Podge.
- Once paint/stain has dried completely, make the wreath for the front of the house ornament. To do so, bend some floral wire into a circle - this will be the wreath’s base. It should be around the size of a quarter.
- Next, wrap one of the pine stems (or pipe cleaners) in and around the wreath base.
- Add a bow to the wreath and secure with hot glue. Next, hot glue the wreath to the top of the house peak.
- On Design Space, prepare family name using font of choice. Use the text layer and add any name. Adjust the size depending on the size of the house cut-out. Don’t forget to kern the letters by adjusting the spacing of the letters with letter spacing action.
- Hit “Make It.” Adjust the machine’s setting/material dial to vinyl. Load the permanent vinyl into the machine while on the green or blue light grip mat. Hit “Go.”
- Once the cut is complete, use the Weeding Tool to weed vinyl off from the design.
- After the design is weeded off, apply a piece of transfer tape the size of the vinyl directly on it. Apply pressure to it
with the scraper tool. - Turn the entire design face down gently apply pressure. Pull off the vinyl’s carrier sheet off and away from the transfer tape - this way, the vinyl will be left solely on the transfer tape.
- Place the vinyl (which is now on the transfer tape) at the bottom of the house under the wreath. Apply pressure and
smooth over the design using the scraper tool. - Once enough pressure has been applied, slowly remove the transfer tape.
- Add twine to the ornament and hang it on the tree!