Oh, so you like my tiered tray? Thanks, it’s from the Dollar Tree!
Well… sort of. This tiered tray is my very own creation. Yup! My Dollar Tree Tiered Tray is my newest DIY project… using items you can easily find at your local Dollar Tree.
I’m all about a good, budget-friendly DIY (Especially when it comes to decorating my home!). Remember this Dollar Tree Farmhouse Wreath I once made? I constantly receive compliments on it, so I decided it was time for another home décor project.
I love sprucing up my home with new décor – but it can really break the bank. Well, with a little elbow grease and creativity, you can make the most beautiful decorations from the simplest things. Take a look at how I made this one!
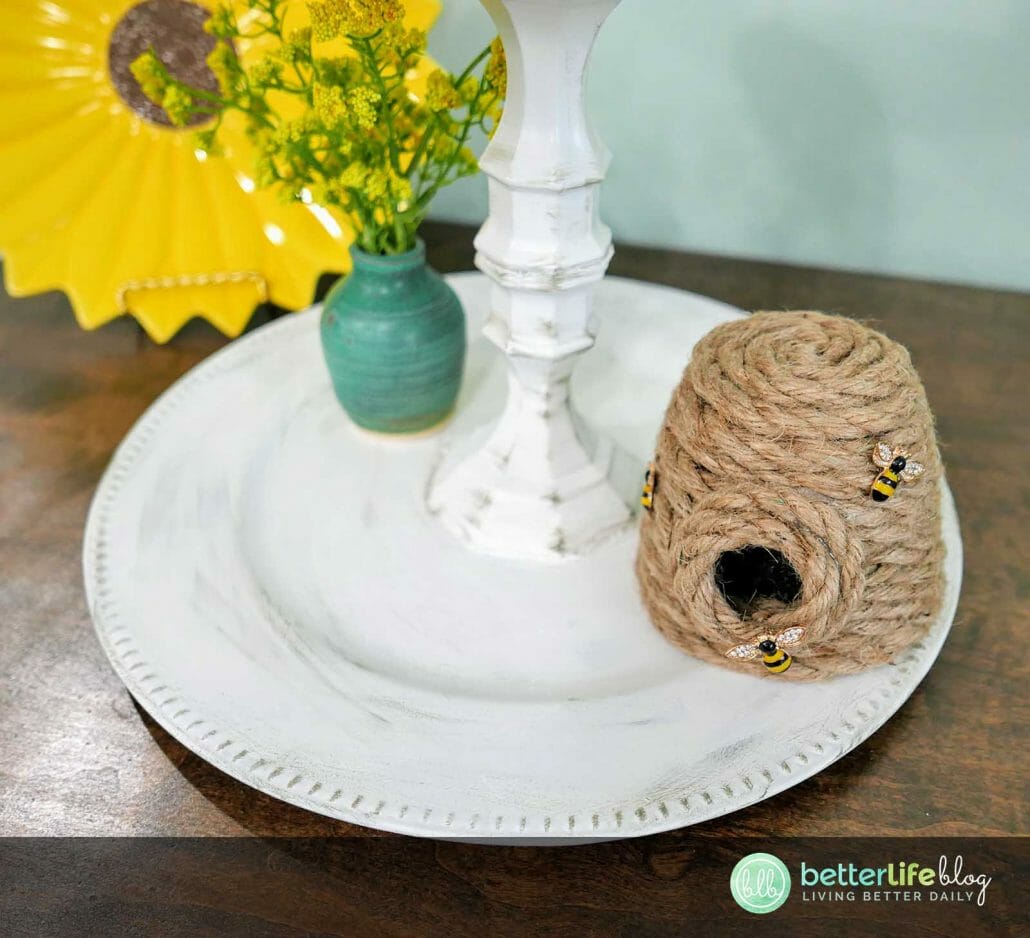
Oh! And yes, that’s my Bee hive Craft you see at the bottom of my tray – you can make one too! Check it out here.

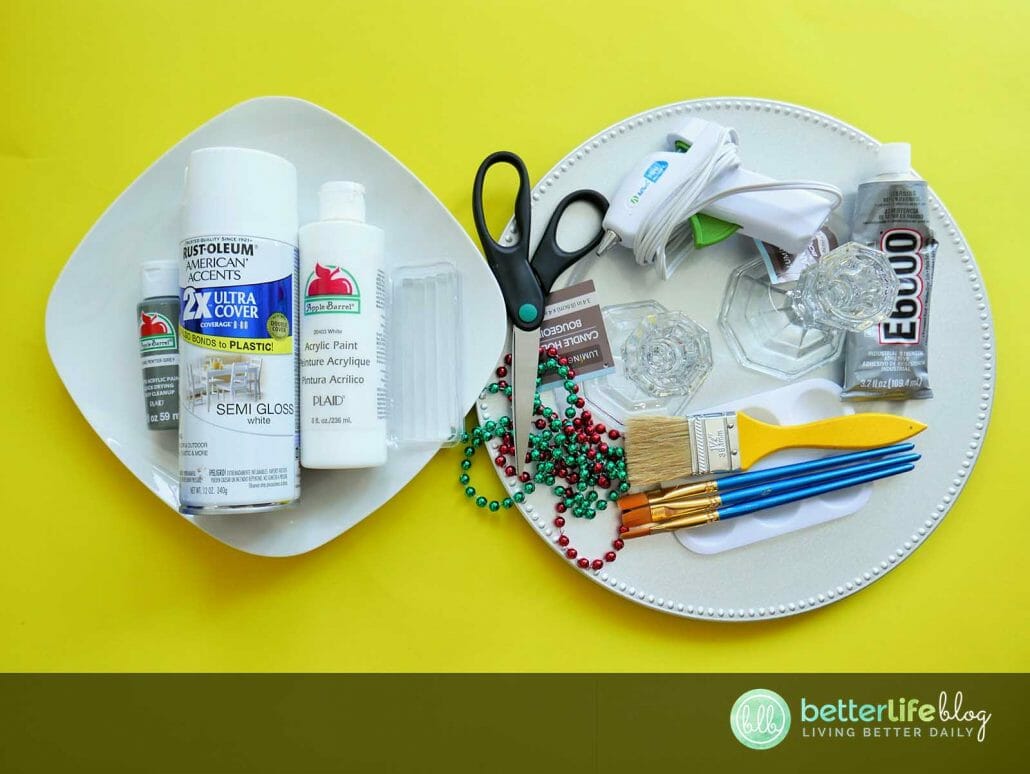
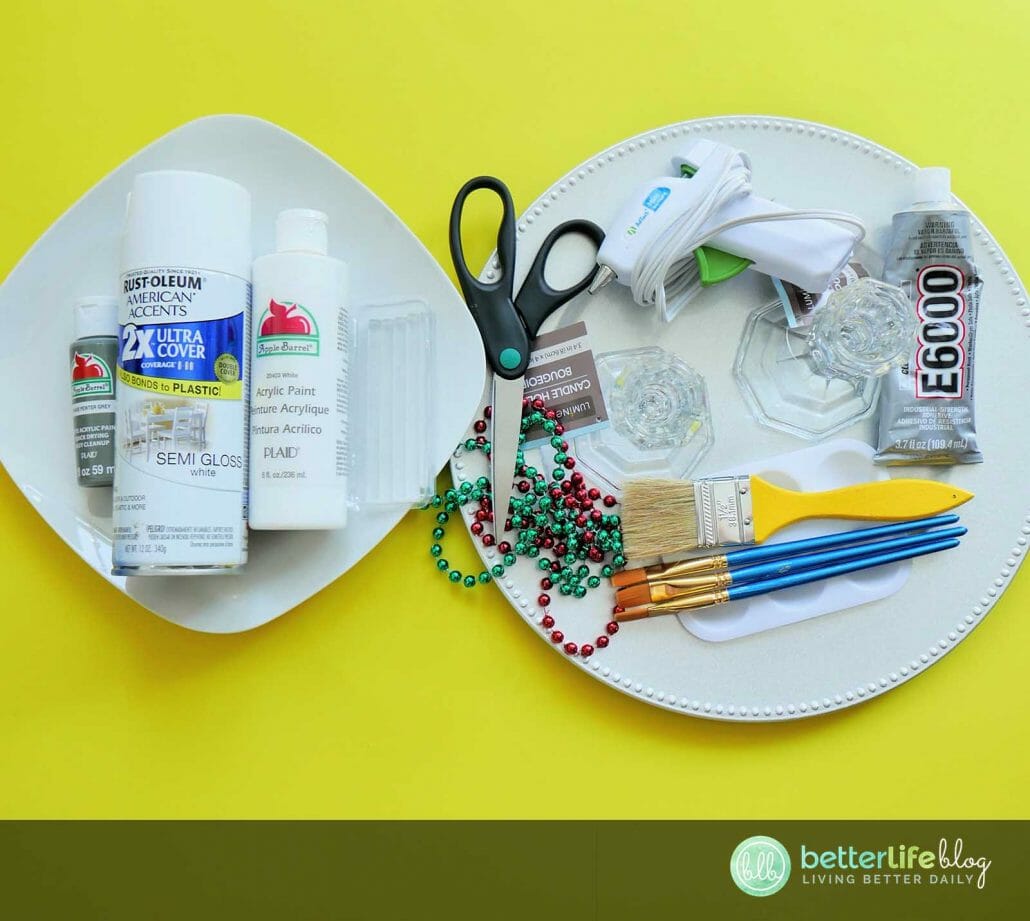
Materials Needed:
- Plastic plate charger
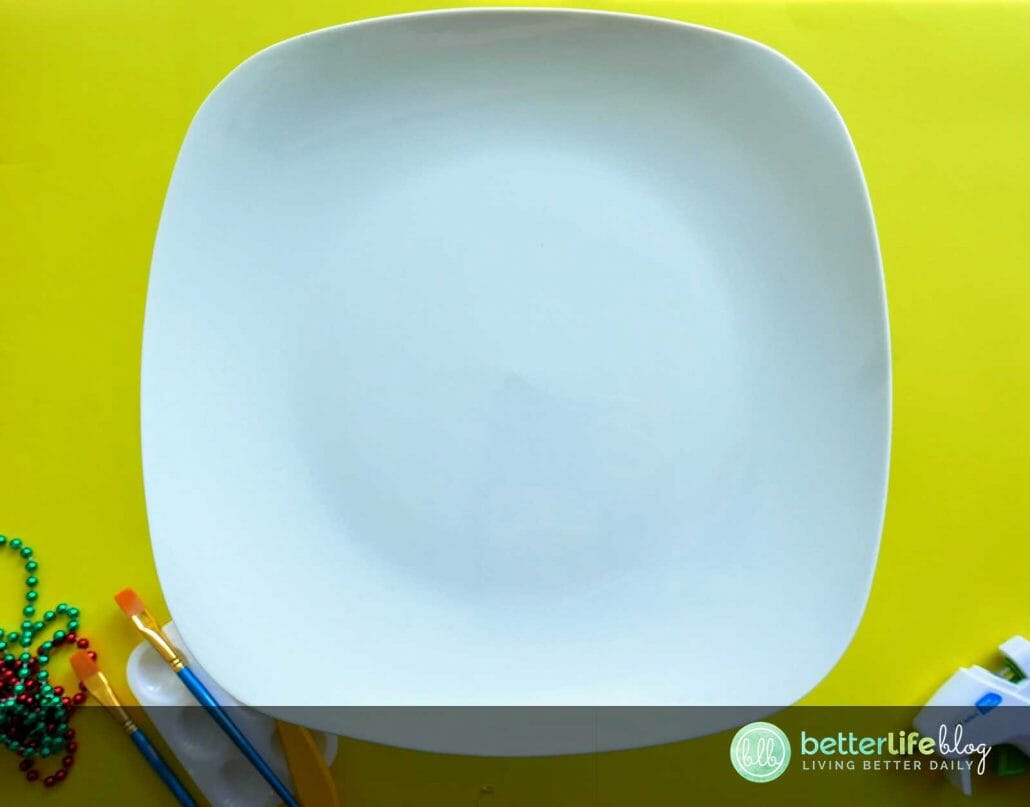
- Large dinner plate (a round cake pan could also be substituted)
- Scissors
- Craft paint brushes
- White spray paint
- White acrylic craft paint
- Grey acrylic craft paint
- 2 beaded party necklaces
- Hot glue gun and glue sticks
- E6000 permanent glue
- 2 glass taper candleholders
- Paint palette tray (a paper place could also be substituted)
Directions:
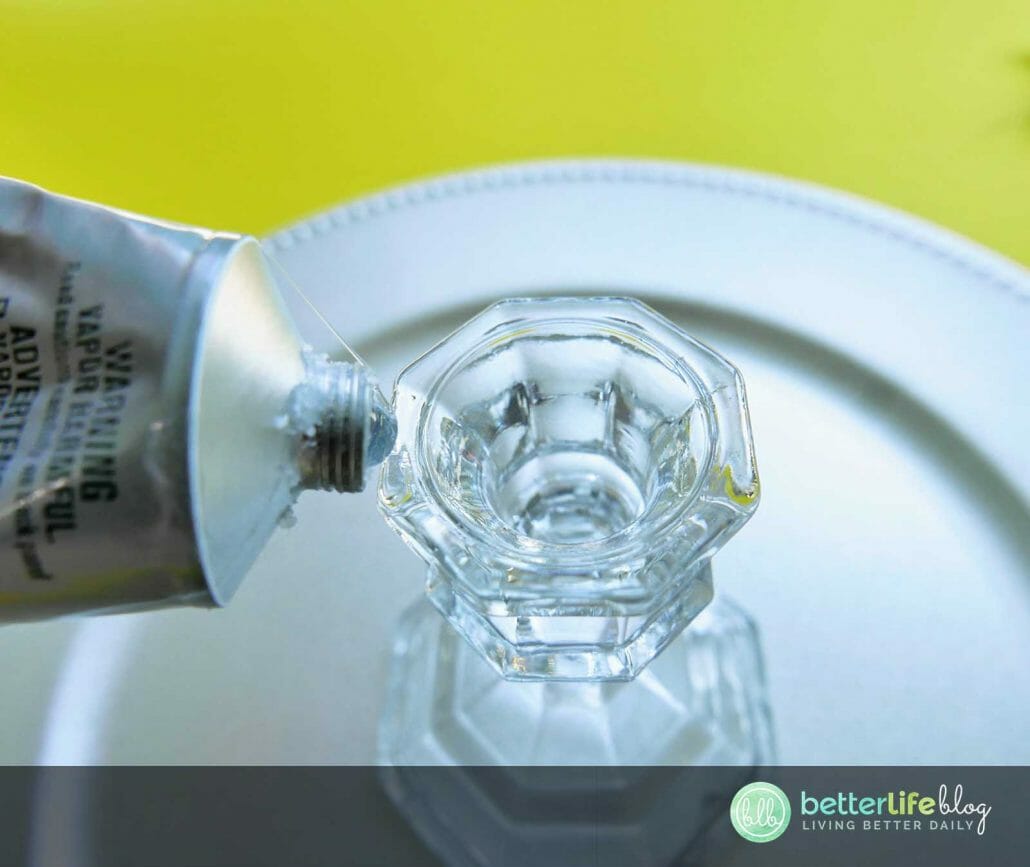
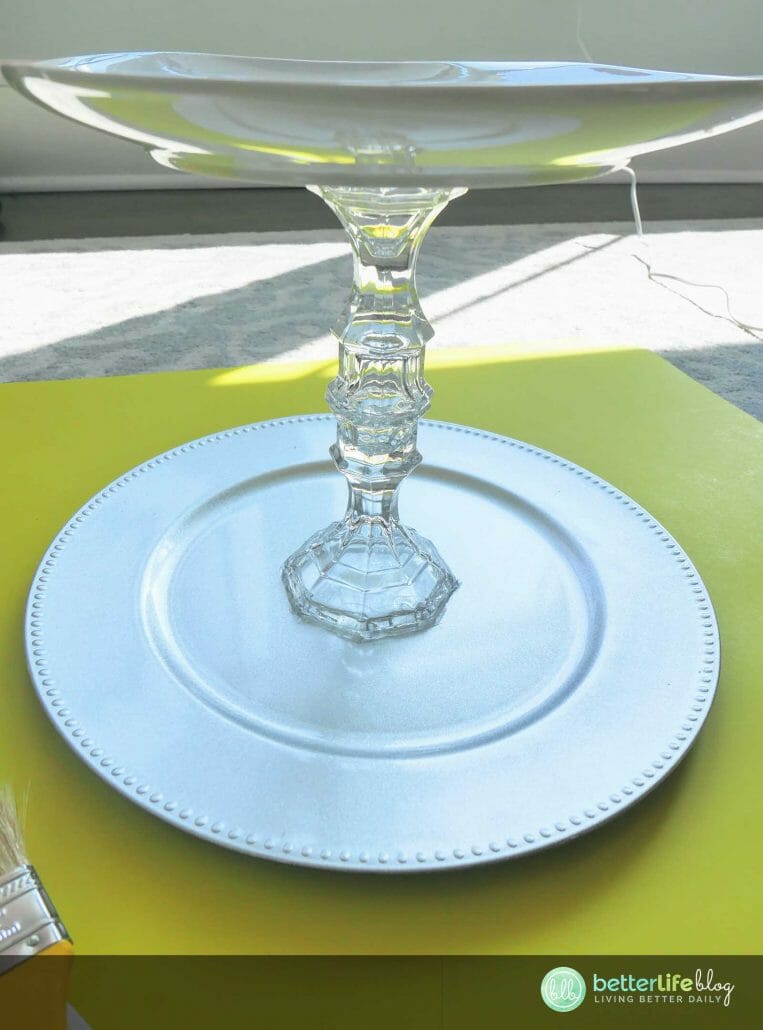
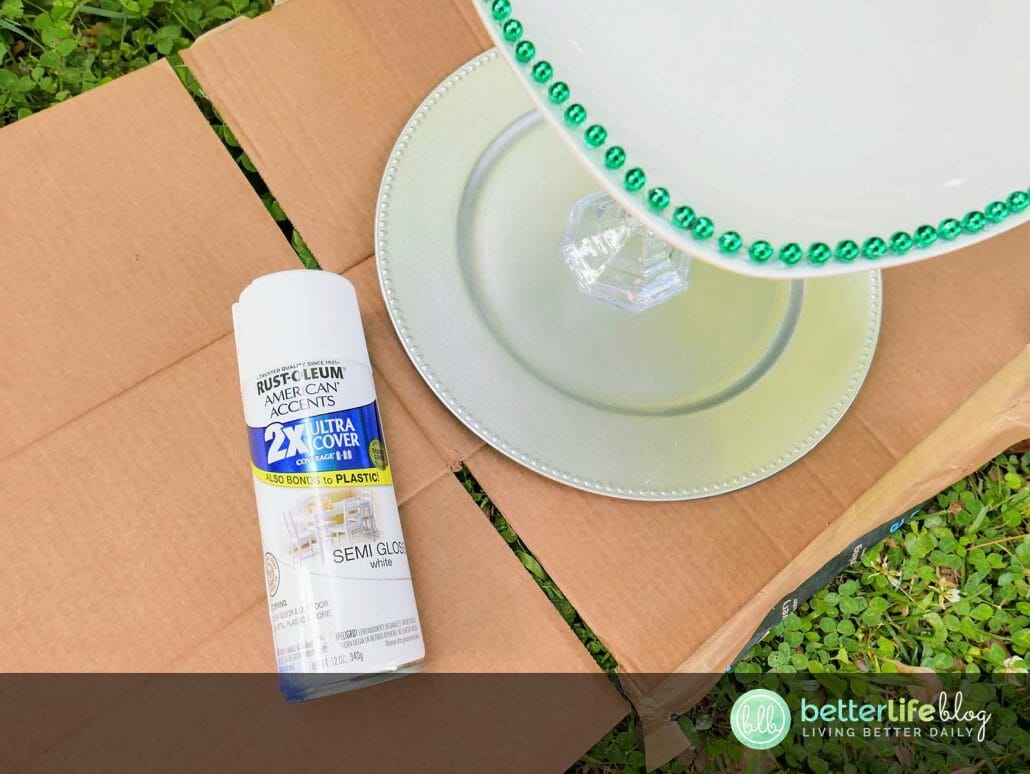
Begin by attaching one candleholder to the center of the plastic plate charger with the E6000 glue.


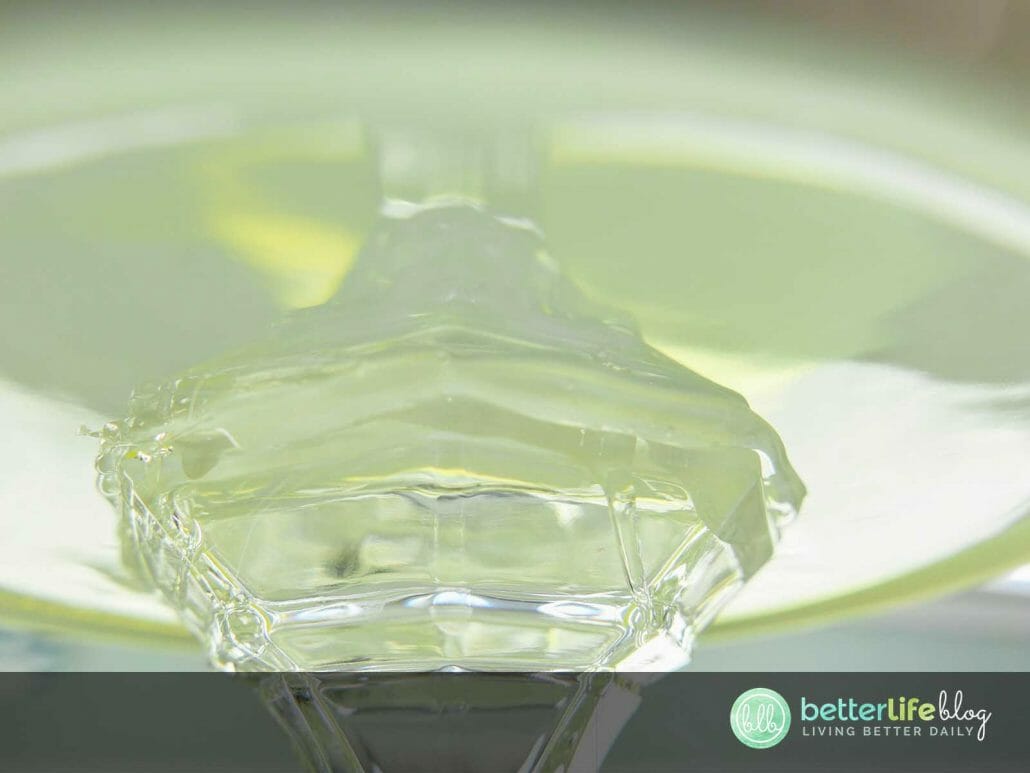
Next, apply E6000 glue to the top of the candleholder. Turn the other candleholder upside down and attach to the first one (to which you had added glue).

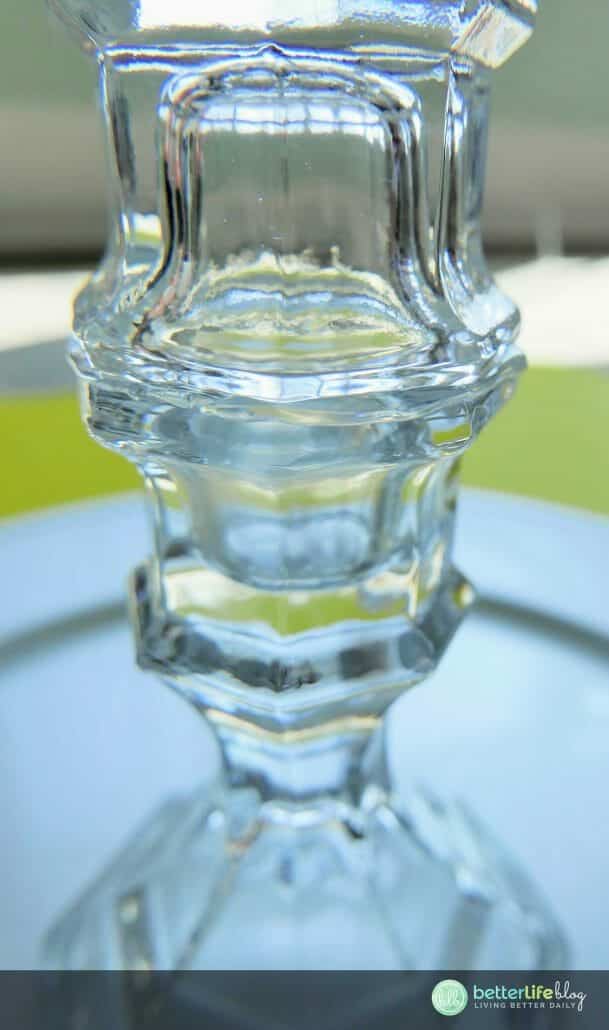
Apply E6000 glue to the exposed candleholder bottom. Place the large dinner plate on top, making sure the candleholder is center to the bottom of the dinner plate.

Set aside and allow for the glue to dry completely.
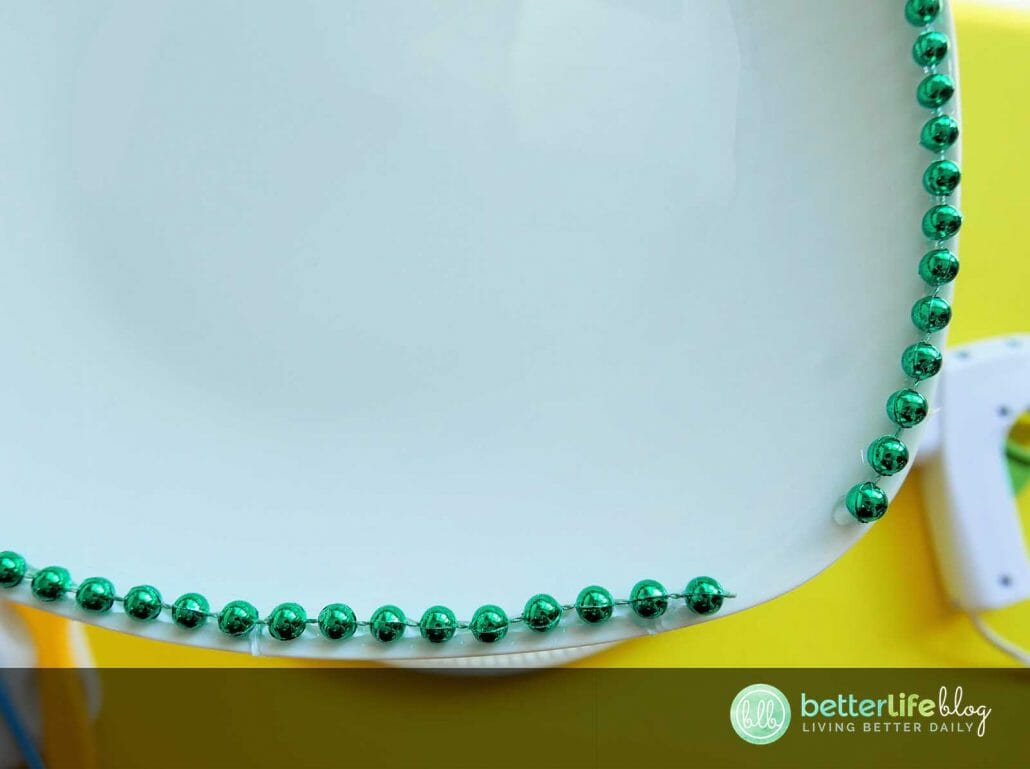
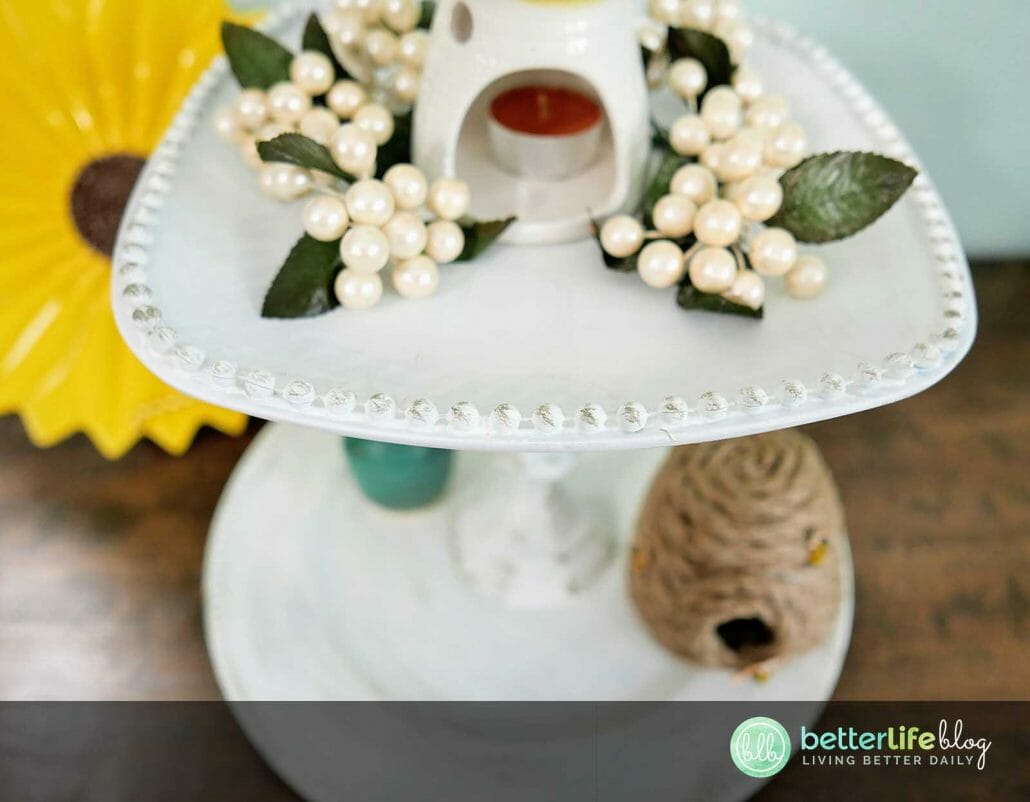
Cut one the beaded party necklaces so that it no longer forms a loop. Using the hot glue gun, begin to attach the necklace to the circumference of the large dinner plate.
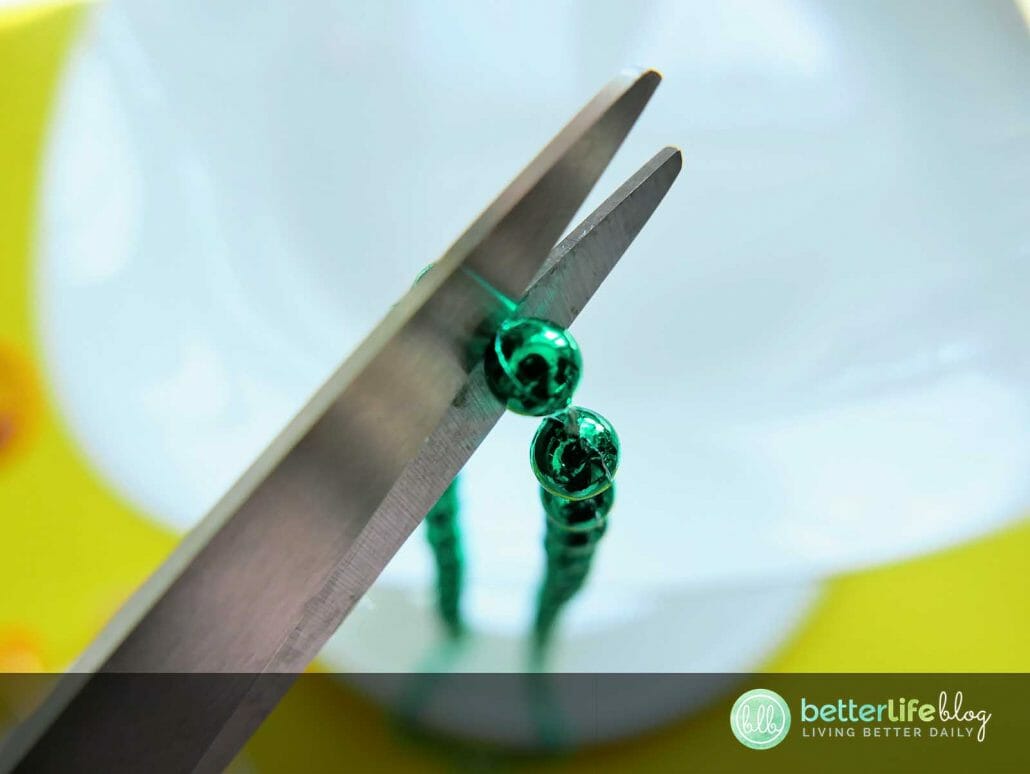

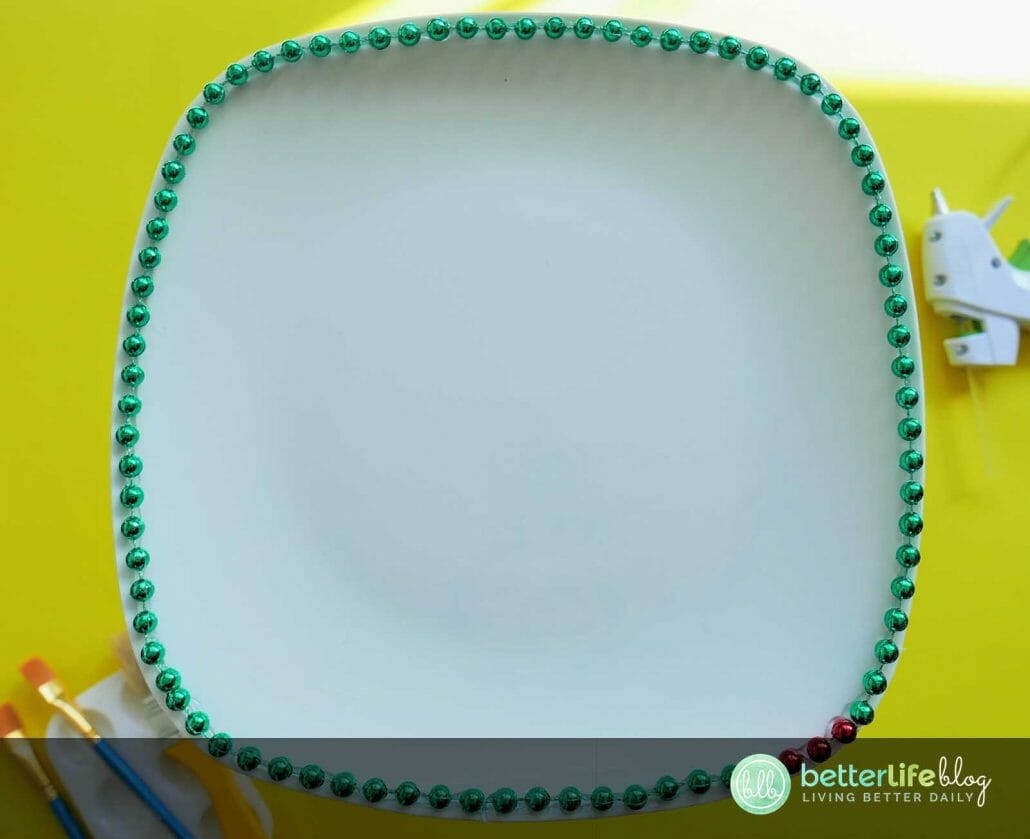
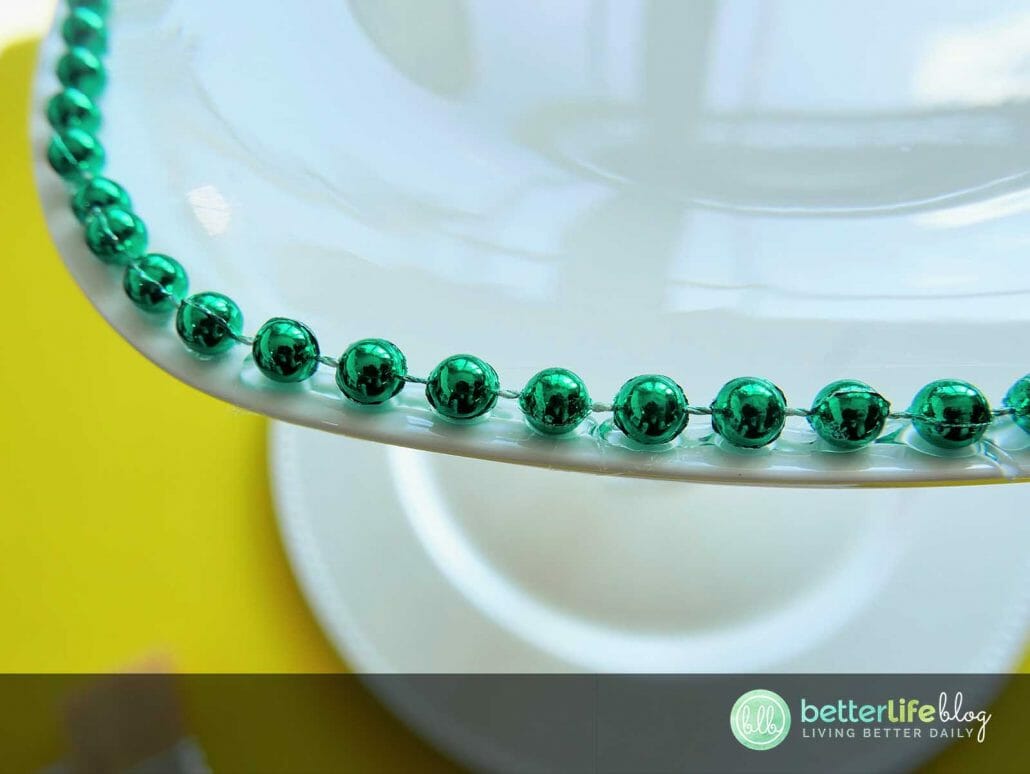
In our case, the necklace was not quite long enough to fill the entire rim of the plate, so an additional necklace was cut to size to complete the entire plate.
In a well-ventilated area, spray paint the entire tray from top to bottom using the white spray paint. Allow to dry completely.

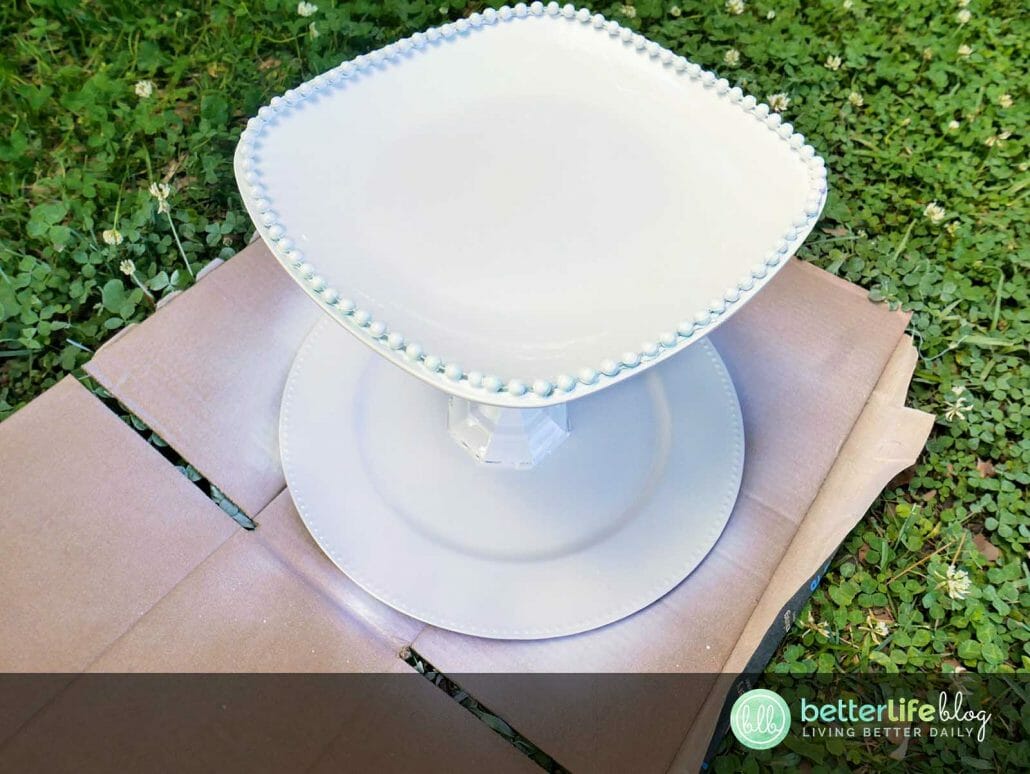
Once the piece is completely dry, begin painting the tray with white acrylic craft paint. Be sure to get in-between the beads (especially where there are spots of spray paint missing). Allow to dry.


Once everything is dry, use the “dry brush” method to add some accents with the grey acrylic paint. In order to do this, dab a small amount of paint onto a clean paint brush and blot it off on a palette tray. Then, gently brush over the beaded edge of the top dinner plate, and around the ribbed edge of the bottom charger plate.


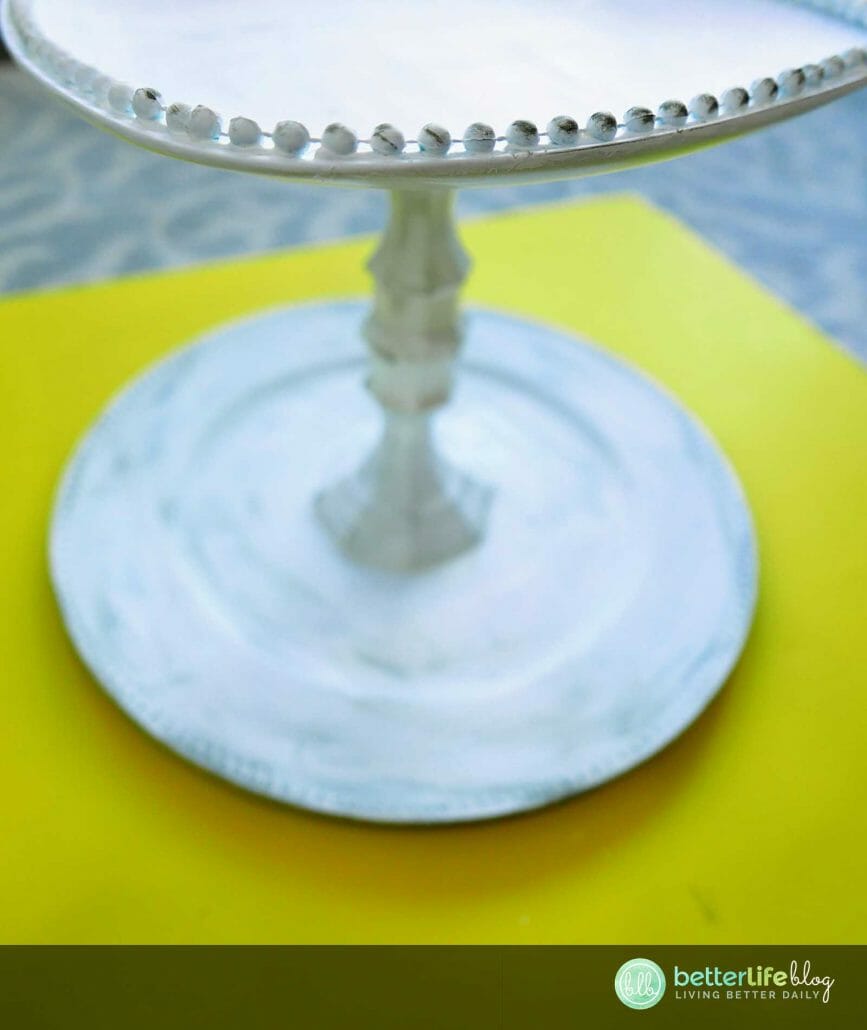
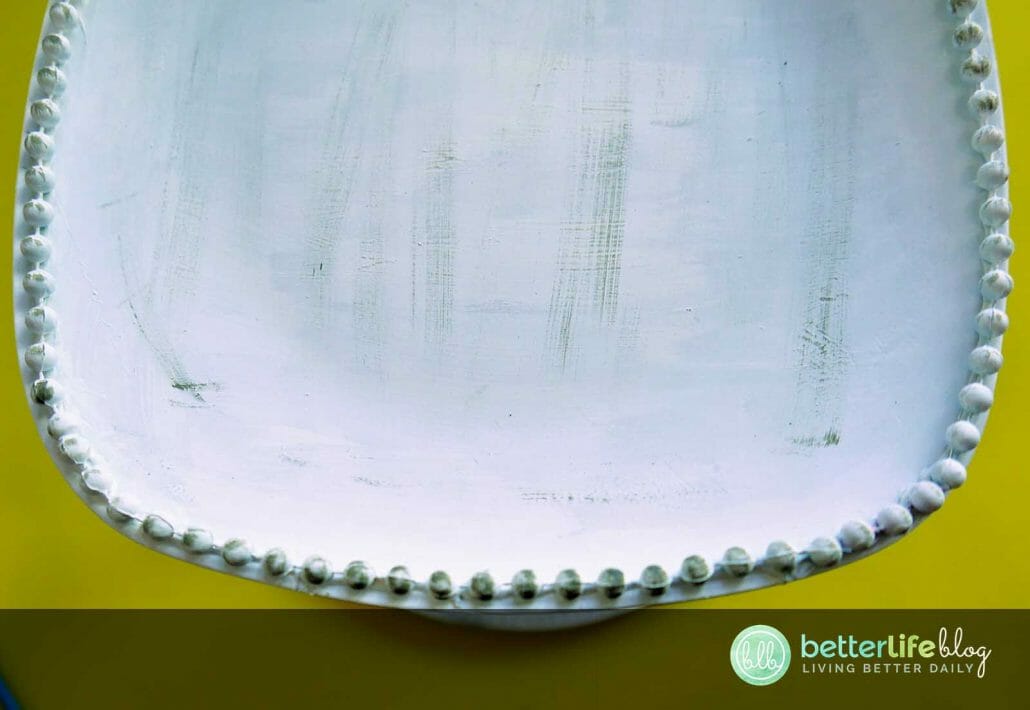


Make several light brush strokes over the plate and charger as well. If some of the spots are too dark with the grey paint, wait until it dries and go over with white acrylic paint.
Allow the piece to completely dry then decorate as desired.
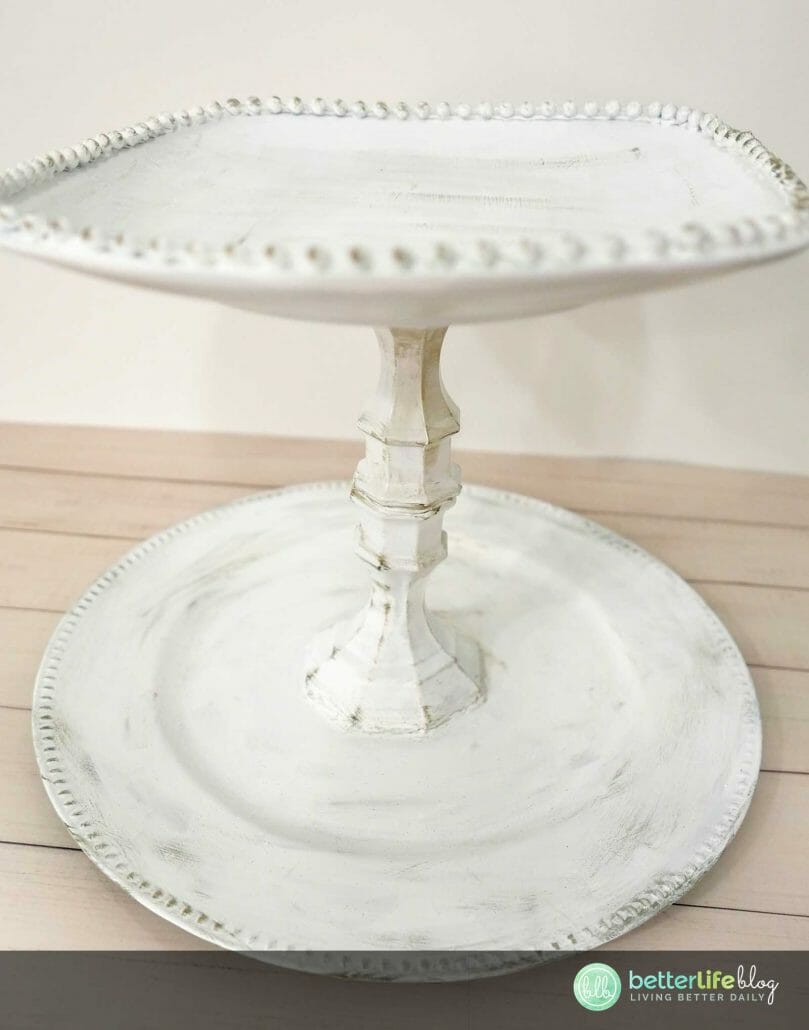
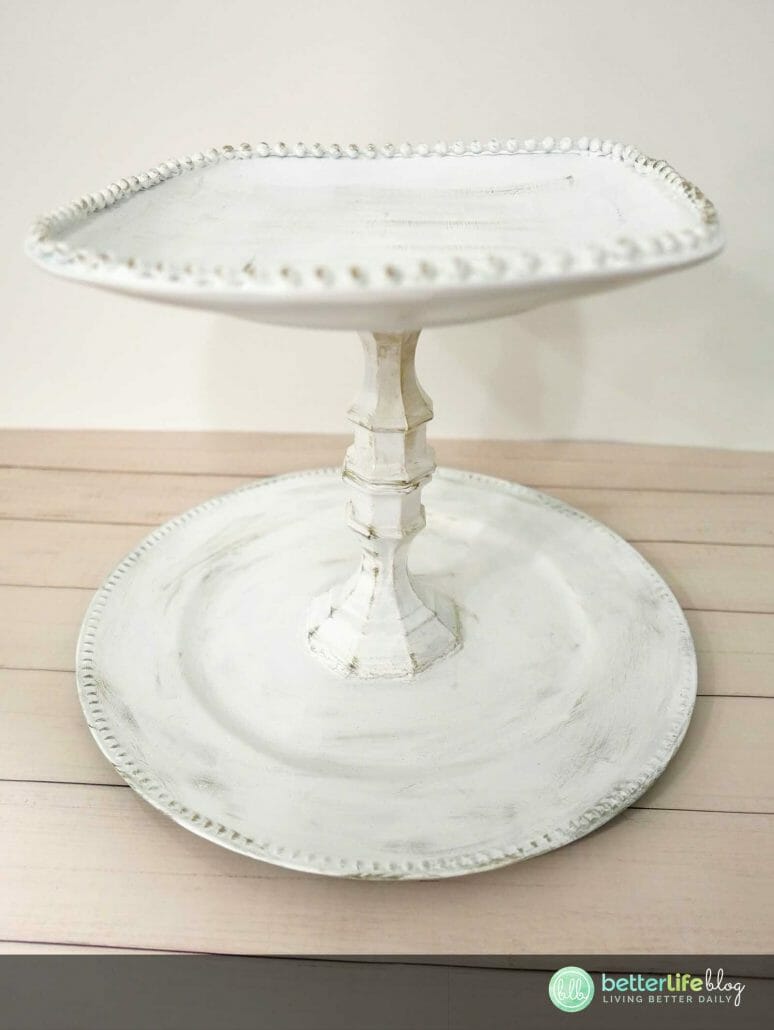


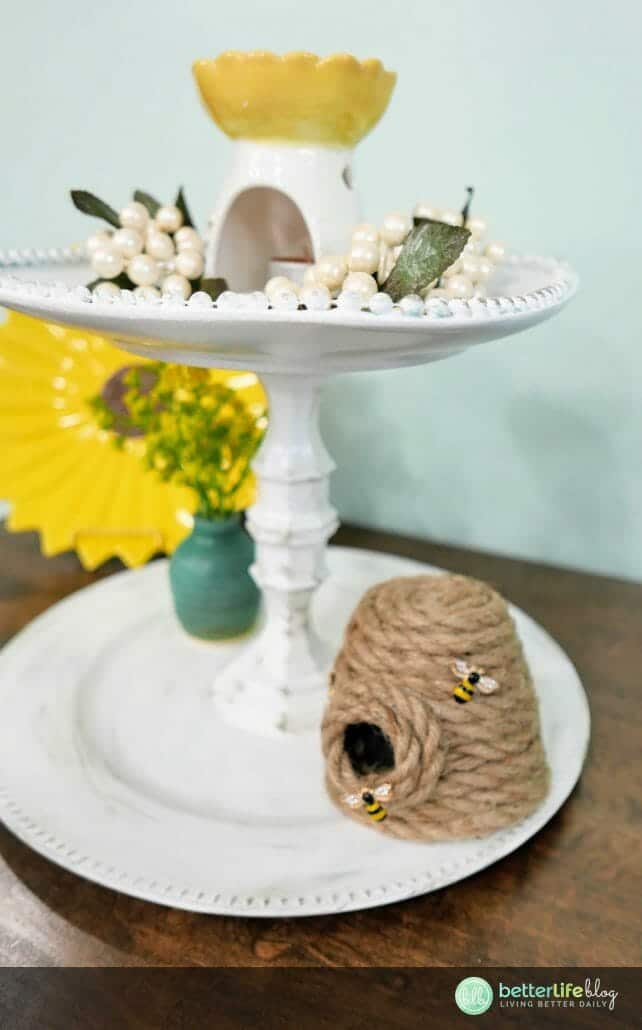


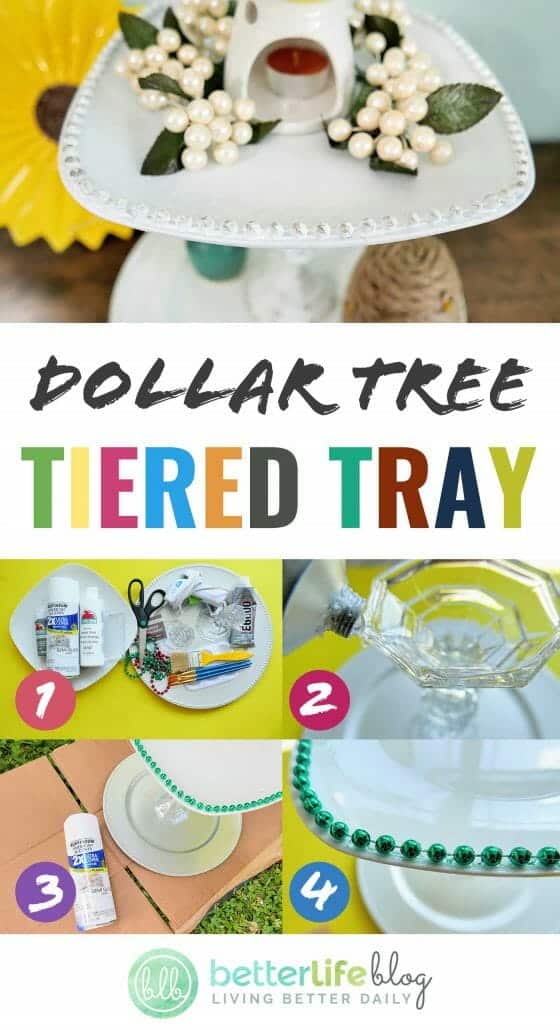
Dollar Tree Tiered Tray
This Dollar Tree Tiered Tray has a beautiful, rustic feel - giving my living room that touch of vintage elegance I always wanted. You wouldn’t even believe that it’s made with products from my local Dollar Tree - and a 100% DIY project. Check out how I made it!
Materials
- Plastic plate charger
- Large dinner plate (a round cake pan could also be substituted)
- Scissors
- Craft paint brushes
- White spray paint
- White acrylic craft paint
- Grey acrylic craft paint
- 2 beaded party necklaces
- Hot glue gun and glue sticks
- E6000 permanent glue
- 2 glass taper candleholders
- Paint palette tray (a paper place could also be substituted)
Instructions
- Begin by attaching one candleholder to the center of the plastic plate charger with the E6000 glue.
- Next, apply E6000 glue to the top of the candleholder. Turn the other candleholder upside down and attach to the first
one (to which you had added glue). - Apply E6000 glue to the exposed candleholder bottom. Place the large dinner plate on top, making sure the candleholder is center to the bottom of the dinner plate.
- Set aside and allow for the glue to dry completely.
- Cut one the beaded party necklaces so that it no longer forms a loop. Using the hot glue gun, begin to attach the necklace to the circumference of the large dinner plate.
- In our case, the necklace was not quite long enough to fill the entire rim of the plate, so an additional necklace was
cut to size to complete the entire plate. - In a well-ventilated area, spray paint the entire tray from top to bottom using the white spray paint. Allow to dry completely.
- Once the piece is completely dry, begin painting the tray with white acrylic craft paint. Be sure to get in-between the
beads (especially where there are spots of spray paint missing). Allow to dry. - Once everything is dry, use the “dry brush” method to add some accents with the grey acrylic paint. In order to do this,
dab a small amount of paint onto a clean paint brush and blot it off on a palette tray. Then, gently brush over the beaded edge of the top dinner plate, and around
the ribbed edge of the bottom charger plate. - Make several light brush strokes over the plate and charger as well. If some of the spots are too dark with the grey
paint, wait until it dries and go over with white acrylic paint. - Allow the piece to completely dry then decorate as desired.