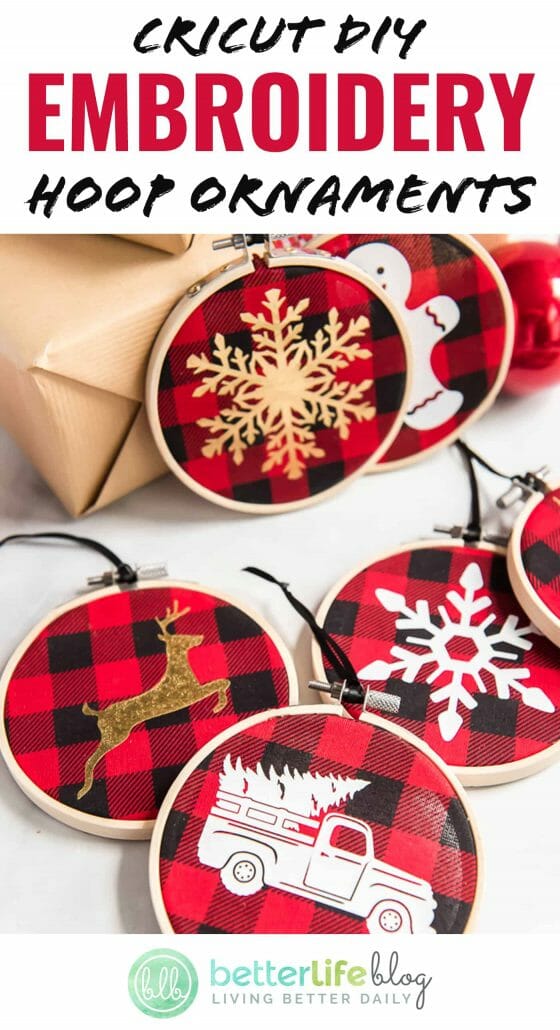
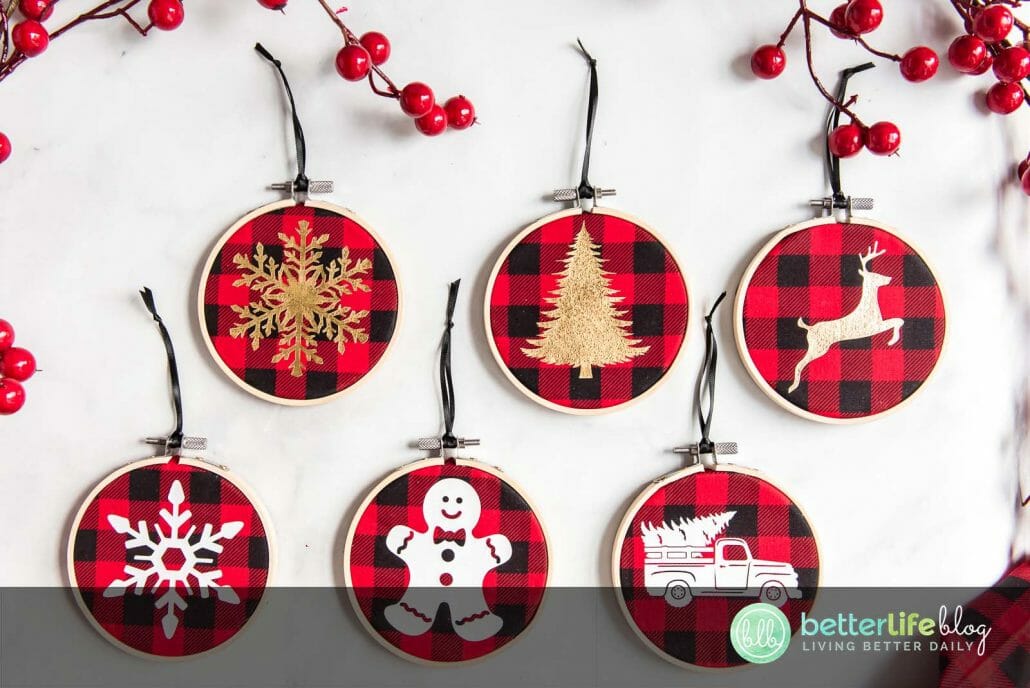
Looking to DIY some Cricut Christmas Ornaments? These Buffalo Plaid Embroidery Hoop Christmas Ornaments are made with HTV and offer a timeless look for your Christmas decor.
Hello, crafty friends! Welcome back to another crafty Cricut tutorial. I’m so glad you’re here!
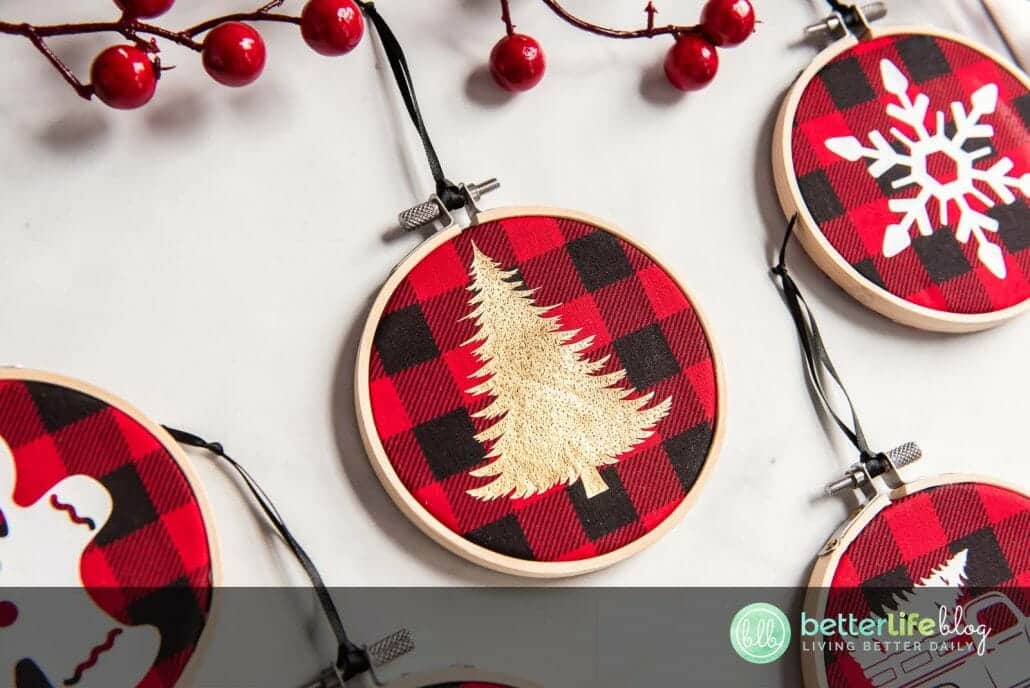
When it comes to my taste in holiday décor , I love a good, classic look. I never decorate with trendy, flashy colors. Instead, I make the most of timeless pieces – this way, I know that I can use them year after year.
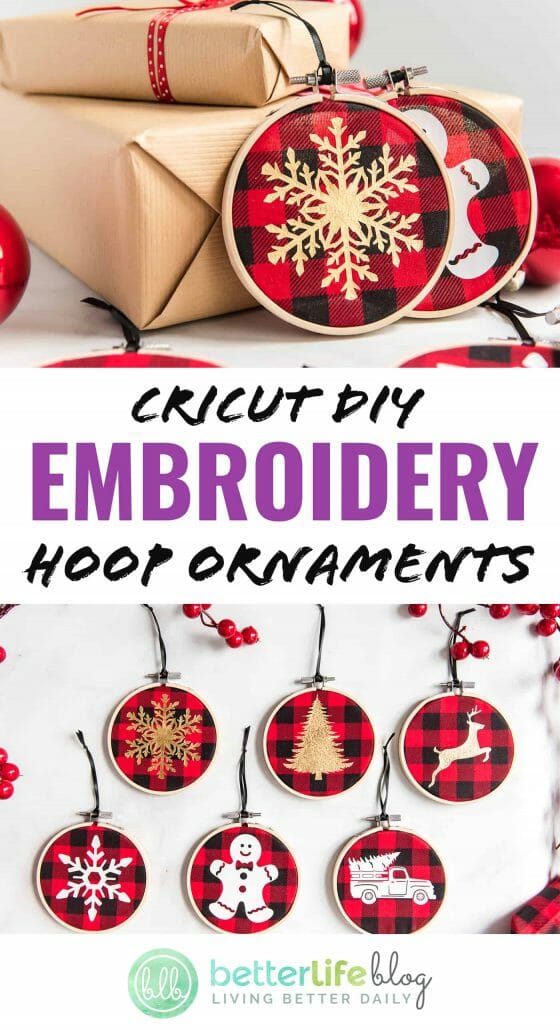
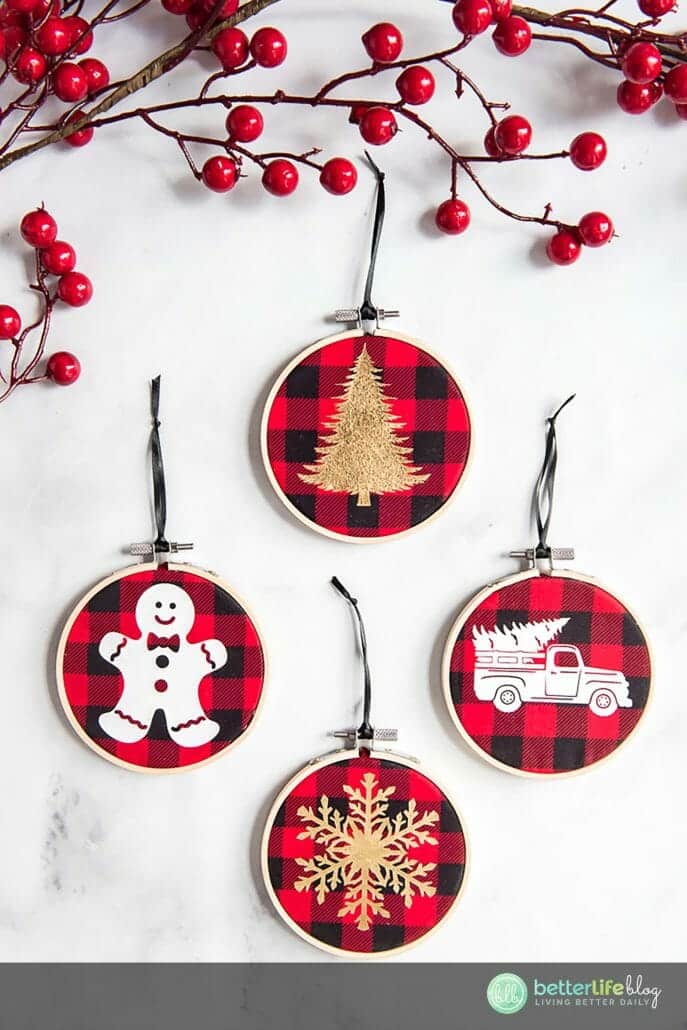
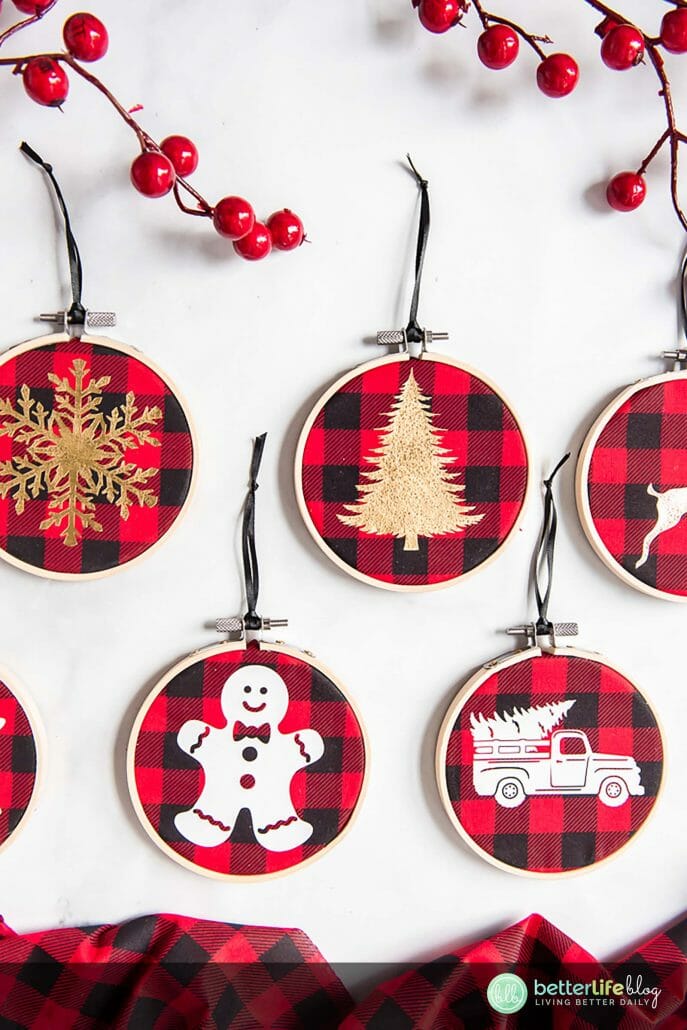
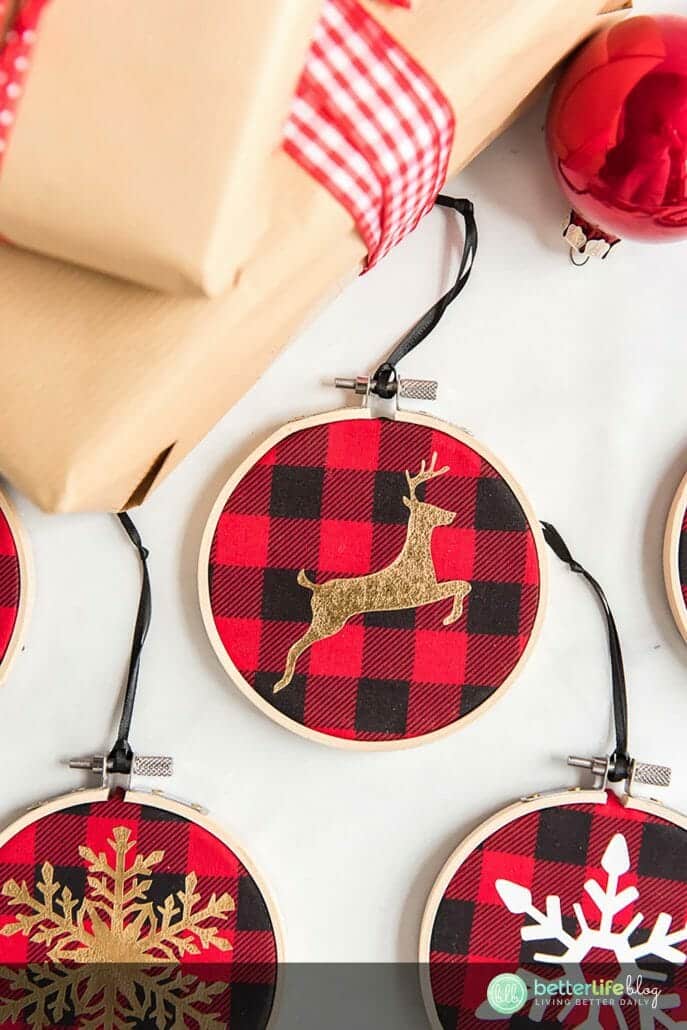
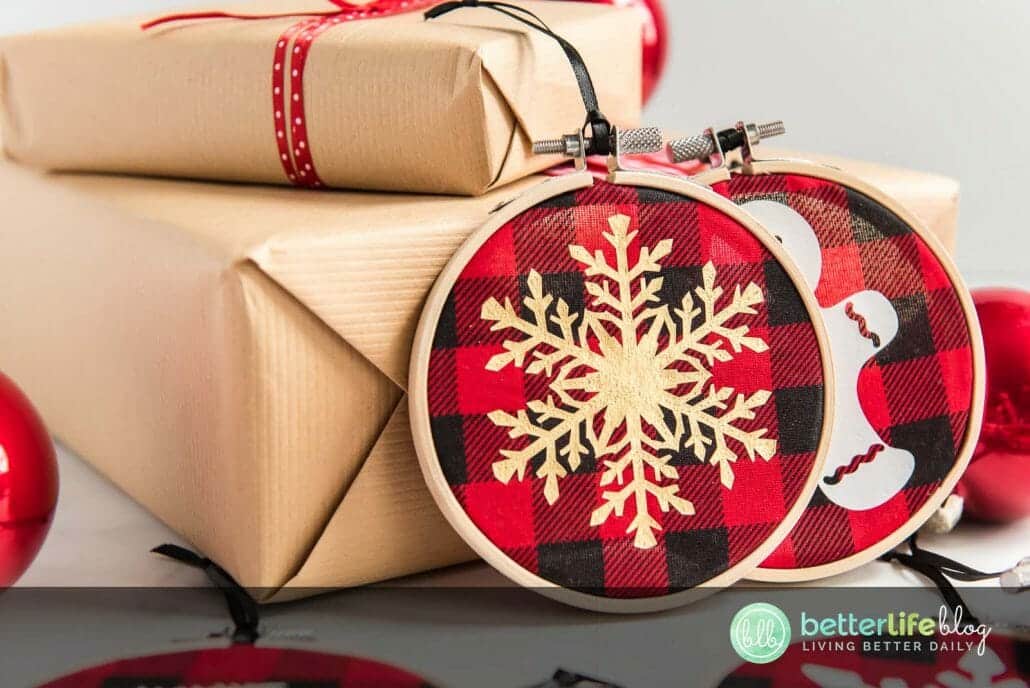
My Cricut Embroidery Hoop Ornaments suit my home’s thematic décor very well. They’re subtle and yet, still very festive… gorgeous in their own right! In this tutorial, I’ll show you how to make your very own embroidery hoop ornaments – and with the help of your trusty Cricut machine!
How Do I DIY My Very Own Cricut Christmas Ornaments?
It’s not hard to make your own Christmas ornaments – especially when you use your Cricut. For these Buffalo Plaid Embroidery Hoop Christmas Ornaments, we make good use of HTV and our Cricut Easy Press.
Be sure to read my full step-by-step instructions below so that you can make a set of your very own!
More Christmas Cricut Ideas
Can’t get enough of the holiday season? Here are some more of my Christmas Cricut ideas:
Farmhouse Christmas Stained Door Wood Sign
Cricut Christmas “Santa-Tizer” Sanitizer Print Then Cut Labels
Cricut DIY Christmas Tree Centerpiece
What Materials and Supplies Do I Need To Make These Buffalo Plaid Embroidery Hoop Cricut Christmas Ornaments?
Before starting your project, be sure to gather the following materials:
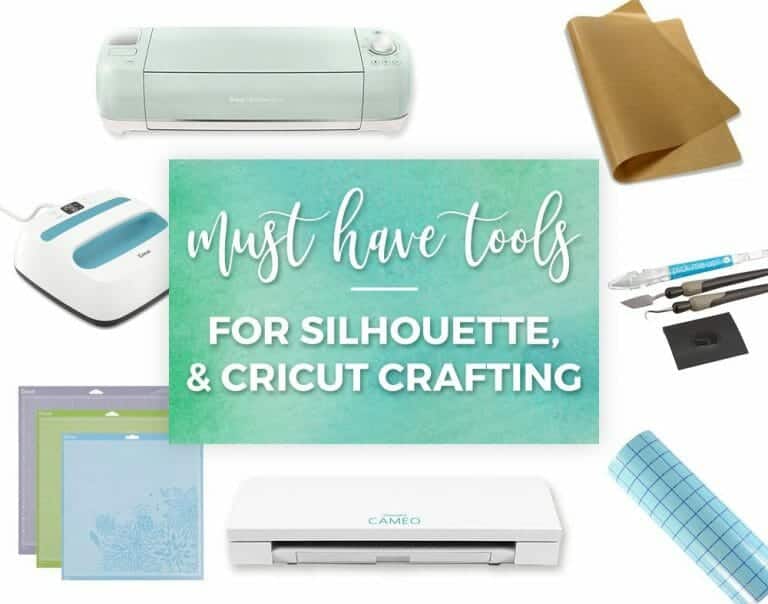
- Cricut Machine
- Cricut Easy Press
- Vinyl in Matte White and Metallic Gold
- Ruler
- Cricut weeding tools
- Scissors
- 4” Mini Embroidery Hoops
- Buffalo Check Fabric (We used a bandana)
- Hot glue gun
- Ribbon of your choice (should be a thin ribbon, to be used for hanging on the tree)
- SVG files from the Full Christmas Bundle


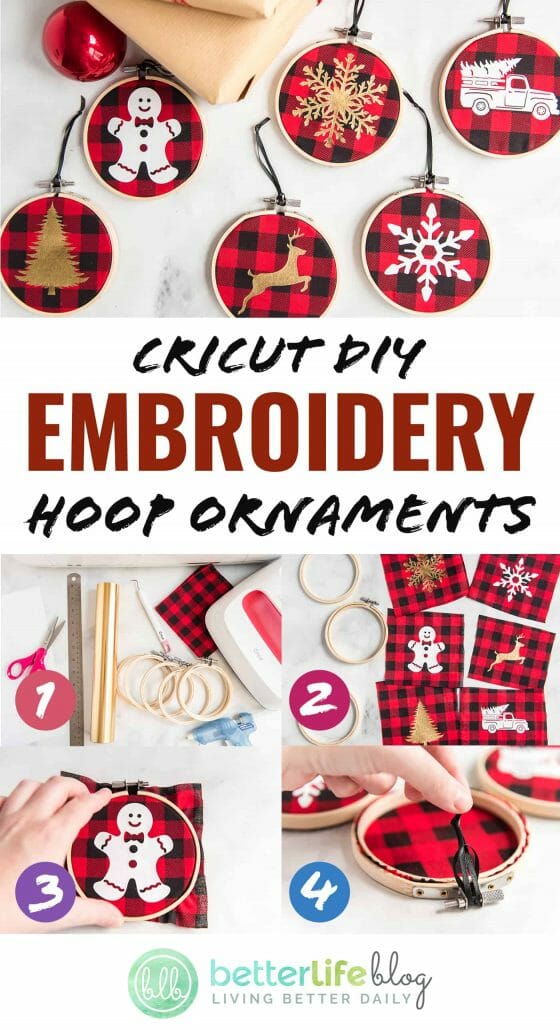
How To Make Your Very Own Buffalo Plaid Embroidery Hoop Cricut Christmas Ornaments?
Step 1: Gather Materials and Upload the SVG Files
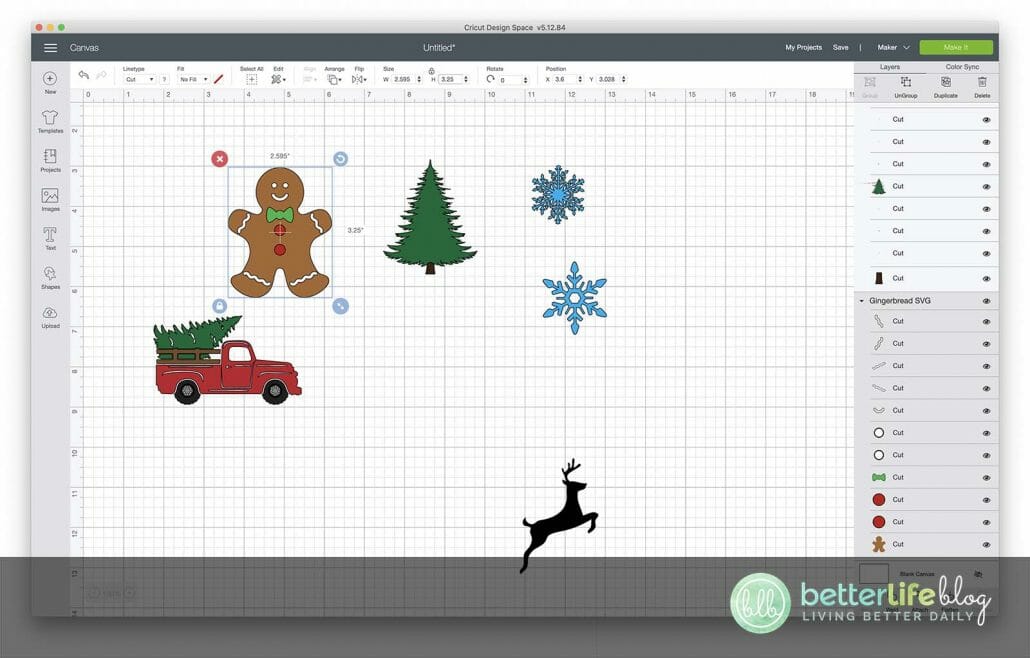
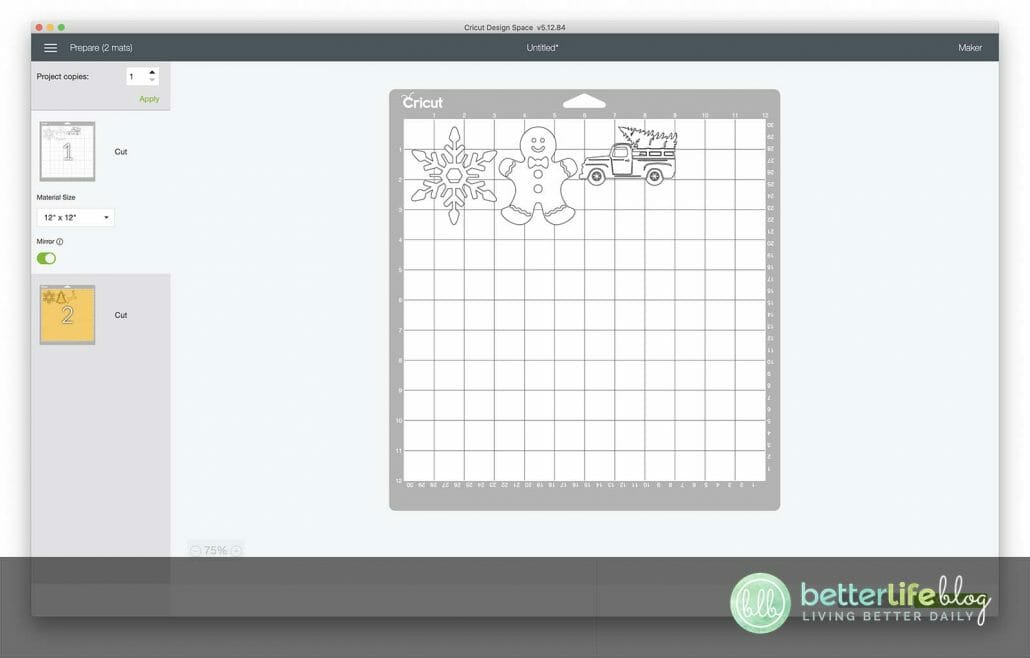
Gather all materials. Load SVG files into Design Space. If necessary, adjust the height of each image to fit within your ornament – but be sure to leave a little space around the edge. (Each image will need to be a slightly different size since they all have different dimensions) Try to keep the maximum height or width within 3.25 inches.
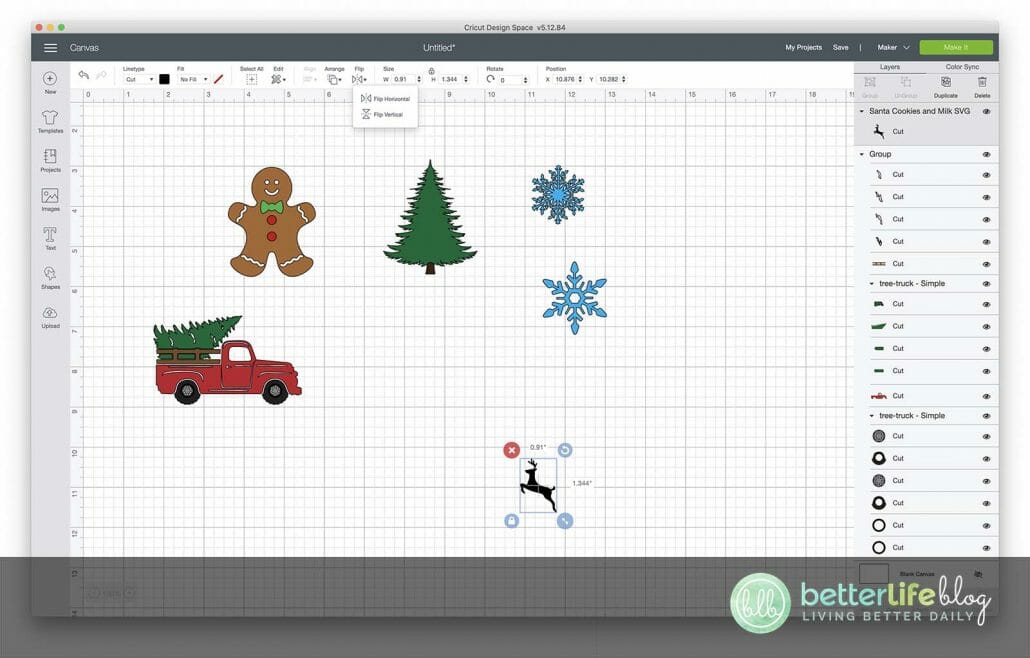
Step 2: Adjust the Orientation of Each Image
Adjust the orientation of each image: to do this, select the image and then select to flip horizontal or vertical. Flatten any images that contain multiple layers.
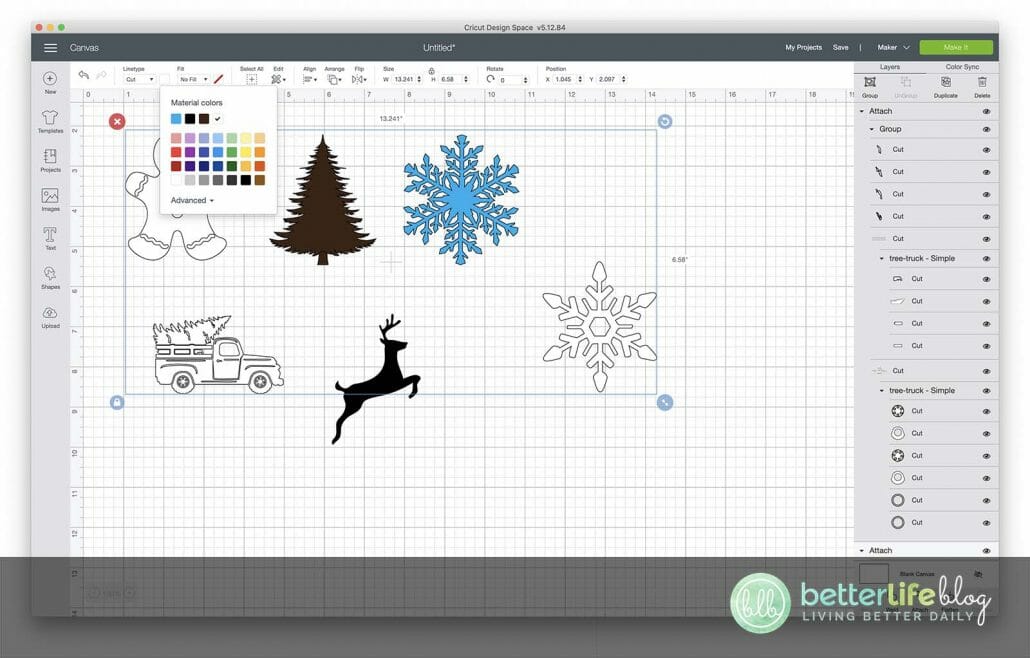
To keep everything organized, select the images you would like to be cut on white vinyl, then change the material colors to white. Next select the images you would like to make using your gold vinyl, then change the material colors to gold. Select the “Make It” button.

Step 3: Cut Your Design!
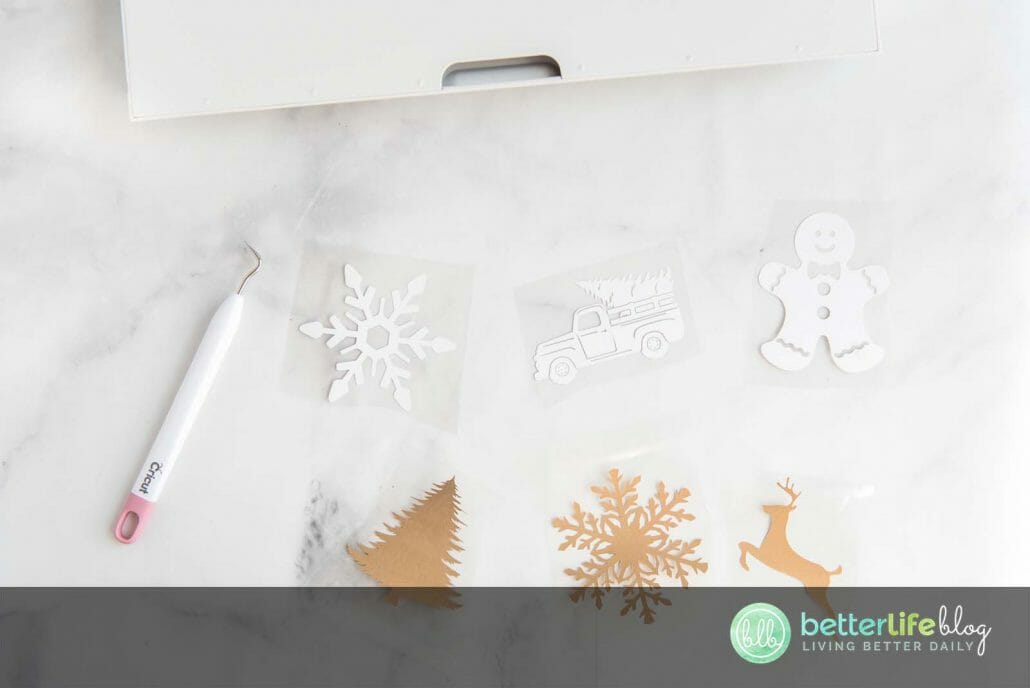
Begin by loading the mat with white vinyl, shiny side down. Toggle the mirror switch to on, and proceed to cut your first set of images. Remove from mat. Next, load your mat with the gold vinyl, shiny side down. Toggle the mirror switch to on, and proceed to cut your next set of images. Remove from mat and use weeding tools to remove all unwanted vinyl from the backing sheet.

Step 4: Heat Press Your Vinyl on the Buffalo Fabric
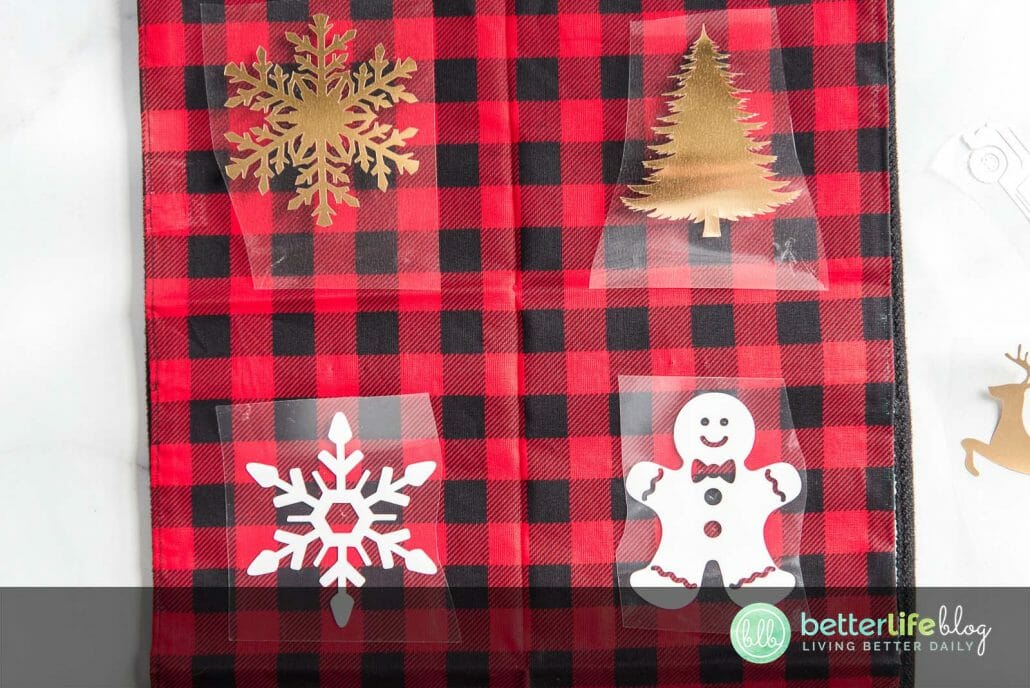
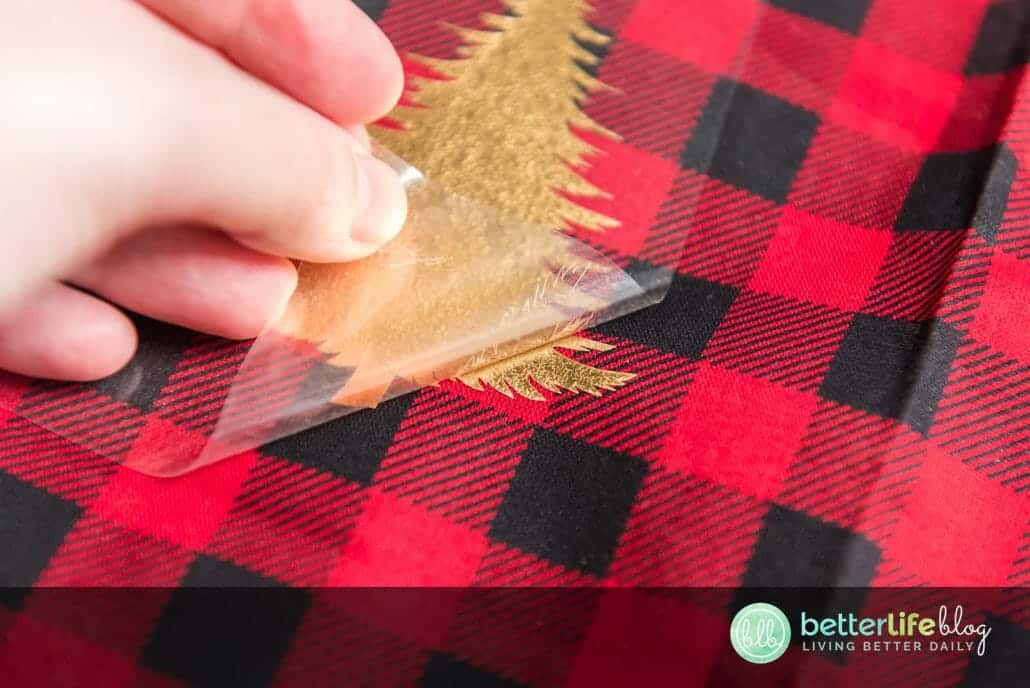
Next, lay the buffalo check fabric flat on a clean working surface. Heat the Easy Press to 335 (please consult your vinyl instructions for the most accurate temperature) and press the vinyl onto the fabric for 15 seconds. Press again if needed. Remove clear carrier sheet.

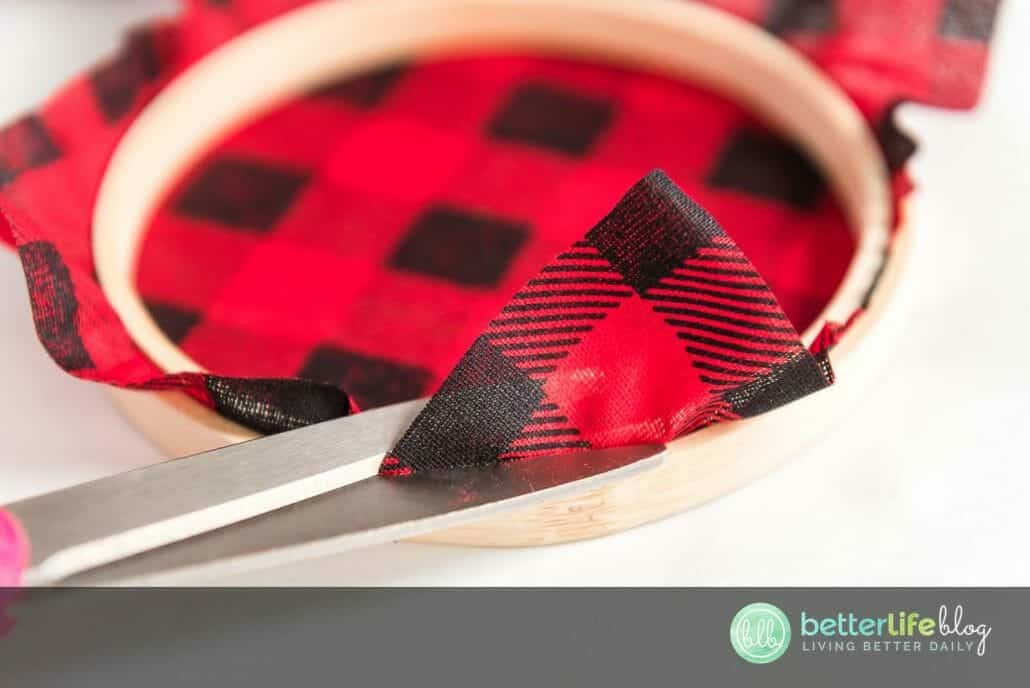
Step 5: Cut Fabric
Cut fabric into squares around each image, leaving enough space to fit the embroidery hoop.


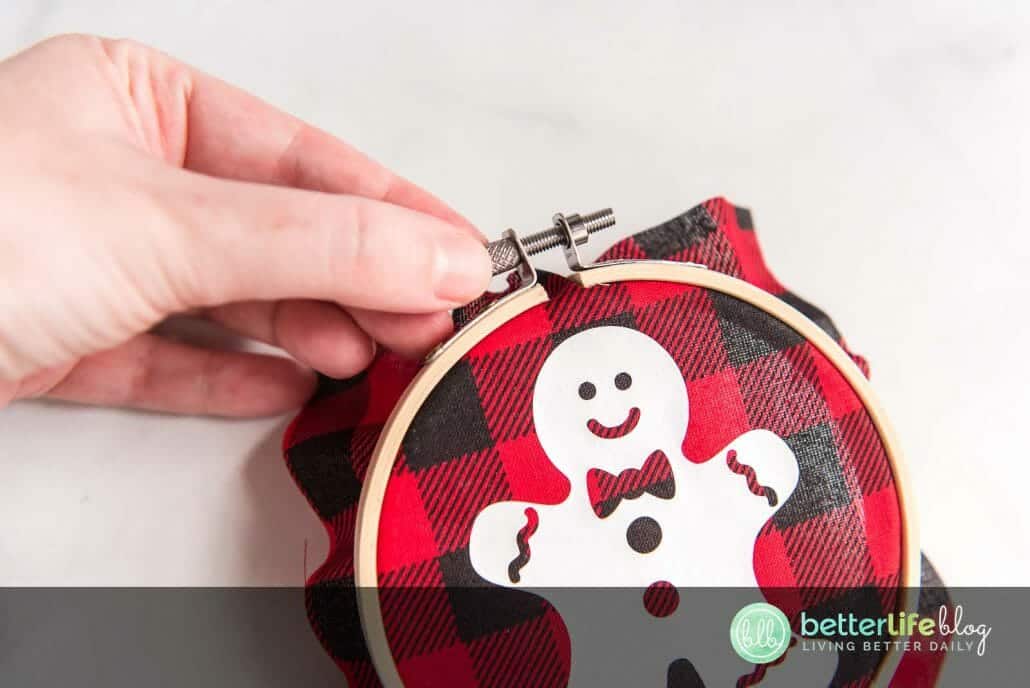
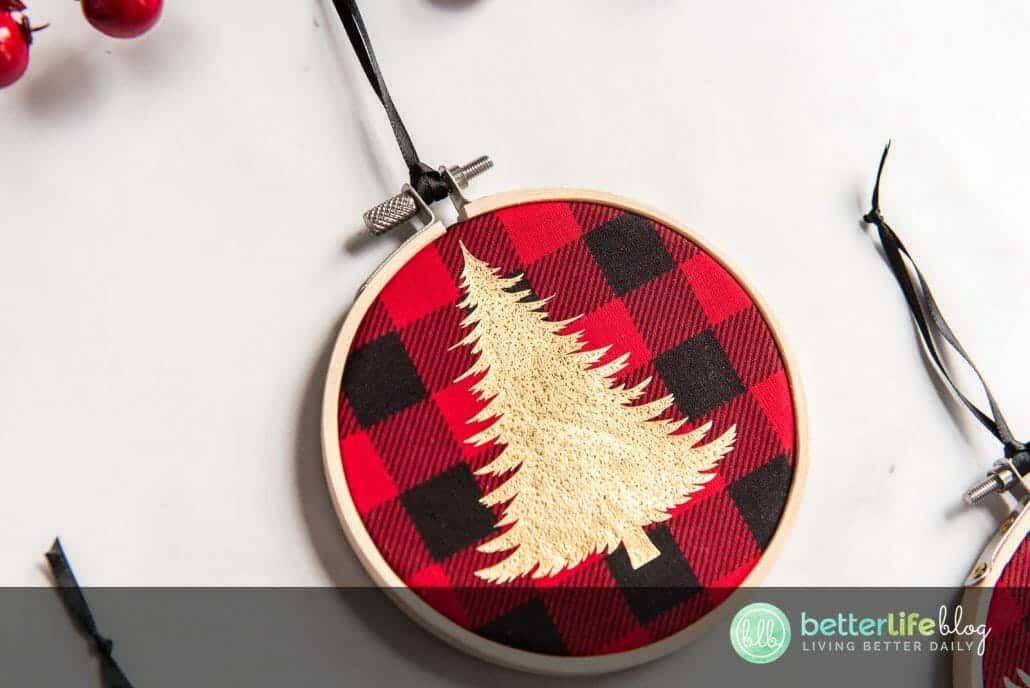
Step 6: Insert the Fabric into the Embroidery Hoop
Unscrew the top of each embroidery hoop. Place fabric square on top of the inner hoop and then place the outer hoop on top of the inner hoop. Screw the top of each one to tighten. Cut away any excess fabric. If necessary, hot glue any pieces are sticking out.


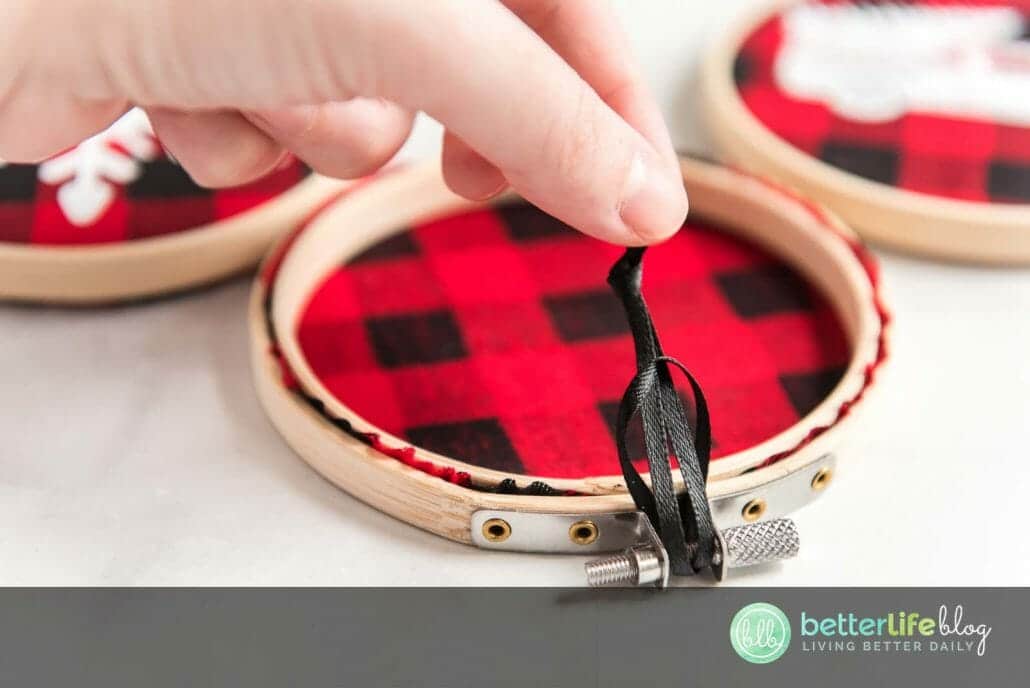
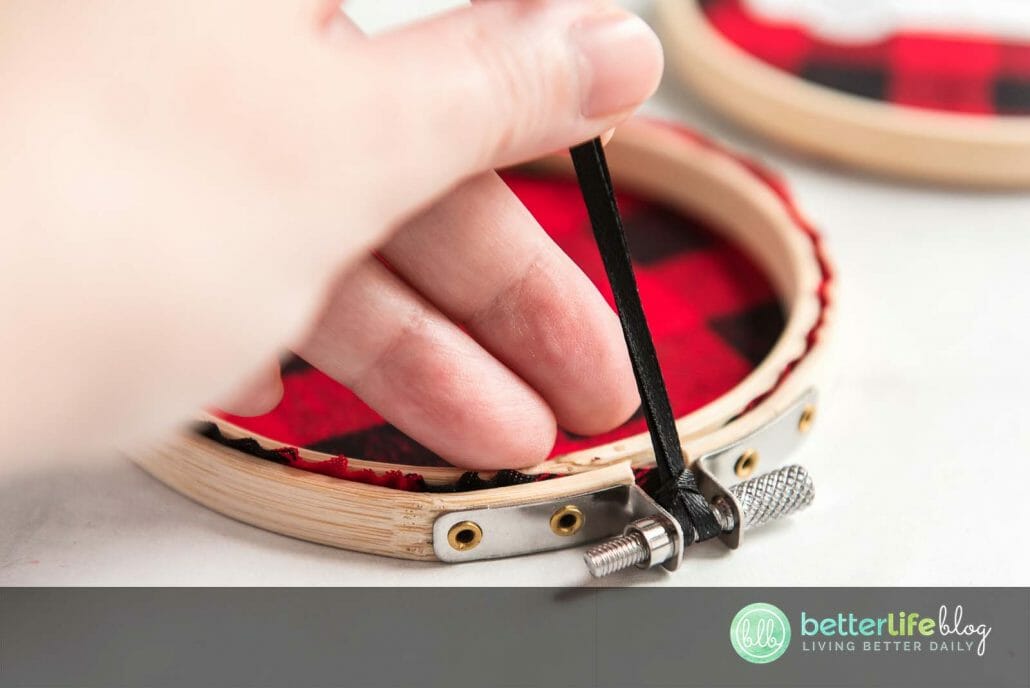
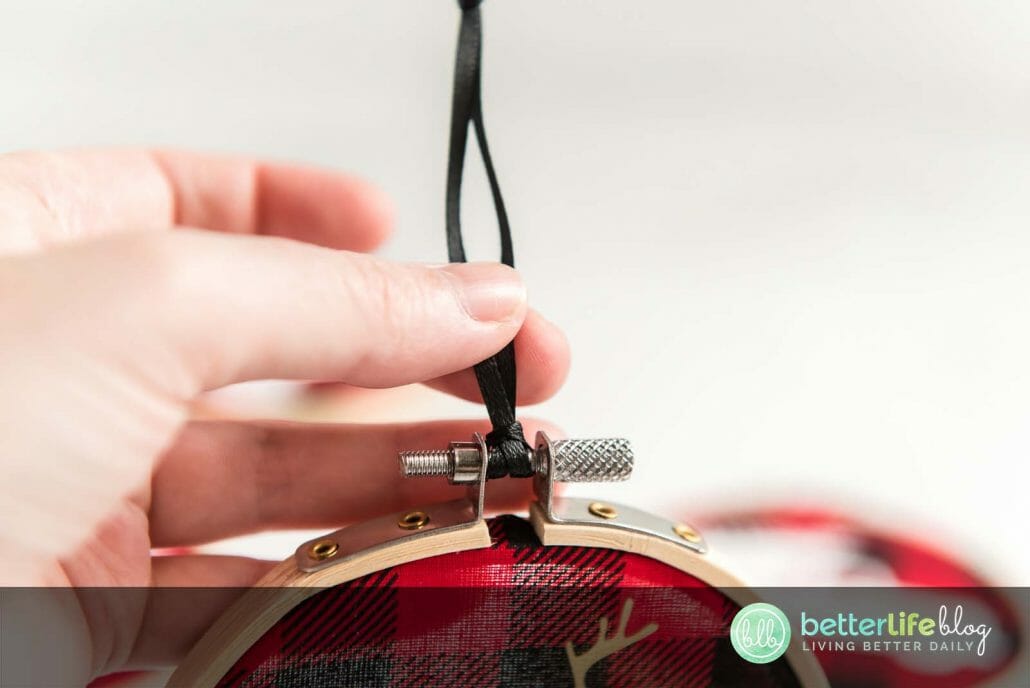
Step 7: Add Some Ribbon
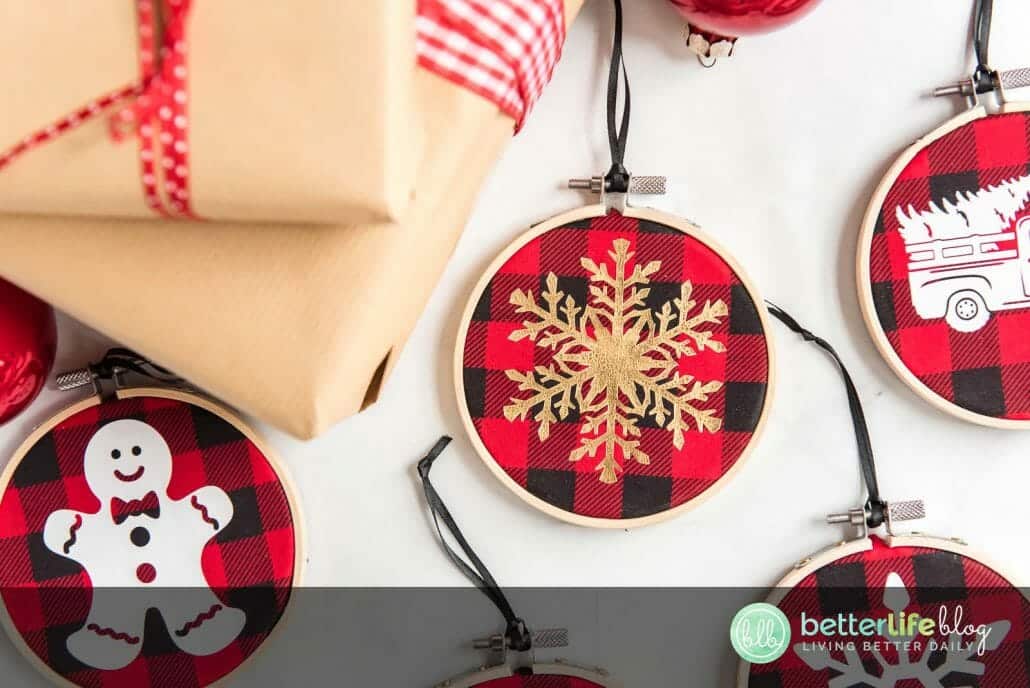
Cut a piece of ribbon about 9 inches long and knot it at the top. Push the ribbon through the top of the embroidery hoop so that it’s ready to hang on the tree!


Additional Notes
- You may use a towel or thick fabric under the plaid fabric as you use your heat press.
- Once you’re heated your vinyl on one side, you can heat on the back side as well to really ensure that it is adhered to your surface.
- For a more subtle look, you may use fishing line instead of ribbon to hang your ornament.
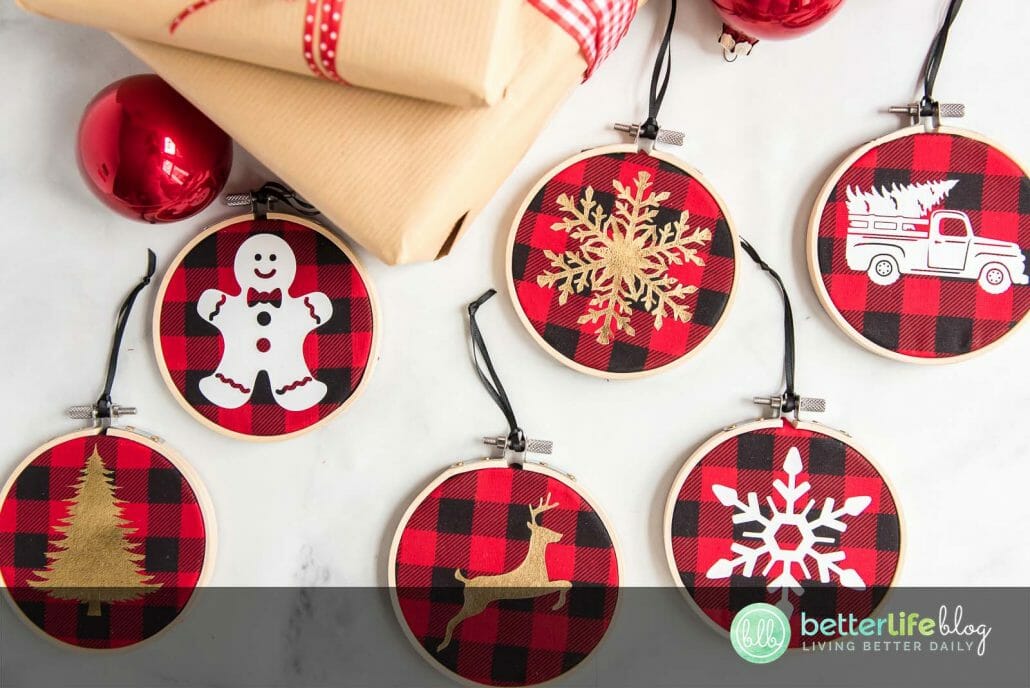
- These ornaments make perfect gifts for teachers, friends and family!

Cricut Embroidery Hoop Ornaments
In this Cricut tutorial, I’ll show you how to make your very own Embroidery Hoop Ornaments. They make for great décor AND
great gifts!
Materials
- Cricut Machine
- Cricut Easy Press
- Vinyl in Matte White and Metallic Gold
- Ruler
- Cricut weeding tools
- Scissors
- 4” Mini Embroidery Hoops
- Buffalo Check Fabric (We used a bandana)
- Hot glue gun
- Ribbon of your choice (should be a thin ribbon, to be used for hanging on the tree)
- SVG files from the Full Christmas Bundle
Instructions
- Gather all materials. Load SVG files into Design Space. If necessary, adjust the height of each image to fit within your
ornament - but be sure to leave a little space around the edge. (Each image will need to be a slightly different size since they all have different dimensions) Try to keep the maximum height or width within 3.25 inches. - Adjust orientation of each image. To do this, select the image and then select to flip horizontal or vertical. Flatten
any images that contain multiple layers. - To keep organized, select the images you would like to be cut on white vinyl, then change the material colors to white.
Next select the images you would like to make using your gold vinyl, then change the material colors to gold. Select the “Make It” button. - Begin by loading the mat with white vinyl, shiny side down. Toggle the mirror switch to on, and proceed to cut your first set of images. Remove from mat. Next, load your mat with the gold vinyl, shiny side down. Toggle the mirror switch to on, and proceed to cut your next set of images. Remove from mat and use weeding tools to remove all unwanted vinyl from the backing sheet.
- Next, lay the buffalo check fabric flat on a clean working surface. Heat the Easy Press to 335 (please consult your vinyl instructions for the most accurate temperature) and press the vinyl onto the fabric for 15 seconds. Press again if needed. Remove clear carrier sheet.
- Cut fabric into squares around each image, leaving enough space to fit the embroidery hoop.
- Unscrew the top of each embroider hoop. Place fabric square on top of the inner hoop and then place the outer hoop on top of the inner hoop. Screw the top of each one to tighten. Cut away any excess fabric. If necessary, hot glue any pieces are sticking out.
- Cut a piece of ribbon about 9 inches long and knot it at the top. Push the ribbon through the top of the embroidery hoop so that it’s ready to hang on the tree!
Notes
You may use a towel or thick fabric under the plaid fabric as you use your heat press.
Once you’re heated your vinyl on one side, you can heat on the back side as well to really ensure that it is adhered to your surface.
For a more subtle look, you may use fishing line instead of ribbon to hang your ornament.
These ornaments make perfect gifts for teachers, friends and family!