Don’t you love it when kids’ eyes light up with a sense of wonder? Maybe that’s why activities like making color changing bouncy balls with your children is so much fun. They get to see science at work (a very stealthy educational move on your part) as they mix just a few simple ingredients.


And the best part—this is a super simple activity that’s perfect for any time of the year. All you need is three, or four ingredients if you use the glitter. As you stir, the mixture transforms. When placed in direct sunlight the color will change right before their wonder-filled eyes.

Notes
- Borax is NOT edible, so this activity isn’t recommended for children under 3 years old. Adult supervision is required! (Besides, you wouldn’t want to miss out on all the fun.)
- If you or your children have sensitive skin, wear gloves. And everyone should wash their hands after playing.
- Glitter glue can be substituted for the color changing glue and glitter (but of course, you’ll miss out on the color changing part.).
- Let your kids know that If squeezed or thrown too hard, these balls can break. If that happens, though, they can be rolled and squeezed back together. Which means at some point your boys will want to try to break them. Okay, maybe your girls too. Let’s face it, breaking things can be kind of fun…

What You’ll Need
- ½ cup warm water
- 1 tablespoon Borax Detergent Booster
- Glitter, if desired (or should I say… if you’re feeling brave!)
- 2 to 3 tablespoons color-changing glue
Directions
In a bowl, add the water and Borax Detergent Booster. Stir them together until the borax is completely dissolved into the water.

If you are using glitter, mix it in with the water and borax mixture. Sure, glitter may show up around the house even if you try to keep it in the bowl. But go ahead and make it sparkle like the smile of a Disney Princess.

Next, stir in 2 to 3 tablespoons of the color-changing glue. This glue is SO cool! It changes color under ultraviolet rays. That means you can use a U/V light or you can put it under sunlight and you’ll see it change color! I also made slime with my boys and it was SO FUN! Be sure to check that out our post about color-changing slime.

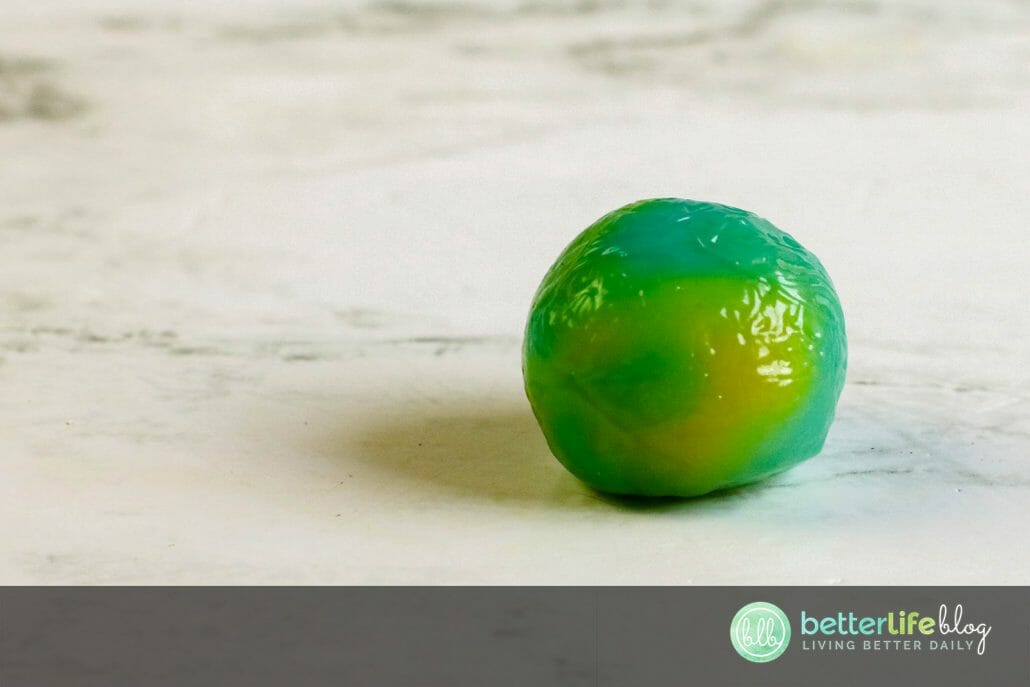
It’s up to you how large you want to make the balls, As you continue to stir, thick slime will begin to form. After the glue and borax mixture comes together, use your hands to squeeze and shape the ball.

Remove the ball from the solution. Then roll it in your hands, squeezing together, until it’s no longer sticky and the ball is formed. If you’ve done that and the ball is still sticky, dip the ball back into the solution. Remove it again and roll in your hands until smooth.
Here’s the moment you get to watch the kids eyes light up in wonder. Place the ball in direct sunlight and watch the color change! So much fun!

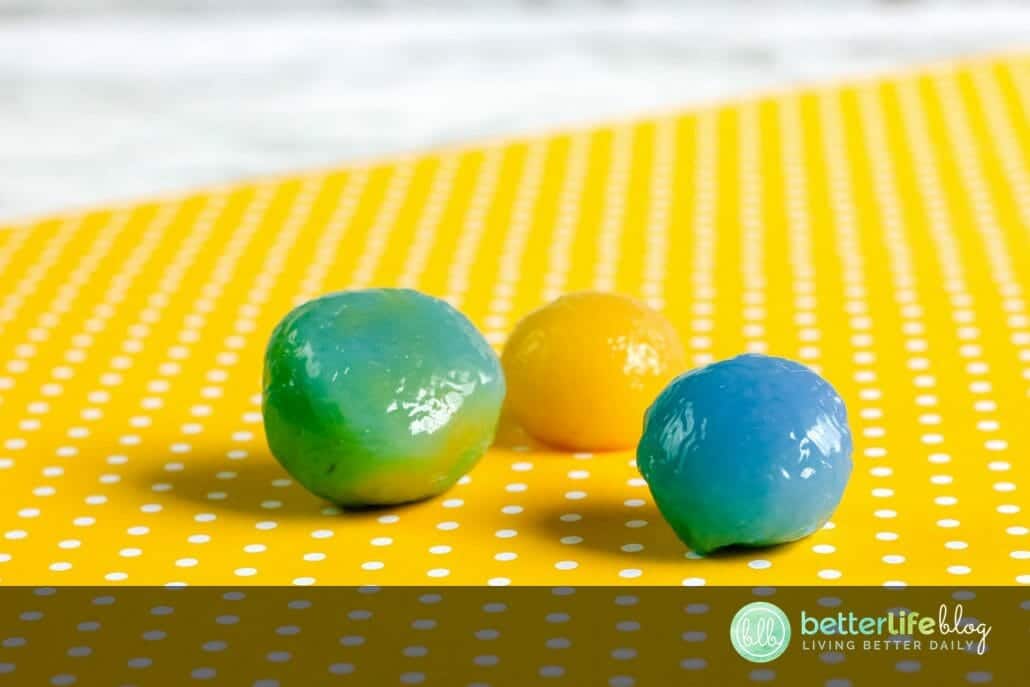
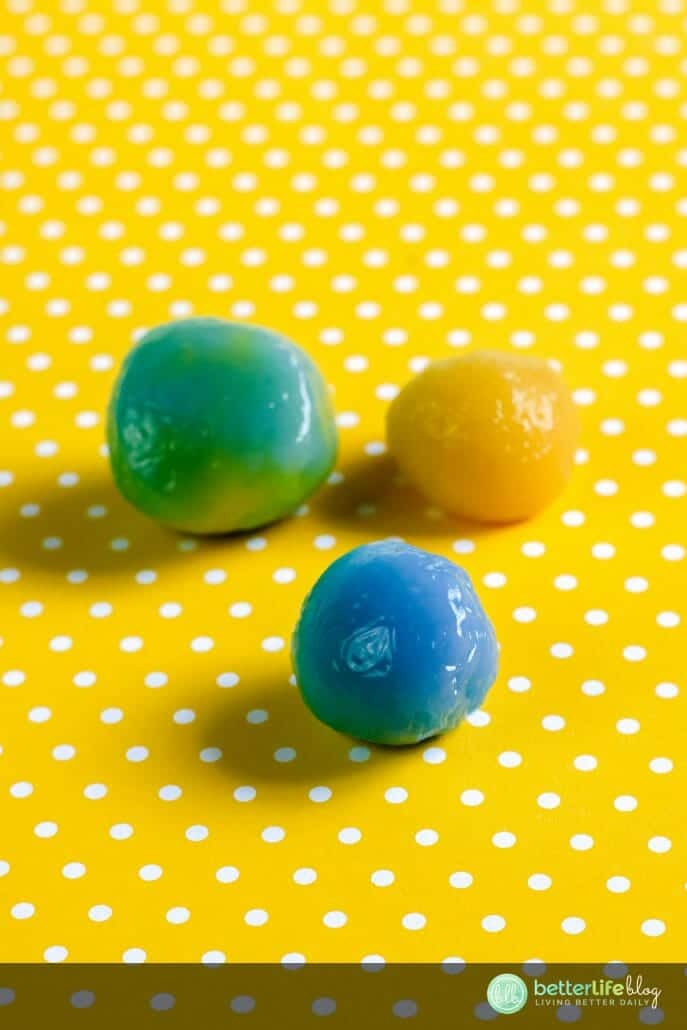
Mixing it Up
If you want to make a ball with more than one color, we tried a couple of different ways. (Doing things like this means you get extra points as a stealthy science-teaching mom. Challenge your kids to figure out how to do it!)

On our first attempt we tried to add a second color using food coloring after adding the glue and before we stirred. This yielded a murky colored ball. Kind of blah. Our second try was better though! After we removed the ball from the solution (beginning of step 4), we started mixing a second ball. When the thick slime formed, we added the first ball to the second and pressed them together. After that we continued with the instructions.


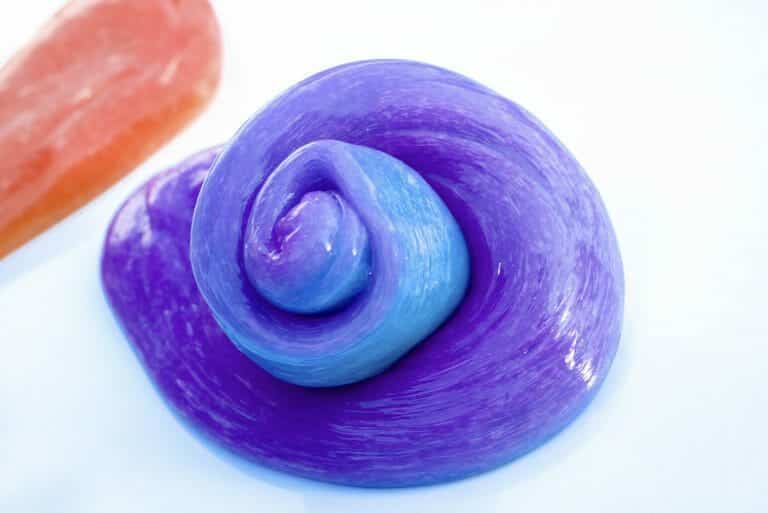
Color Changing Slime Kids Activity
This color-changing slime changes color in the sunlight! It is easy to make and a great activity the whole family will enjoy.
Materials
- 1 (6 ounce) bottle color changing glue
- About ¼ cup warm water
- ½ teaspoon baking soda
- 1 tablespoon contact lens solution (Note: be sure it contains boric acid!)
- Tiny toys, glitter, or foil confetti (optional)
Instructions
- Squeeze the entire bottle of glue into a large bowl.
- Then fill the empty glue bottle with warm water until it's about ⅓ full and screw the lid back onto it. Shake well to combine the remaining glue with the water. Pour this into the bowl with
the glue and stir to combine - Next, thoroughly stir the baking soda with the glue.
- Add the tiny toys or glitter (optional), stirring it into the glue mixture.
- Add contact lens solution to the glue mixture and stir well. Regular glue will require less contact lens solution than glitter glue. Be sure to add the contact lens solution slowly, mixing between additions. You only want to add enough solution to bring the glue together into a soft ball.
- After the soft ball forms, remove the slime from the bowl. Allow any excess liquid to remain in the bowl. At this point, the slime will be sticky. Knead the slime until it comes together and it’s no longer sticky.
- To store your slime, place in an airtight container in the refrigerator when not in use.
- Place the slime in direct sunlight or under a U/V light to make it change colors.
Notes
- To store your slime, place in an airtight
container in the refrigerator when not in use.