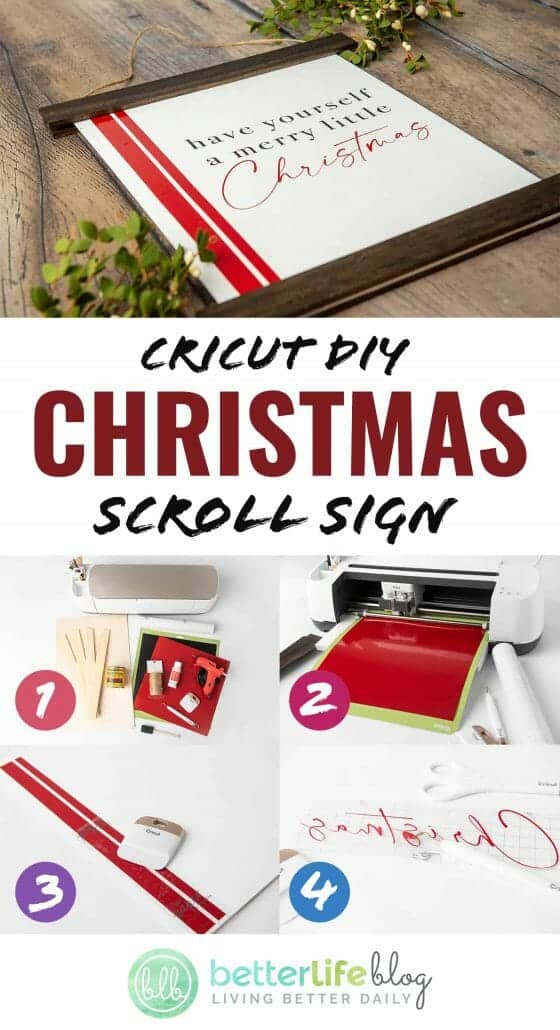
Looking for ways to use your Cricut machine during the jolliest time of the year? This DIY Christmas Scroll Sign is an elegant addition to any holiday décor. It’ll definitely be a talking point with your guests!

Welcome back, crafty friends! I am so happy to have you join us for yet another fantastic Cricut Christmas idea! On today’s DIY menu: a show-stopping Christmas Scroll Sign that’s perfect for any mantle, bookshelf, or console table.
When it comes to holiday decorating, it’s not always about tinsel and garlands. Sometimes, thematic signs are all you need to keep things looking tasteful and in-season.
More Christmas Crafts
If you’re looking to DIY lots of your holiday decor this year, you’re in luck! I have tons of craft tutorials that you want to check out:
Buffalo Plaid Embroidery Hoop Christmas Ornaments
Farmhouse Christmas Stained Door Wood Sign
Cricut DIY Christmas Tree Centerpiece
Where Do I Find The SVG File To Make This Christmas Scroll Sign?
I’m so glad you asked! You can grab the SVG file for FREE right here!
If you love this SVG and creating crafts with your cutting machine, then be sure to log onto your VIP Crafters dashboard for your exclusive access to hundreds of my original cutting files. If you’re not yet a member, then all you have to do is sign up here!

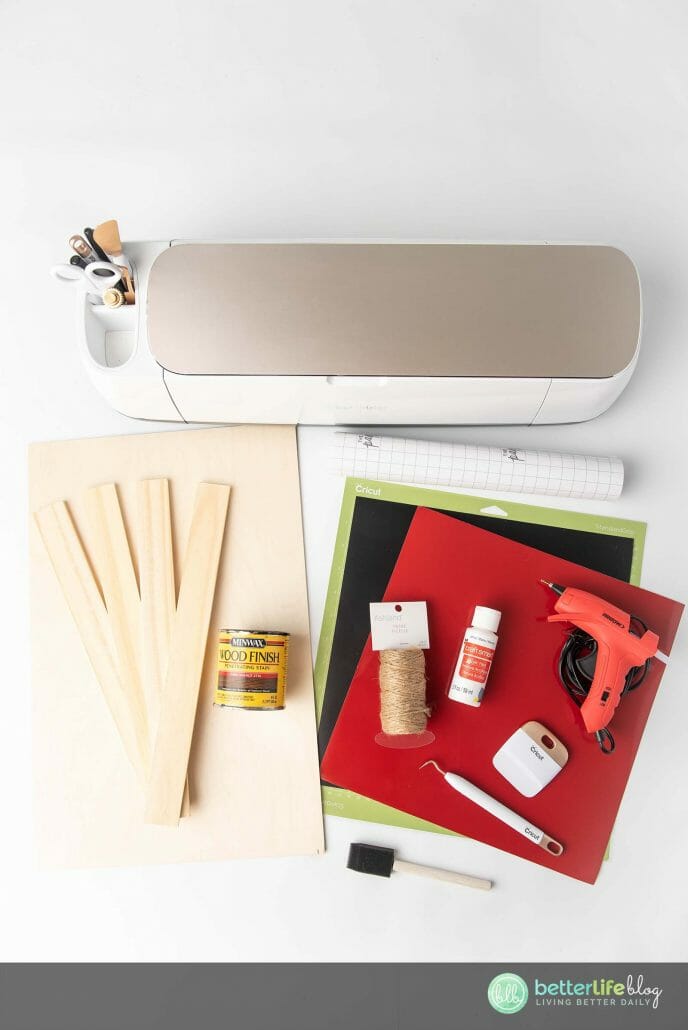
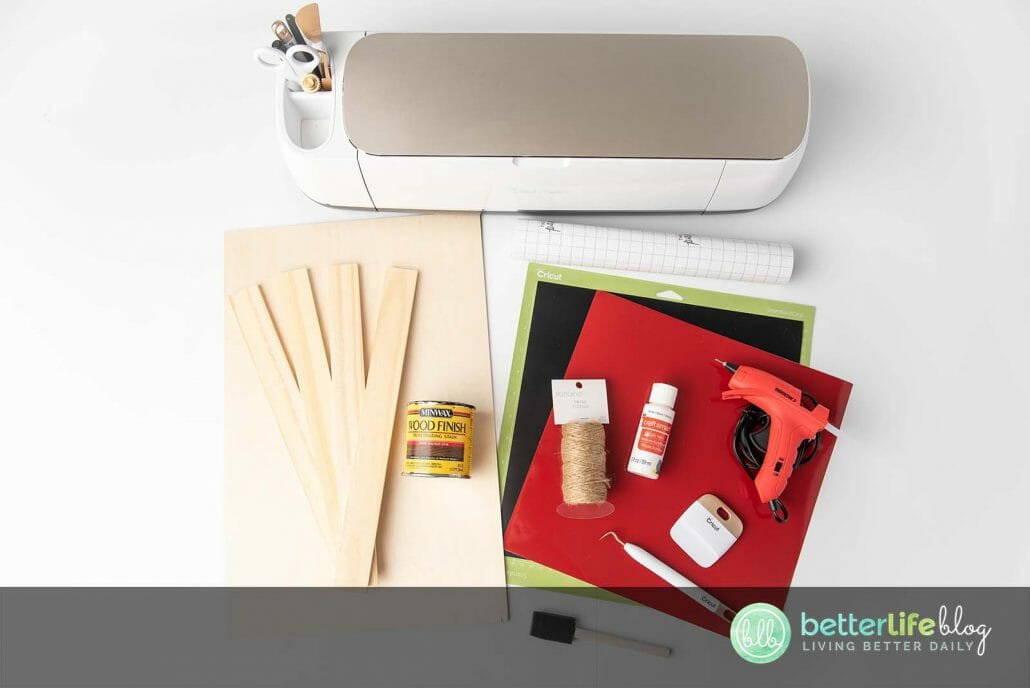
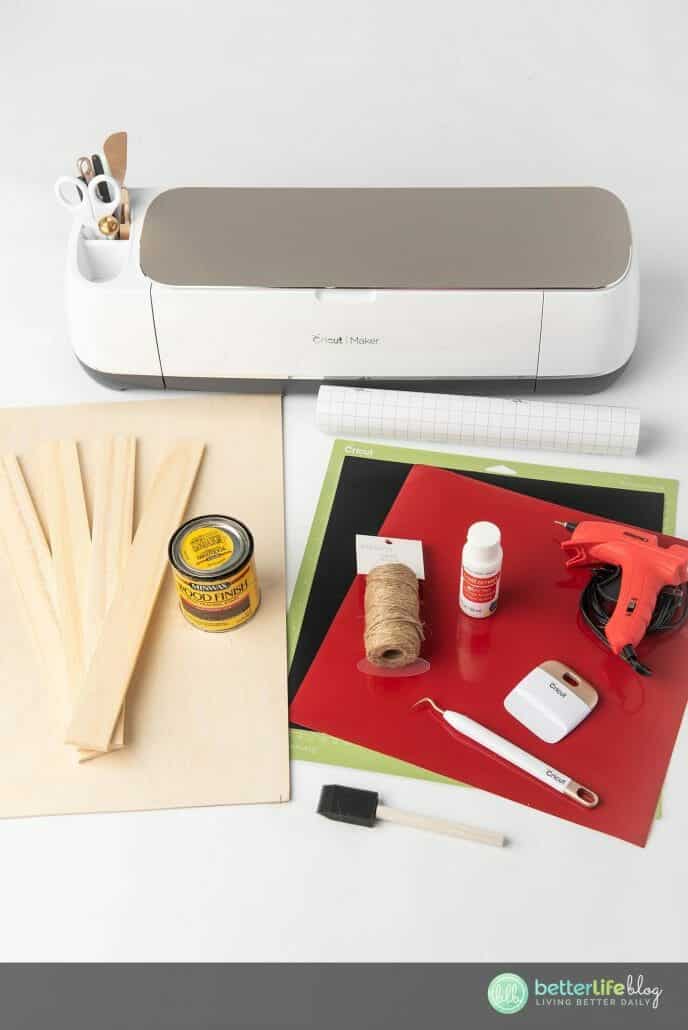
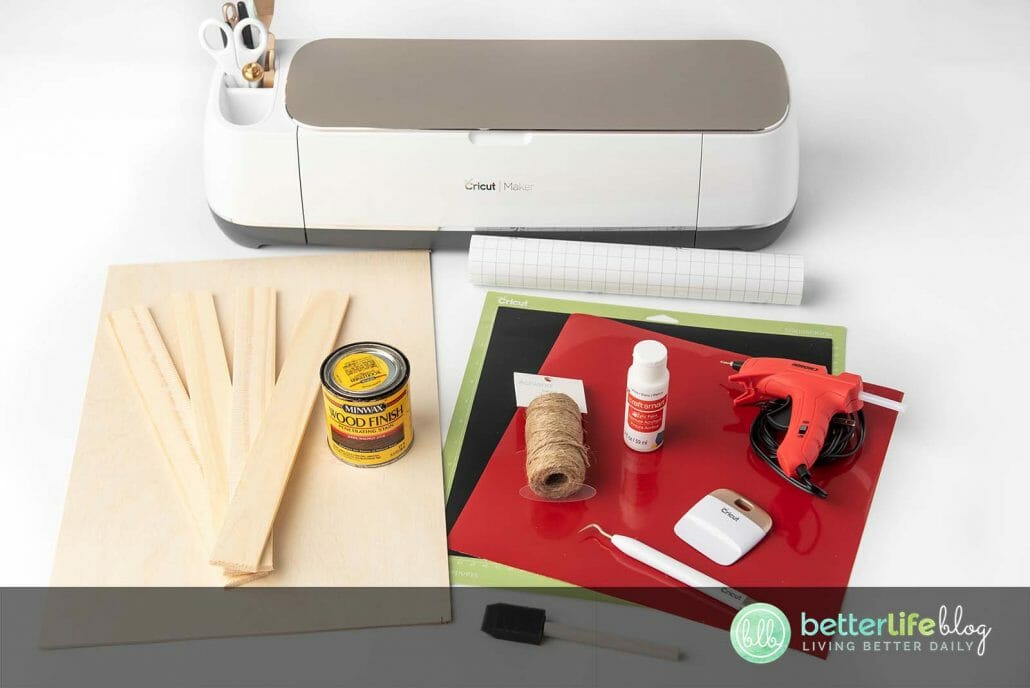
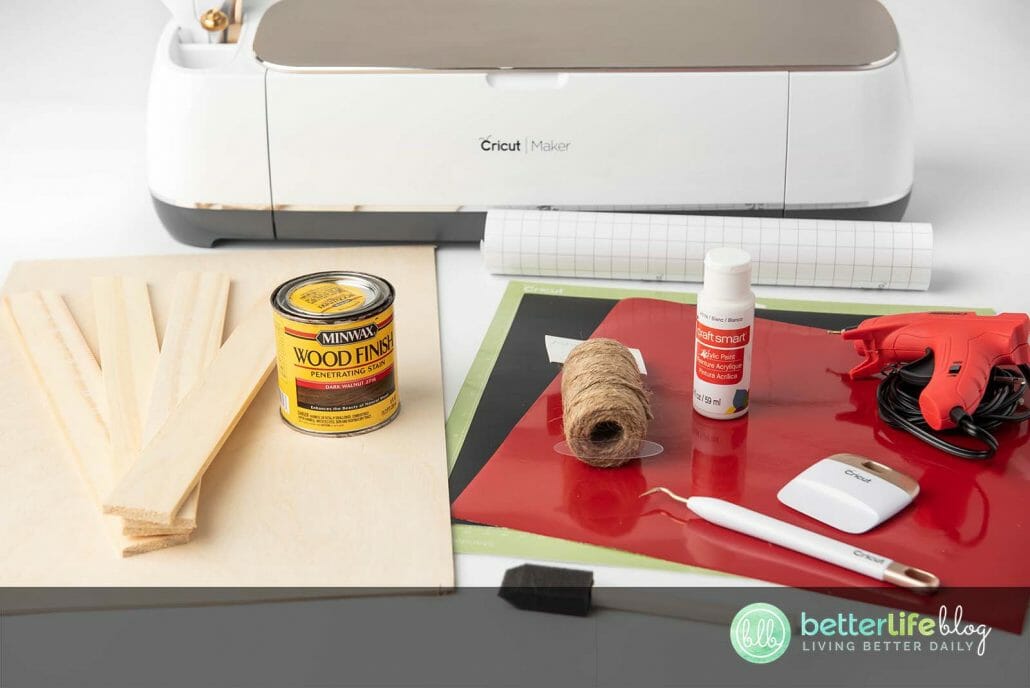
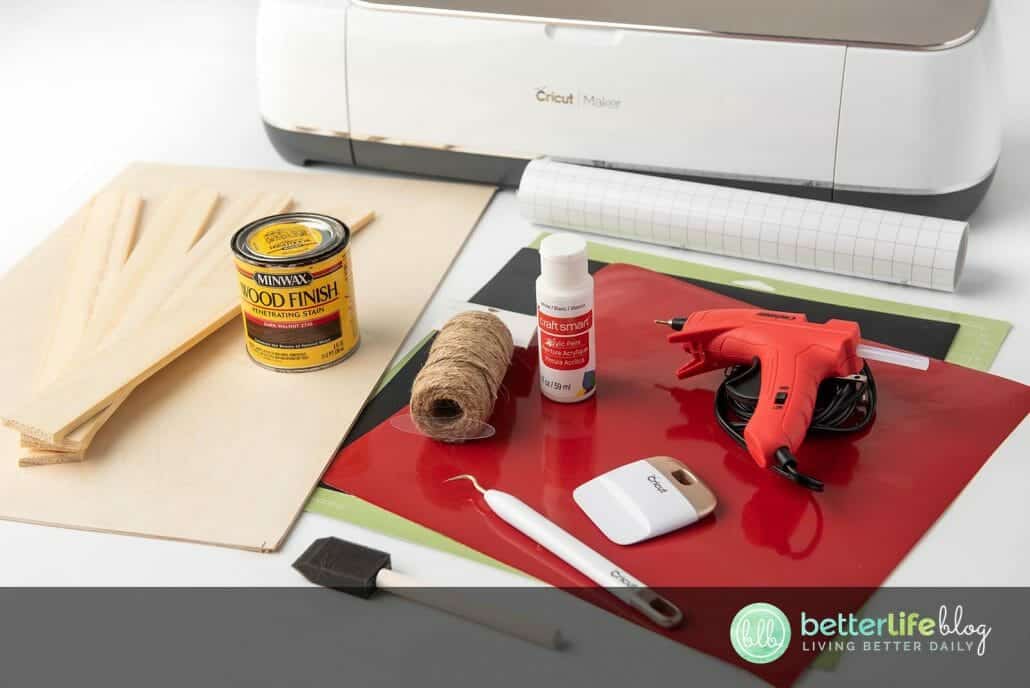
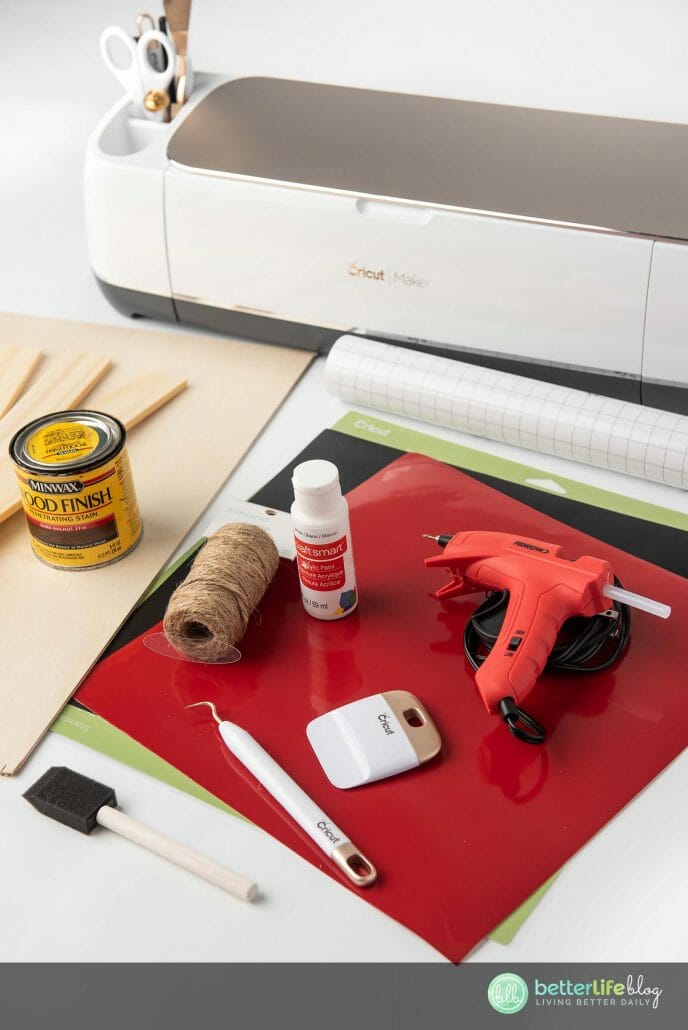
What Materials Do I Need To Make This Christmas Craft?
- Have Yourself a Merry Little Christmas SVG file
- Cricut or other cutting machine
- Cricut blue light or green standard grip mat
- Oracal 651 vinyl or permanent vinyl of your choice (two colors)
- Transfer tape
- Paint sticks (2 packs cut to 14”)
- Craft plywood (24”x12” cut to 15.5”x12”)
- Paint
- Stain
- Paint brush
- Foam brush
- Cricut weeding tool
- Cricut scraper tool or old credit card
- High heat hot glue gun with industrial grade glue sticks (alternative E6000 or wood glue)
- Twine
Got Any More Holiday SVGs?
Absolutely! If you enjoyed this Cricut Christmas craft, then you’ll definitely enjoy:
Wishing You A Merry Christmas SVG

How To Make a Christmas Scroll Sign With Your Cricut
Step 1: Cut And Trim The Paint Sticks
Begin by cutting down the paint sticks to size. You may do so by hand or an automatic saw. In addition, cut down the plywood to 15.5” x 12” for the main scroll sign. You will need 4 sticks total for the scroll.
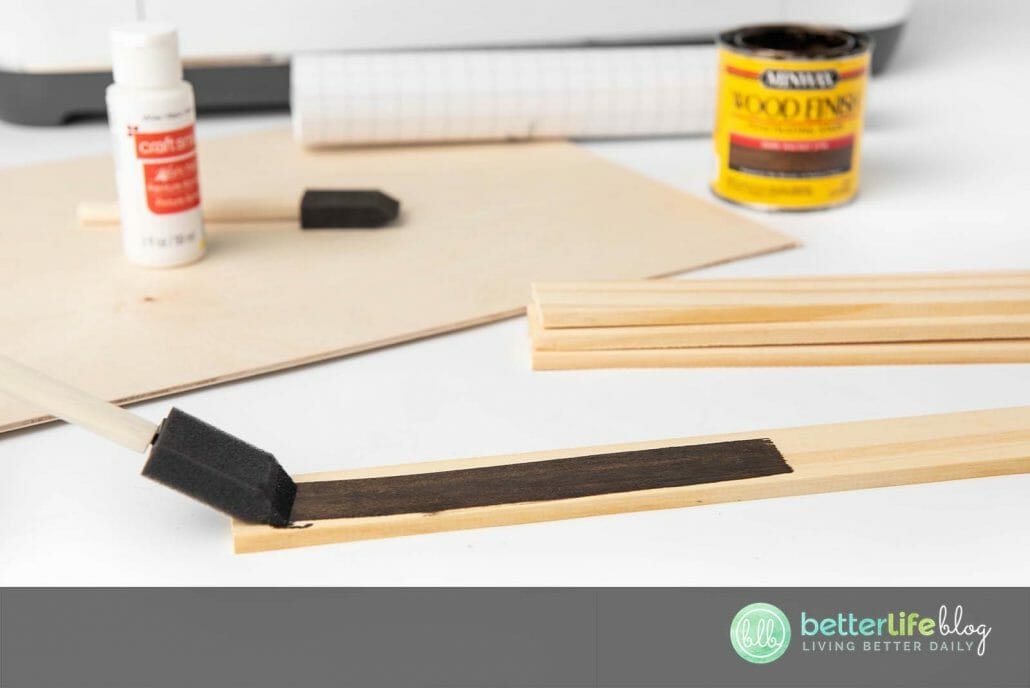
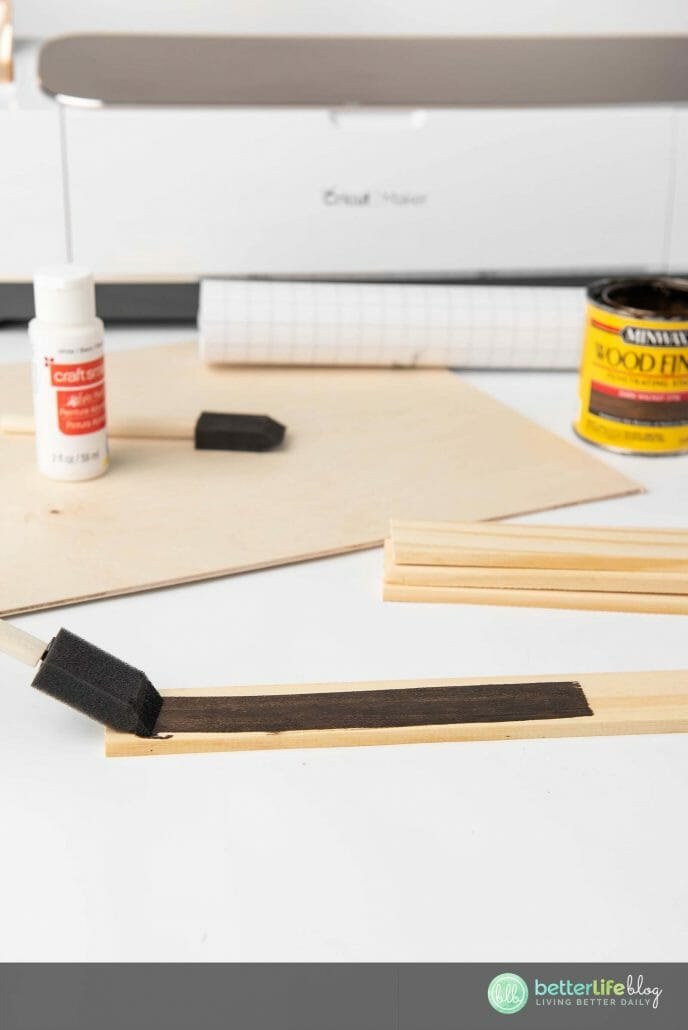
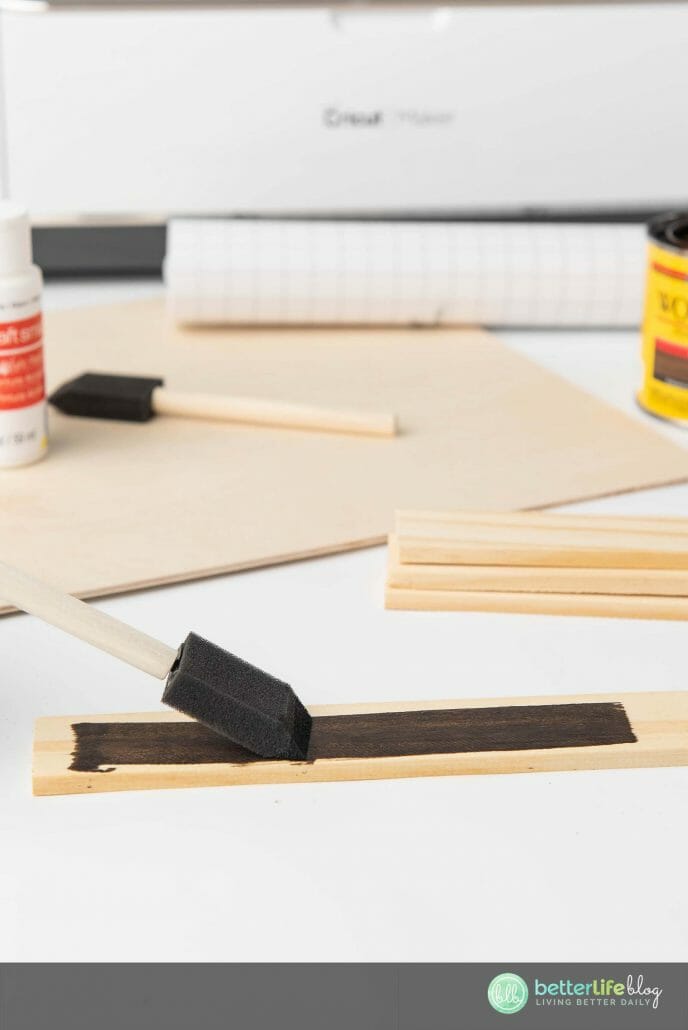
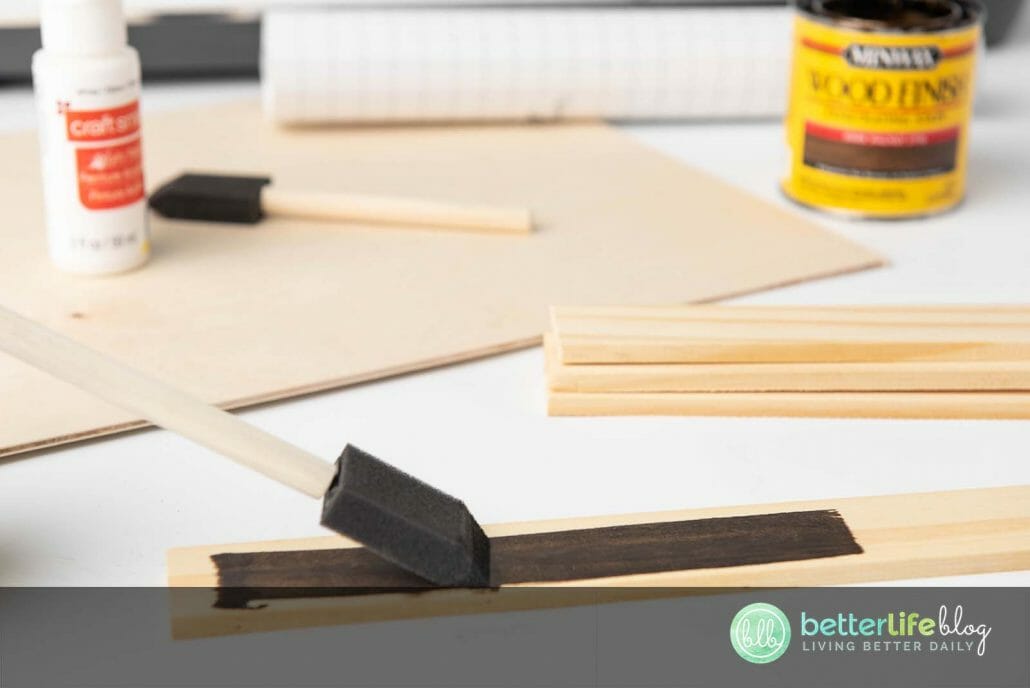
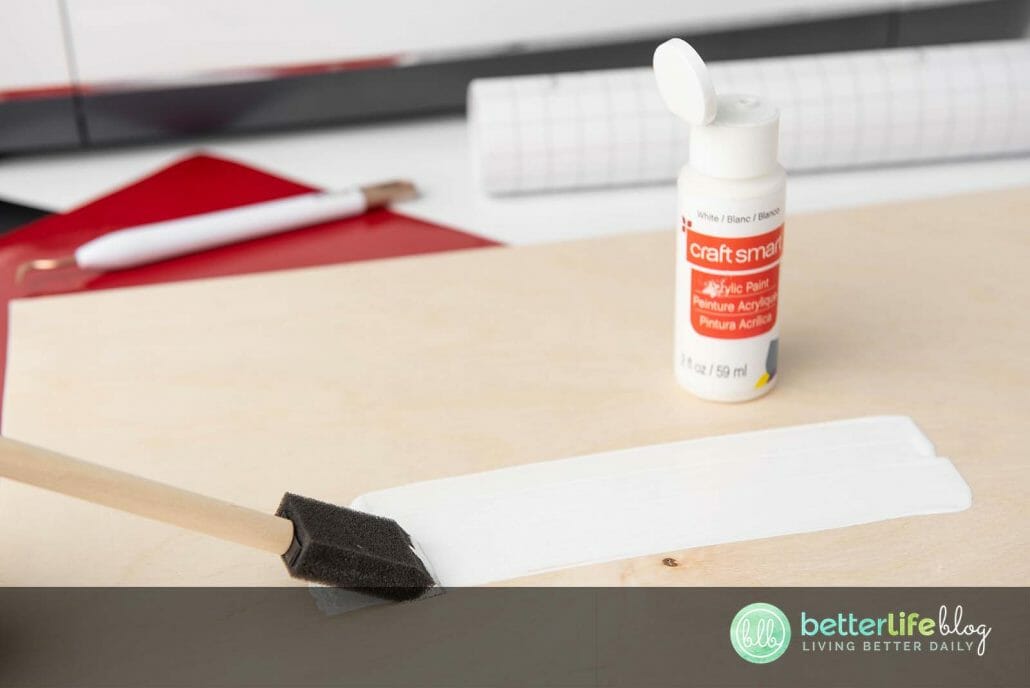
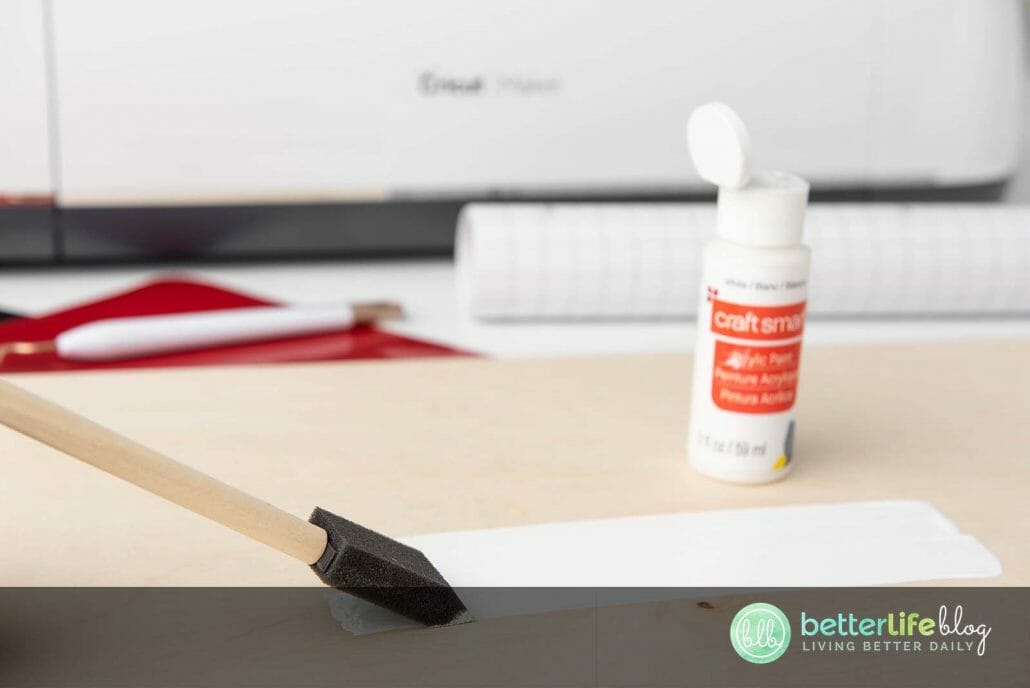
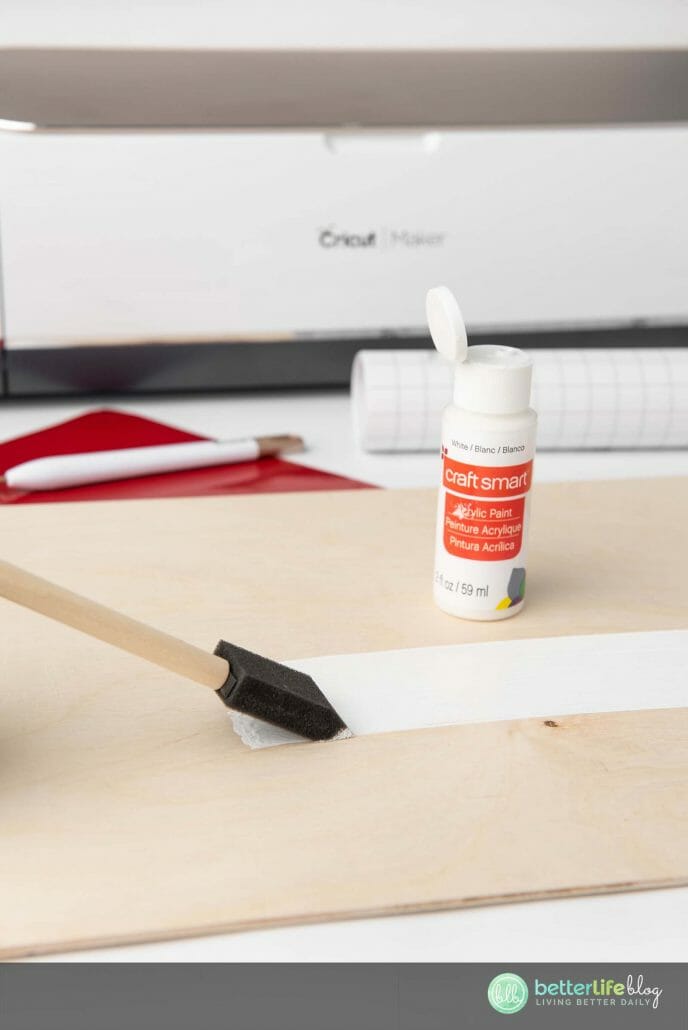
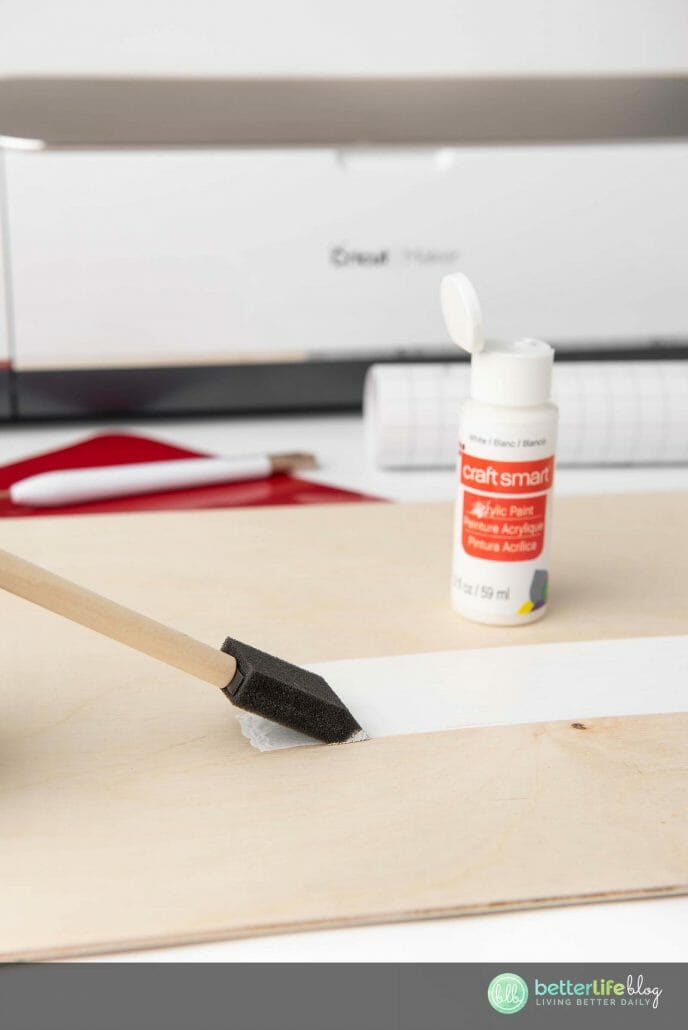
Step 2: Paint The Sticks
Stain paint the sticks in a well-ventilated area. Allow for 24-48 hours for the stain to dry completely. If you wish, you may also paint the plywood (preferably with matte paint). Be sure to dry completely before proceeding to the next step.
Step 3: Prepare the SVGs
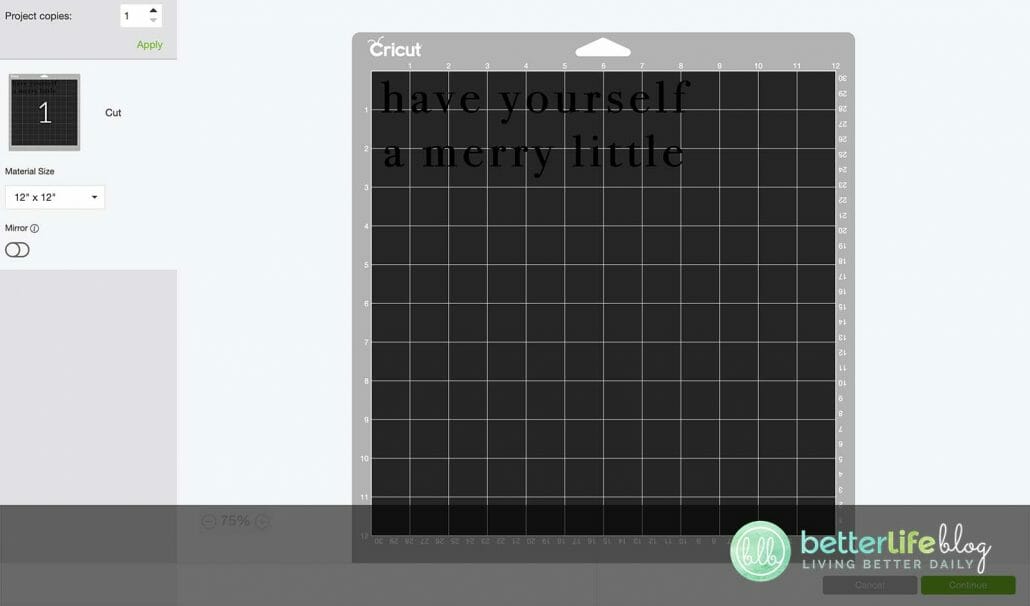
Once sticks and plywood are dry, prepare the SVGs in Design Space. If using the same sized sticks and plywood as this tutorial, proceed with the set measurements of the SVG. If going with another size, re-measure the SVG in Design Space. Take note that the red stripes are split and will be cut split in order to fit on 12×12 mat and then on length of craft wood. Phrases/words are also split for ease of cutting different colors.
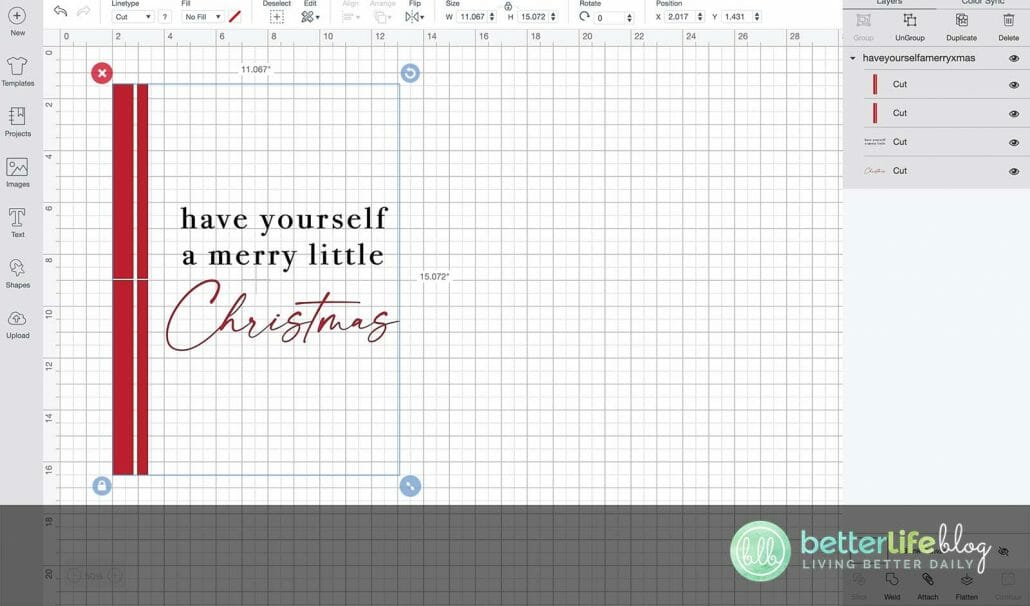
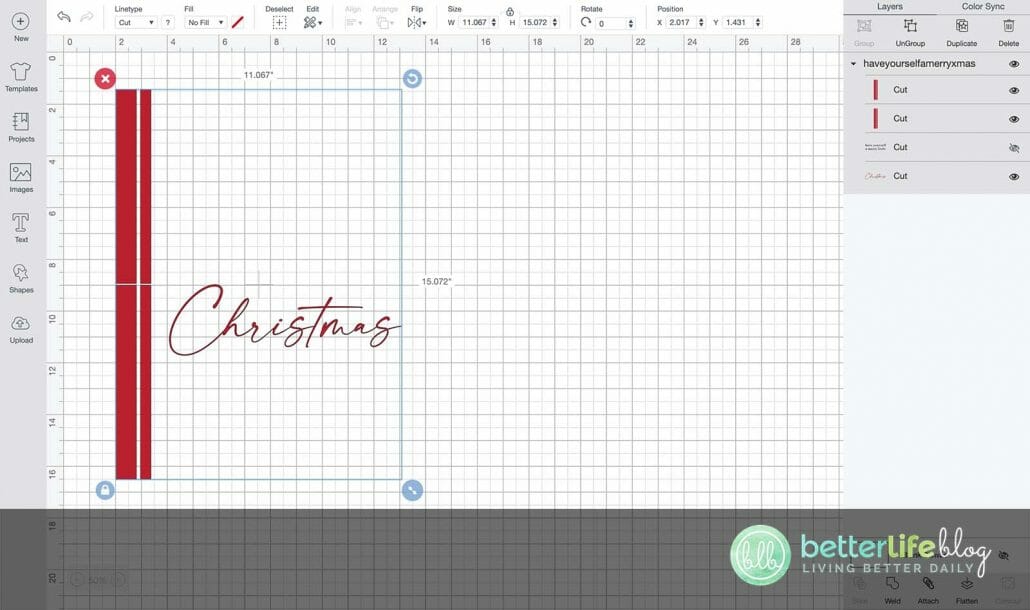

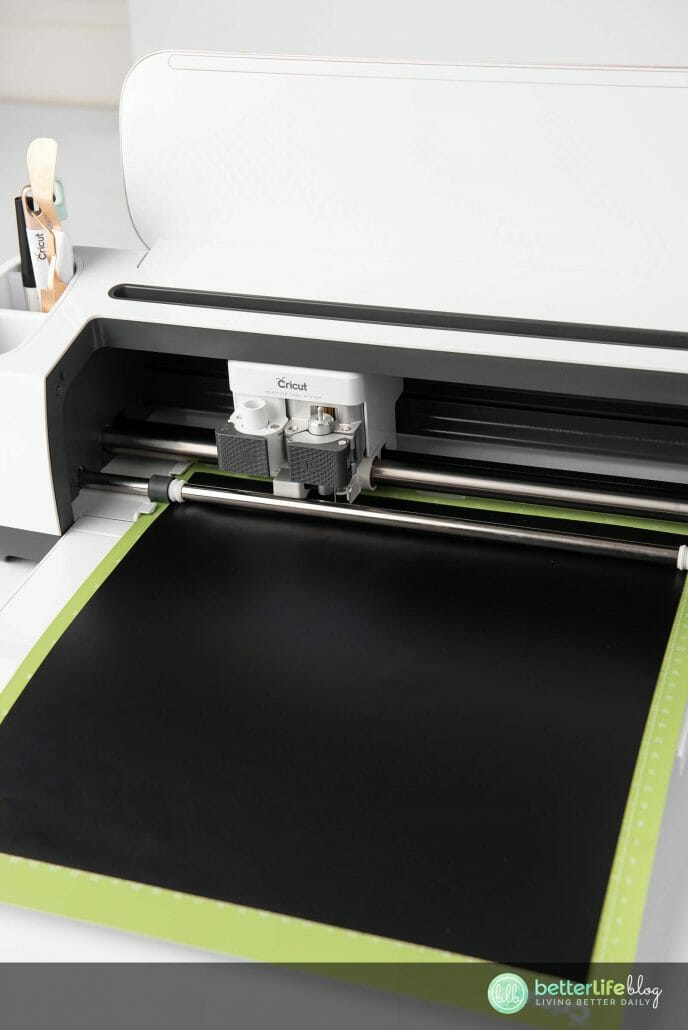
In the layers panel, click on “Ungroup.” Move the two sections of red stripes side by side, next to the “Christmas” phrase. This will keep them together, allowing them to be cut on one mat. Select all and hit “Attach.” Use the eye icon in the layers panel to temporarily turn off the black

“Have Yourself a Merry Little” phrase until the red stripes and “Christmas” have been cut. After, proceed cutting as normal.
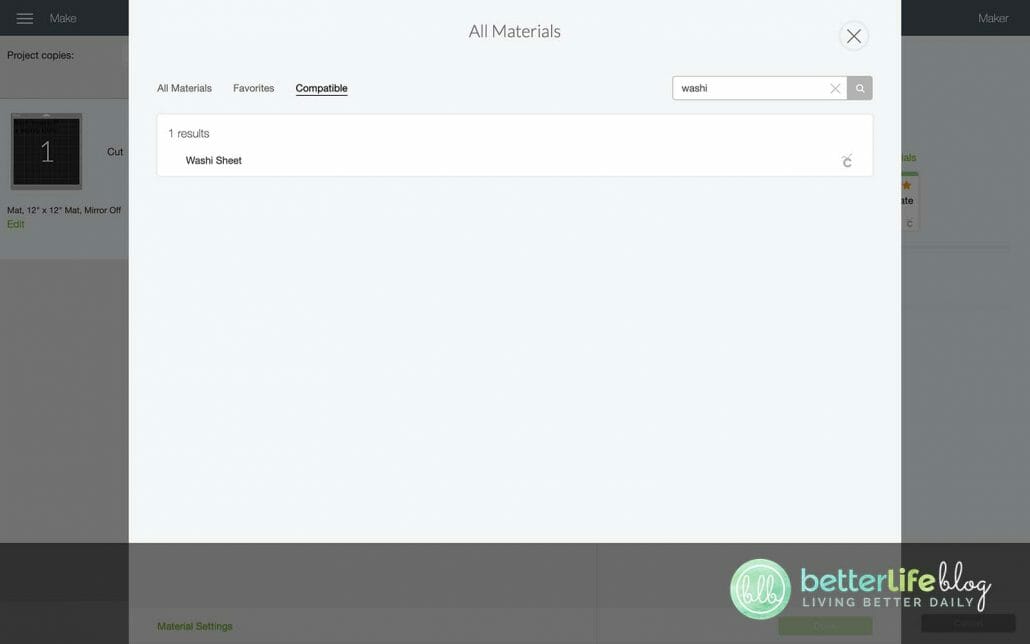
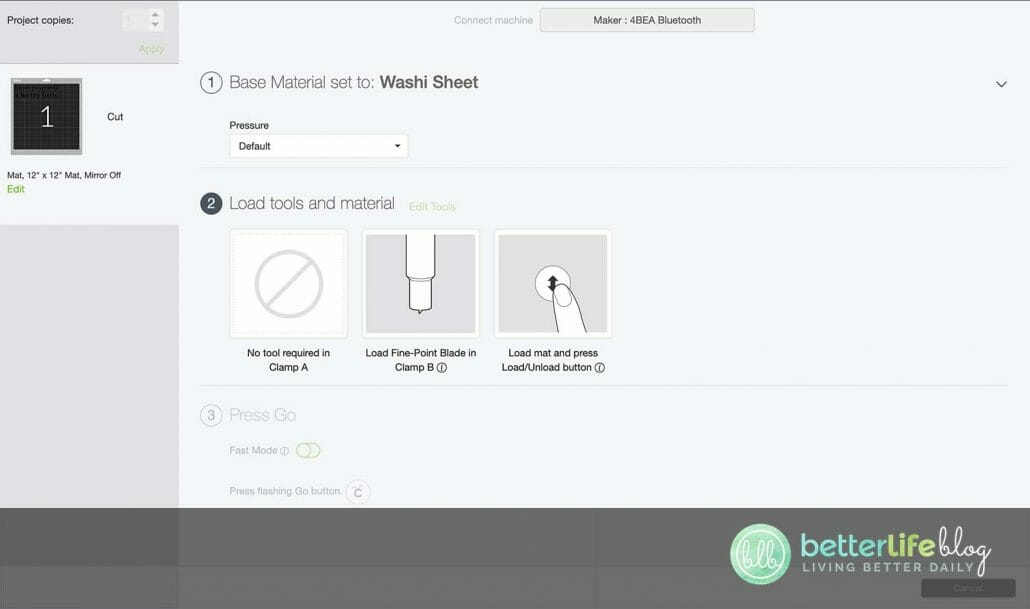
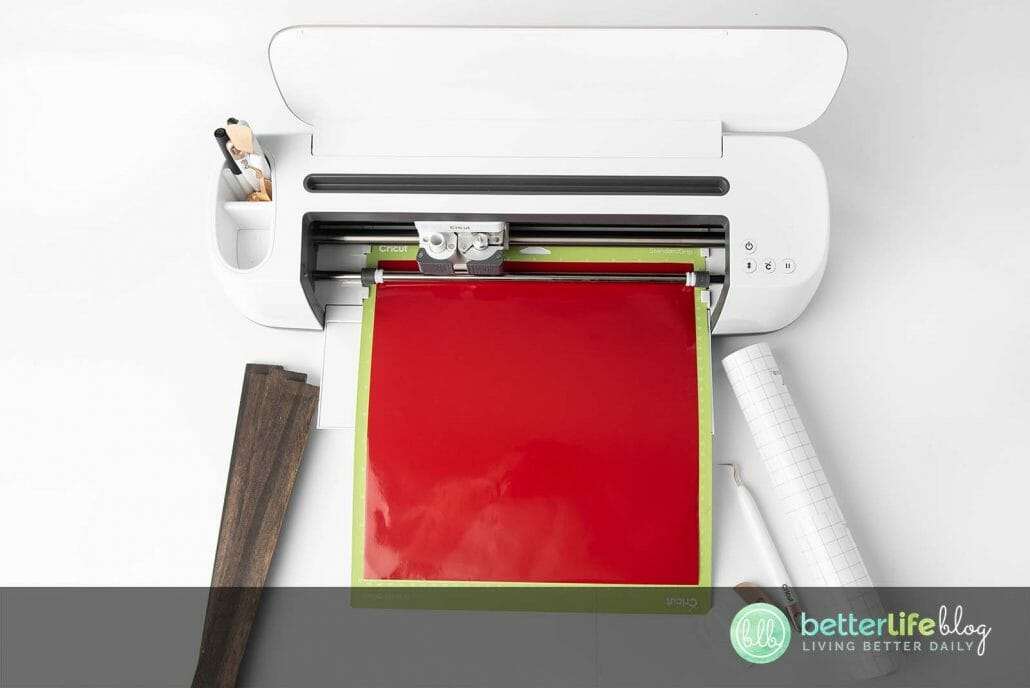
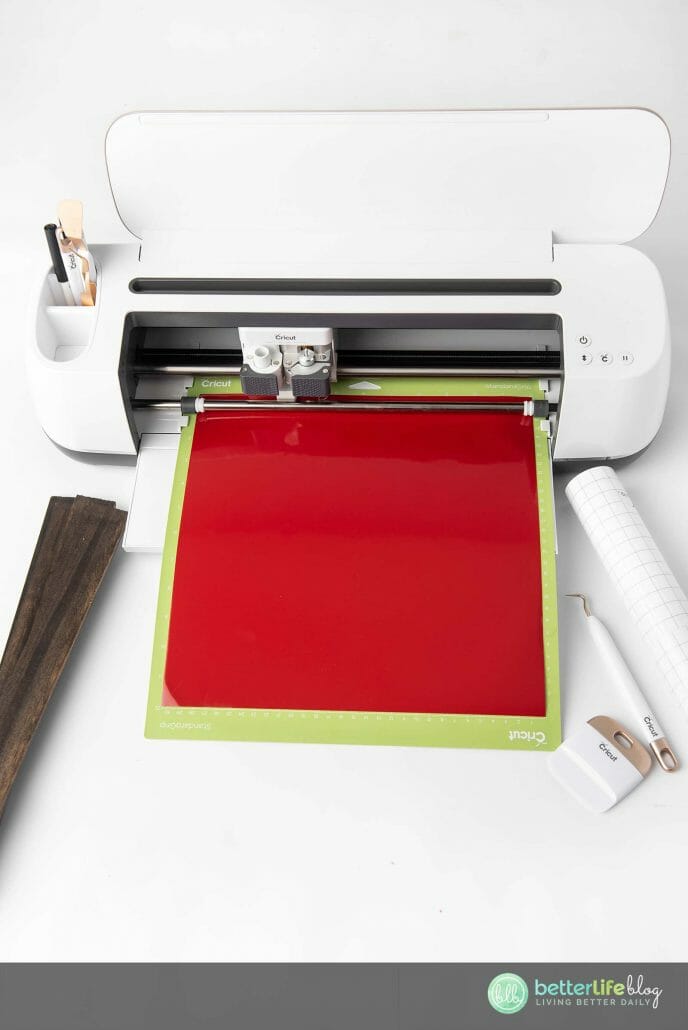
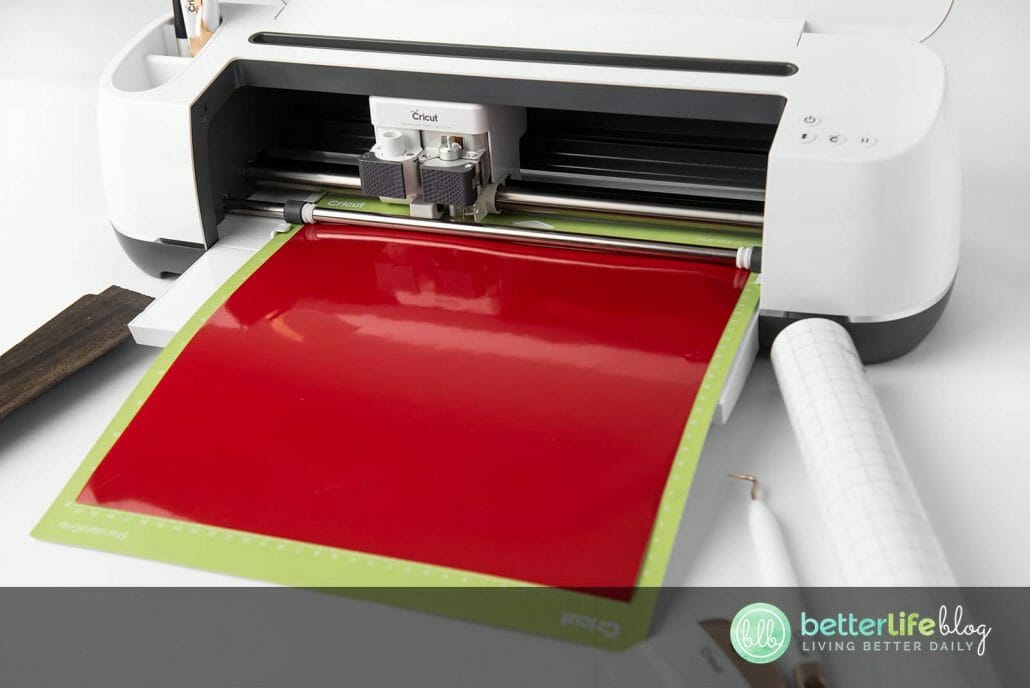
Step 4: Cut Your Design
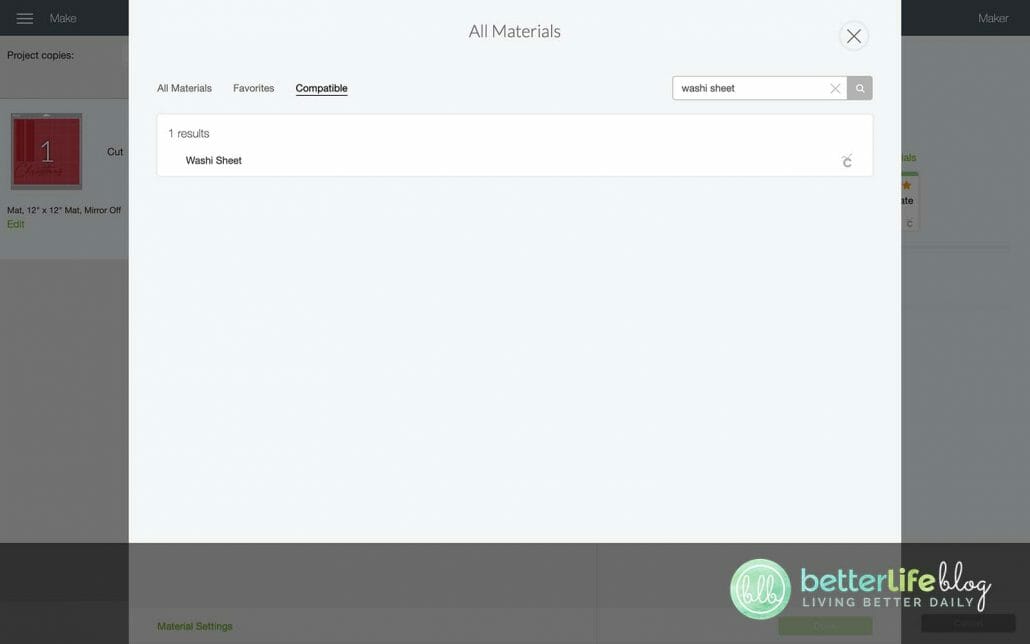
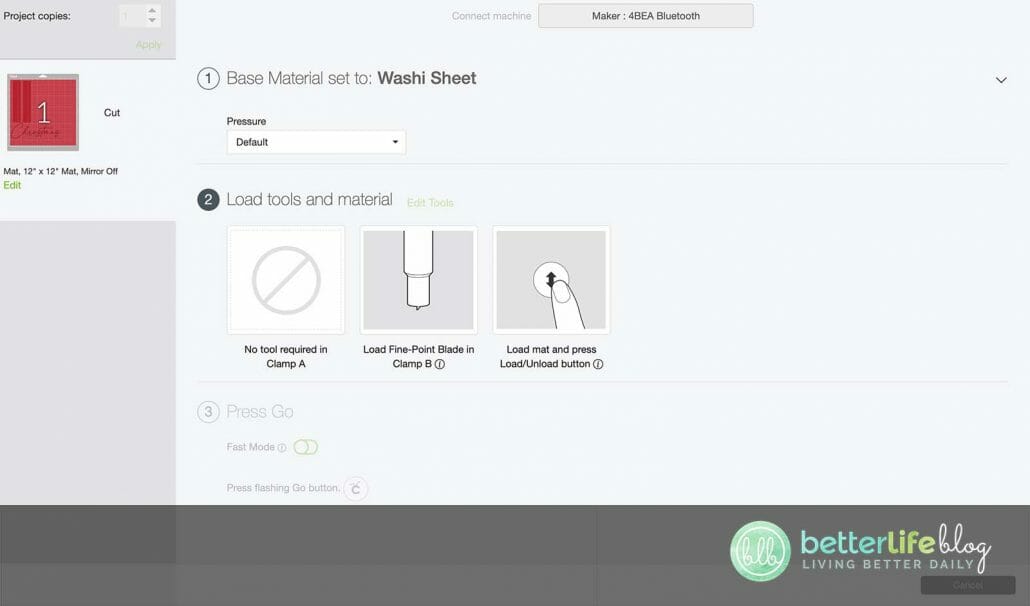
Hit “Make It.” Adjust your machine’s setting/material dial to “Washi Sheet” or “Vinyl.” Load the permanent vinyl onto the grip mat and hit “Go.”

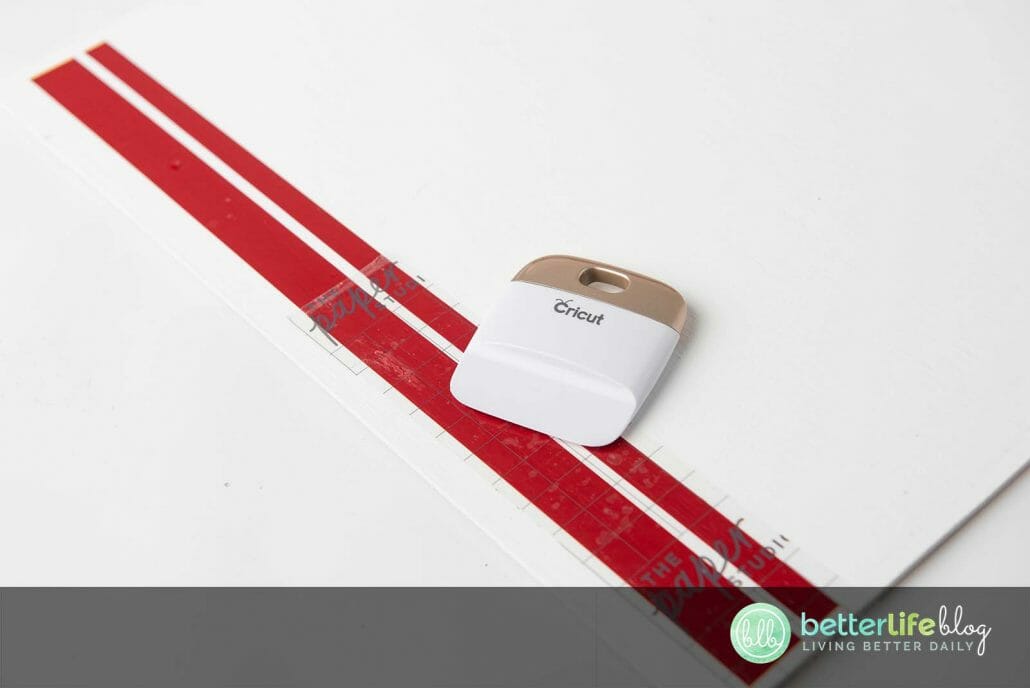
Step 5: Start Weeding
Once the cut is complete, weed the vinyl off and away from the design.


Step 6: Transfer The Design Onto The Wood
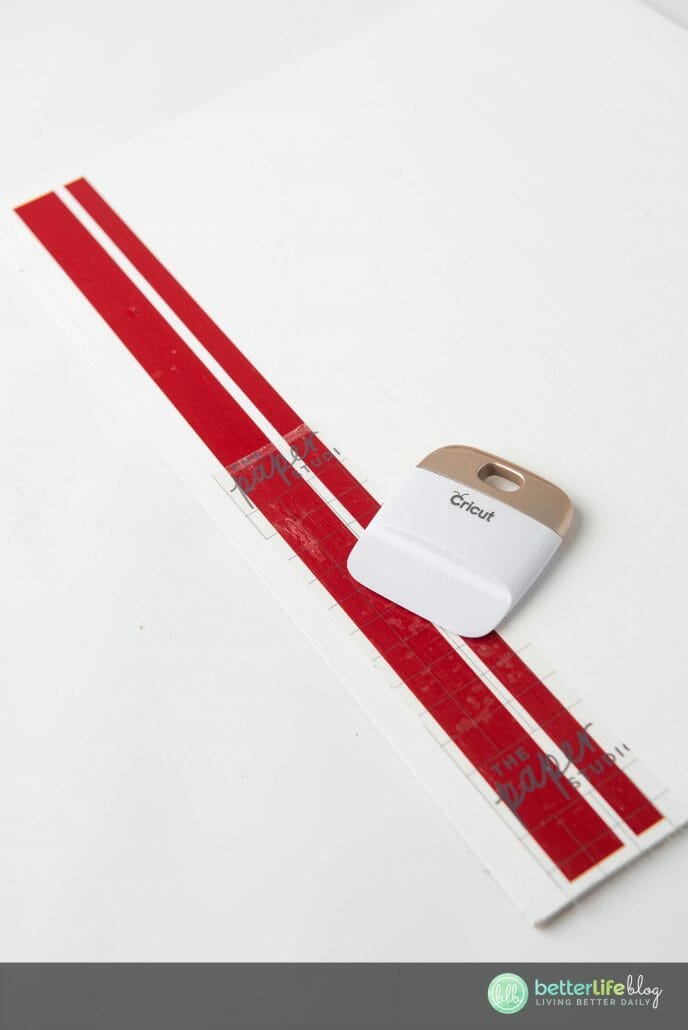
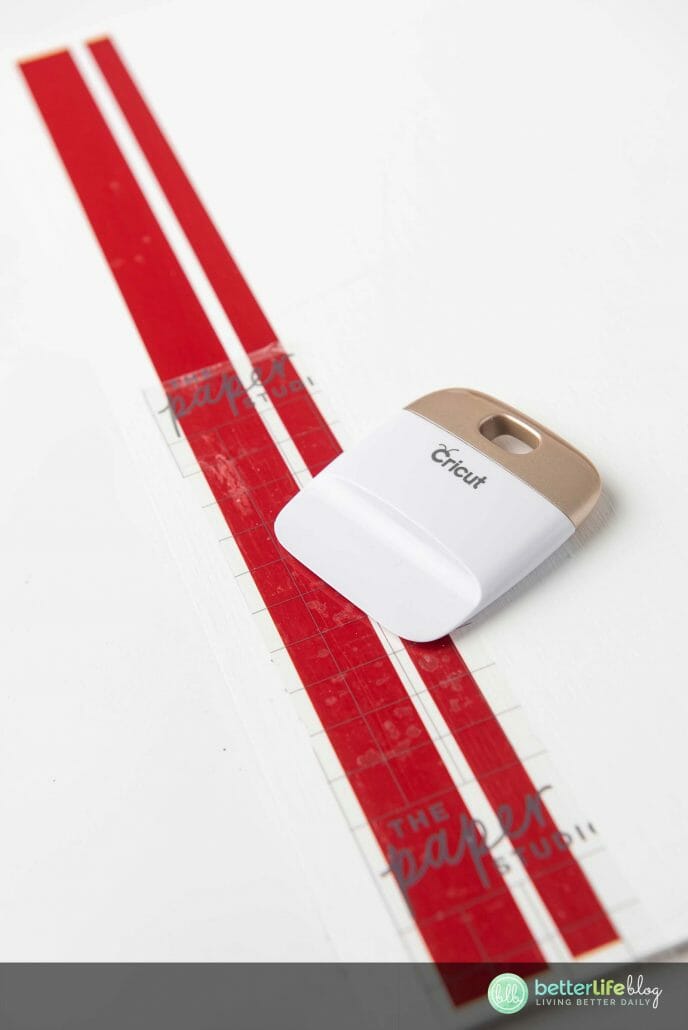
After the design is completely weeded, cut a piece of transfer tape to the size of the vinyl and apply onto the design using a scraper tool.
Turn the design face down and carefully pull the vinyl’s carrier sheet off and away from the transfer tape. The vinyl will be left solely on the transfer tape.
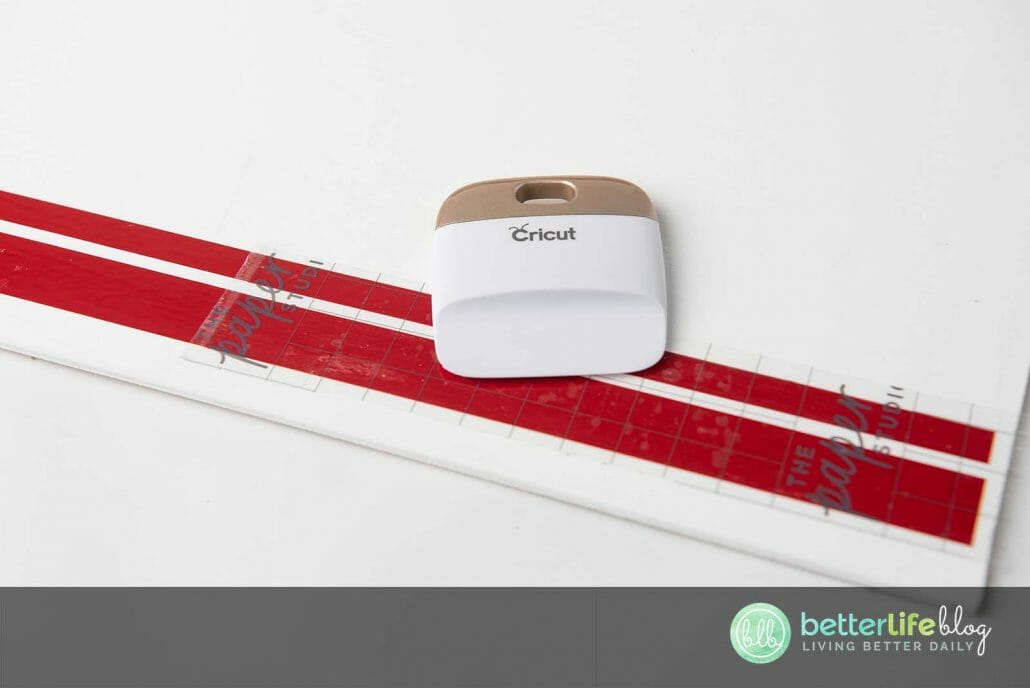
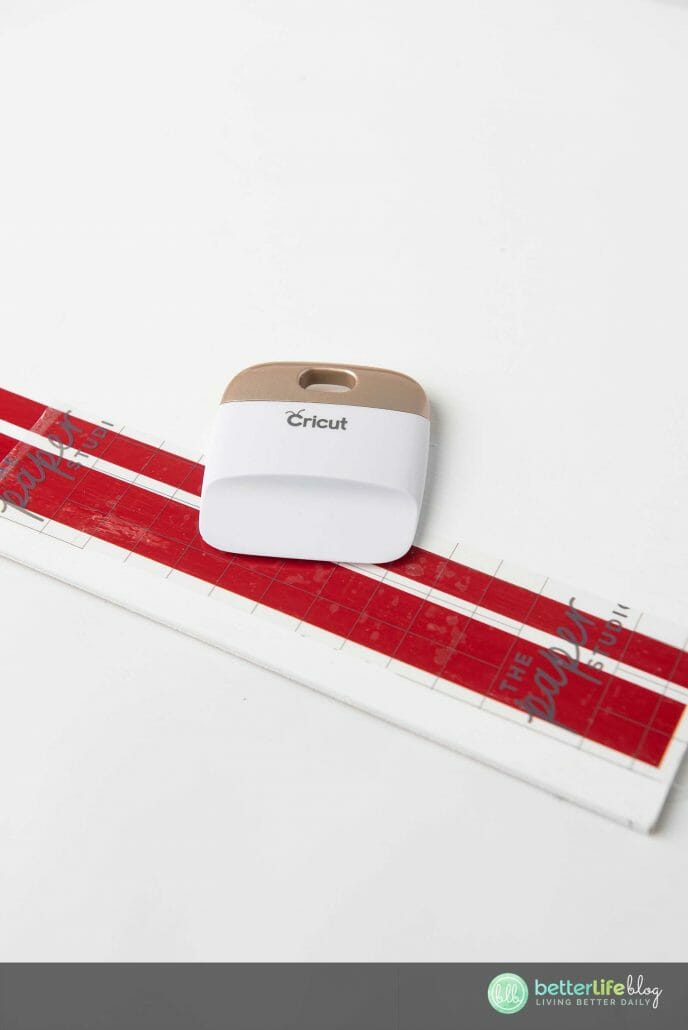
Place the vinyl stripes to the edge of the craft plywood, about a 1/2 inch inwards from the left edge of the craft wood. After, apply the phrases to the right of the stripes and in the middle of the craft wood. Once you’re happy with the location of the design, apply pressure and smooth over the design using the scraper tool.
Slowly remove the transfer tape, carefully and slowly rolling it away and off the edge. The vinyl will remain on the wood.


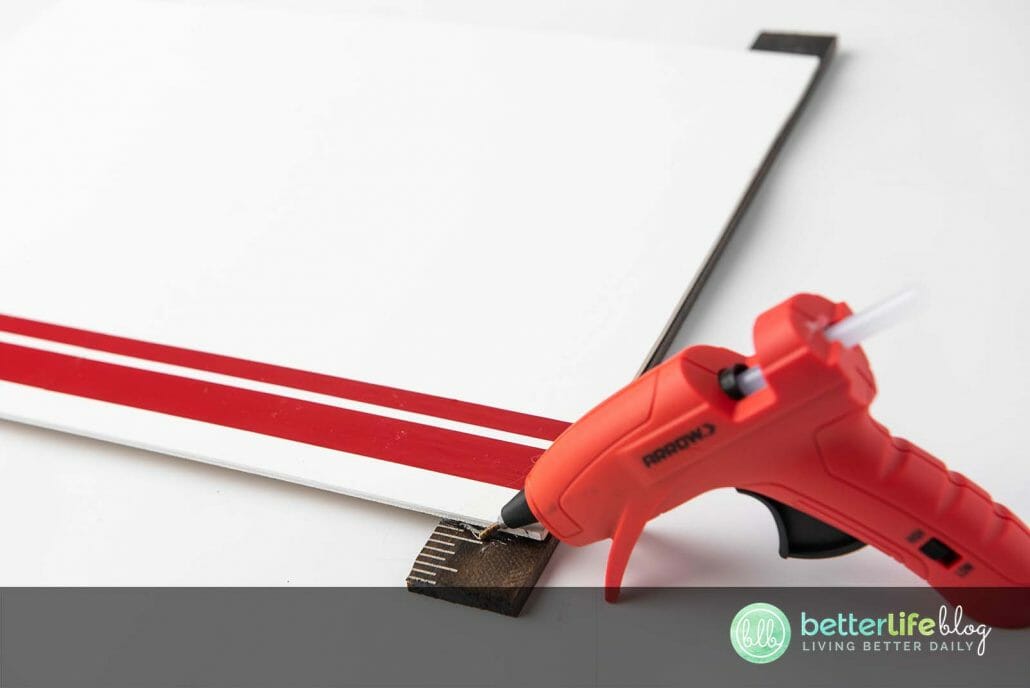
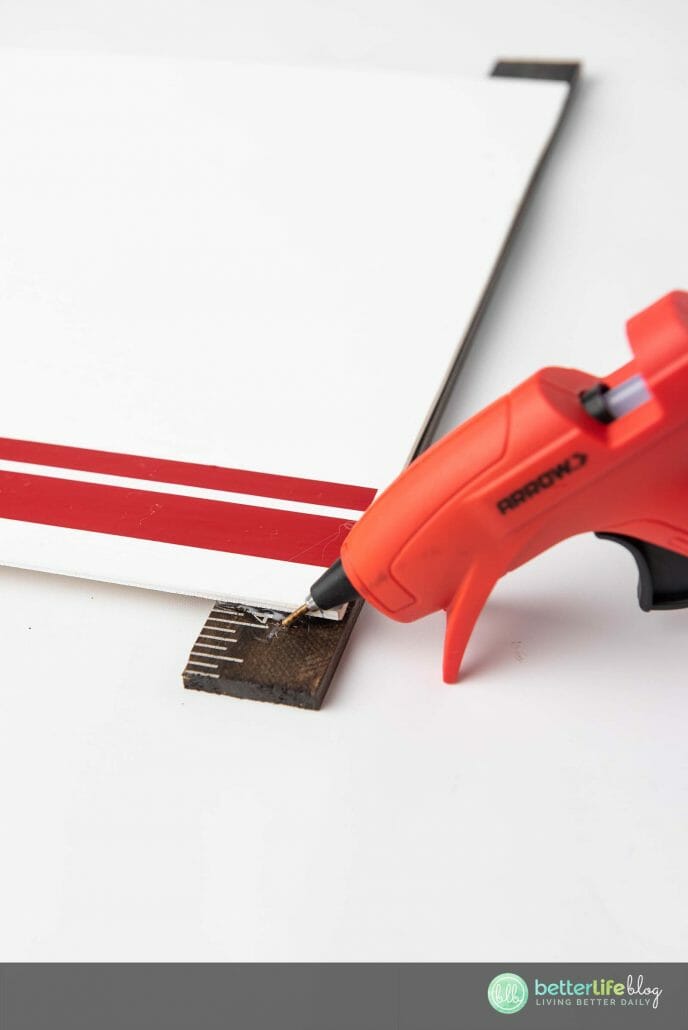
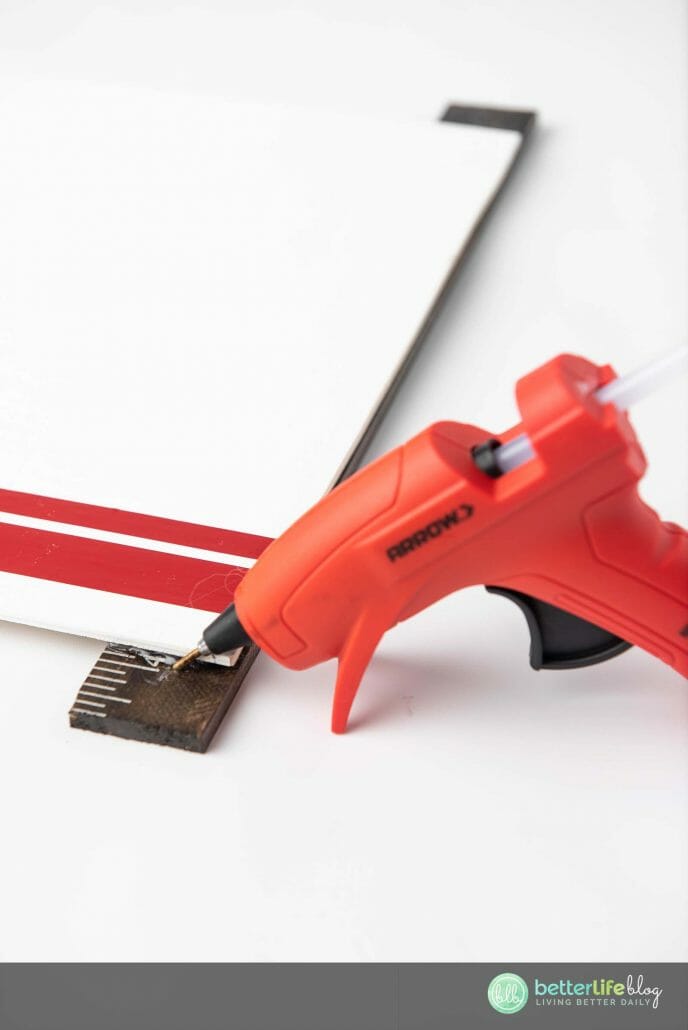
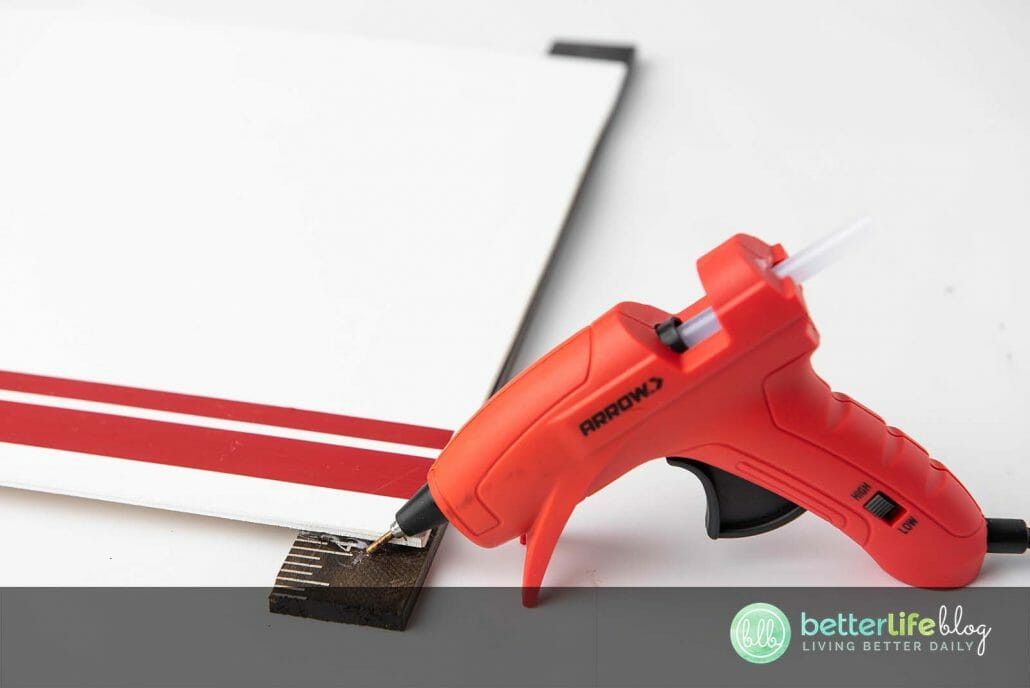
Step 7: Attach The Sticks
Once vinyl has been applied, use a high heat glue gun to attach 1 paint stick to the top and bottom of the craft plywood. Align the sticks in the middle and start at the back. This will begin to create the framing of the scroll sign.
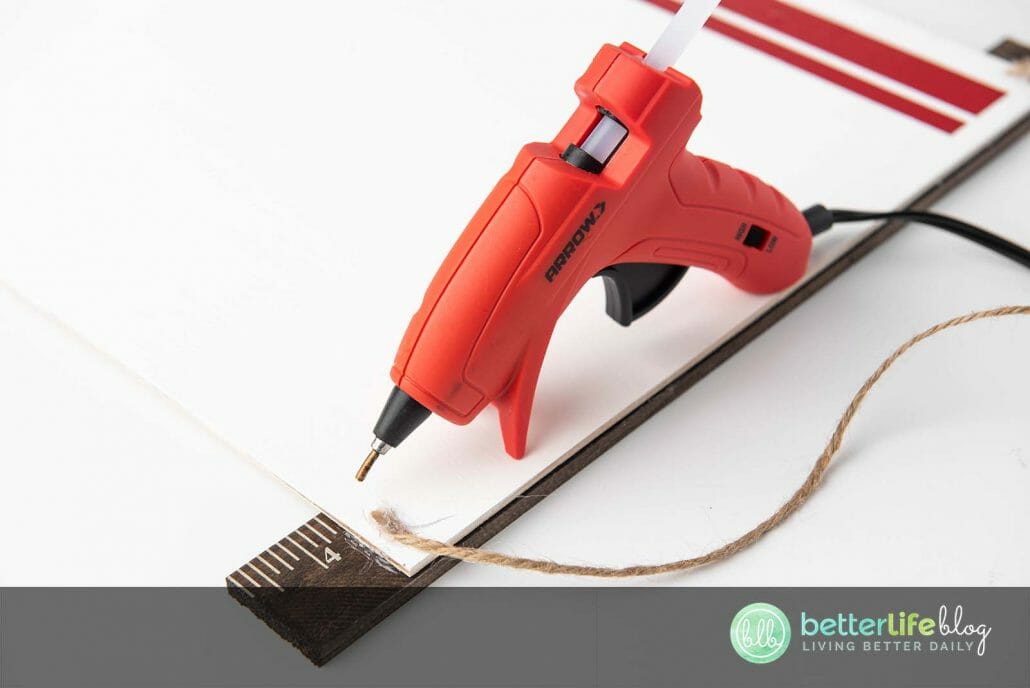
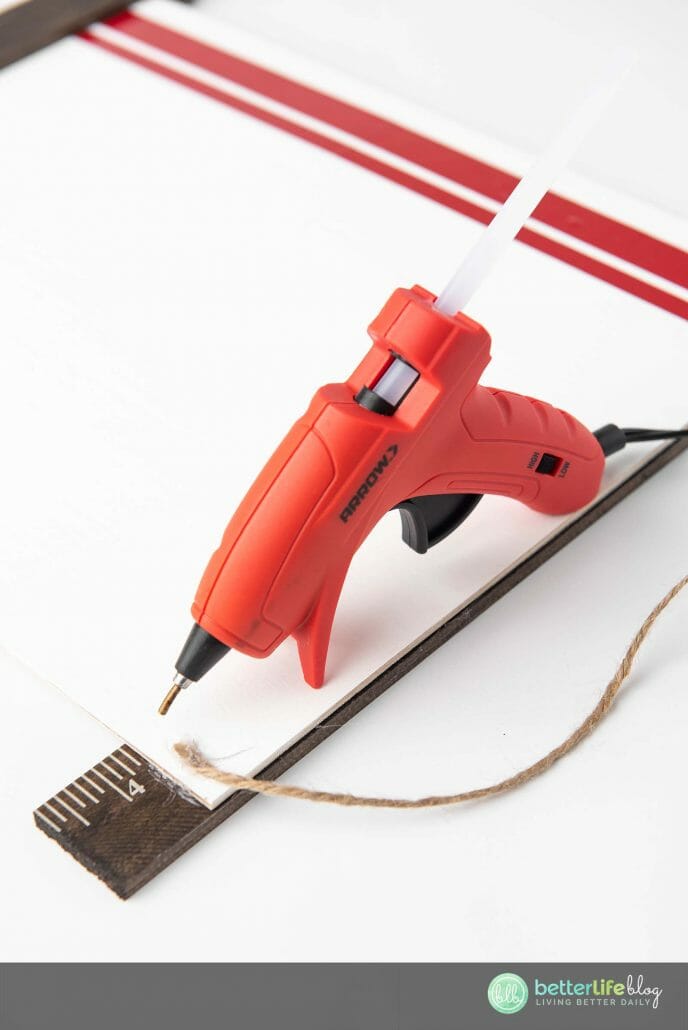

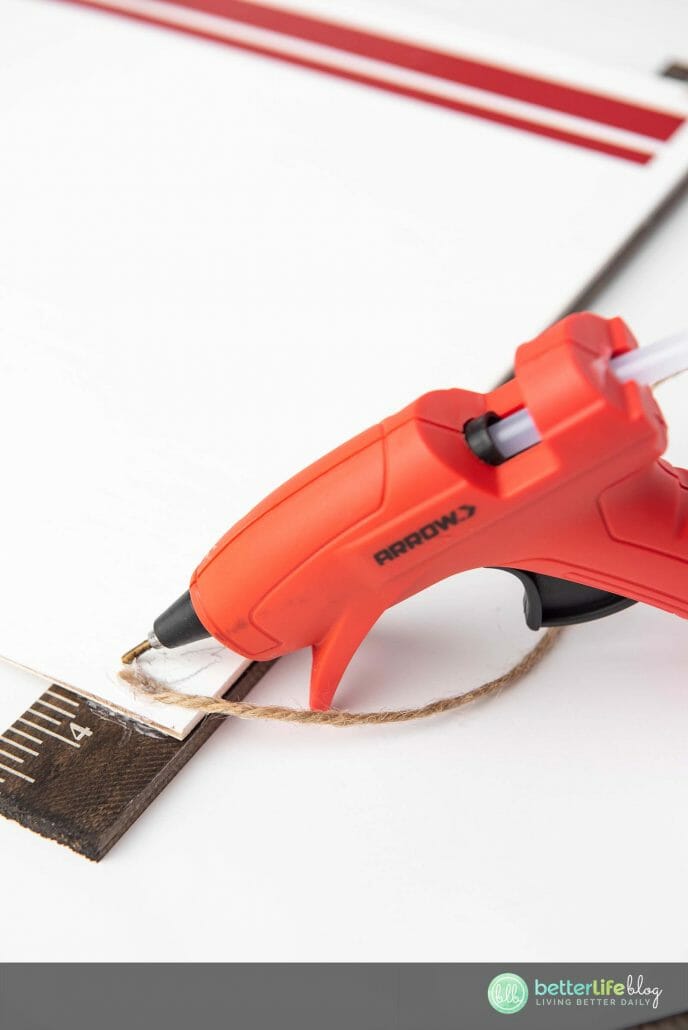
Step 8: The Finishing Touches
Cut off a small piece of twine to use as a hanging anchor and hot glue to the front of the craft plywood before attaching the front frame/paint sticks.
Glue the other two paint sticks to the front top and bottom of the craft plywood, sandwiching the plywood with the sets of paint sticks.


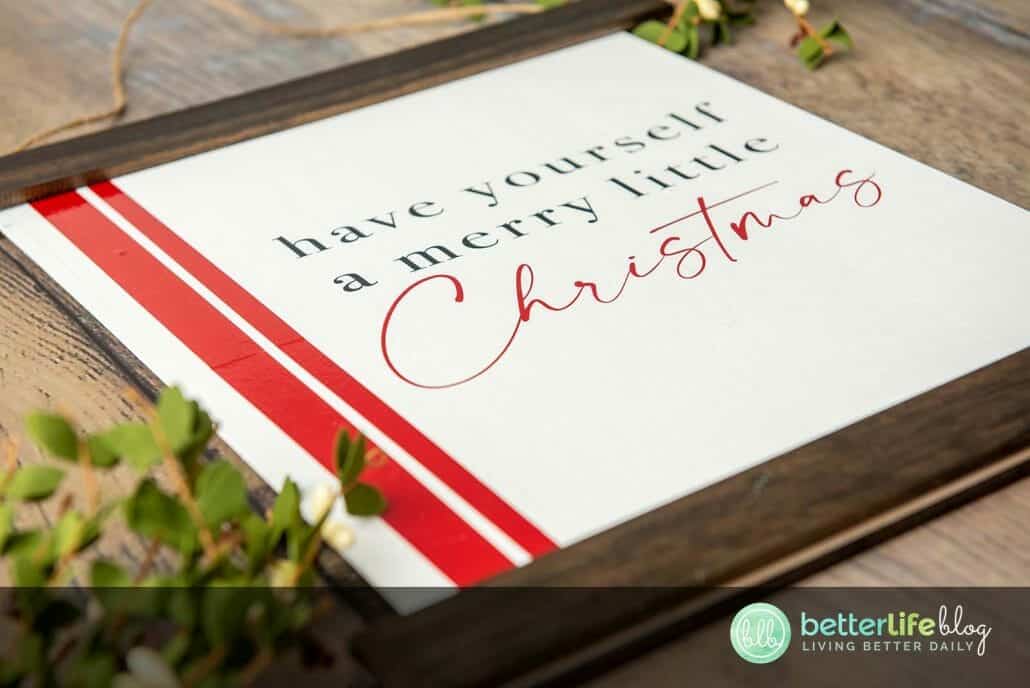


Cricut Christmas Scroll Sign
My Cricut Christmas Scroll Sign is an elegant addition to any holiday décor. Plus, it’s easy to put together and oh-so very unique! It’ll definitely be a talking point with your guests.
Materials
- Have Yourself a Merry Little Christmas SVG file
- Cricut or other cutting machine
- Cricut blue light or green standard grip mat
- Oracal 651 vinyl or permanent vinyl of your choice (two colors)
- Transfer tape
- Paint sticks (2 packs cut to 14”)
- Craft plywood (24”x12” cut to 15.5”x12”)
- Paint
- Stain
- Paint brush
- Foam brush
- Cricut weeding tool
- Cricut scraper tool or old credit card
- High heat hot glue gun with industrial grade glue sticks (alternative E6000 or wood glue)
- Twine
Instructions
- Begin by cutting down the paint sticks to size. You may do so by hand or an automatic saw. In addition, cut down the
plywood to 15.5” x 12” for the main scroll sign. You will need 4 sticks total for the scroll. - Stain paint the sticks in a well-ventilated area. Allow for 24-48 hours for the stain to dry completely. If you wish, you
may also paint the plywood (preferably with matte paint). Be sure to dry completely before proceeding to the next step. - Once sticks and plywood are dry, prepare the SVGs in Design Space. If using the same sized sticks and plywood as this tutorial, proceed with the set measurements of the SVG. If going with another size, re-measure the SVG in Design Space. Take note that the red stripes are split
and will be cut split in order to fit on 12x12 mat and then on length of craft wood. Phrases/words are also split for ease of cutting different colors. - In the layers panel, click on “Ungroup.” Move the two sections of red stripes side by side, next to the “Christmas”
phrase. This will keep them together, allowing them to be cut on one mat. Select all and hit “Attach.” Use the eye icon in the layers panel to temporarily turn off the black “Have Yourself a Merry Little” phrase until the red stripes and “Christmas” have been cut. After, proceed cutting as normal. - Hit “Make It.” Adjust your machine’s setting/material dial to “Washi Sheet” or “Vinyl.” Load the permanent vinyl onto the grip mat and hit “Go.”
- Once the cut is complete, weed the vinyl off and away from the design.
- After the design is completely weeded, cut a piece of transfer tape to the size of the vinyl and apply onto the design using a scraper tool.
- Turn the design face down and carefully pull the vinyl’s carrier sheet off and away from the transfer tape. The vinyl
will be left solely on the transfer tape. - Place the vinyl stripes to the edge of the craft plywood, about a 1/2 inch inwards from the left edge of the craft wood. After, apply the phrases to the right of the stripes and in the middle of the craft wood. Once you’re happy with the location of the design, apply pressure and smooth over the design using the scraper tool.
- Slowly remove the transfer tape, carefully and slowly rolling it away and off the edge. The vinyl will remain on the wood.
- Once vinyl has been applied, use a high heat glue gun to attach 1 paint stick to the top and bottom of the craft plywood. Align the sticks in the middle and start at the back. This will begin to create the framing of the scroll sign.
- Cut off a small piece of twine to use as a hanging anchor and hot glue to the front of the craft plywood before attaching the front frame/paint sticks.
- Glue the other two paint sticks to the front top and bottom of the craft plywood, sandwiching the plywood with the sets of paint sticks.