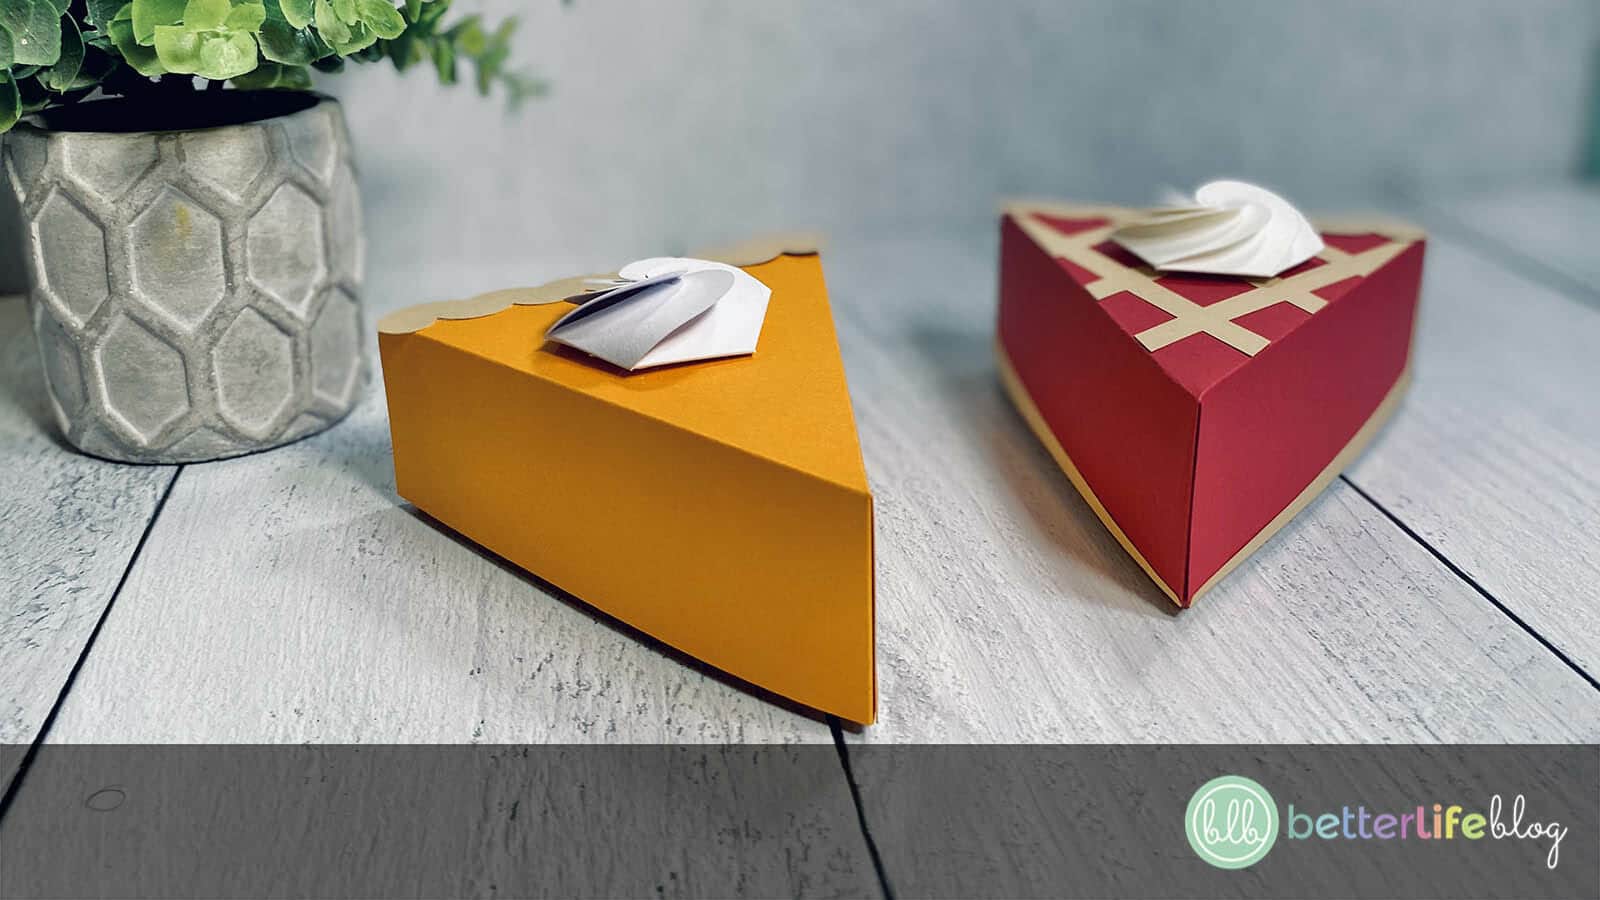
This Cricut Pie Slice Box is the perfect addition to your holiday dinner parties. They’re great for handing out leftover pie slices to your guests… so don’t let another slice of pie go to waste! Follow my easy tutorial to make this DIY pie to-go box with your cutting machine.
Welcome back to my blog, crafty friends! With the holidays right around the corner, it’s time to roll up your sleeves and get into holiday crafting.
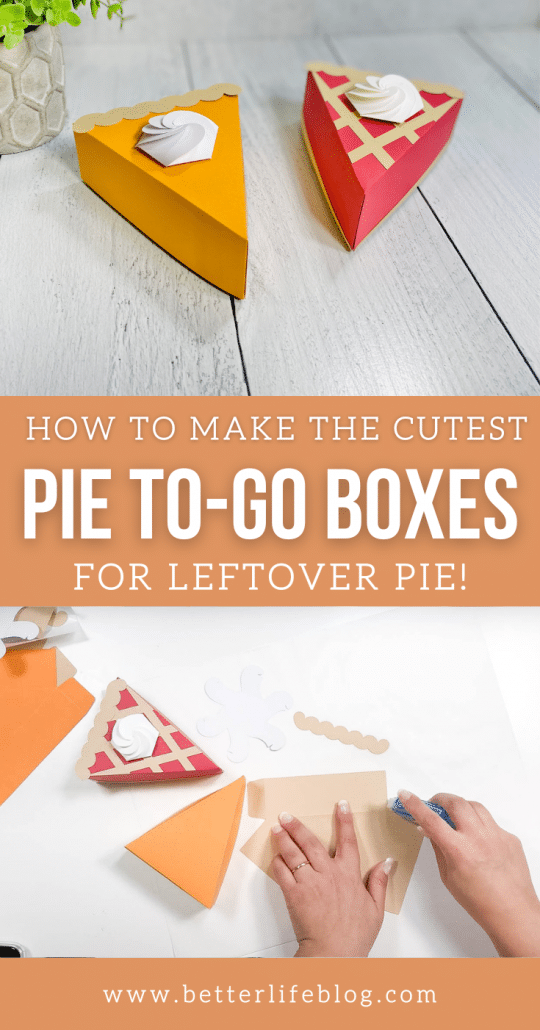
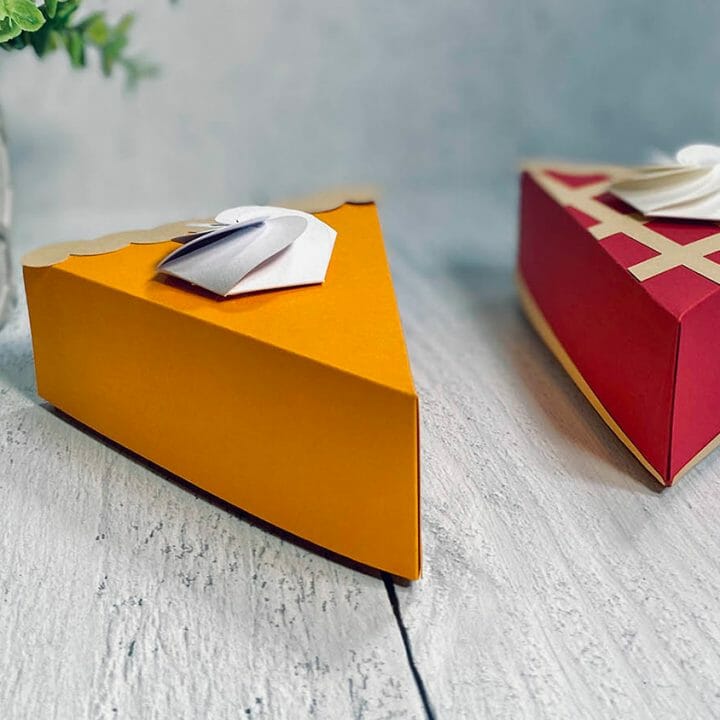
For today’s tutorial, I am showing you how to make pie to-go boxes. These adorable cardboard boxes hold pieces of pie perfectly so that your dinner party guests can go home with their very own slice. They’ll absolutely adore their customized boxes!
How Do I Get The File To Make A Cricut Pie Slice Box?
Members of my VIP Crafters Club received this cut file in their November 2021 cut file package. If you’re not yet a member, feel free to join! All of the info that you need is on our VIP Crafters Club page. Once you subscribe, you unlock access to hundreds of cut files available to members only.

You can also click here to download the individual SVG cut file.
Two Versions in My Cut File
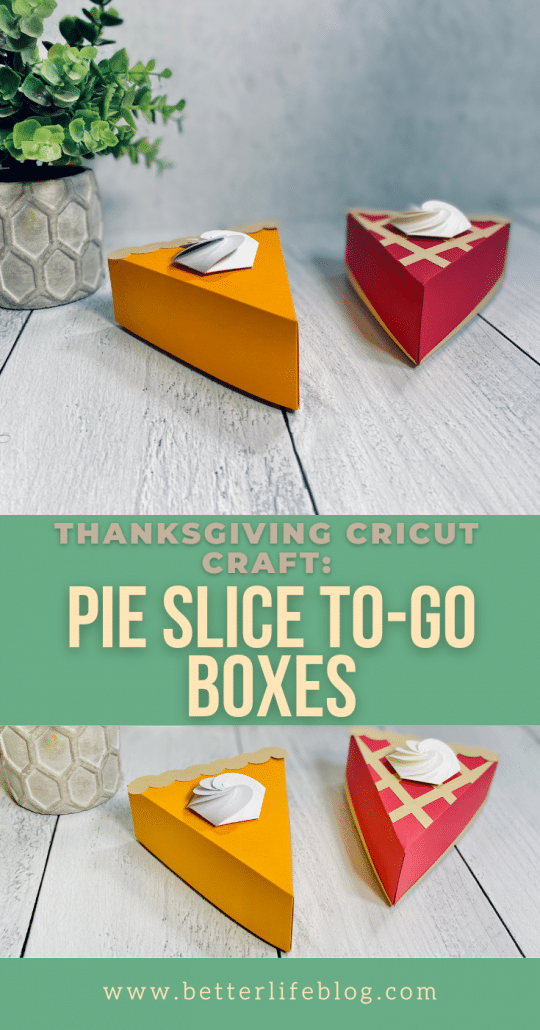
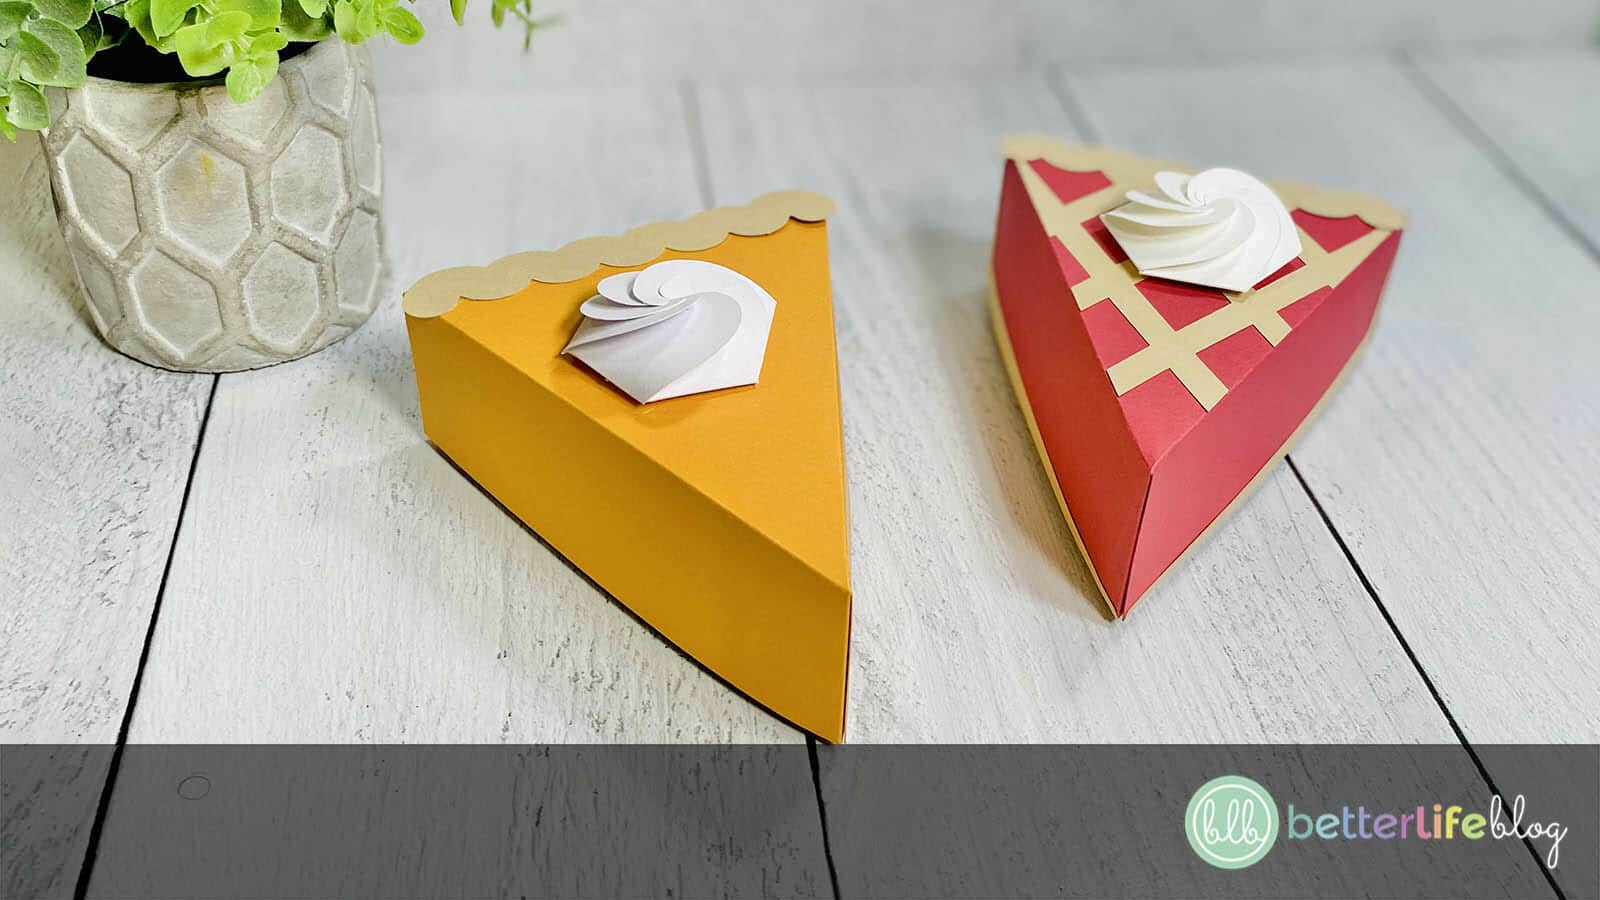
The cut file I designed for these pie slice boxes come with two options: a pumpkin pie box and a fruit pie box. They’re both very cute and I highly recommend you make the two versions!
I Love Paper Crafts! Got Any More?
Absolutely! Cricut paper crafts are totally up my alley! I think you’ll love these other paper craft DIYs:
DIY Cricut Coffee Cup Gift Card Holder
What Supplies and Tools Do I Need to Make These Pie To-Go Boxes
Here are the specific supplies and tools you’ll need to whip-up these adorable pie slice boxes:
- Pie To-Go Box SVG Cut File
- Cricut or other cutting machine
- Cardstock of various colors (For the pumpkin pie box, we suggest orange, light brown, and white. For the fruit pie box, we recommend berry, light brown, and white.)
- Wax paper
- Light grip mat
- Scoring tool
- Crafter’s tape
- Hot glue gun and sticks
How Do I Put Everything Together?
Begin by downloading the cut file for these Pie To-Go Boxes and then uploading them to Design Space (or the cut file program specific to your cutting machine). Be sure to have your cardstock on-hand.
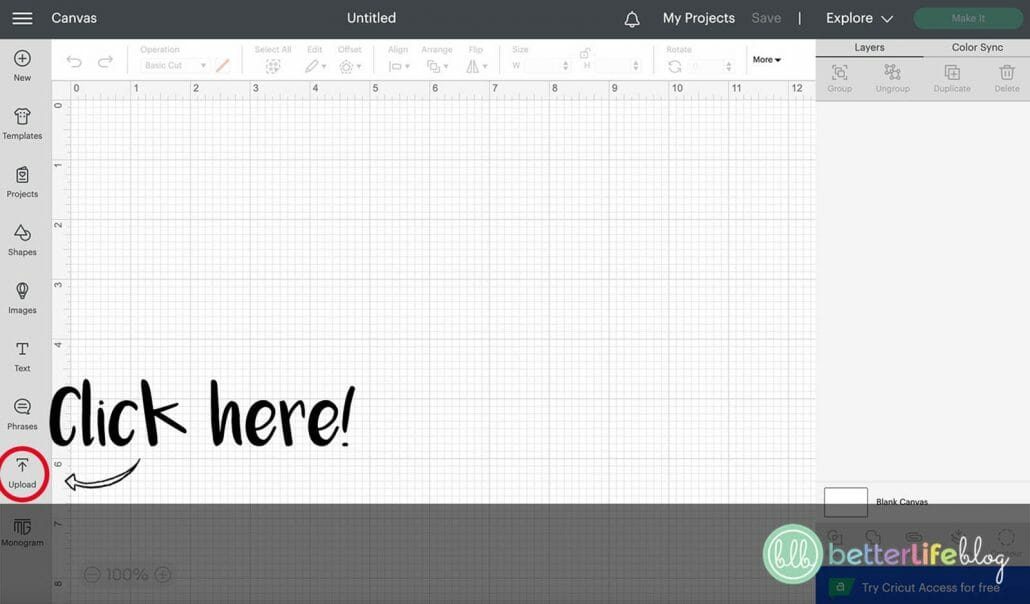
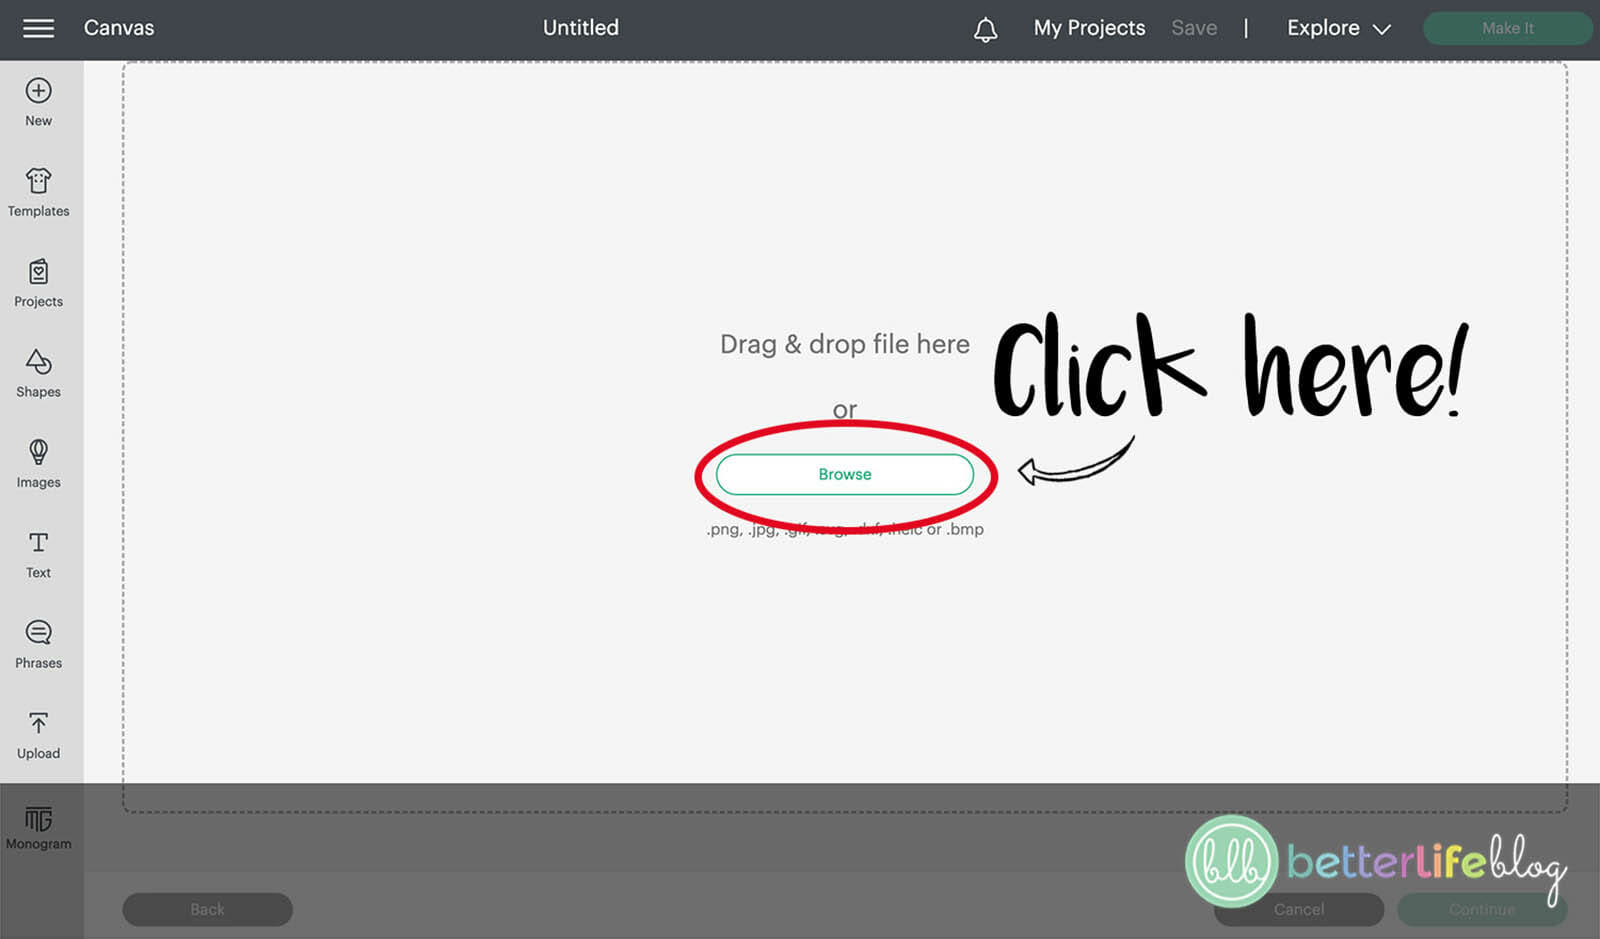
To upload onto Design Space, begin by clicking on Upload on the left-hand side of your screen.
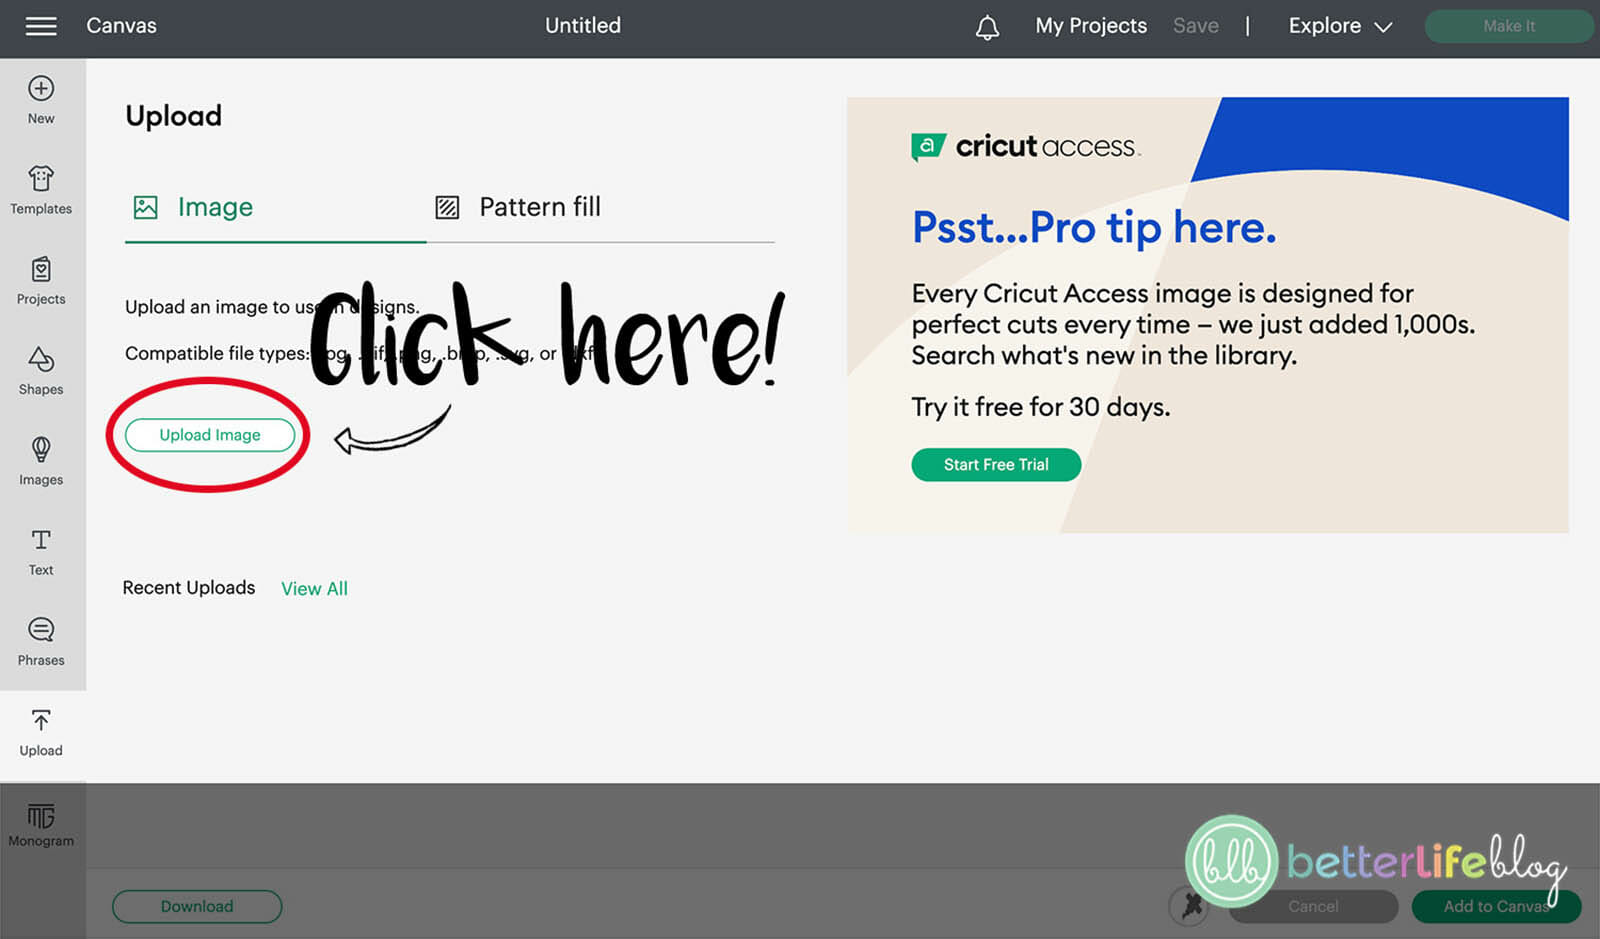
Next, click on “Upload Image.” You will be taken to a new screen where you will click on the “Browse” button.
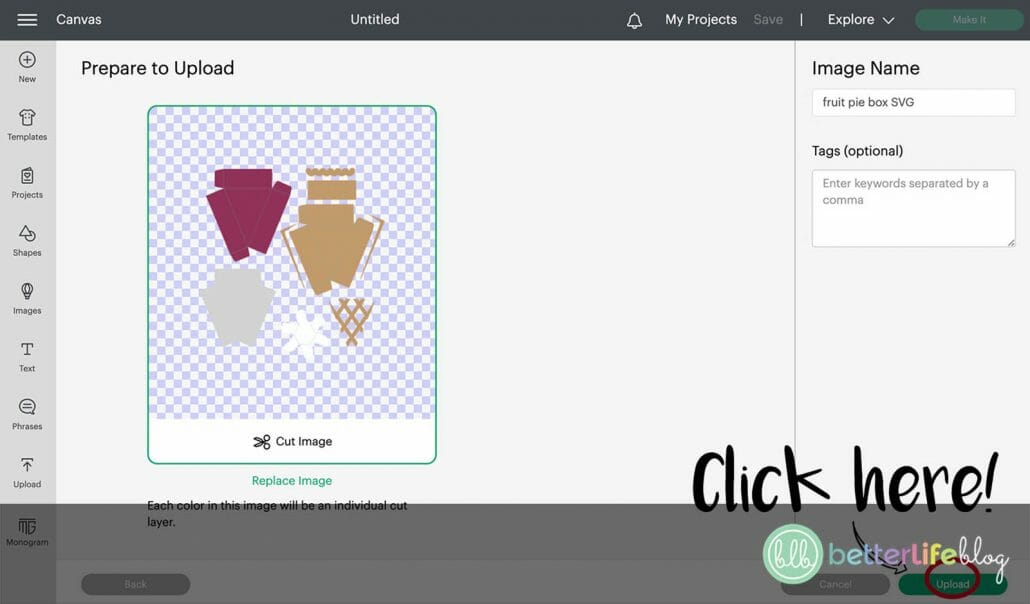
Select your Pie To-Go Box SVG File (in the image samples, we are using the Berry Pie Box), and click the “Upload” button on the bottom right-hand corner.
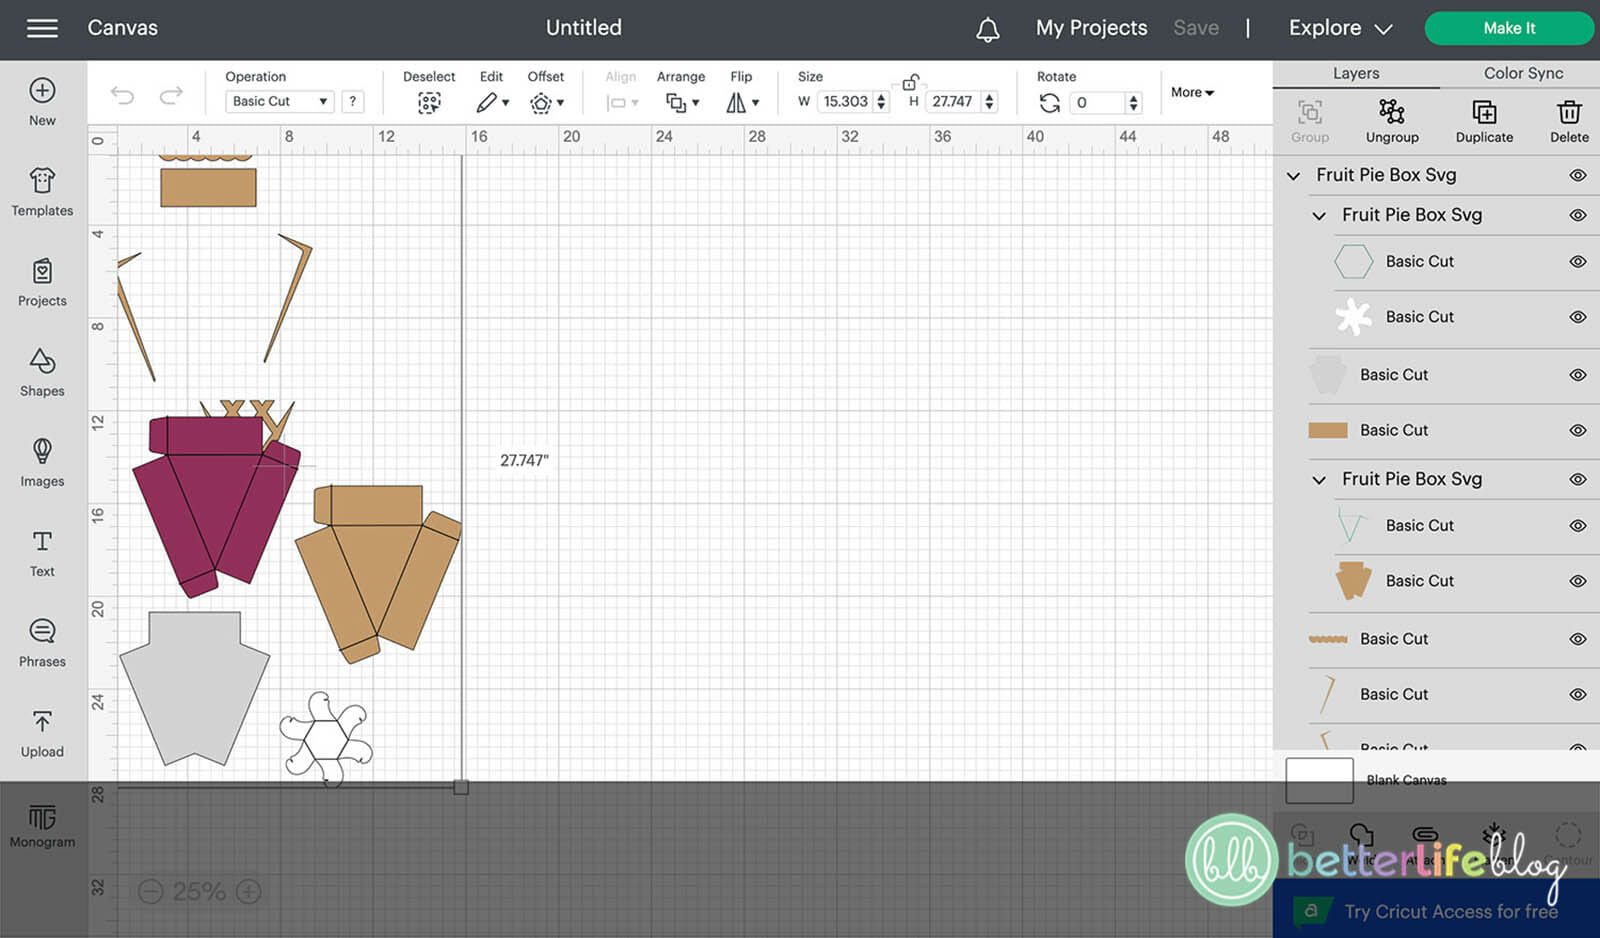
You will see your Pie Box file in the “Recent Uploads” section of your screen. Select the pie box of your choice and click on the “Add to Canvas” button, located on the bottom right-hand of your screen.

For the pumpkin pie file, the light brown cardstock is for the bottom portion of the box, as well as the crust (curvy shape). The orange cardstock is reserved for the top portion of the box. Finally, the white cardstock will be used for your whipped cream, and the wax paper, for the box’s liner.
For the fruit pie box, we recommend using the light brown cardstock for the bottom portion of the box, as well as the crust (curvy shape and criss-cross lines). The berry cardstock is reserved for the top portion of the box. Finally, the white cardstock will be used for your whipped cream, and the wax paper will be used for the liner.
Following the order as suggested by Design Space / your cut file program, load your grip mat and start the cutting process.

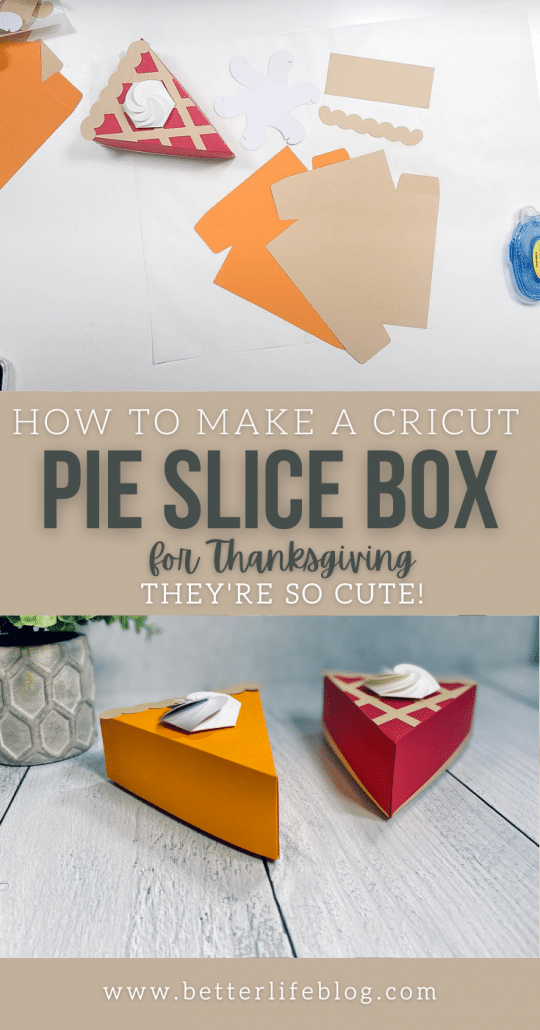
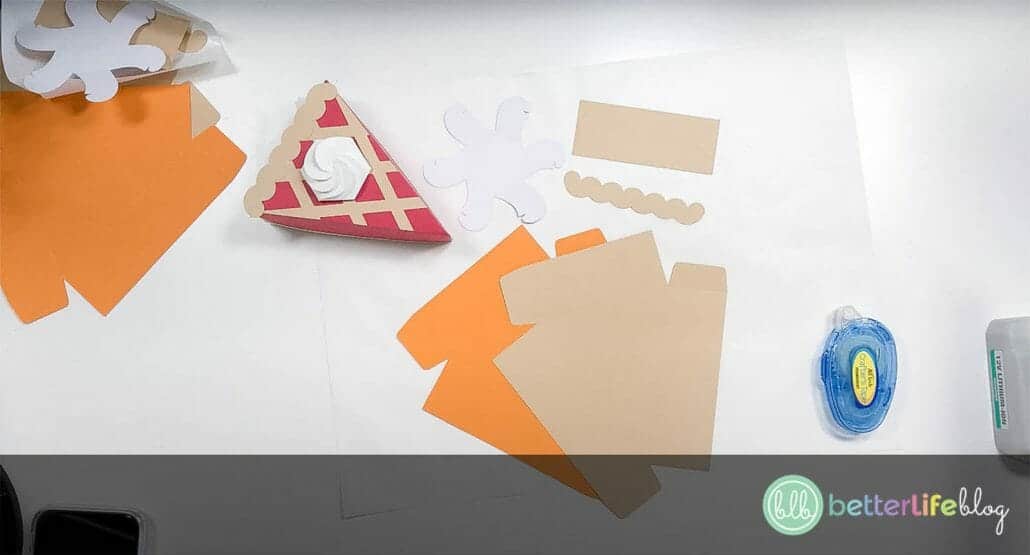
Once you have all of the pieces cut, it’s time to start assembling.
To Assemble the Pumpkin Pie
Begin with the bottom portion of the pie slice box (the brown cardstock). You’ll notice that both the top and bottom portion of the box is triangular in shape.
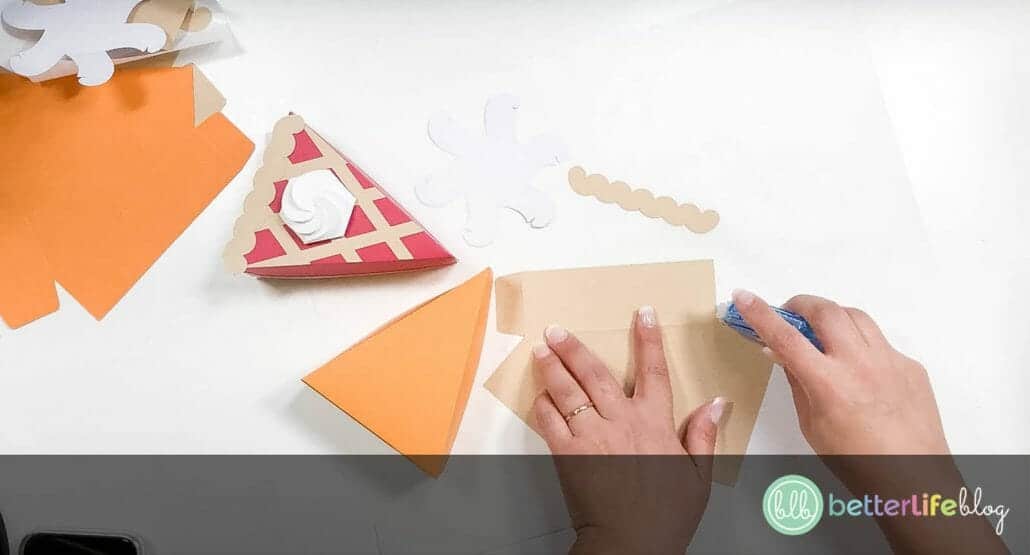
Fold the edges of the brown cardstock inwards. You can use a scoring tool to help with this step.
On the end of each edge, there is a tab. Fold each of the tabs inwards as well.
Add crafter’s tape to the back of each tab. Fold and secure each tab to its corresponding edge.
The bottom portion of your pie box is now complete!
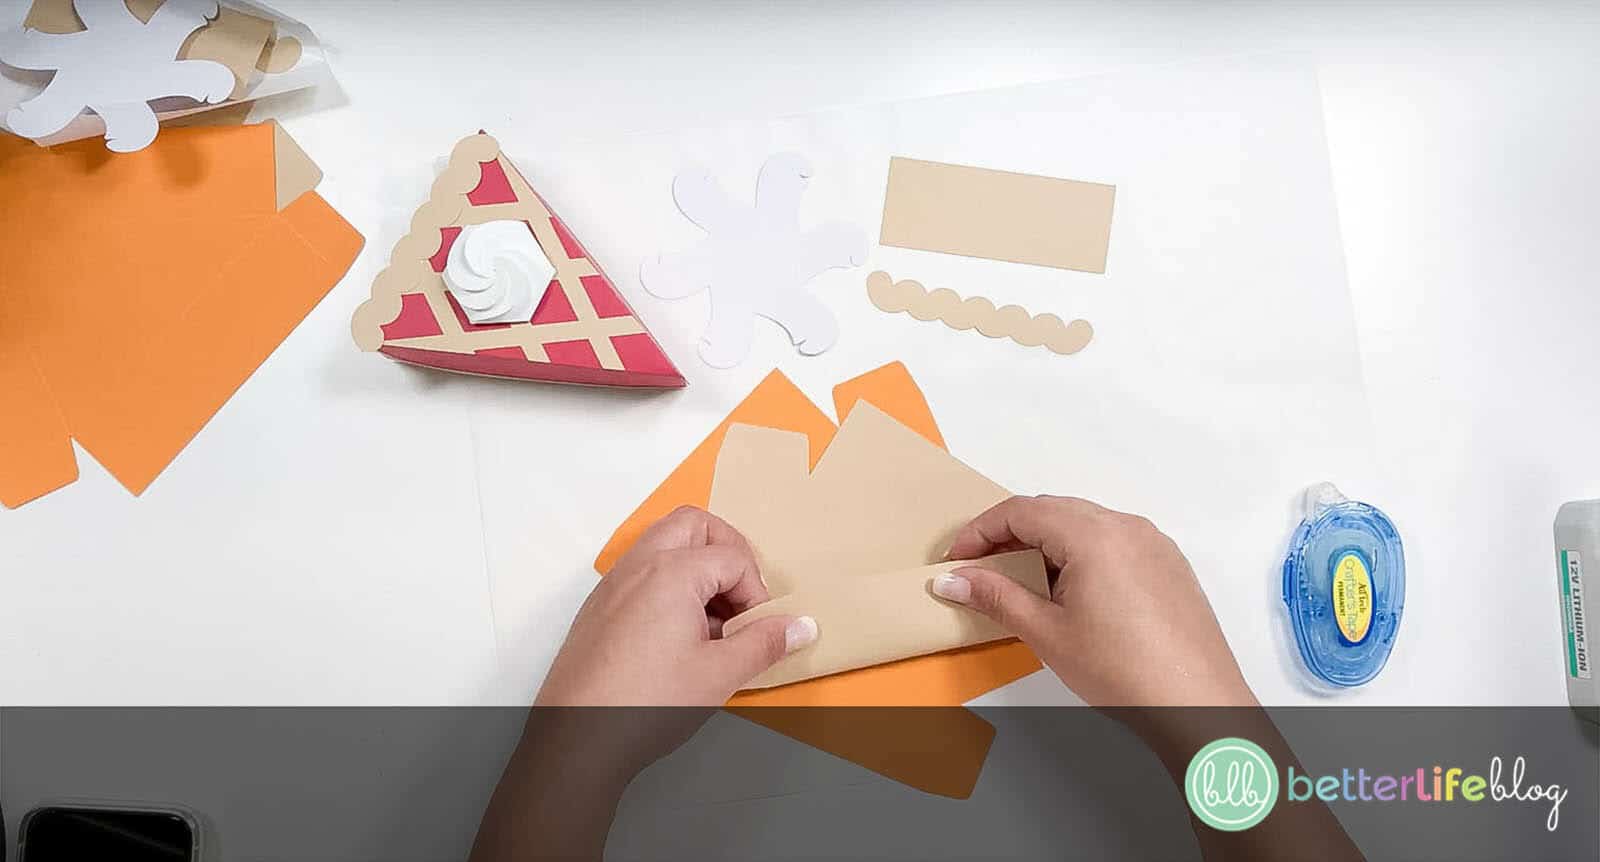
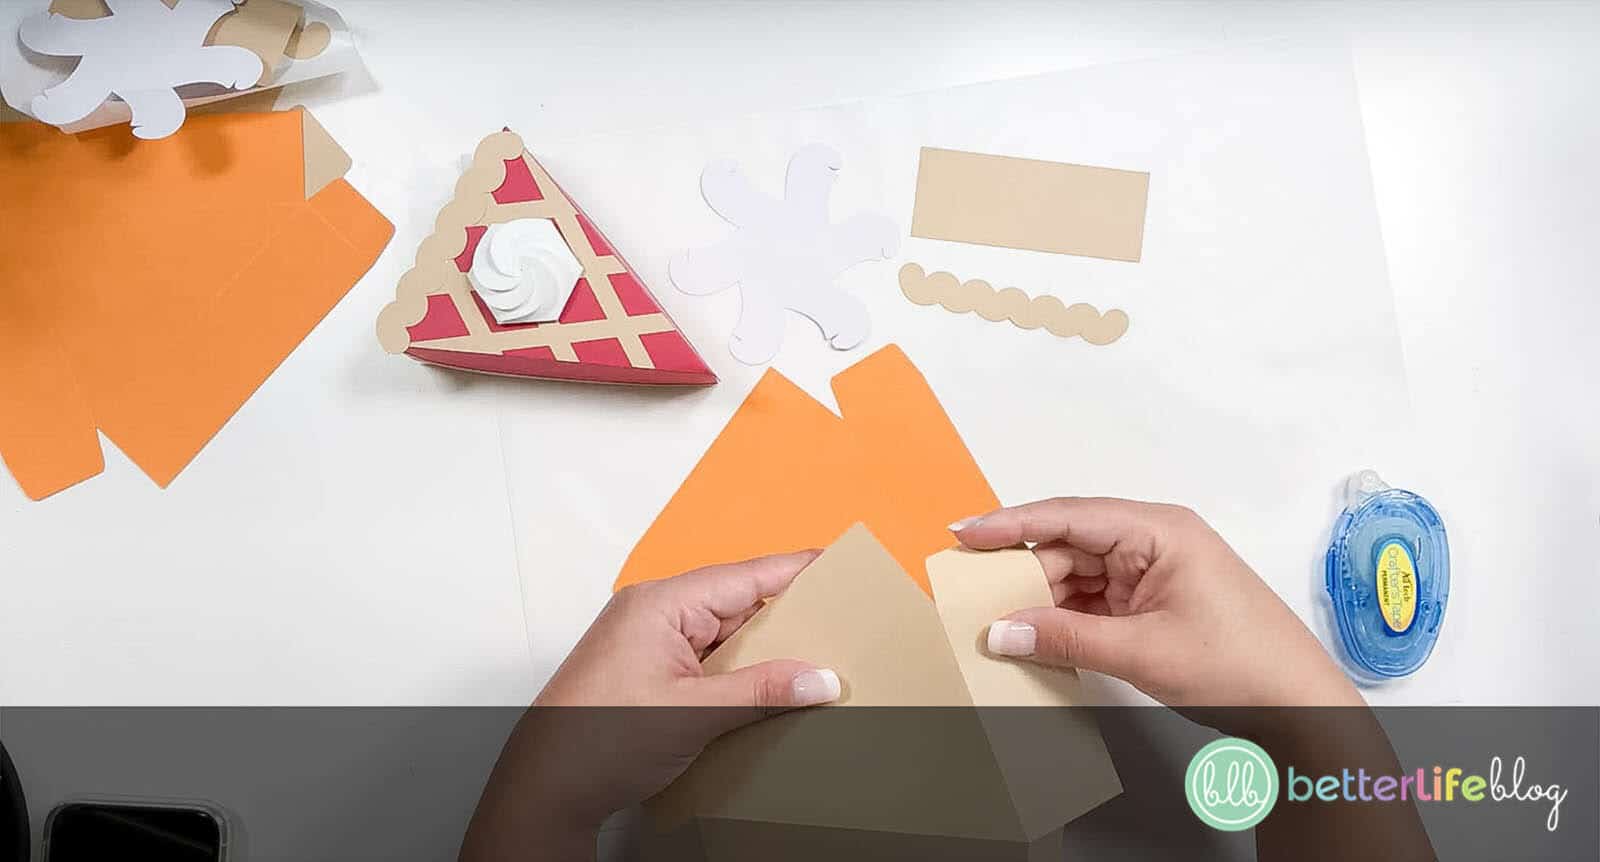
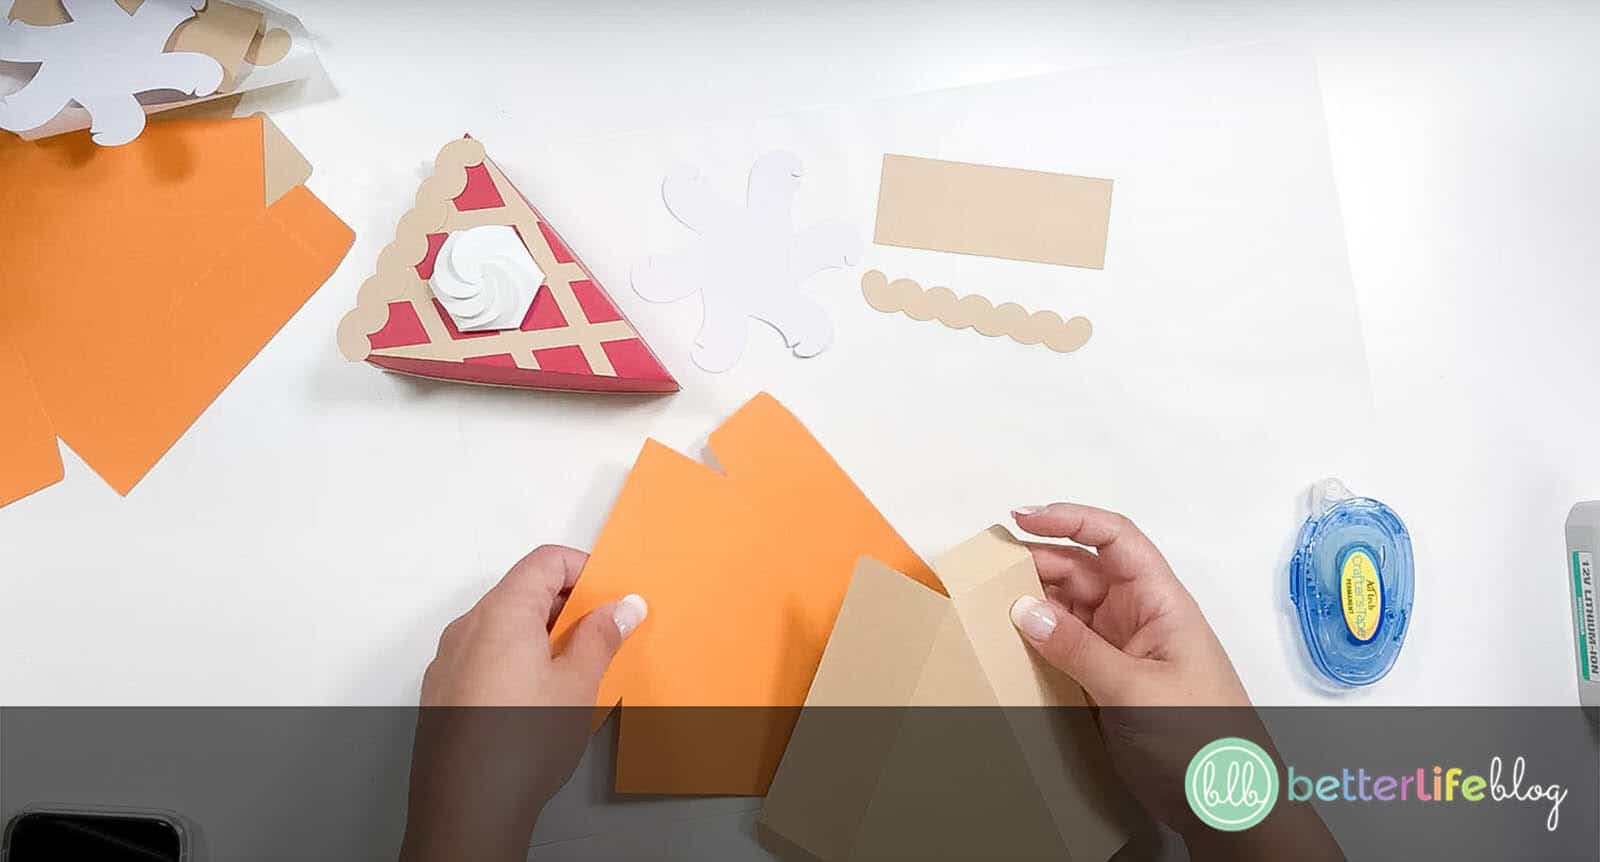
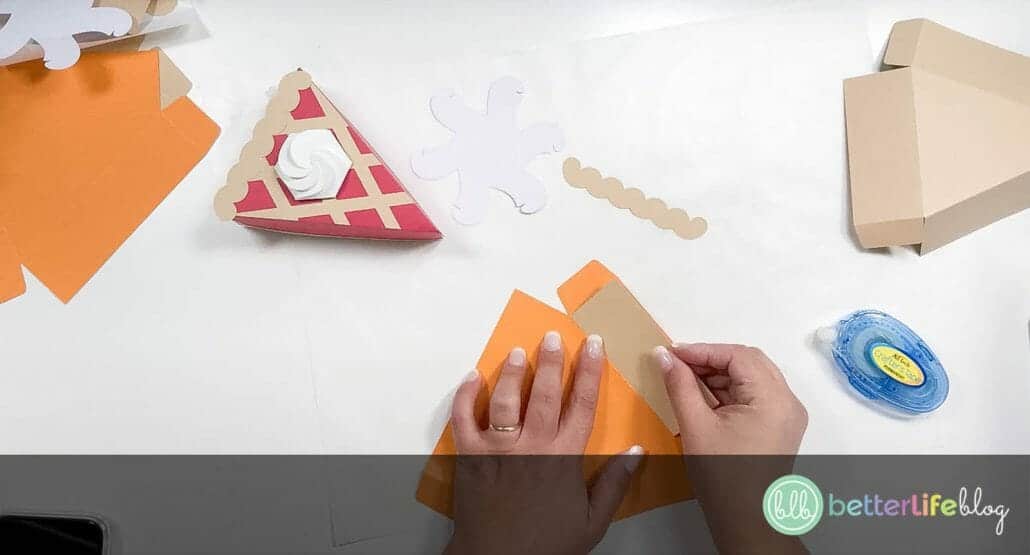
Next, fold the top piece (so in this case, the orange piece) the same way you did the bottom piece.
Add crafter’s tape to the back of the orange piece (opposite of the pointed end) and add the brown cardstock that’s rectangular in shape.

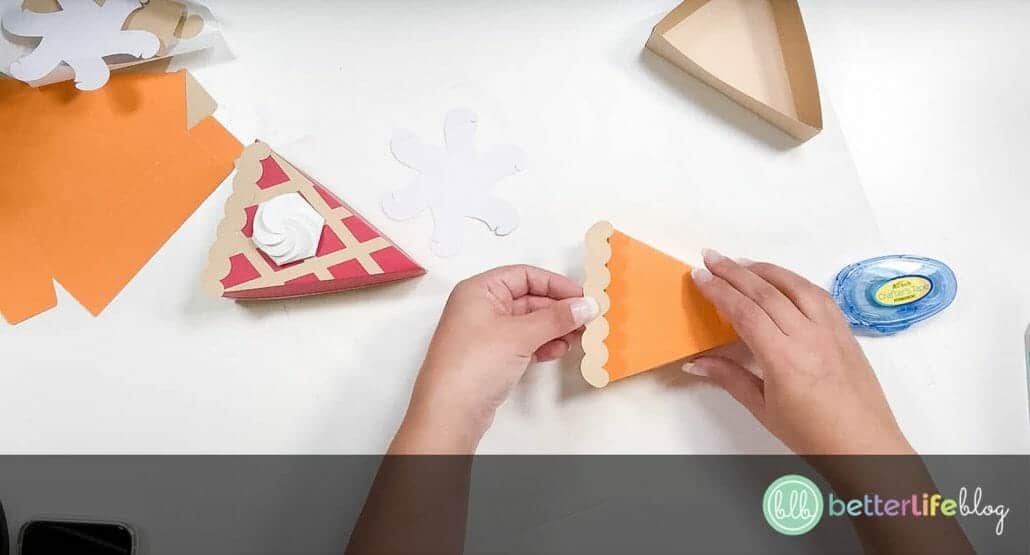
Next, add crafter’s tape to one side of the waved brown piece. Secure it to the top of your orange piece. This will act as the pie’s “crust edge.”
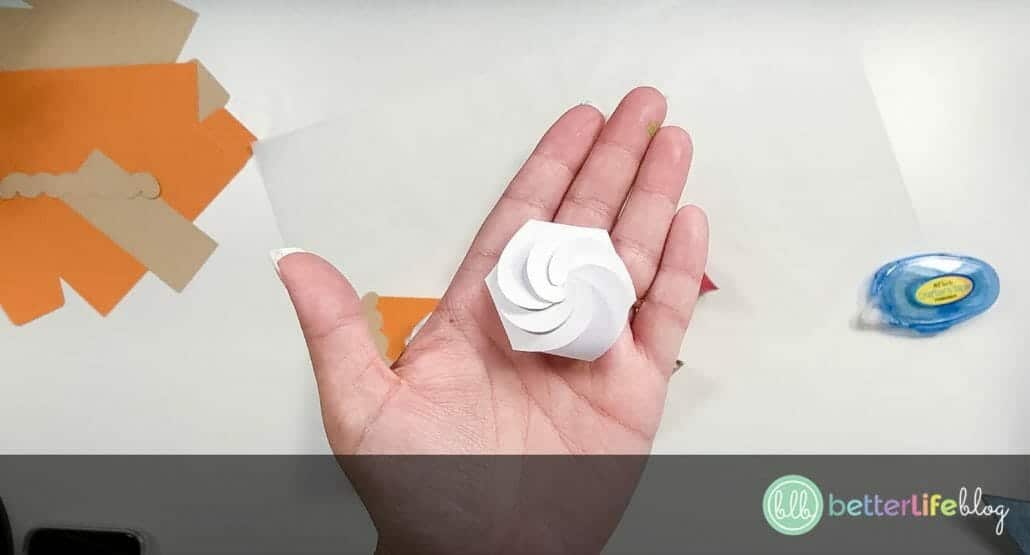
For the whipped cream piece (ie.: circular white piece with the tabs along the circumference), start folding each tab down, towards the center, so that the curved side of the tab is pointing towards the left. Work clockwise as you fold.
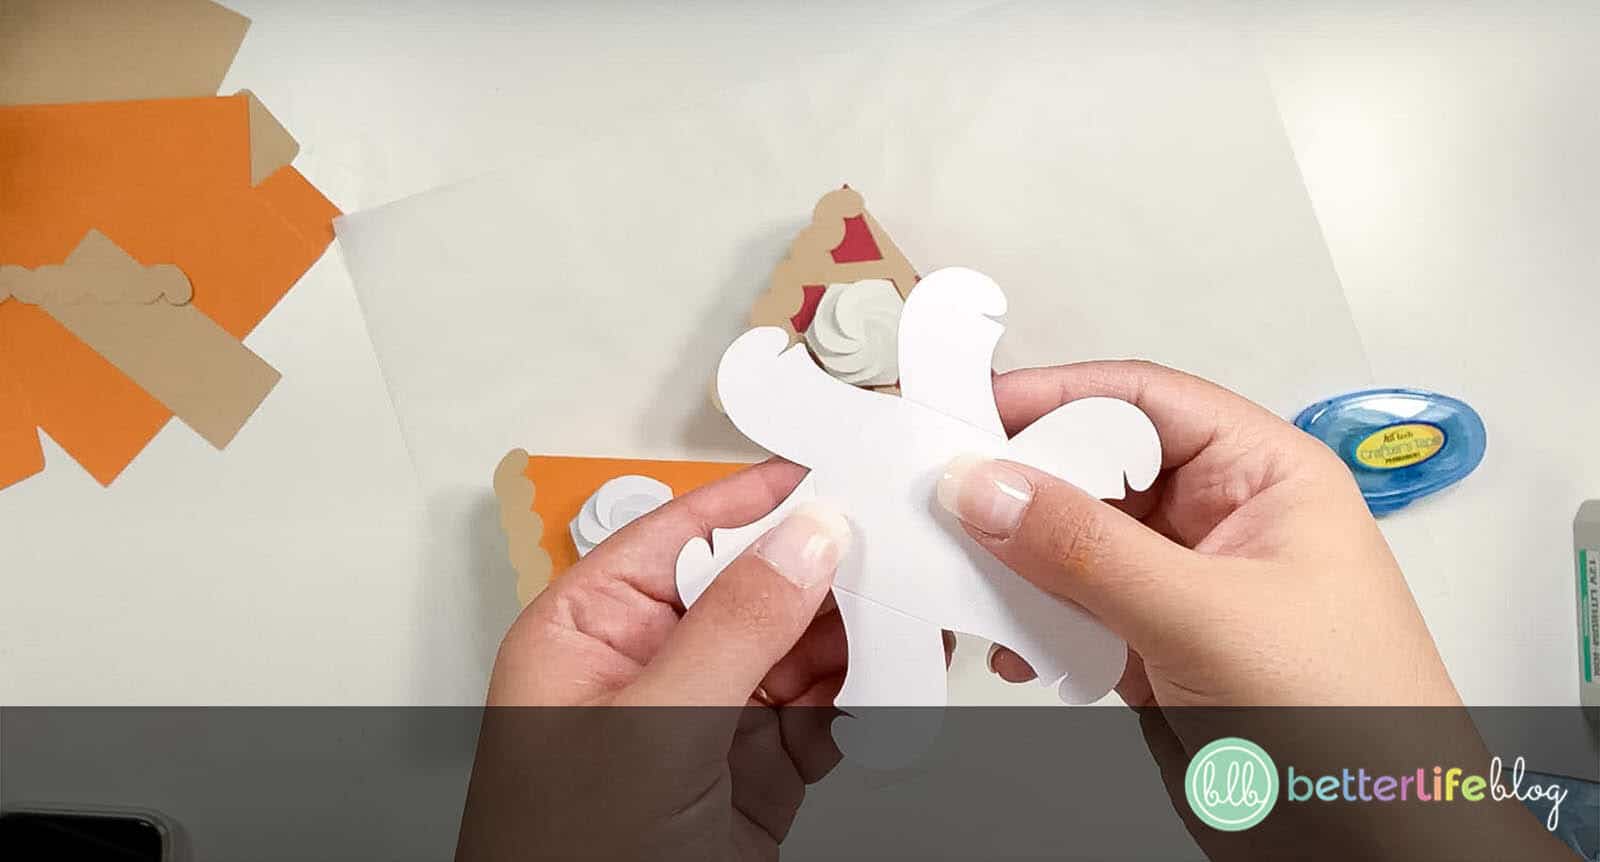
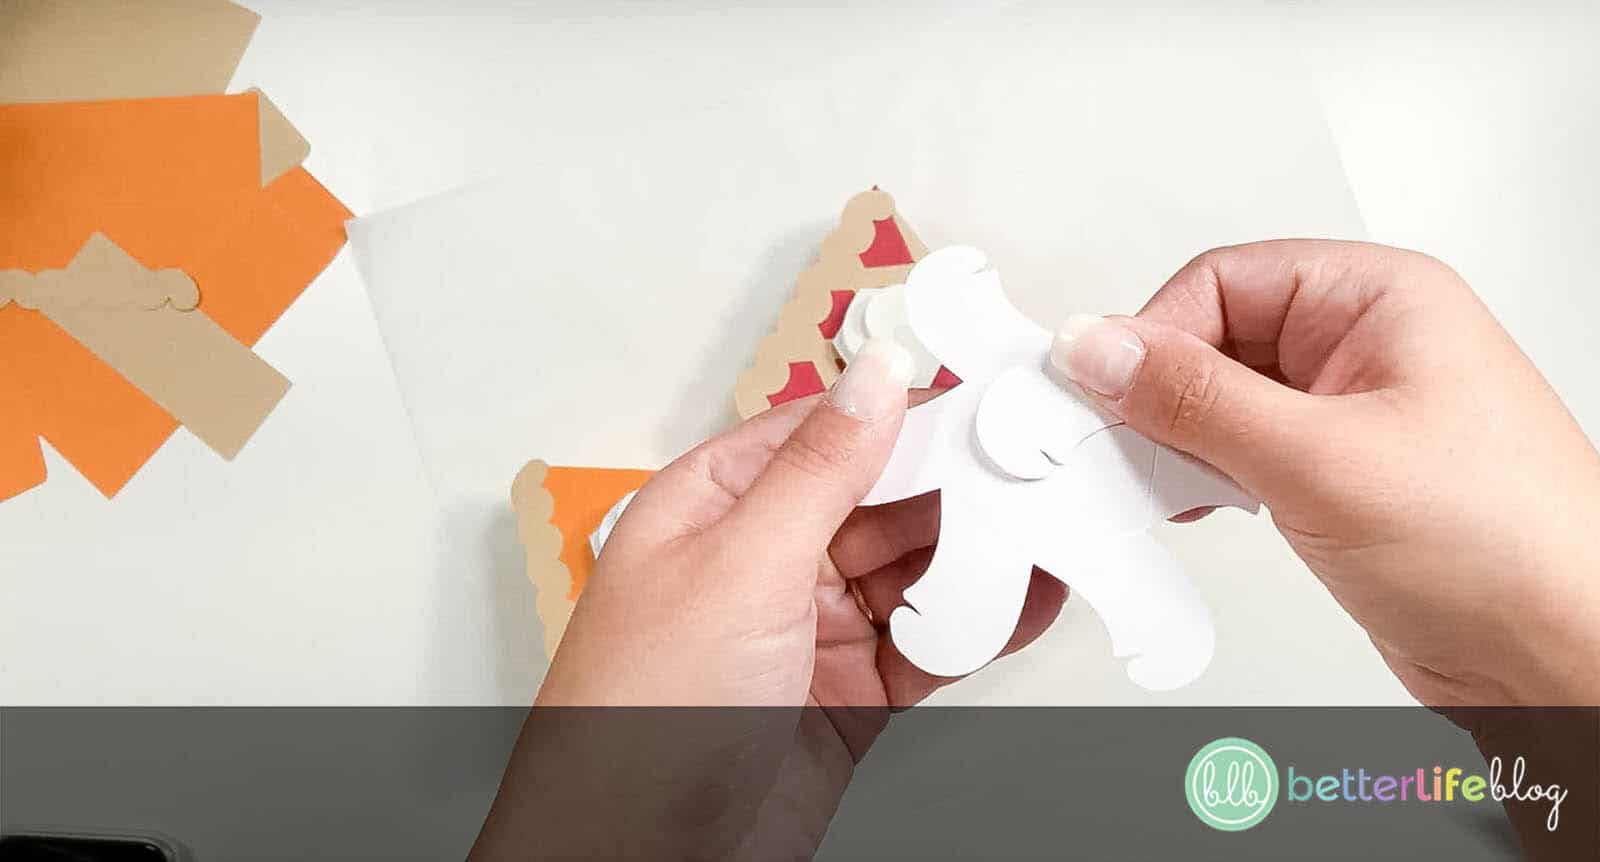
By the fourth tab, fold it down and attach it to the first tab using the corresponding slit. Continue folding down and attaching the remaining tabs.
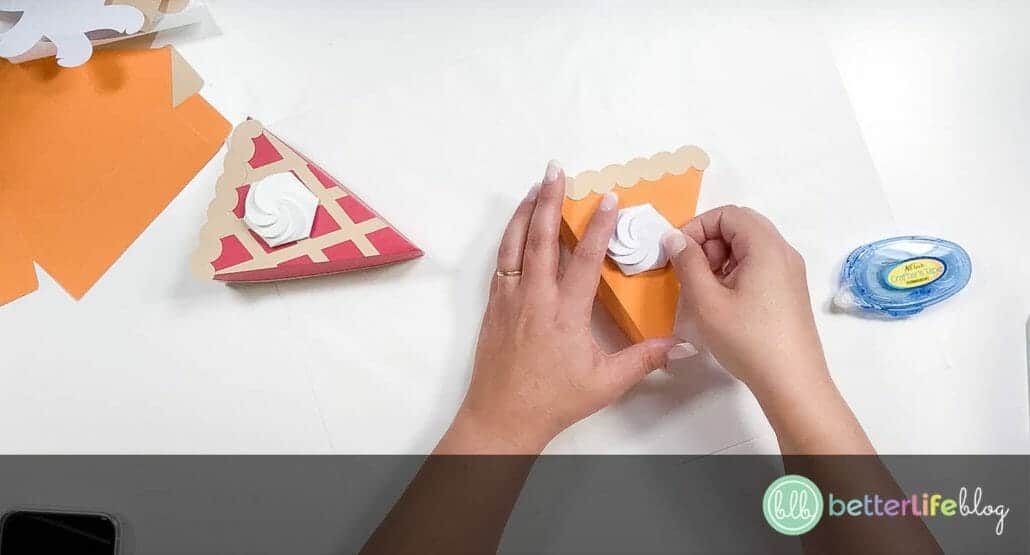
Add hot glue to the bottom of the “whipped cream” piece and secure on the top center of the orange portion of your pie box.
Next, take the triangular white piece and fold its edges and tabs inwards. Add crafter’s tape to the back of each tab and secure each tab to its corresponding edge. This white triangular piece will act as the lining of your pie box. Place inside the bottom portion of the box.
Now, slide the top portion (orange piece) of your pie box onto the bottom portion (brown piece). Your box is officially ready for its slice of pie!
To Assemble the Fruit Pie Box
The top portion of the fruit pie box is your berry-colored cardstock. The bottom is the brown, and the white triangular piece is the box’s lining.
Proceed to assemble the aforementioned pieces the same way you assembled the pieces for the pumpkin pie box.
For the berry pie, the additional piece is the criss-cross crust that goes on top of the box. Secure with crafter’s tape. Don’t forget to add the “crust” along the edge as well!
Prepare the whipped cream portion and add to the top. Your berry pie box is now ready!
Cricut Pie Slice Box: How To Make Pie To-Go Boxes
How can anyone ever say no to more pie?! Be sure that your guests are walking away with their own slice by making these easy Pie To-Go Boxes with your Cricut machine! They fit slices of pie so PERFECTLY, and are just so darn cute!
Materials
Instructions
- Begin by downloading the cut file for these Pie To-Go Boxes and then uploading them to Design Space (or the cut file program specific to your cutting machine). Be sure to have your cardstock on-hand.
- To upload onto Design Space, begin by clicking on Upload on the left-hand side of your screen.
- Next, click on “Upload Image.” You will be taken to a new screen where you will click on the “Browse” button.
- Select your Pie To-Go Box SVG File (in the image samples, we are using the Berry Pie Box), and click the “Upload” button on the bottom right-hand corner.
- You will see your Pie Box file in the “Recent Uploads” section of your screen. Select the pie box of your choice and click on the “Add to Canvas” button, located on the bottom right-hand of your screen.
- For the pumpkin pie file, the light brown cardstock is for the bottom portion of the box, as well as the crust (curvy shape). The orange cardstock is reserved for the top portion of the box. Finally, the white cardstock will be used for your whipped cream and box liner.
- For the fruit pie box, we recommend using the light brown cardstock for the bottom portion of the box, as well as the crust (curvy shape and criss-cross lines). The berry cardstock is reserved for the top portion of the box. Finally, the white cardstock will be used for your whipped cream and box liner.
- Following the order as suggested by Design Space / your cut file program, load your grip mat and start the cutting process.
- Once you have all of the pieces cut, it’s time to start assembling.
To Assemble the Pumpkin Pie
- Begin with the bottom portion of the pie slice box (the brown cardstock). You’ll notice that both the top and bottom portion of the box is triangular in shape.
- Fold the edges of the brown cardstock inwards. You can use a scoring tool to help with this step.
- On the end of each edge, there is a tab. Fold each of the tabs inwards as well.
- Add crafter’s tape to the back of each tab. Fold and secure each tab to its corresponding edge.
- The bottom portion of your pie box is now complete!
- Next, fold the top piece (so in this case,
the orange piece) the same way you did the bottom piece. - Add crafter’s tape to the back of the orange piece (opposite of the pointed end) and add the brown cardstock that’s rectangular in shape.
- Next, add crafter’s tape to one side of the waved brown piece. Secure it to the top of your orange piece. This will act as the pie’s “crust edge.”
- For the whipped cream piece (ie.: circular white piece with the tabs along the circumference), start folding each tab down, towards the center, so that the curved side of the tab is pointing towards the left. Work clockwise as you fold.
- By the fourth tab, fold it down and attach it to the first tab using the corresponding slit. Continue folding down and attaching the remaining tabs.
- Add hot glue to the bottom of the “whipped cream” piece and secure on the top center of the orange portion of your pie box.
- Next, take the triangular white piece and fold its edges and tabs inwards. Add crafter’s tape to the back of each tab and secure each tab to its corresponding edge. This white triangular piece will act as the lining of your pie box. Place inside the bottom portion of the box.
- Now, slide the top portion (orange piece) of your pie box onto the bottom portion (brown piece). Your box is officially ready for its slice of pie!
To Assemble the Fruit Pie Box
- The top portion of the fruit pie box is your berry-colored cardstock. The bottom is the brown, and the white triangular piece is the box’s lining.
- Proceed to assemble the aforementioned pieces the same way you assembled the pieces for the pumpkin pie box.
- For the berry pie, the additional piece is the criss-cross crust that goes on top of the box. Secure with crafter’s tape. Don’t forget to add the “crust” along the edge as well!
- Prepare the whipped cream portion and add to the top. Your berry pie box is now ready!