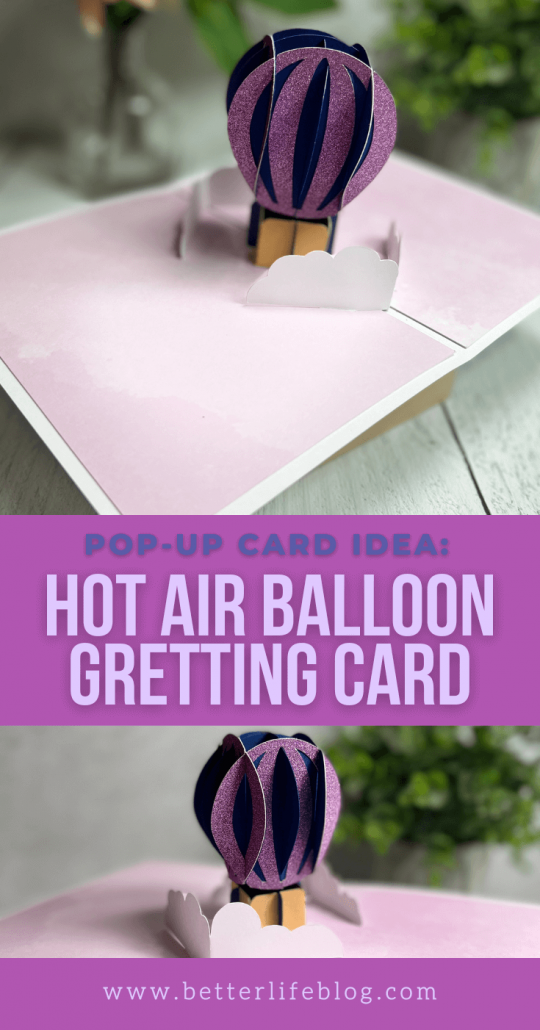
This Hot Air Balloon Pop-Up Card is absolutely adorable and makes for a great gift for birthdays, graduations, and so many more special events! This pop-up card tutorial is SO impressive, but don’t be intimidated!
In this tutorial (including a video tutorial), I will show you how to put this hot air balloon pop up card together and I promise you’ll be amazed when you open it and it pops up (it is such a fun surprise every time!).
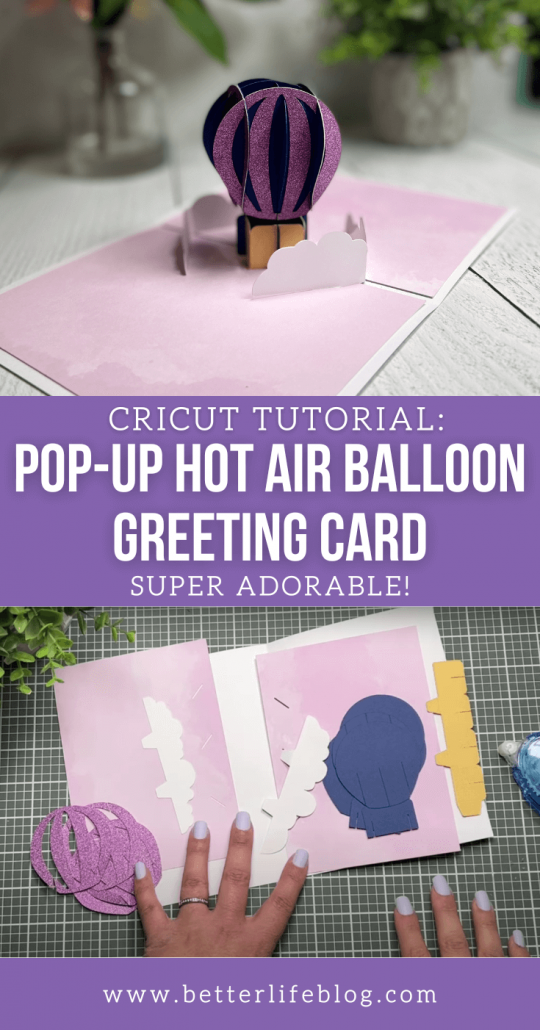
Welcome back, crafty friends! I’m thrilled to share with you this Hot Air Balloon Pop-Up Card Tutorial. I really enjoy making greeting cards with my Cricut, and this Hot Air Balloon Pop-Up Card is customizable – so you can personalize it to whoever you’re giving it to! For instance, you can have fun with the color combinations and the cardstock types that you use. Keep on reading below to learn how!
Where Do I Get the SVG Cut Files for this Hot Air Balloon Pop-Up Card?
Members of my VIP Crafters Club received this cut file in their April 2022 cut file package. If you’re not yet a member, feel free to join! All of the info that you need is on our VIP Crafters Club page. Once you subscribe, you unlock access to hundreds of cut files available to members only.
You can also click here to download the individual SVG cut file.

This Greeting Card Is Amazing! Got Any More?
Absolutely! As I mentioned before, Cricut greeting cards are one of my favorite projects to put together! I think you’ll love these cards, too:

What Supplies Do I Need to Complete This Hot Air Balloon Pop-Up Card Tutorial?
Cricut or other cutting machine
Hot Air Balloon Pop-Up Card SVG file
Cardstock (colors of your choice)
How Do You Make a Hot Air Balloon Pop-Up Card
Okay, crafting friends… enough chit-chat from me! Here is my full Hot Air Balloon Pop-Up Card Tutorial! Just below, I’ve also included a video that will help you visual my step-by-step instructions.
Upload your cut file on your cutting program of choice. Cut accordingly.
Video Tutorial to Make an Adorable Hot Air Balloon Pop-Up Card
Thanks for following along! Don’t forget that you can follow the full instructions via my YouTube video here (and psst: be sure to subscribe to my channel for more Cricut-inspired projects!):
Once you have cut out all your pieces, lay them on your working table. I sorted mine by color.
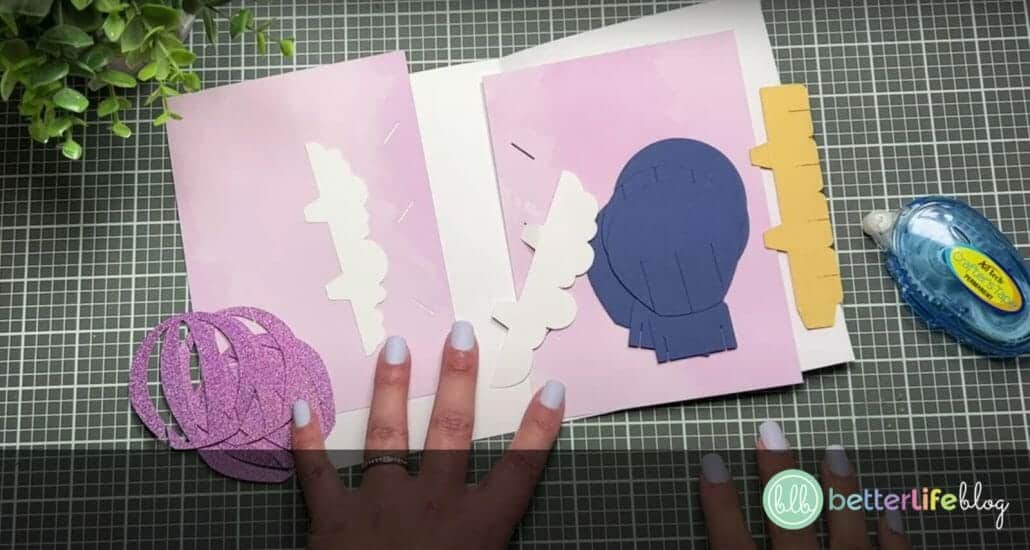
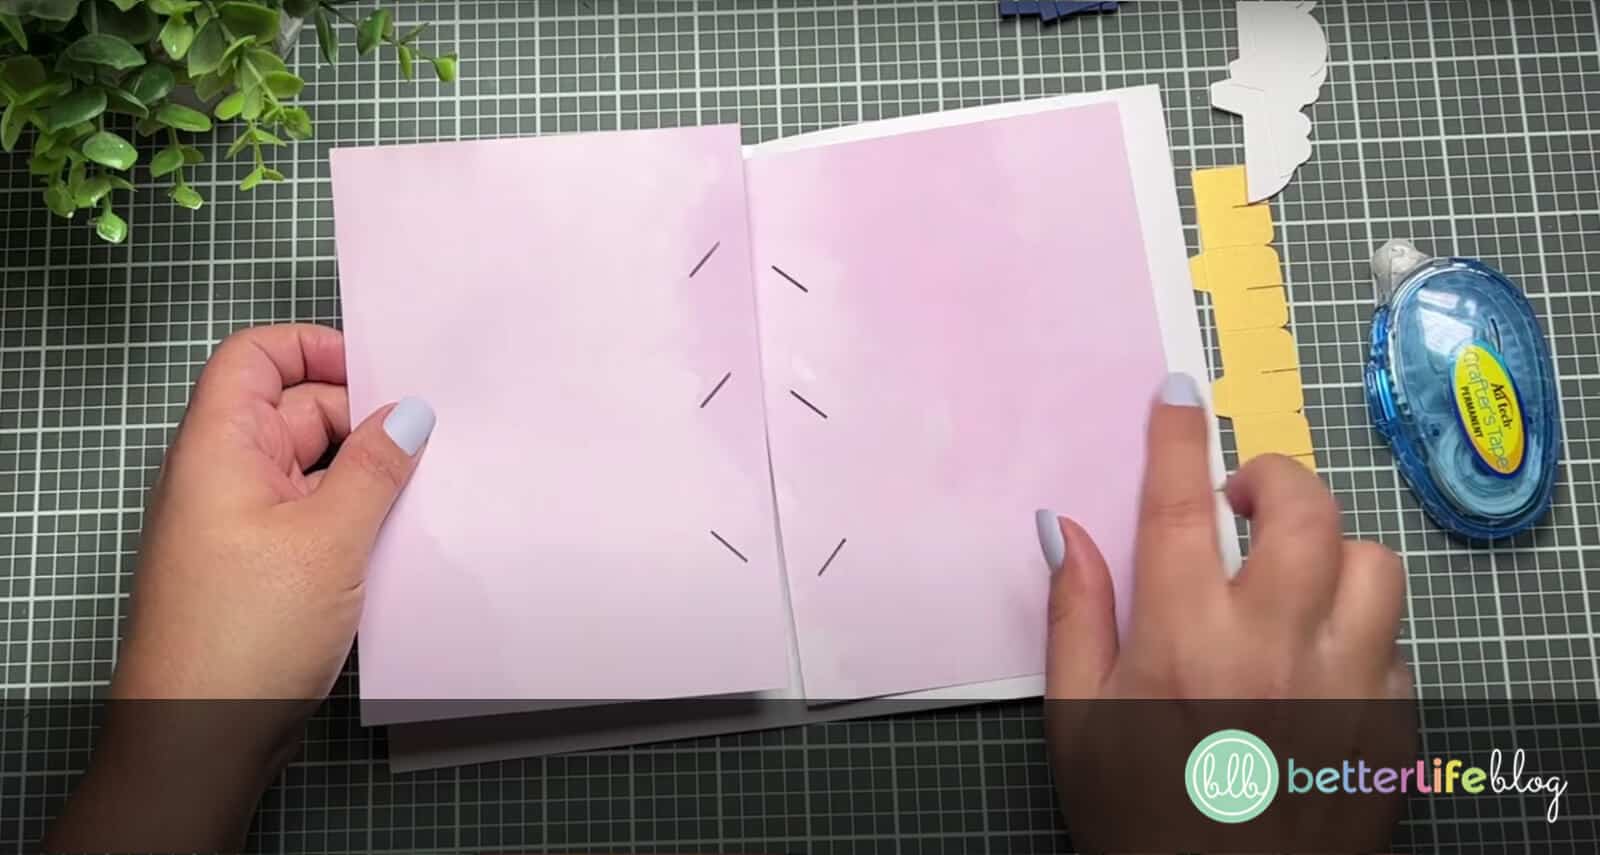
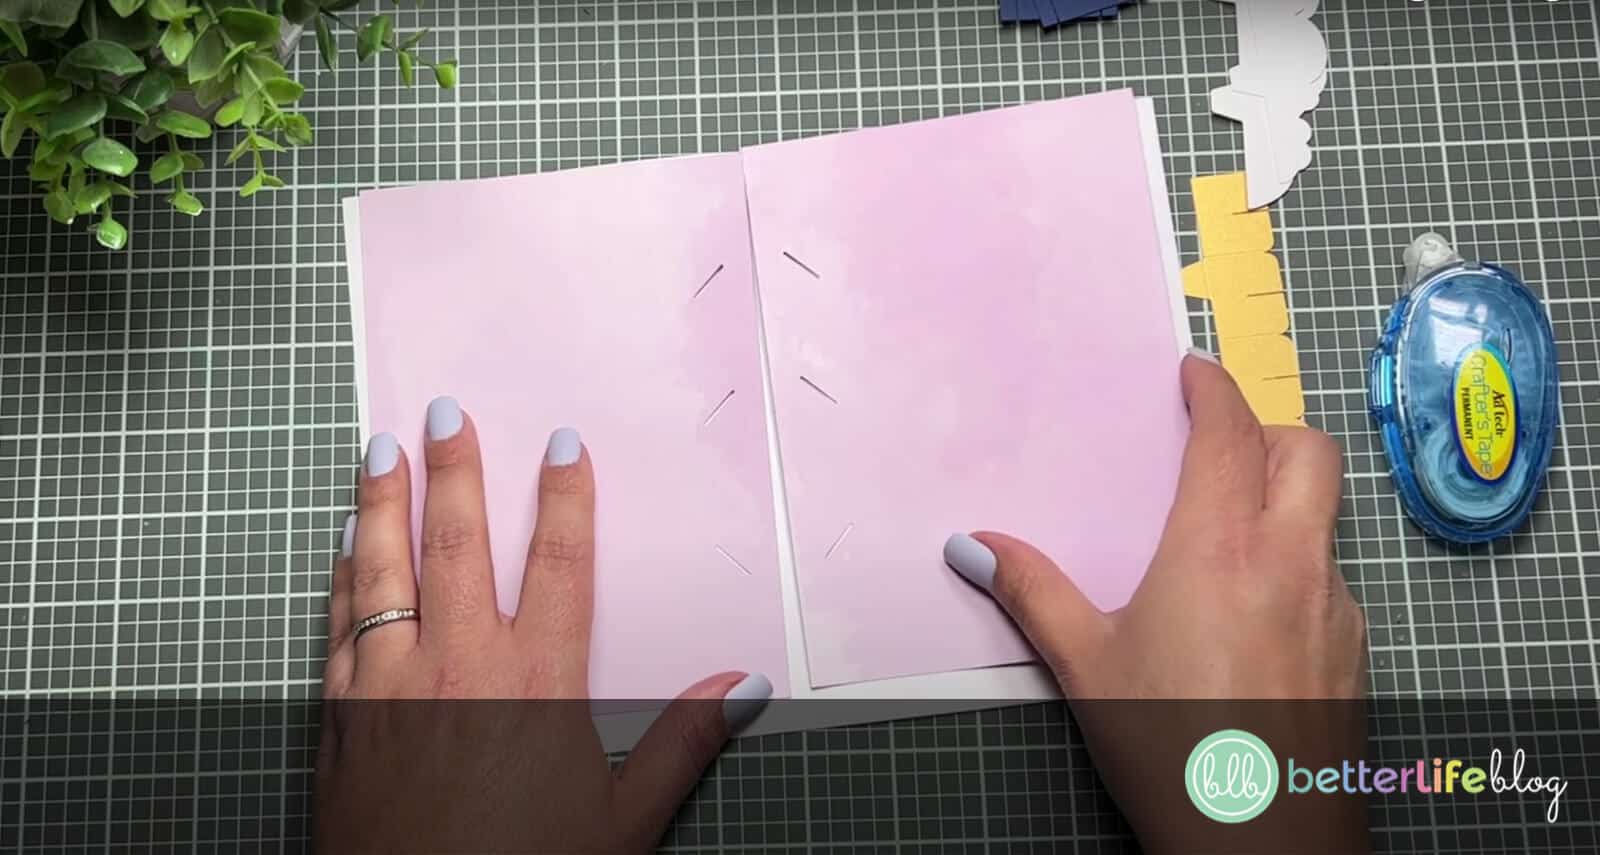
Begin by focusing on the two rectangular pieces with the slits on them.
Place the rectangular pieces on your working table with the slits facing toward each other (as if they are mirrored to each other).
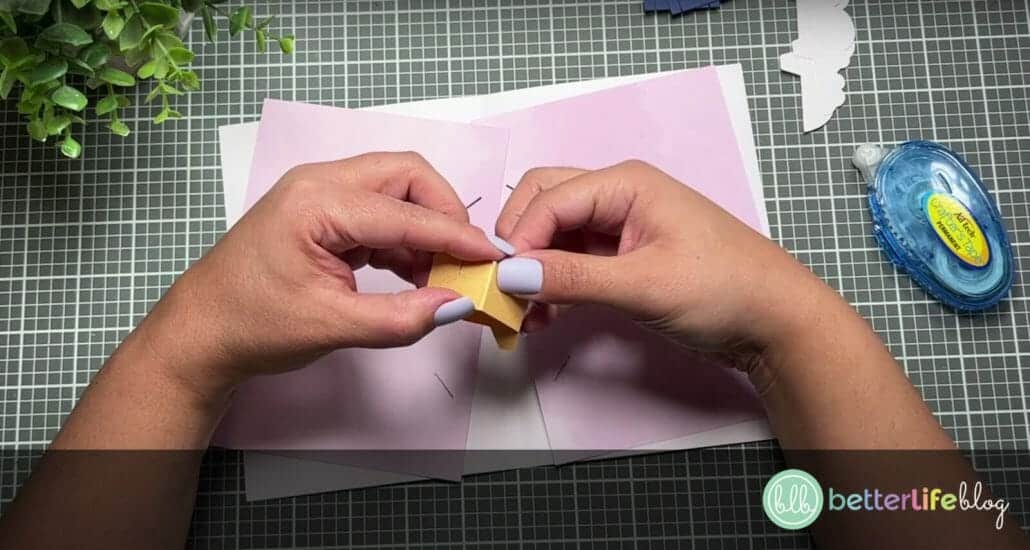
Take the base piece (in our case, our yellow piece) and fold along where all the crease lines are. Be sure that the tabs at the bottom of the piece are folded outwards.
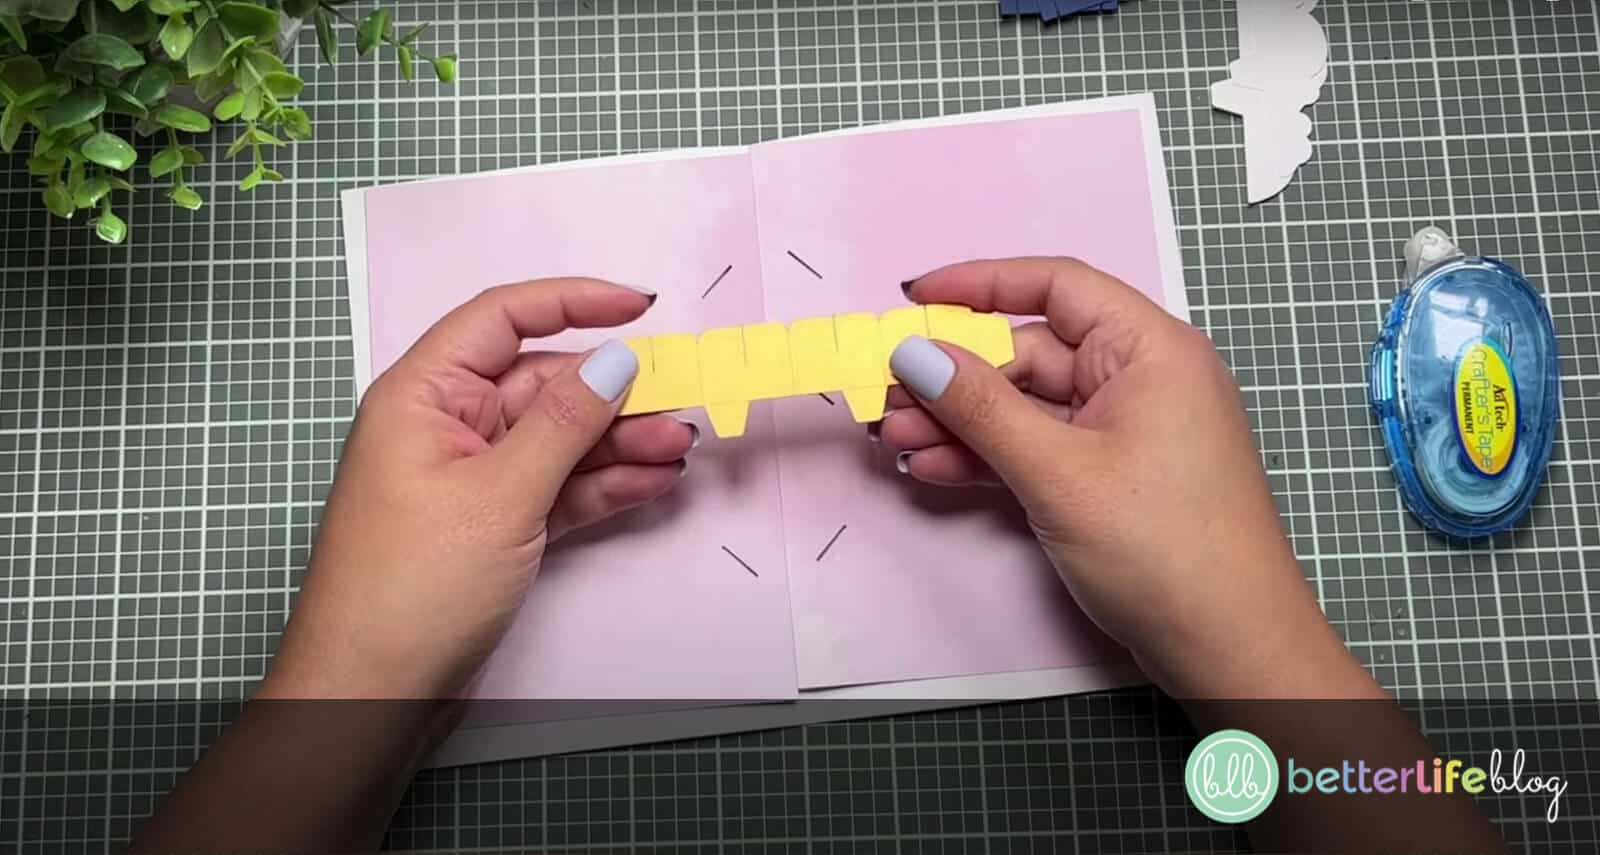
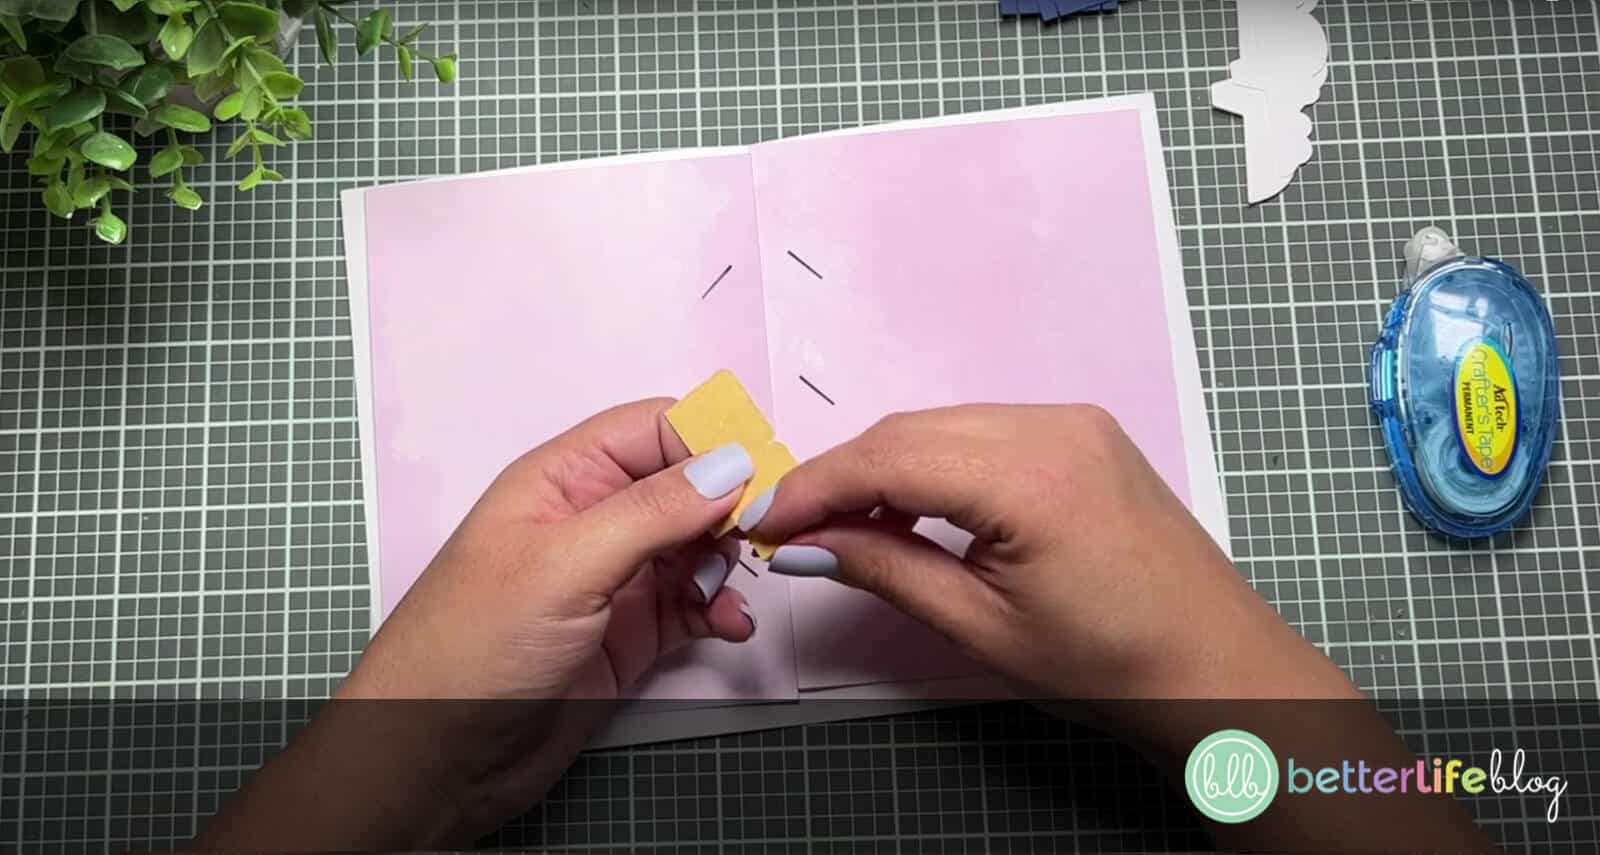
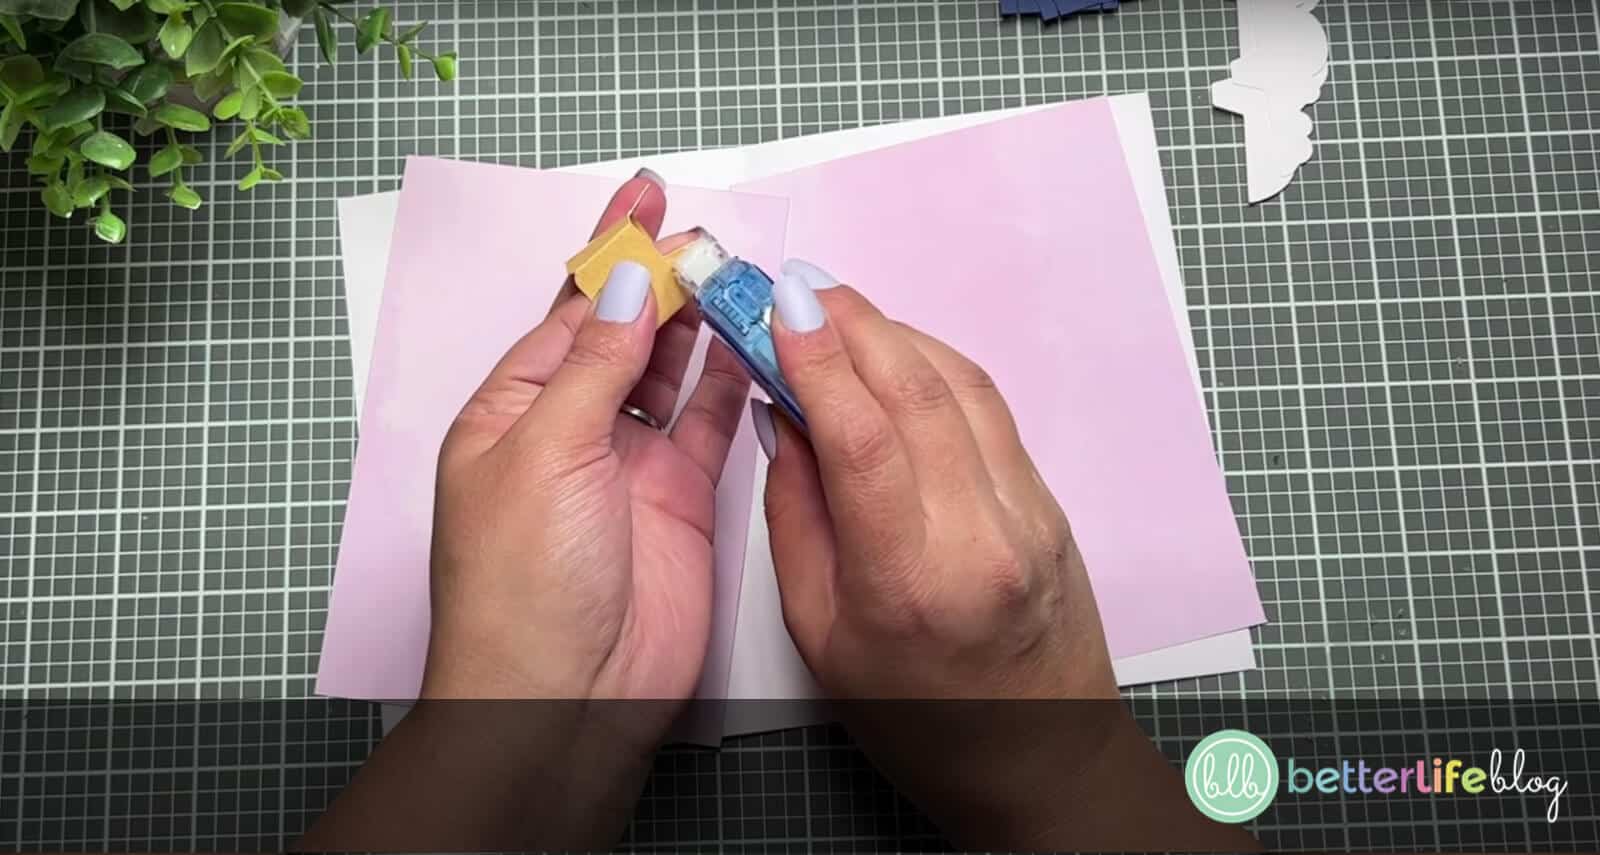
Close the piece into a hoop by adding crafter’s tape/glue to the ends of the piece.
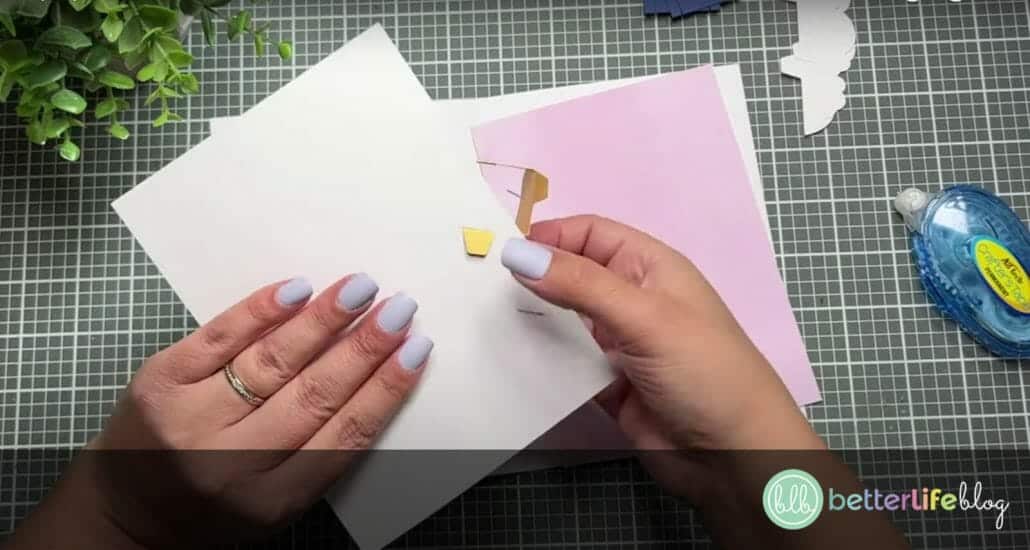
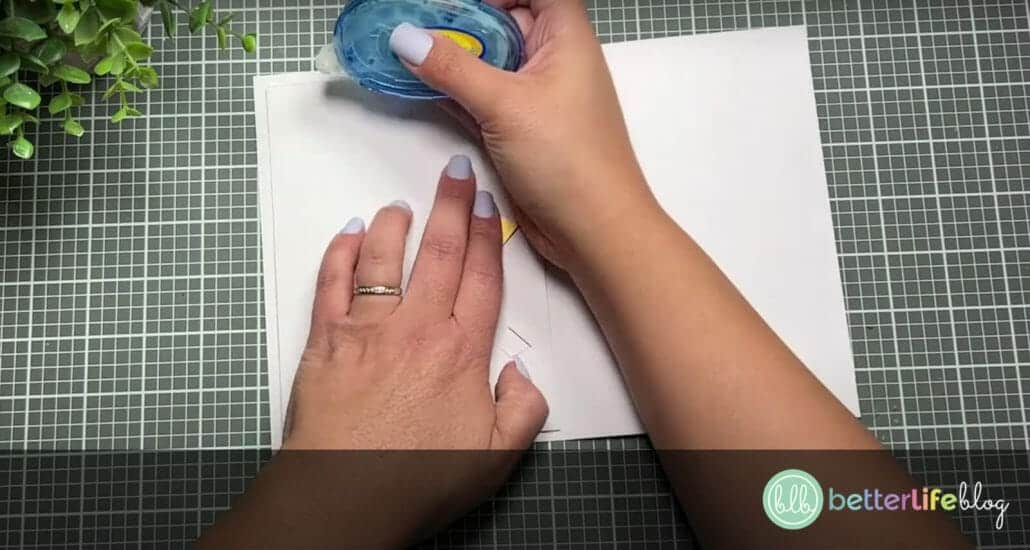
Place crafter’s tape on the tabs and insert into the center slits of your two rectangular pieces.
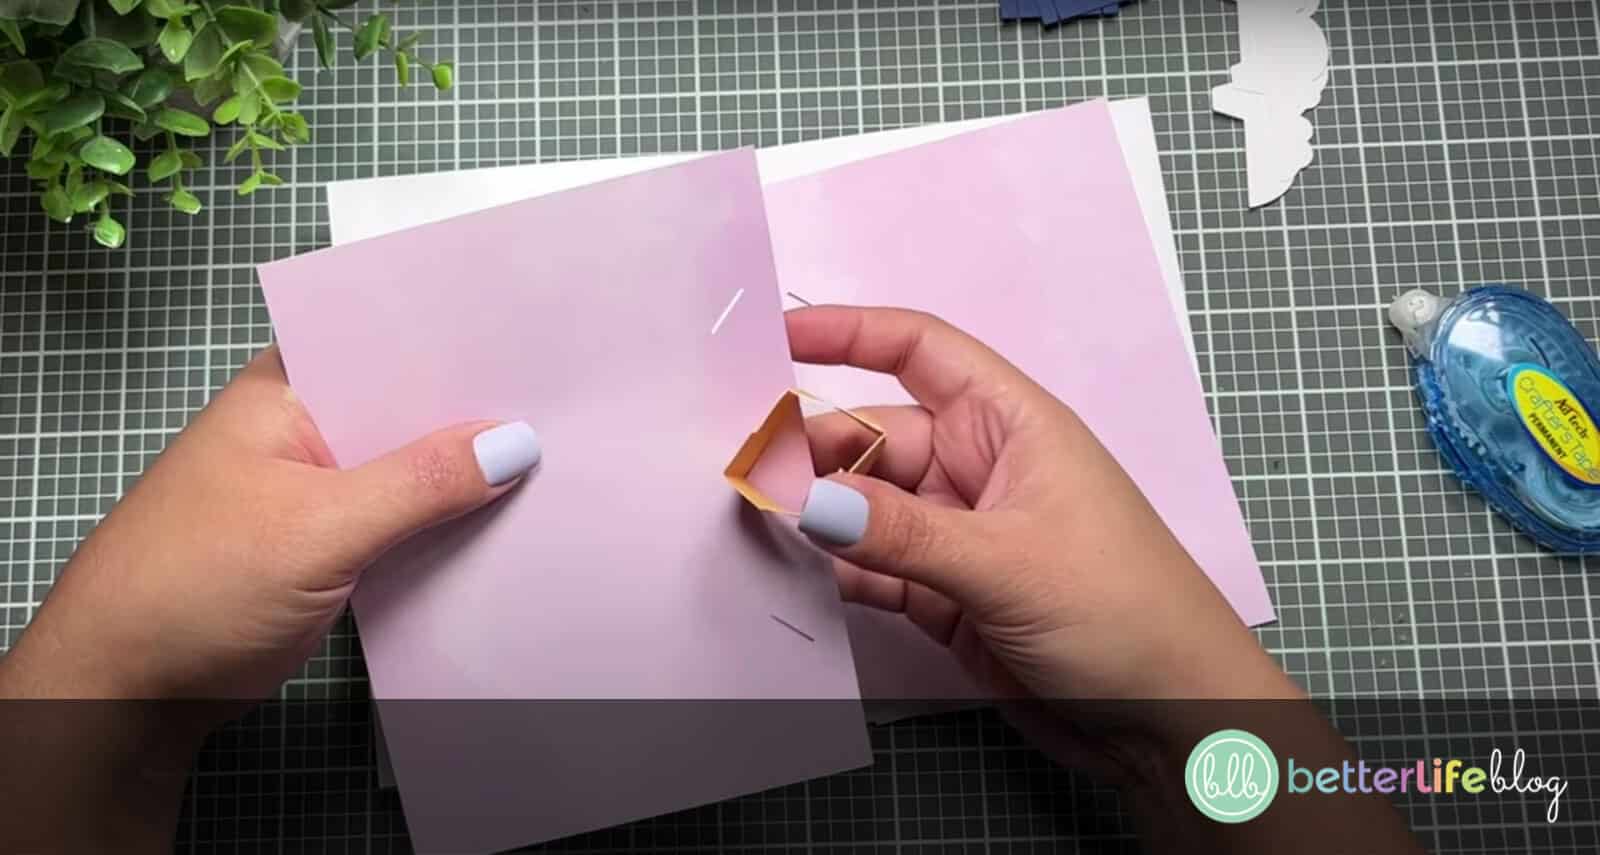
Flip over the rectangular piece to push down the tabs to ensure that they are secure.
Now, take your cloud pieces and fold each one in half. Fold the tabs outwards on each cloud.
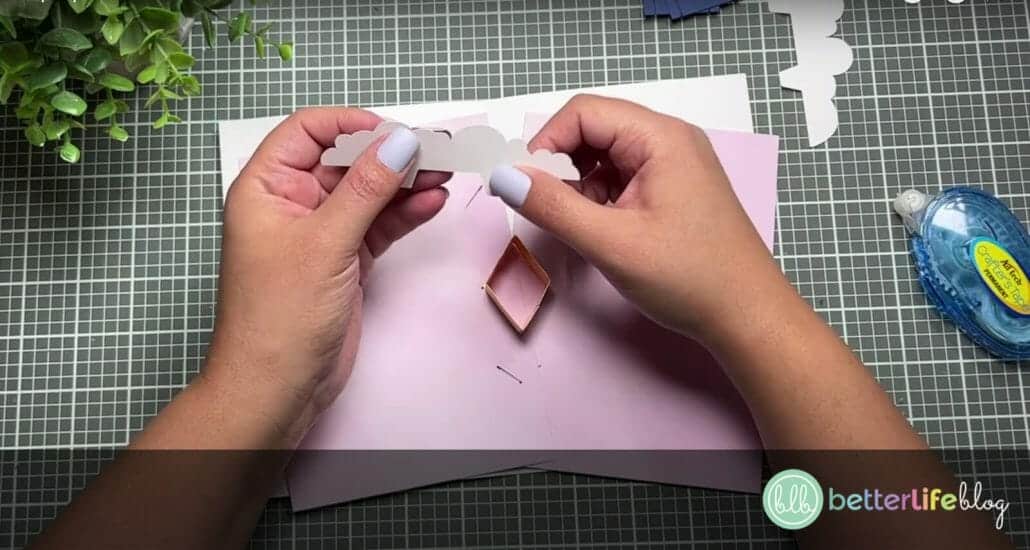
When inserting your clouds into the top and bottom slits of your rectangular pieces, make sure they are inserted in opposite directions.
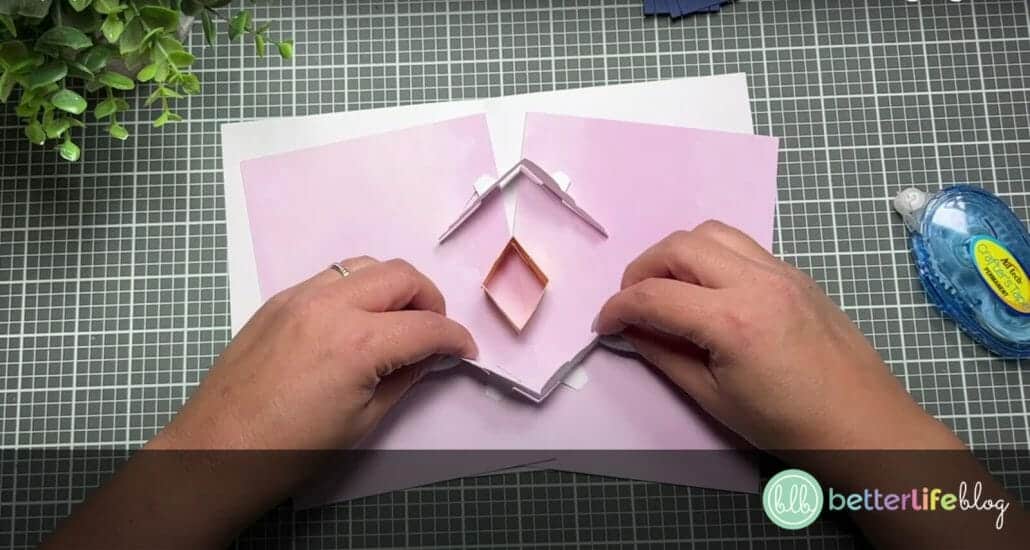
Add crafter’s tape to the back of the tabs and insert into the slits. Secure by pressing down by flipping the rectangular pieces over.
Add crafter’s tape to the back of each rectangular piece and secure onto the outer card.
Put aside the card and glue the pieces to your hot air balloon together. You’ll notice that there are two pieces with the base – those two pieces are going to criss-cross from one other. The rest of the pieces go along the outside.
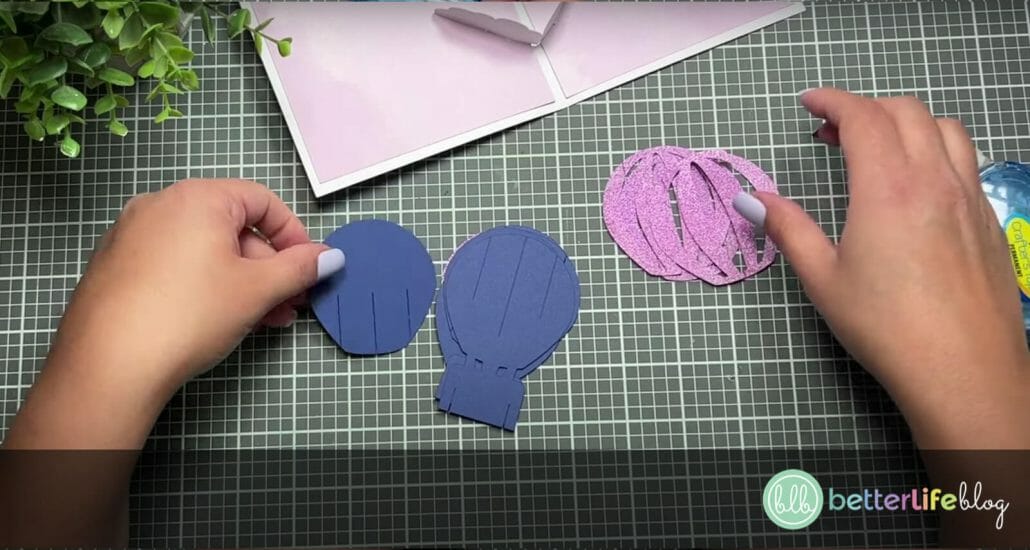
To figure out which pieces go with which, you will want to match them by the slits that are on each piece. For example, the ones with three open slits on the bottom all go together.

Once you match all the pieces, glue them together. Set aside.

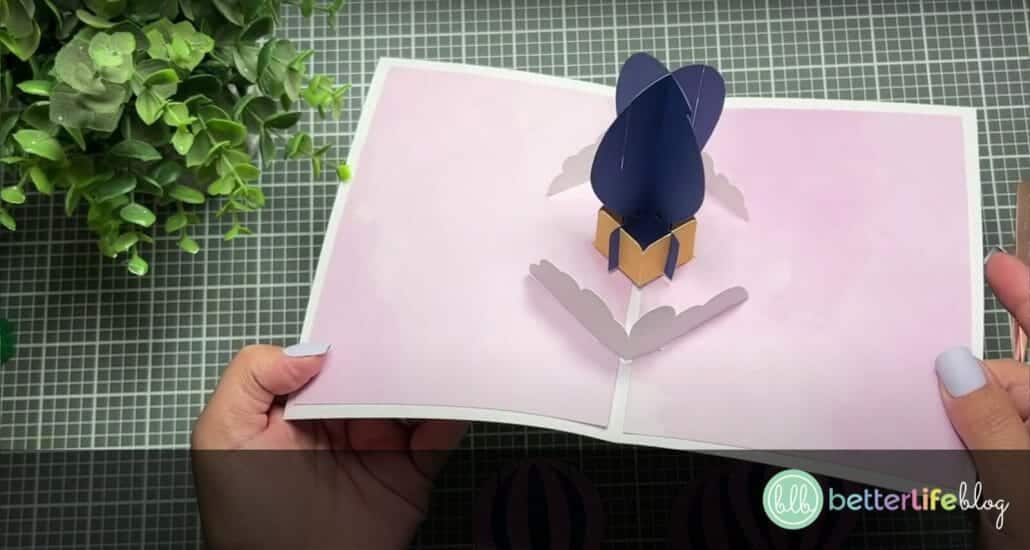
Take your two pieces with the base. The one with the large slit in the bottom center will be inserted on the top of the other one. Push it all the way down.
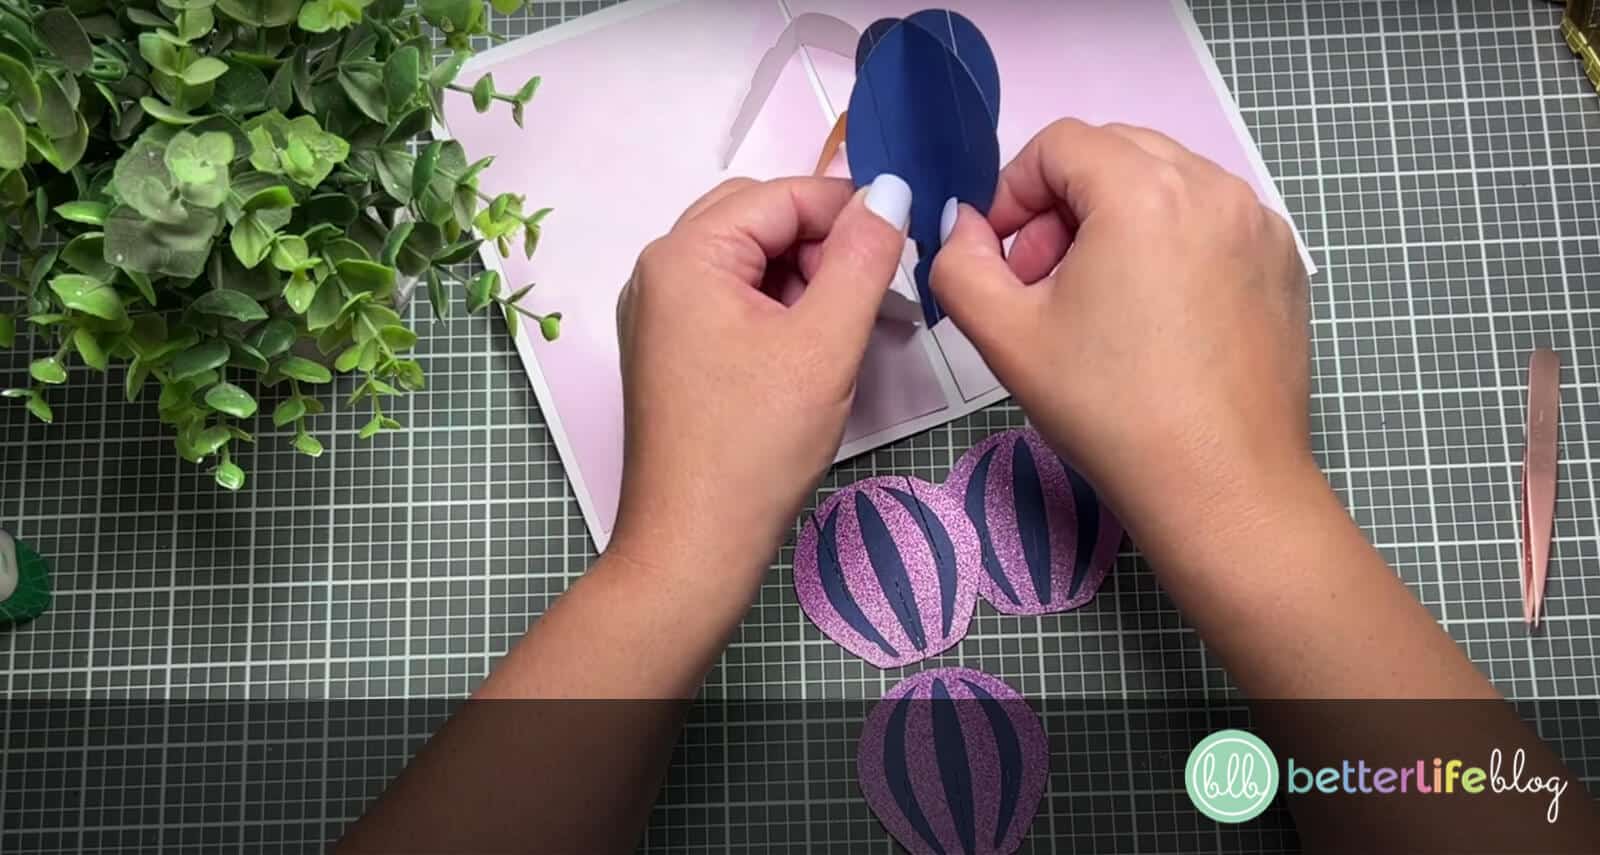
Take that piece and into the center piece that we added to the card earlier. The slits should match up.
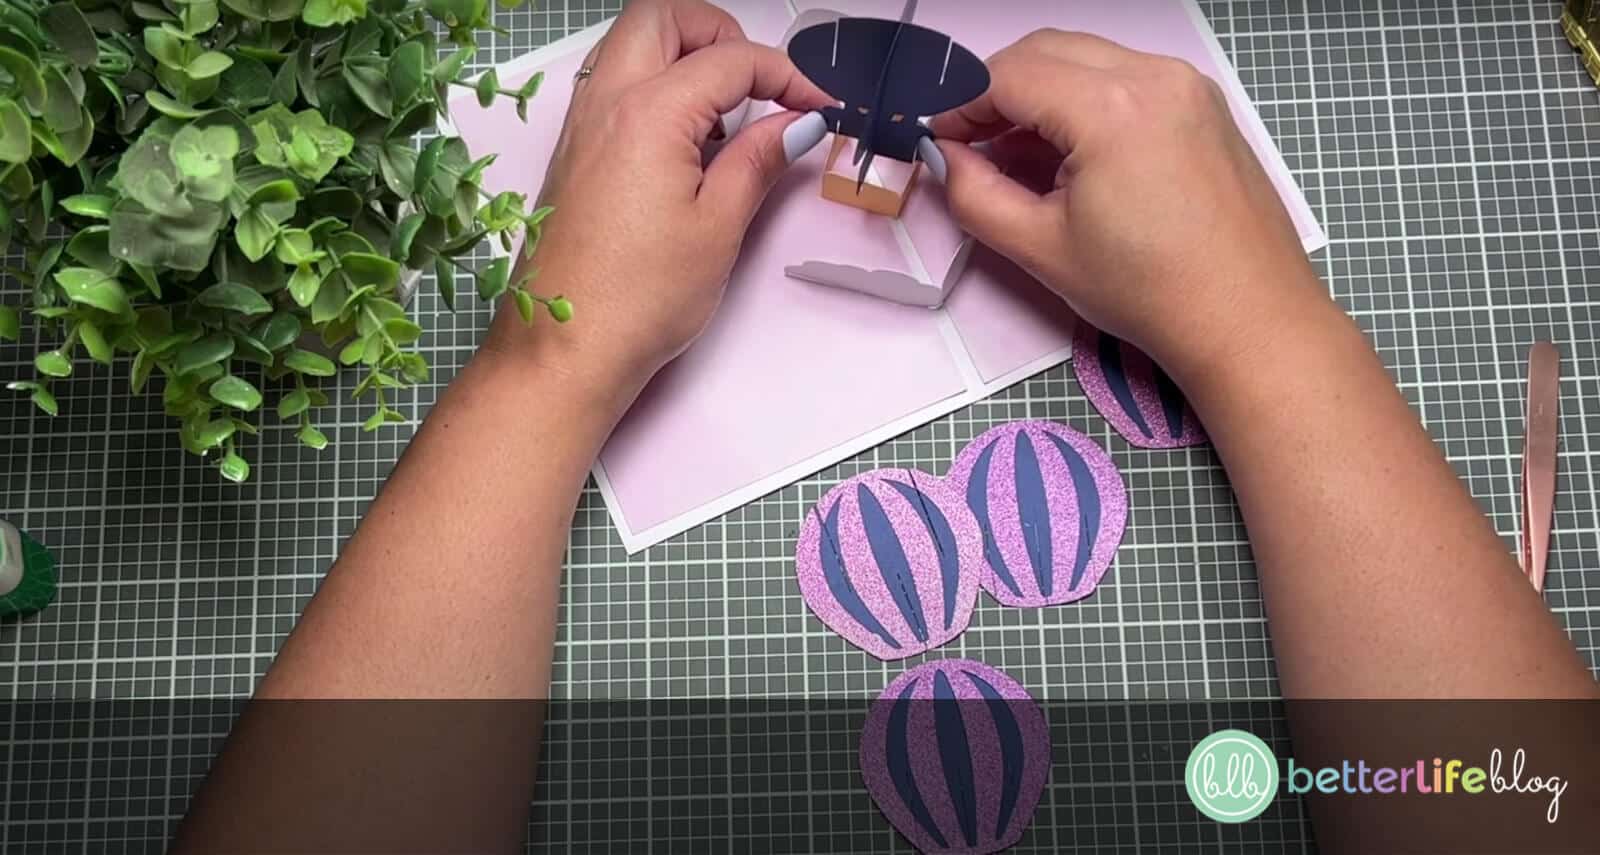
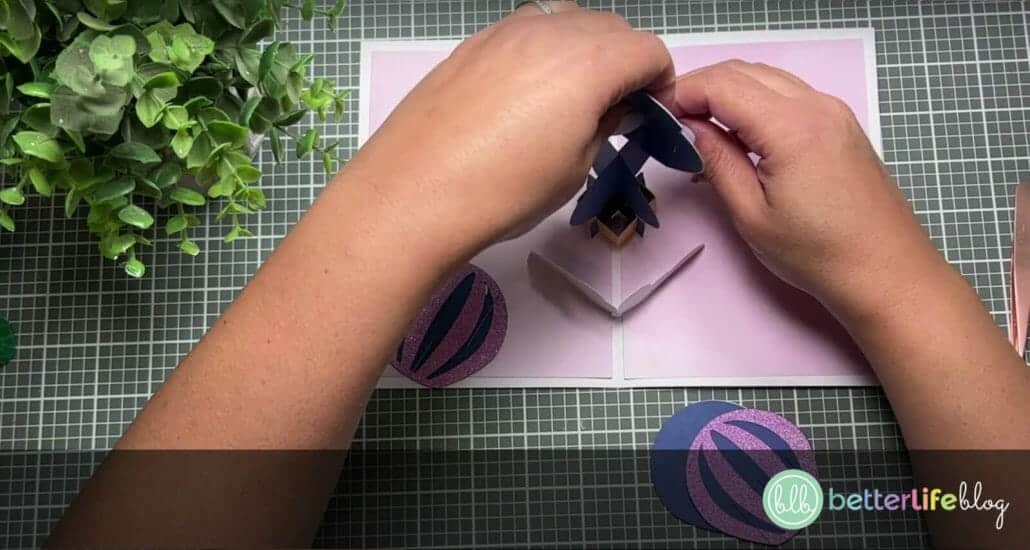
Take the remaining pieces that you set aside and attach to the “skeleton” of the hot air balloon. Be sure to keep the matching pairs opposite of each other. To do this, find the matching slits at the bottom and insert accordingly. You will want to start with the ones with only one slit on the bottom, followed by the ones with three slits on the bottom. They should all fit perfectly!
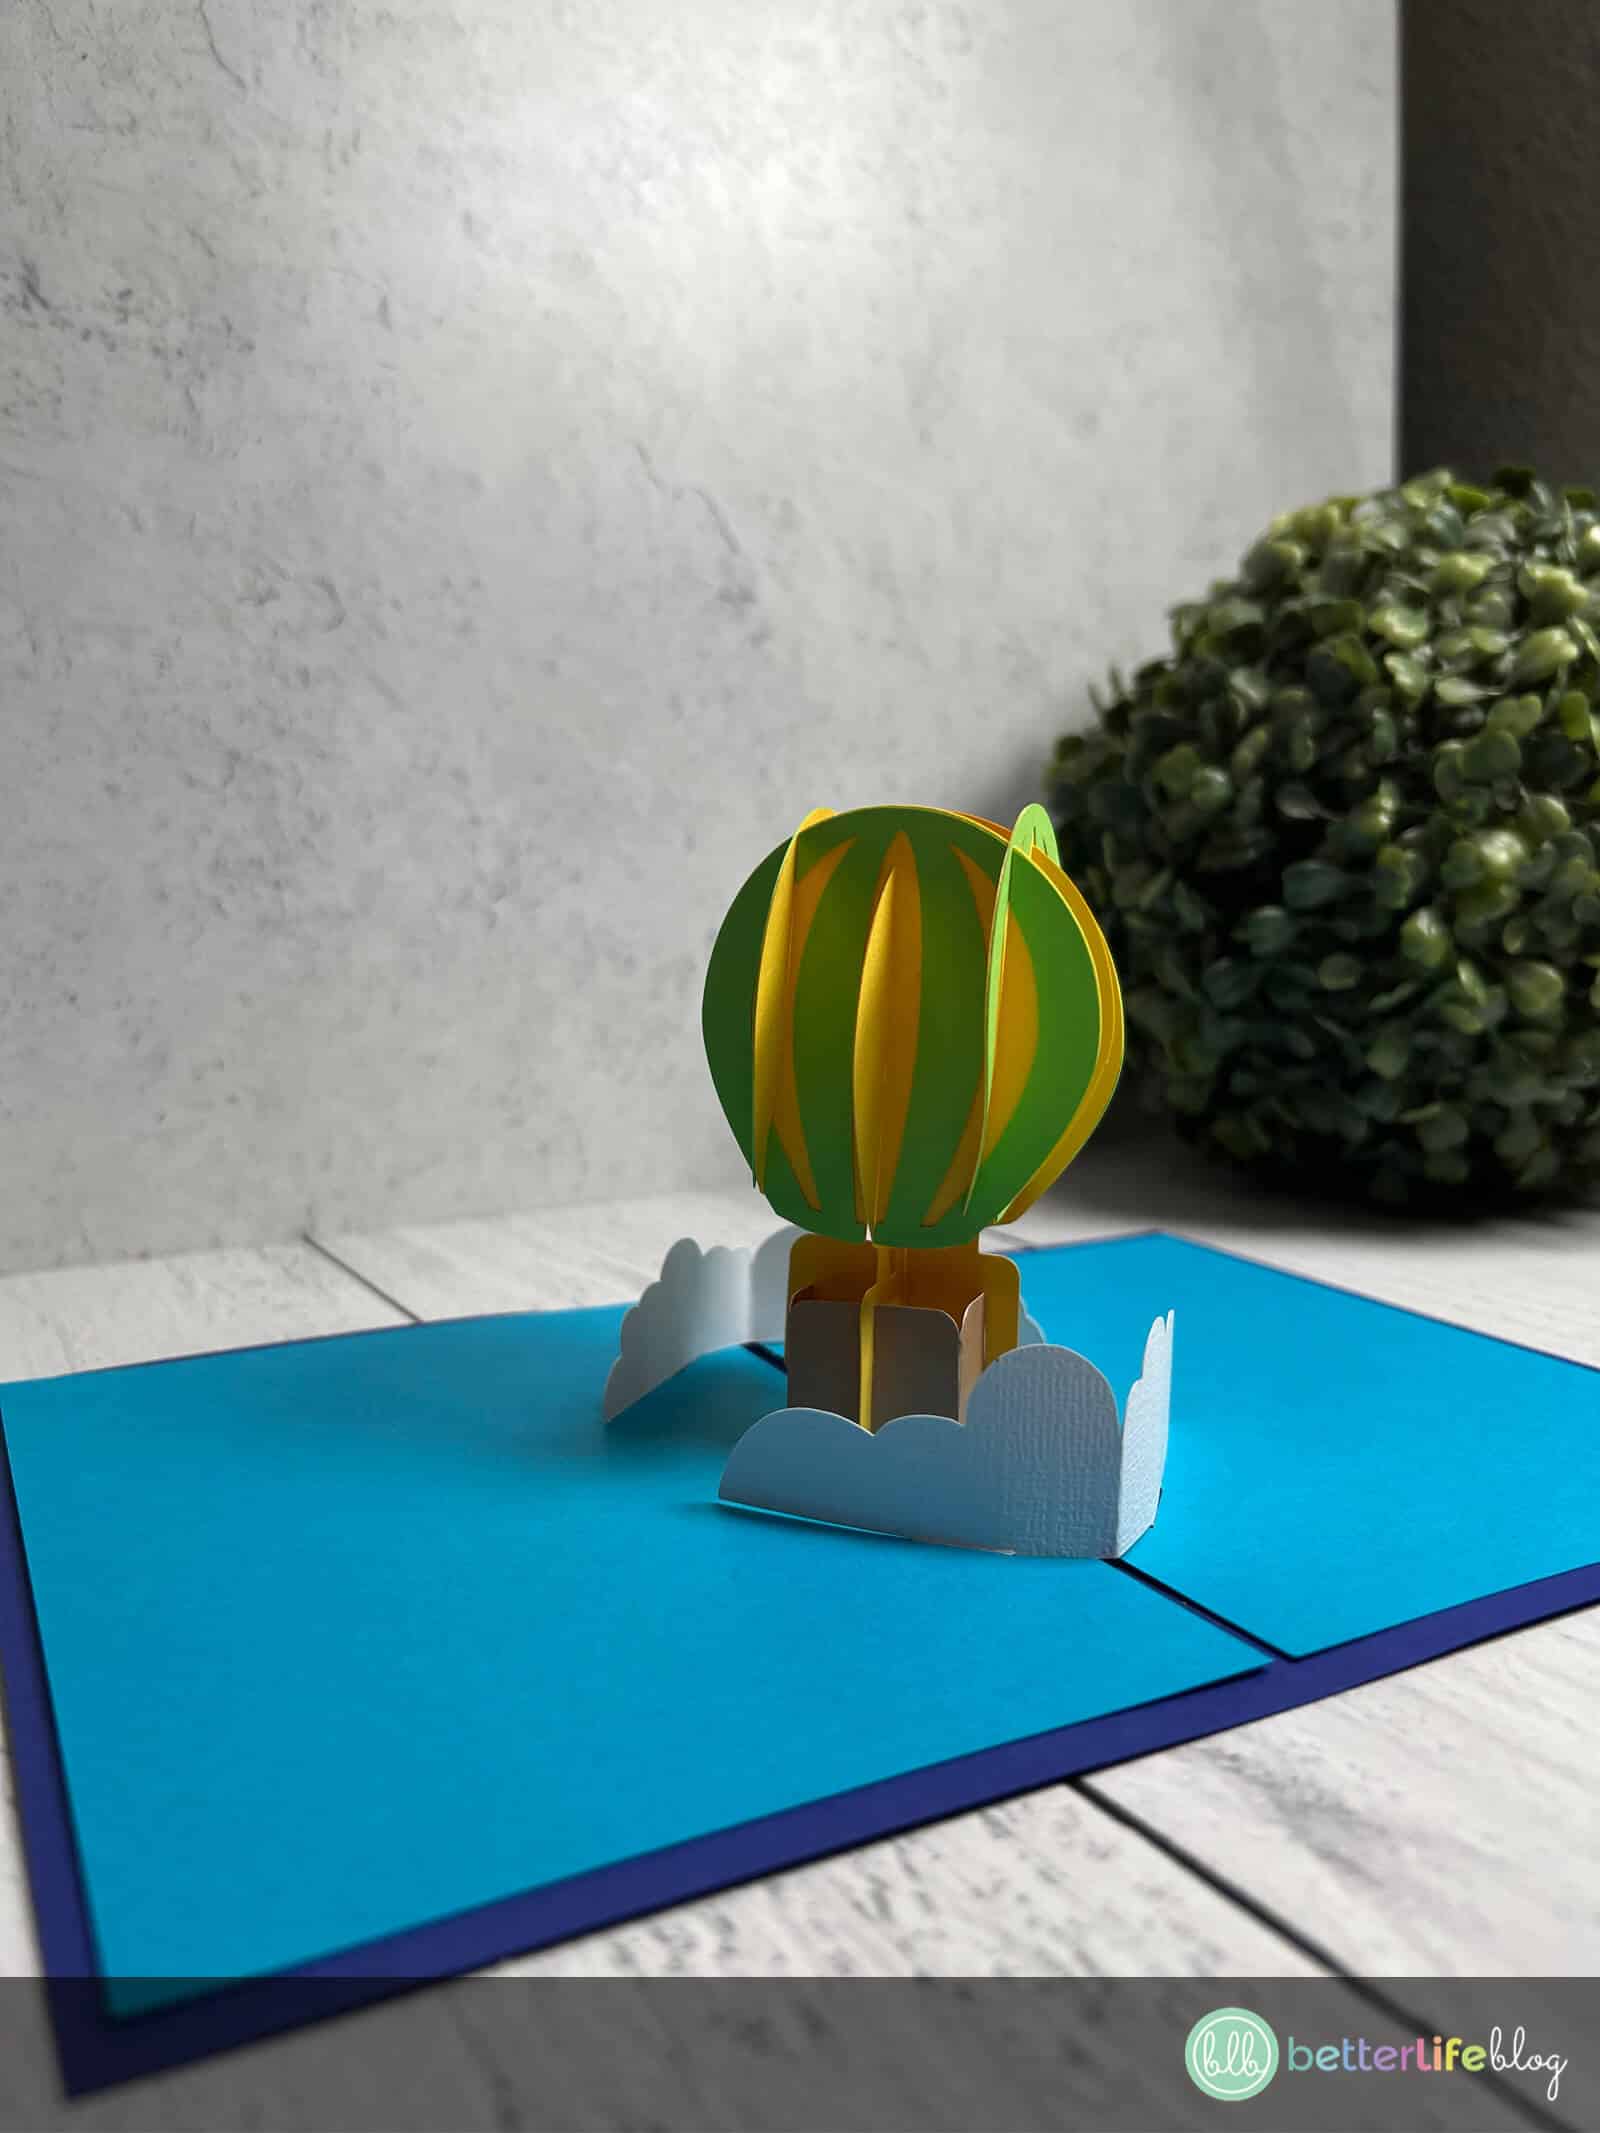
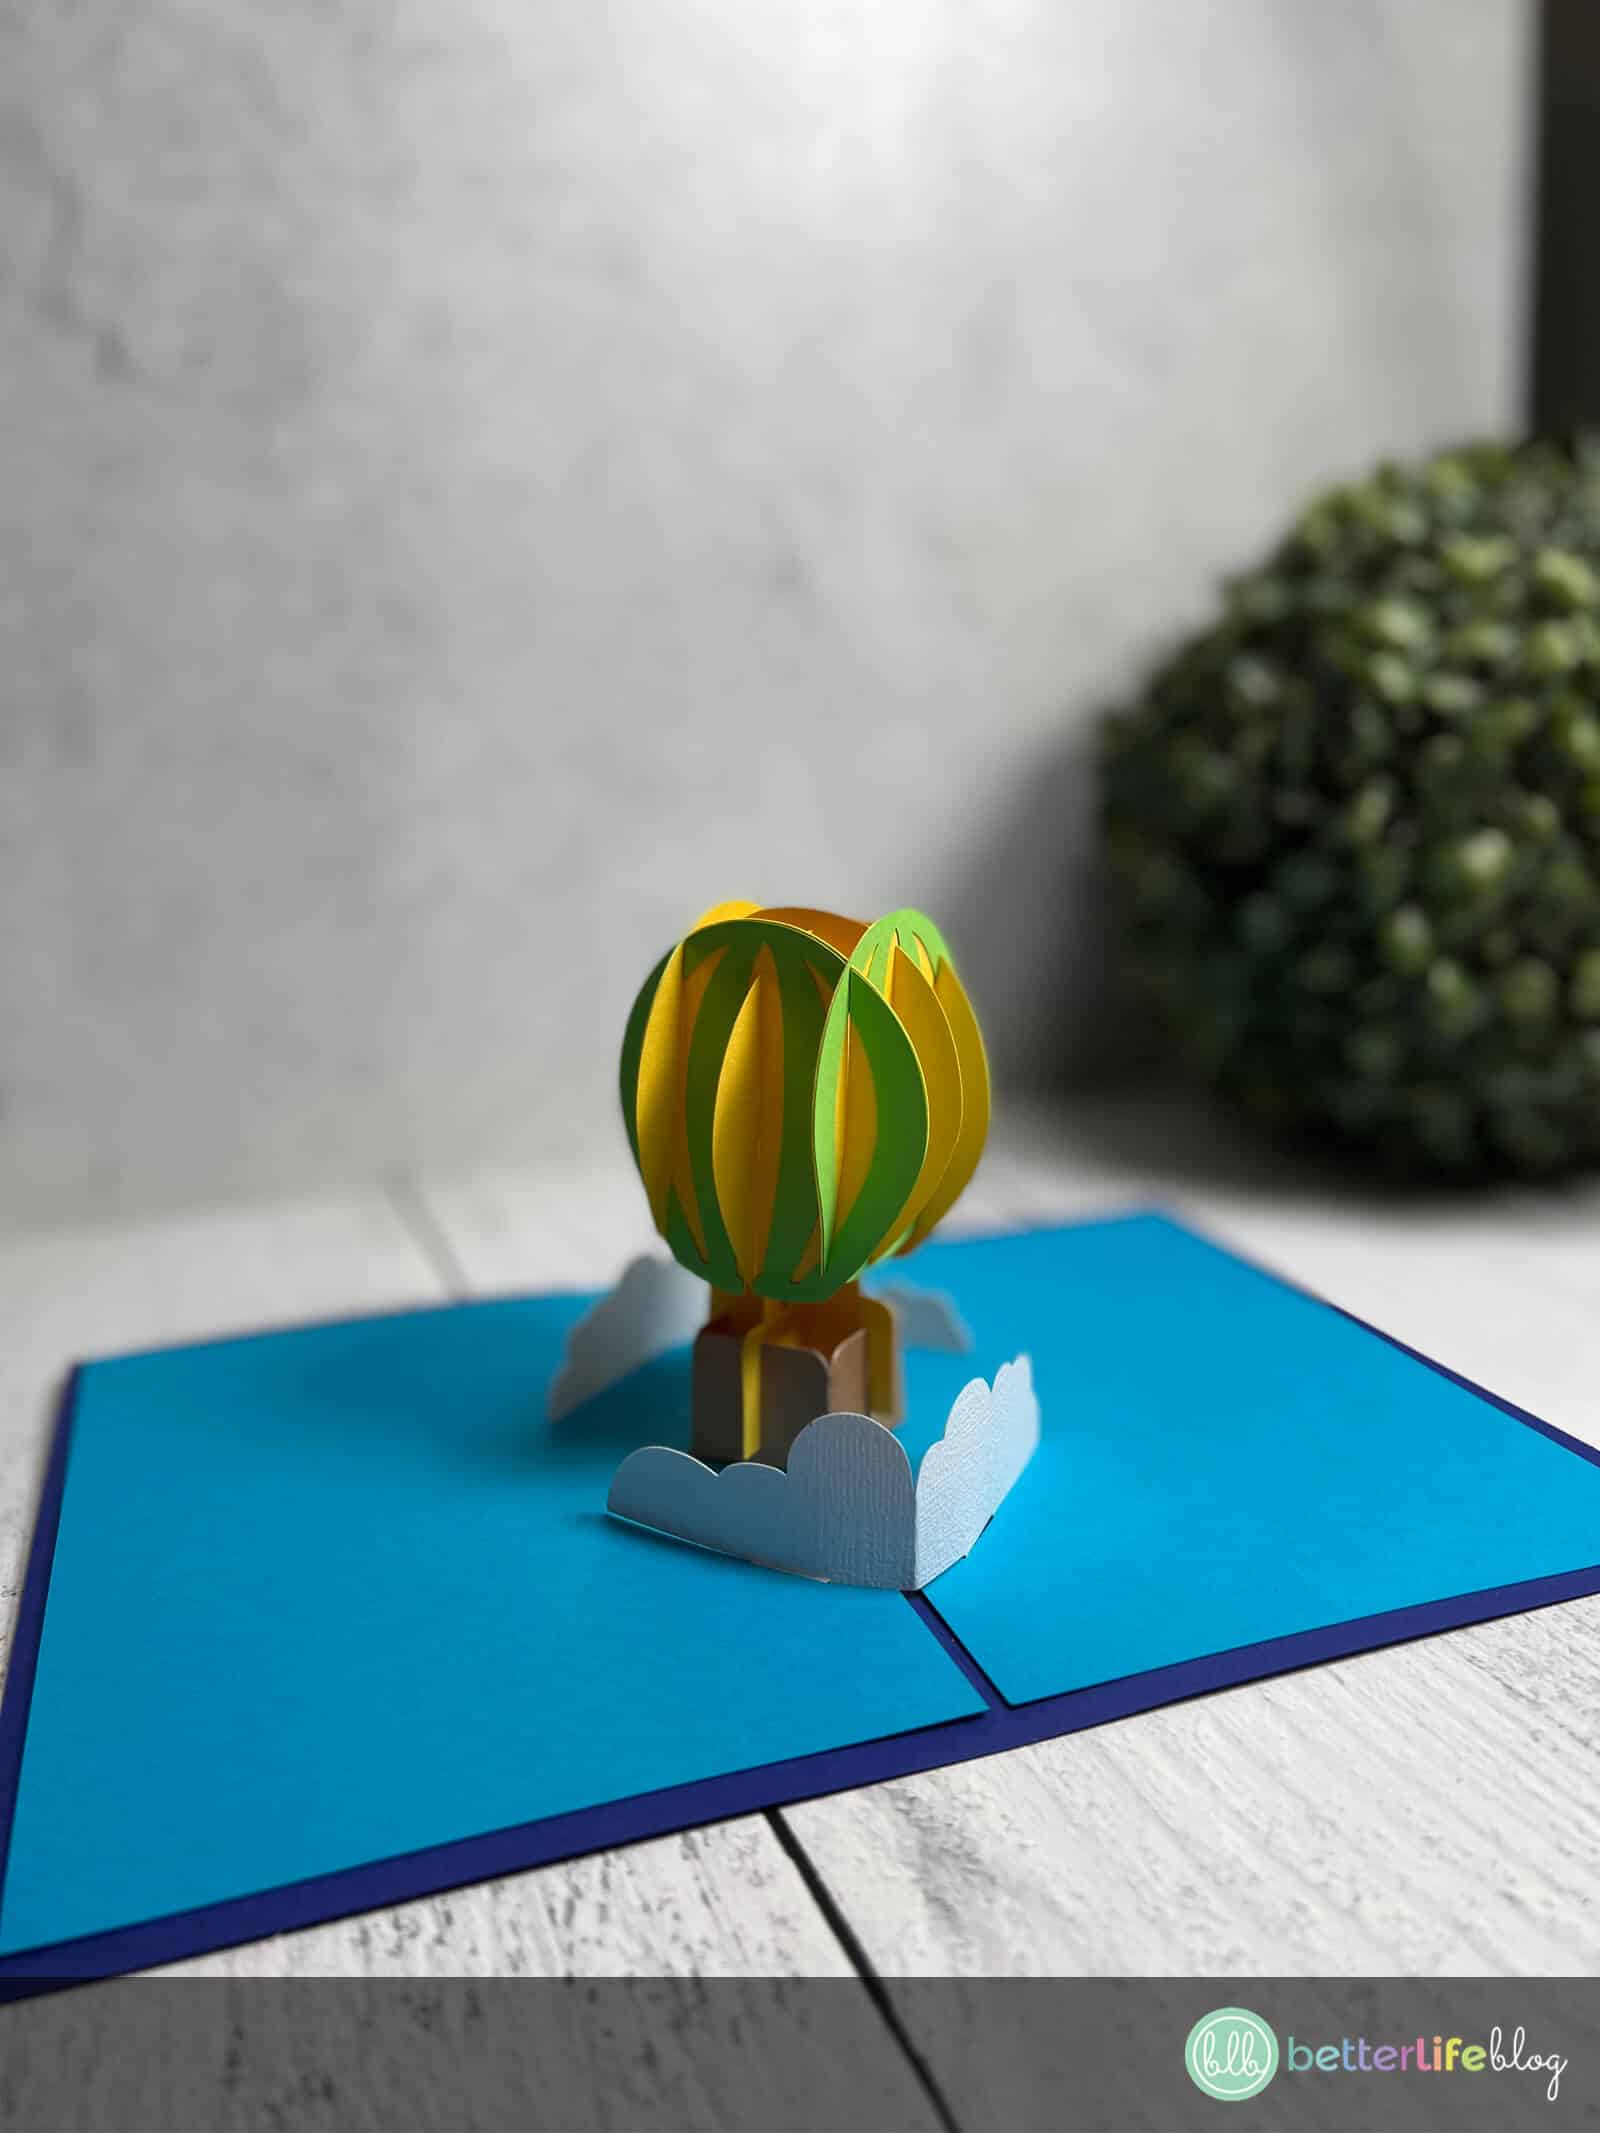
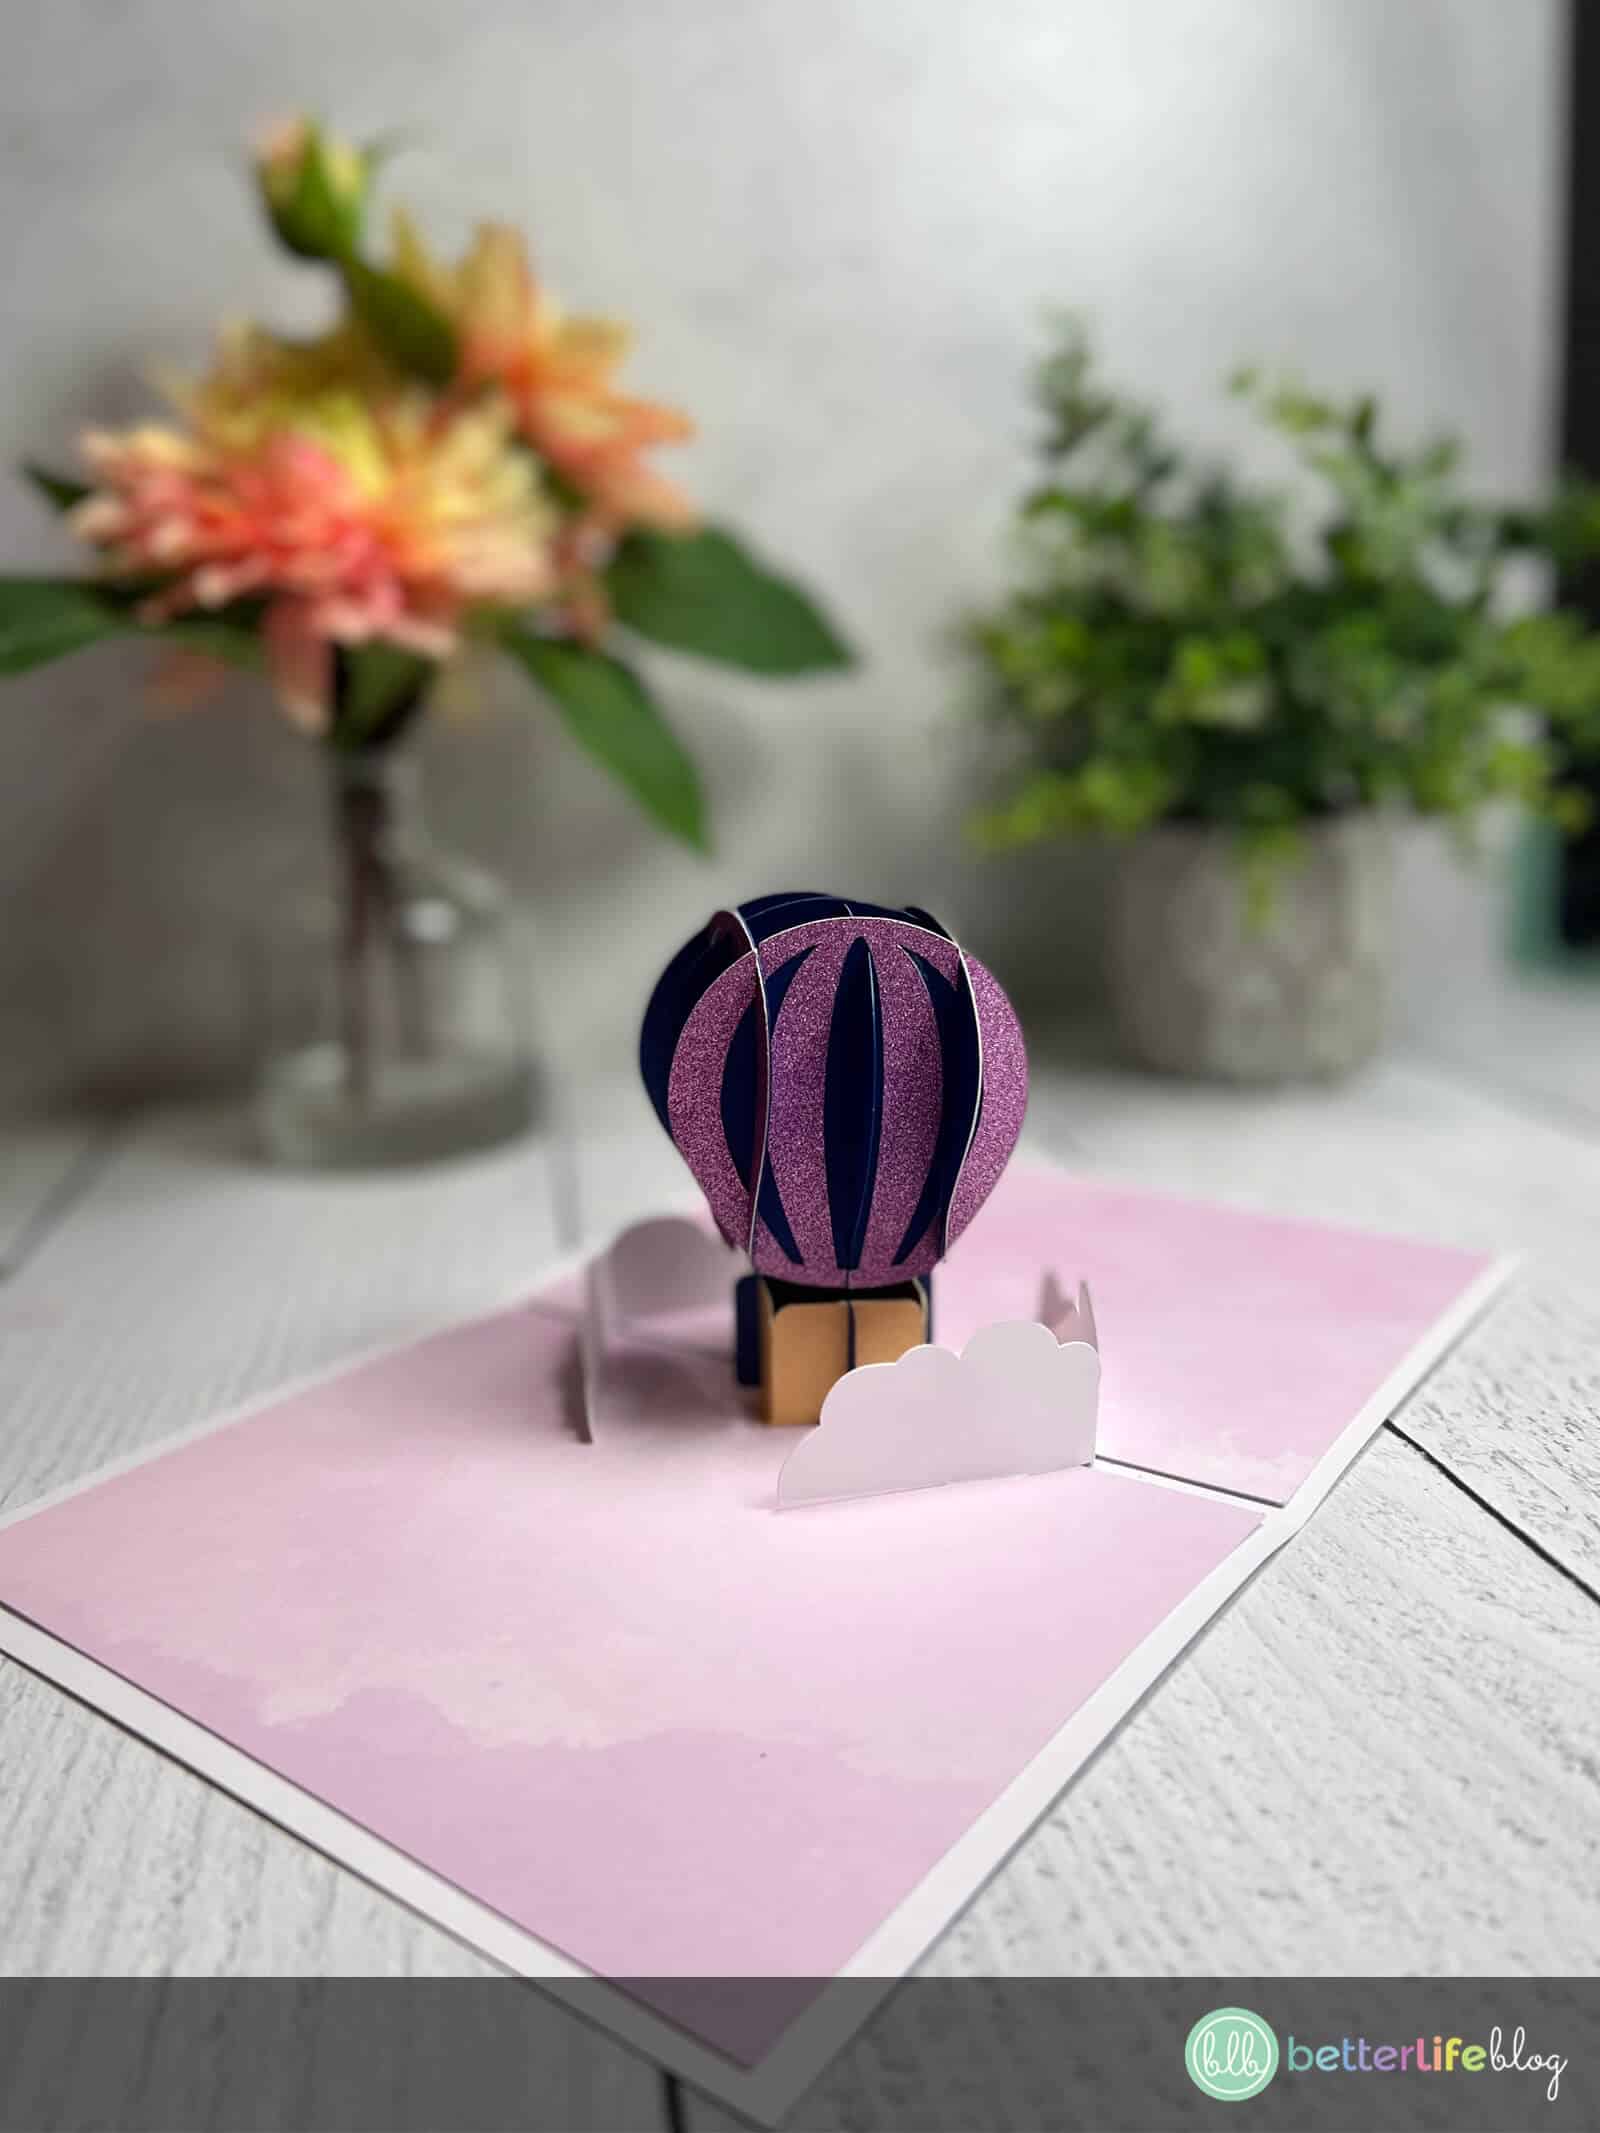
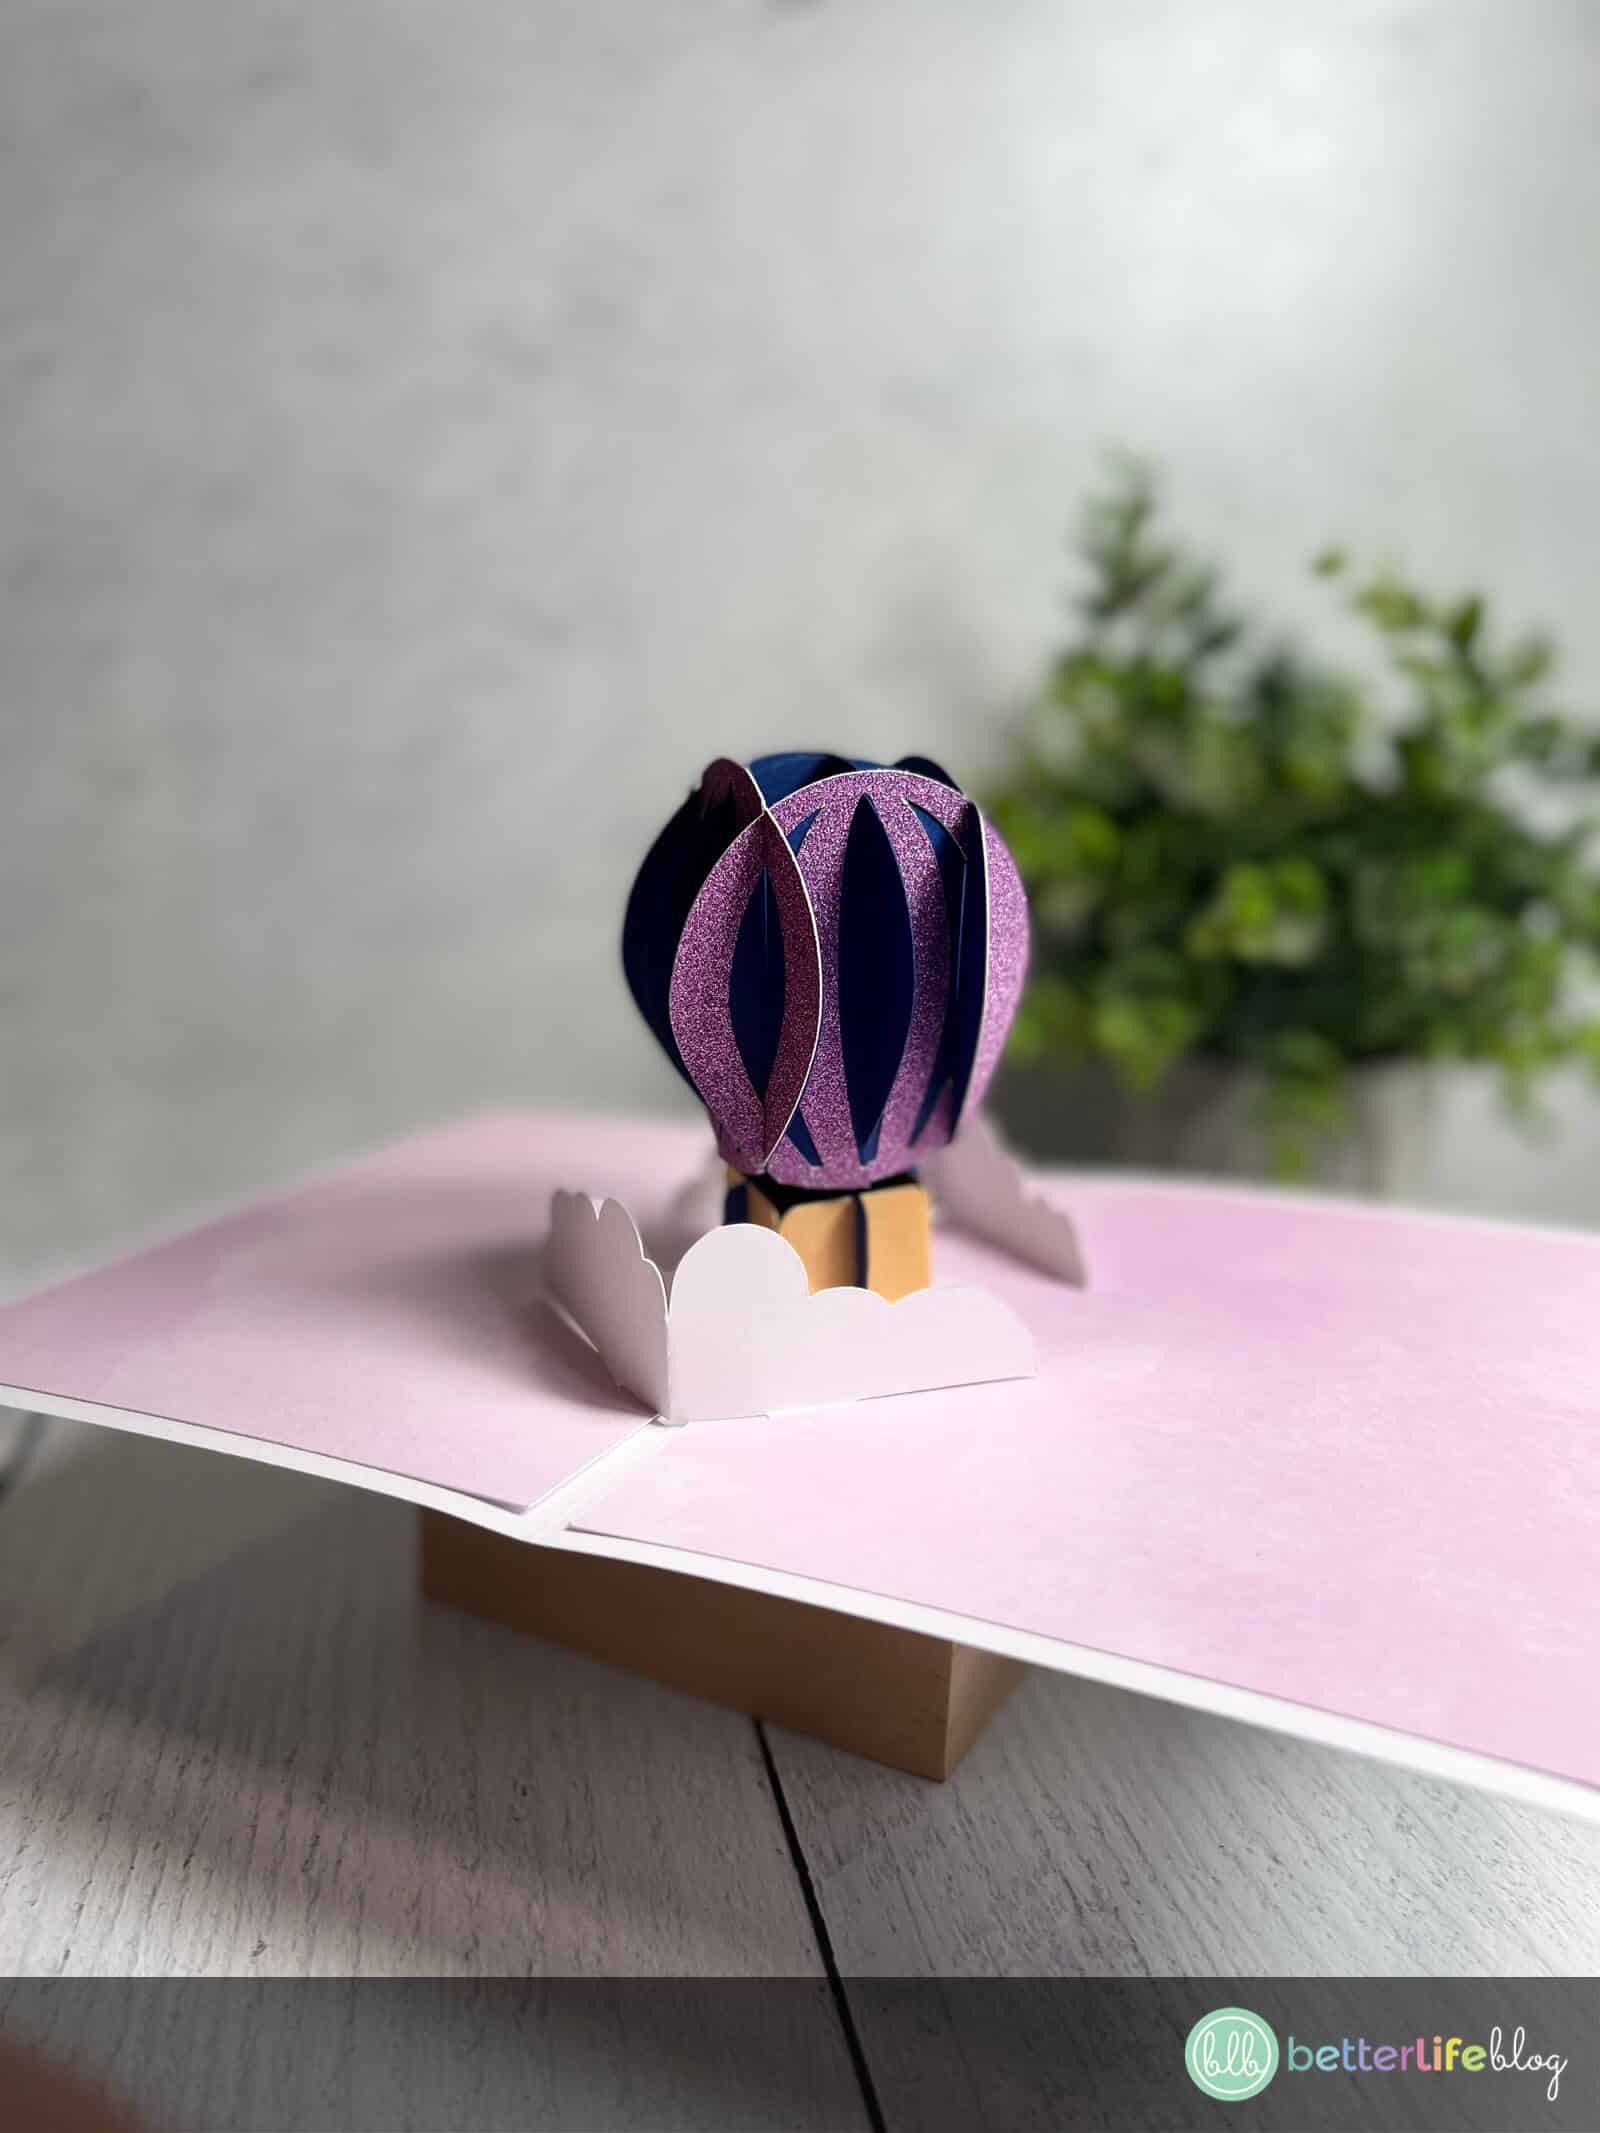
Your Hot Air Balloon Pop-Up Card is now complete.


Cricut Pop-Up Card Template: Hot Air Balloon Pop-Up Card Tutorial
This Hot Air Balloon Pop-Up Card is absolutely adorable and makes for a great gift for birthdays, graduations, and so many more special events! This Cricut pop-up card tutorial is SO easy that even a beginner crafter can try it out!
Instructions
- Upload your cut file on your cutting program of choice. Cut accordingly.
- Once you have cut out all your pieces, lay them on your working table. I sorted mine by color.
- Begin by focusing on the two rectangular pieces with the slits on them.
- Place the rectangular pieces on your working table with the slits facing toward each other (as if they are mirrored to each other).
- Take the base piece (in our case, our yellow piece) and fold along where all the crease lines are. Be sure that the tabs at the bottom of the piece are folded outwards.
- Close the piece into a hoop by adding crafter’s tape/glue to the ends of the piece.
- Place crafter’s tape on the tabs and insert into the center slits of your two rectangular pieces.
- Flip over the rectangular piece to push down the tabs to ensure that they are secure.
- Now, take your cloud pieces and fold each one in half. Fold the tabs outwards on each cloud.
- When inserting your clouds into the top and bottom slits of your rectangular pieces, make sure they are inserted in opposite directions.
- Add crafter’s tape to the back of the tabs and insert into the slits. Secure by pressing down by flipping the rectangular pieces over.
- Add crafter’s tape to the back of each rectangular piece and secure onto the outer card.
- Put aside the card and glue the pieces to your hot air balloon together. You’ll notice that there are two pieces with the base – those two pieces are going to criss-cross from one other. The rest of the pieces go along the outside.
- To figure out which pieces go with which, you will want to match them by the slits that are on each piece. For example, the ones with three open slits on the bottom all go together.
- Once you match all the pieces, glue them together. Set aside.
- Take your two pieces with the base. The one with the large slit in the bottom center will be inserted on the top of the other one. Push it all the way down.
- Take that piece and into the center piece that we added to the card earlier. The slits should match up.
- Take the remaining pieces that you set aside and attach to the “skeleton” of the hot air balloon. Be sure to keep the matching pairs opposite of each other. To do this, find the matching slits at the bottom and insert accordingly. You will want to start with the ones with only one slit on the bottom, followed by the ones with three slits on the bottom. They should all fit perfectly!
- Your Hot Air Balloon Pop-Up Card is now complete.