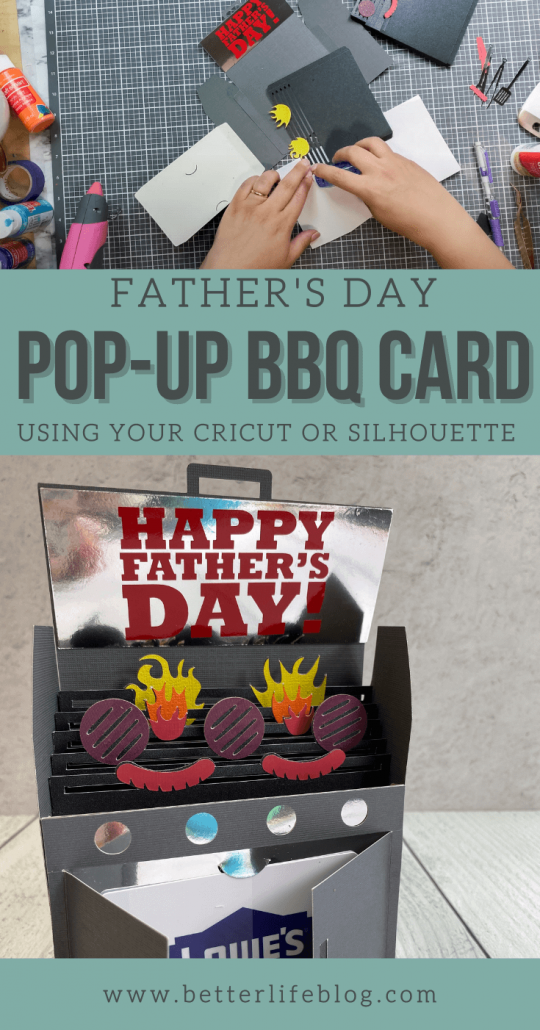
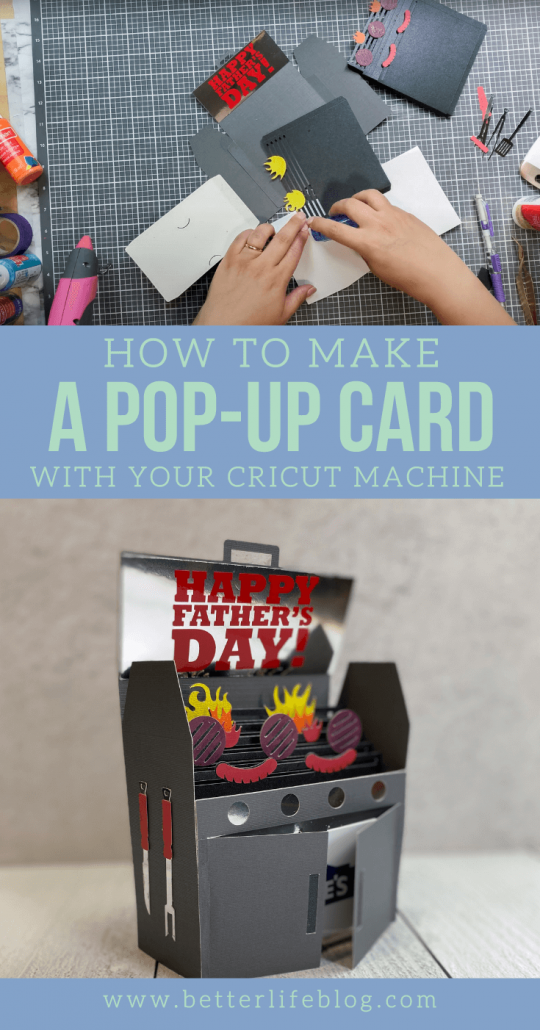
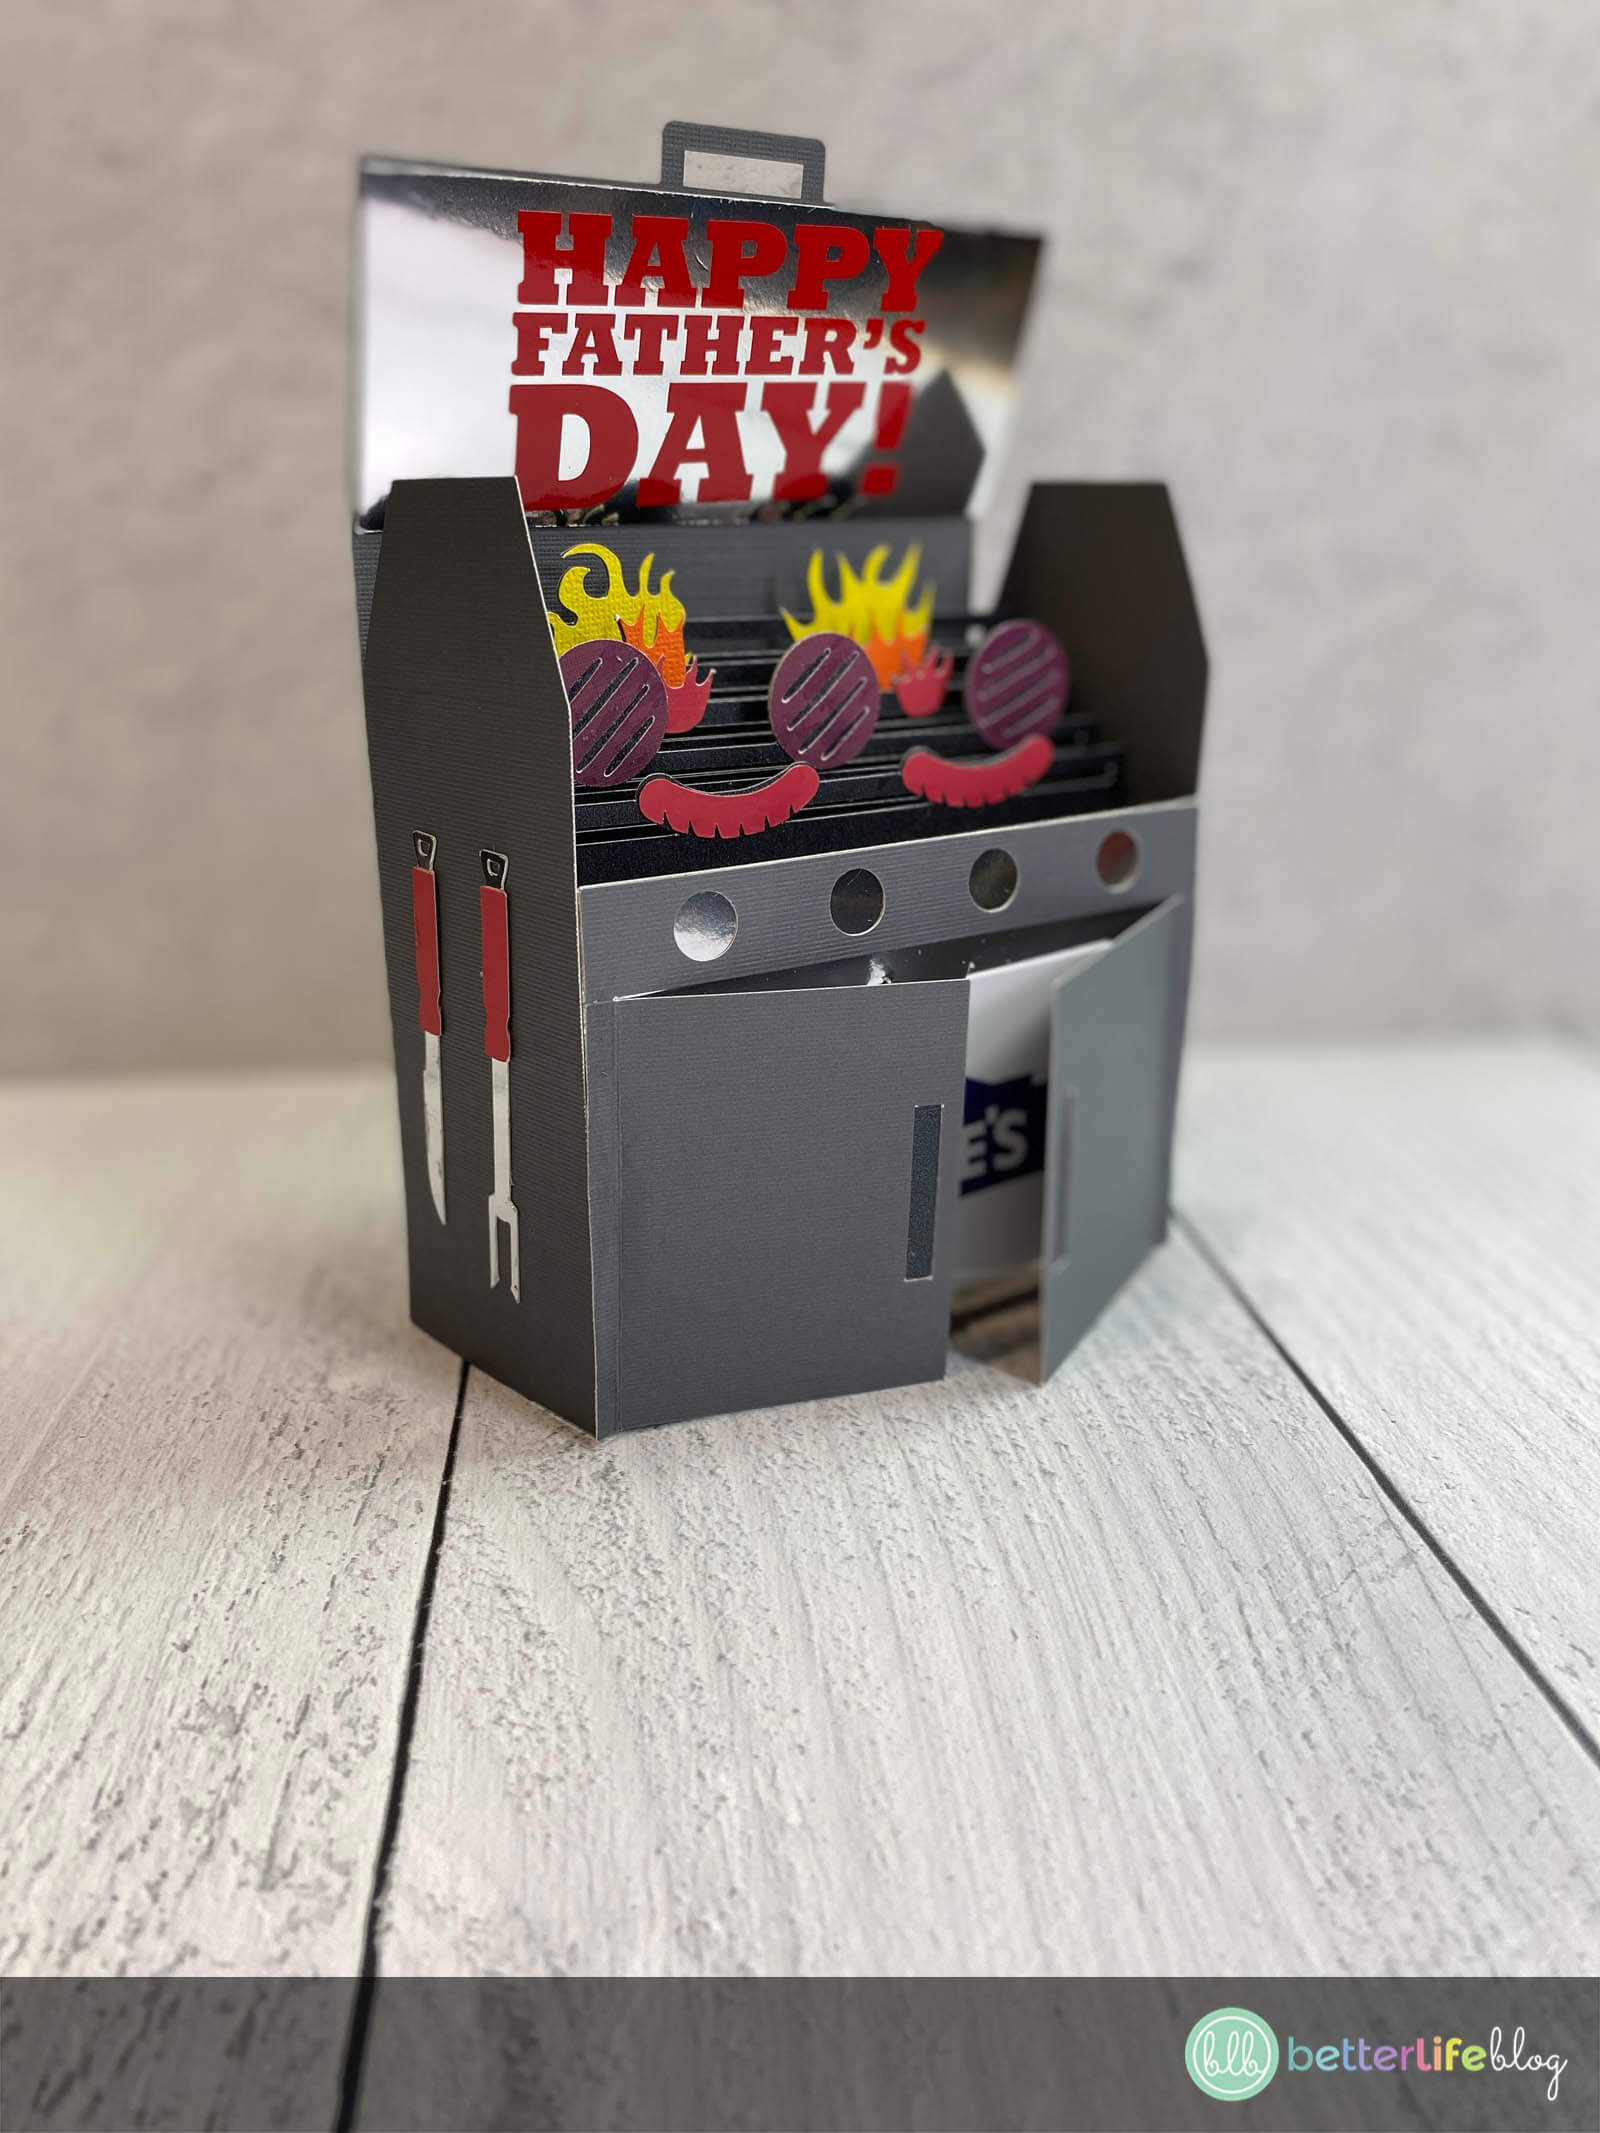
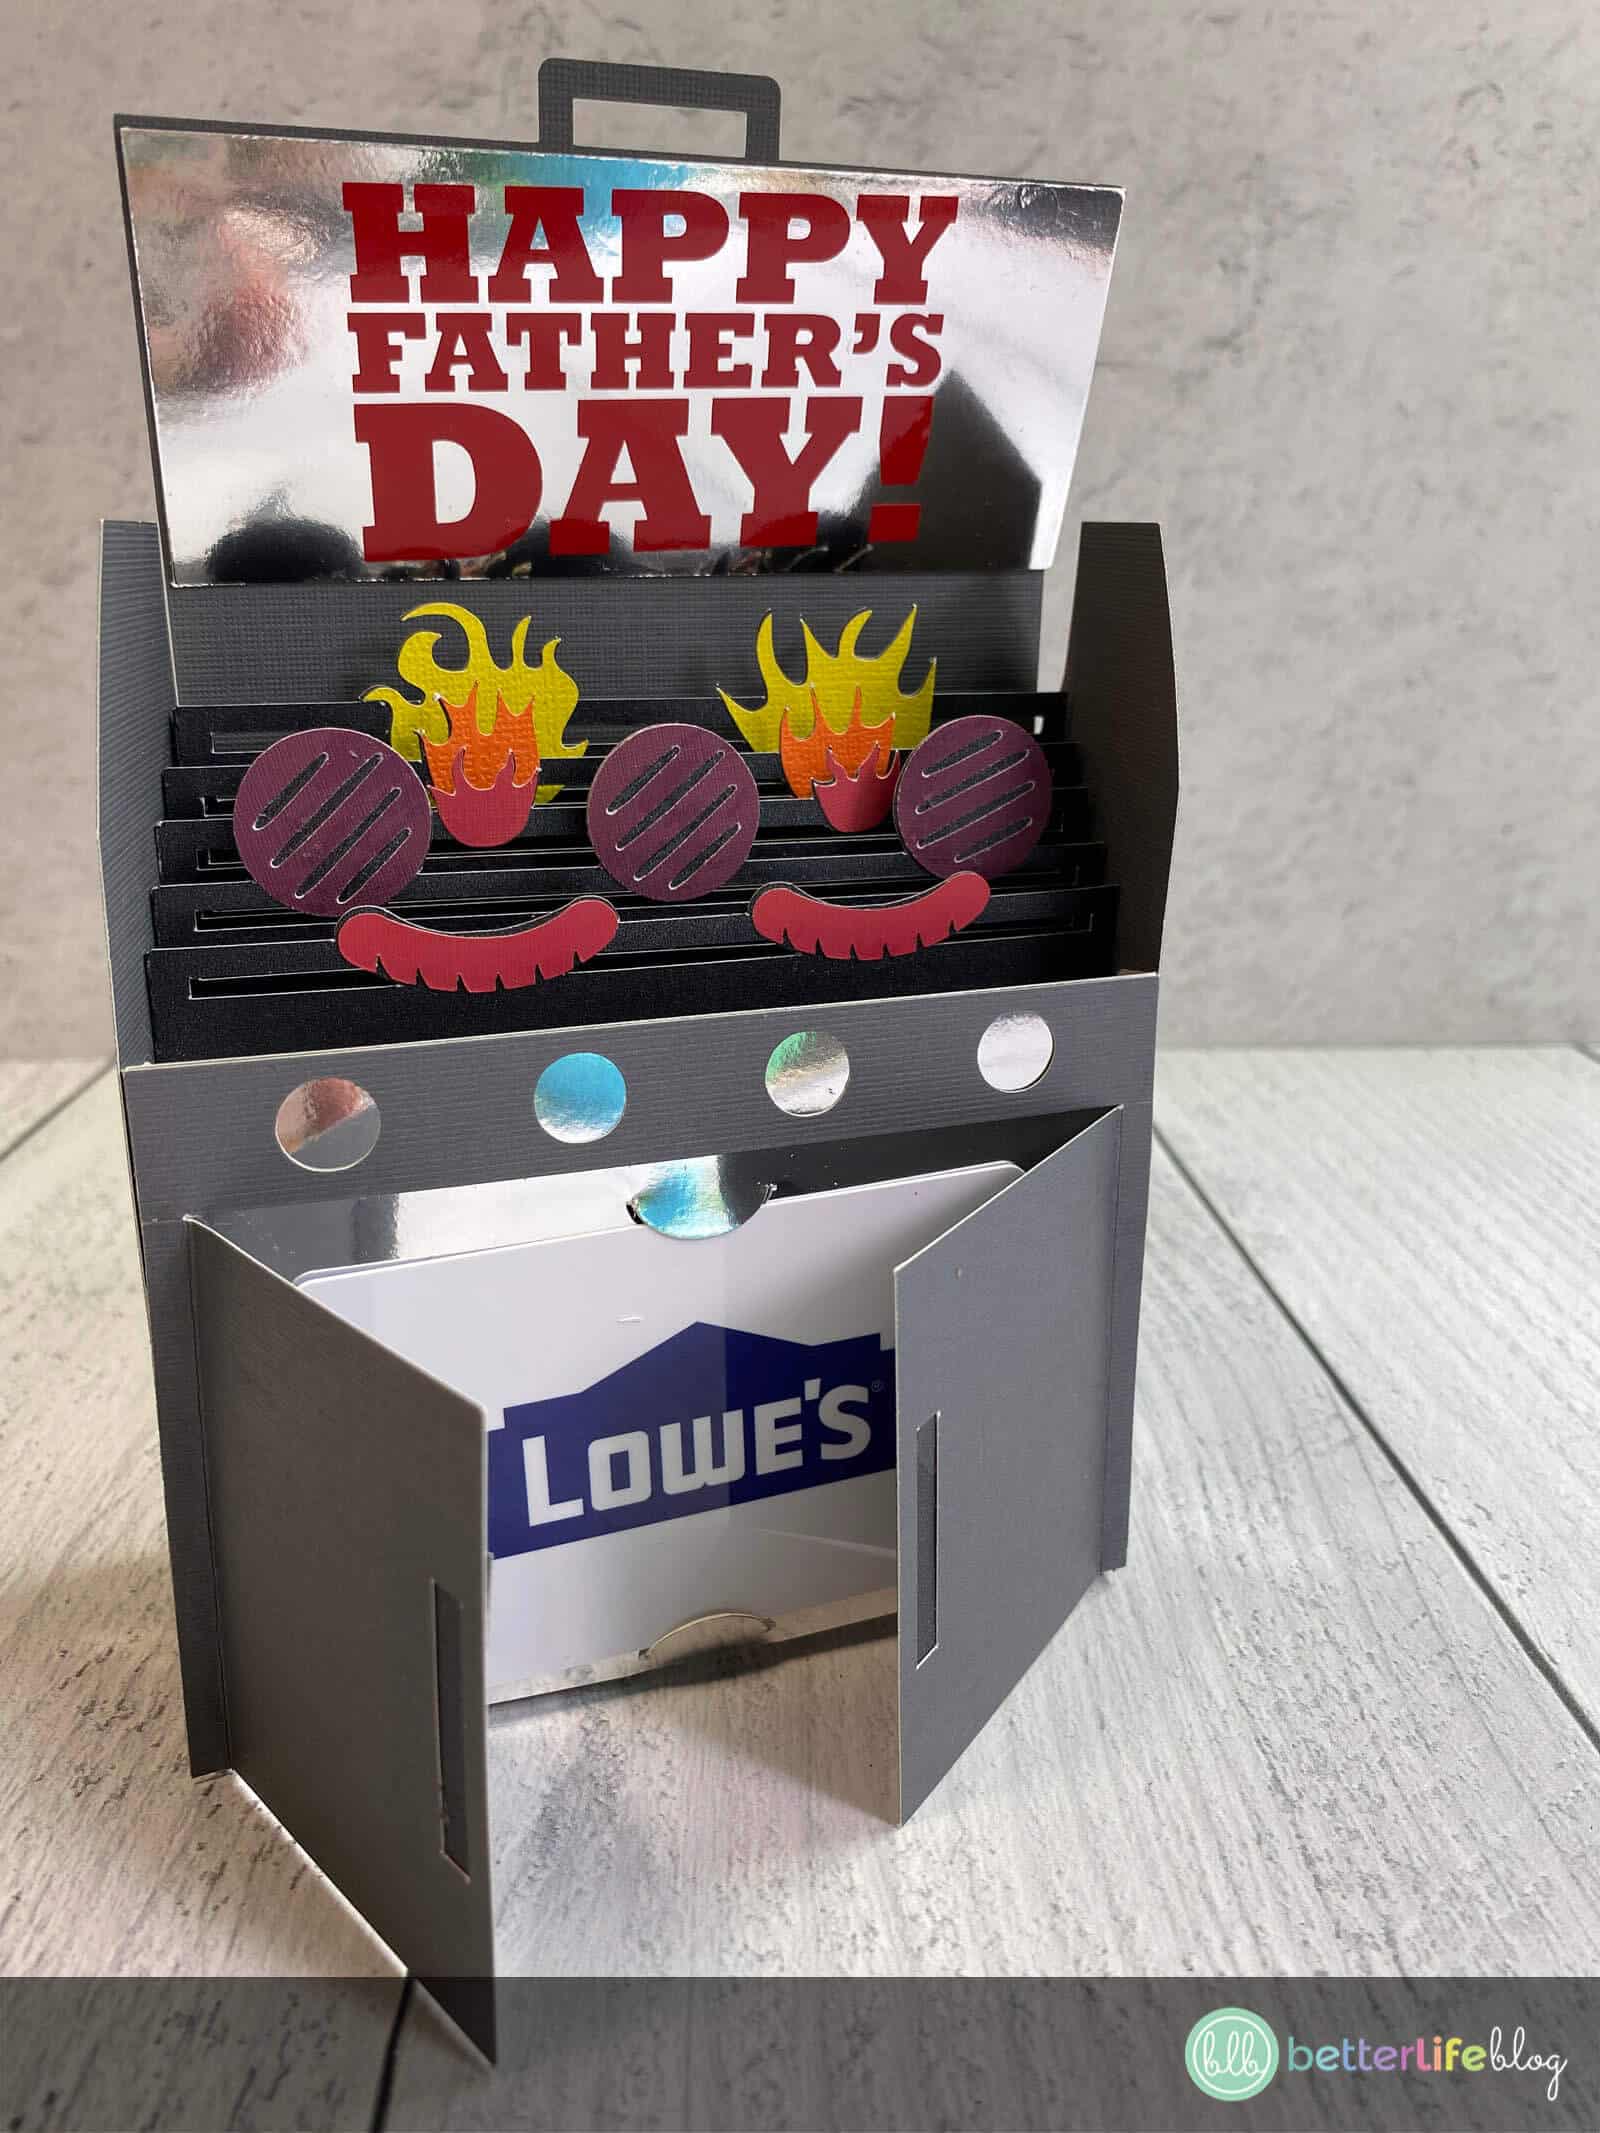
Welcome back, crafty friends! With Father’s Day right around the corner, I am excited to share this Cricut Father’s Day gift idea: a DIY Pop-Up Father’s Day BBQ Card! Not only is it very creative (and handmade!), but dad will definitely appreciate receiving a card to his favorite store or restaurant.
I know it looks elaborate, but trust me – making this card is much easier than it looks! Below, you’ll find all the instructions (including a video tutorial) on how to make this fantastic Father’s Day gift card. What’s even better is that you’ll be making it with the help of your Cricut or Silhouette machine.
P.S. Be sure to scroll down for more amazing Father’s Day gift ideas that you can make with your cutting machine!
How Do I Get The Files To Make This Cricut Father’s Day BBQ Pop-Up Card?
Hey, VIP Crafters Club Members! Be sure to log into your accounts so that you can download the SVG cut file to our Pop-Up Father’s Day BBQ Card here. Don’t forget, you have access to hundreds of my cut files – ready to be instantly downloaded!
If you’re not yet part of my VIP Crafters Club, you can join here or, download the SVG for the Pop-Up Father’s Day BBQ Card via this link.

Handmade Gifts Are Always Appreciated!
There is something SO special about receiving handmade gifts. It really shows the recipient how much time and effort was put into their present.
This is why I love to craft! I’m all about giving back and handmade gifts are the way to go.
If you feel the same way about handmade presents, then be sure to log onto your VIP Crafters Club dashboard to download the hundreds of free SVG files available to you.
If you’re not yet a member, then follow this link to join! By joining, you’ll even gain access to my exclusive online community where hundreds of like-minded, supportive women craft together every month.
Can I Make This Pop-Up Card With My Kids?
Feel free to assemble this pop-up card with your kids – they will absolutely adore making this project with you. Just be careful because there are a few small pieces. In the end, they’ll be amazed that the card turns out to be a pop-up one!
How to Make a Pop-Up Father’s Day BBQ Card with Your Cricut or Silhouette
To whip-up this adorable Pop-Up Father’s Day BBQ Card, you’ll need the following tools and supplies:
- Pop Up Father’s Day BBQ Card SVG file
- Cricut or Silhouette machine
- Cardstock
- Reflective cardstock
- Transfer paper
- Weeding tools
- Scraper tool
- White craft glue
- Crafter’s tape
What Is Reflective Cardstock?
Reflective cardstock is mirror-like cardstock that’s great to to use for paper projects when you’re creating items like mirrors, wheels, utensils (just like in this Pop Up BBQ Card!), and so much more!
For this project, it’s definitely optional. You can use grey cardstock for the BBQ’s utensils and it will still look great!
Instructions
To start, upload and cut your Pop-Up Father’s Day BBQ Card and cut it with your cutting machine.
To ensure correct sizing for the gift card, please check that the total width of all pieces collectively (before ungrouping or moving anything around) is 17 inches wide.
Set Up Score Lines
Make sure to set up the score lines for your project! Change all magenta lines in this file to score lines and use a scoring tool. If you don’t know how to do this, I have a tutorial below that covers this technique.
If you’d like, you can use reflective silver cardstock for the BBQ’s door as well as the utensils. This, of course, is optional. Use whatever colors you have on hand!
Gather all of the pieces and supplies – lay them out on a clean working space.
The first thing to do is to take all of the little pieces: hot dogs, burgers and fire, and glue them all onto the BBQ base.
Next, weed the “Happy Father’s Day” portion of the craft and use transfer tape to apply it to the top of the BBQ.
For the following step, glue together all of the pieces that belong to the BBQ’s door. Set aside.

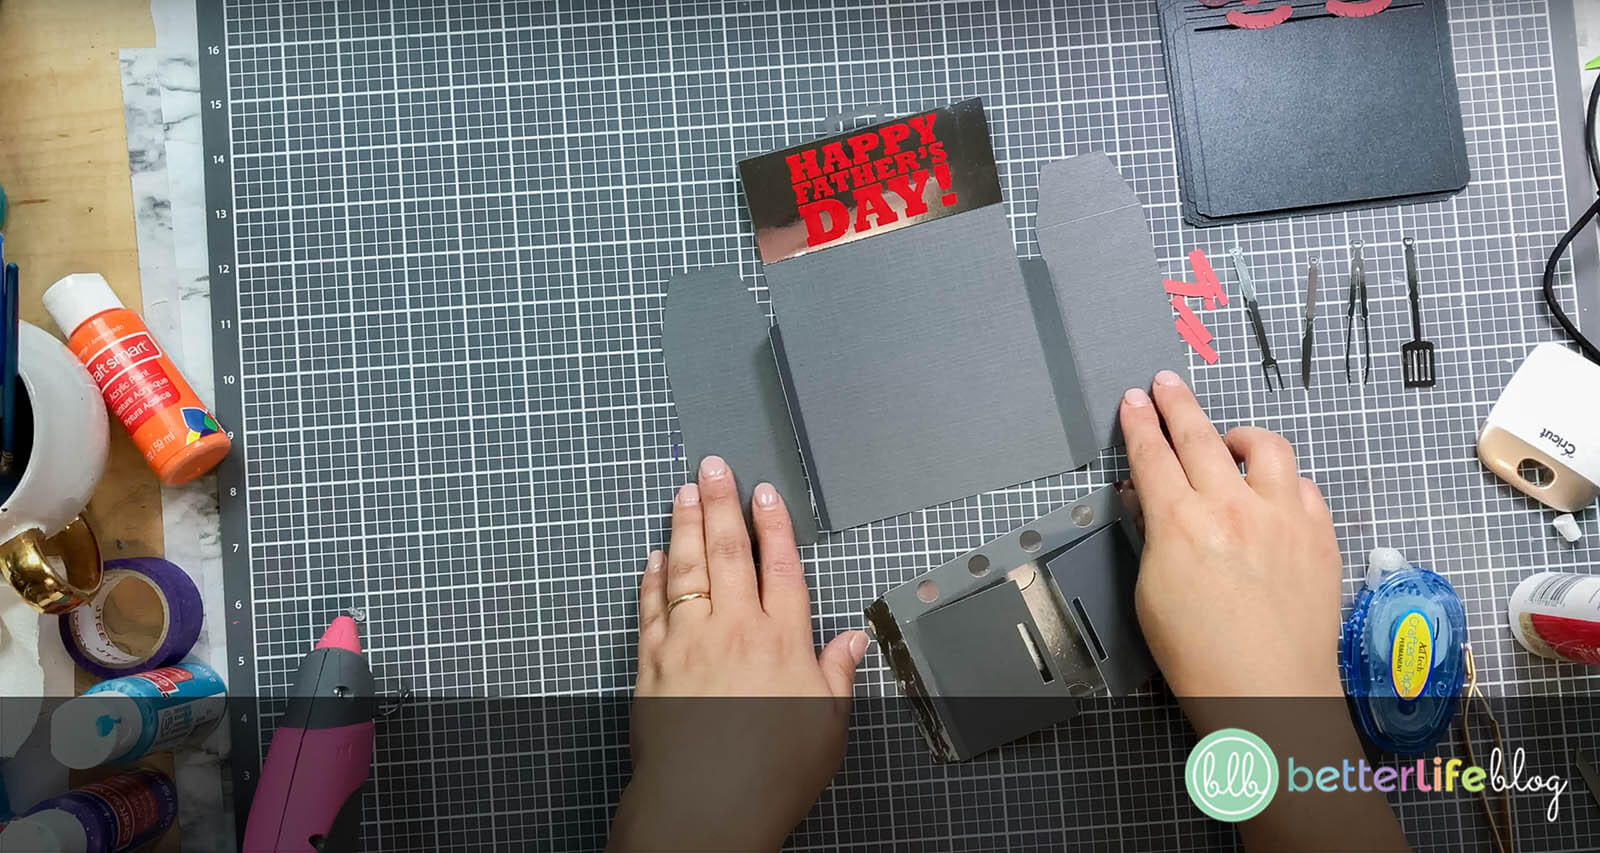
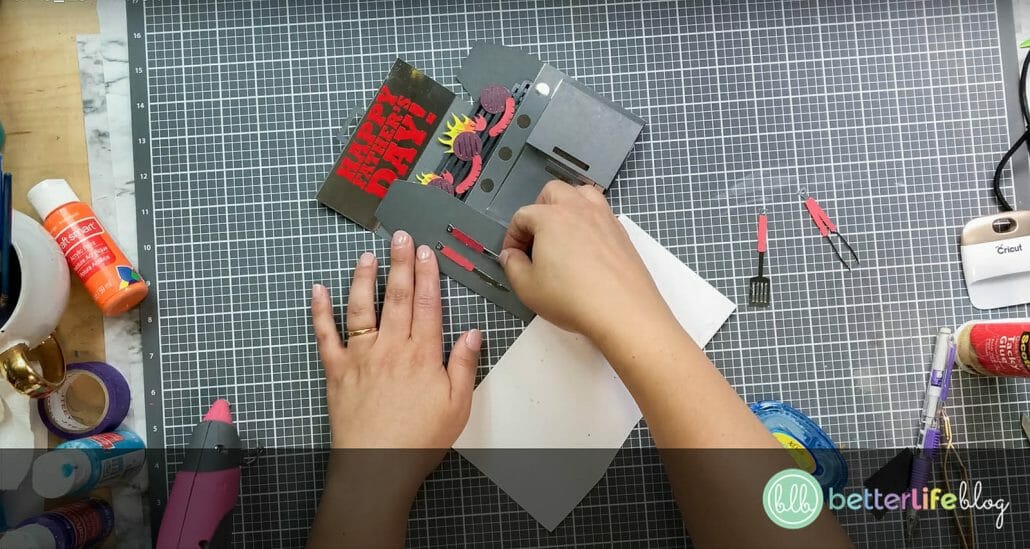
Next, take your two side pieces, and attach each one to the back of the grill tabs (one goes on the right of the grill, the other goes on the left). I recommend using crafter’s tape for this step.

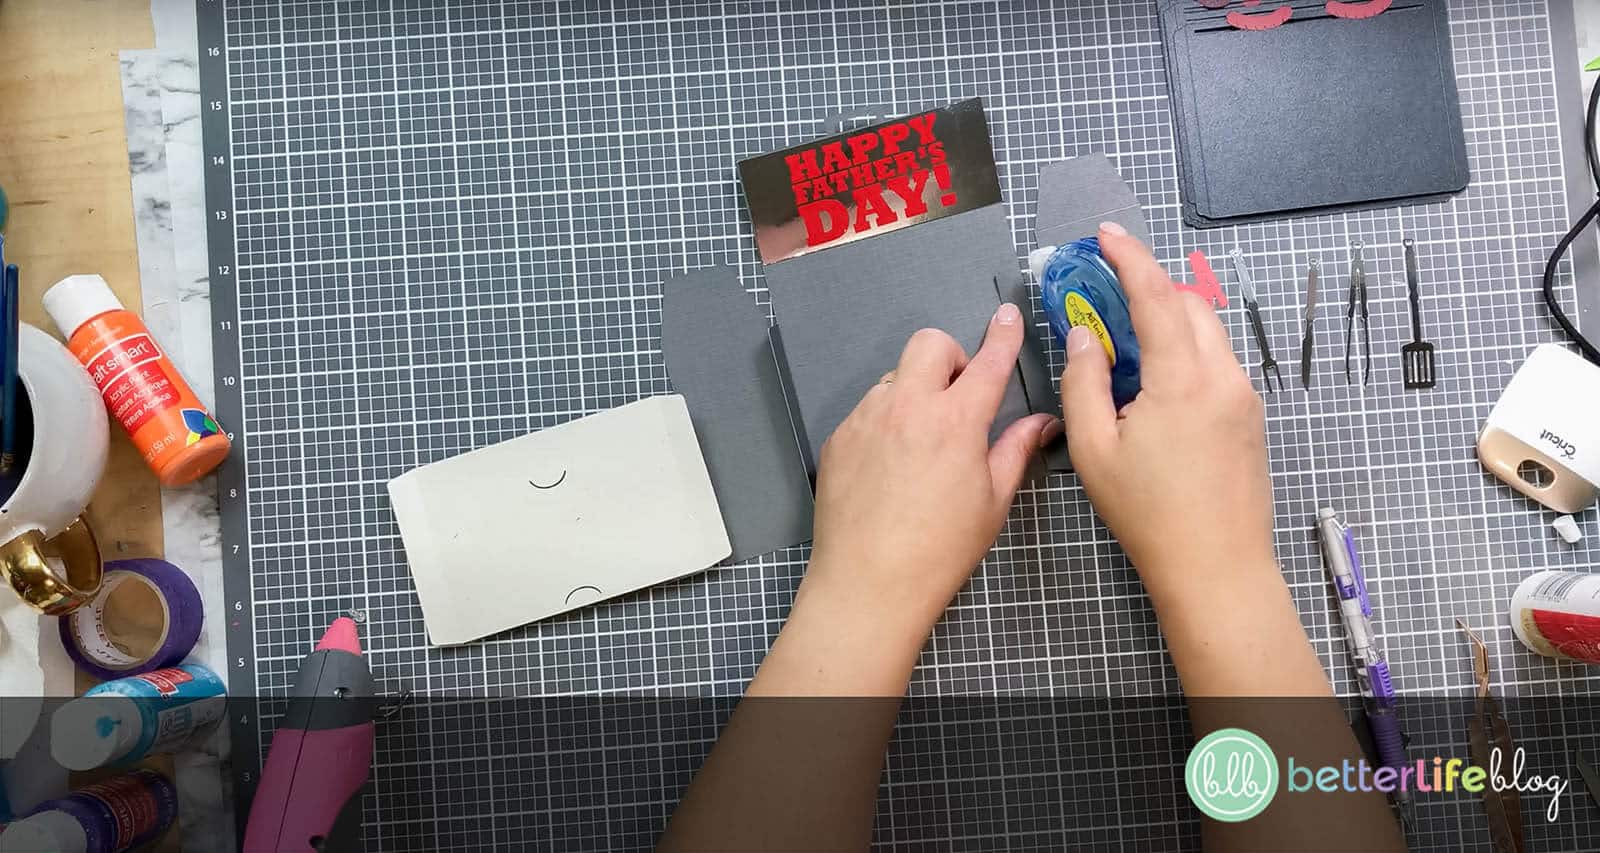
Take the grill door and add crafter’s tape to the front of its left side tab and attach it to the back of the grill’s left side tab.

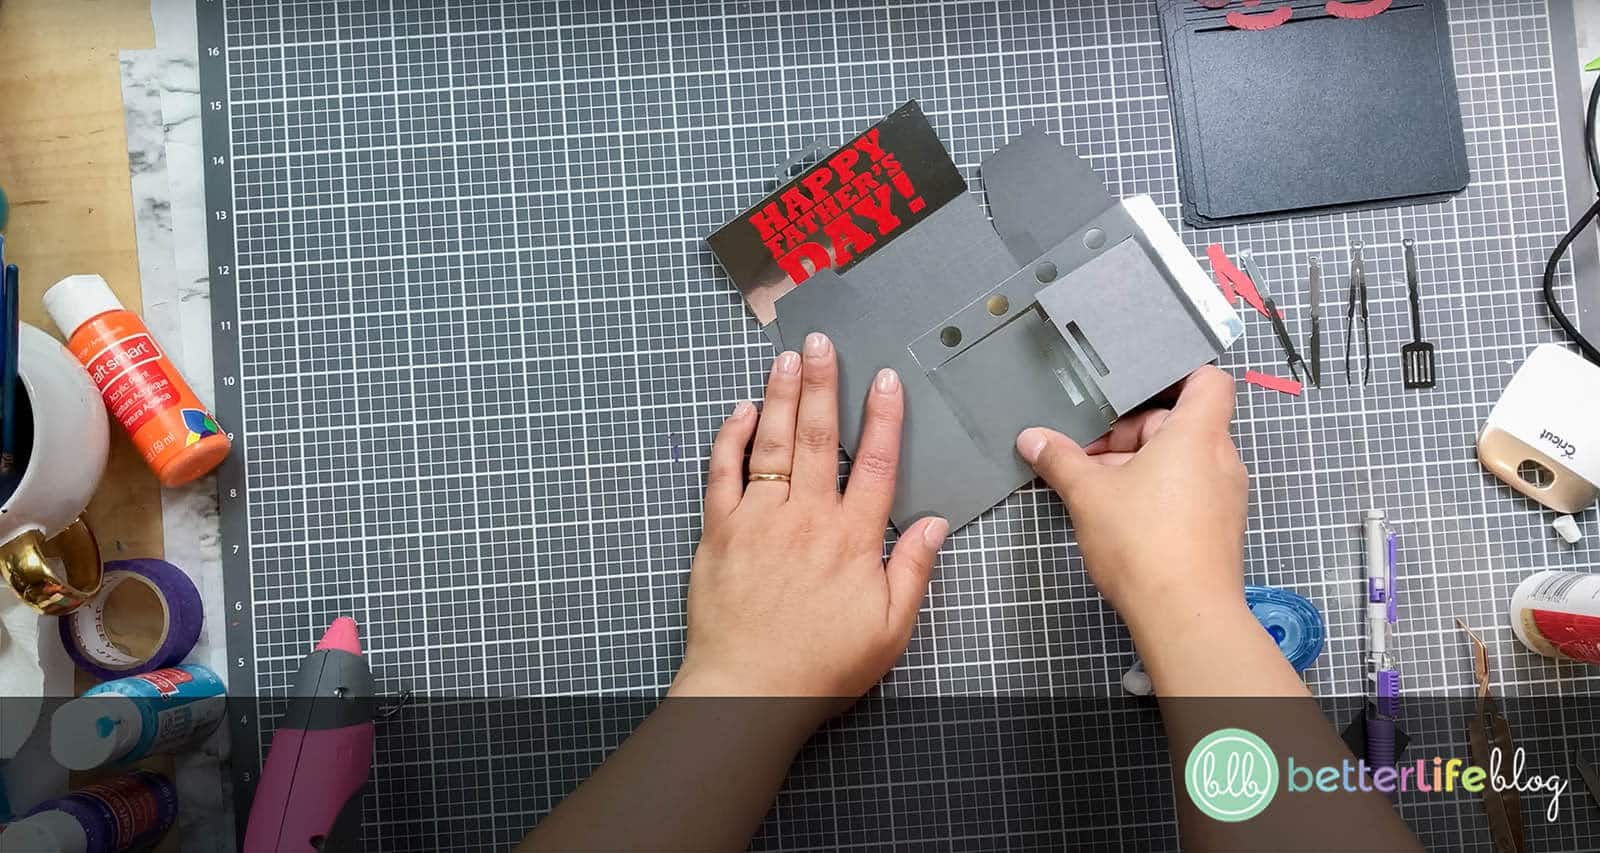
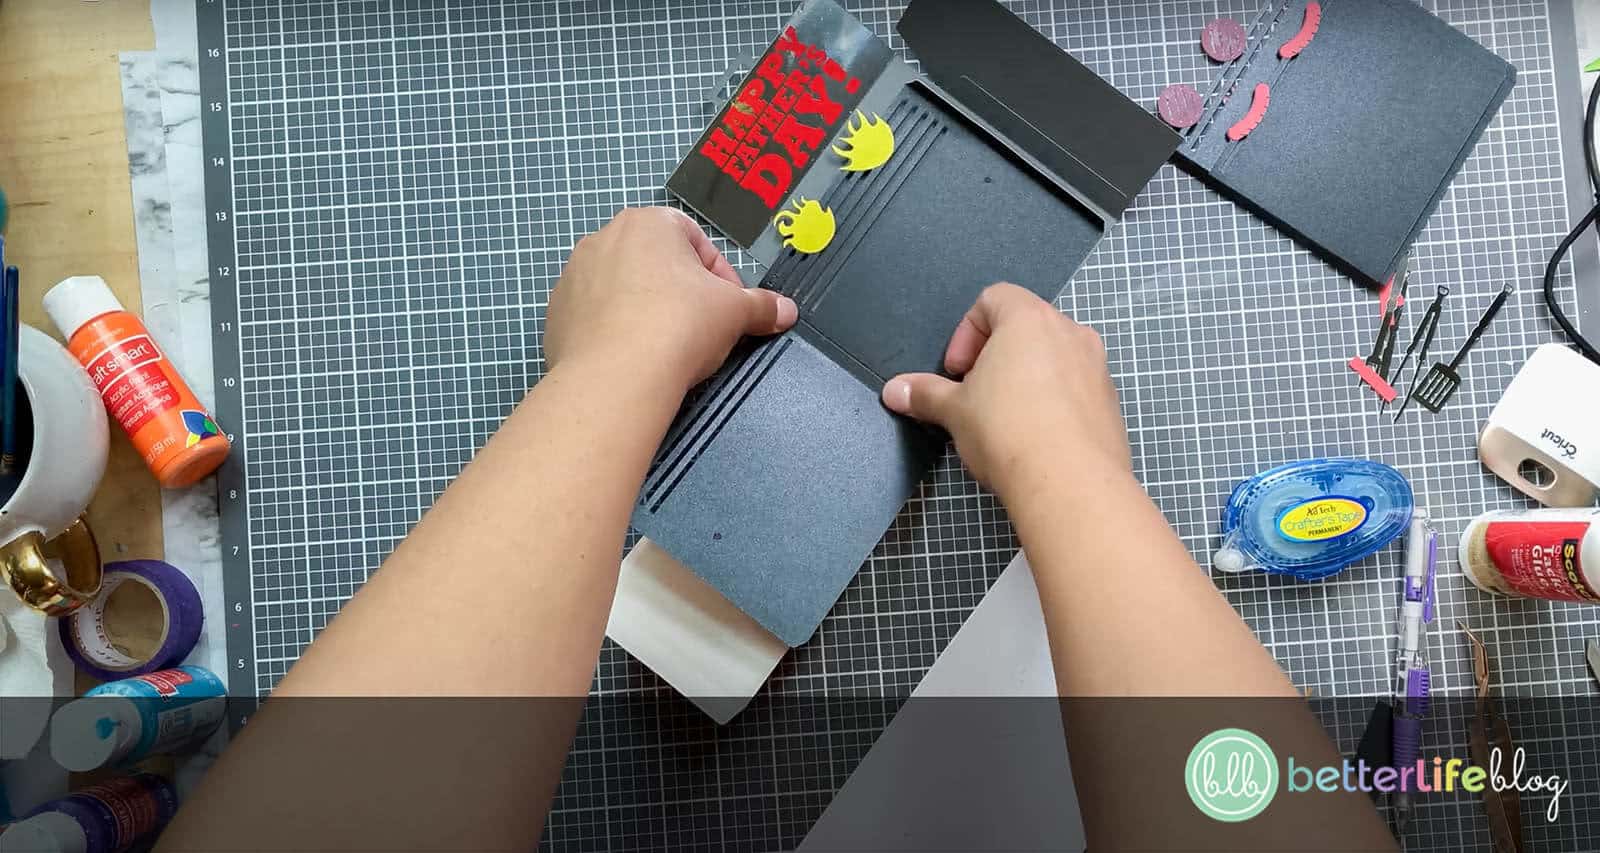
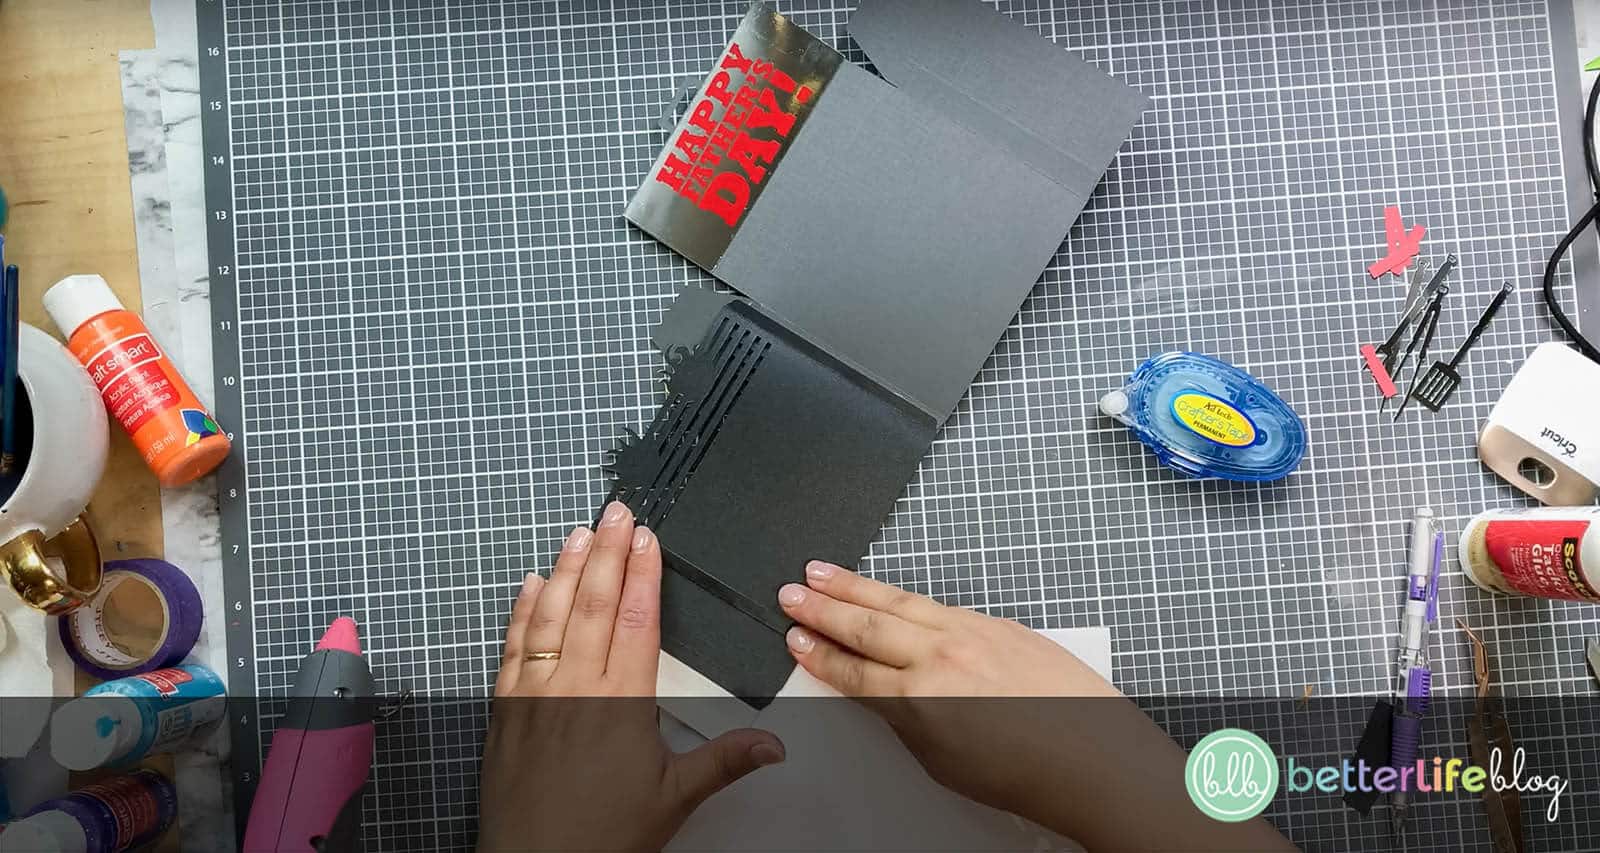
Next, grab all of the BBQ’s middle pieces – with these, you will be working from the back piece to the front piece.
On each of the middle pieces, fold the left tab backwards.
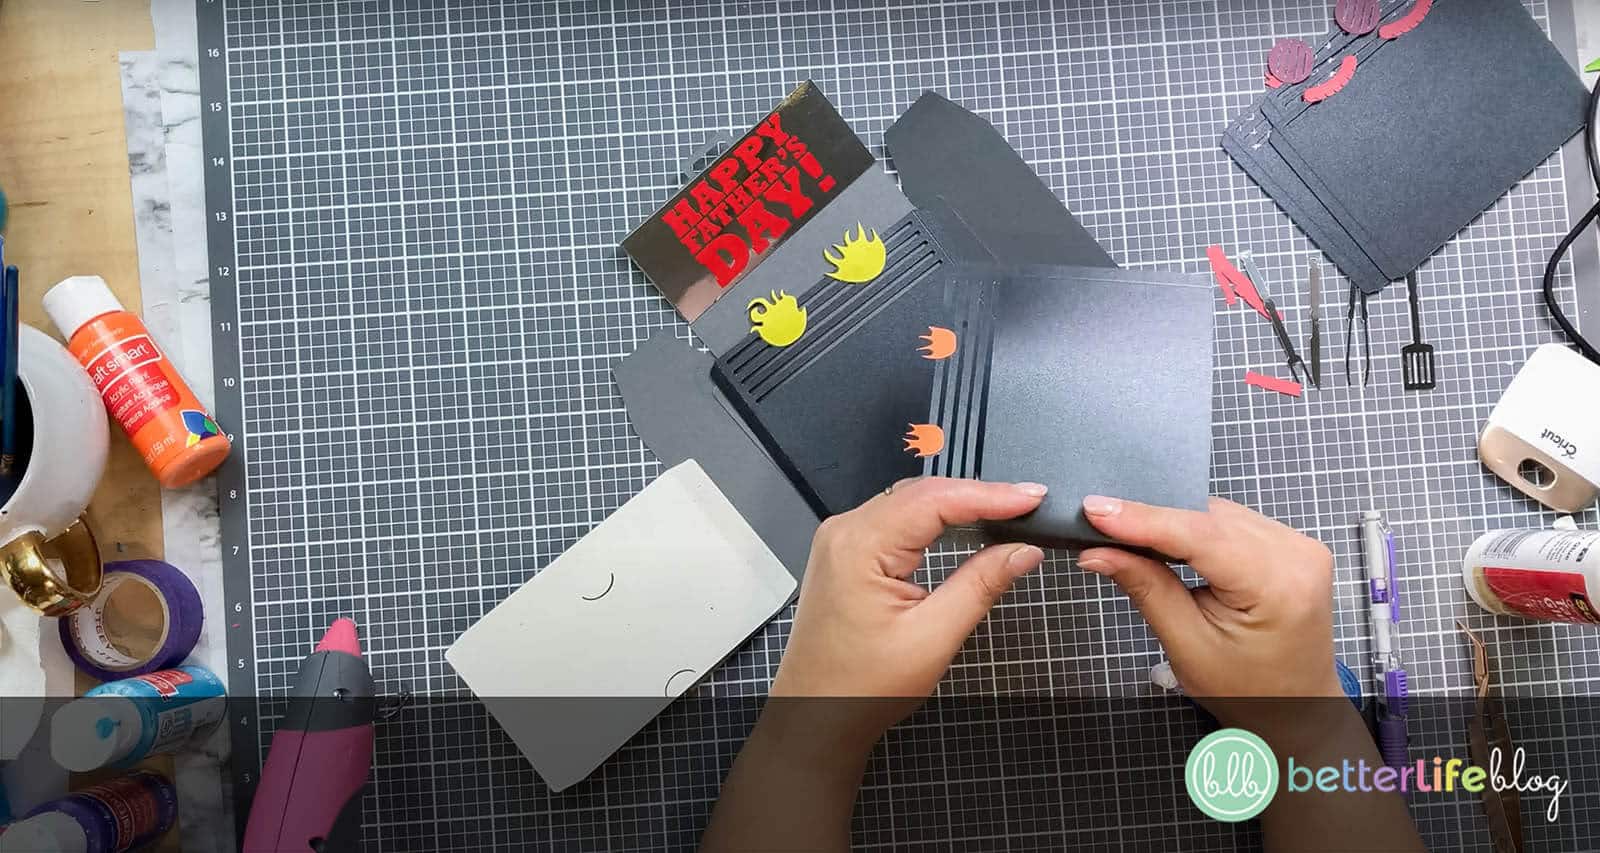
Grab the most back piece and add crafter’s tape to the front of the folded tab. Then, place it and secure it on the left side of the open BBQ.
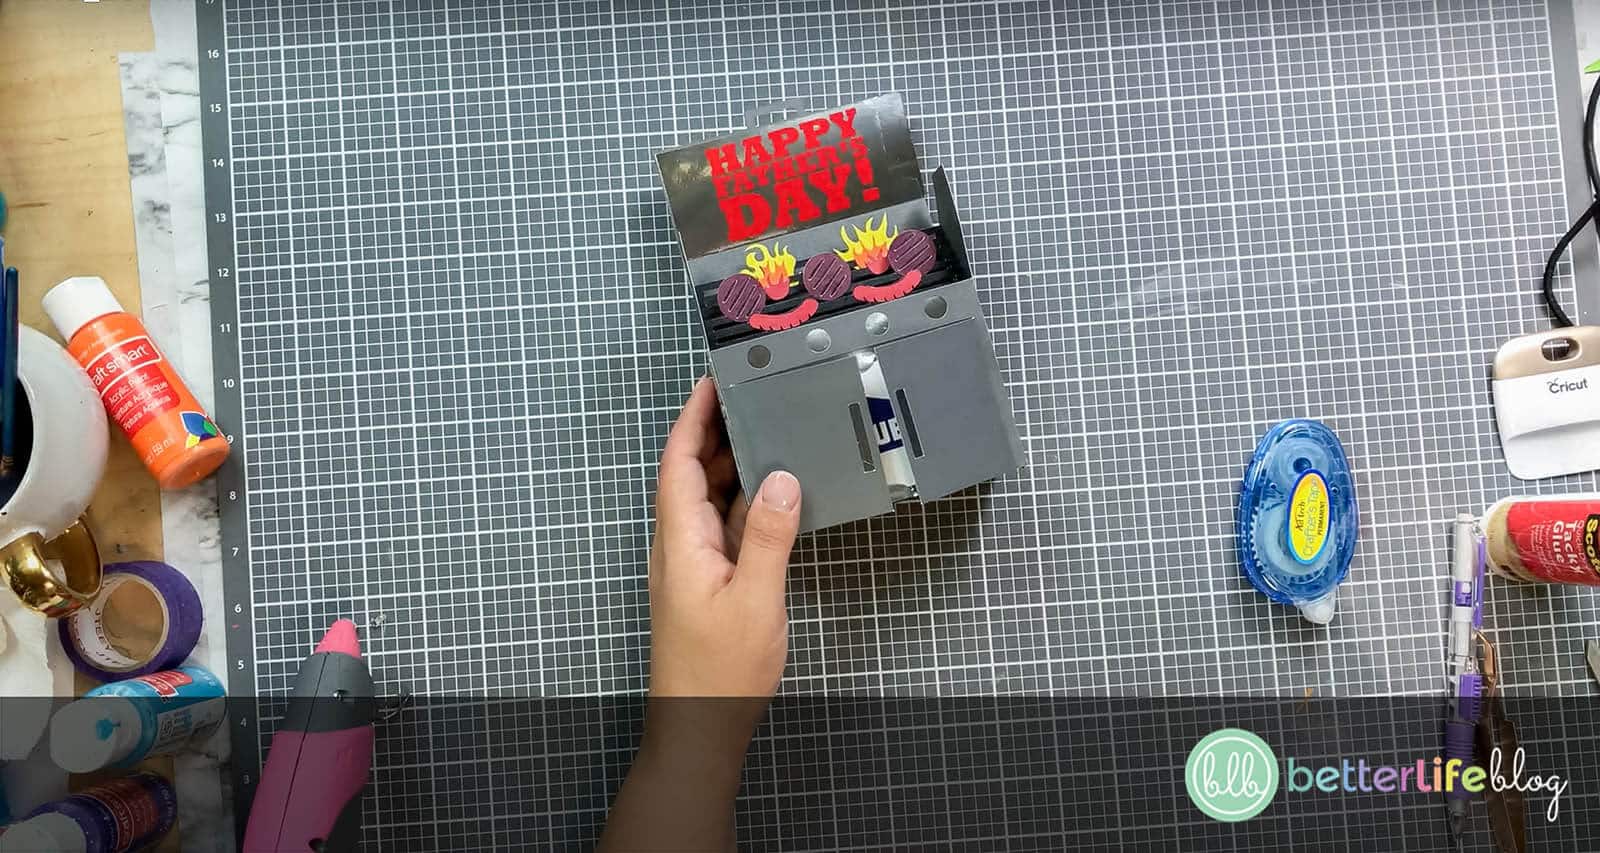
Do the same for the next piece, placing it in front of the piece you just attached. Continue with the remaining pieces. Remember, it’s VERY important to work from the back to the front for these steps. In the correct order, these pieces go from tall to short so that you can see all the pieces when looking at the card from the front.
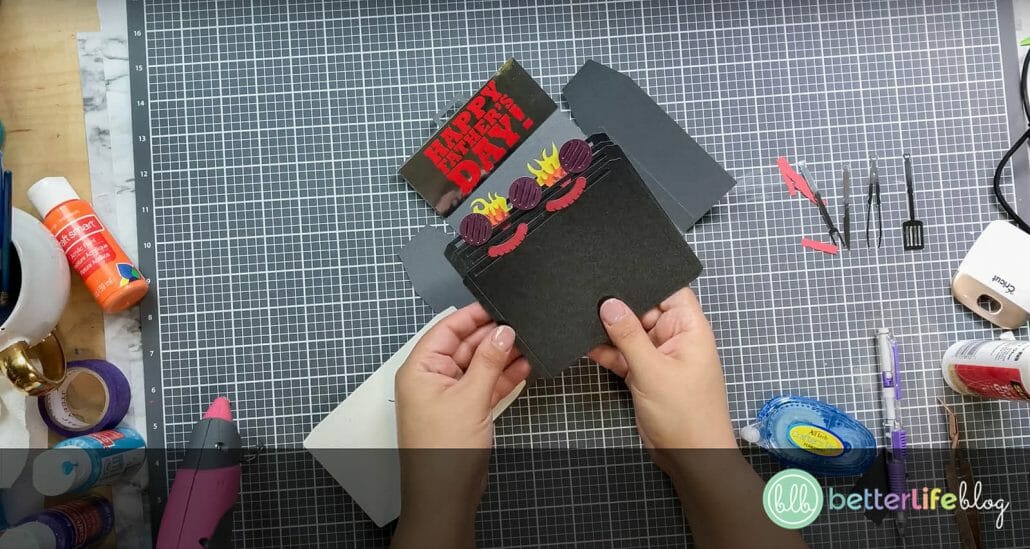
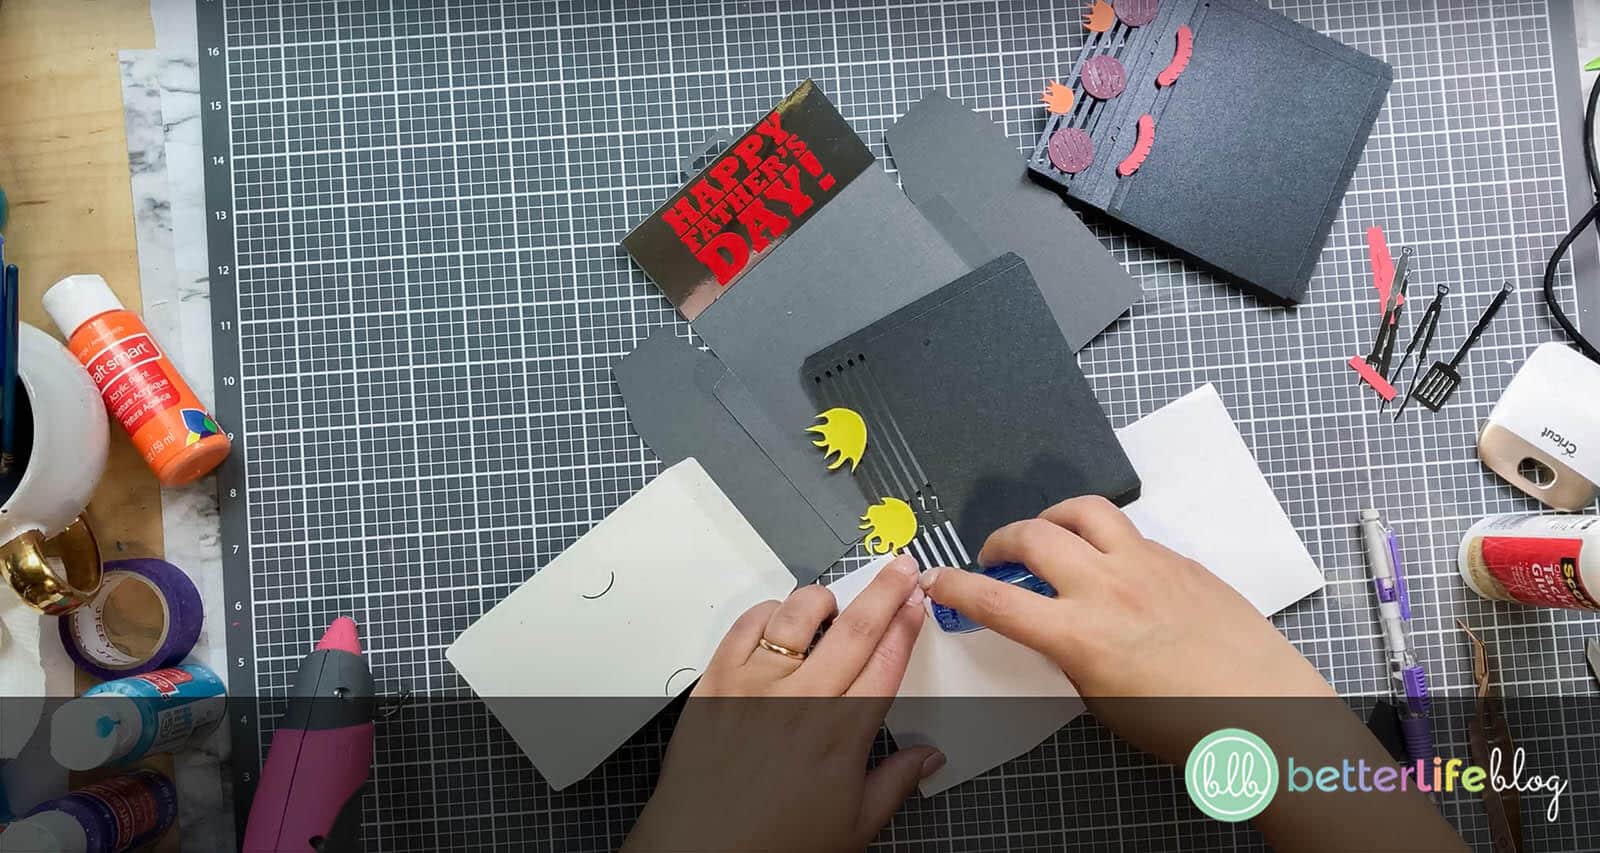
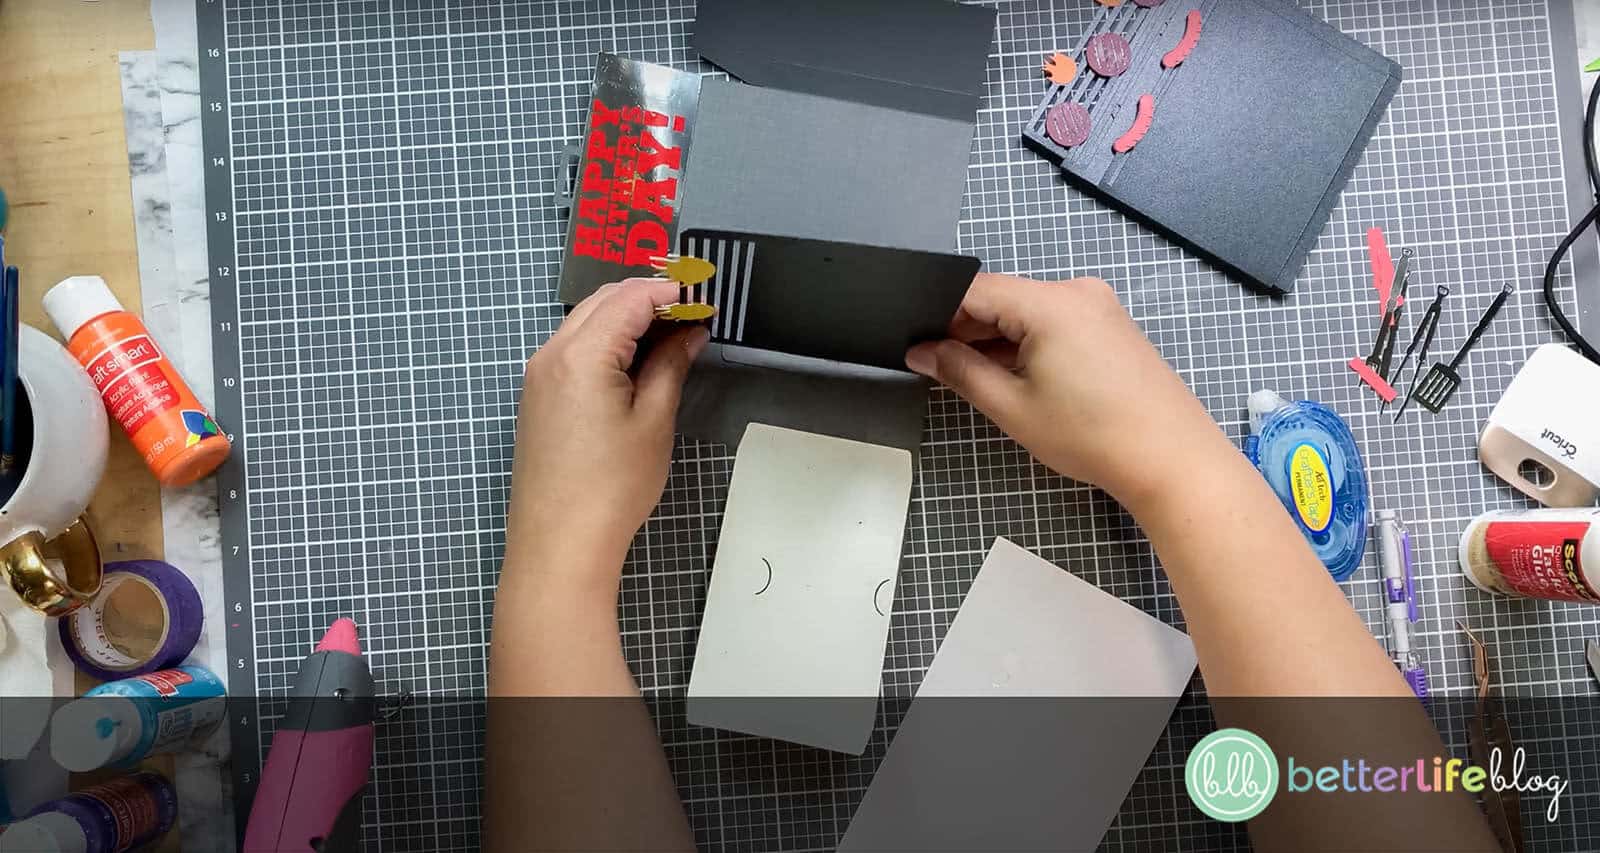
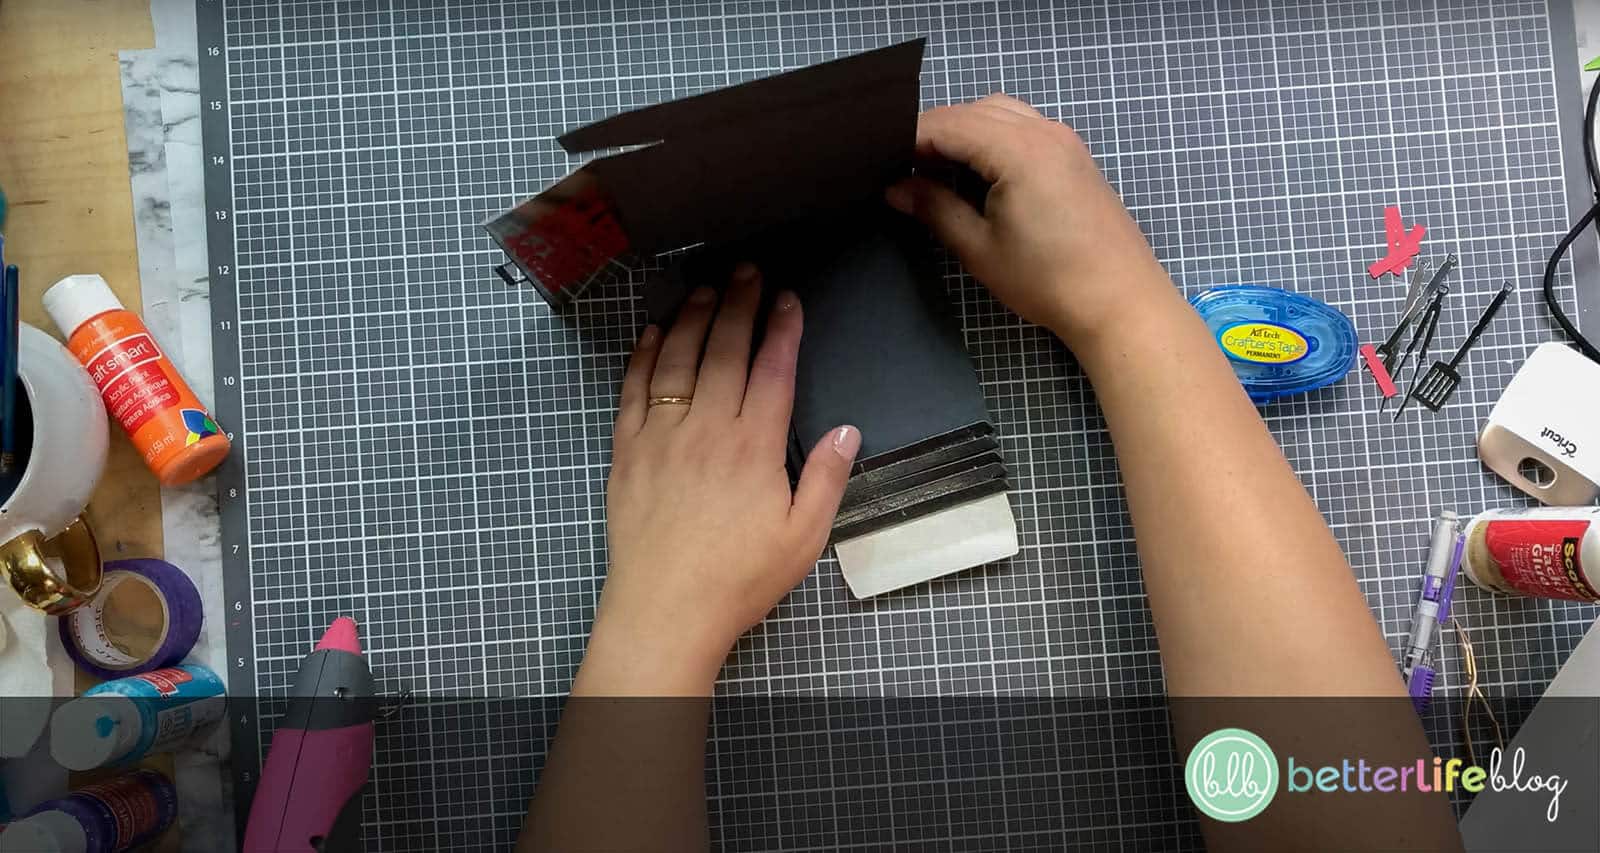
Now that all the middle pieces are attached to the main BBQ piece, fold the right tab on each middle piece. You will want to fold them backwards.
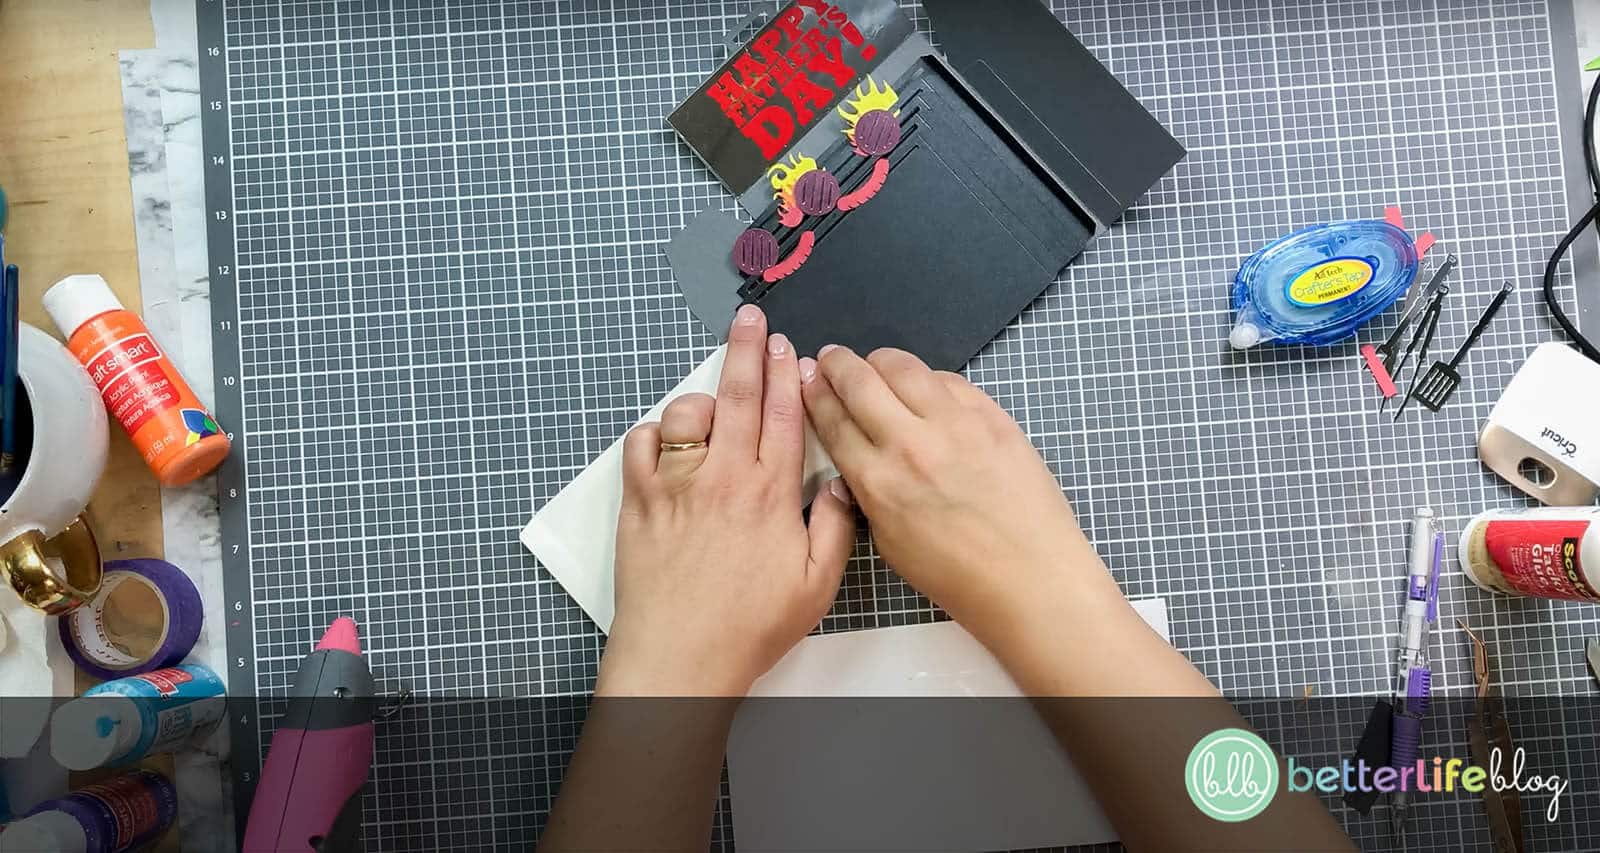
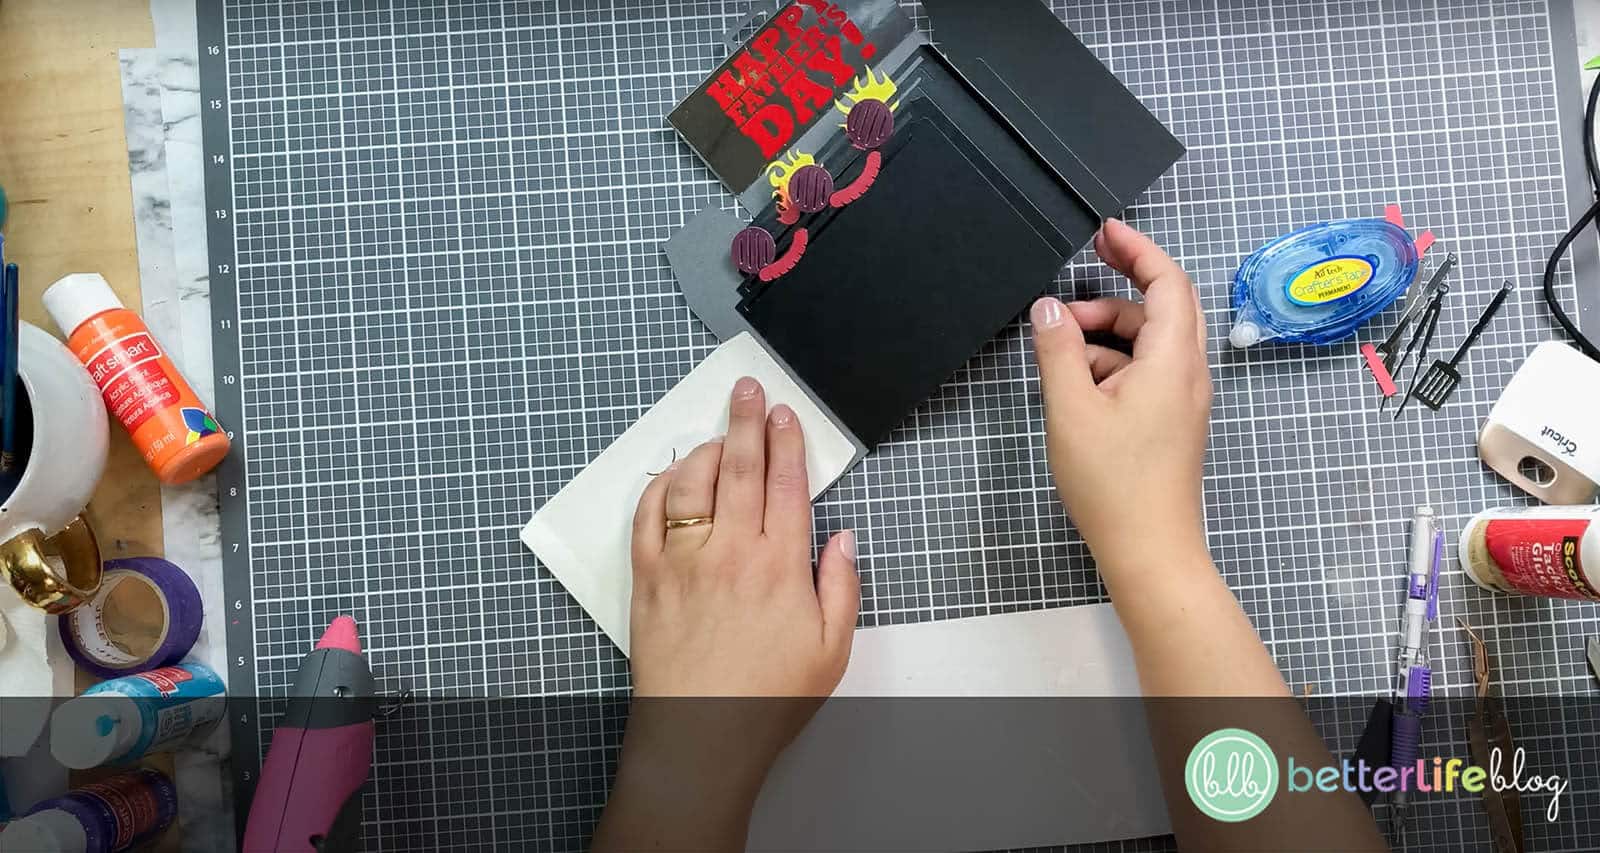
Once everything is folded, add crafter’s tape to the backside of those tabs. Also, add glue to the remaining tab on the BBQ door.

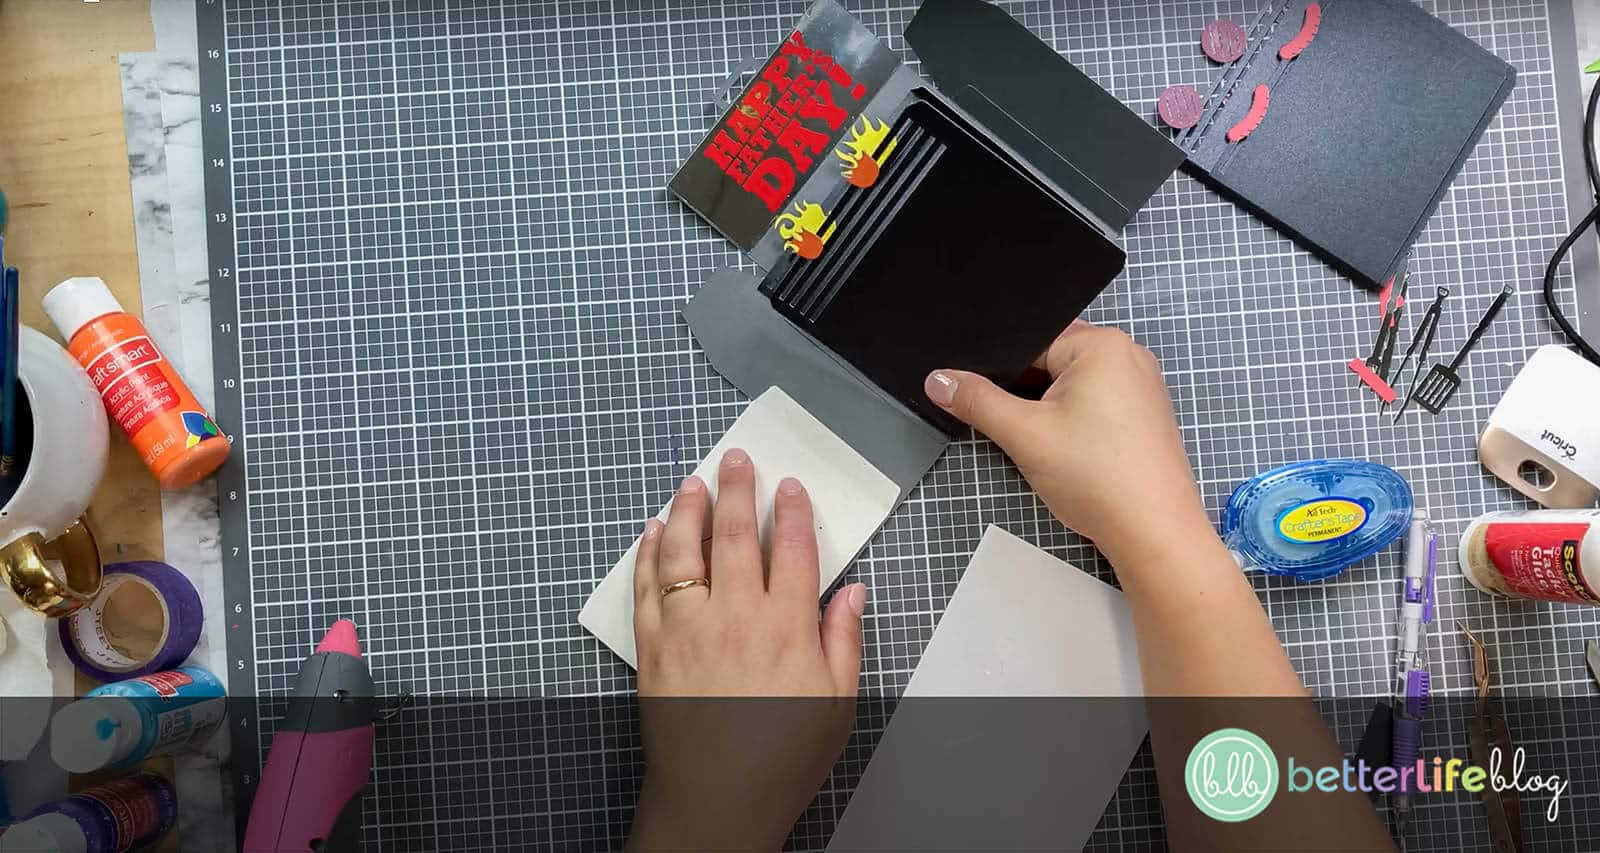
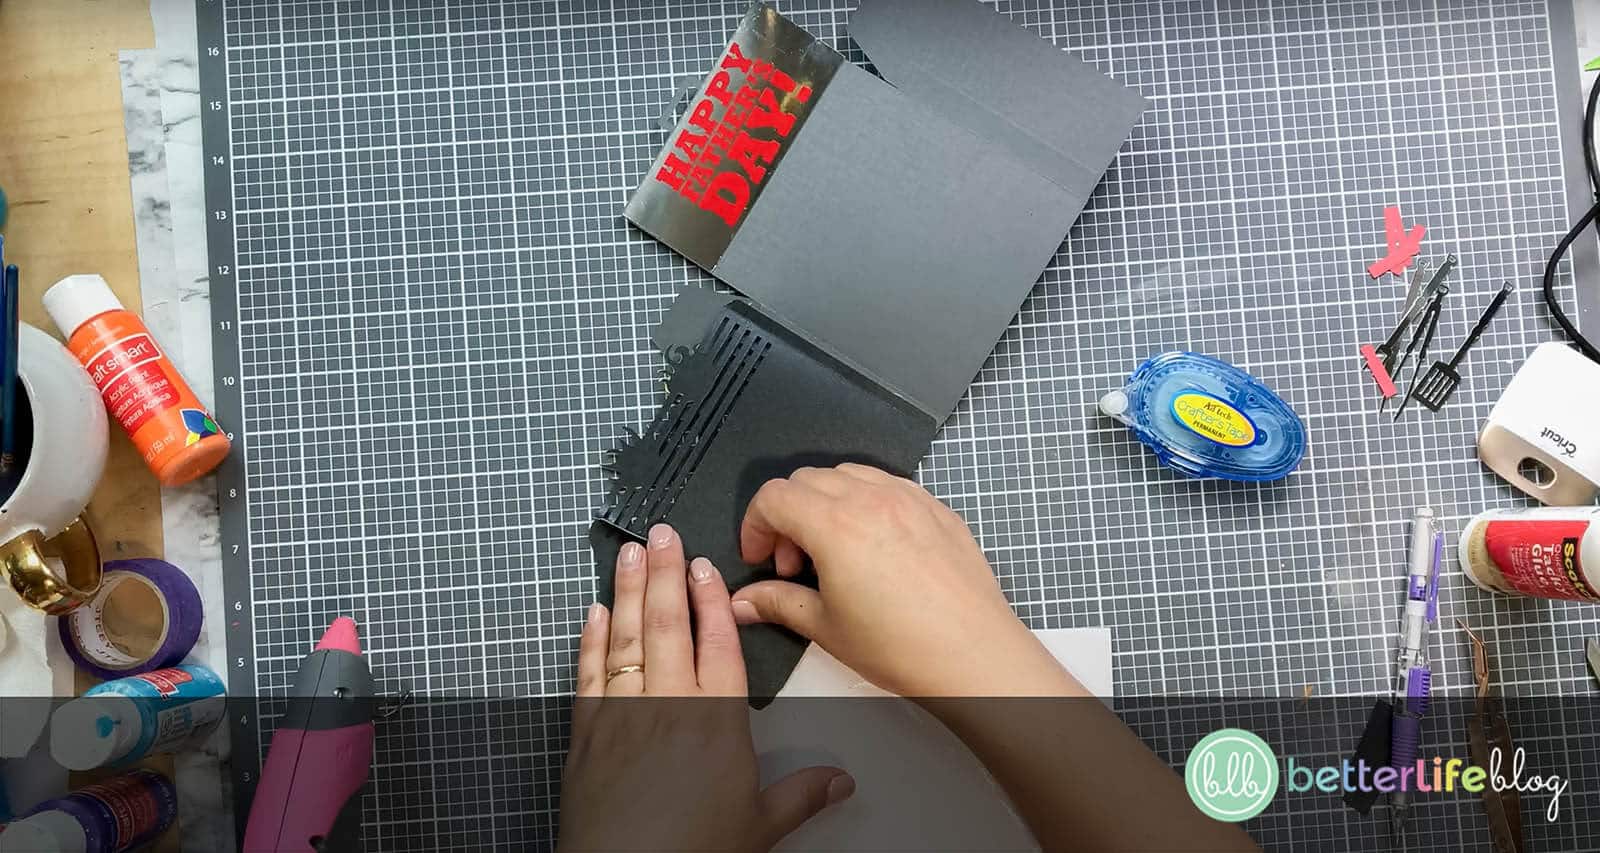
Take the back part of the BBQ and fold it forward, securing it onto the glued side of all the remaining, unattached tabs.
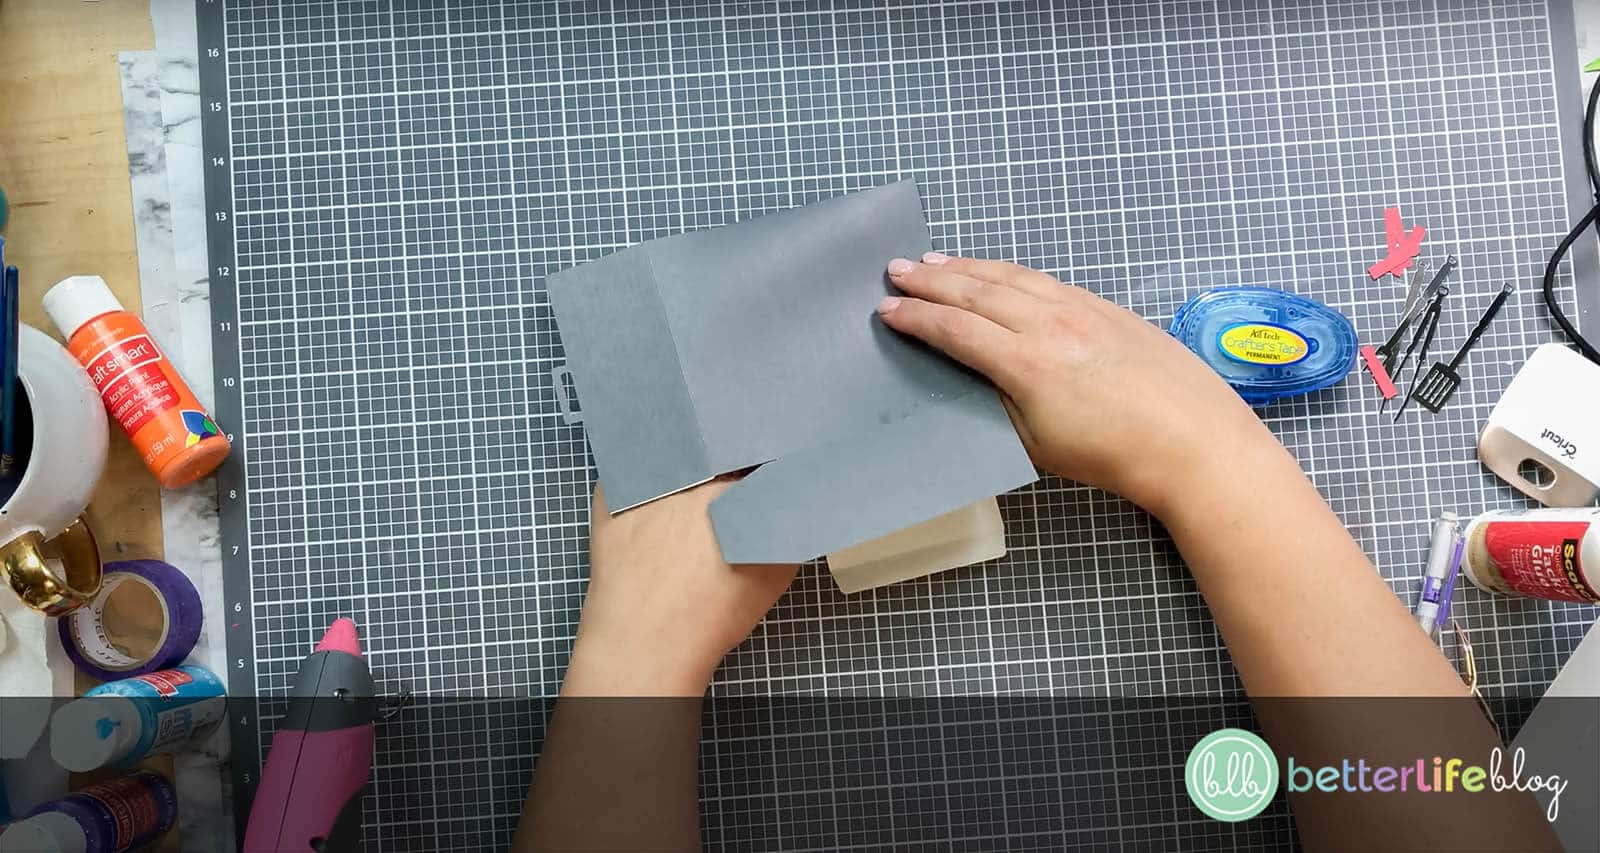
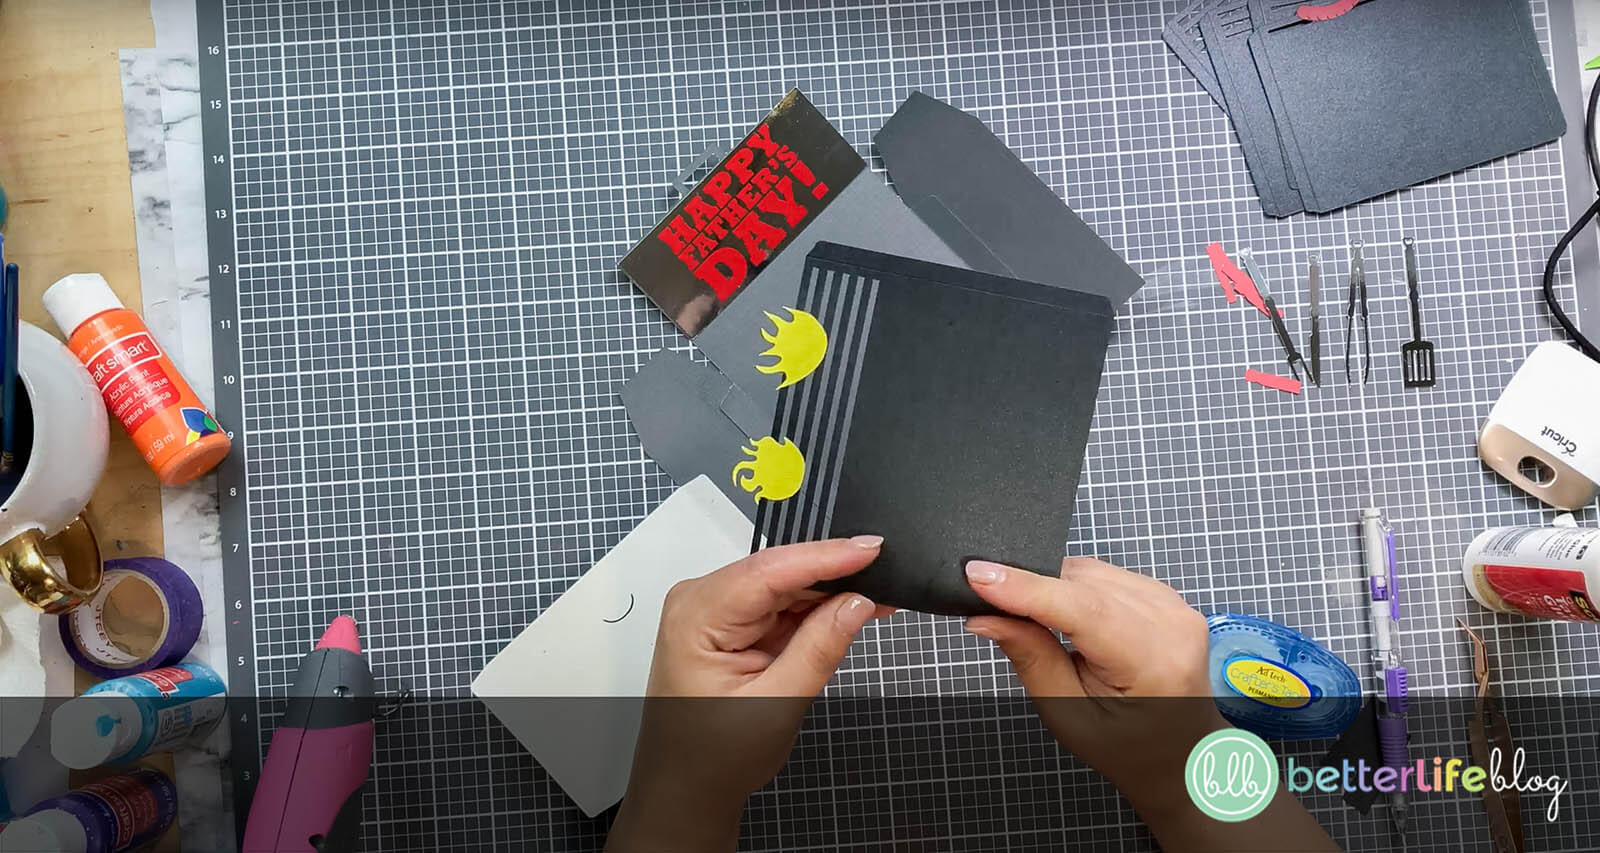
Next, assemble all the pieces for the little utensils.
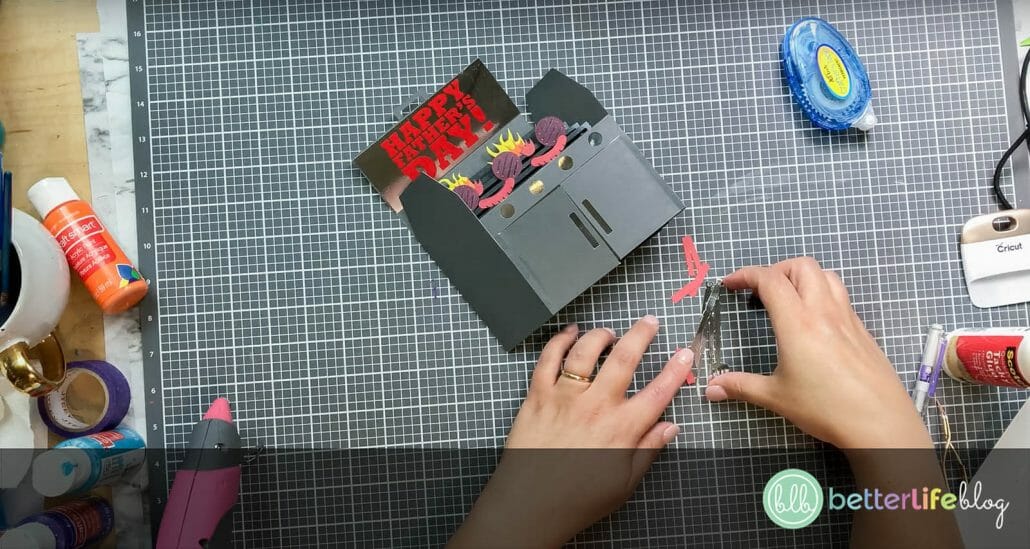
Once the utensils are assembled, add crafter’s tape to the back of each one. Secure to the sides of the BBQ.
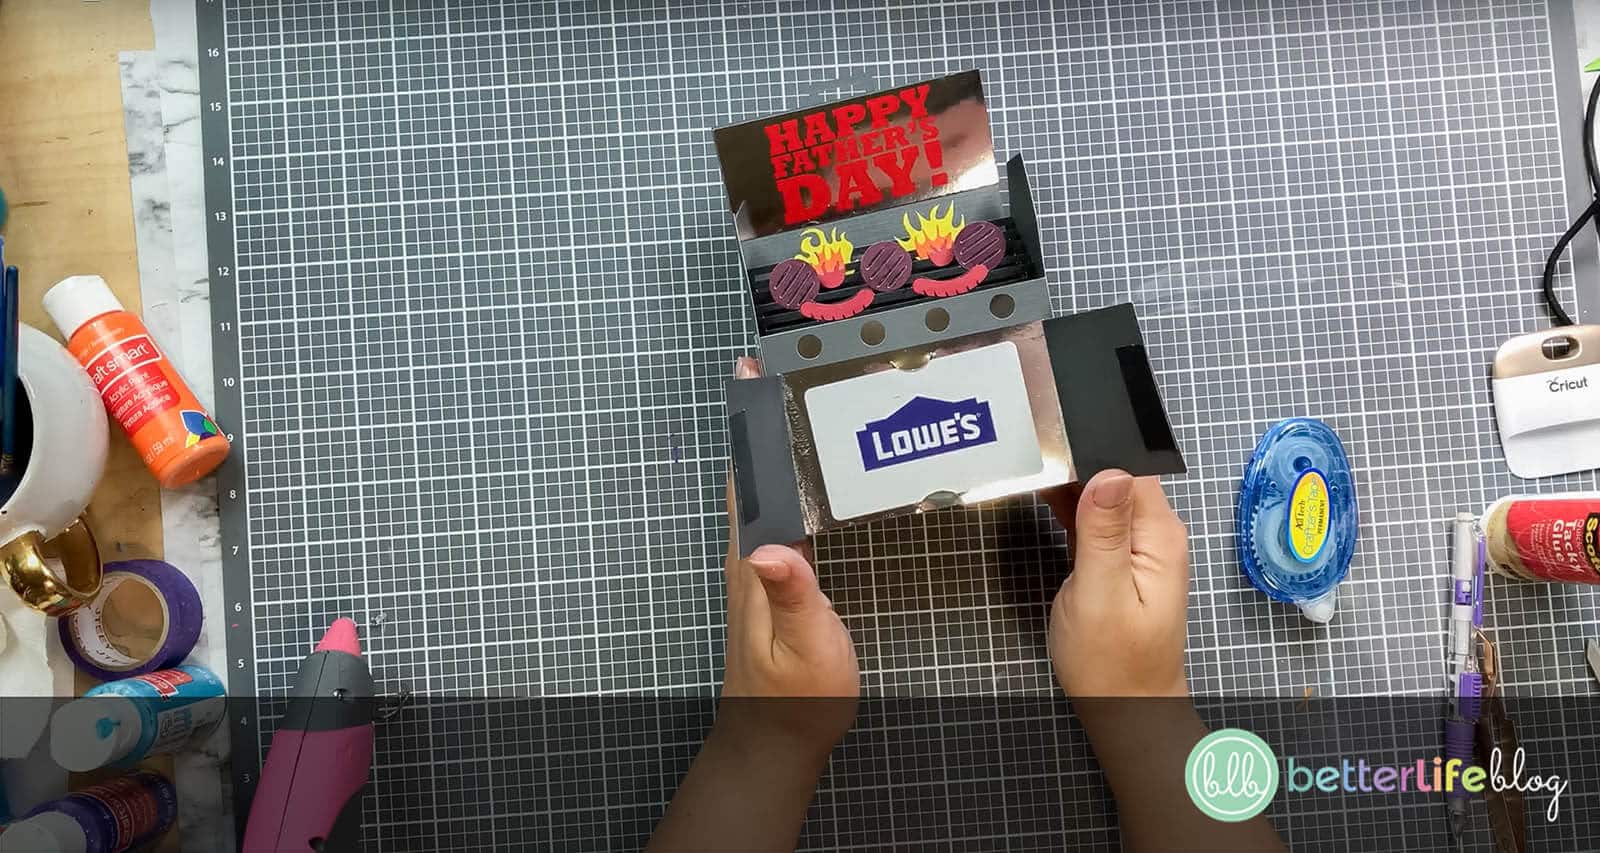
Finally, add dad’s favorite gift card to the door portion of the BBQ. Enjoy!

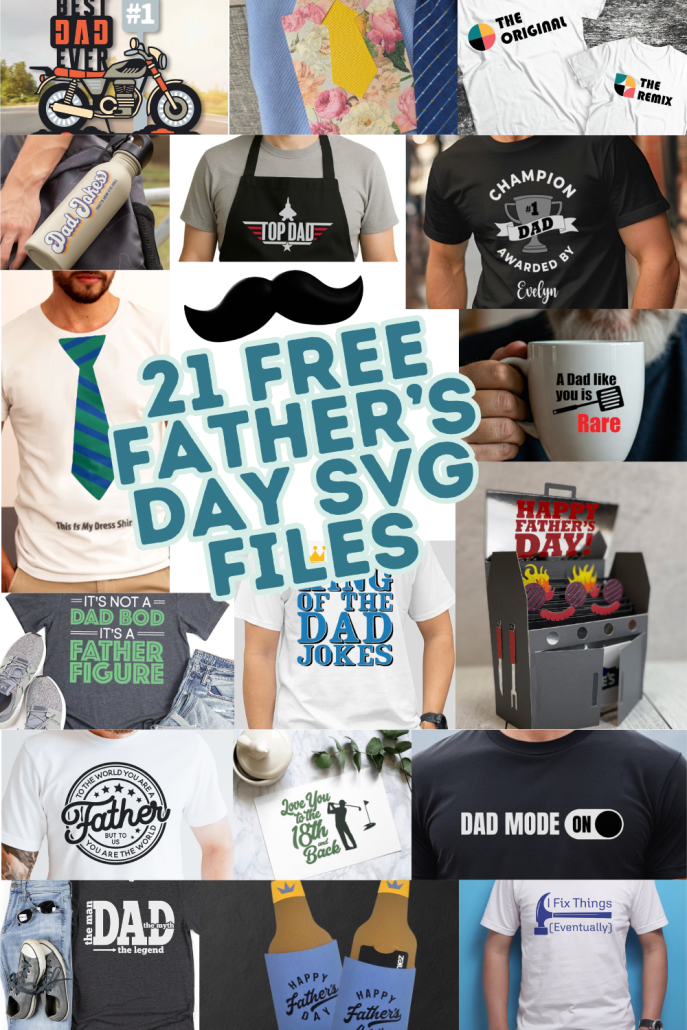
Get 21 Father’s Day-Themed SVG Files {FREE}
I’ve collaborated with some of my crafty friends to bring you an amazing collection of FREE Father’s Day-Themed SVG craft files! Check them out below:

Pop-Up BBQ Card Free Father’s Day SVG

Best Dad Ever Free Father’s Day SVG

One Fly Dad Free Father’s Day SVG

World’s Best Dad Free Father’s Day SVG
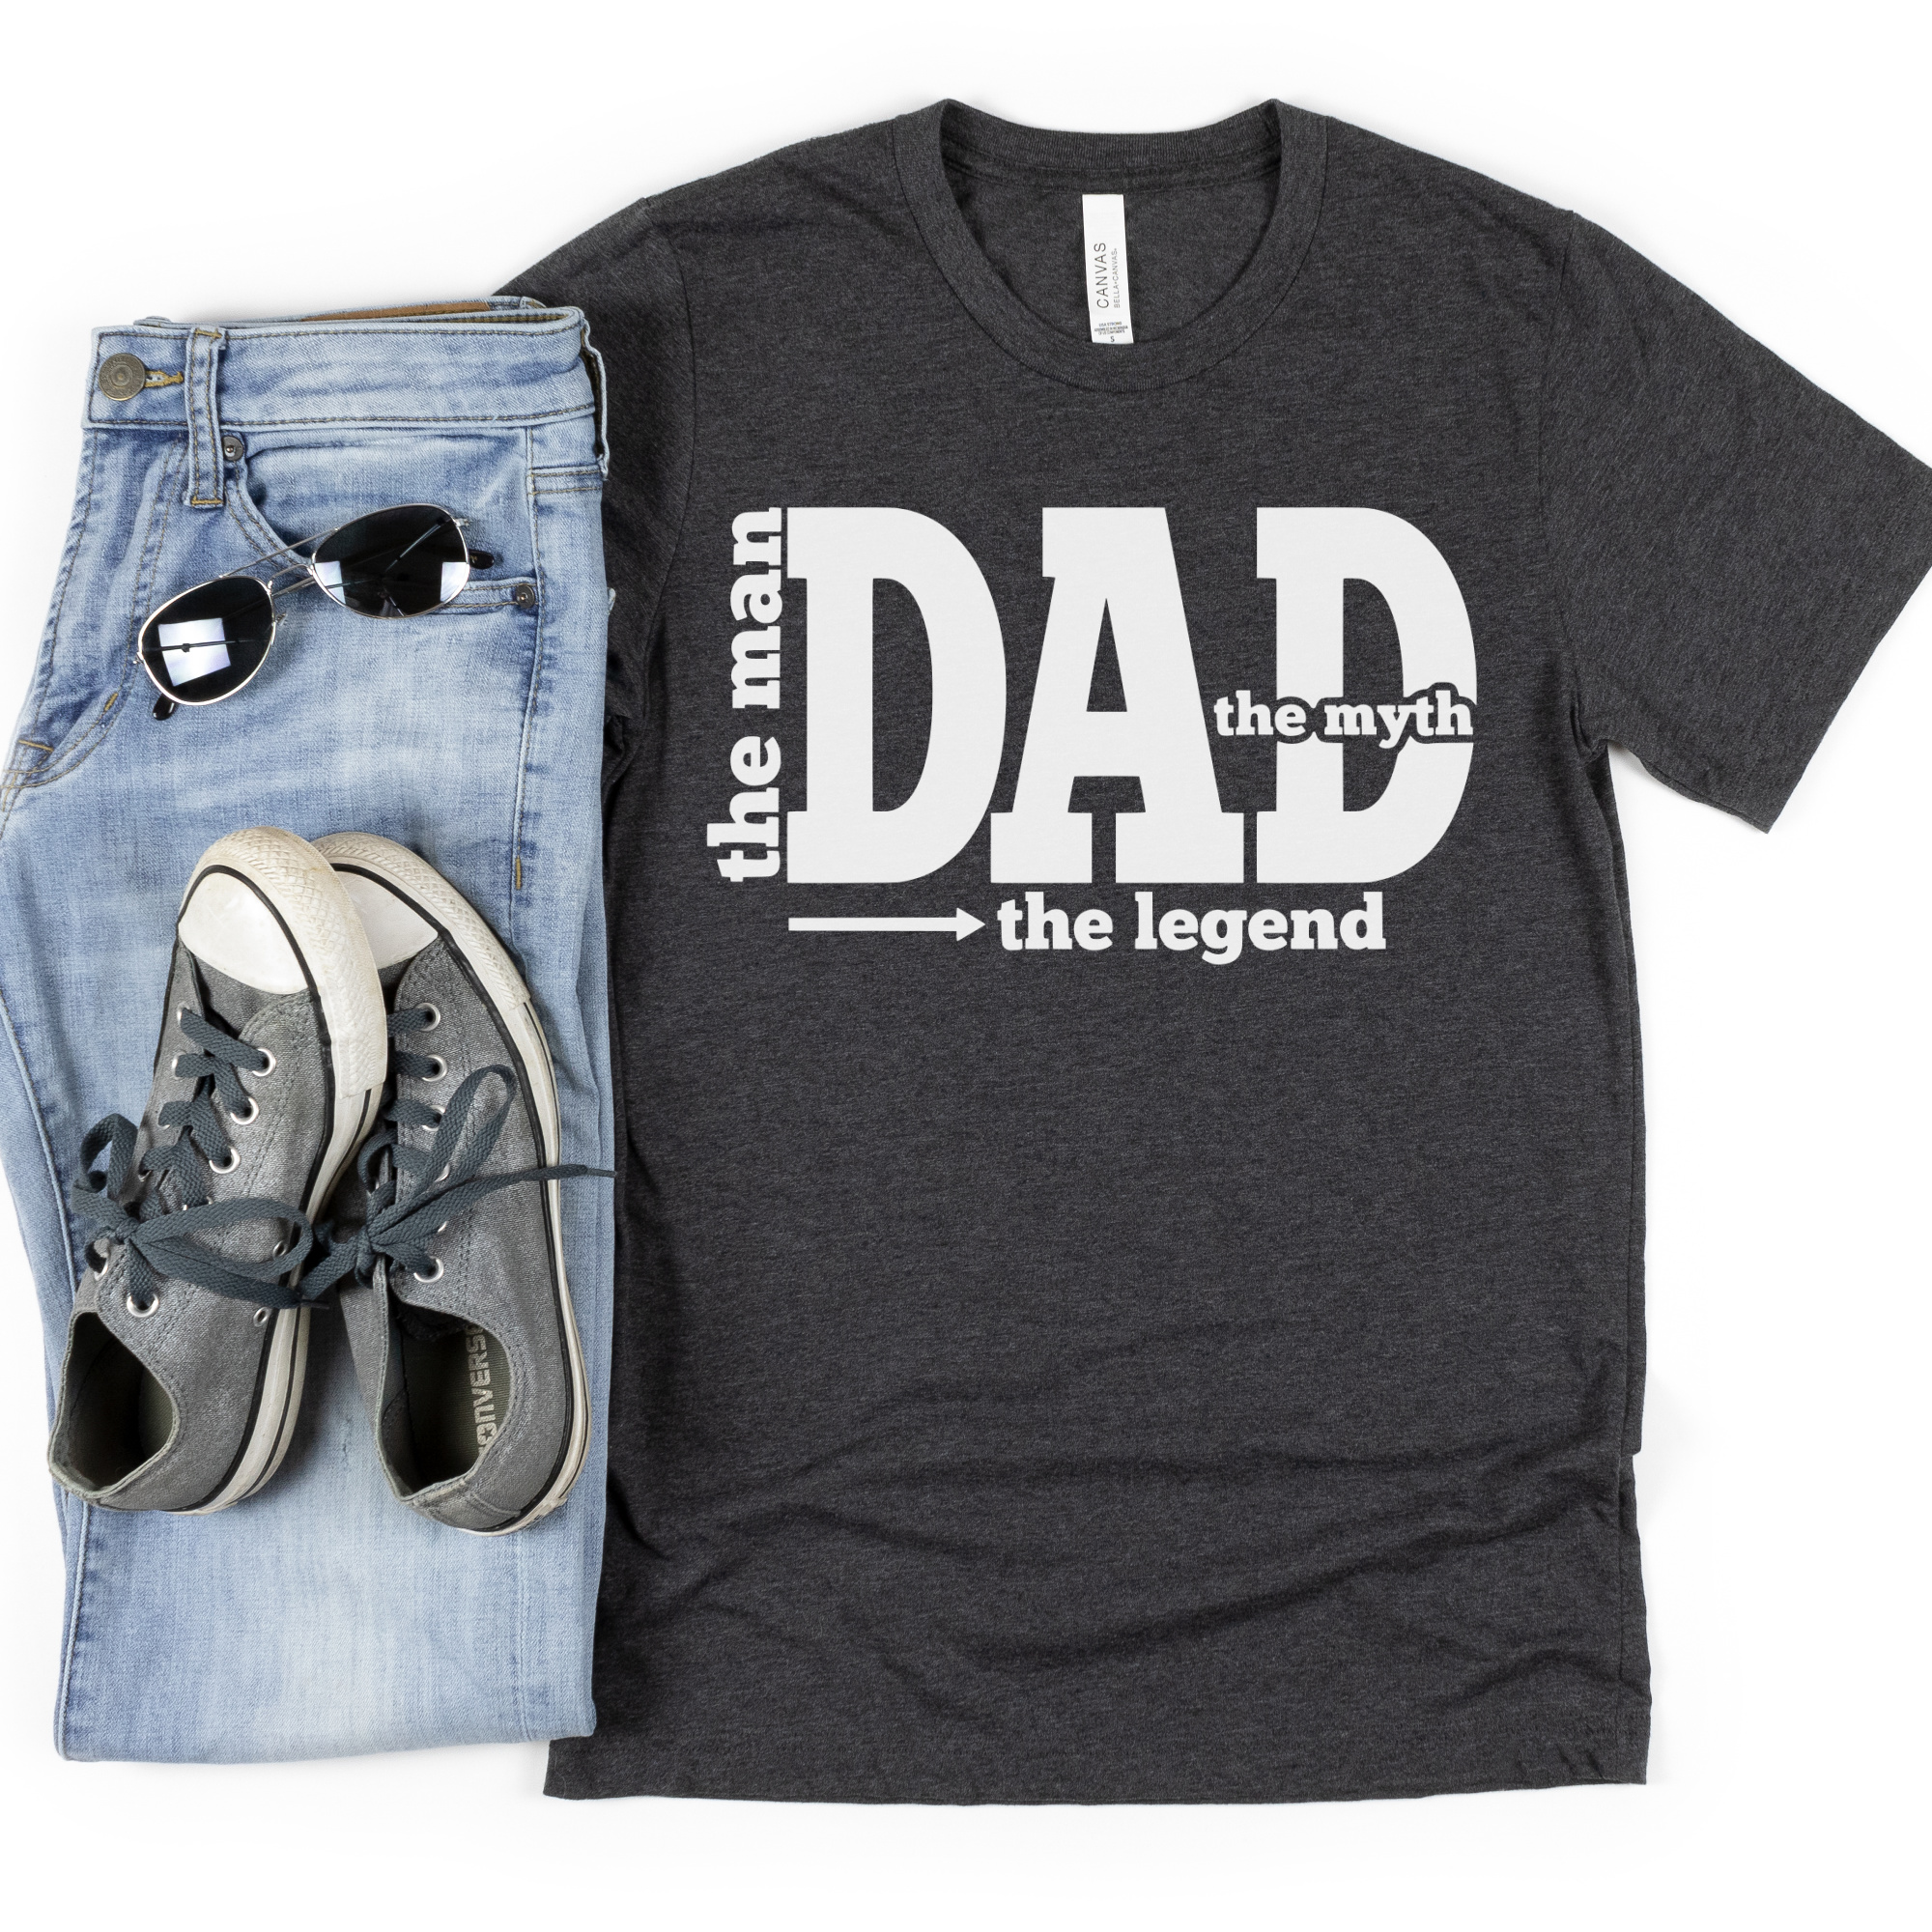
Dad: The Man, The Myth, The Legend Free Father’s Day SVG

Raising Arrows for Christ Free Father’s Day SVG

I Fix Things (Eventually) Free Father’s Day SVG

Beer Bottle Gift Card Holder Free Father’s Day SVG

To The World You Are a Father Free Father’s Day SVG

Tie (This is My Dress Shirt) Free Father’s Day SVG

Dad Mode On Free Father’s Day SVG

Top Dad Free Father’s Day SVG

Love You to the 18th Hole and Back Free Father’s Day SVG

A Dad Like You is Rare Free Father’s Day SVG

It’s a Father Figure Free Father’s Day SVG

King of the Dad Jokes Free Father’s Day SVG

Best Dad Ever Paper Layered Craft Free Father’s Day SVG

Father’s Day Shirt & Tie Card Free Father’s Day SVG

#1 Dad Free Father’s Day SVG
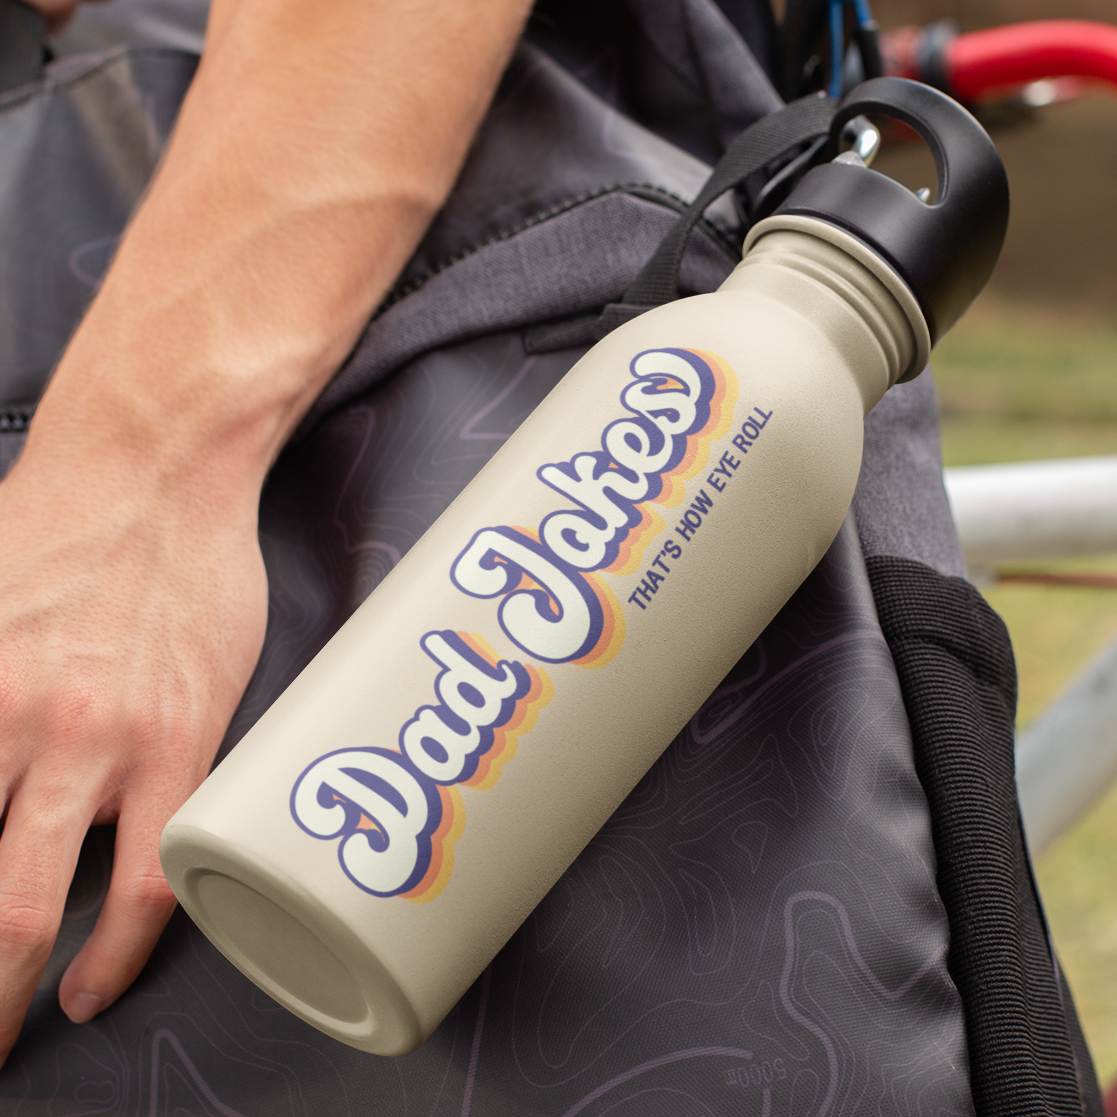
Dad Jokes – That’s How Eye Roll Free Father’s Day SVG

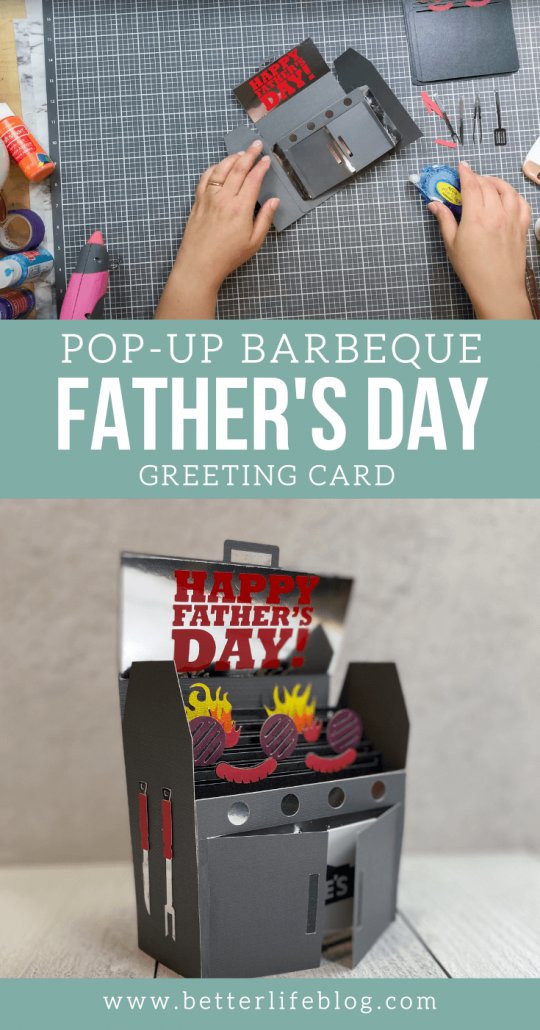
Cricut Father’s Day Gift Idea: Pop-Up Father’s Day BBQ Card
This Pop Up Father’s Day BBQ Card will be a huge hit with dad – and guess what? It’s made using a Cricut machine! Take a look at my step-by-step tutorial so that you can surprise dad with this homemade craft!
Materials
Instructions
- The first thing to do is to take all of the little pieces: hot dogs, burgers and fire, and glue them all onto the BBQ base.
- Next, weed the “Happy Father’s Day” portion of the craft and use transfer tape to apply it to the top of the BBQ.
- For the following step, glue together all of the pieces that belong to the BBQ’s door. Set aside.
- Next, take your two side pieces, and attach each one to the back of the grill tabs (one goes on the right of the grill, the other goes on the left). I recommend using crafter’s tape for this step.
- Take the grill door and add crafter’s tape to the front of its left side tab and attach it to the back of the grill’s left side tab.
- Next, grab all of the BBQ’s middle pieces – with these, you will be working from the back piece to the front piece.
- On each of the middle pieces, fold the left tab backwards.
- Grab the most back piece and add crafter’s tape to the front of the folded tab. Then, place it and secure it on the left side of the open BBQ.
- Do the same for the next piece, placing it in front of the piece you just attached. Continue with the remaining pieces. Remember, it’s VERY important to work from the back to the front for these steps. In the correct order, these pieces go from tall to short so that you can see all the pieces when looking at the card from the front.
- Now that all the middle pieces are attached to the main BBQ piece, fold the right tab on each middle piece. You will want to fold them backwards.
- Once everything is folded, add crafter’s tape to the backside of those tabs. Also, add glue to the remaining tab on the BBQ door.
- Take the back part of the BBQ and fold it forward, securing it onto the glued side of all the remaining, unattached tabs.
- Next, assemble all the pieces for the little utensils.
- Once the utensils are assembled, add crafter’s tape to the back of each one. Secure to the sides of the BBQ.
- Finally, add dad’s favorite gift card to the door portion of the BBQ. Enjoy!