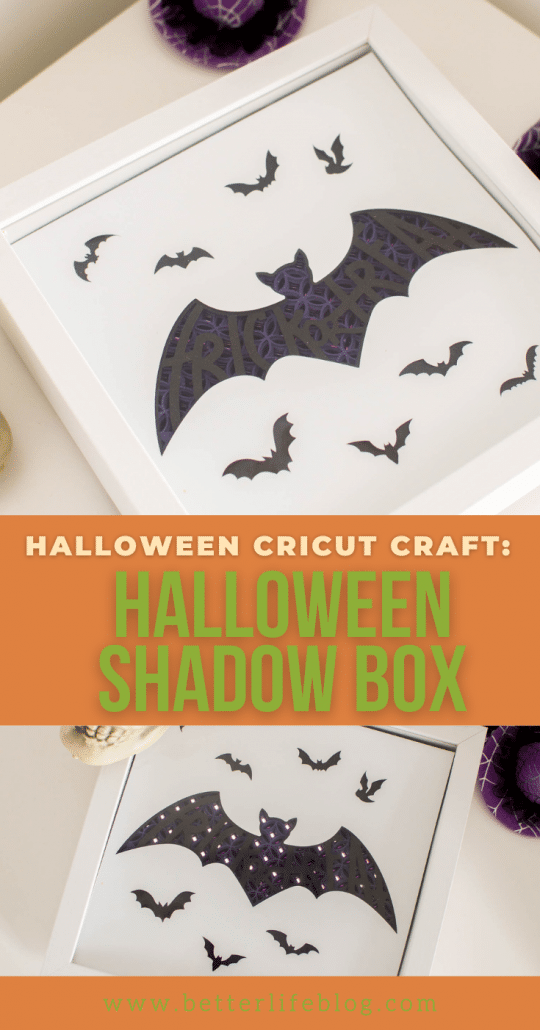
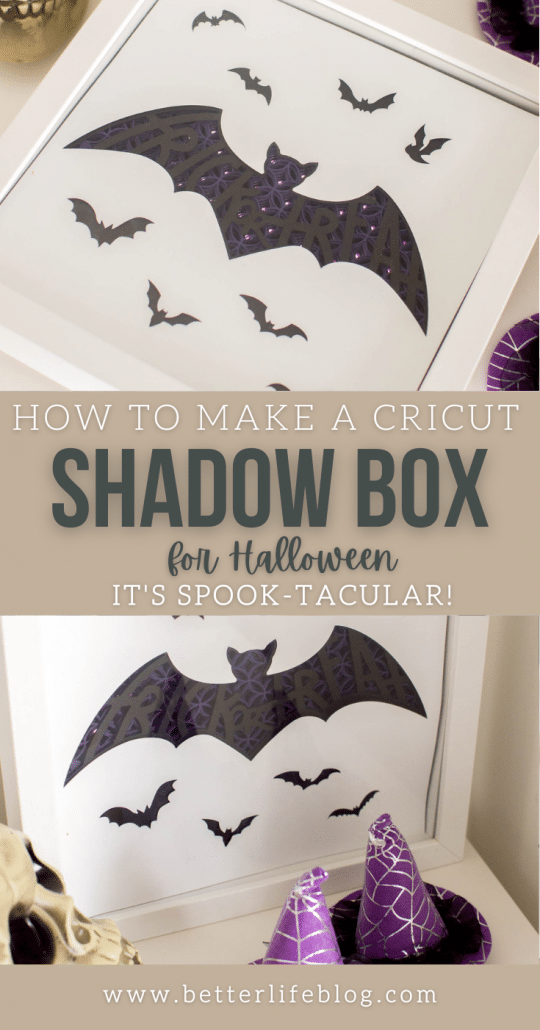
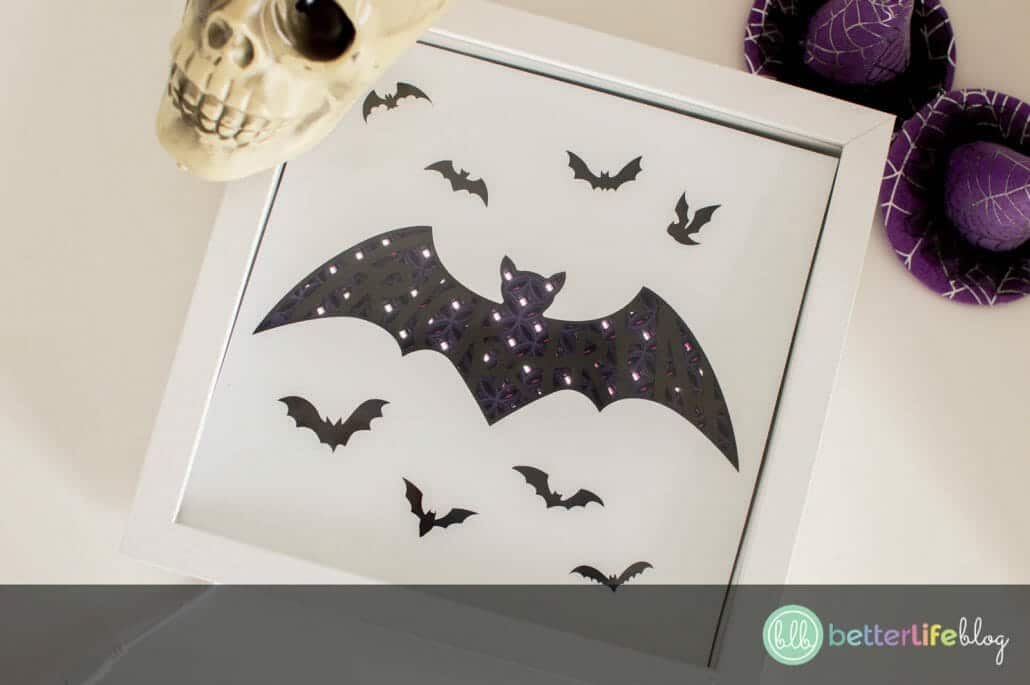
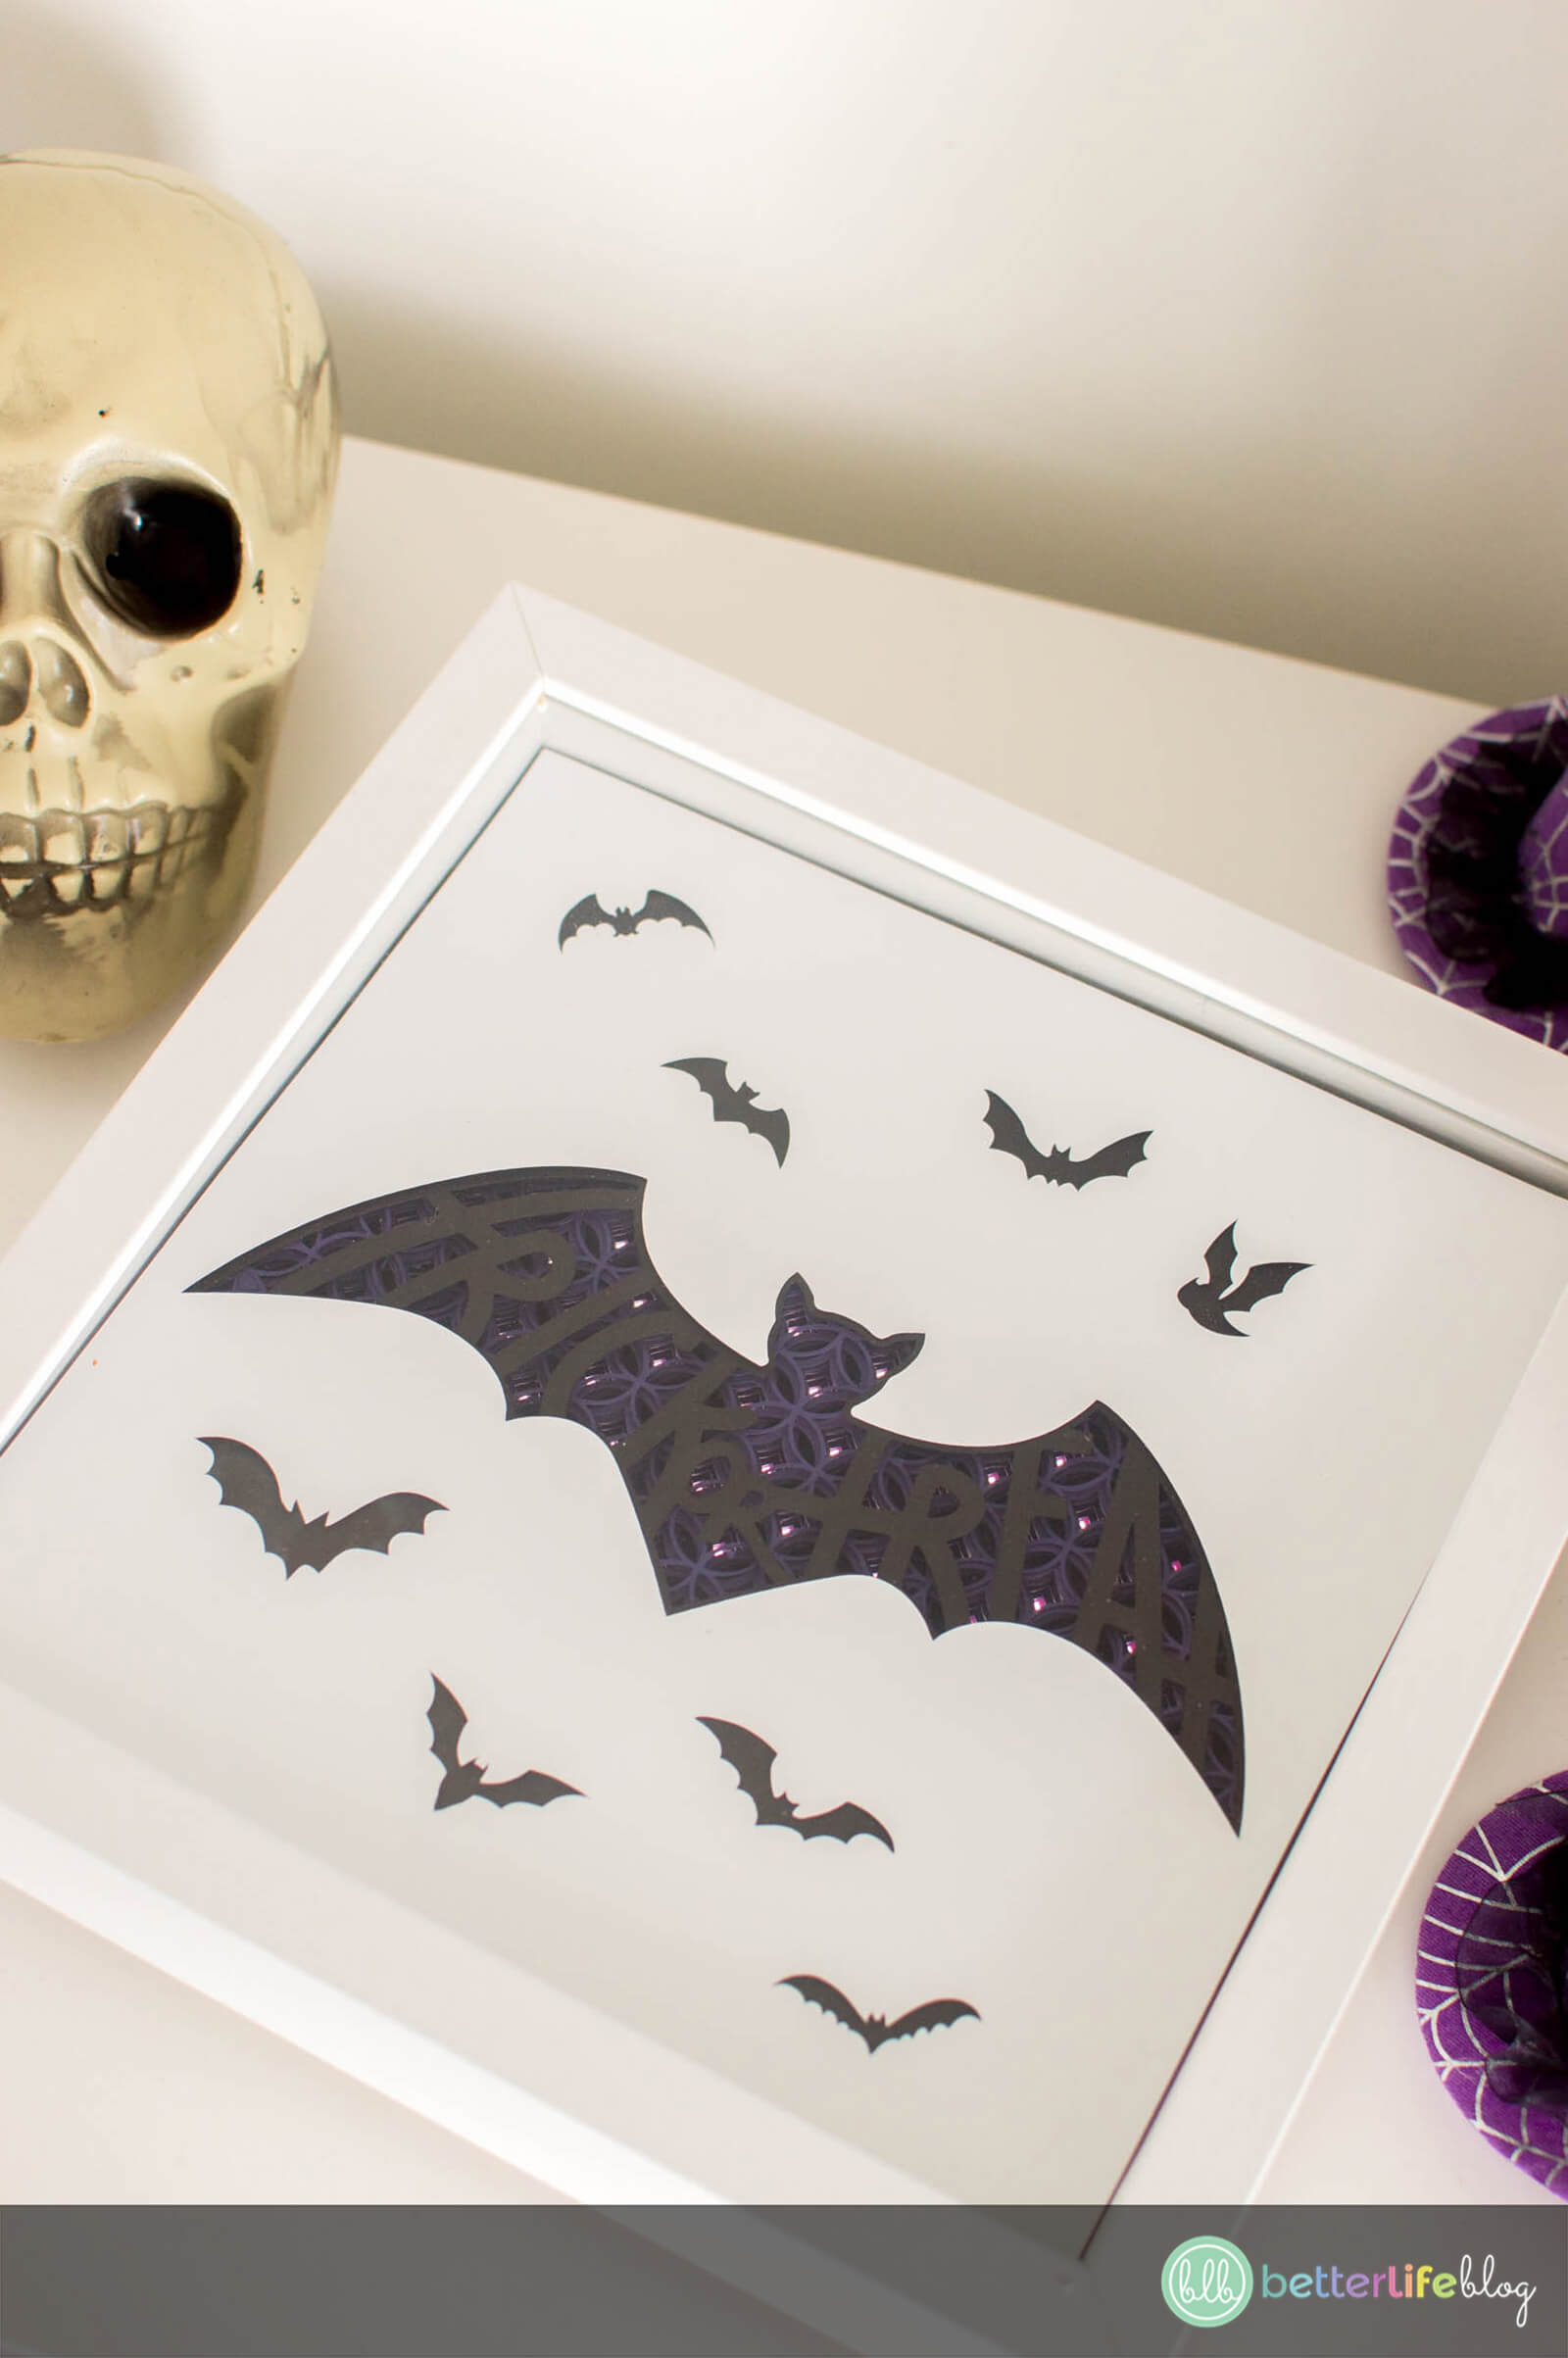
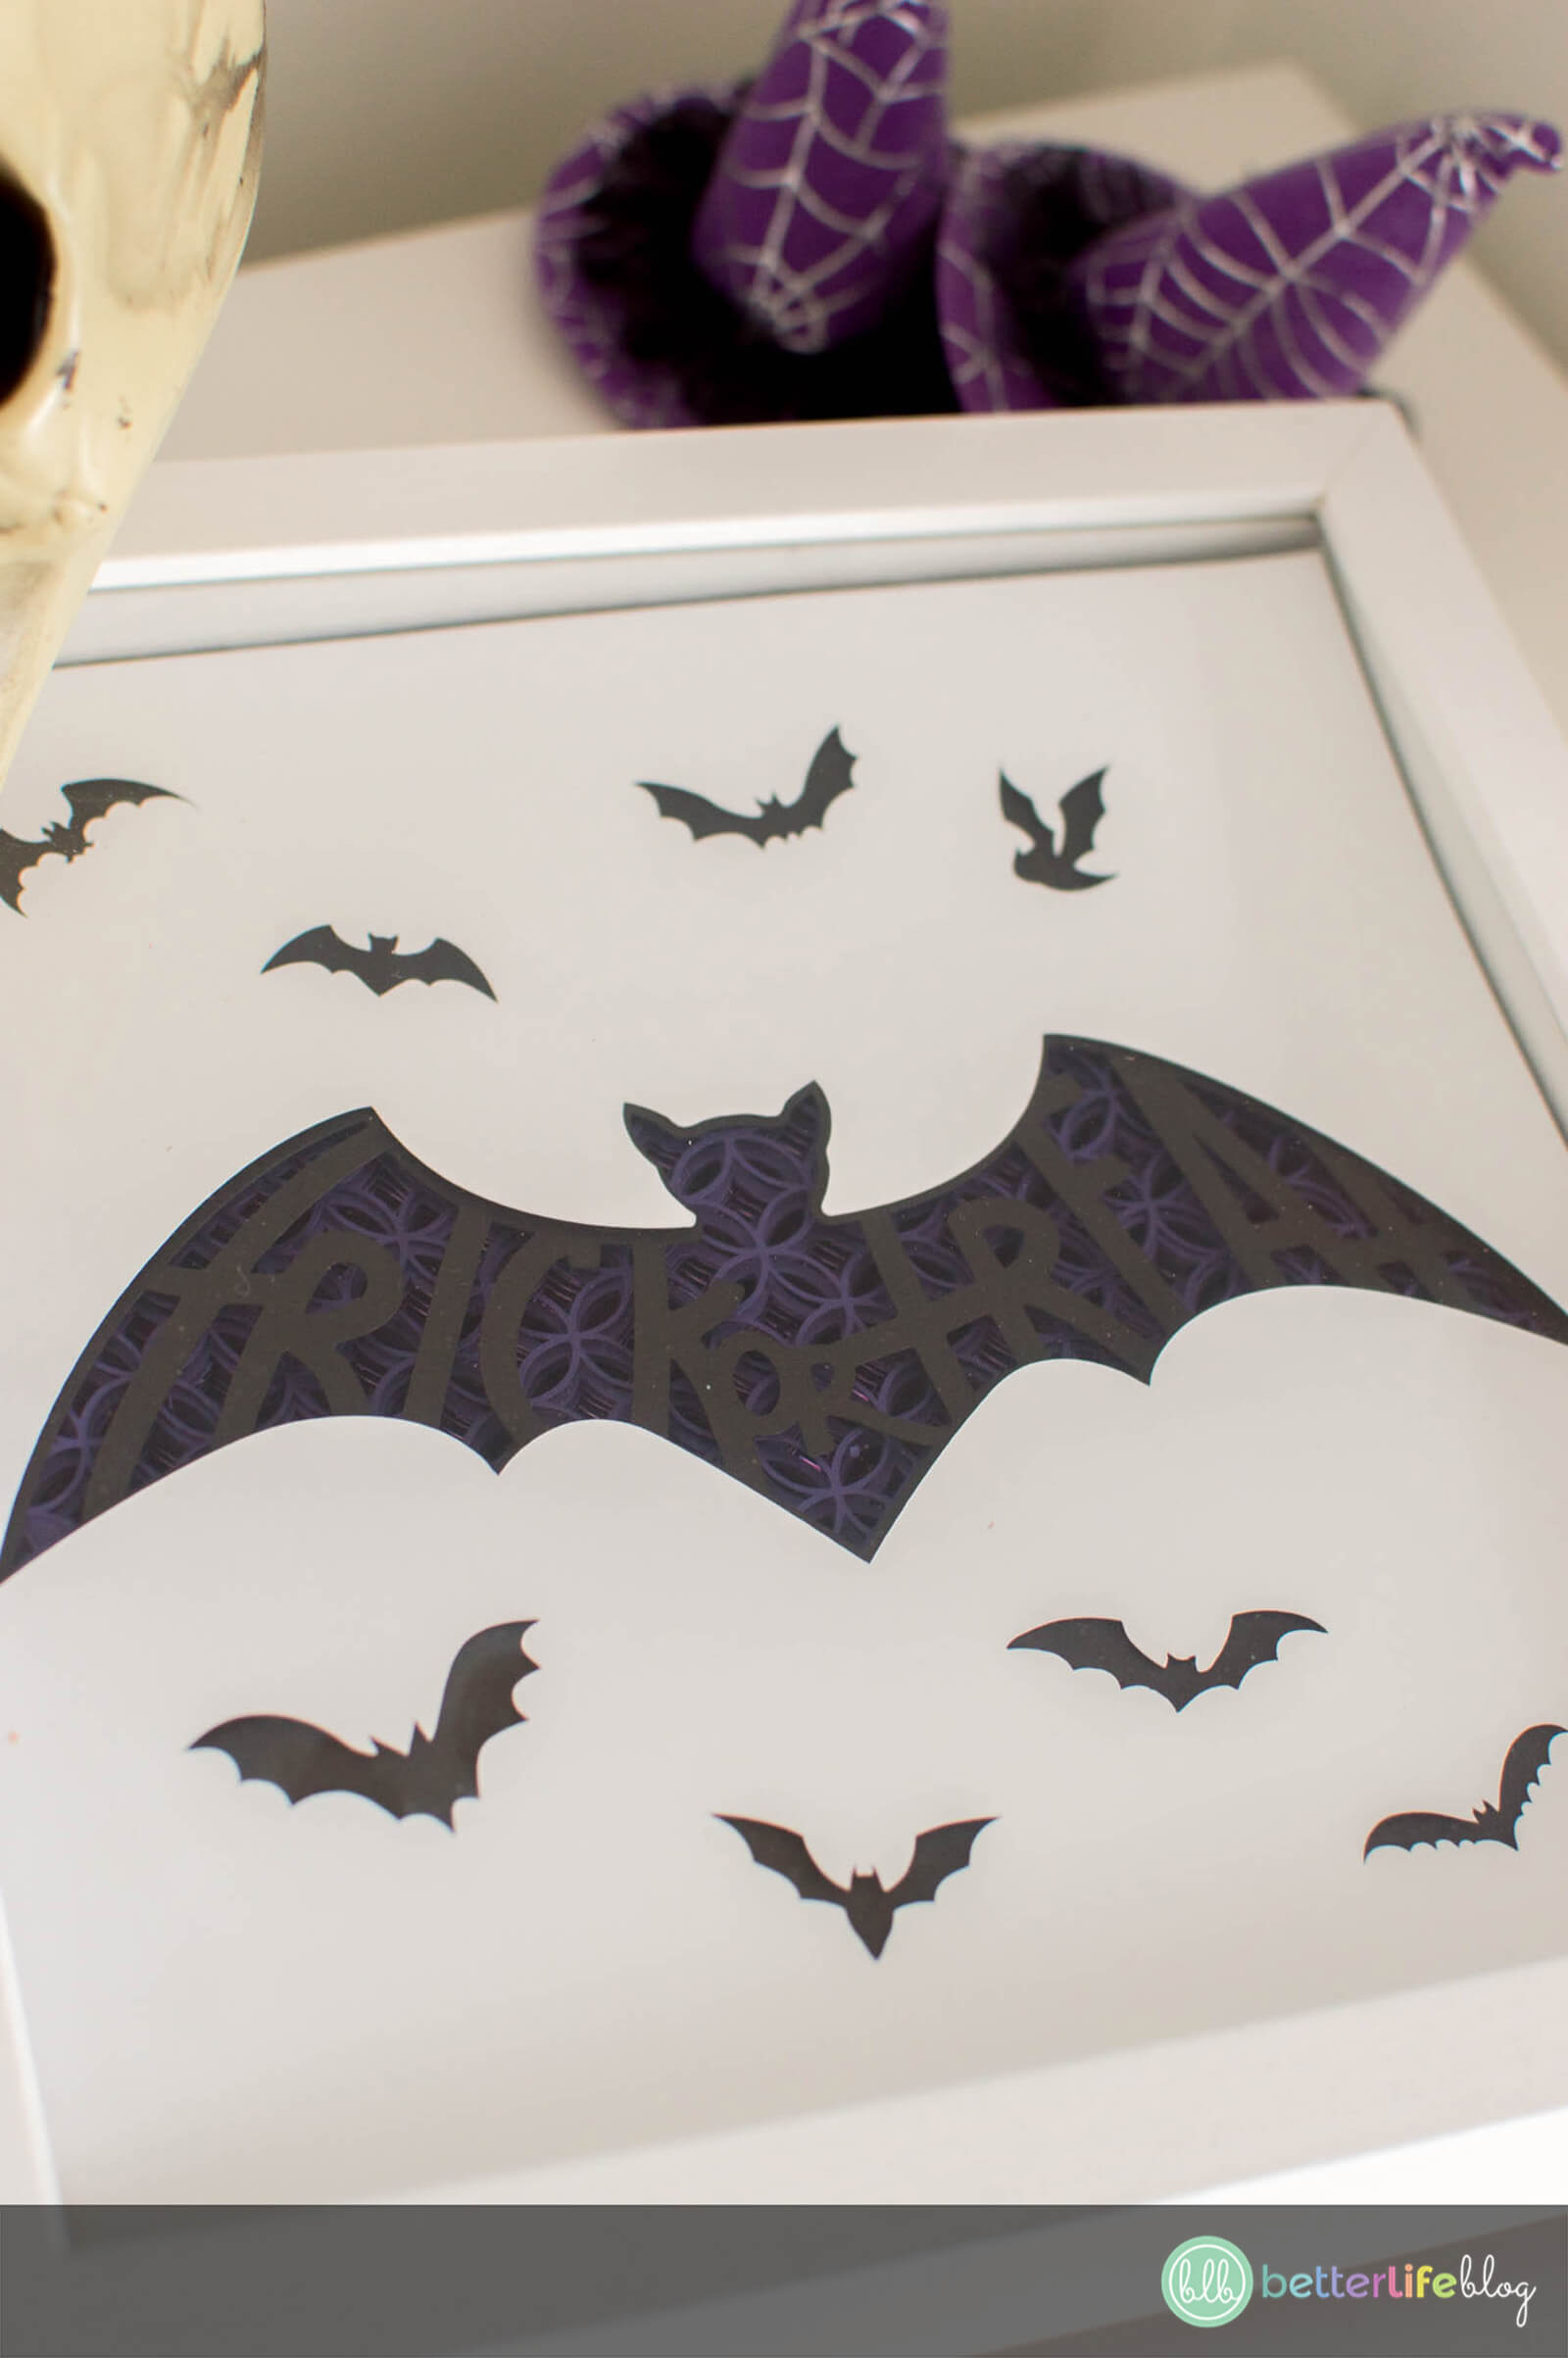
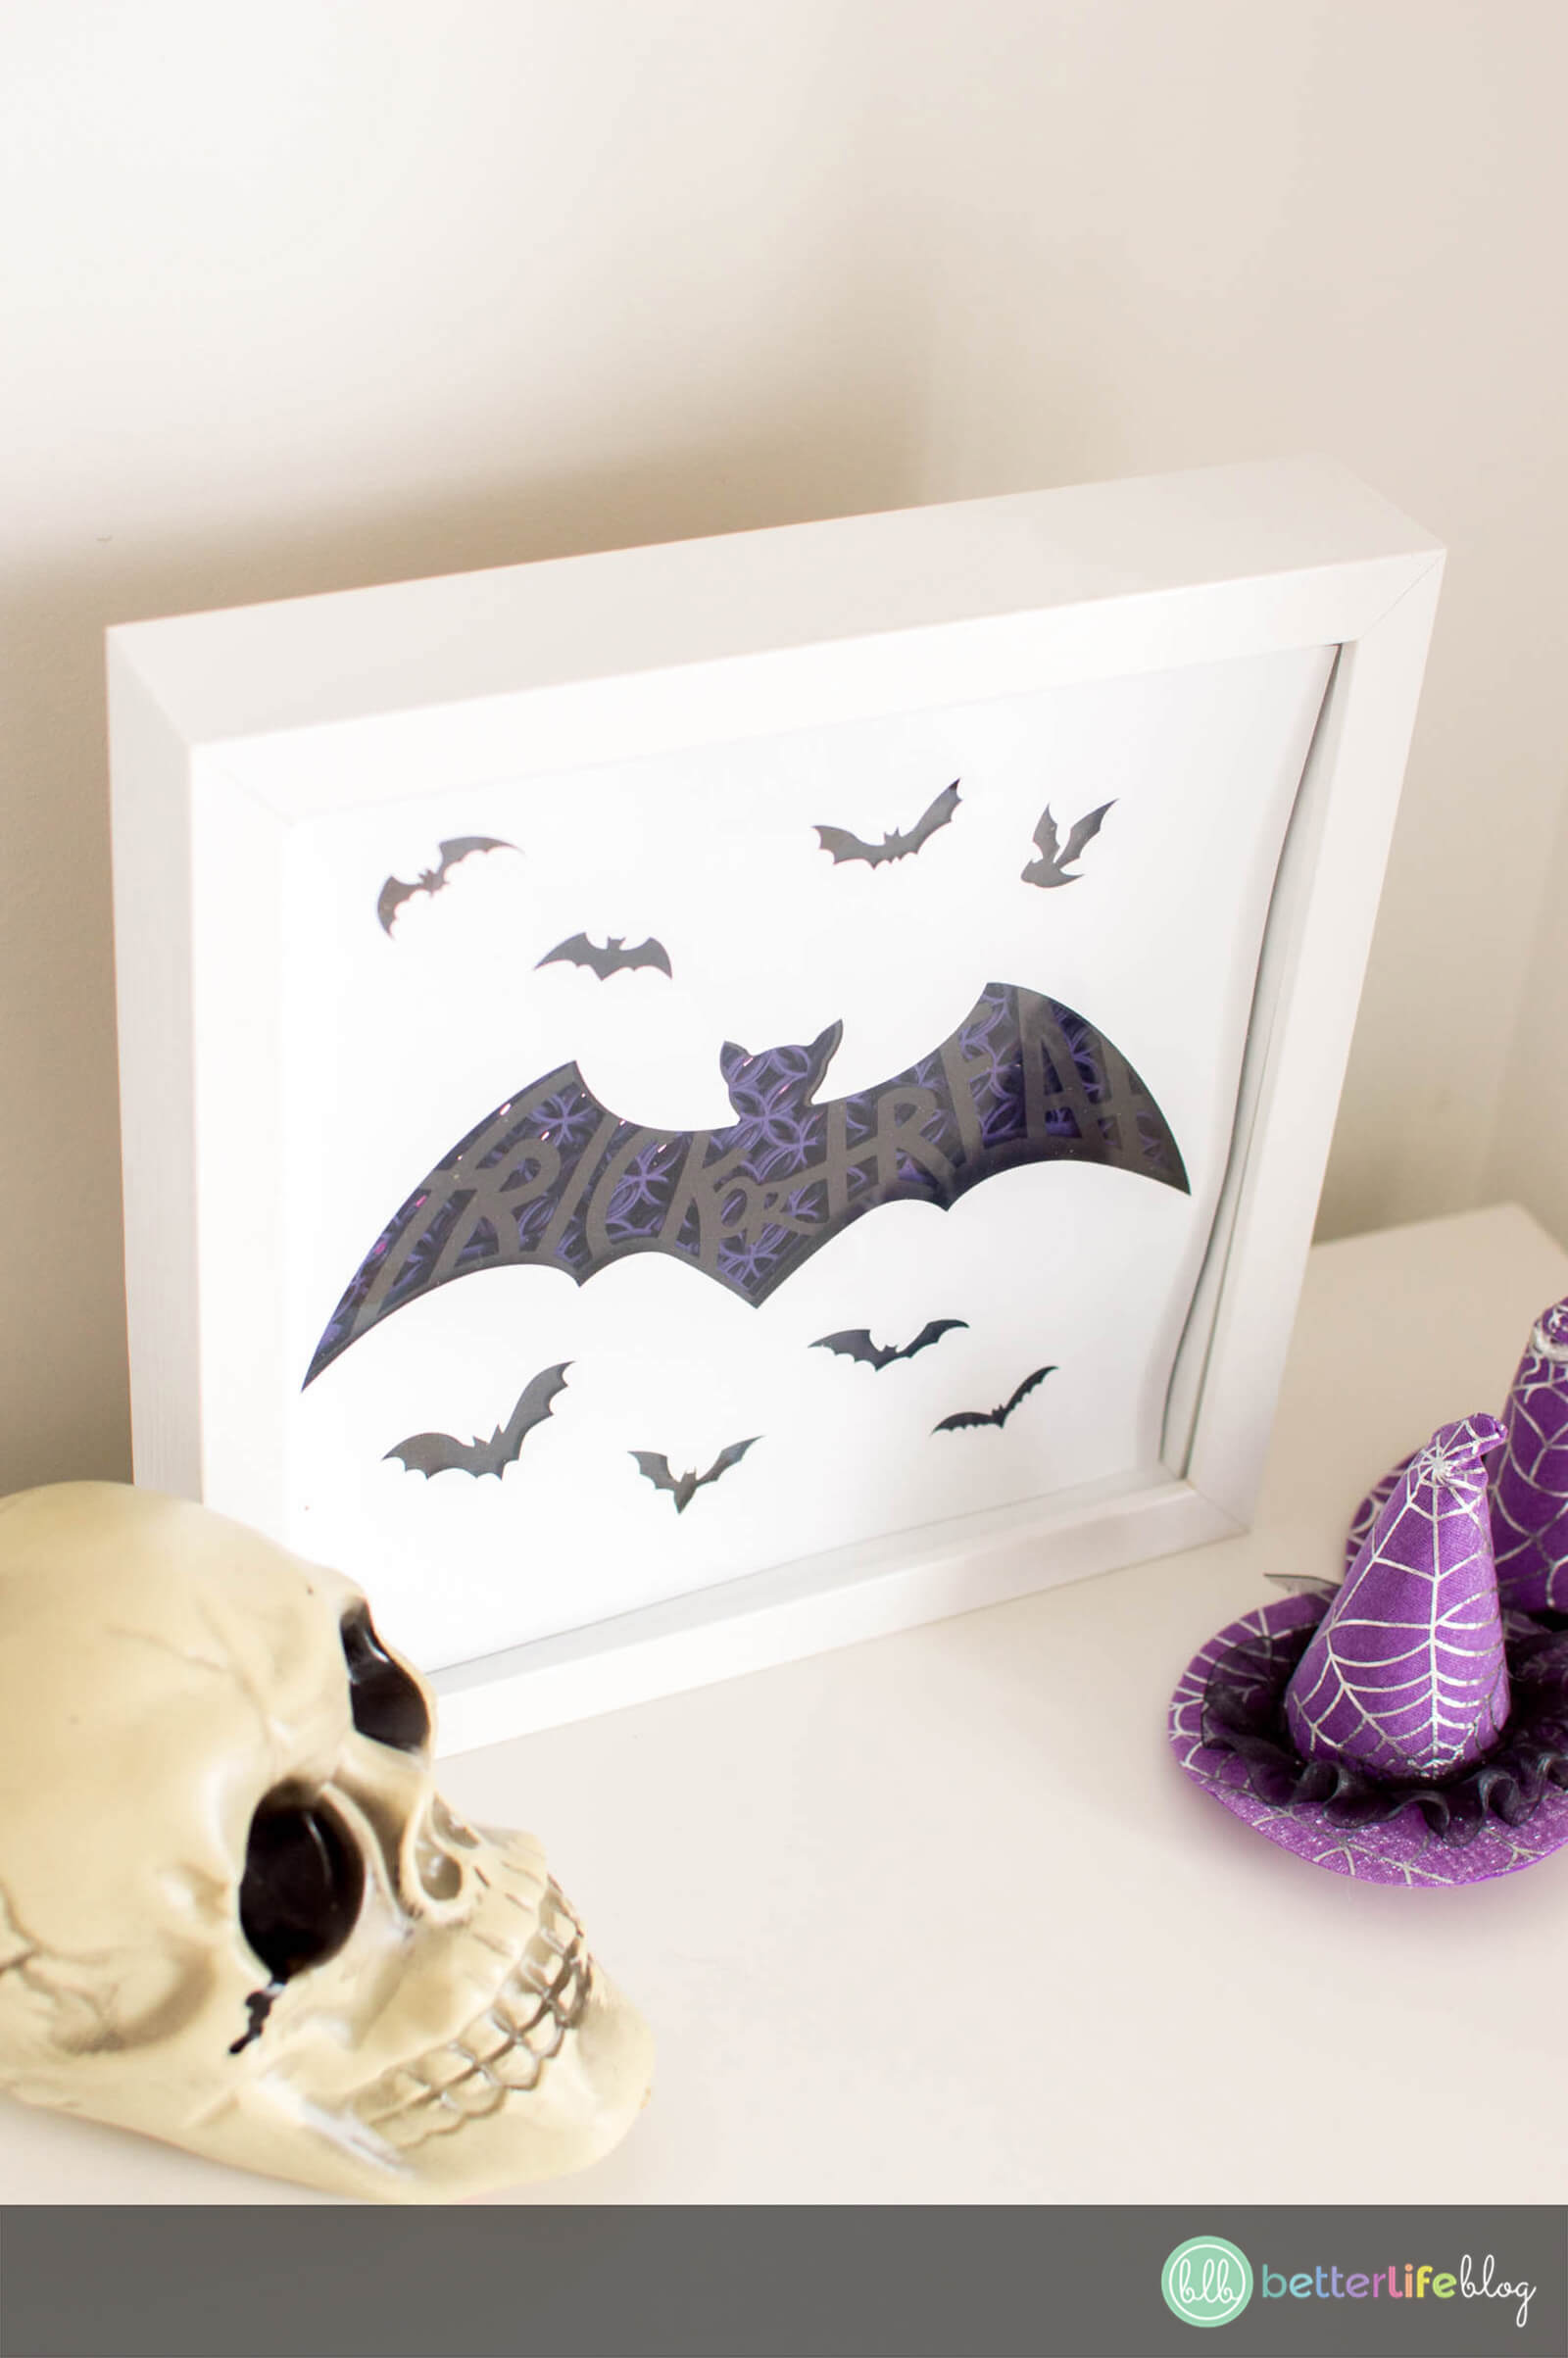
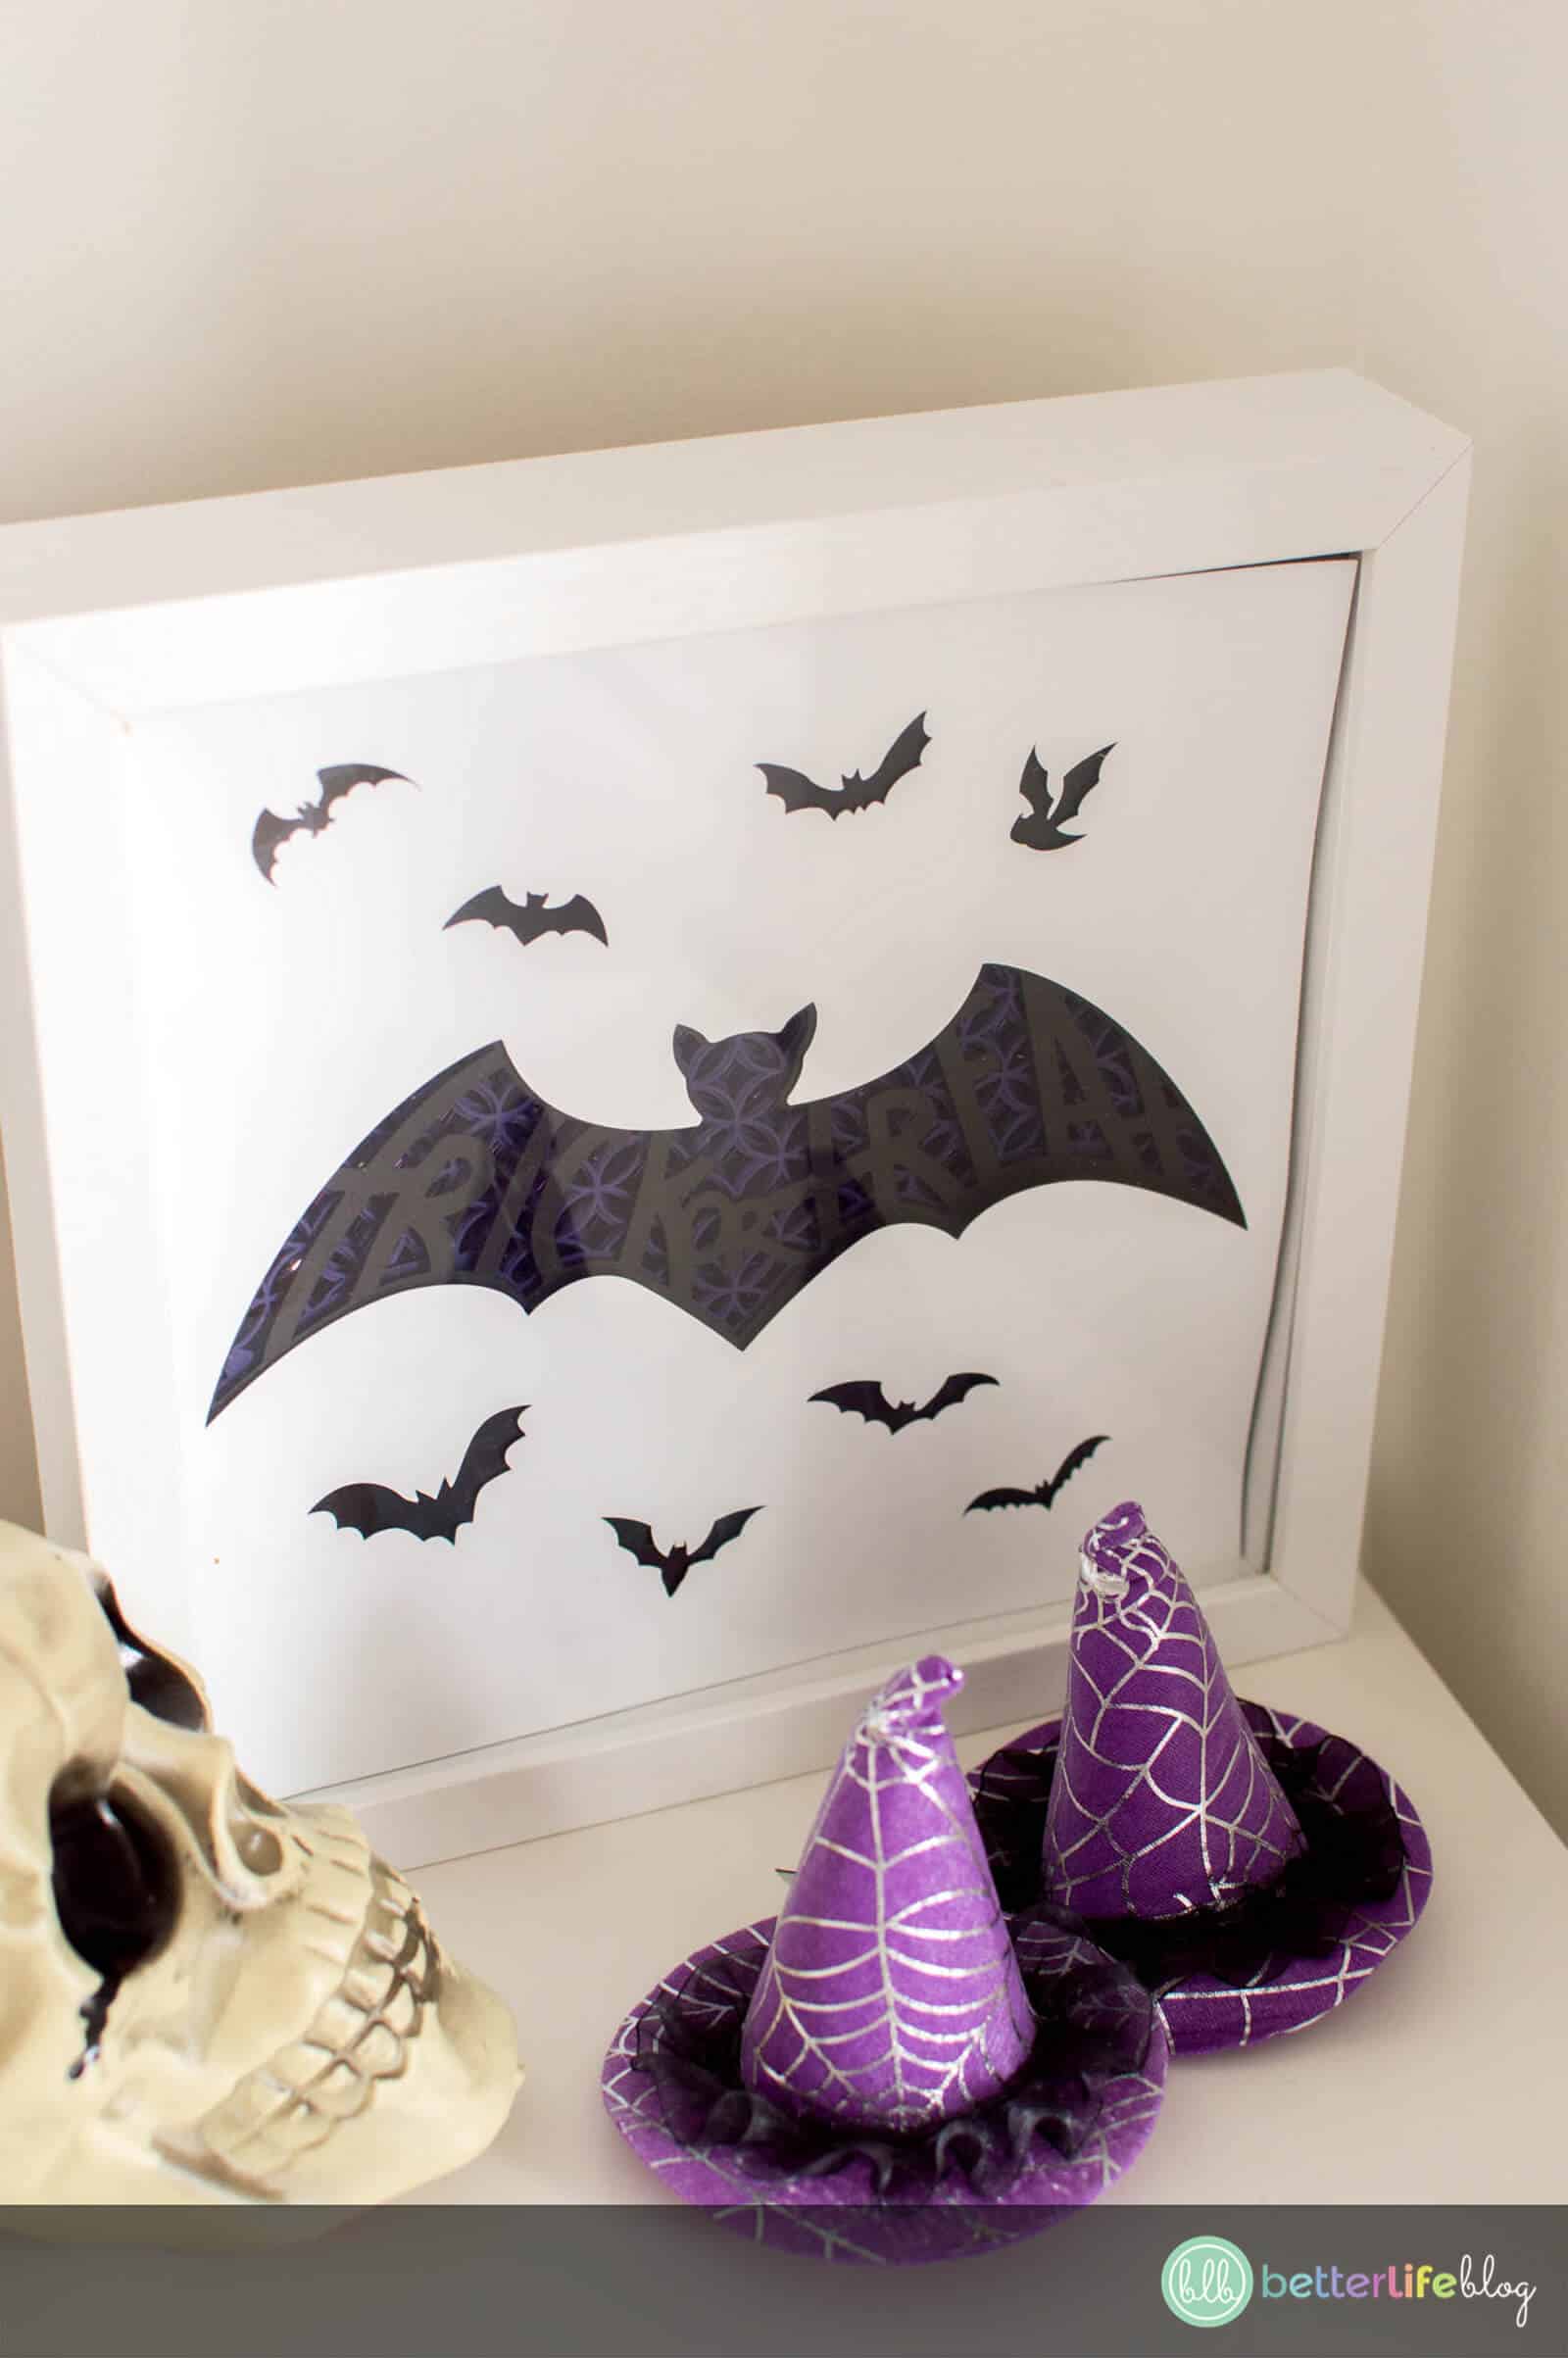
You’ll look like a crafting pro once you put together this super easy Halloween Shadow Box! It boasts a beautiful design that’s both intricate and detailed – you’ll be so surprised at how simple it is to DIY!
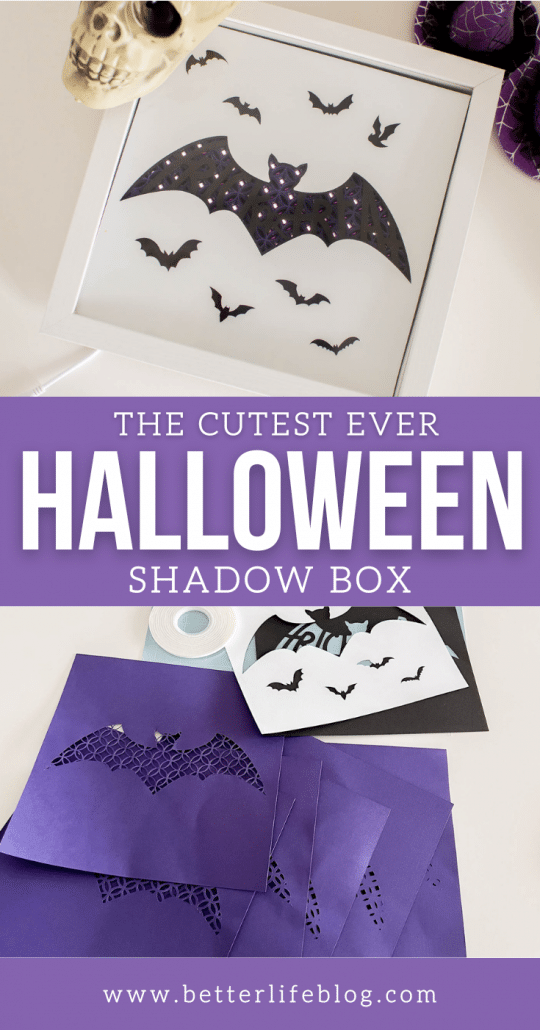
Welcome back, crafty friends! I am thrilled to show you a new Cricut shadow box that only requires some cardstock and glue to put together! My easy Halloween shadow box is the perfect way to add a “spook-tacular” touch to any room in your home!
Where Can I Get the SVG File to Make a Halloween Shadow Box?
Members of my VIP Crafters Club: don’t forget that you can get a copy of this SVG Halloween Shadow Box in your October 2021 files! If you’re not yet a member of the club, be sure to join here to unlock hundreds of original SVG files, handcrafted by yours truly!
You can also click here to download the individual SVG cut file.

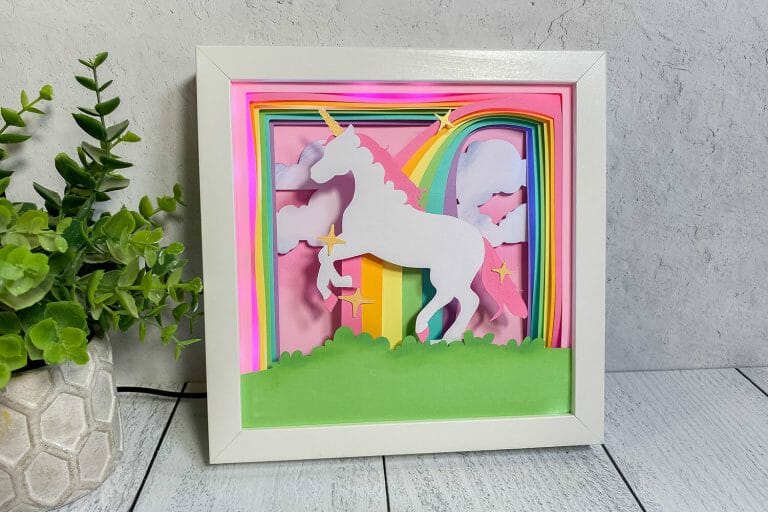
More Shadow Box Ideas
I absolutely adore making shadow boxes! Be sure to check out my other blog posts to learn how to make more:
You can also take a look at these files to make other shadow themes:

What Supplies Do I Need to Make a Halloween Shadow Box?
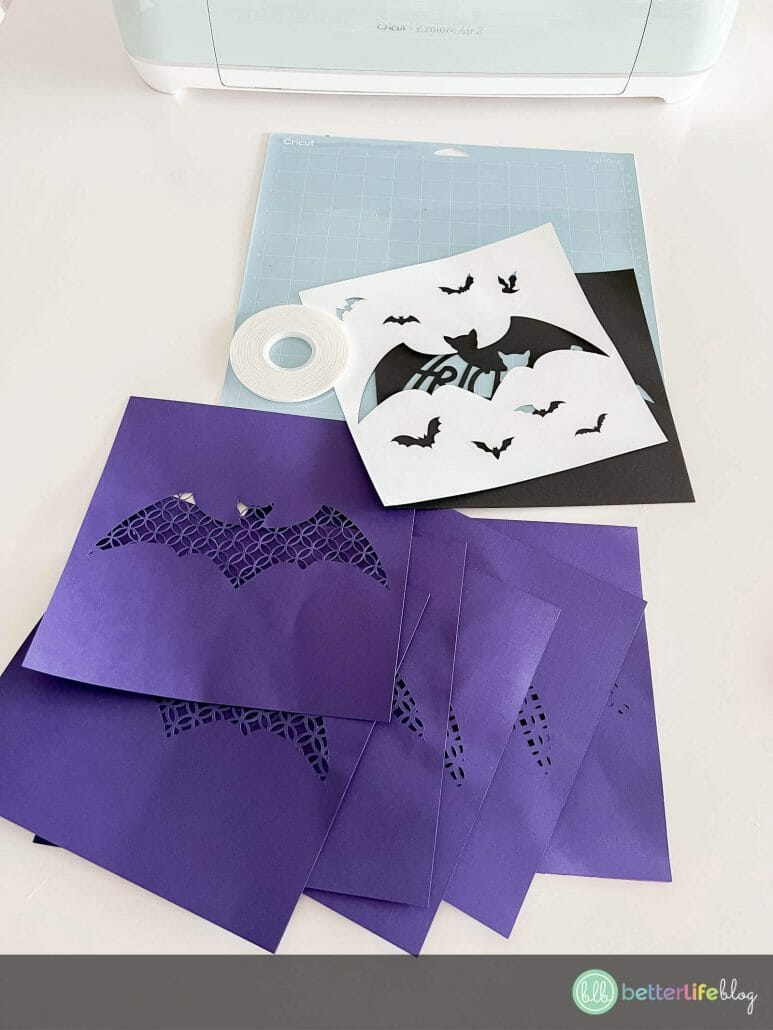
To put together this gorgeous Halloween shadow box, you will need the following supplies:
- Cricut
- Halloween shadow box SVG file
- 9 x 9 shadow box
- Cardstock (we used white, black and purple)
- Double-sided foam tape
- Scissors
How to Make a Cricut Halloween Shadow Box
Okay, crafty friends: the moment you’ve been waiting for! Here’s how to make the cutest ever Halloween shadow box – just take a look at the following easy-to-follow instructions:
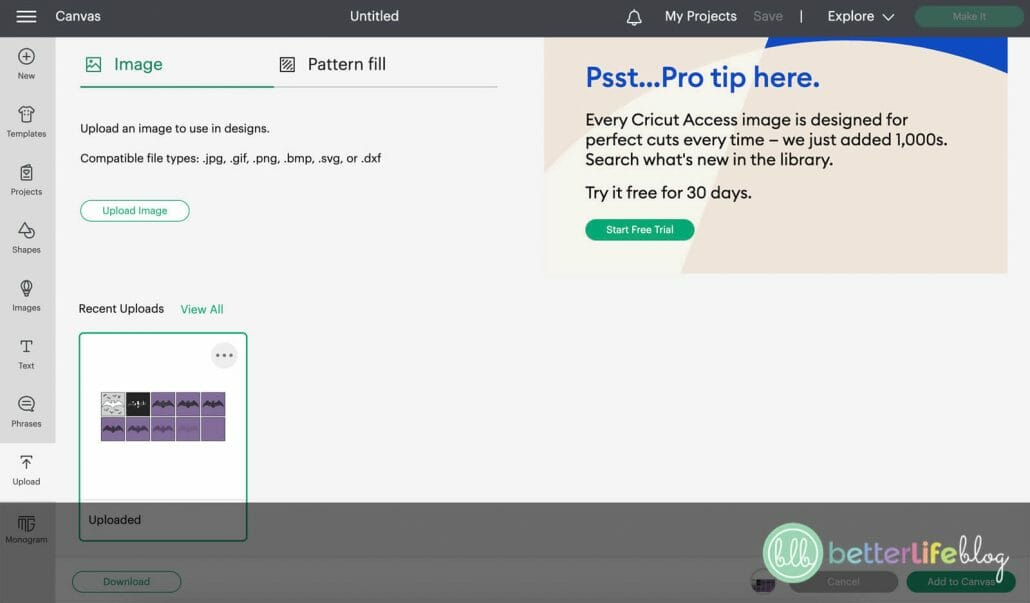
Begin by uploading the Bat Shadow Box SVG design to your cutting program of choice (for this blog post, we used Cricut Design).

Resize the design so that it fits inside your shadow box. If you are using a 9×9 shadow box, we recommend resizing the design down to 8.5 inches by 8.5 inches. However, it is best to measure the inside of your box to be make sure.

Once resized, follow your program’s directions to cut each piece.

For this particular project, the pieces are placed in order of how it will be layered (please see image below). The design labelled as #1 will be the design that goes on top, then the next one behind it will be #2, and so on and so forth.

For this Halloween shadow box, you will be layering each piece on top of each other with the help of double-sided foam. This gives space between each layer. Alternatively, you can also cut paper straws into small pieces and glue them between each layer.
Begin with layer #10. Cut 4 pieces of double sided foam and add to each edge of the layer. Add layer #9 on top.


Continue doing the same until you reach layer #1. That will be your top layer and you will not want to add glue on top of it.
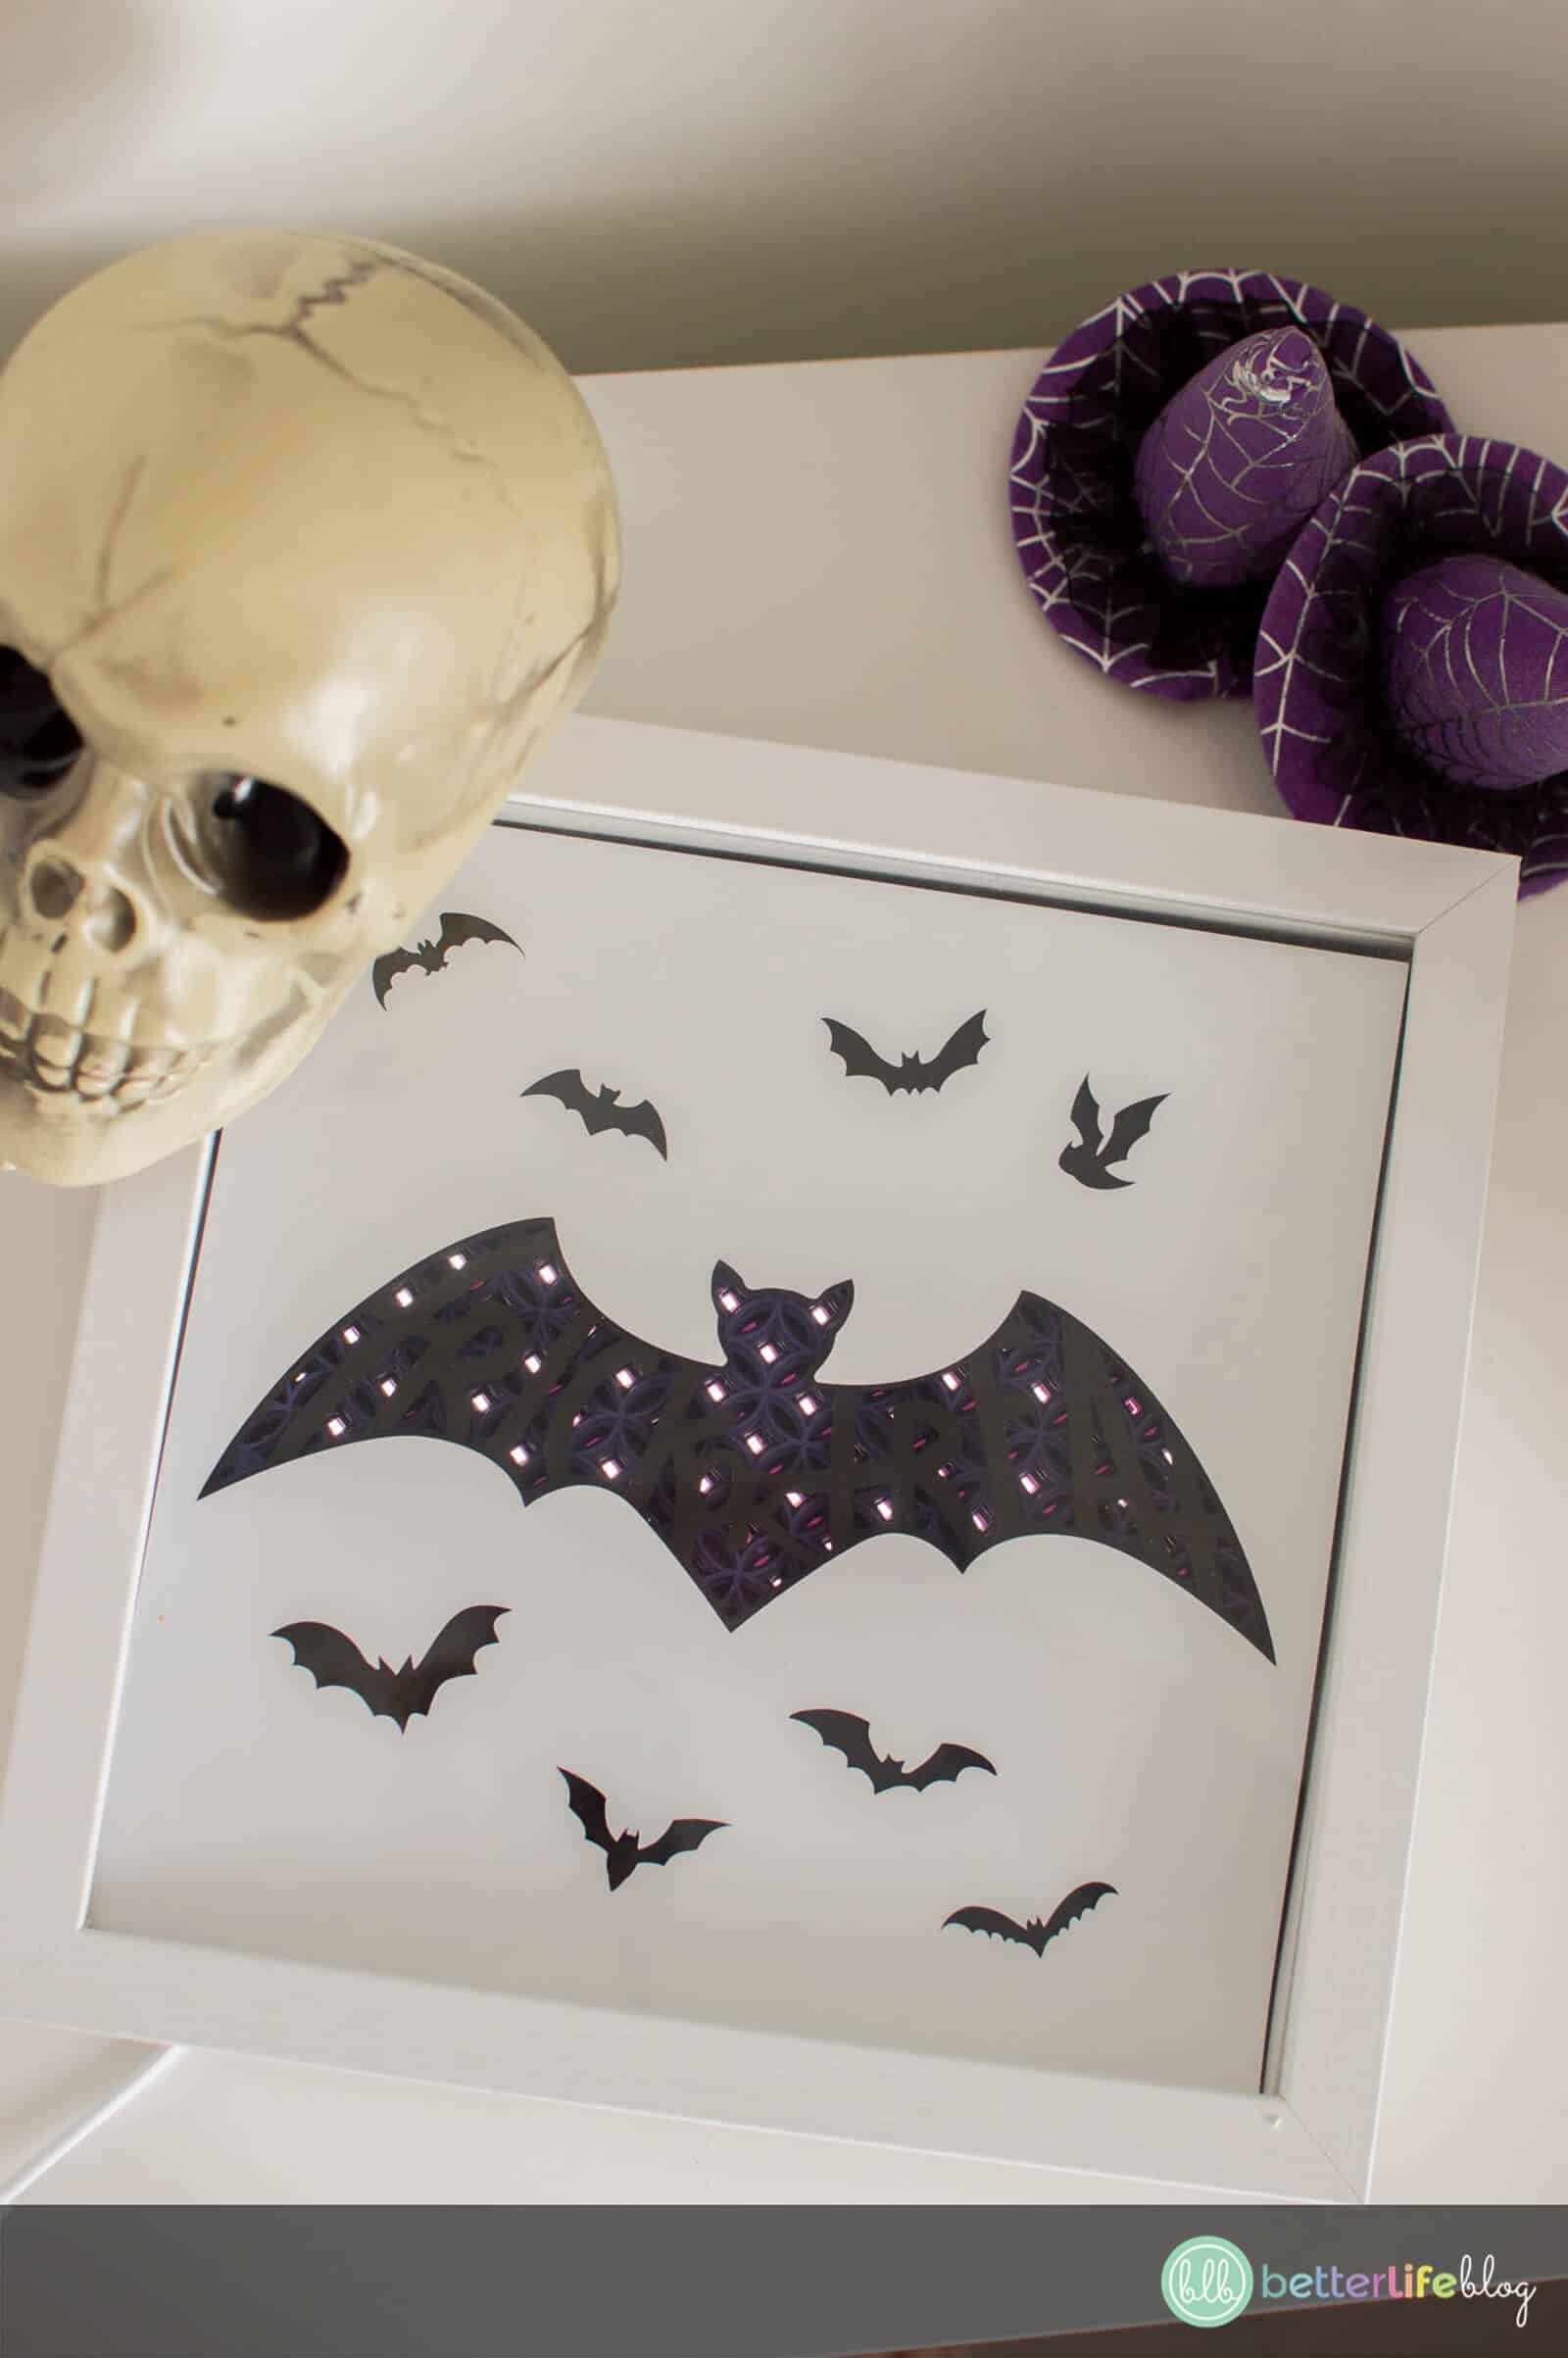
Now that all of your layers are glued together, add it into your shadow box. Close the shadow box to secure and decorate your home!


Easy Halloween Shadow Box
You’ll look like a crafting pro once you put together this super easy Halloween Shadow Box! It boasts a beautiful design that’s both intricate and detailed – you’ll be so surprised how simple it is to DIY!
Materials
Instructions
- Begin by uploading the Bat Shadow Box SVG design to your cutting program of choice (for this blog post, we used Cricut Design).
- Resize the design so that it fits inside your shadow box. If you are using a 9x9 shadow box, we recommend resizing the design
down to 8.5 inches by 8.5 inches. However, it is best to measure the inside of your box to be make sure. - Once resized, follow your program’s directions to cut each piece.
- For this particular project, the pieces are placed in order of how it will be layered (please see image below). The design labelled as #1 will be the design that goes on top, then the next one behind it will be #2, and so on and so forth.
- For this Halloween shadow box, you will be layering each piece on top of each other with the help of double-sided foam. This gives space between each layer. Alternatively, you can also cut paper straws into small pieces and glue them between each layer.
- Begin with layer #10. Cut 4 pieces of double sided foam and add to each edge of the layer. Add layer #9 on top.
- Continue doing the same until you reach layer #1. That will be your top layer and you will not want to add glue on top of it.
- Now that all of your layers are glued together, add it into your shadow box. Close the shadow box to secure and decorate your home!