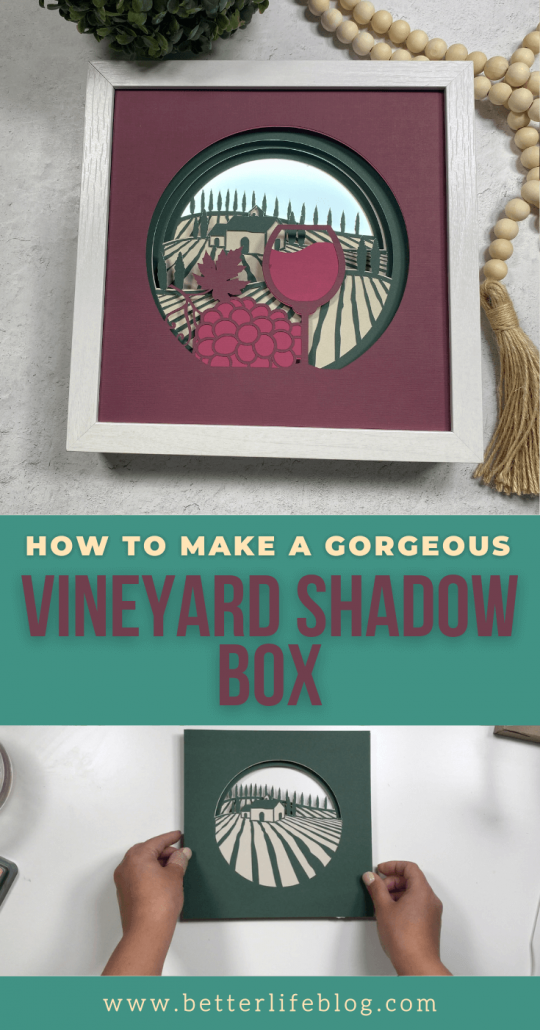
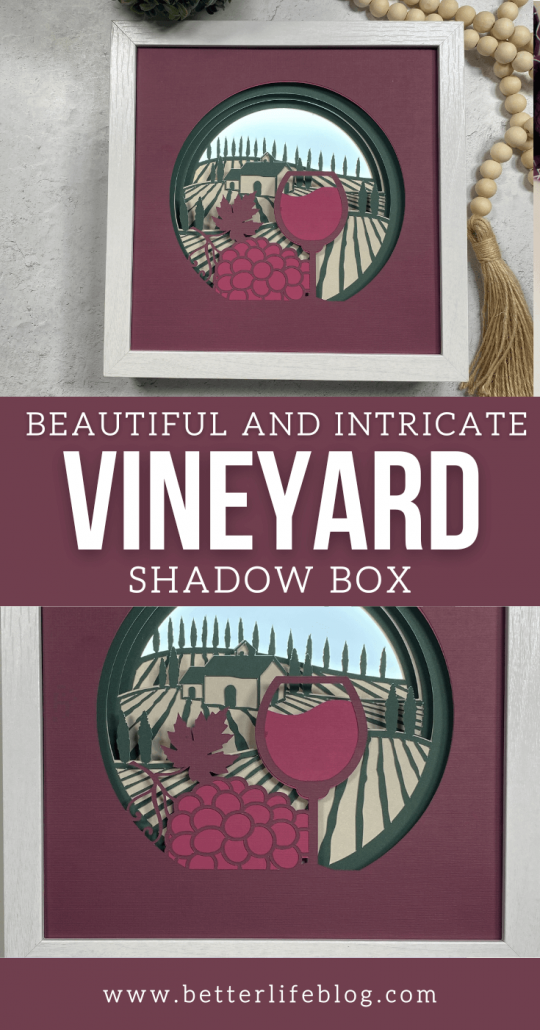
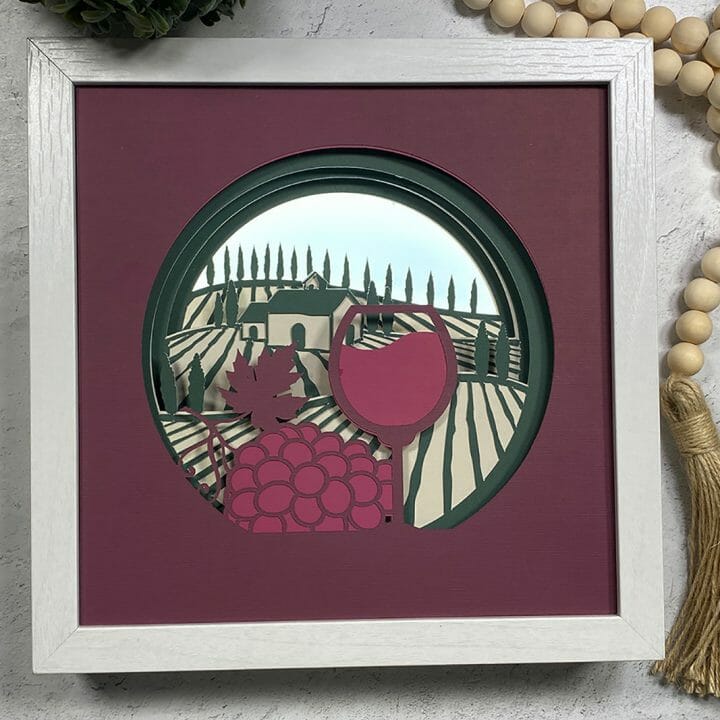
This Vineyard Shadow Box DIY boasts a beautiful and intricate vineyard design, making for the perfect wall art to any kitchen and/or dining room. The layers are incredibly detailed, showing off a gorgeous vineyard landscape.
Warm greetings, crafty friends! I’m so glad you’re here to join us for another Cricut-inspired DIY! If you’re new around here, my name is Nancy, and I love creating crafts with my cutting machines.
Today, we’re putting together this gorgeous Vineyard Shadow Box. For the sake of this tutorial, we’ll be using Cricut and its corresponding program, Design Space. However, the cut file to this vineyard shadow box DIY can be used for both Cricut and Silhouette machines.
Where Can I Get the SVG File to Make This Vineyard Shadow Box DIY?
I am so glad you asked! VIP Crafters Club members, just head over to your dashboard and go straight for your March 2022 files – you’ll be able to find the SVG file for this beautiful vineyard shadow box there!
If you’re not yet a member, all you have to is join here. As soon as you sign up, you’ll get instant access to hundreds of my SVG files (plus we do crafts together every month!).
Otherwise, you can download the cut file here.

Do You Have More Cricut Shadow Box Ideas?
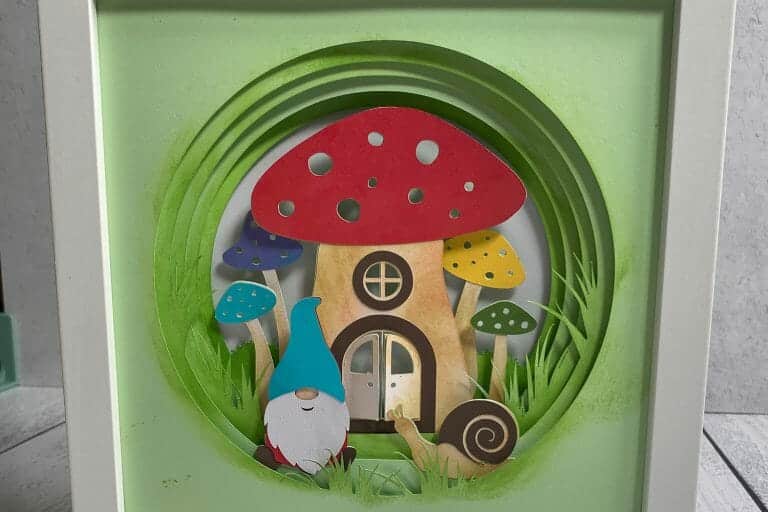
Yes! I absolutely love making shadow boxes! I think they make for great gifts and are very easy to personalize. Take a look at my other shadow box tutorials:
What Is a Shadow Box?
A shadow box is a frame that acts as a display case. It has a shallow encasing so that you can put memorabilia, various photos, and trinkets for display.
My Cricut shadow boxes consist of layers of intricately cut cardstock, layered on top of each other – which results in a beautiful design.
What kind of Cardstock Can I Use to Make a Shadow Box?
Cardstock as light as 65 lbs is perfectly fine to use for shadow boxes. However, if you want layers to be more sturdy as you stack them, try to use slightly heavier cardstock.
What Size Shadow Box Should I Use for This Vineyard Shadow Box DIY?
For the sake of this tutorial, we went ahead with a 9in x 9in shadow box. You can use any size you’d like, but we highly recommend a minimum size of 9×9 so that you can see the details of the vineyard design as much as possible.
Also, when putting together this vineyard shadow box, be sure to measure the inside of the shadow box itself. This measurement is what you’ll want to resize your design to. The inside of our shadow box is 8.5 x 8.5, so we resized each layer accordingly.
What Supplies Do I Need to Put Together a Vineyard Shadow Box?
Before you begin this shadow box DIY, be sure to gather the following materials:
Cardstock of various colors (Please refer to the image below to see which colors you need for each layer.)
How to Make a Vineyard Shadow Box
Okay, folks: the moment you’ve been waiting for! Here is my full tutorial for my Vineyard Shadow Box. After going through our detailed instructions, you’ll see how easy it is to put together this Cricut shadow box!
Begin by uploading your Vineyard Shadow Box SVG file to Design Space. To do this, open your Design Space and click on “New Project.”
Next, head over to “Upload Image,” followed by “Browse” to select the SVG file from your saved files.
Once you’ve selected your SVG file, head over to the lower right-hand corner of the screen and click “Upload.” Once you do this, you’ll be taken to another screen where the file will have been added to an uploaded database. Click on the file, followed by “Add to Canvas.”
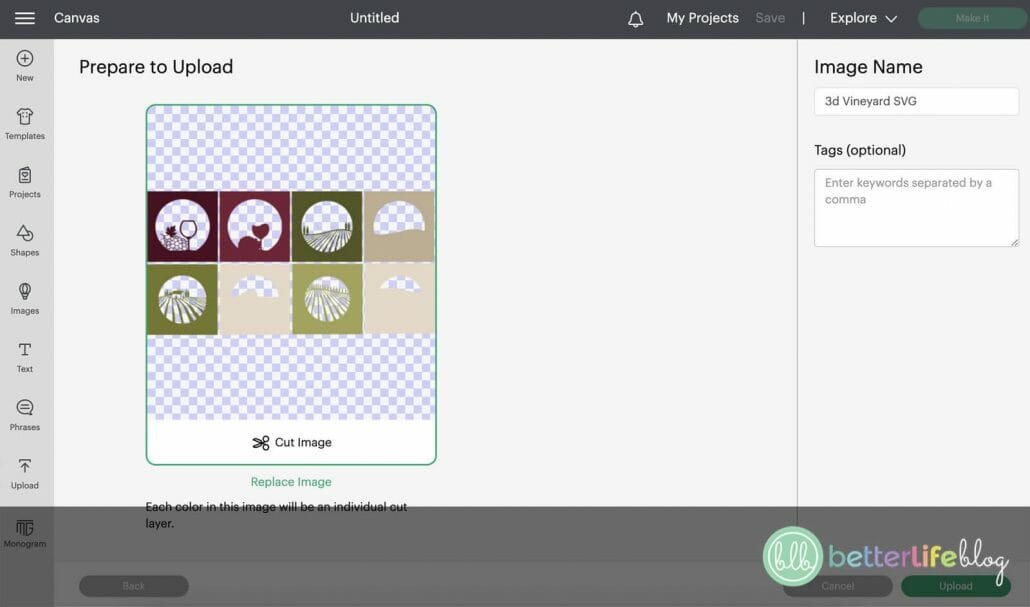

Your vineyard shadow box will now be on your canvas.

Once uploaded, you can click on “Ungroup” to resize each layer accordingly. The layers are automatically set to 8.5 x 8.5 since that’s the size of the shadow box we’re using, but be sure to measure yours.
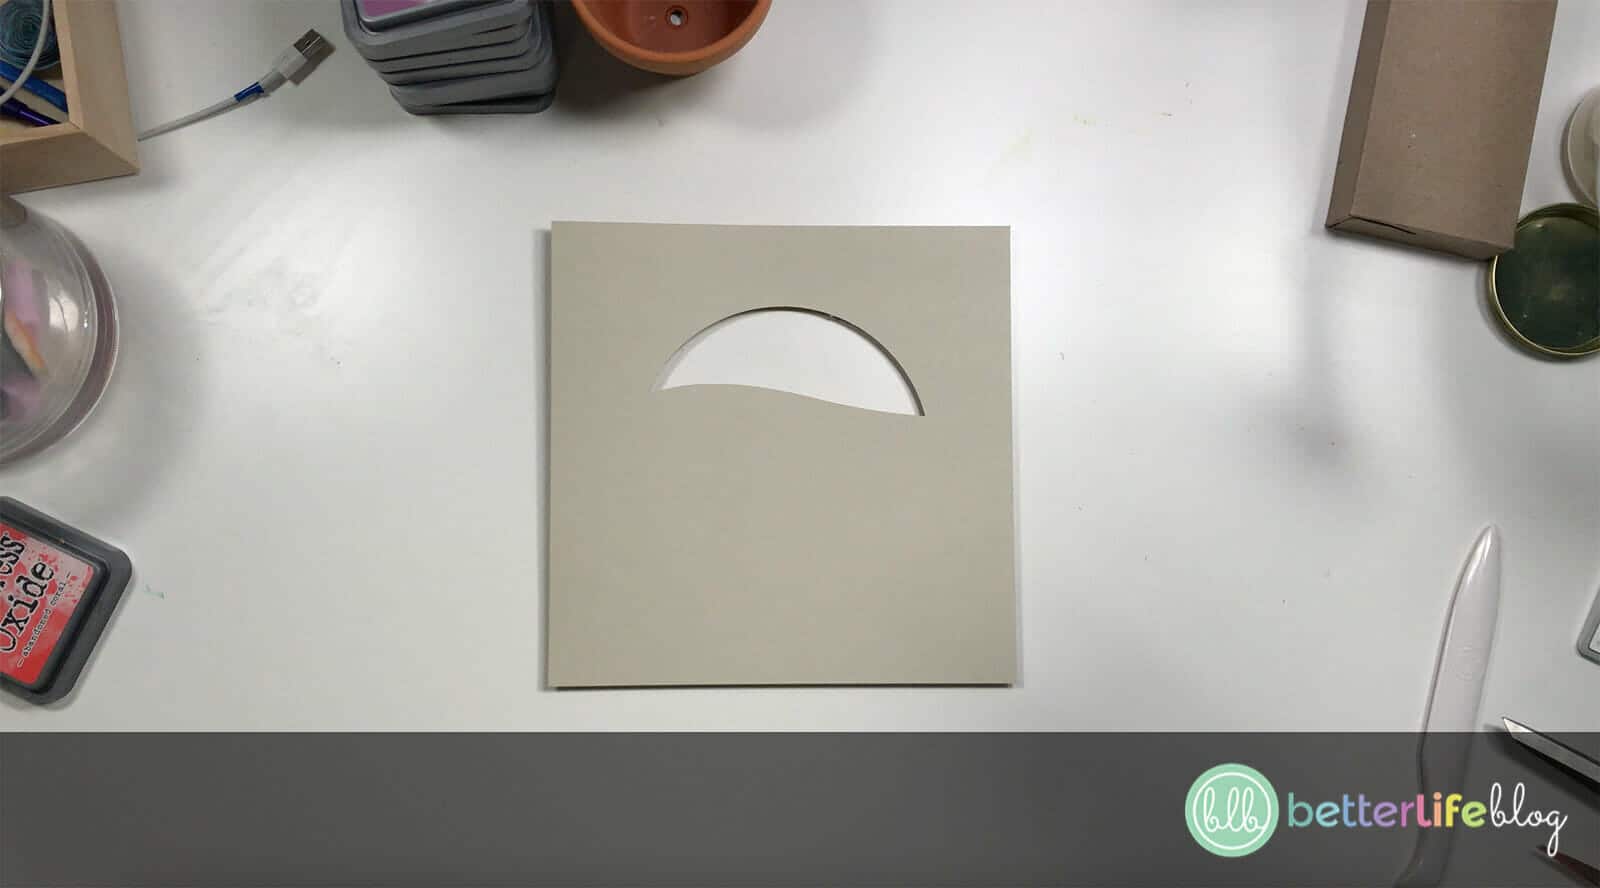
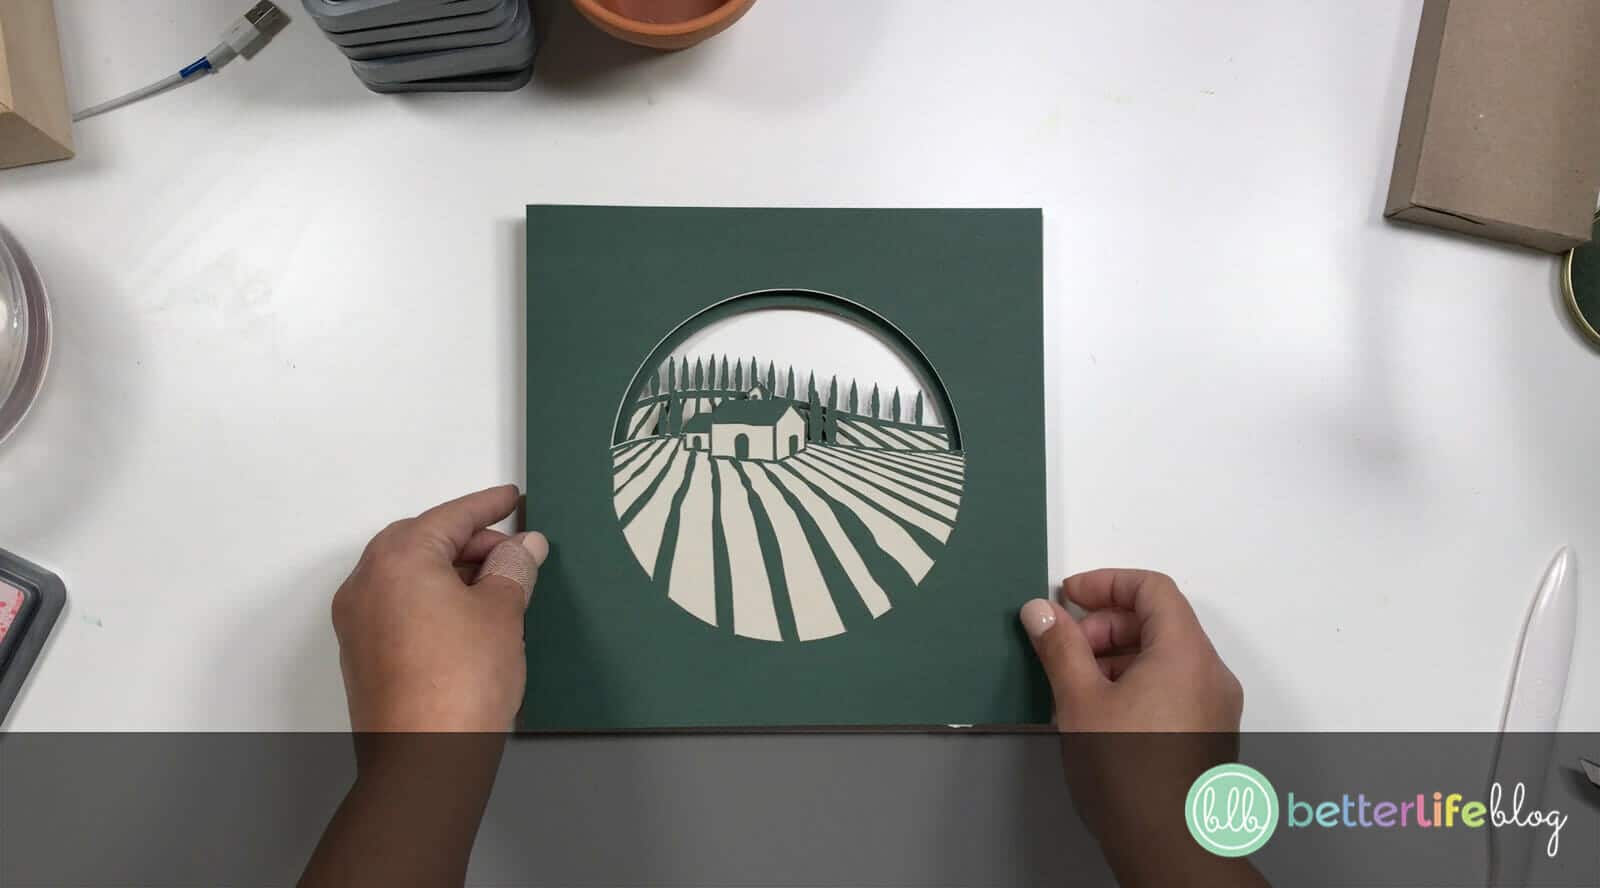
For my shadow boxes, I design the SVGs in such a way that each piece is in order of how you will layer them. Please refer to the image below: layer #1 will be the one that goes on top, and as you work your way down to layer #8, it will be at the very bottom. When you build your shadow box design, you will want to start with the bottom layer (so in this case, layer #8) and then build up from there.
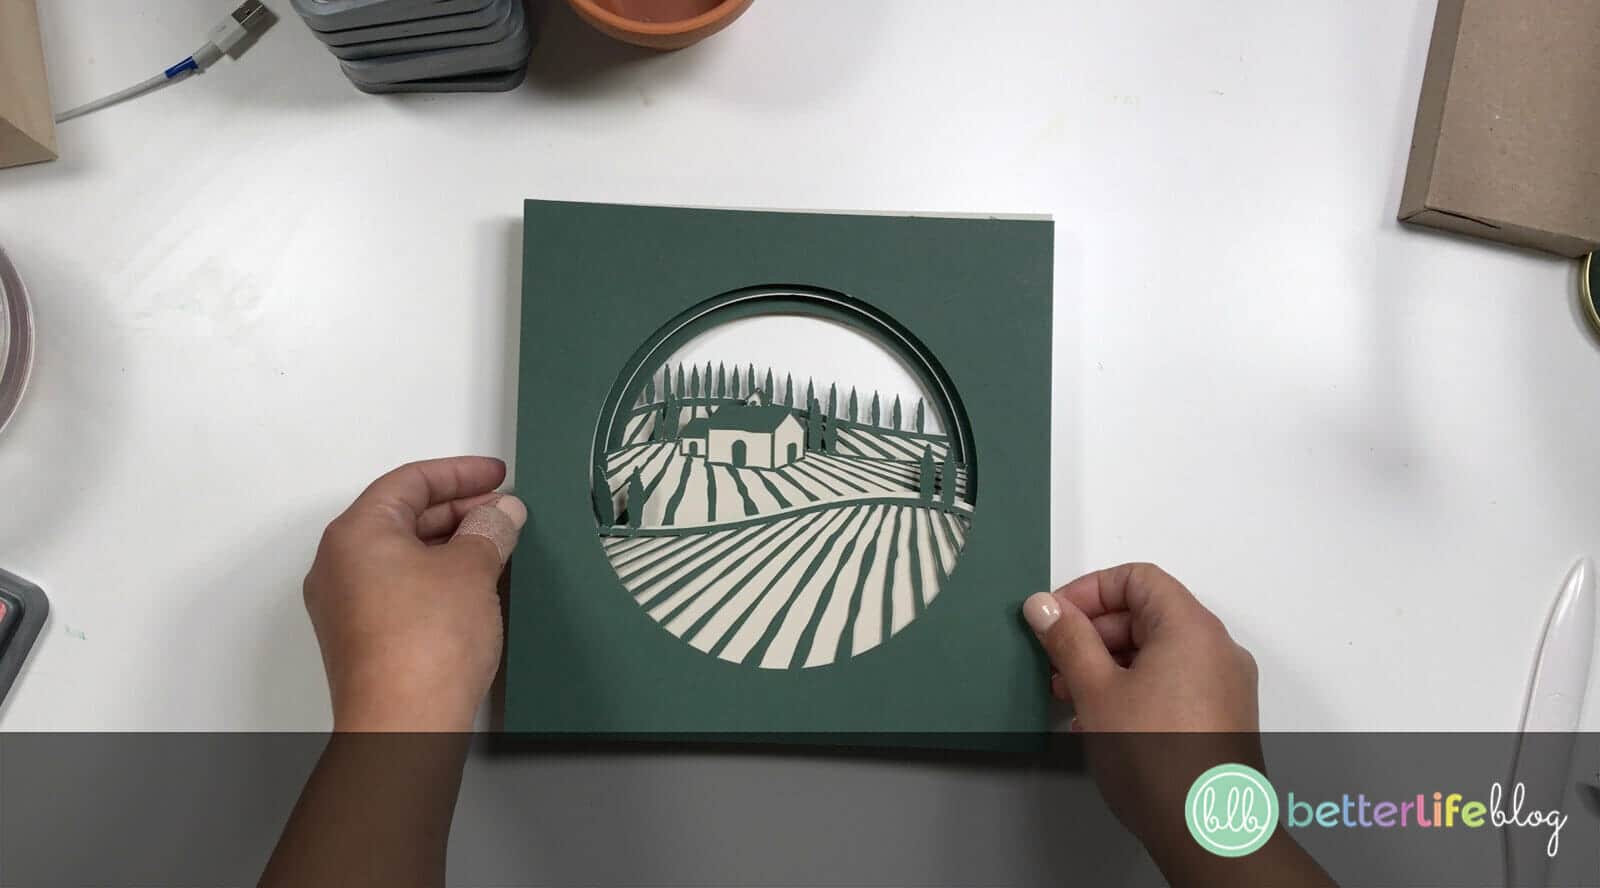
To stack the cardstock pieces, you will want to add foam tape along the four sides of each layer.
Continue stacking with foam tape in between each layer until you reach layer #1. Since this is the top layer, you will not need to add foam tape on it.
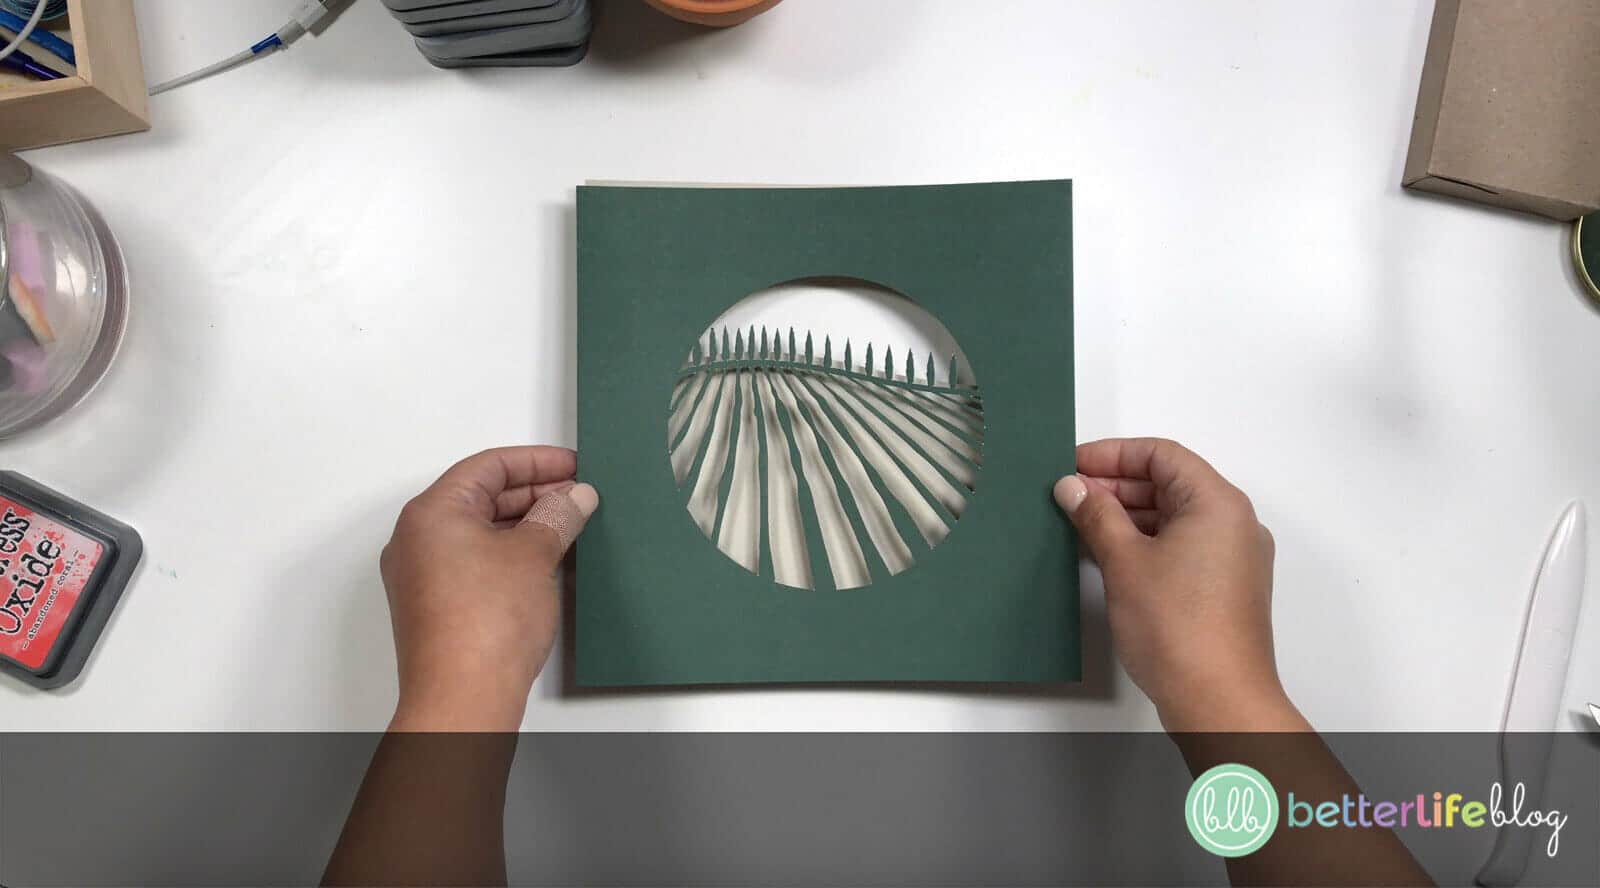


Pro tip: If you don’t have double sided foam tape, you can also cut pieces of paper straws and hot glue them between each layer.
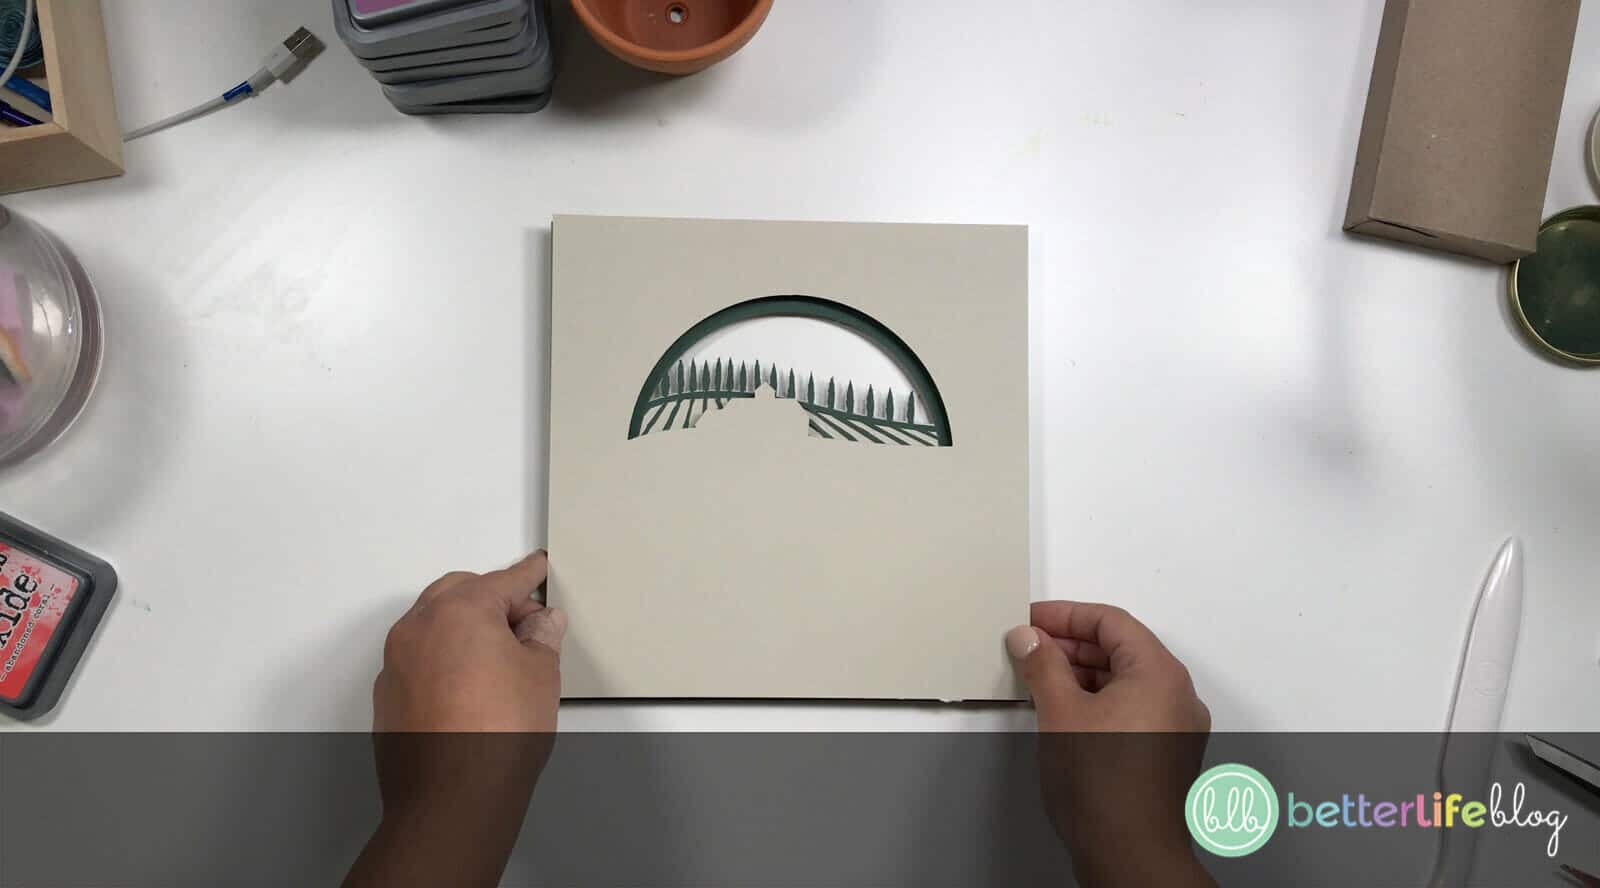
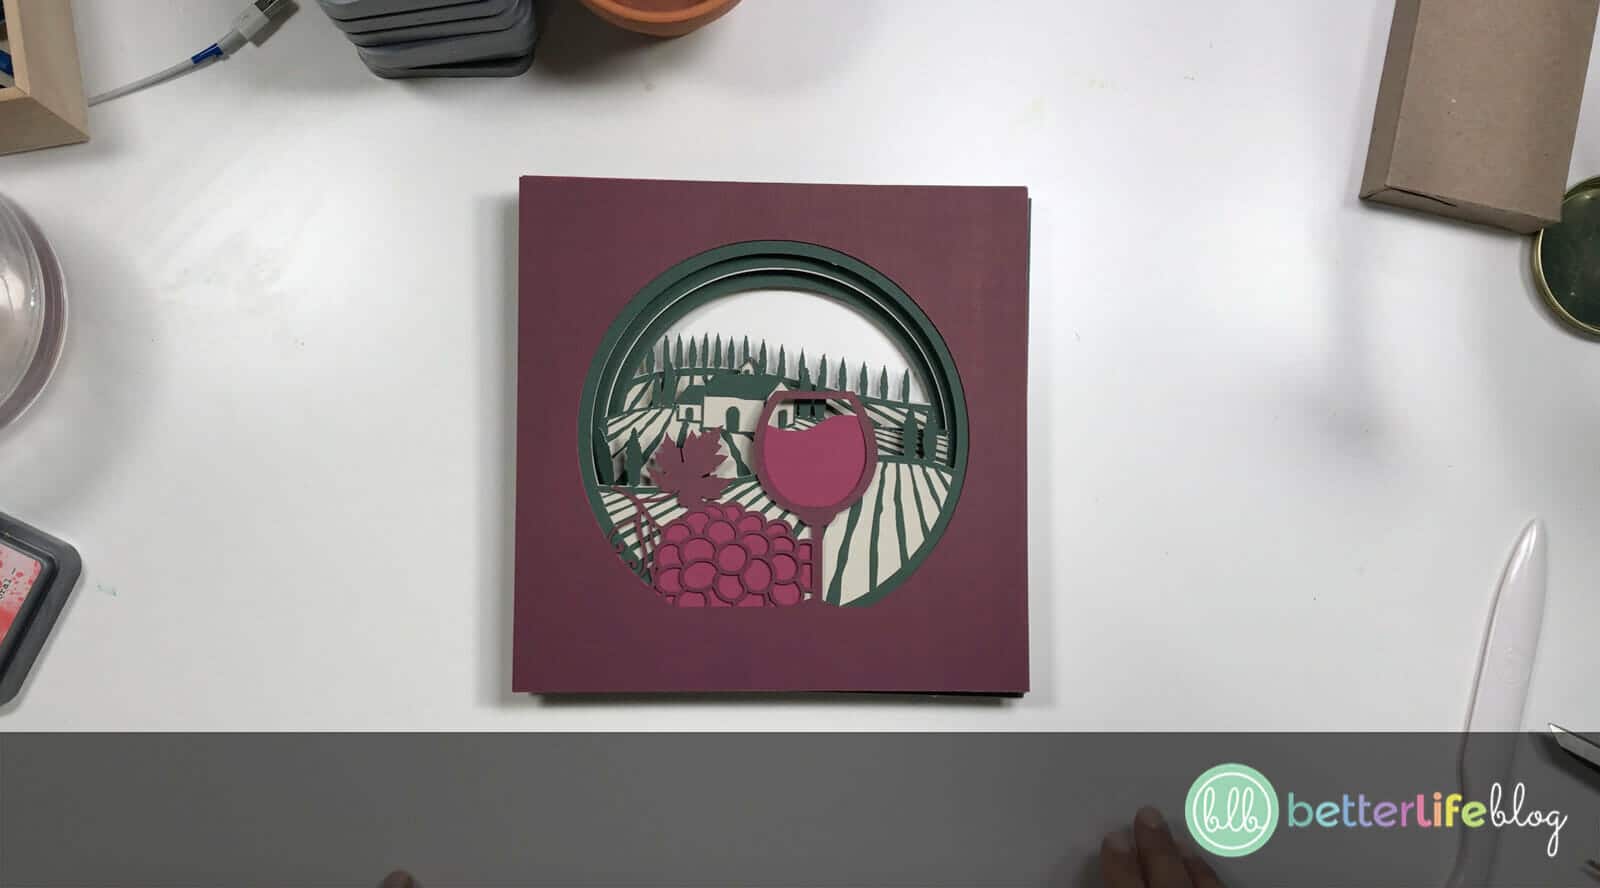
Once all your pieces are stacked, open your shadow box and carefully place your design inside.
Display and enjoy!
Vineyard Shadow Box DIY
This Vineyard Shadow Box DIY boasts a beautiful and intricate vineyard design, making for the perfect wall art to any kitchen and/or dining room. The layers are incredibly detailed, showing off a gorgeous vineyard landscape.
Materials
Instructions
- Begin by uploading your Vineyard Shadow Box SVG file to Design Space. To do this, open your Design Space and click on “New Project.”
- Next, head over to “Upload Image,” followed by “Browse” to select the SVG file from your saved files.
- Once you’ve selected your SVG file, head over to the lower right-hand corner of the screen and click “Upload.” Once you
do this, you’ll be taken to another screen where the file will have been added to an uploaded database. Click on the file, followed by “Add to Canvas.” - Your vineyard shadow box will now be on your canvas.
- Once uploaded, you can click on “Ungroup” to resize each layer accordingly. The layers are automatically set to 8.5 x 8.5 since that’s the size of the shadow box we’re using, but be sure to measure yours.
- For my shadow boxes, I design the SVGs in such a way that each piece is in order of how you will layer them. Please refer
to the image below: layer #1 will be the one that goes on top, and as you work your way down to layer #8, it will be at the very bottom. When you build your shadow box design, you will want to start with the bottom layer (so in this case, layer #8) and then build up from there. - To stack the cardstock pieces, you will want to add foam tape along the four sides of each layer.
- Continue stacking with foam tape in between each layer until you reach layer #1. Since this is the top layer, you will not need to add foam tape on it.
- Pro tip: If you don’t have double sided foam tape, you can also cut pieces of paper straws and hot glue them between each layer.
- Once all your pieces are stacked, open your shadow box and carefully place your design inside.
- Display and enjoy!