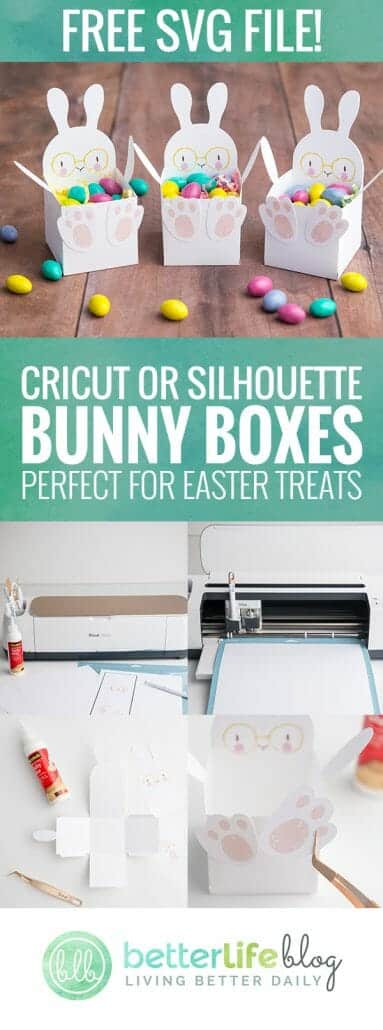
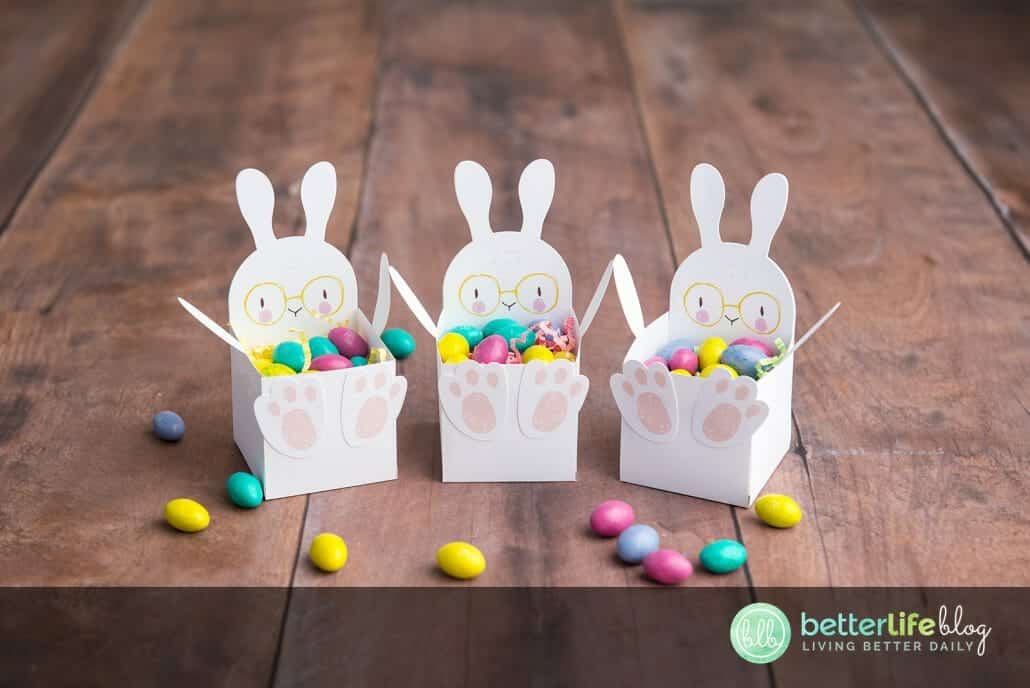
Hello friends and happy Spring! How adorable is this Easter Bunny Box? You can use these to hold Easter treats, small gifts, or Easter Eggs!
This is a “Print then Cut” project – which means that we first print the cute little bunny face and bunny feet, and then the machine will cut the rest. I’ve included a tutorial below for how to use “Print then Cut” with your Cricut Machine. You just need a printer (any kind works!) and your Cricut, and I promise it’s not that hard to do!
The way “Print then Cut” works is fairly simple. When you print the file from Cricut Design Space, there will be a dark border added around your image (check out the images below). Those dark borders are then used by your Cricut Machine as a reference guide – your machine searches for those borders and then cuts relative to where it sees those borders. If that sounds complicated, don’t worry – it’s easy to do! Let’s get started!
Check out the instructions below and be sure to tag me on social media if you make one! I would LOVE to see how yours came out!
Easter Bunny Print/Cut Treat Box
Materials List:
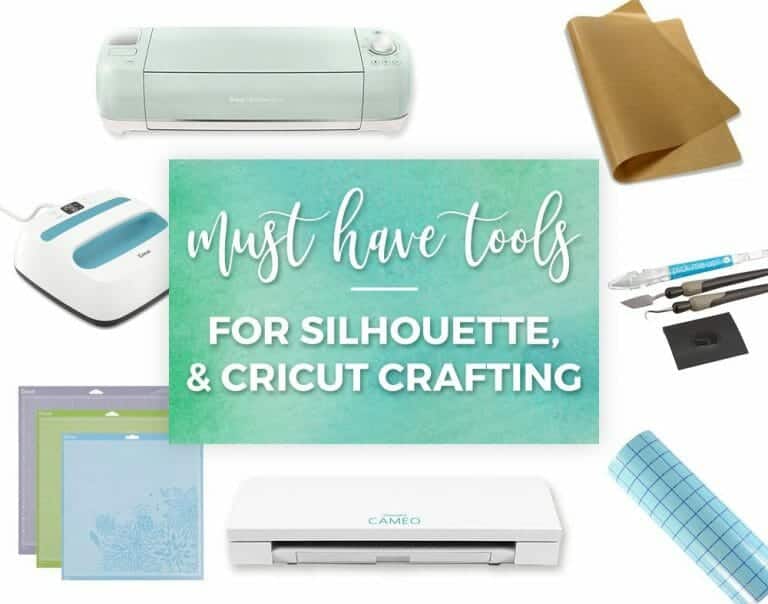
- Smart Cutting Machine, such as Cricut or Silhouette
- Printer
- Card stock (65-80lb) white (8.5 x 11” and 12×12”)
- Scotch quick dry glue (this is a great glue for paper crafts)
- Scoring stylus or scoring wheel
- Cricut blue light grip mat
- Easter Bunny Treat Box SVG Cut File (FREE)

Instructions:
Step 1:
Once you’ve downloaded the file from here, upload it into Design Space. (If you are brand new to using your Cricut, be sure to take my Cricut Basics course, which can be found here).
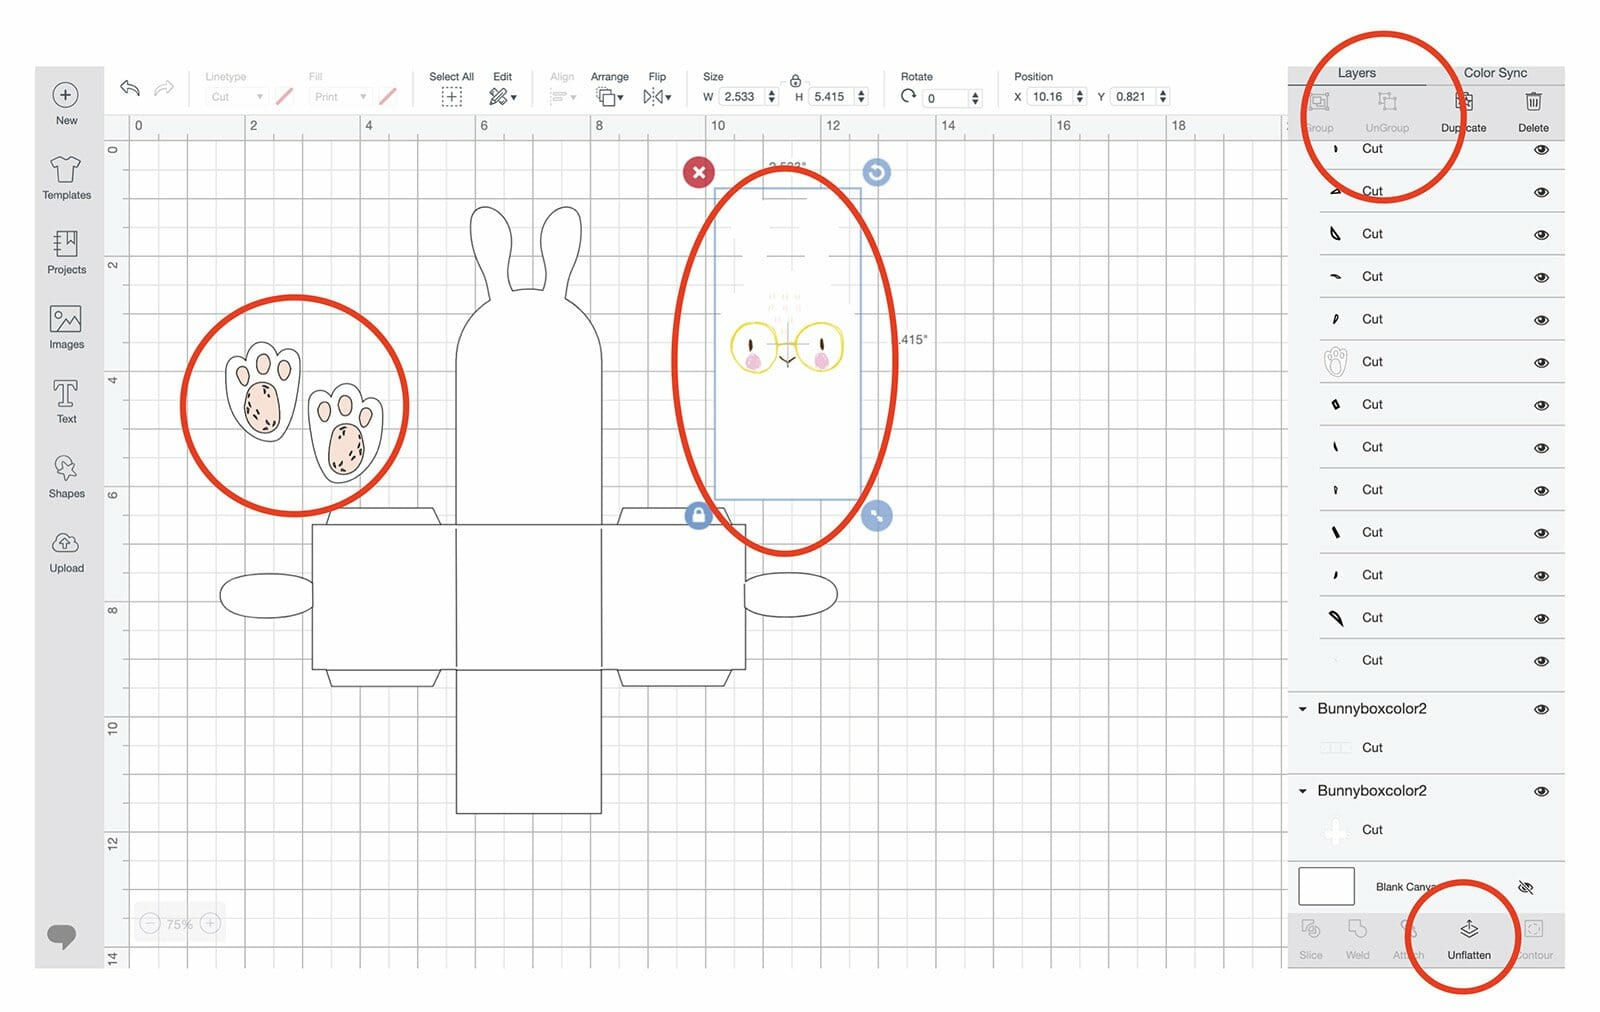
Next, right click and select “ungroup” to work on all layers. Highlight the two layers that have color graphics (the bunny face and bunny feet).
First, choose the bunny face by clicking on it to highlight it, then from the layers tool bar (bottom right) hit “flatten”. Repeat this action for the bunny feet.
Note: Once you flatten the shape, it will automatically become a “print then cut” layer, so the inside will be printed and the outline becomes the only part that will be cut – hence the name “print then cut”
Step 2:
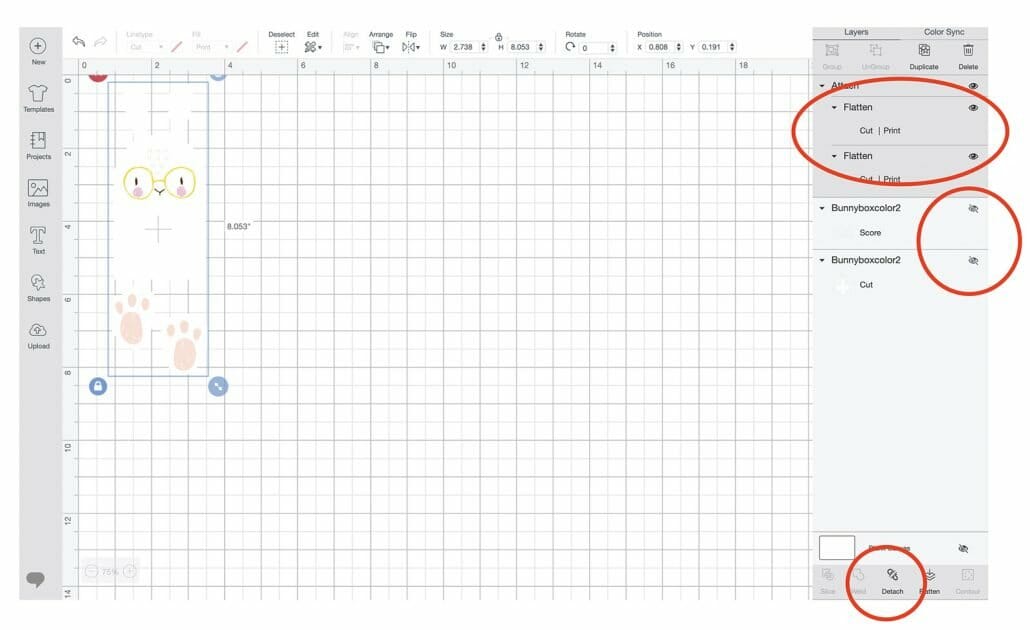
Turn off all other layers by clicking the eyeball next to each layer. You should be left with just the bunny face and bunny feet that you just flattened. Next, highlight both layers and hit “attach” to keep them together to save paper and ink. Hit “make” in the top right of your screen.
Step 3:
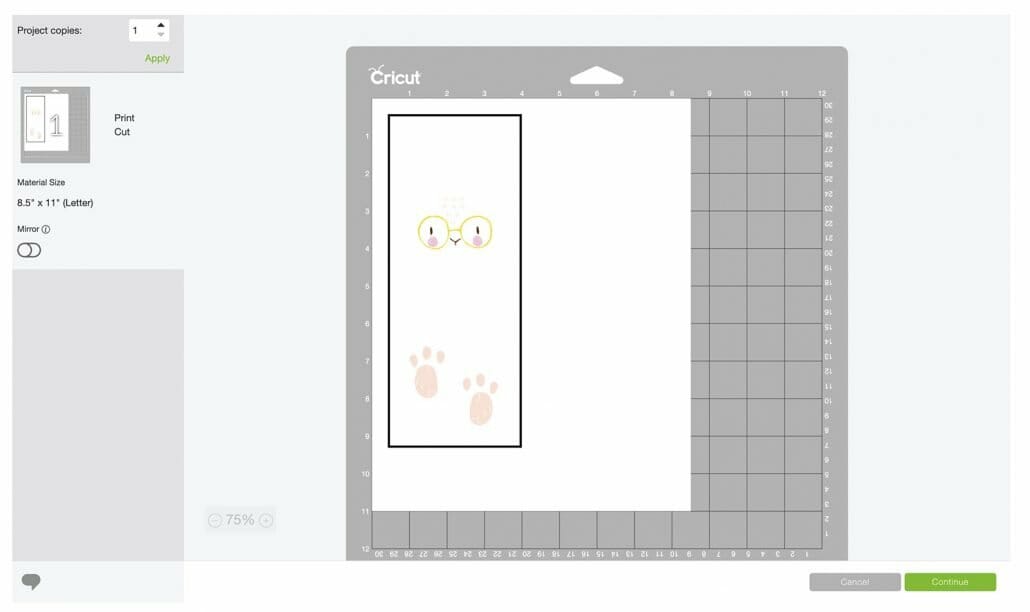
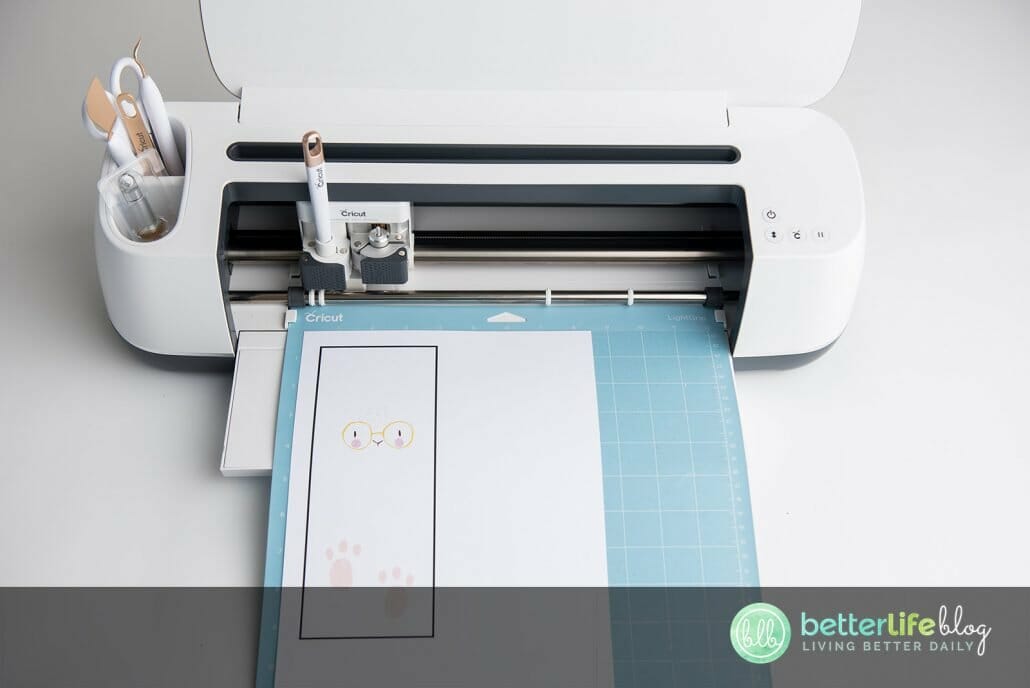
After hitting make, this is how your print layer will look. Not to be concerned there will be no lines around the shapes other than the black registration box. Once printed, your machine will read the registration box to help tell it exactly where to cut.
You’ll hit “print” first and then load that paper (8.5×11”) onto you blue light grip mat. Be sure to adjust your material dial or setting to medium card stock and more pressure before cutting.

Step 4:
On the largest cut, find the layer that contains all the scoring lines. Under line type on the the top left toolbar, click the drop down and hit score.
Step 5:
On the layers panel, use the eye icon to turn off all other layers (the bunny face and feet that were previously printed and cut).
Next, highlight the entire group and attach. Attaching will ensure that the scoring lines will be on the same mat as our cutting layer and keep them together.
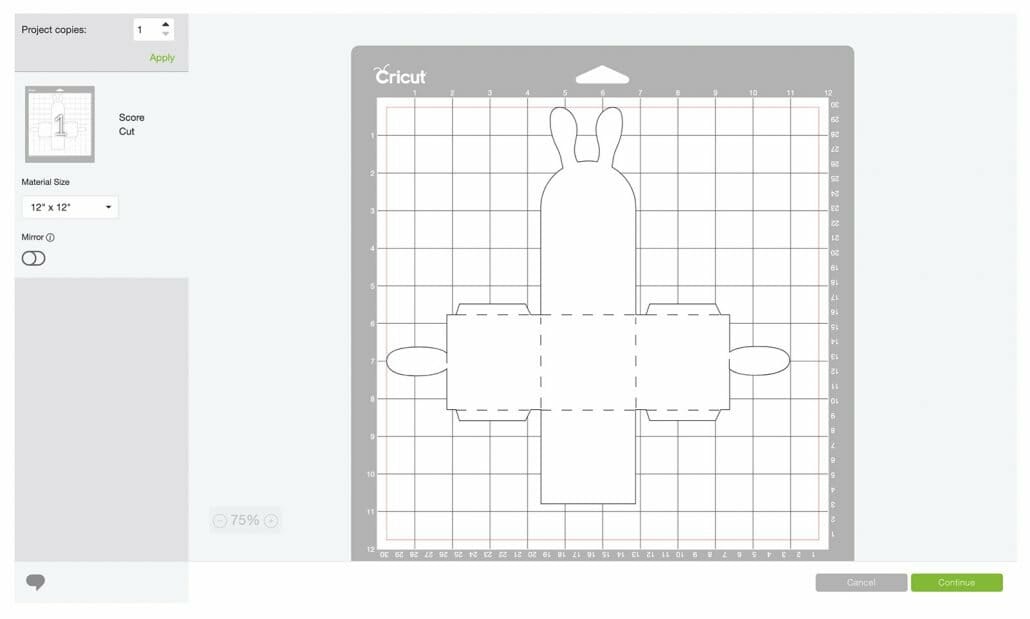
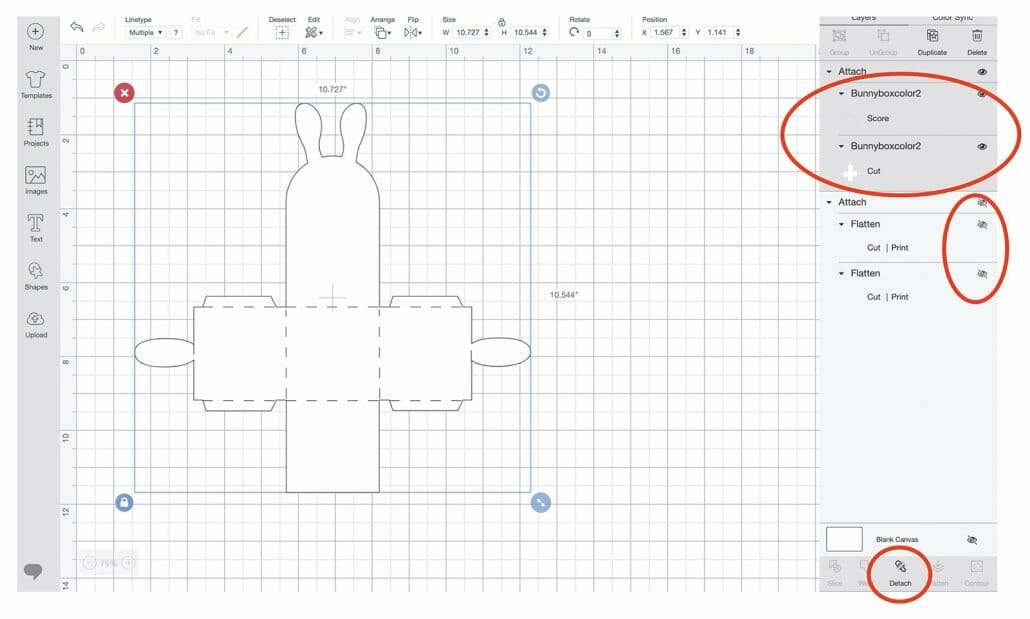
Step 6:
After hit make and this is how your mat should look if score lines have been properly attached. If all looks correct, hit continue and adjust you material dial or setting to medium card stock, more pressure (just to be safe), and if using a scoring stylus instead of scoring wheel be sure to let your machine know under edit tools.
Load the 12×12” card stock on to a blue light grip mat and hit go.

Step 7:
Once all pieces are cut, begin folding all the score lines before creating the box.

Step 8:
Glue the fold tabs on the middle of the largest cut piece (the box) to the back and hold it together.
The scotch quick dry glue IS non-toxic and water based but you may use a different non-toxic glue of your choice.

Step 9:
Once the back part of the box has dried, carefully glue the bunny face inside the box. Be sure to line the ears together with the ears on the back of the largest piece (the box). This will help hide the inside glue tabs and give the back of the box some reinforcement.

After the bunny face has dried, glue the front of the box onto the tabs.

Step 10:
Next, finish up the box by gluing the cute little bunny feet to the front of the box and allow the box to completely dry. Finally, add any candy or treats that you would like and you’re done! Isn’t it adorable??

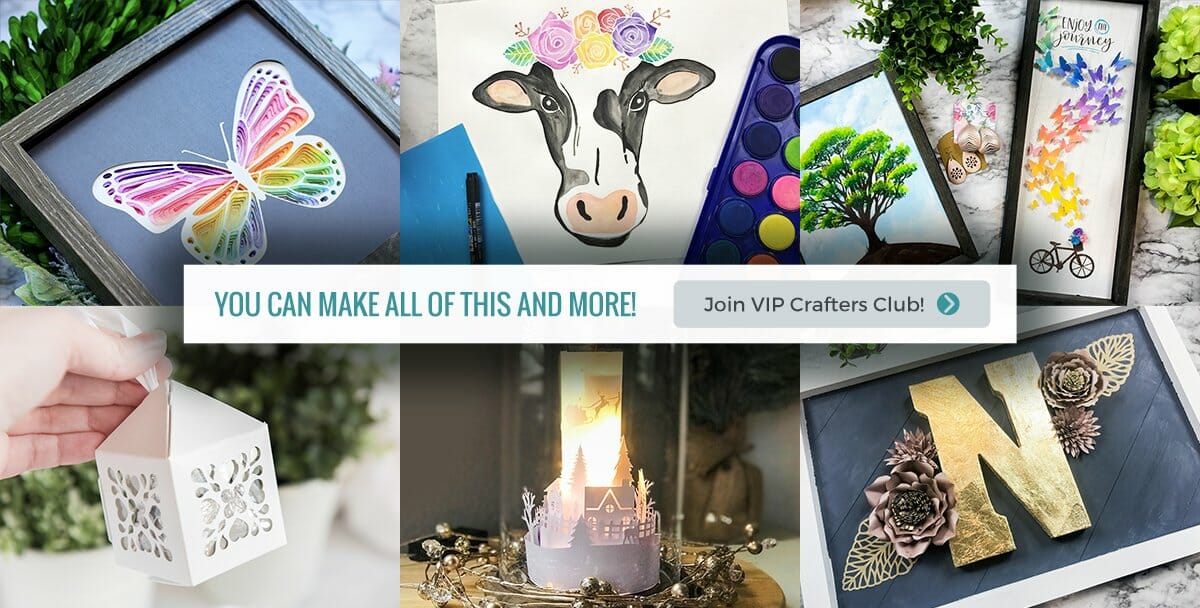
Join Our Monthly VIP Crafters Club and Save $29!
I hope you have enjoyed this fun project! If you love Cricut and Silhouette projects, please consider joining my monthly craft subscription, VIP Crafters Club! There are hundreds of cut files and projects available to members. And, if you’re a first time member, you can apply the coupon code BLBSPECIAL to get $29 off your membership! PLUS, you’ll get a bonus seasonal bundle or my trucks bundle as a bonus for joining! It’s an amazing value, so go check out the sign up page for VIP Crafters Club here.