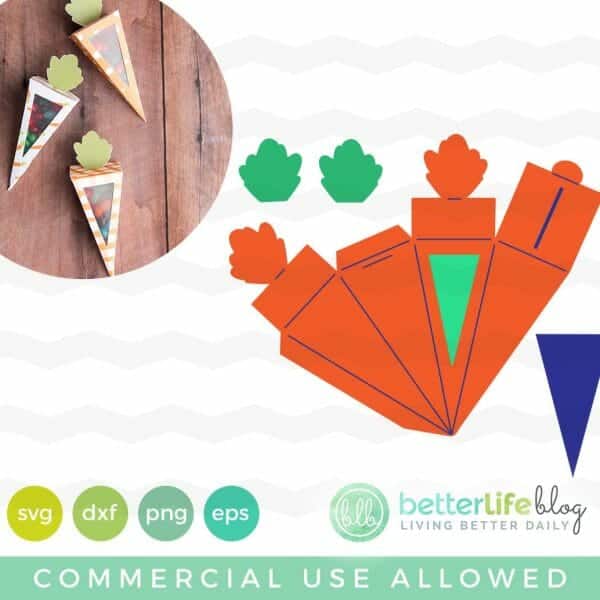
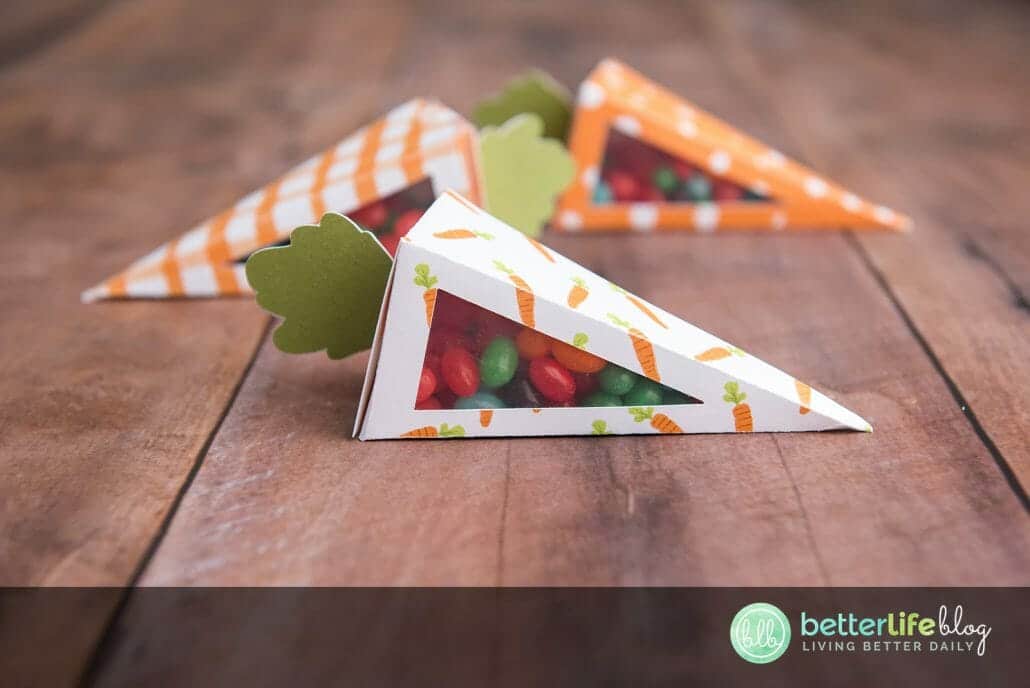
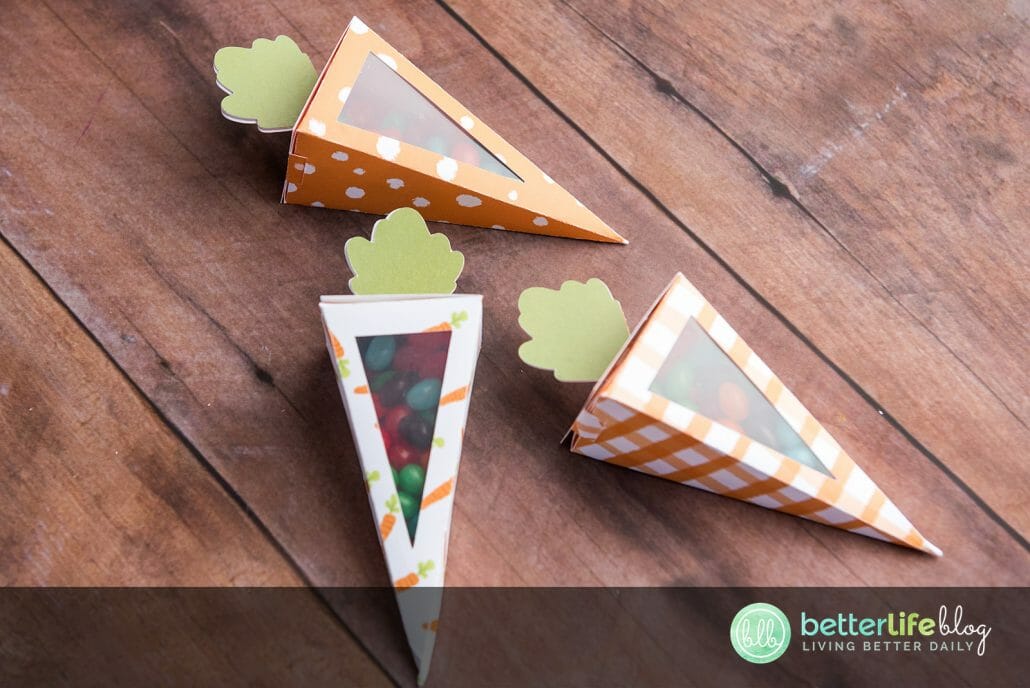
Happy Spring and Easter everyone! Here is a fun carrot treat box that will be perfect to include in Easter Baskets this year! You can put some of those yummy Cadbury Mini Eggs (have you seen the new Cadbury Shimmer Mini Eggs?) or some Easter Jelly Beans. I love that this box is easy to make and has a little window so that you can take a peek at what’s inside! Make this as a surprise for your kids, or you can make it with them and have them color or decorate their own carrots!
Check out the instructions below and be sure to tag me on social media if you make one! I would LOVE to see how yours came out!
Cricut Easter Carrot Treat Box
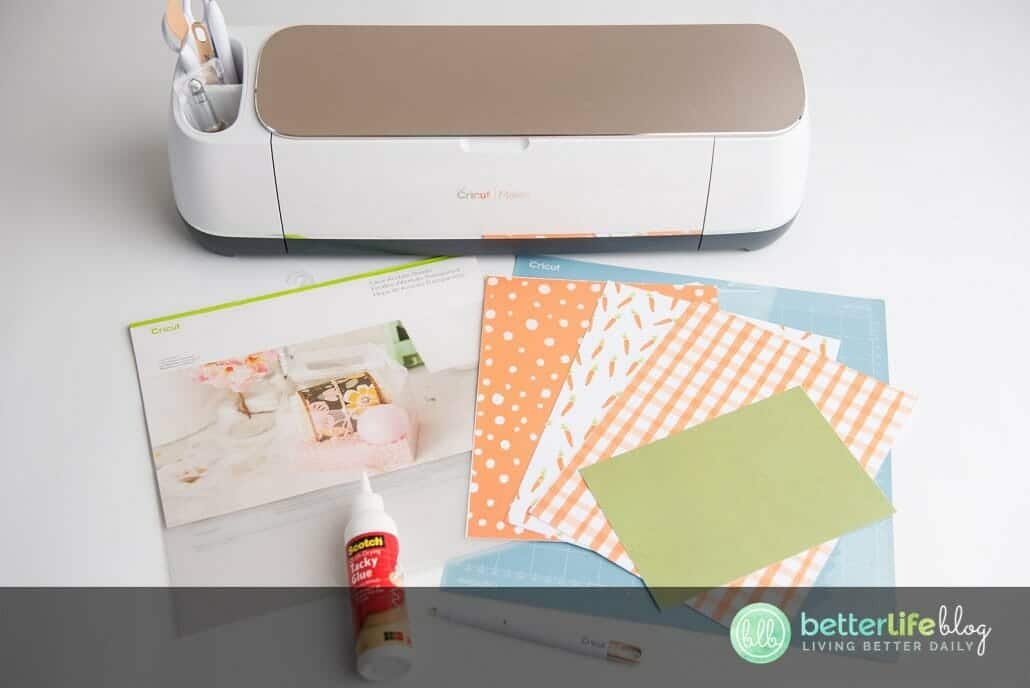
Materials List:
- Smart Cutting Machine, such as Cricut or Silhouette
- Card stock (The patterns in this adorable cardstock set would be perfect for this project!)
- Scotch quick dry glue (this is a great glue for paper crafts)
- Scoring stylus or scoring wheel
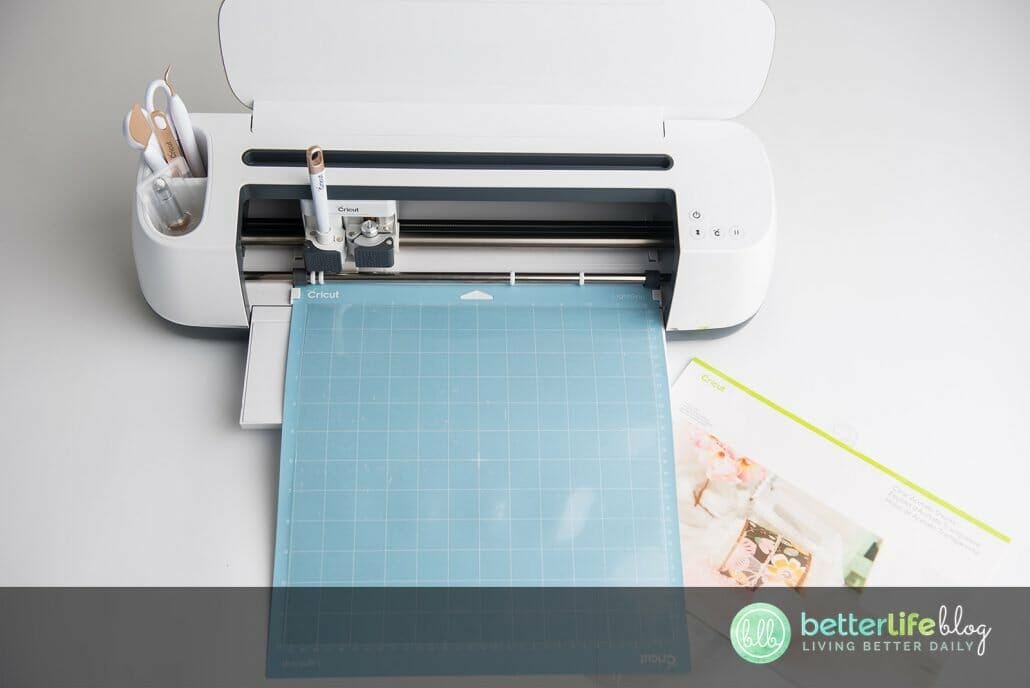
- Cricut blue light grip mat
- Easter Carrot Treat Box SVG Cut File (FREE)
Instructions:

Step 1:
Once you’ve downloaded the file from here, upload it into Design Space. (If you are brand new to using your Cricut, be sure to take my Cricut Basics course, which can be found here).
Next, right click and select “ungroup” to work on all layers.

Step 2:
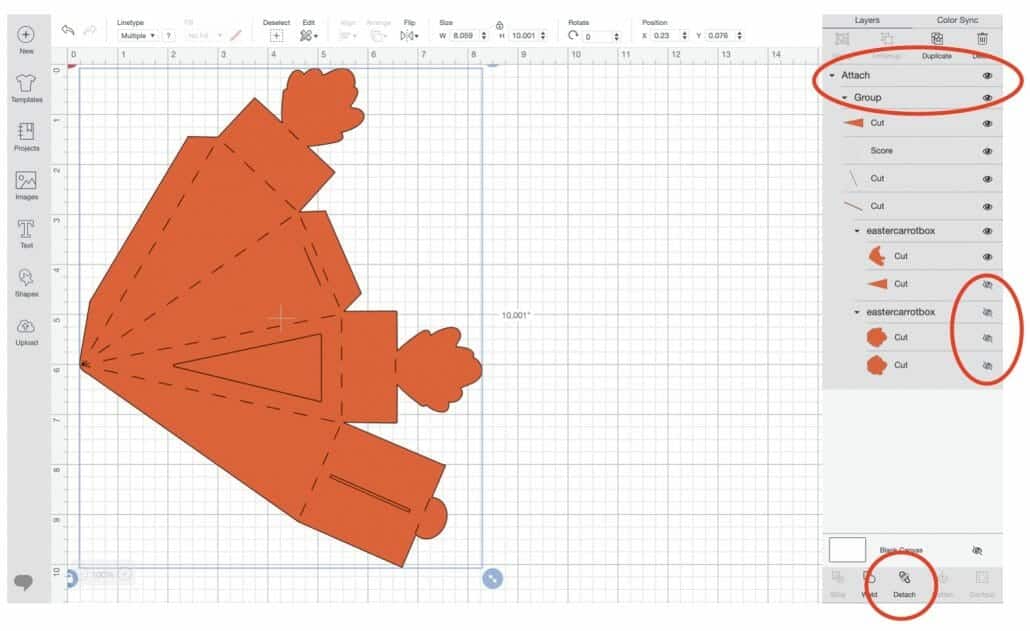
From the layers panel located on the far right, locate the layer that contains the scoring lines and click to select that layer. To turn this into a score layer (instead of a cut layer), find the “Linetype” menu at the top right of the screen. Click and select the option that says “Score” to change the linetype to a scoring layer.
Step 3:
From the layers panel, use the “eyeball” icon to turn off the visibility of the triangular shaped window and the green carrot top pieces, which will each be cut on separate materials.
Next, highlight the entire shape along with the score lines and click on the “attach” icon (it’s shaped like a paperclip and is located in the lower right-hand corner. Attaching will keep everything together during the cut.
Now, go ahead and click the green “Make it” button in the upper right-hand corner.
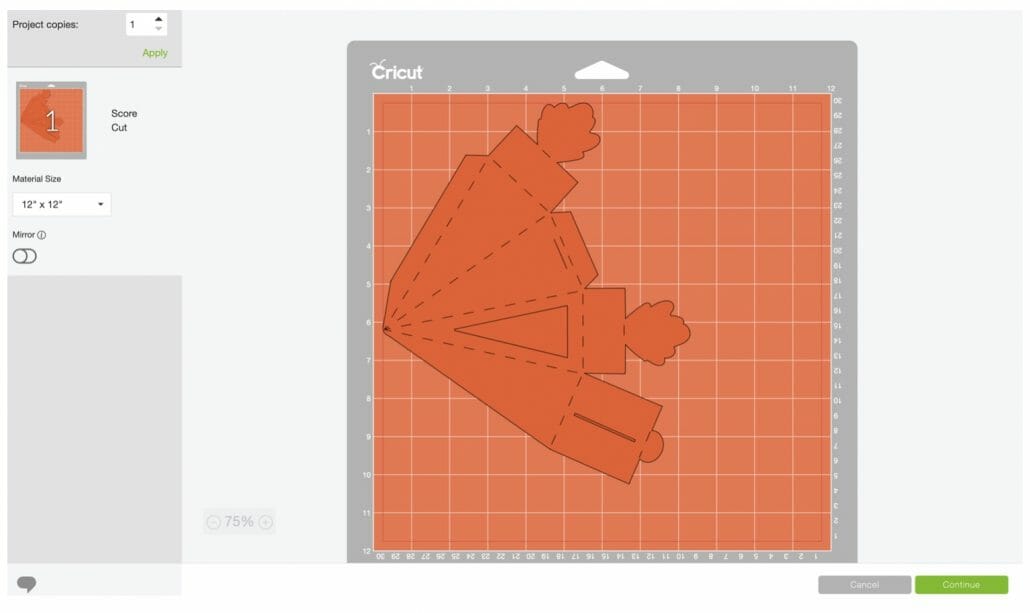
Step 4:
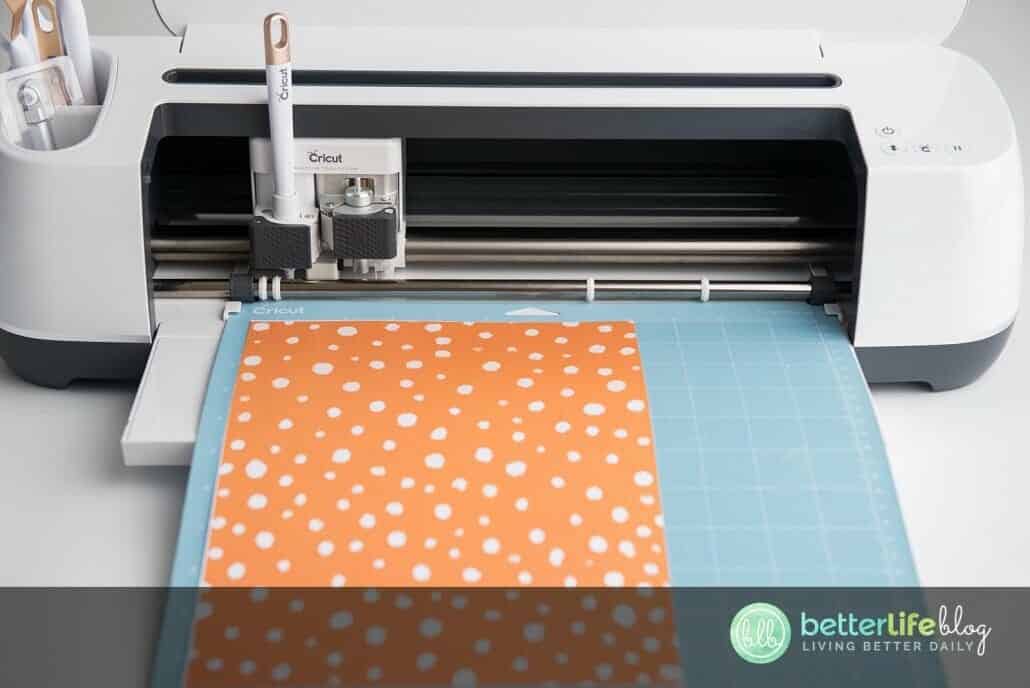
If your score lines were properly set up and attached correctly, your mat should look like the screen above. When ready, go ahead and click “continue” and then you can adjust your material dial or setting to “medium card stock, more pressure” (I like to do this just to be on the safe side), and if you’re using a scoring stylus instead of scoring wheel be sure to let your machine know under edit tools.

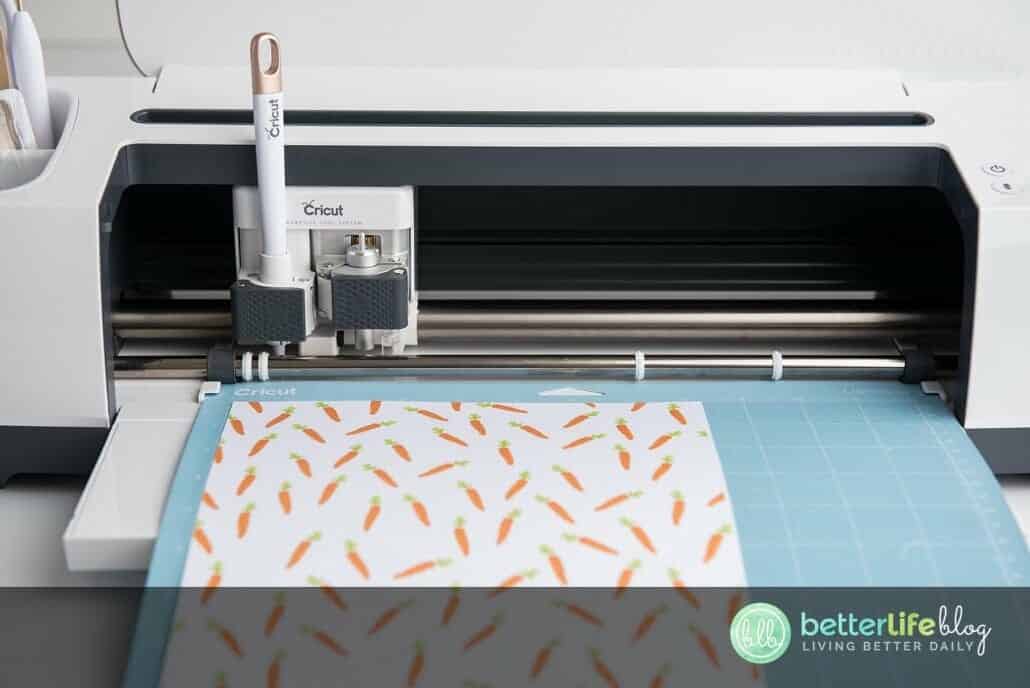
Place your card stock onto your blue light grip cutting mat, then load it into your machine. Next push the flashing Cricut C icon to begin the cut.

Step 5:
Now that the main body of the box has been cut out, let’s cut out the window following the same methods as above. Use the “eyeball” icons to turn off the other layers and turn on the triangle shape.
Click “Make it”, “Continue” and then adjust your dial or setting to the custom Acetate setting.
Load your acetate onto your blue mat and into your machine and then press the flashing Cricut C to begin the cut.
Step 6:
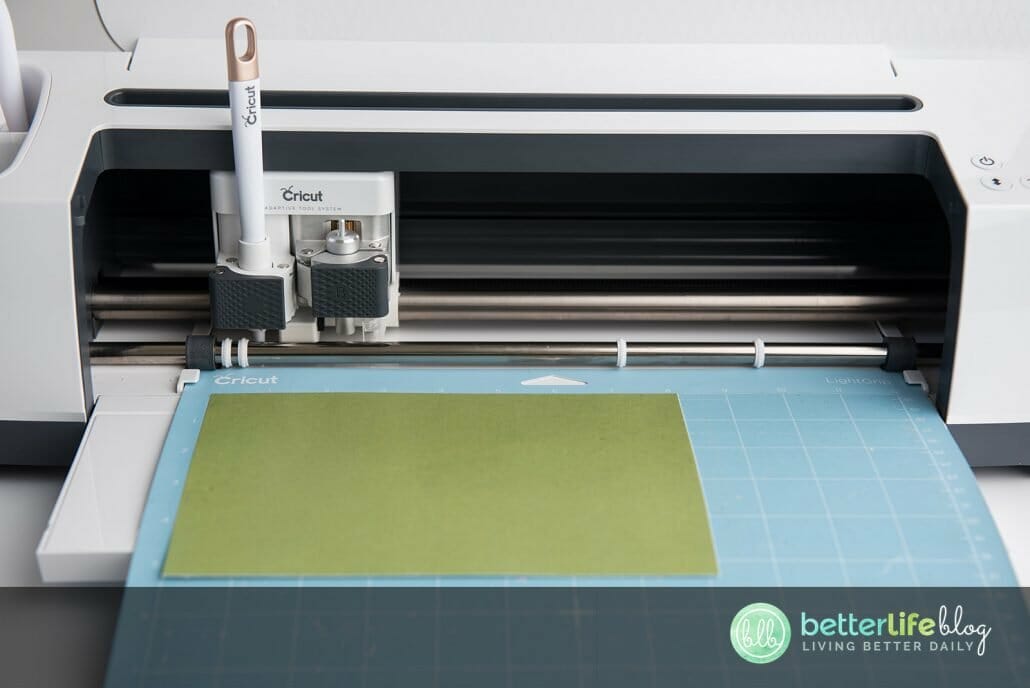
Once again, repeat the steps, but this time we are cutting out the green carrot top pieces. Don’t forget to adjust the setting to Card Stock, more ressure.
Step 7:
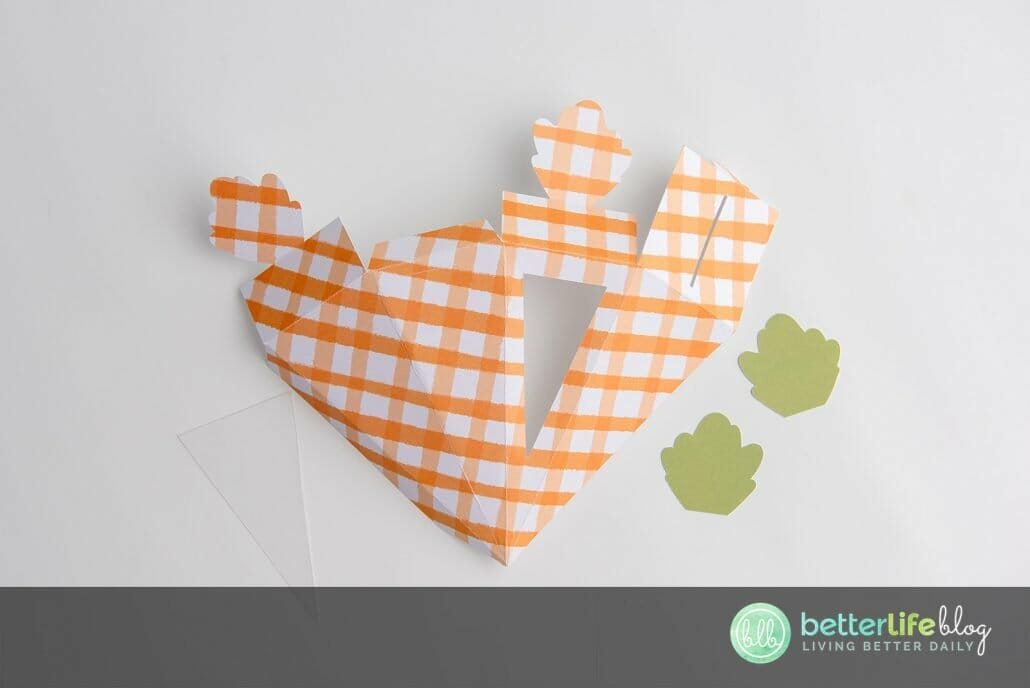
Now that all of the pieces are cut, let’s begin folding all the score lines before creating the box.


Step 8:
Glue the acetate window onto the inside of the box. Next glue the green carrot tops onto the outside, matching the shape with the carrot tops that are already attached. This also reinforces the strength of the carrot tops.
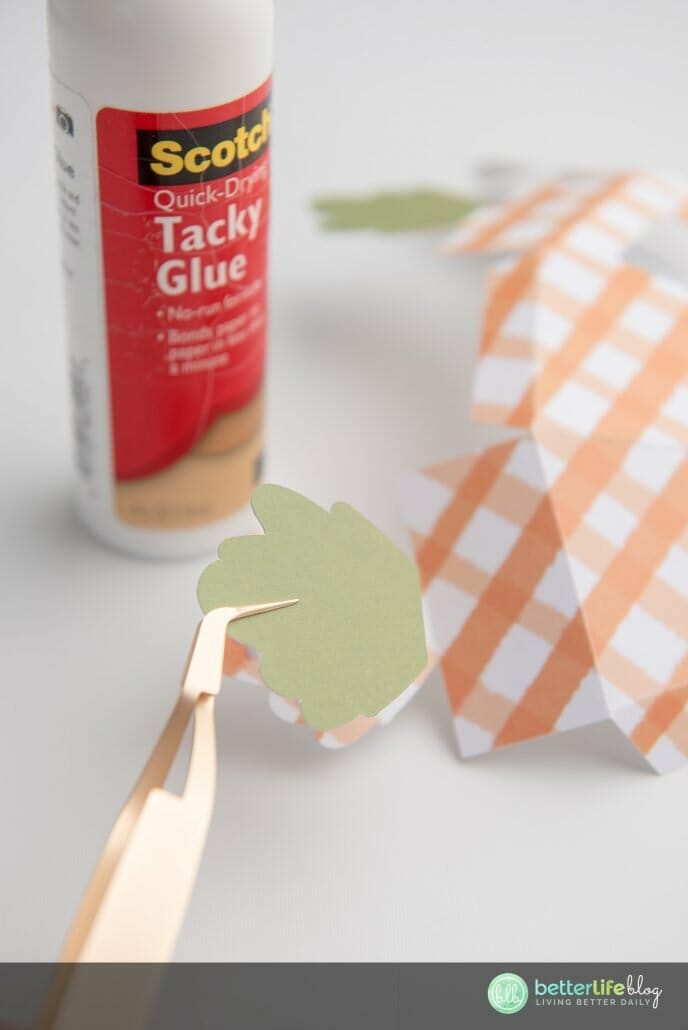
Allow everything to dry completely before continuing with the rest of the box assembly.
The scotch quick dry glue IS non-toxic and water based but you may use a different non-toxic glue of your choice.
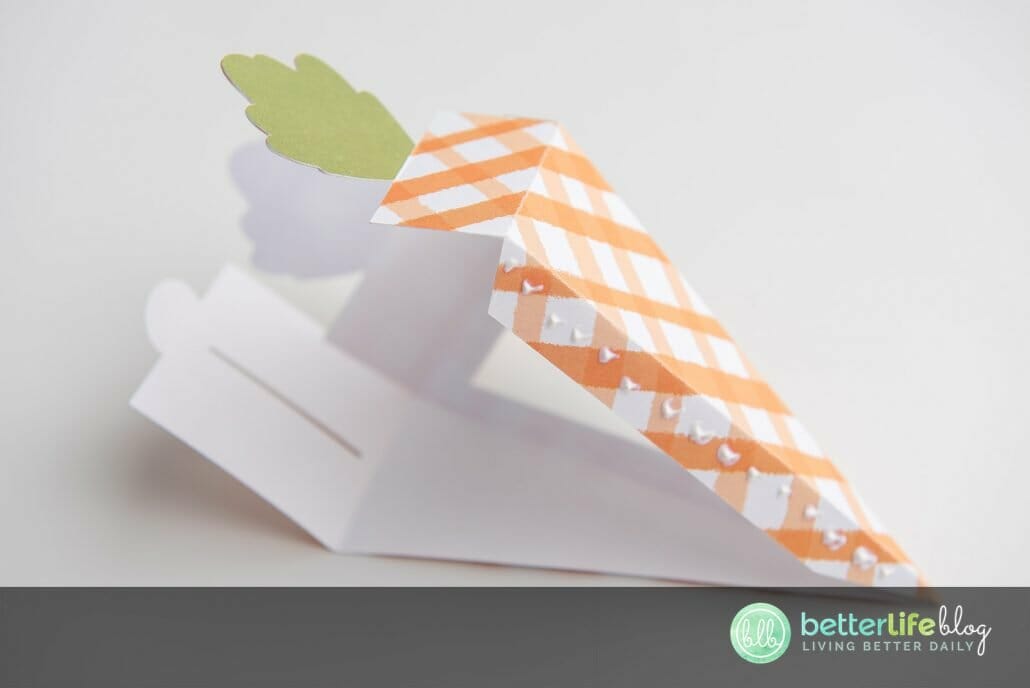
Step 9:
Once the window and carrot tops have dried, carefully glue the outer most tab box.
Step 10:
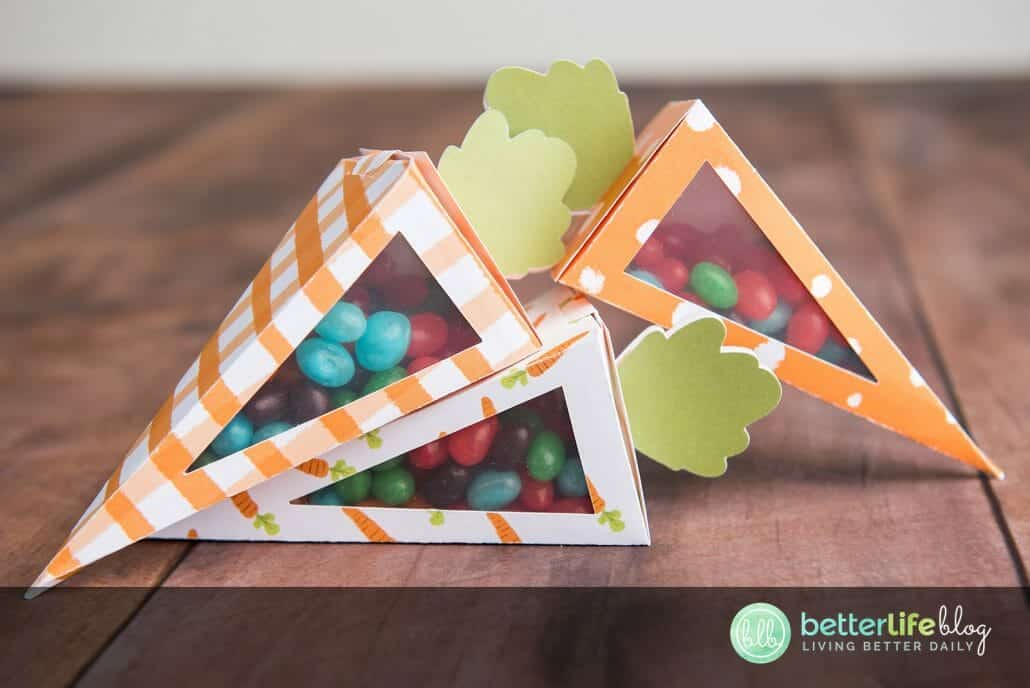
Once it is completely dry, you can fill it up with your favorite Easter or spring treats!

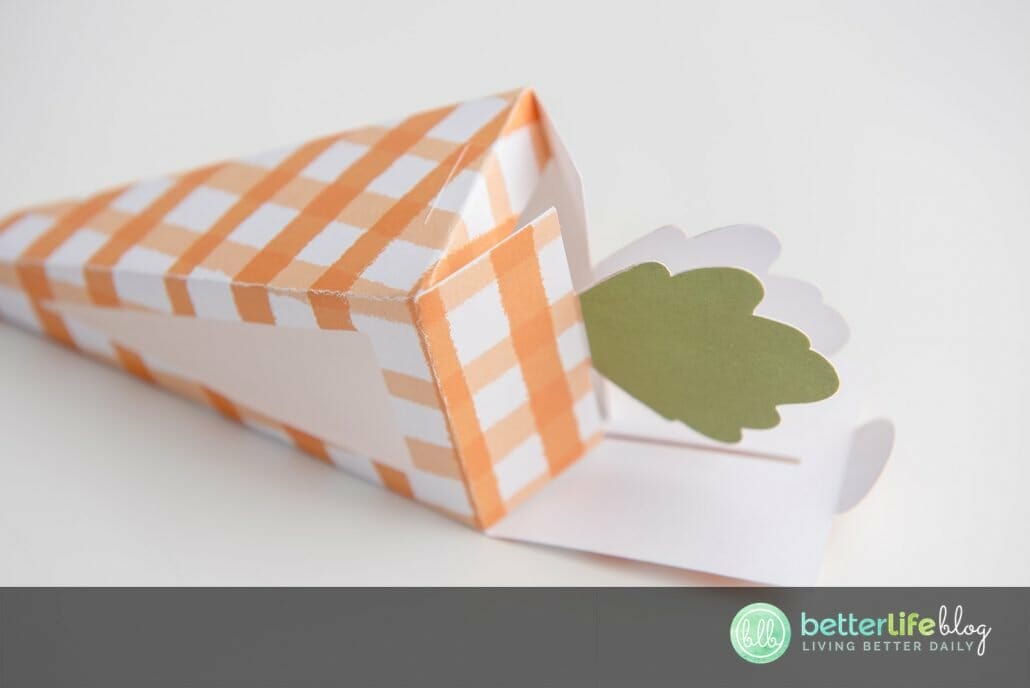
To close the top of the box, bring together the two green carrot tops and feed them through the large slit. And finally, fold the small half-circle tab down and tuck it into the tab on the opposite side.
Voila! All done! Isn’t it adorable?!
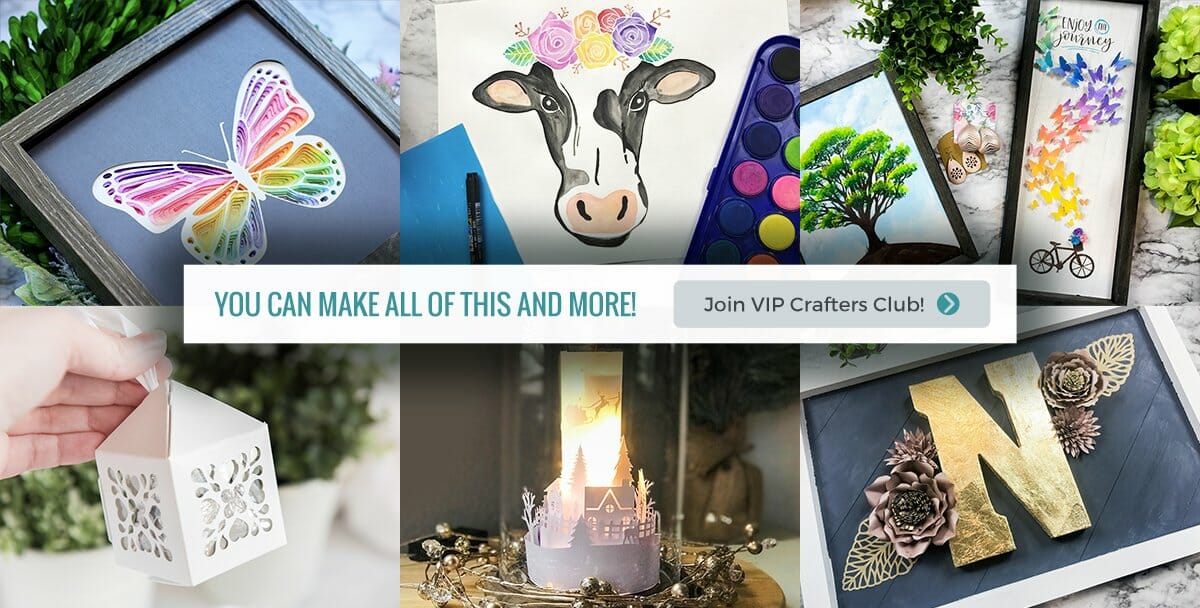
Join Our Monthly VIP Crafters Club and Save $29!
I hope you have enjoyed this fun project! If you love Cricut and Silhouette projects, please consider joining my monthly craft subscription, VIP Crafters Club! There are hundreds of cut files and projects available to members. And, if you’re a first time member, you can apply the coupon code BLBSPECIAL to get $29 off your membership! PLUS, you’ll get a bonus seasonal bundle or my trucks bundle as a bonus for joining! It’s an amazing value, so go check out the sign up page for VIP Crafters Club here.