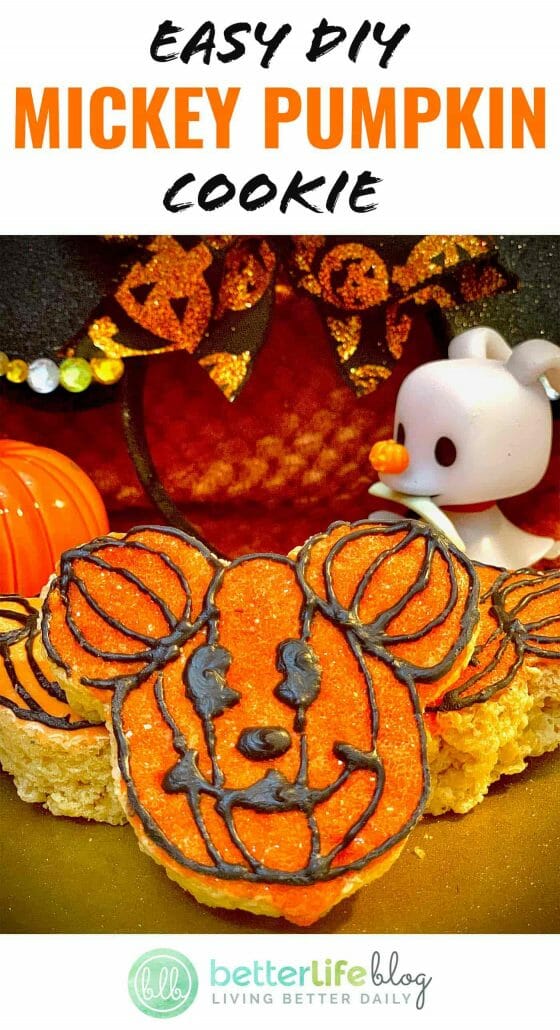
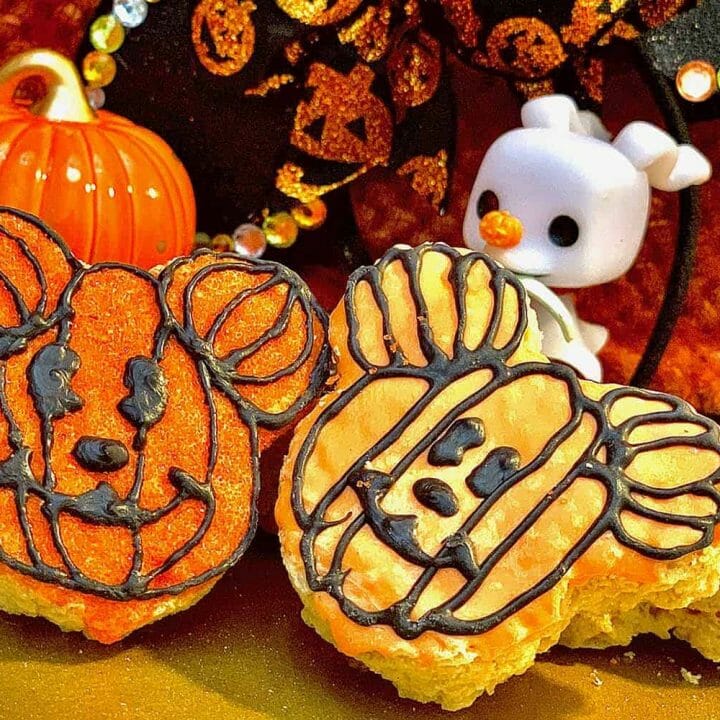
As a huge Disney fan, I just KNEW that I wanted to whip-up something thematic for the fall season. My Easy DIY Mickey Pumpkin Cereal Bars are perfect for the new season, and I can’t wait to show you how to make them.

These rice cereal treat cookies remind of the ones you can find at the Disney parks. I love anything Mickey-shaped – and so does the rest of my family! You can bet they were pleasantly surprised to see these Easy DIY Mickey Pumpkin Cookies on our countertop the other day.
Be sure to take a look at my tutorial just down below. I’ve jotted down my step-by-step directions for you to follow. This way, you can make a batch of your very own!
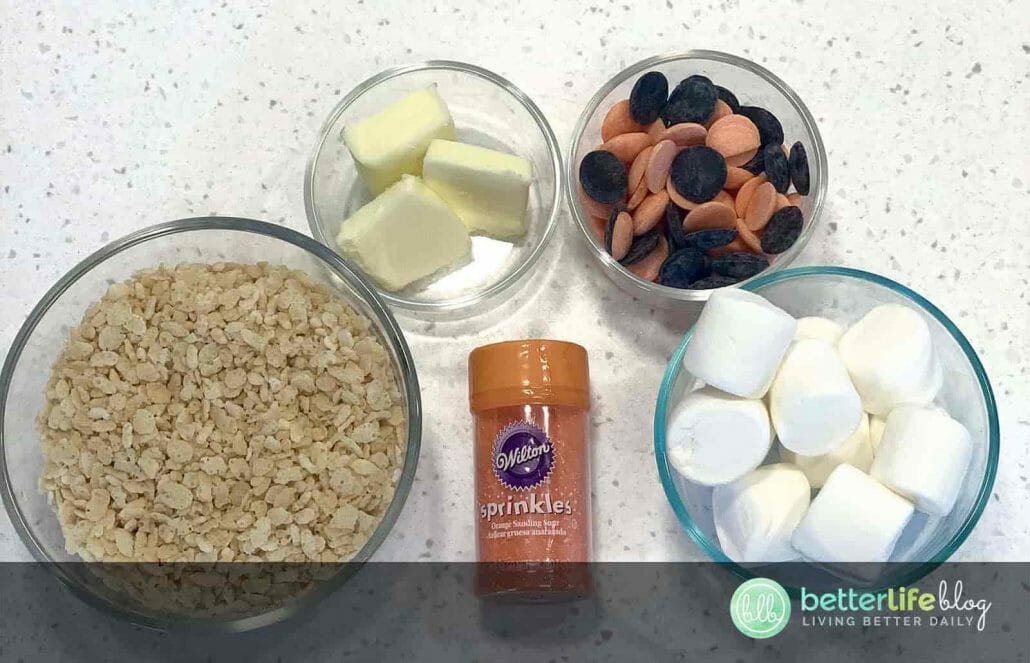
Ingredients:
- 6 cups Rice Krispies Cereal
- 10 oz (about 40) Marshmallows
- 3 Tbsp butter
- Orange candy melts
- Black candy melts
- Orange sprinkles (optional)

Directions:
Begin by melting the butter in a large saucepan over low-medium heat.

Once the butter is melted, add the marshmallows and melt on medium heat, taking care that they don’t burn.
Once melted, remove the marshmallows from the heat and add 6 cups of the Rice Krispies cereal.
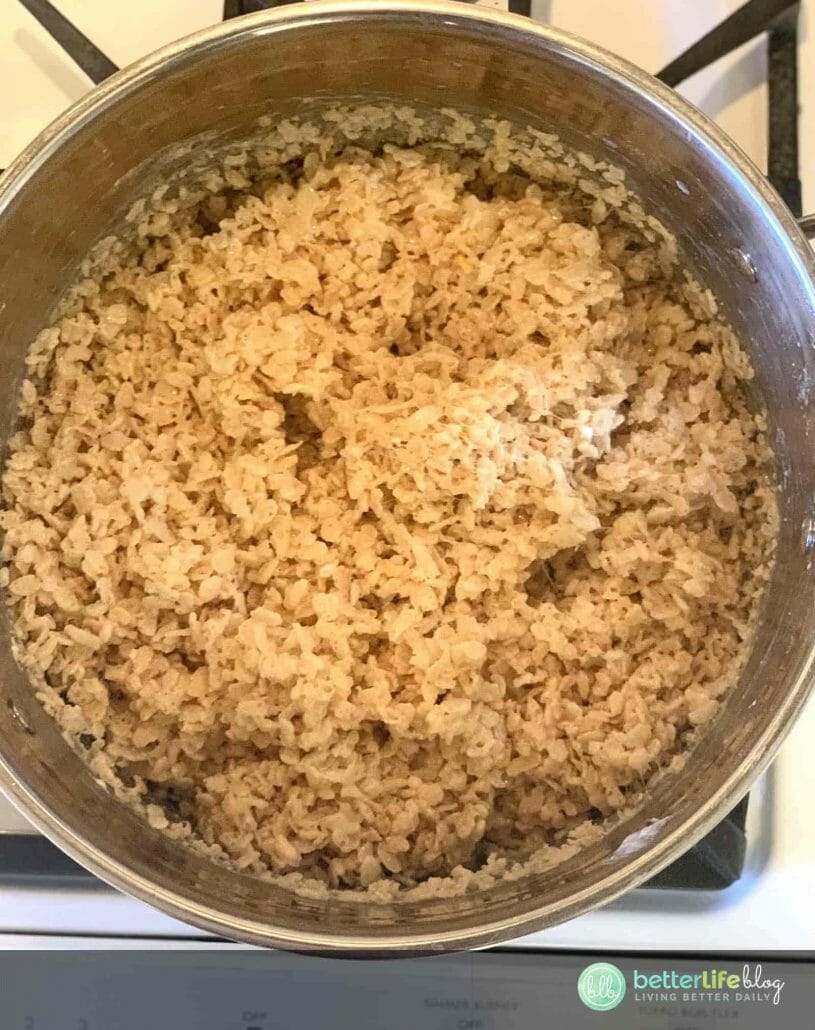
Mix the ingredients together, allowing the marshmallows to fully coat the cereal.
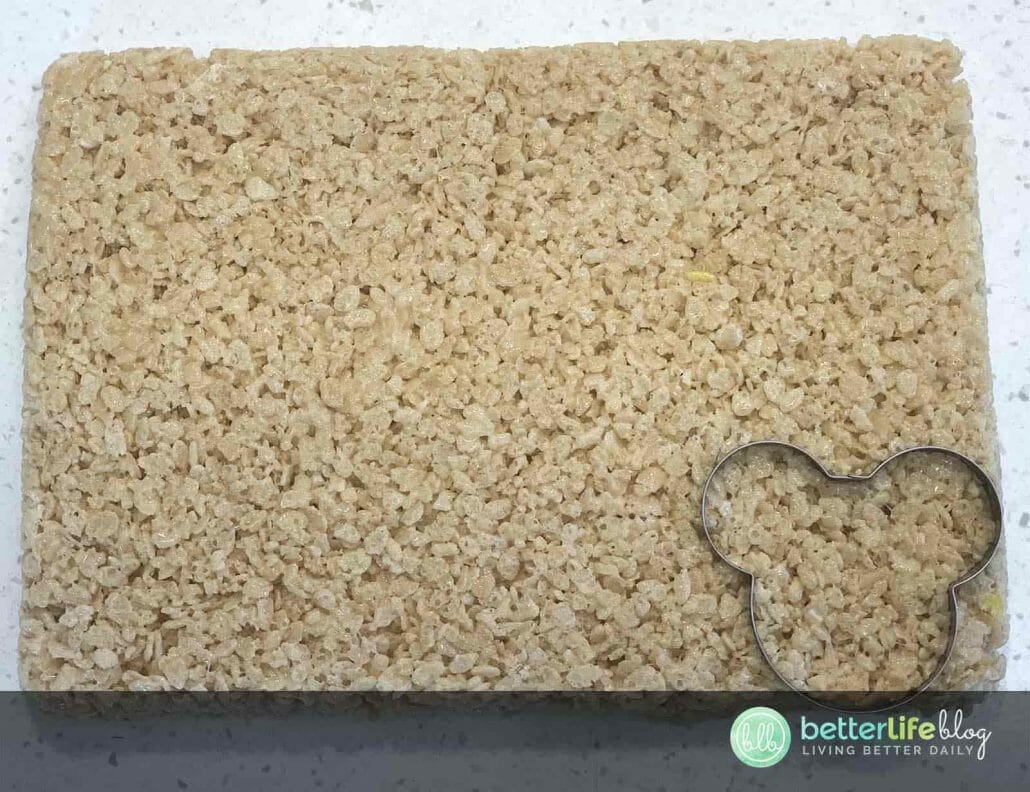
Once fully mixed, put the cereal into a greased pan and allow the cereal to harden.

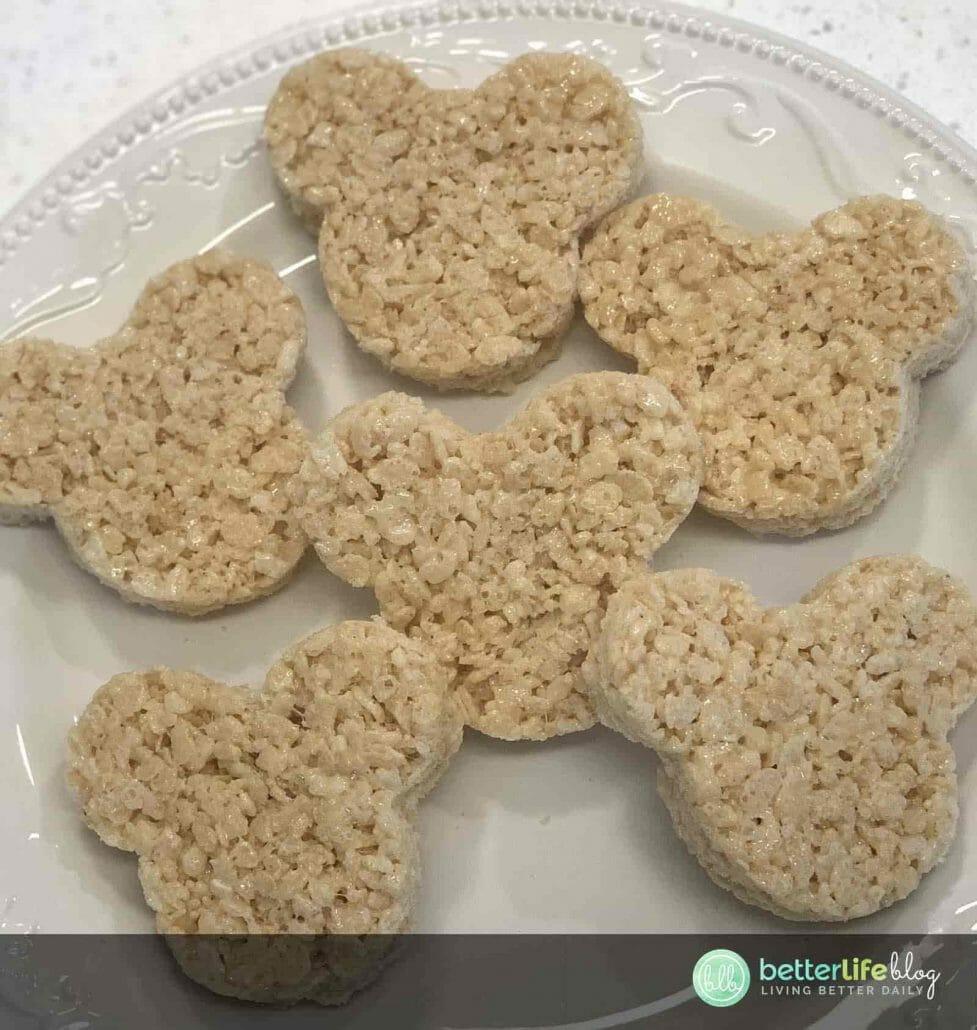
Once the Rice Krispies are set, flip the pan upside down onto a cutting board or clean countertop.
Use a Mickey-shaped cookie cutter to cut the shapes of the Mickey head.
Melt the orange candy melts and dip one side of the Mickey Rice Krispies head (try to get it as close to the edge as you can).
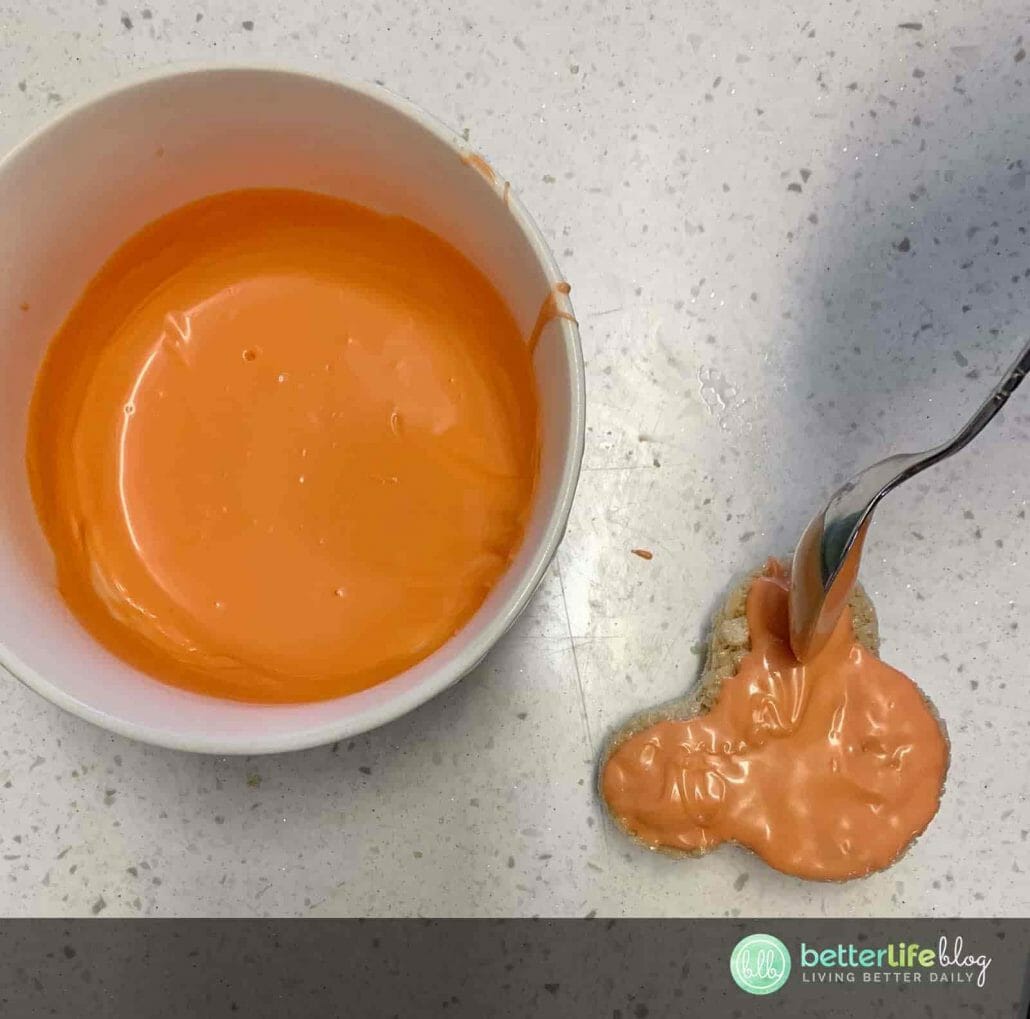
If desired, add orange sprinkles – be sure to do this step while the orange candy is still wet so that the sprinkles can stick well to the treat.
Next, melt the black candy melts. Once melted, add into a piping bag and cut a small hole at the end.
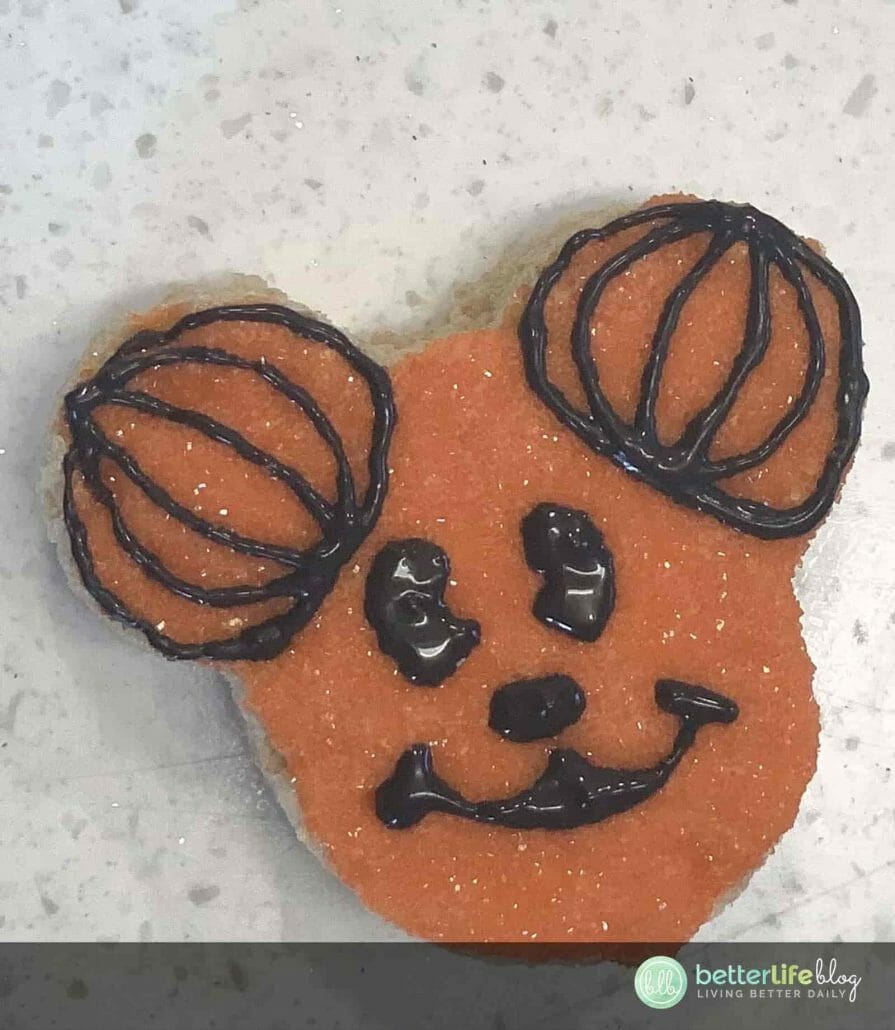
To begin the decorating process, outline 2 circles where the ears are.

Add a long oval shape in the middle of the circles.
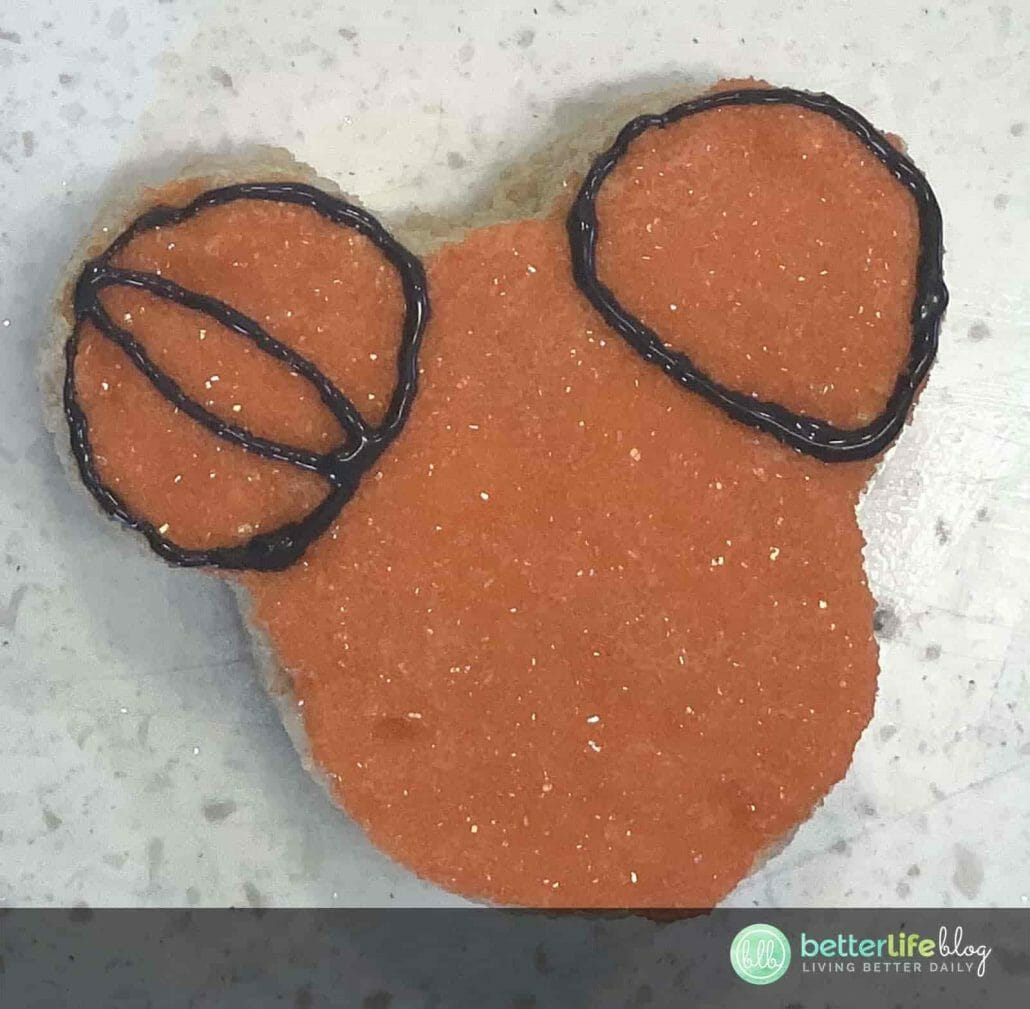
Next, add two more lines on both sides of the oval, following the same direction (ie.: on the left, they curve left and on the right, they curve right).

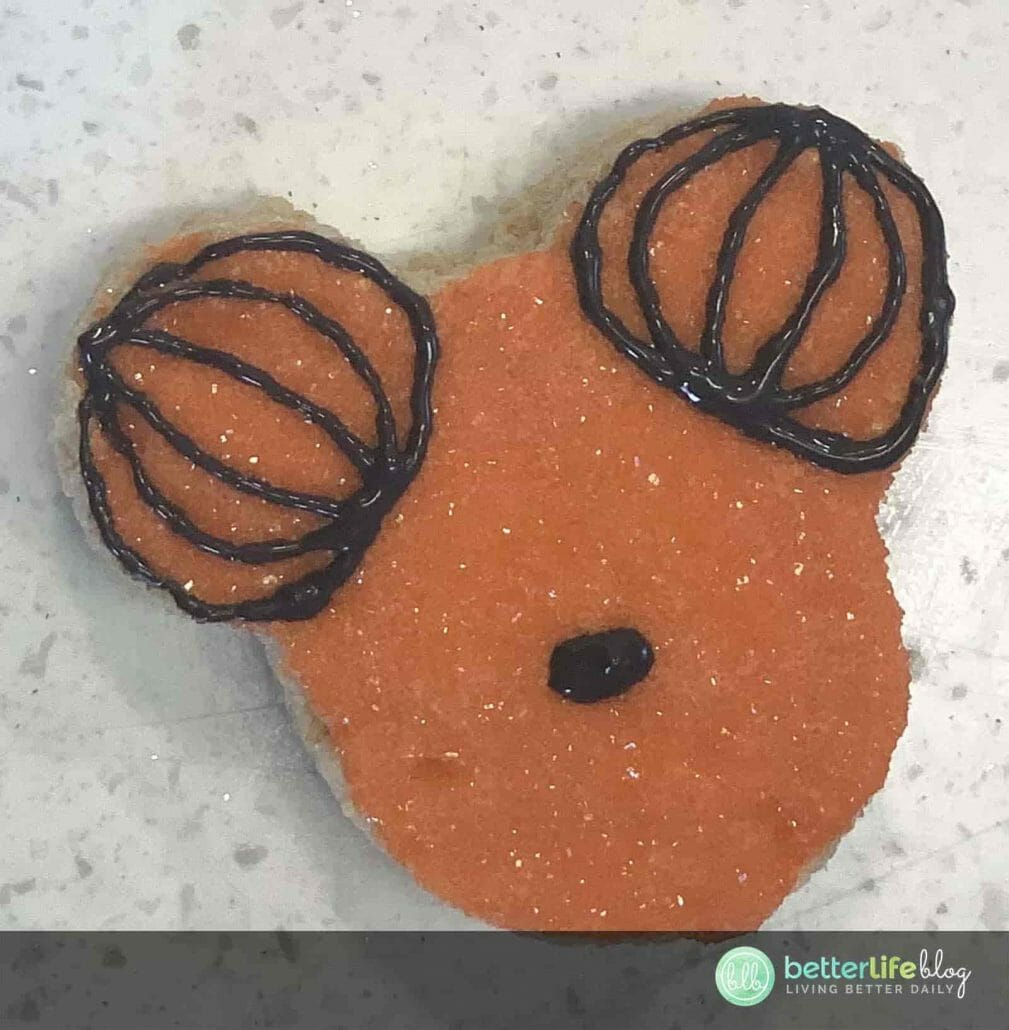
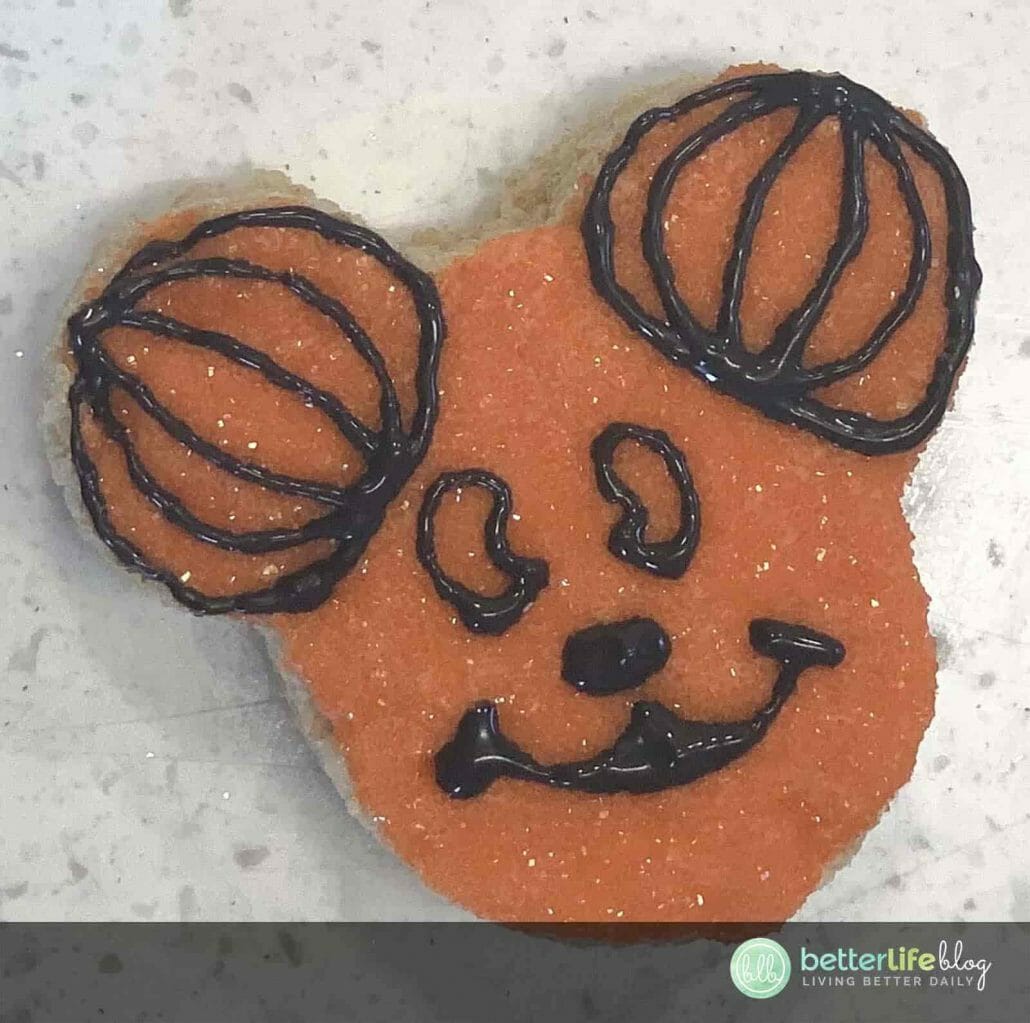
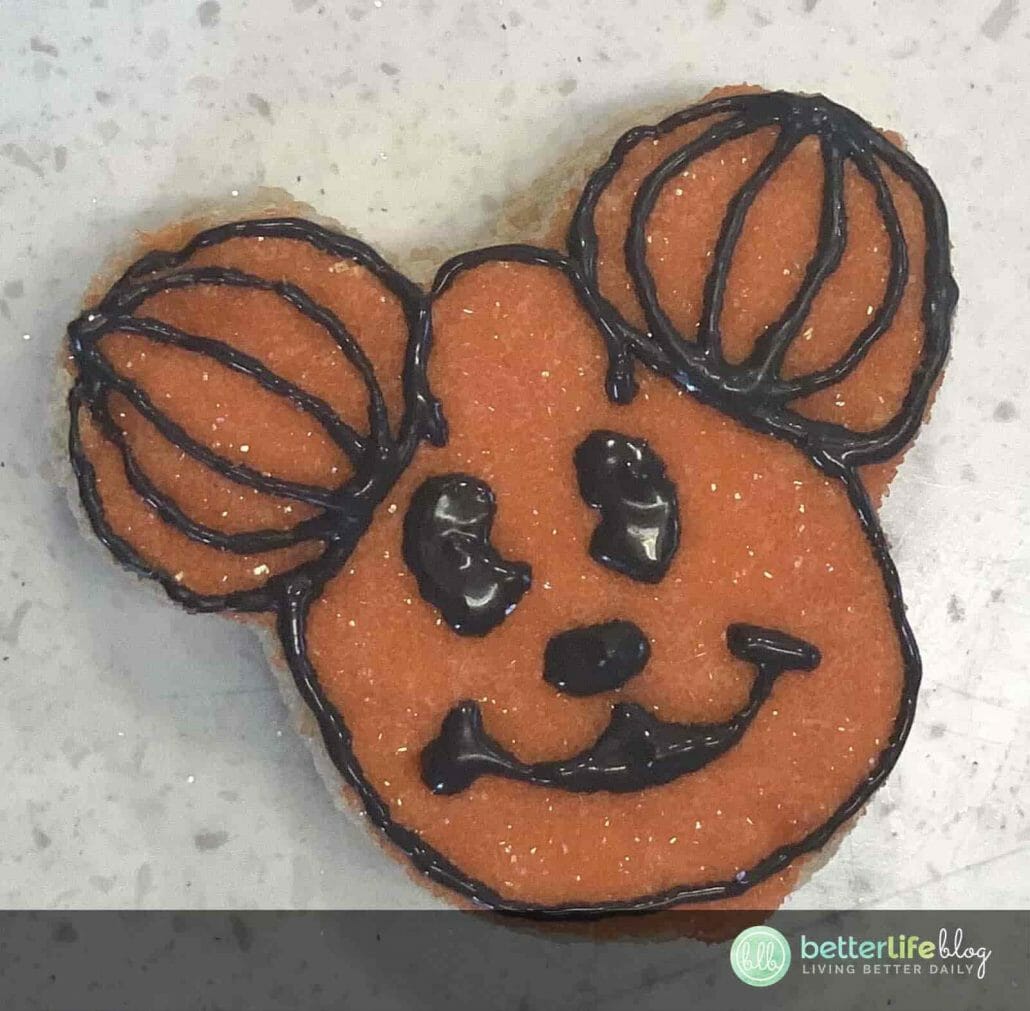
Draw an oval nose in the center of the treat.
Draw a smile, just beneath the nose. Add dimple lines at the end of the smile (and also, in the middle just in case you want to raise the smile a little bit).
Above the eyes, draw 2 slanted lines for the bottom of the eyes.
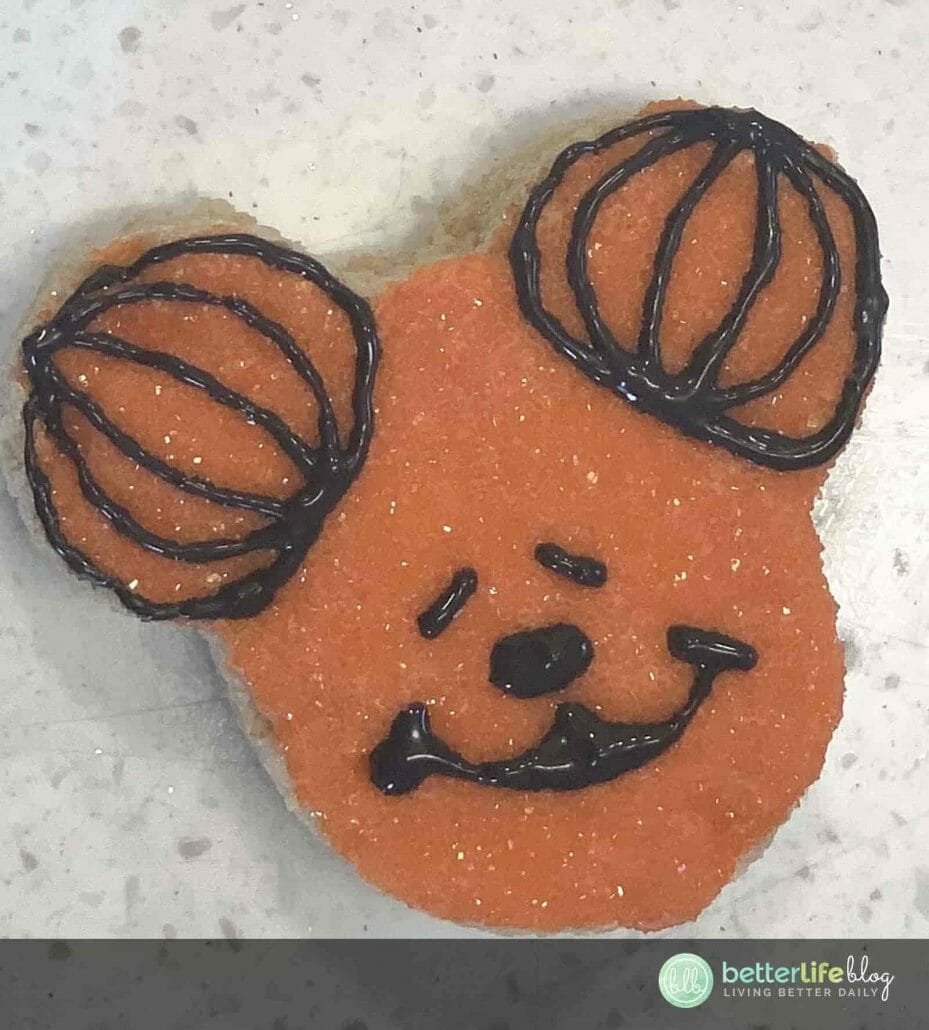
Next, draw out a bean-shaped eye, making sure it connects to the lines at the bottom – fill those in.
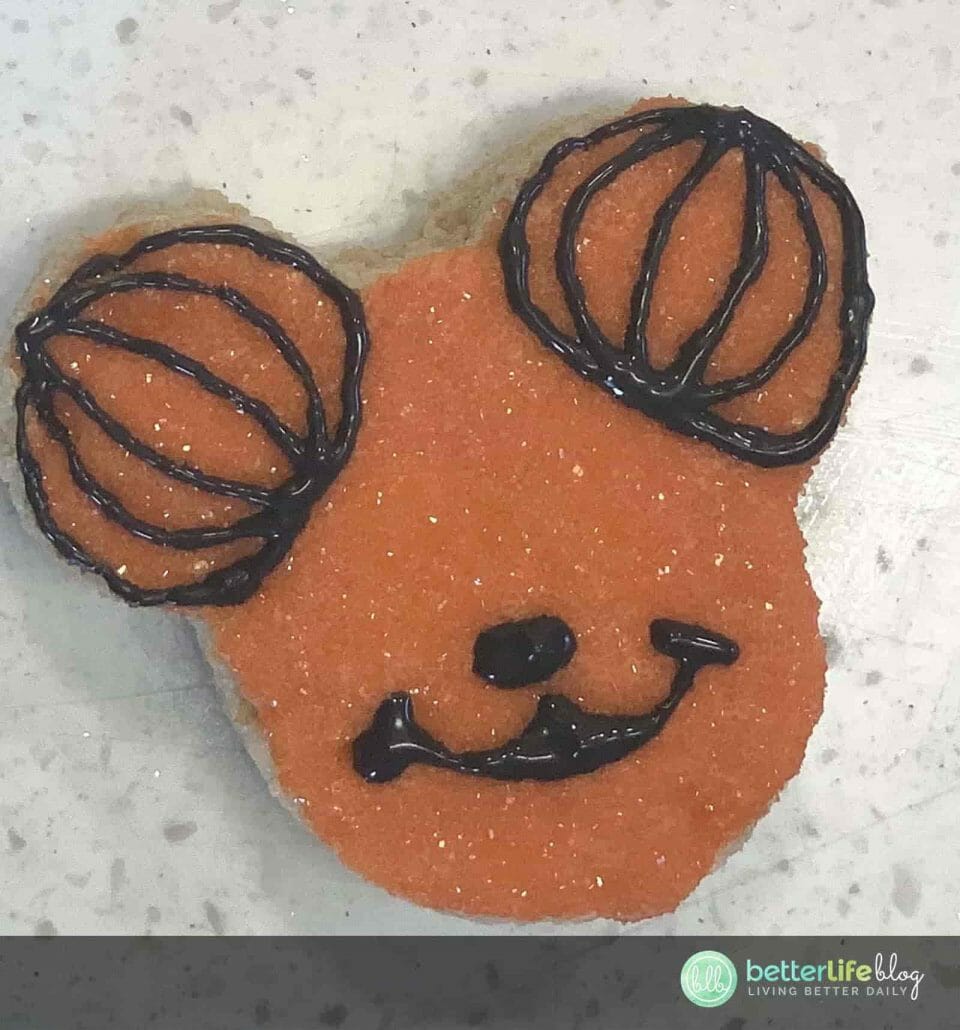
Outline the head, in a similar way that the ears were outlined. Draw a long oval down the center of the face. When you get to the face, pick up the bag. Do NOT drag the lines along the face, so do it in-between the face and not actually on it.
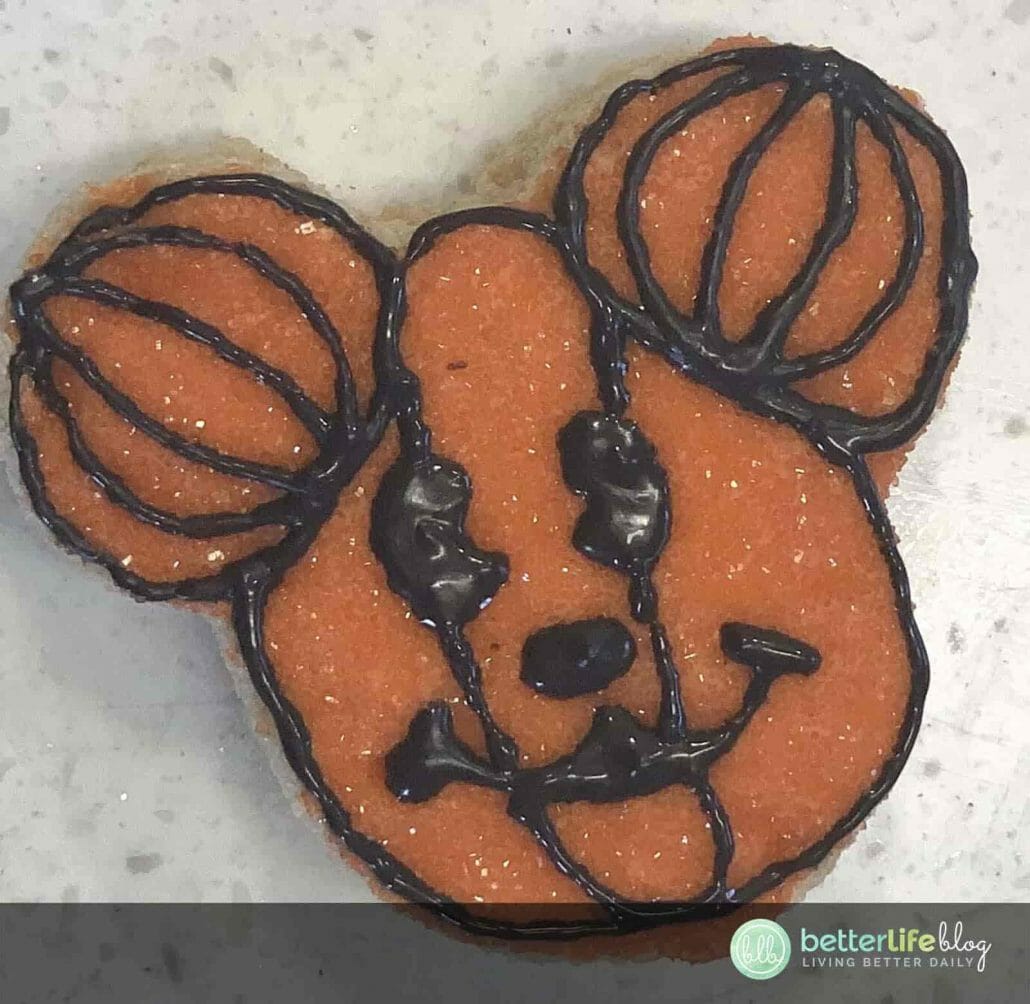
Draw the same lines as you did the ears on both sides of the long oval to complete the pumpkin look.

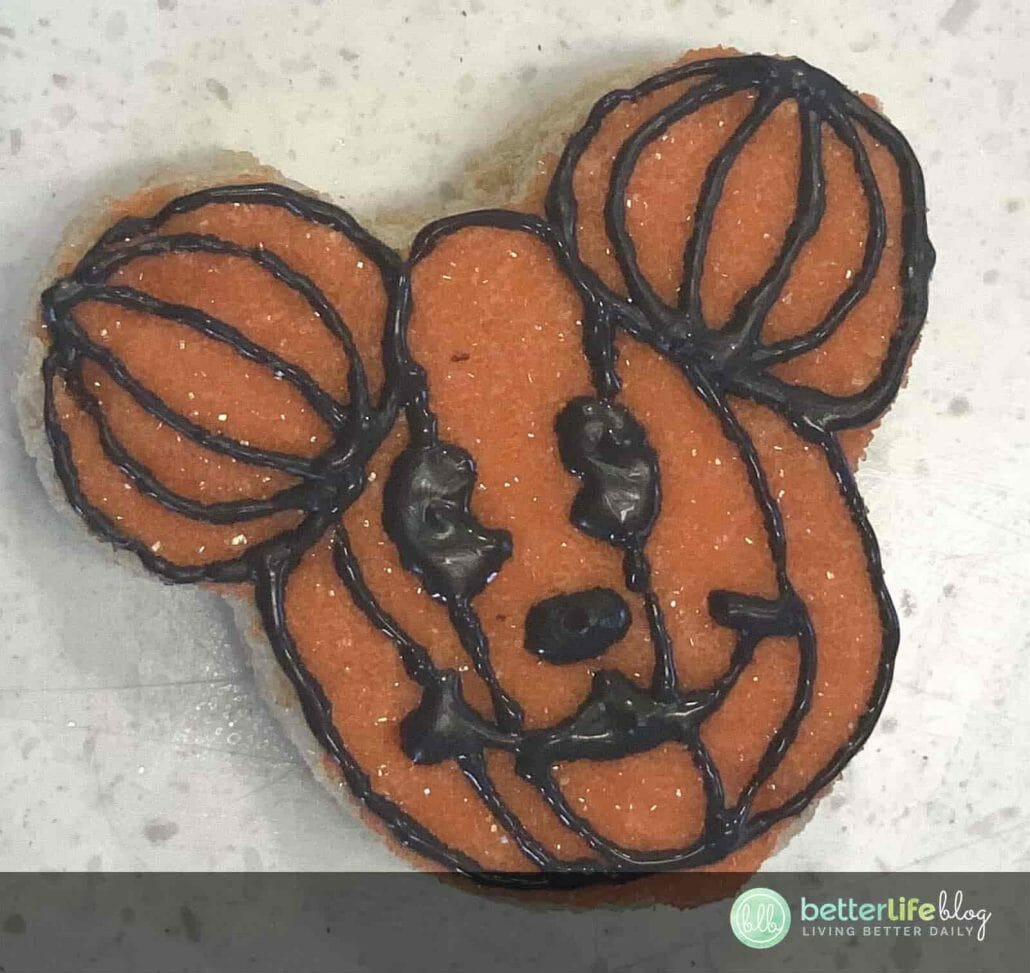

Easy DIY Mickey Pumpkin Cookie
These Easy DIY Mickey Pumpkin Cookies remind of
the ones you can find at the Disney parks! These treats are perfect for the fall
season, and I can’t wait to show you how to make them.
Ingredients
- 6 cups Rice Krispies Cereal
- 10 oz (about 40) Marshmallows
- 3 Tbsp butter
- Orange candy melts
- Black candy melts
- Orange sprinkles (optional)
Instructions
- Begin by melting the butter in a large saucepan over low-medium heat.
- Once the butter is melted, add the marshmallows and melt on medium heat, taking care that they don’t burn.
- Once melted, remove the marshmallows from the heat and add 6 cups of the Rice Krispies cereal.
- Mix the ingredients together, allowing the marshmallows to fully coat the cereal.
- Once fully mixed, put the cereal into a greased pan and allow the cereal to harden.
- Once the Rice Krispies are set, flip the pan upside down onto a cutting board or clean countertop.
- Use a Mickey-shaped cookie cutter to cut the shapes of the Mickey head.
- Melt the orange candy melts and dip one side of the Mickey Rice Krispies head (try to get it as close to the edge as
you can). - If desired, add orange sprinkles - be sure to do this step while the orange candy is still wet so that the sprinkles can
stick well to the treat. - Next, melt the black candy melts. Once melted, add into a piping bag and cut a small hole at the end.
- To begin the decorating process, outline 2 circles where the ears are.
- Add a long oval shape in the middle of the circles.
- Next, add two more lines on both sides of the oval, following the same direction (ie.: on the left, they curve left and on the right, they curve right).
- Draw an oval nose in the center of the treat.
- Draw a smile, just beneath the nose. Add dimple lines at the end of the smile (and also, in the middle just in case you
want to raise the smile a little bit). - Above the eyes, draw 2 slanted lines for the bottom of the eyes.
- Next, draw out a bean-shaped eye, making sure it connects to the lines at the bottom - fill those in.
- Outline the head, in a similar way that the ears were outlined. Draw a long oval down the center of the face. When you get to the face, pick up the bag. Do NOT drag the lines along the face, so do it in-between the face and not actually on it.
- Draw the same lines as you did the ears on both sides of the long oval to complete the pumpkin look.