
Craft Tools
How to Remove HTV with a Clothing Iron and Tweezers
Mistakes happen – and more often than not, they can be fixed! Learn how to remove HTV with basic household supplies (including a clothing iron


Hi crafting friends!
Love is in the air! Can you feel it? I love this time of the year… everything feels fresh and new!
This design is available as part of my Valentine’s SVG Design Bundle, which can be found on Etsy.
It contains SO MANY CUTE DESIGNS. I am in love with this bundle and I hope you will love it too! Please go check it out and enjoy!! I promise, you won’t regret it! (Trust me, you could easily spend more at a trip to McDonald’s and this doesn’t make you feel icky afterward! Ha!)


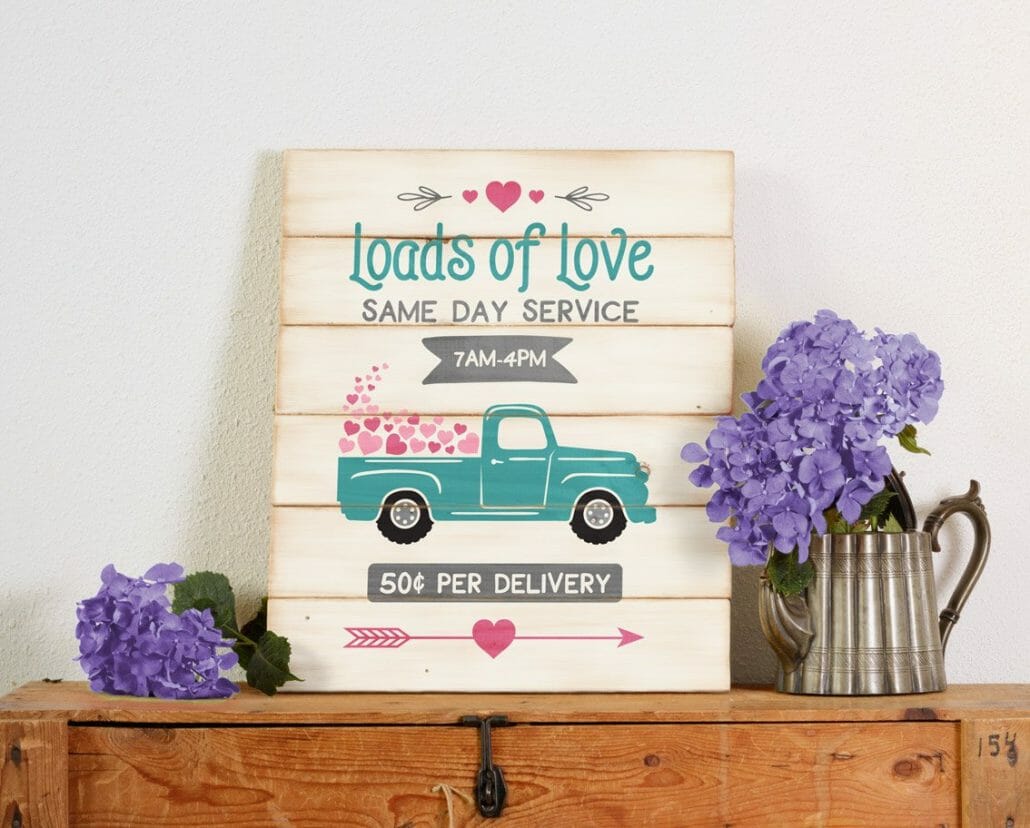
I get a lot of questions about this sign so here are some instructions and tips to help you make your own awesome sign! If you follow these steps, you will end up with a sign that has minimal or no bleeding!
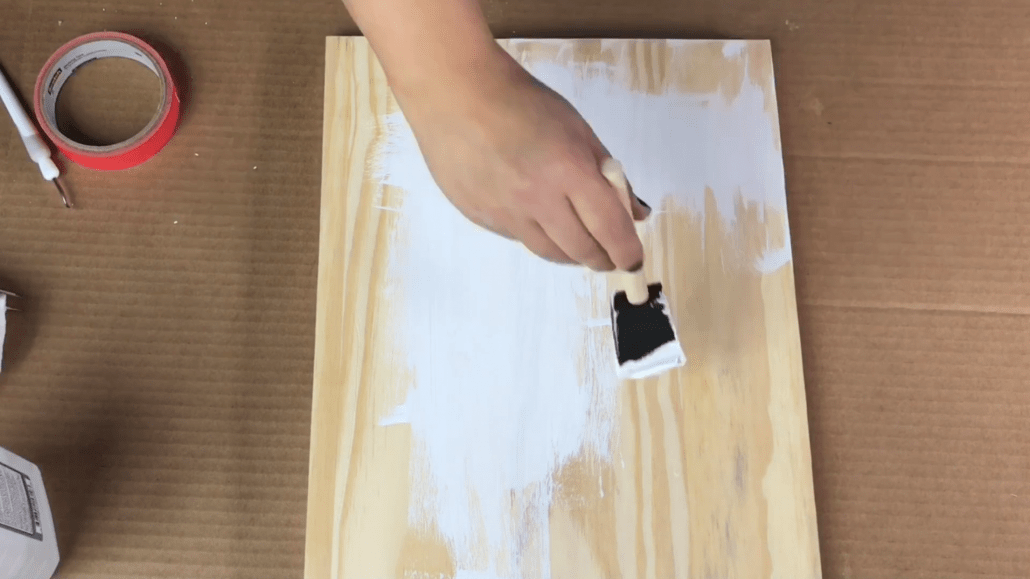
So before I started painting, my awesome hubby Joe cut the piece of wood to the size I wanted (12″ x 16″) and sanded it REALLY well for a nice, smooth surface. Michaels also carries pre-cut wood, in case you don’t have a Lowe’s . I would still sand it just to make sure it’s nice and smooth. He also used a tack cloth (just wipe the wood as if you were using a towel) to clean up any pieces of saw dust from the sanding and cutting so that the surface was nice and clean before I started painting it.
I did just one very thin coat of chalk paint. Once it is dry (which shouldn’t take very long at all), use a very fine grit sand paper like 400 and very gently sand the surface so that it feels very soft. You can use the tack cloth again to pick up any powder left behind.
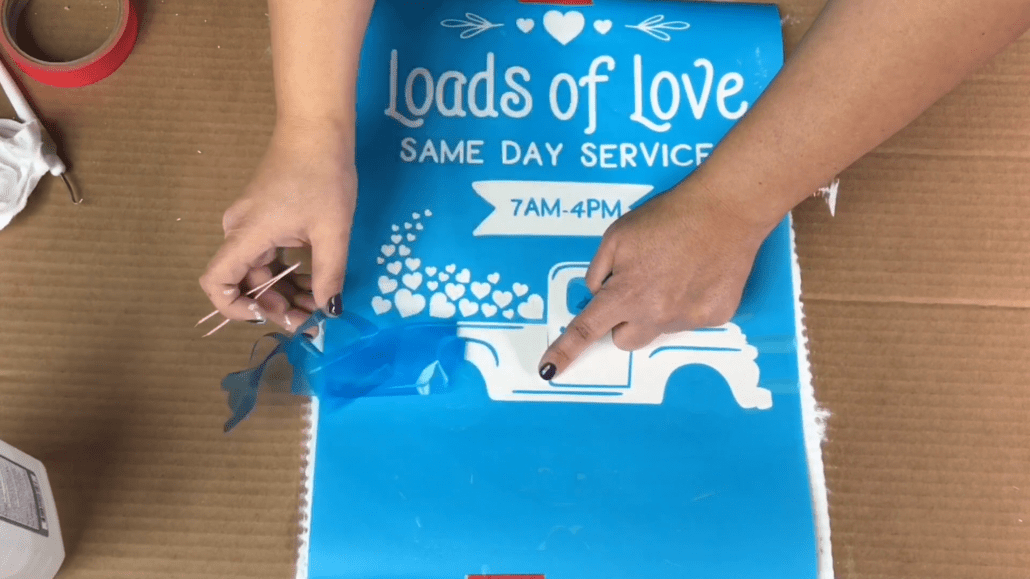
I’m going to assume if you’re on this page you are already familiar with the process of cutting and weeding. I used Oramask 813 Stencil Vinyl and used the same cut settings that I use to cut 651 Vinyl (Auto blade, speed 5, thickness 10). I used painters tape to secure my vinyl down so that I can weed it without it moving, but some people leave the vinyl on their cutting mat during weeding. I reverse-weeded the design, which means that rather than removing the pieces AROUND the design, I do the opposite. I removed the pieces from the design that I want to paint (essentially creating a stencil).
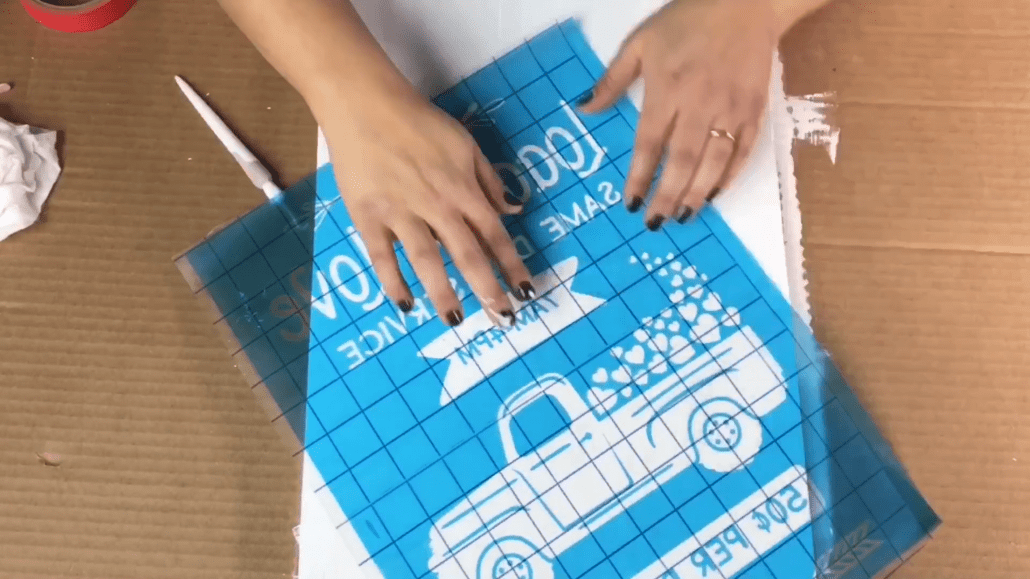
I used some transfer tape to transfer the stencil onto the board. I like this kind of transfer tape because it has a grid which helps me align it properly to the board.
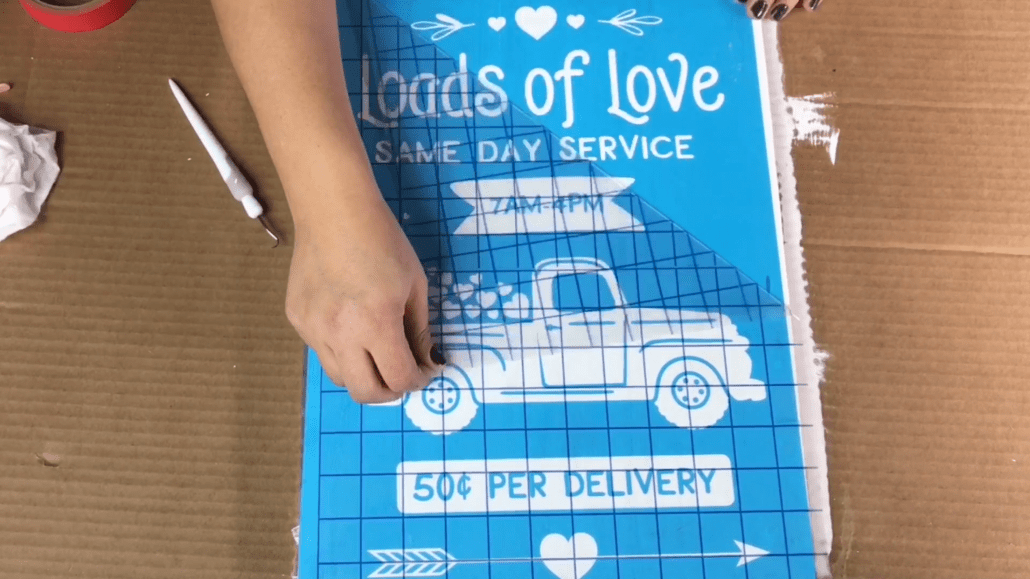
This step creates a barrier between your stencil and the board and prevents bleeding. I just used the standard Matte version of Mod Podge. Again, keep it THIN. You do not want globs of anything when you are making signs — it just takes longer to dry and it will pull up some of the paint later on so be careful. You do not need to wait long for this to dry. Once I finished applying the Mod Podge I was ready to begin applying the paint back at the top.
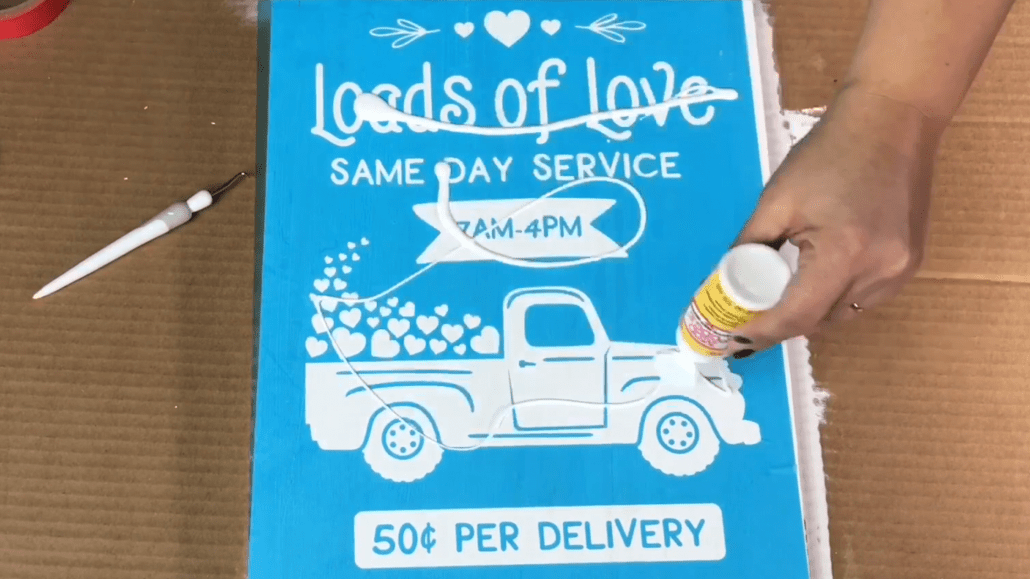
I used these round paint sponges (sometimes I also use a makeup sponge) to dab the small amounts of paint on gently.
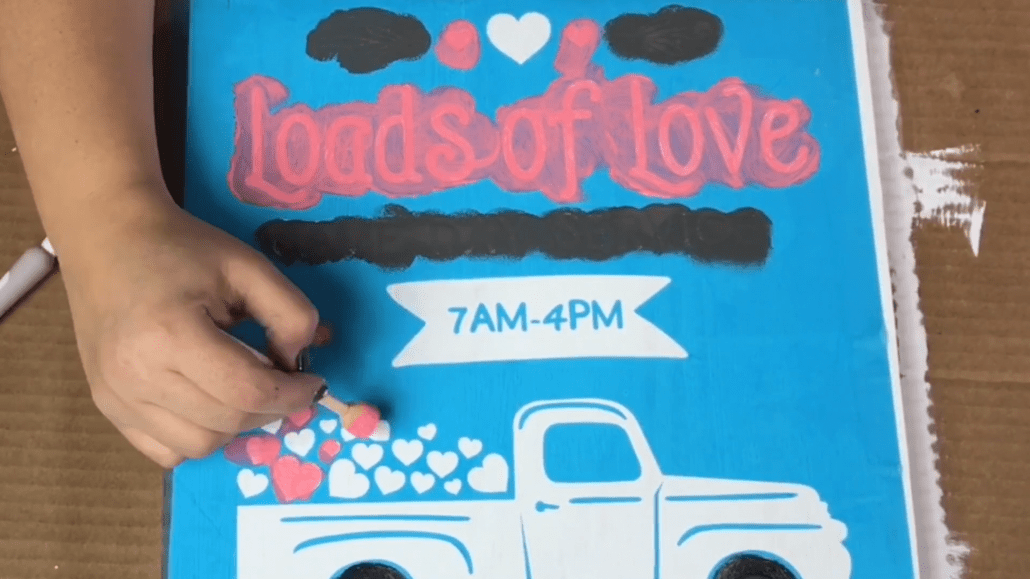
I blended the pinks a little bit where the cute hearts are coming out of the bed of the truck. Get creative! This is your sign so make it unique. Remember to avoid using more paint than is necessary.
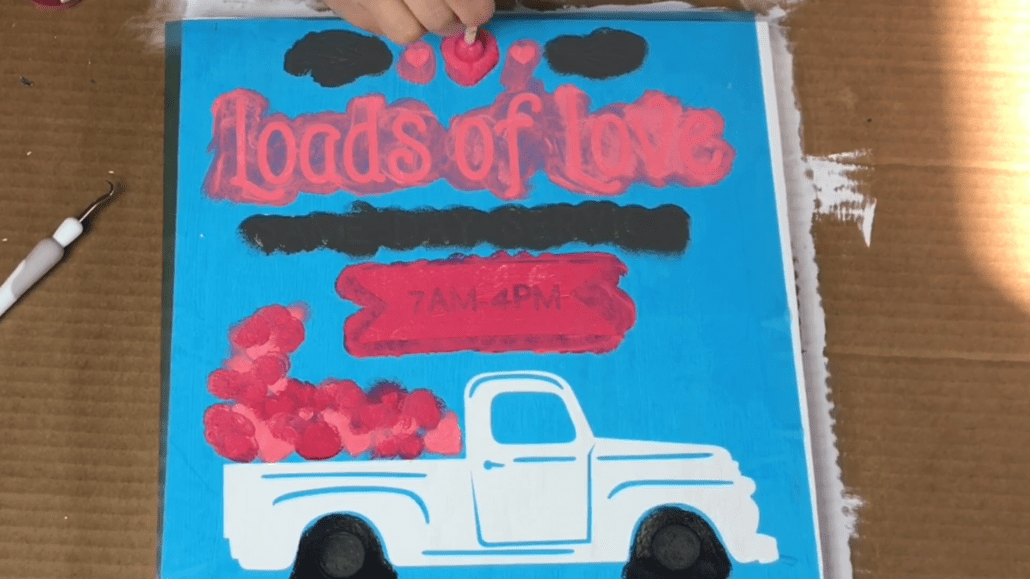
Because I used metallic paint on the truck, the drying time was a little longer (it’s acrylic paint and not chalk paint). It was also a very different texture and the paint moved around a lot more, so it definitely took some patience (which is not my greatest strength!!) but I managed to step away and wait long enough for it to dry.
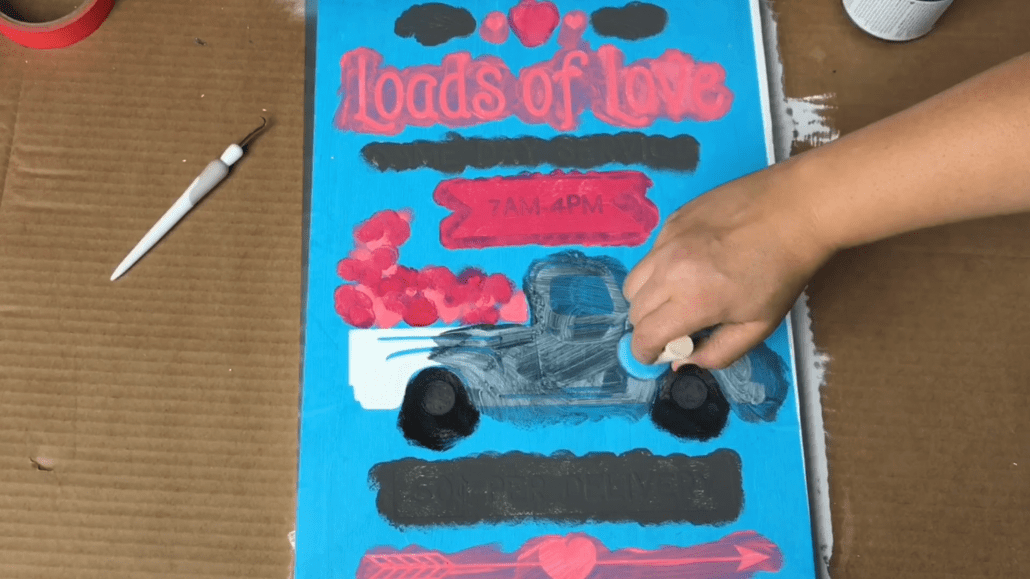
I remove the stencil vinyl once the metallic paint was mostly dry. Just be careful not to pull it up too fast so that it doesn’t pull up the dry paint along with the stencil.

—
Well, that’s it! I hope you found this tutorial useful. Don’t forget to check out the Valentine’s SVG Design Bundle on Etsy and sign up for my newsletter where you’ll get access to FREE files (yes, really free!) and tips from me! Happy Crafting!!
Note: this post contains affiliate links.
Mistakes happen – and more often than not, they can be fixed! Learn how to remove HTV with basic household supplies (including a clothing iron

I hope you’re ready to add a touch of elegance and shimmer to your crafting projects because today’s tutorial is all about the mesmerizing art

I love making three-dimensional projects using my Cricut and Silhouette machines! Whether it’s a favor box, pop up card or 3-D Paper sculpture, any folded
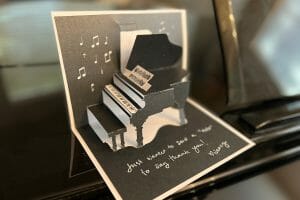
This easy-to-make piano pop-up card is perfect for the music connoisseur in your life. Make it with the help of your trusty Cricut or Silhouette.

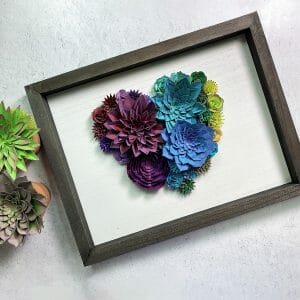
If you’ve been with me for a minute, then you already know how much I love making shadow box designs! It’s one of my absolute

Ironing heat transfer vinyl onto wood is a great way to add a personal touch to your home decor or create unique gifts for your


This course is for beginners who want to learn to use their cutting machines! There are two course options: Cricut Cutting Basics or Silhouette Cutting Basics! Click the button below to enroll for free
