
Craft Tools
How to Remove HTV with a Clothing Iron and Tweezers
Mistakes happen – and more often than not, they can be fixed! Learn how to remove HTV with basic household supplies (including a clothing iron


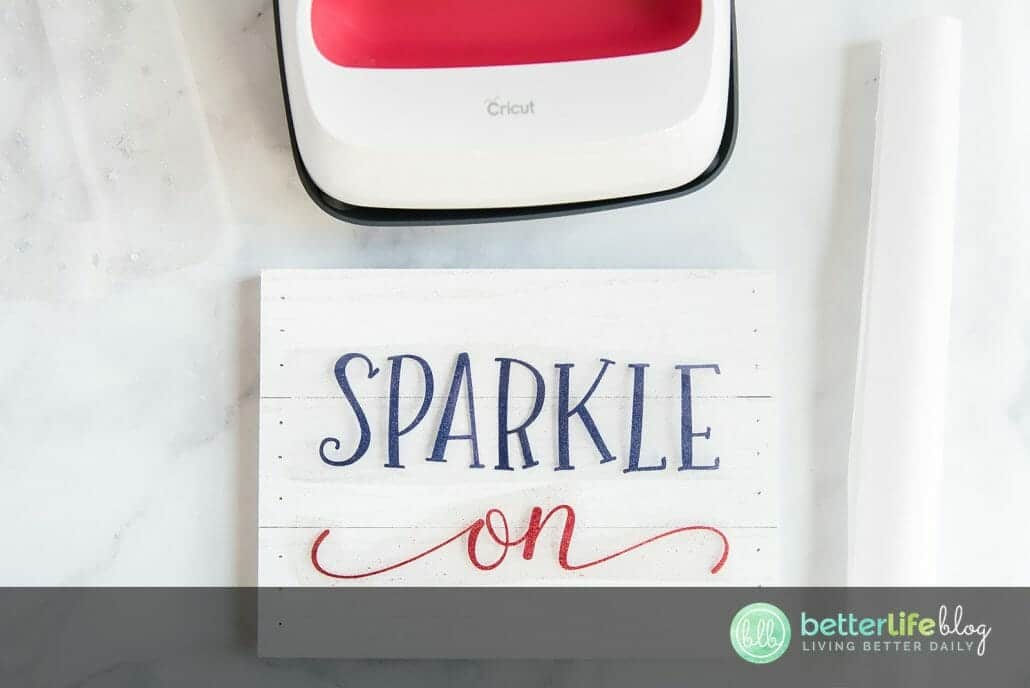
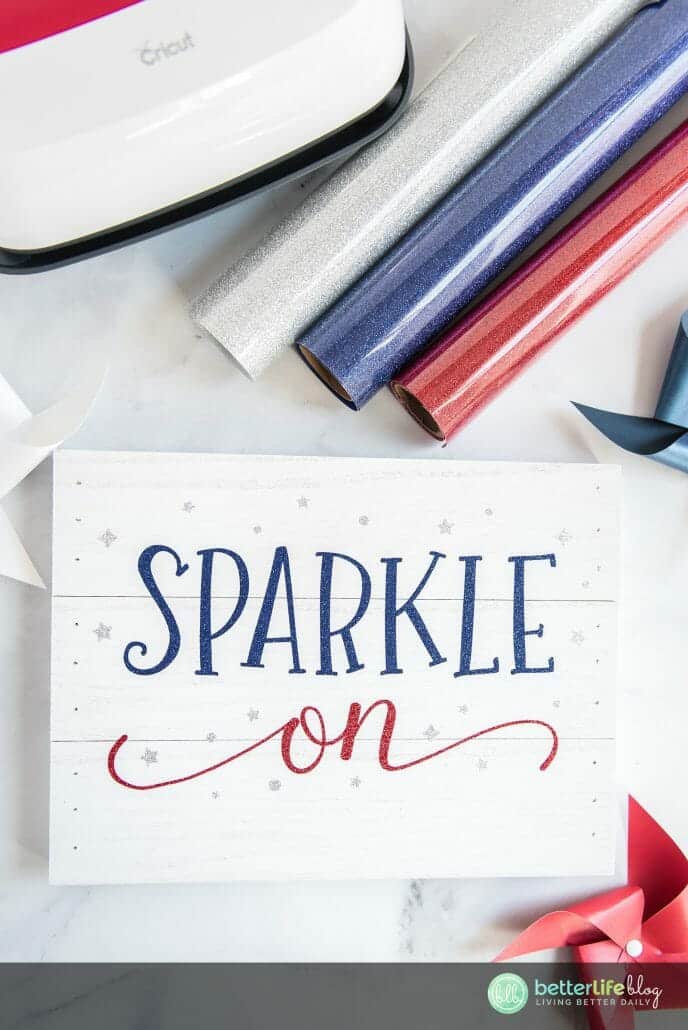
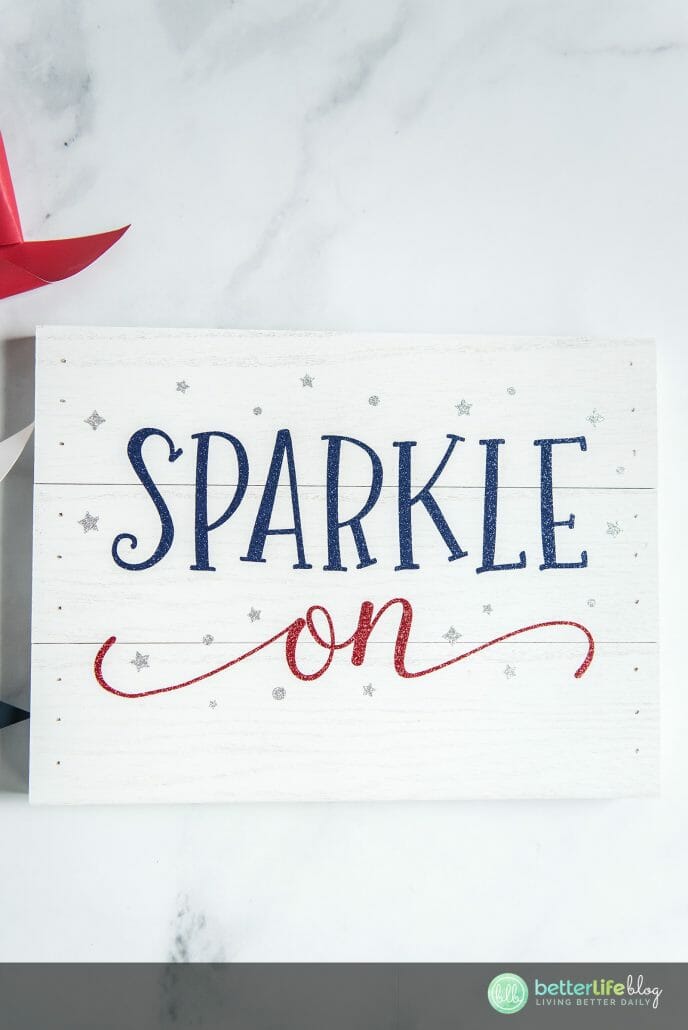
Ironing heat transfer vinyl onto wood is a great way to add a personal touch to your home decor or create unique gifts for your loved ones. Now, you might be used to using HTV on shirts, totes, and other fabric items, but today we are going to discover yet another awesome use for it, and even better, it involves glitter! Heat transfer vinyl allows you to bring your creativity to wooden surfaces and bring a touch of sparkle and personality to any project.
Today we will explore the fun process of ironing glitter HTV onto wood and share valuable tips to help you achieve stunning results. Get ready to unleash your inner artist and take your crafting skills to a whole new level!
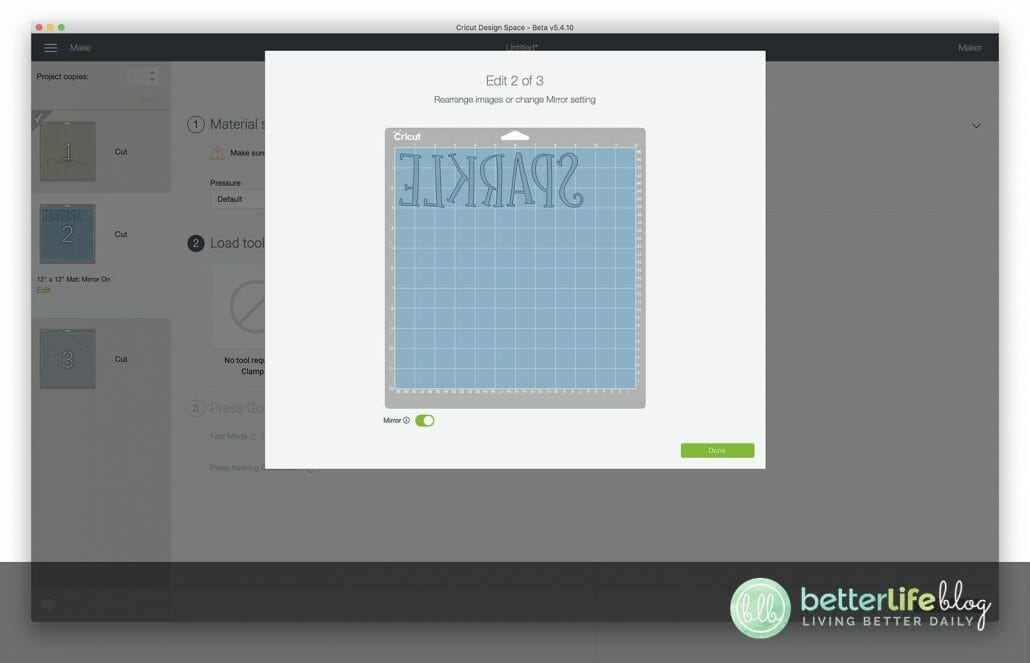
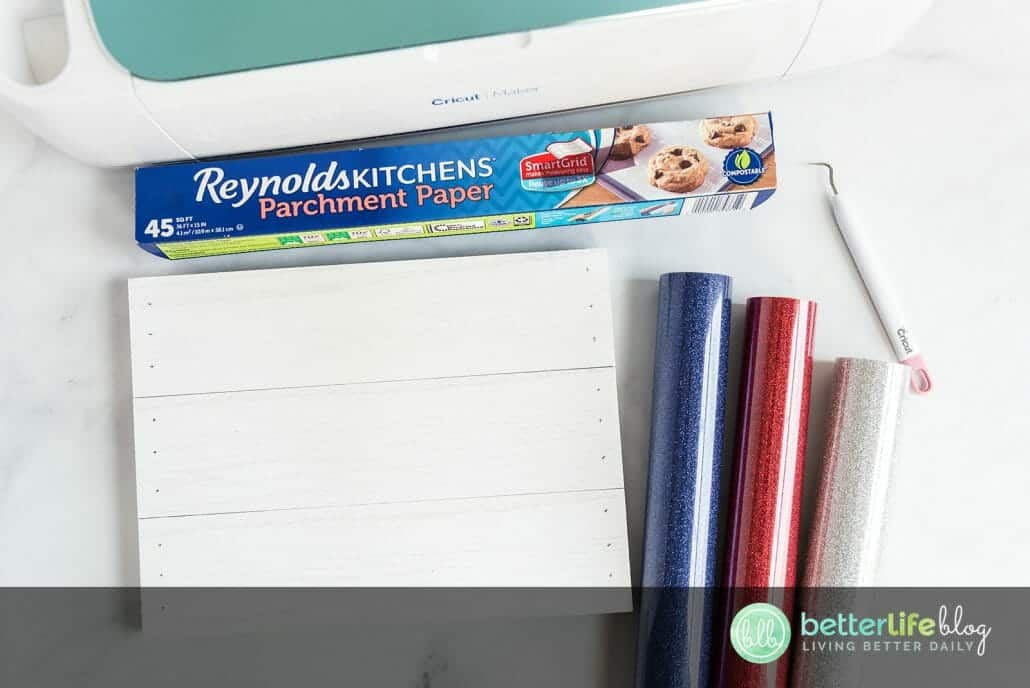
Gather your red, blue, and silver glitter heat transfer vinyl. Load the “Sparkle On” file into Cricut Design Space.
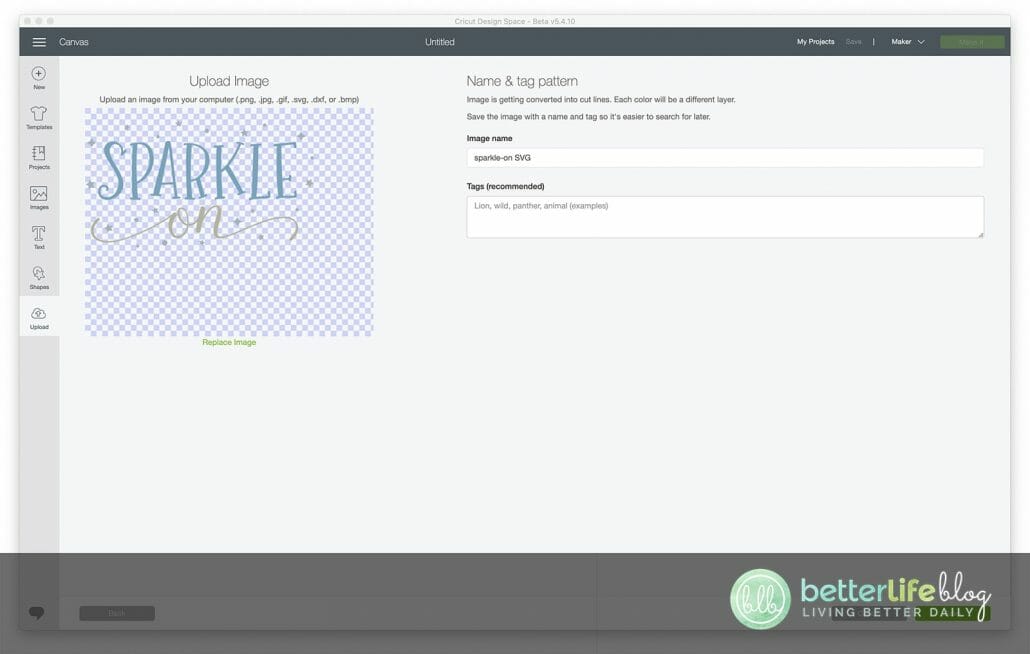
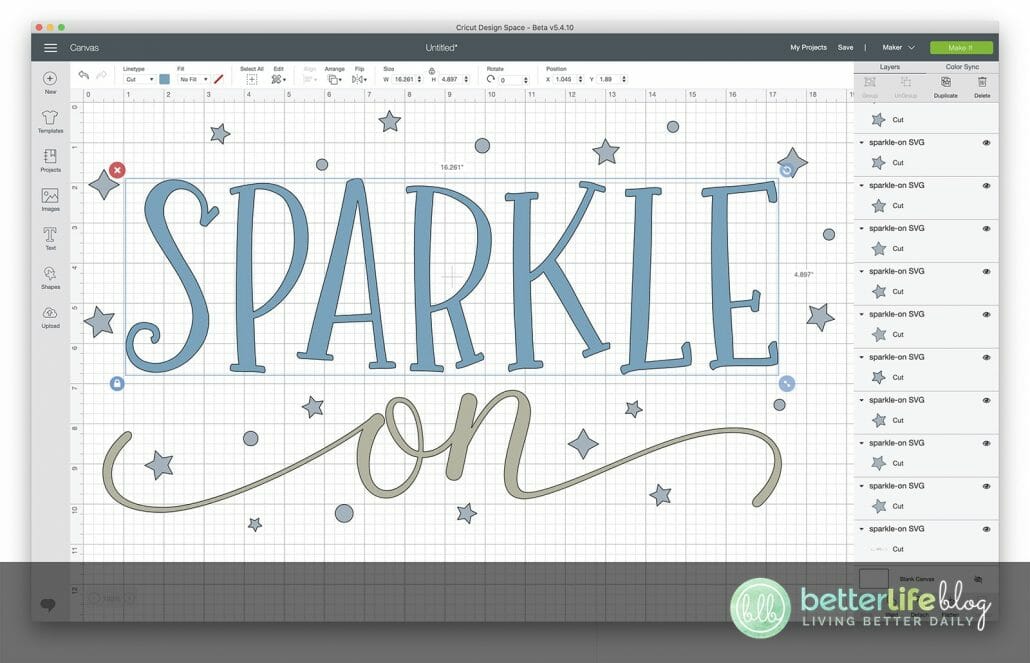
Adjust the width of the image to 10.5 inches.
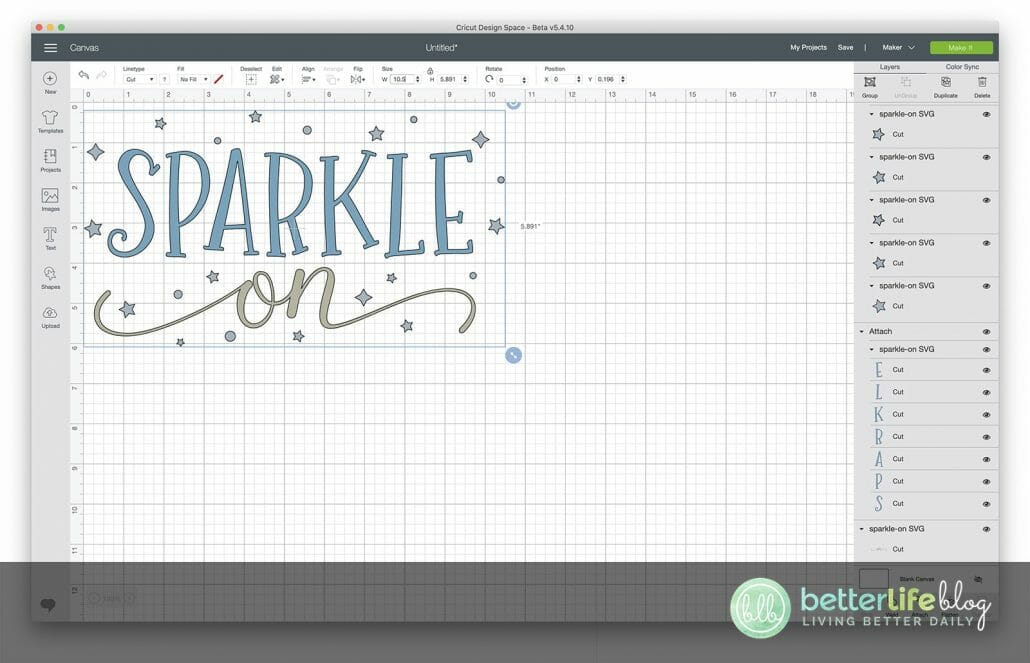
Select all of the letters that read “SPARKLE” and select the attach button.
Next, select all of the stars and circles that surround the words and attach those. Select the Make it button.
If you are using Cricut brand htv, select “Glitter Iron-on” from the materials list.
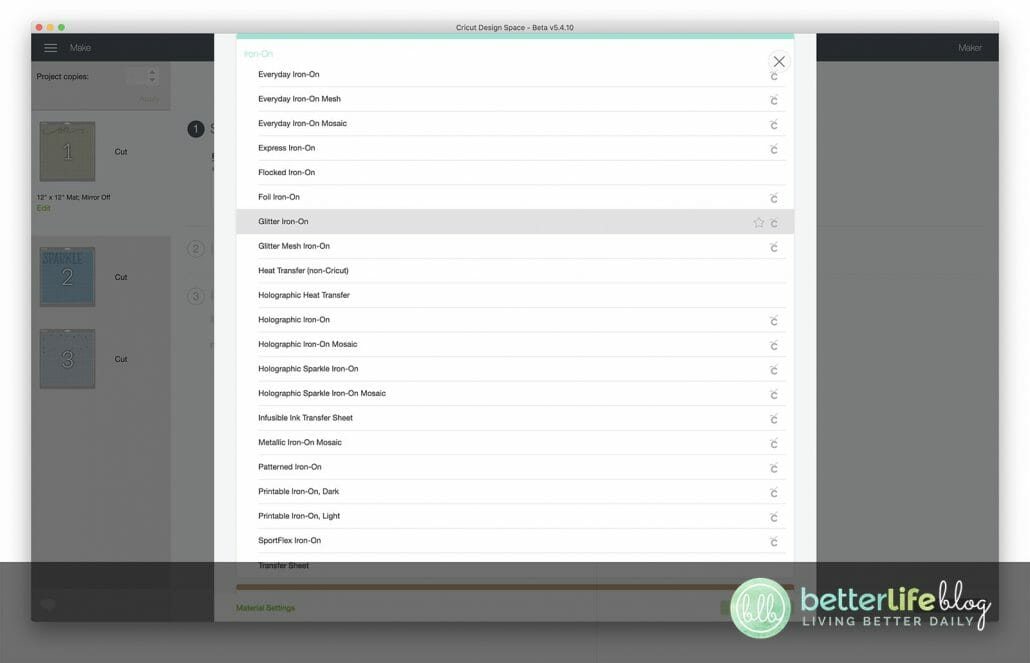

Make sure to select the mirror slider on each Cricut Mat.
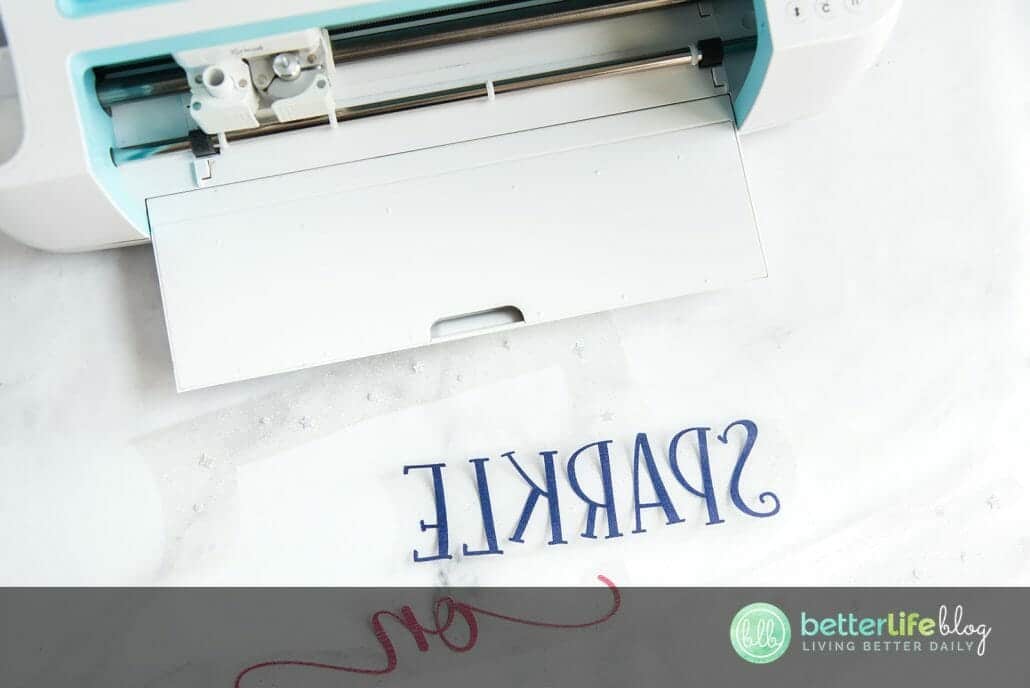
Place your htv, shiny side down onto your mat and proceed to follow the directions in Design Space to cut. (To follow along with this project, cut the word “SPARKLE” in blue, the word “on” in red, and the shapes in silver”)
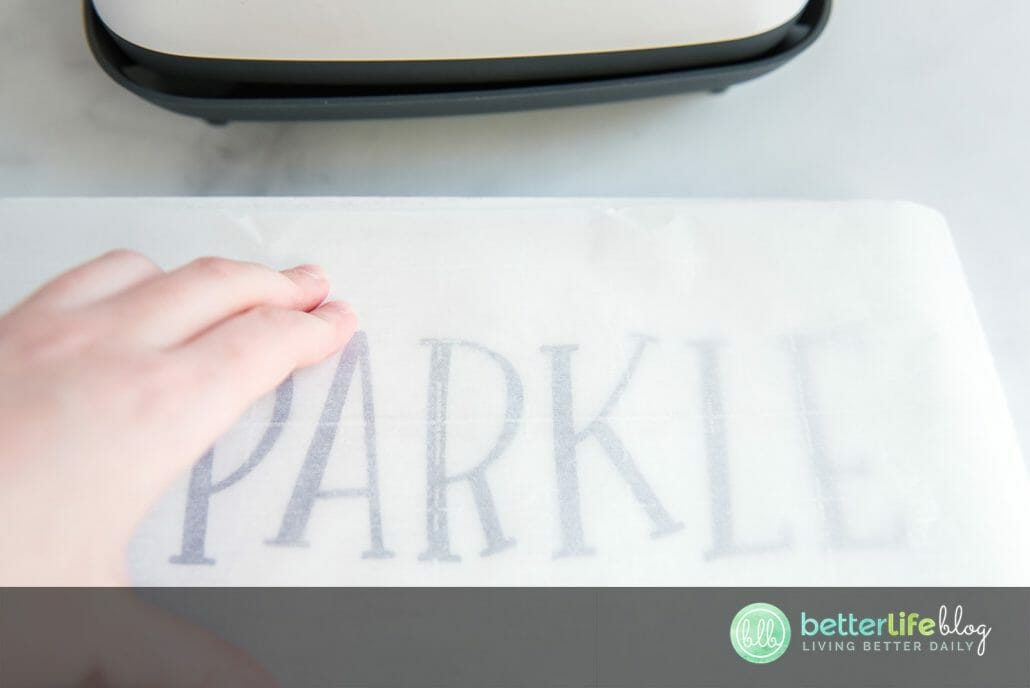
Once all of your vinyl pieces are cut out, weed to remove the unnecessary pieces.

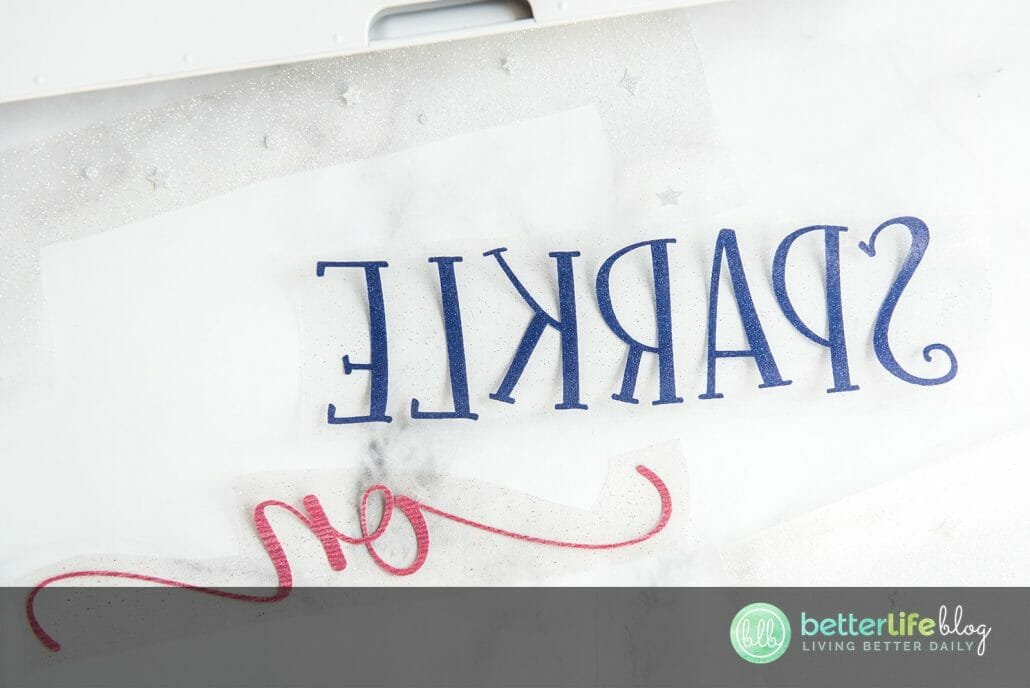
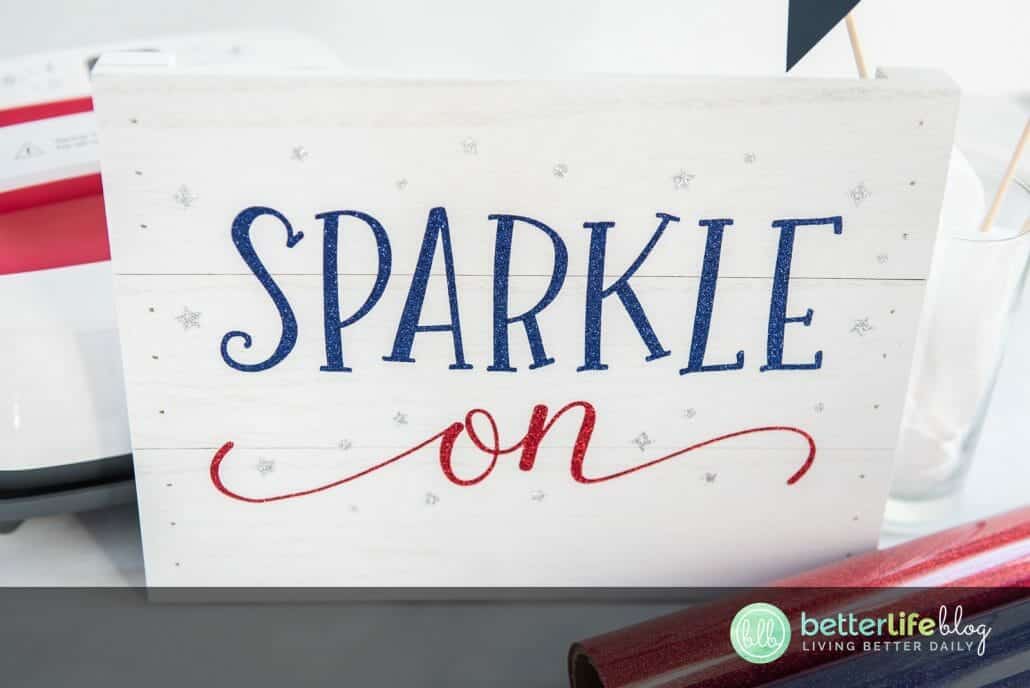
Place your vinyl pieces down onto your wood so that you can read the letters. It is best to do
one vinyl color at a time. Start with the word sparkle and use a ruler to make sure it is
centered and on the board straight.

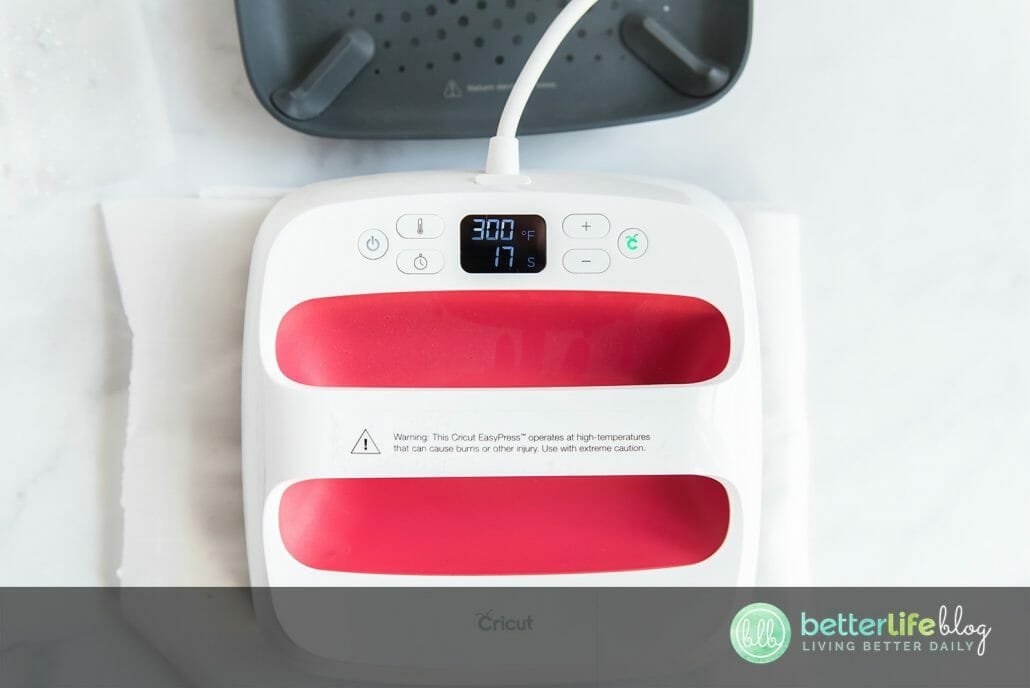
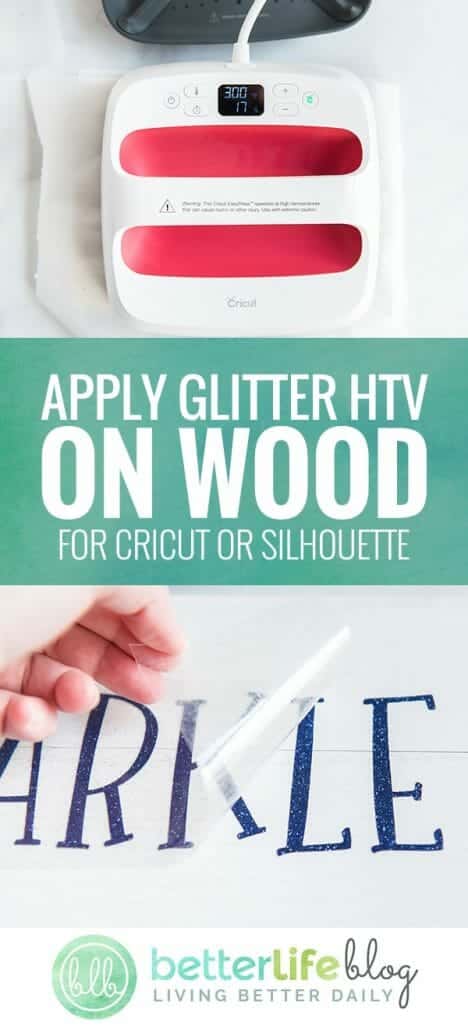
Heat your Easy Press to 300, and set your time to 40 seconds. Cut a sheet of parchment paper slightly larger than the pallet sign. Place over your vinyl letters and press the vinyl in place with the easy press.
Slowly remove the clear backing material. If the vinyl isn’t adhered, place the clear material back down and the parchment paper and press again.
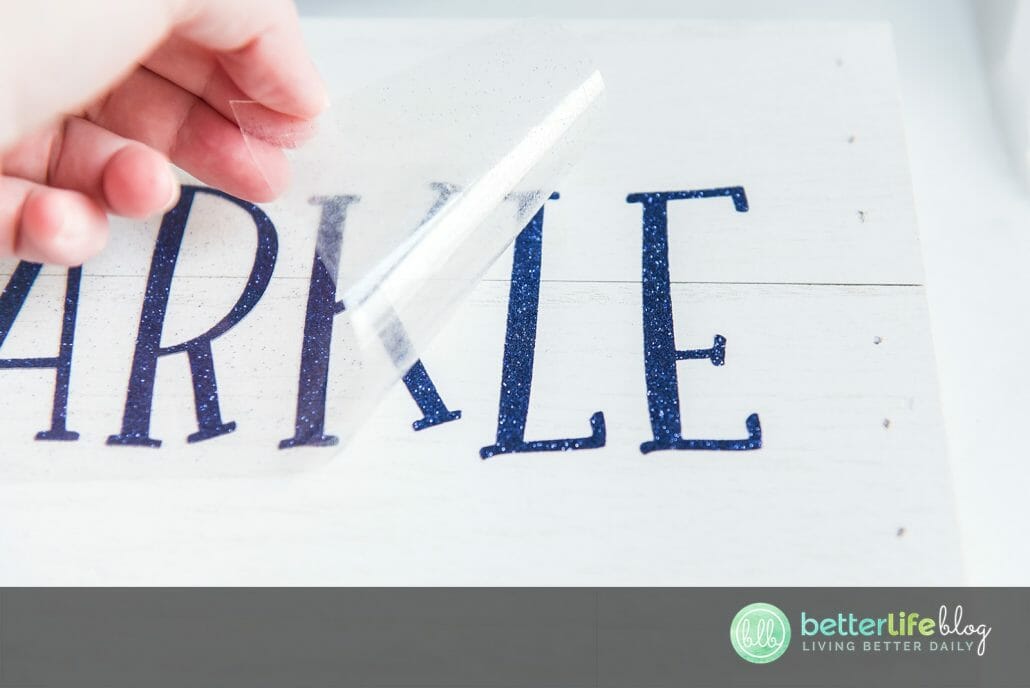
Remove when the htv is adhered to the wood. Repeat with the red and silver htv. Enjoy your new home decor!


Mistakes happen – and more often than not, they can be fixed! Learn how to remove HTV with basic household supplies (including a clothing iron

I hope you’re ready to add a touch of elegance and shimmer to your crafting projects because today’s tutorial is all about the mesmerizing art
I love making three-dimensional projects using my Cricut and Silhouette machines! Whether it’s a favor box, pop up card or 3-D Paper sculpture, any folded
This easy-to-make piano pop-up card is perfect for the music connoisseur in your life. Make it with the help of your trusty Cricut or Silhouette.
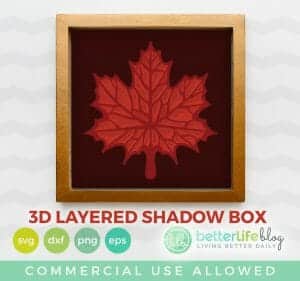
If you’ve been with me for a minute, then you already know how much I love making shadow box designs! It’s one of my absolute

Ironing heat transfer vinyl onto wood is a great way to add a personal touch to your home decor or create unique gifts for your


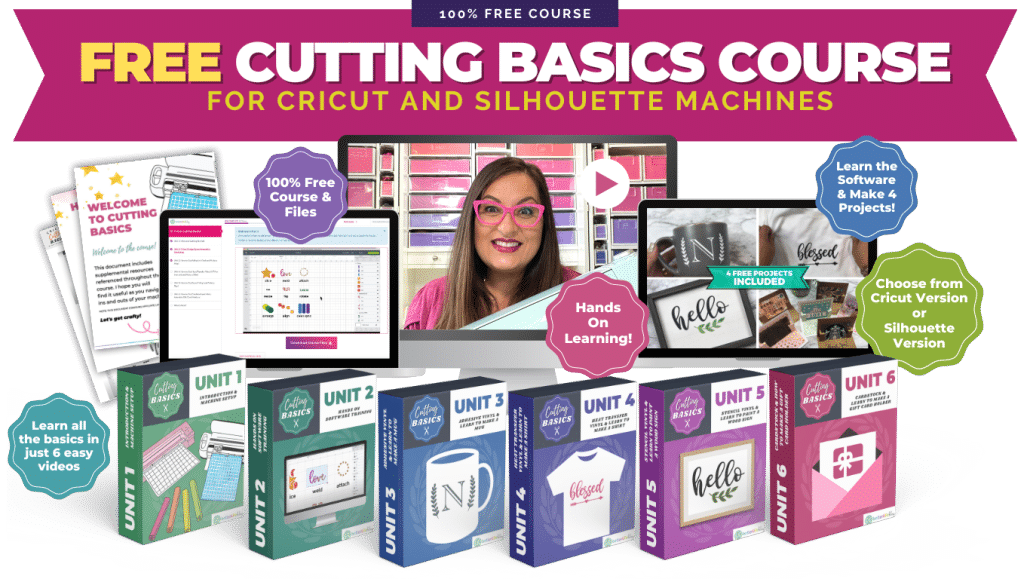
This course is for beginners who want to learn to use their cutting machines! There are two course options: Cricut Cutting Basics or Silhouette Cutting Basics! Click the button below to enroll for free
