I love simple and clean decor, and this beautiful Farmhouse “Happy Easter” Spring egg is no exception (or should I say no EGG-ception). This was super easy to make and adds a beautiful minimalistic aesthetic to your spring decor. The look is inspired by the art of Rae Dunn, which is very trendy.
I hope you’ll enjoy this fun and easy project! Check out the instructions below and be sure to tag me on social media if you make one! I would LOVE to see how yours came out!
Farmhouse “Happy Spring” Easter Egg Decor

Materials List:
- Smart Cutting Machine, such as Cricut or Silhouette
- Chalk Paint or Matte Paint (white)
- Ribbon of your choice
- Cricut blue light grip mat
- Transfer Paper
- Oracal 651 Black Vinyl (preferably Matte)
- Paper Mache Egg
- Paint Brush or Sponge Brush
- Weeding Tool
- Burnishing Tool or Credit Card
- Hot Glue Gun and Glue Sticks
Instructions:

Step 1:
Paint the egg white. It will need about 3 coats for full coverage.

Step 2:
If you’d like to use the same font I used, you can download it from here. (Please note that this a free font but it is licensed for personal, non-commercial use only.) Be sure to complete the font installation on your computer before launching Cricut Design Space, otherwise the font may not show up as one of your available fonts.
Note: If you are brand new to using your Cricut, be sure to take my Cricut Basics course, which can be found here.
Once in Design Space, use the font tool to type “Happy” <return key> “Spring” or whatever phrase you’d like. I recommend sizing the phrase at least an inch smaller than the width of your egg, so be sure to measure and size accordingly.

Step 3:
Next, go ahead and click “Make it.” This is what your mat will look like. Hit “Continue.”

Step 4:
Place your black vinyl onto your blue mat, and load it into your machine. Choose the “Vinyl” setting and hit “Go”

Step 5:
Once the design is cut, you can carefully weed (remove) the excess vinyl.

Step 6:
When you are finished weeding the design, cut some transfer tape down to size and apply it onto the top of the design. You can use the burnishing tool to scrape it back and forth.
Flip the design face down and remove the backing of the vinyl slowly and carefully, leaving the vinyl adhered to the transfer paper.

Step 7:
Place the vinyl (now attached to the transfer paper) onto the surface of the egg. Because the surface of the egg is curved, it is easiest to apply working from the center and then work your way out rubbing your thumb back and forth until the letters are smoothly applied to the curved surface of the egg. Once the letters are completely adhered to the egg, carefully begin to remove the transfer paper so that the only vinyl remains on the egg.

Step 8:
Tie a bow using your favorite spring- or Easter-themed ribbon and use hot glue to attach it to the top of the egg.

Your egg is finished! Isn’t it adorable?
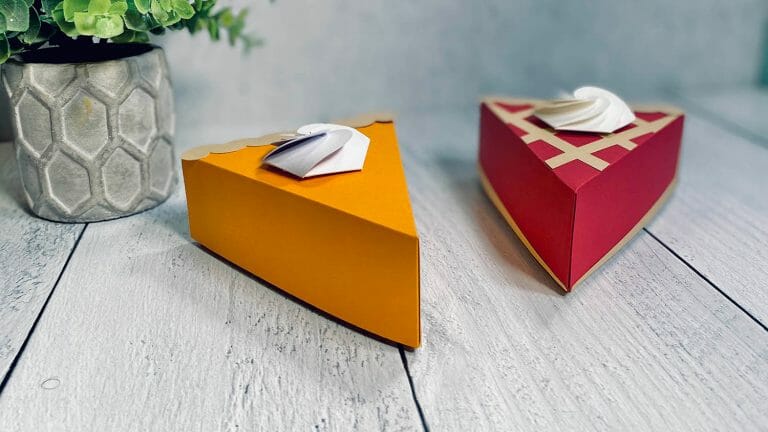
After the bunny face has dried, glue the front of the box onto the tabs.

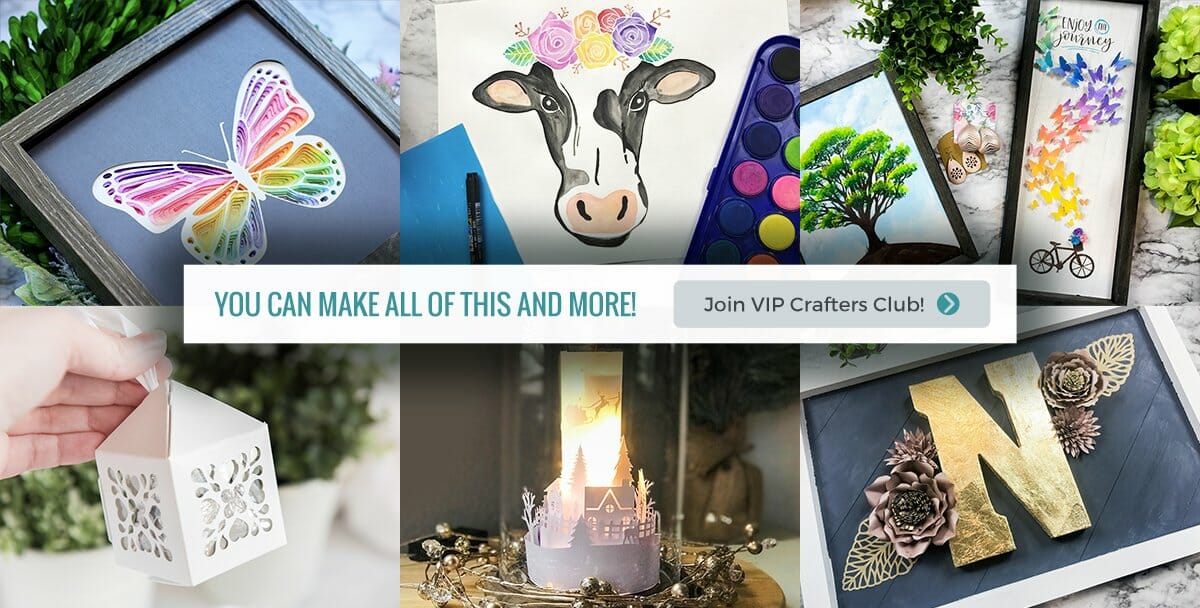
Join Our Monthly VIP Crafters Club and Save $29!
I hope you have enjoyed this fun project! If you love Cricut and Silhouette projects, please consider joining my monthly craft subscription, VIP Crafters Club! There are hundreds of cut files and projects available to members. And, if you’re a first time member, you can apply the coupon code BLBSPECIAL to get $29 off your membership! PLUS, you’ll get a bonus seasonal bundle or my trucks bundle as a bonus for joining! It’s an amazing value, so go check out the sign up page for VIP Crafters Club here.