Hey crafty friends! Today I’m showing you how to make an adorable little Cricut DIY that will add a cute touch of warmth to your autumn-themed home decor. This project is made with a miniature cutting board (for decoration, not actual cutting ????) but you can just as easily put this on a wood sign or just about any other surface!

Be sure to download the free SVG here so that you can create this adorable project!

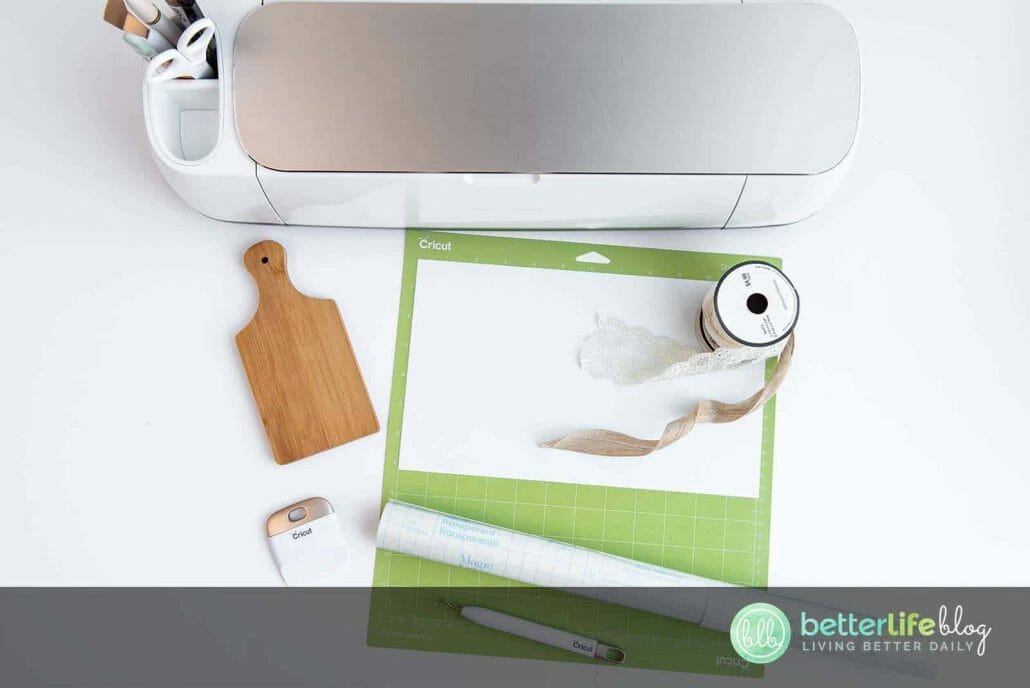
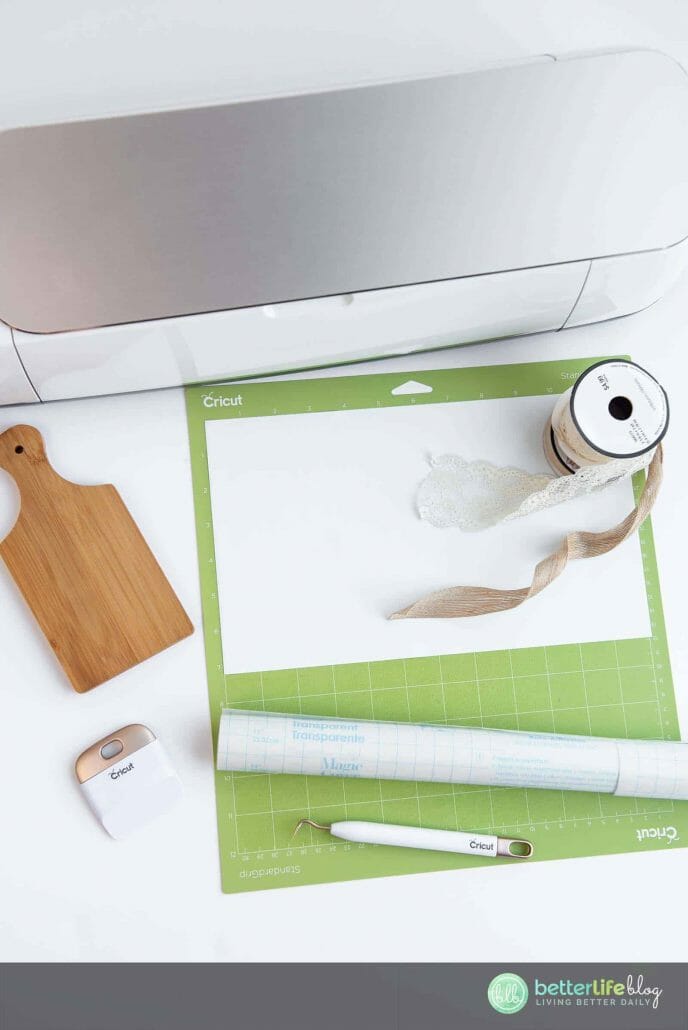
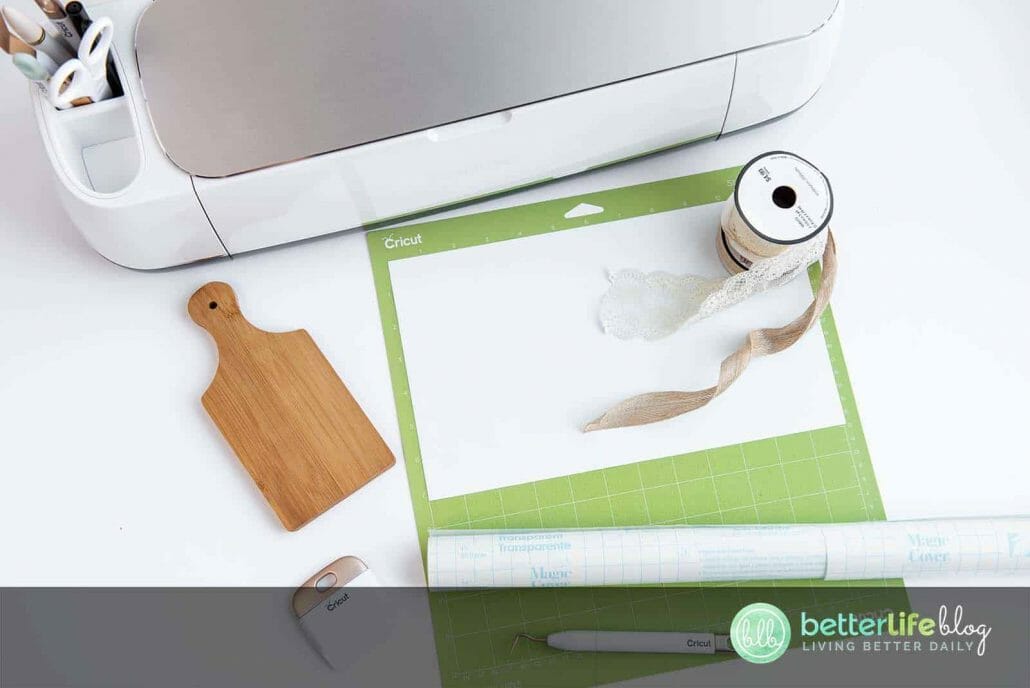
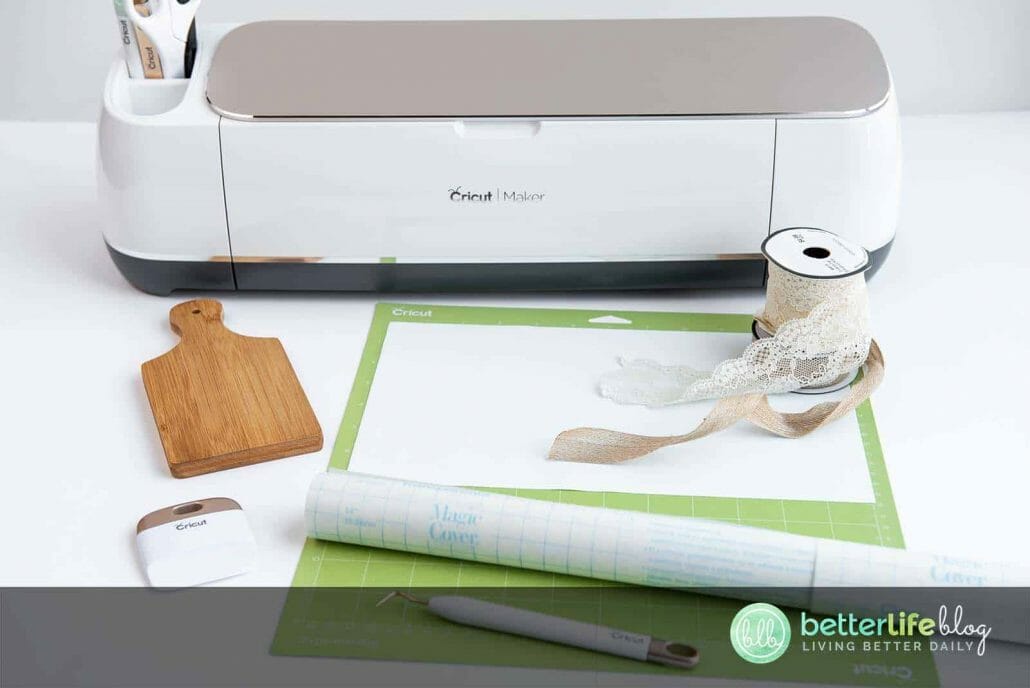
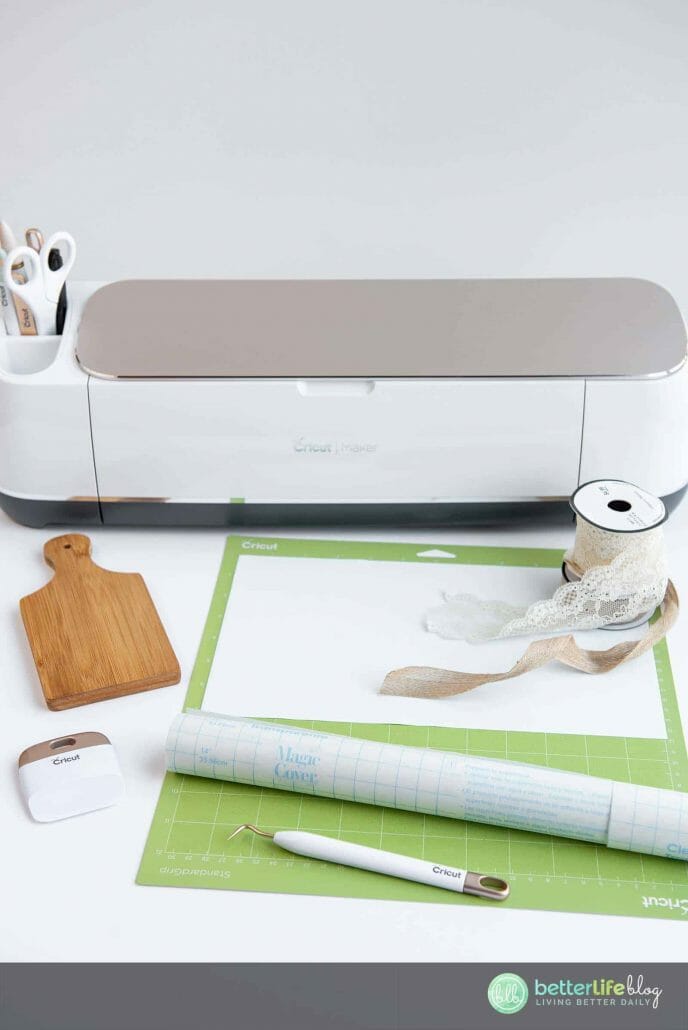
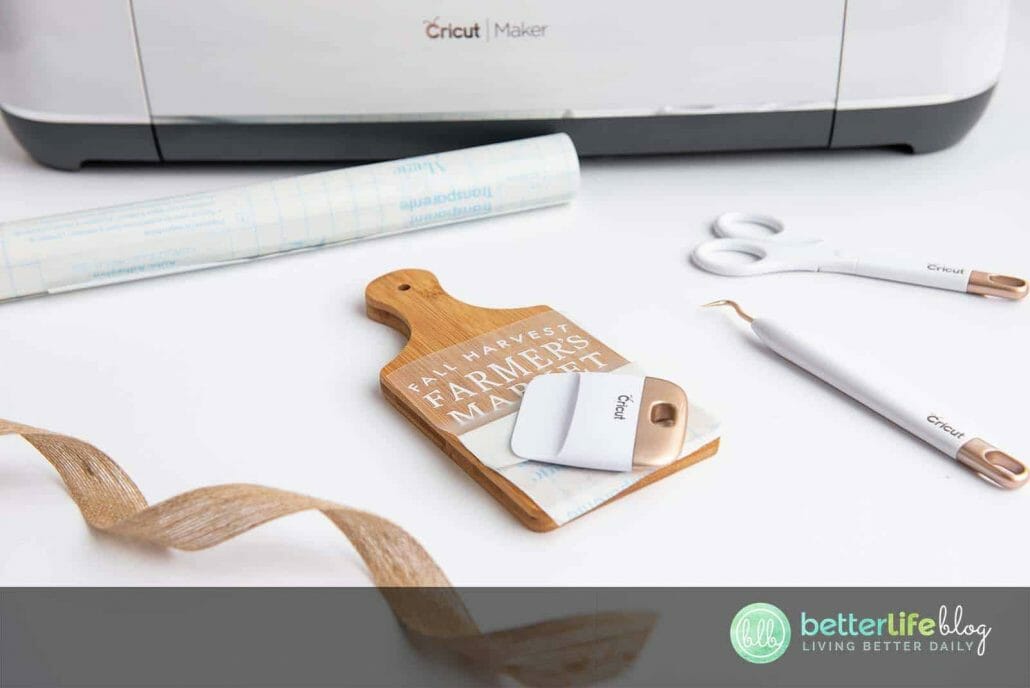
Tools and Materials:
- Cricut or other cutting machine
- Cricut blue light or green standard grip mat
- Oracle 651 vinyl or permanent vinyl of your choice
- Transfer tape
- Cricut weeding tool
- Cricut scraper tool or old credit card
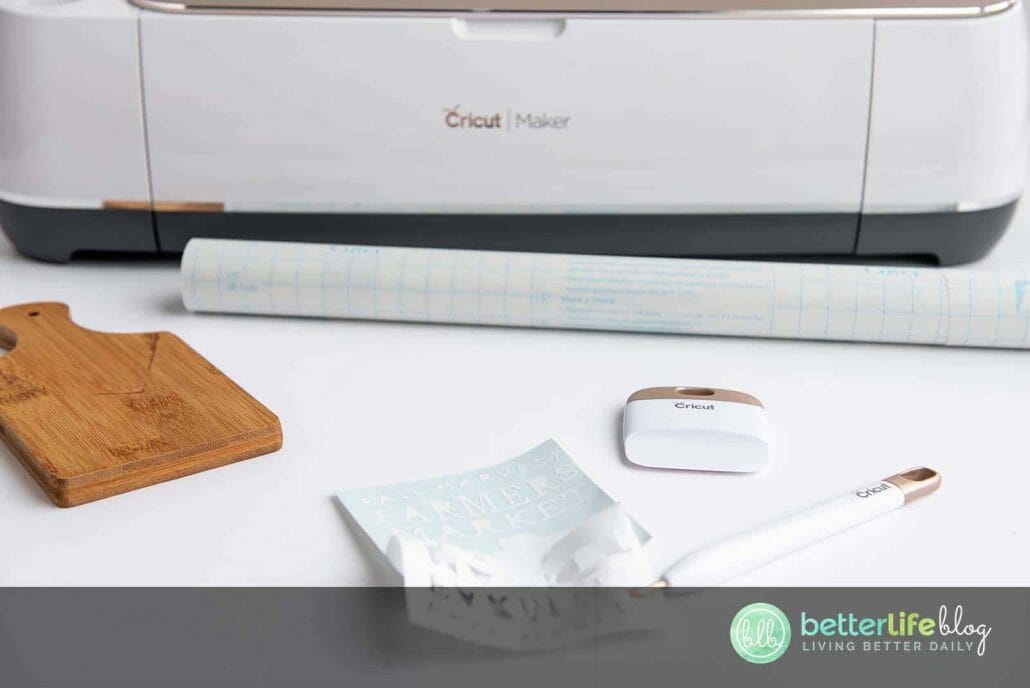
- Mini cutting board
- Ribbon of your choice (we used burlap ribbon)
Instructions:
Import and upload the free SVG file to your computer and onto Design Space. Once uploaded, you will have to adjust the size of the file based on the cutting board you’ll be using. It should be about ¼ of an inch shorter than the edge of the board.
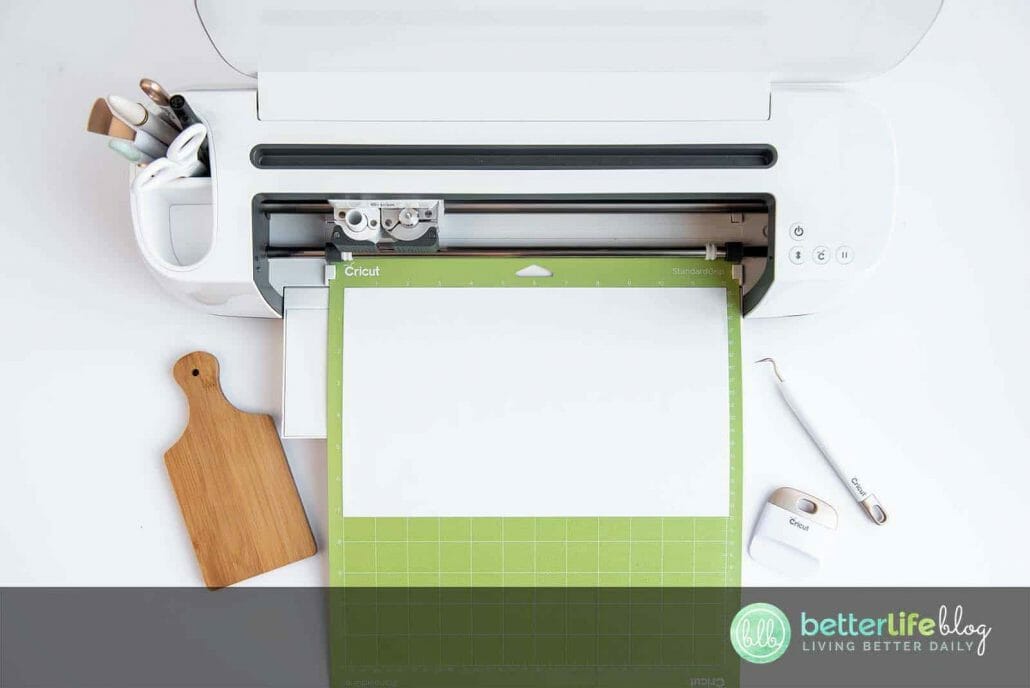
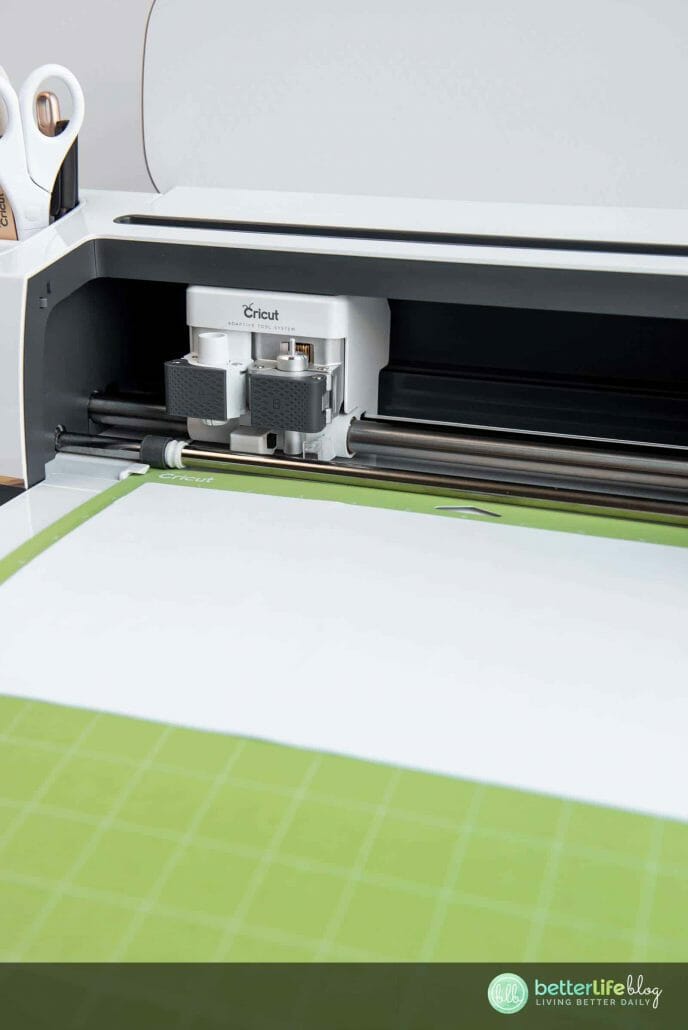
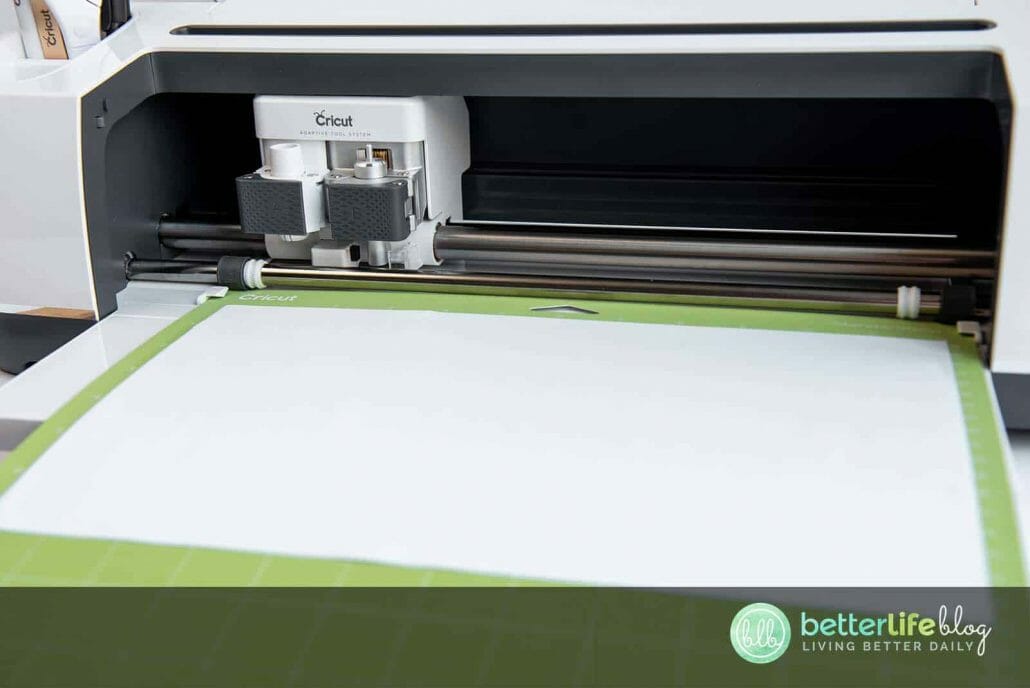
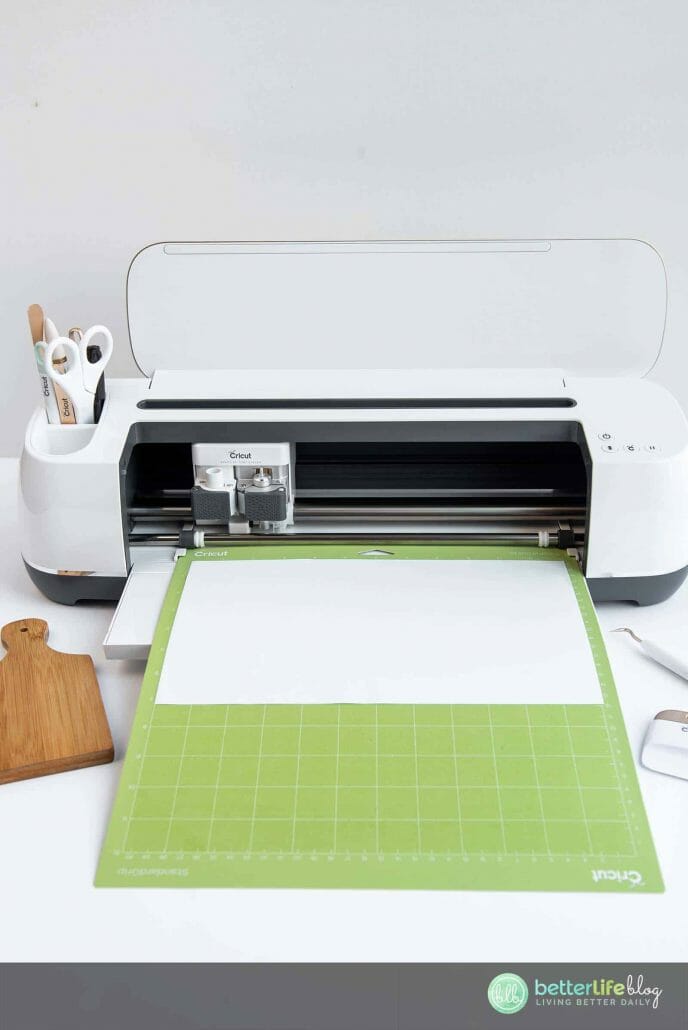
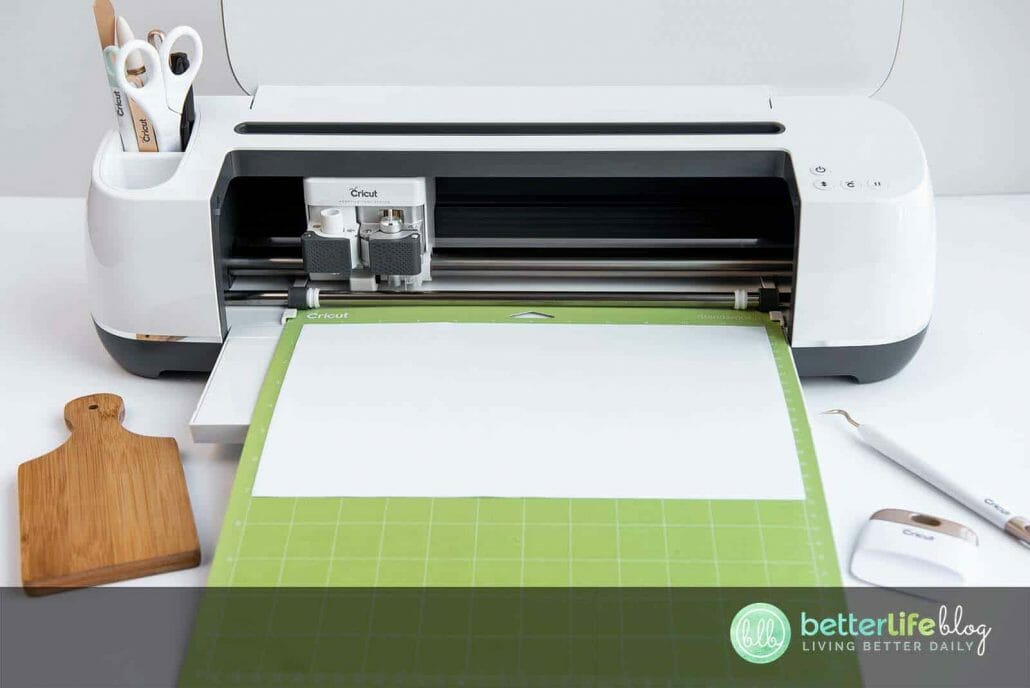
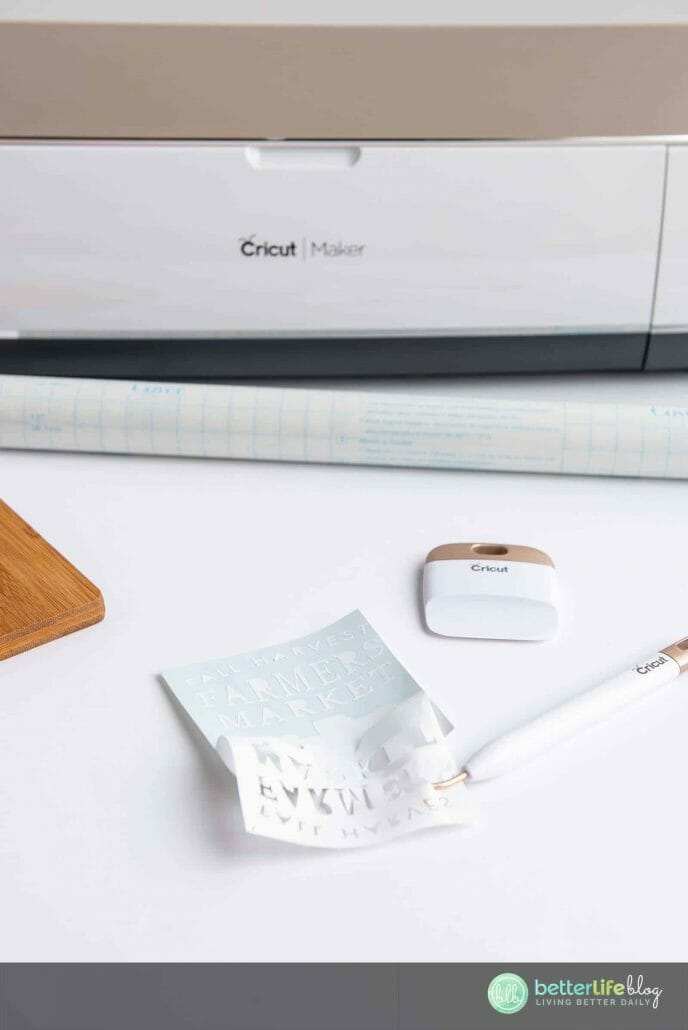
Once sized, select “Make in Design Space.” Next, adjust the machine’s setting/material dial to “Vinyl.” Load the Oracle 651 Vinyl (it is a permanent vinyl) to the machine, right on top of the blue light grip. Hit “Go.”

Once the cutting process is complete, weed the excess vinyl away from the design. This can be achieved with the Cricut Weeding Tool. Don’t forget to weed around the outside of the letters and small parts inside any letter that are enclosed (ex. a,e,o ).
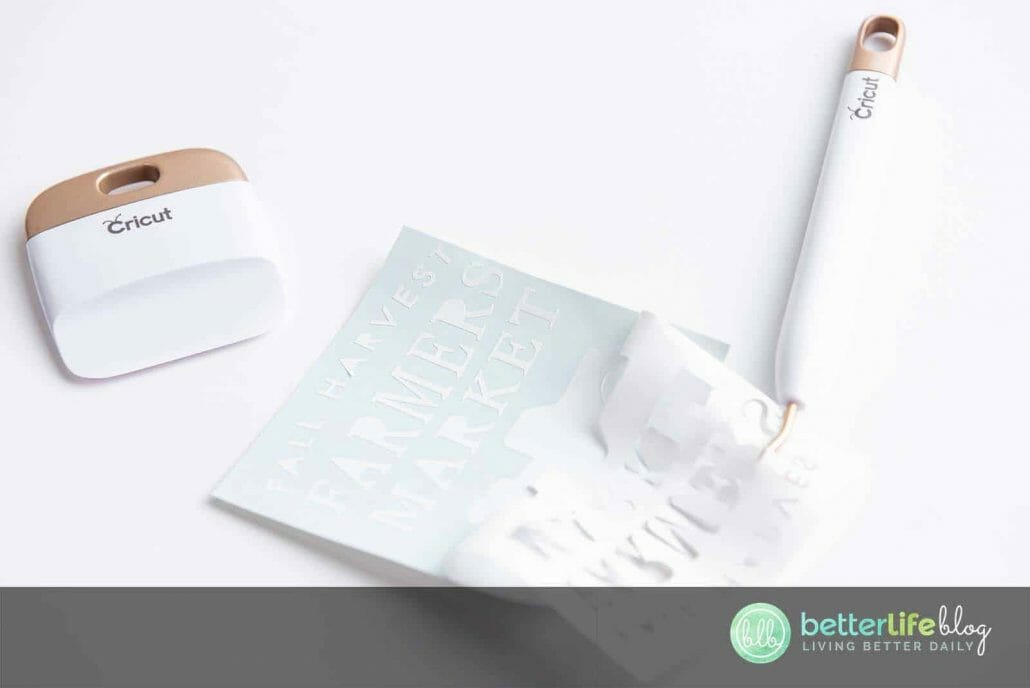
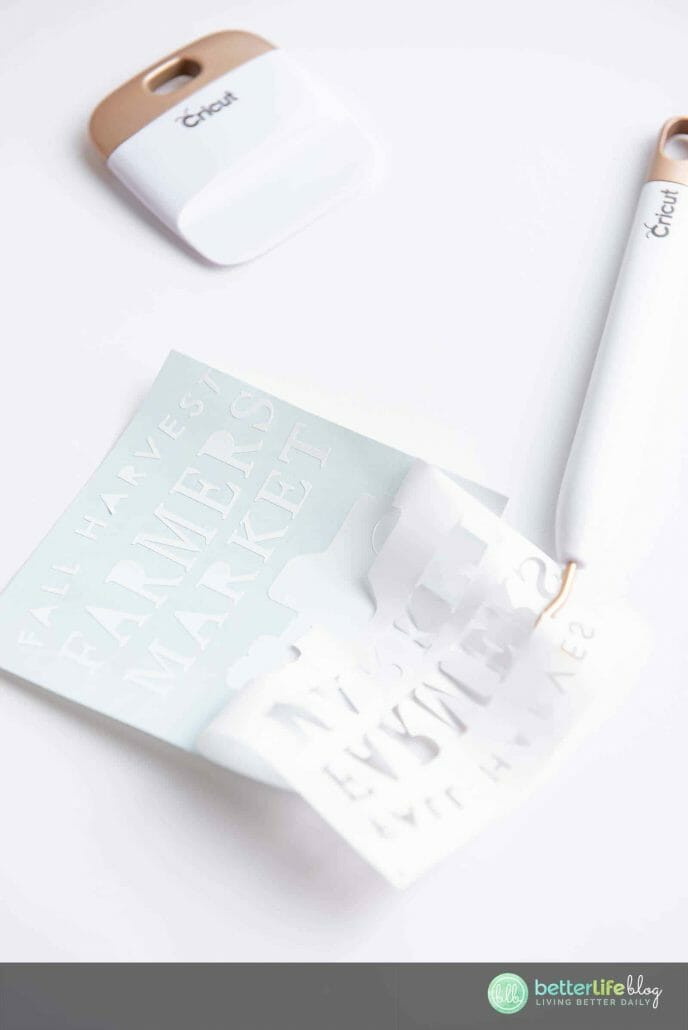
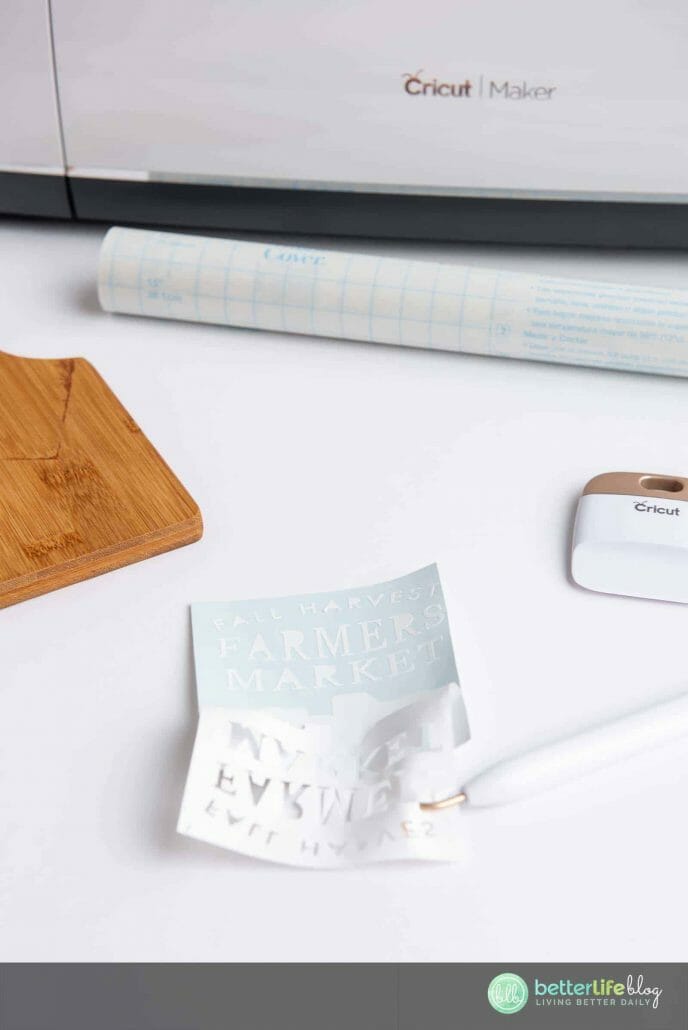

Once the design is completely weeded, cut off a piece of transfer tape (the same size of the vinyl) and apply onto the design using pressure with the Cricut scraper tool. This step is done in order to get the vinyl off its carrier sheet and onto the project’s surface.
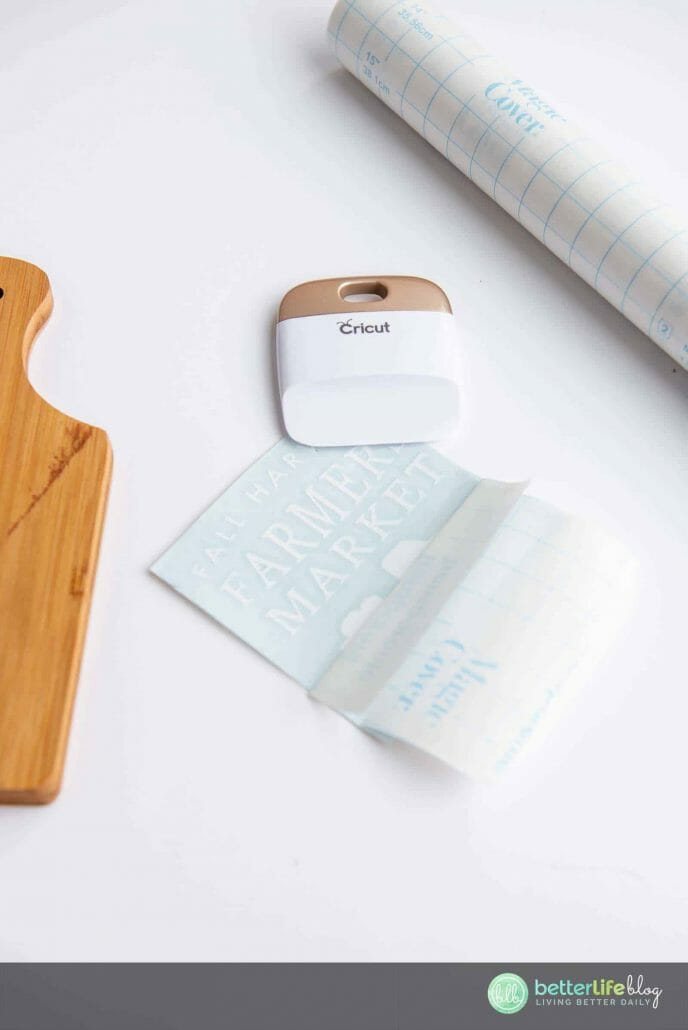


Turn the design face down and gently pull off the vinyl’s carrier sheet off and away from the transfer tape.
Place the design facedown onto the middle of the cutting board. Apply pressure and smooth over the design using the scraper tool.


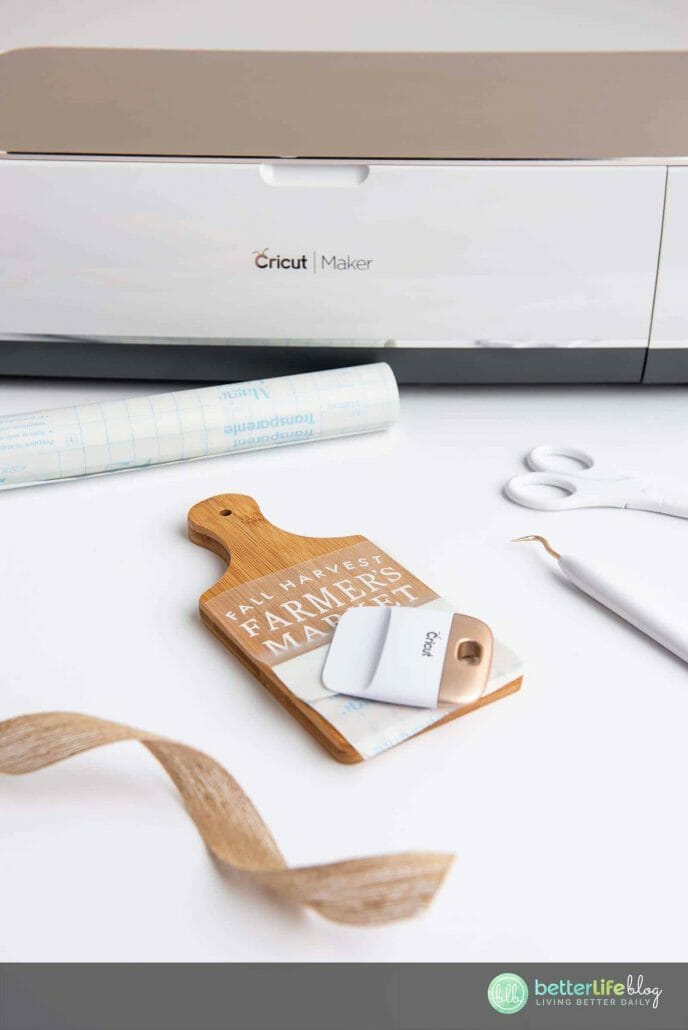
Once enough pressure has been applied, slowly remove the transfer tape. The vinyl will remain on the board.
Cut a piece of ribbon and tie around the handle of the cutting board.


Cricut Cutting Board - Free SVG
My Cricut Cutting Board tutorial comes with a free SVG, so you can get started on this project ASAP! It uses Oracle 651 vinyl, meaning that it’s permanent and will last you a very, very long time!
Materials
Instructions
- Import and upload the free SVG file to your computer and onto Design Space. Once uploaded, you will have to adjust the size of the file based on the cutting board you’ll be using. It should be about ¼ of an inch shorter than the edge of the board.
- Once sized, select “Make in Design Space.” Next, adjust the machine’s setting/material dial to “Vinyl.” Load the Oracle
651 Vinyl (it is a permanent vinyl) to the machine, right on top of the blue light grip. Hit “Go.” - Once the cutting process is complete, weed the
excess vinyl away from the design. This can be achieved with the Cricut Weeding Tool. Don’t forget to weed around the outside of the letters and small parts inside any letter that are enclosed (ex. a,e,o ). - Once the design is completely weeded, cut off a piece of transfer tape (the same size of the vinyl) and apply onto the
design using pressure with the Cricut scraper tool. This step is done in order to get the vinyl off its carrier sheet and onto the project’s surface. - Turn the design face down and gently pull off the vinyl’s carrier sheet off and away from the transfer tape.
- Place the design facedown onto the middle of the cutting board. Apply pressure and smooth over the design using the
scraper tool. - Once enough pressure has been applied, slowly remove the transfer tape. The vinyl will remain on the board.
- Cut a piece of ribbon and tie around the handle of the cutting board.