Craft Tools
How to Remove HTV with a Clothing Iron and Tweezers
Mistakes happen – and more often than not, they can be fixed! Learn how to remove HTV with basic household supplies (including a clothing iron


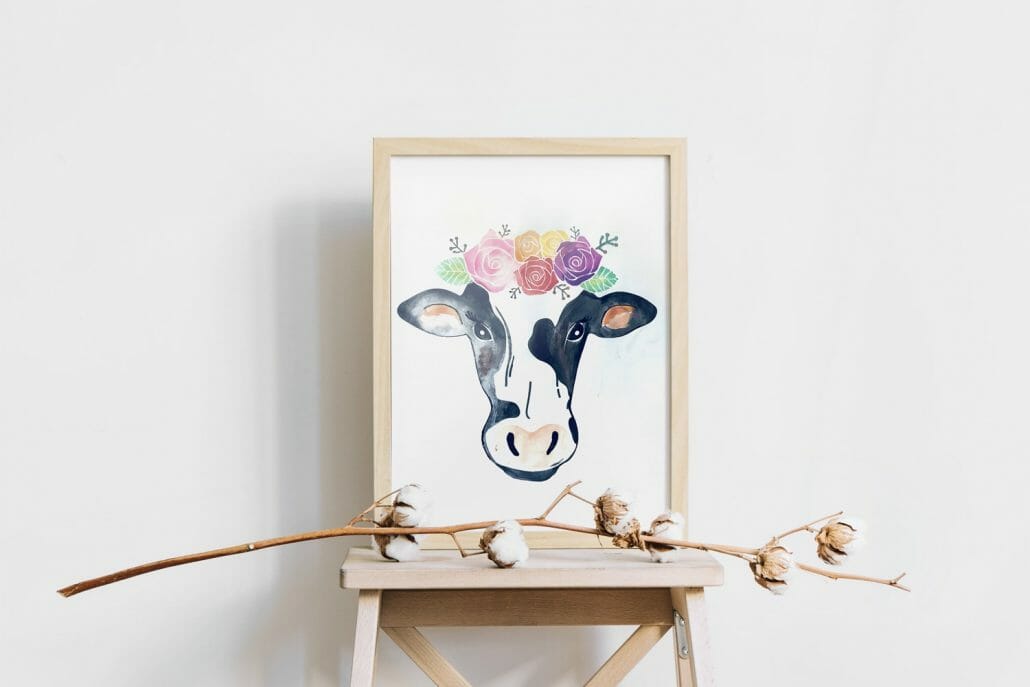
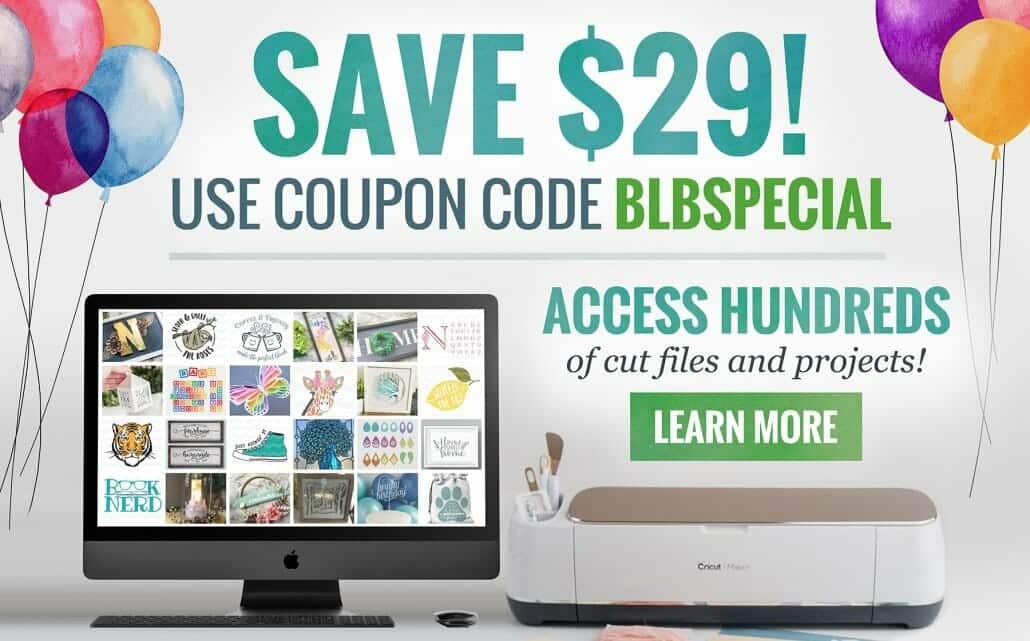
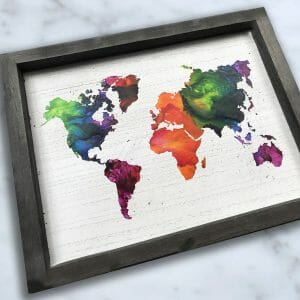
I absolutely love the look of watercolor art! But it’s not always easy to freehand beautiful artwork, and I especially have found that watercolor is not quite as forgiving as other types of paint.
You guys know I like to experiment! So, I thought it would be fun to try using my Cricut as a tool to help me create some beautiful watercolor artwork – and I’m so glad I did because Bessie (that’s what I named her) turned out great! I am so pleased with the result.
And, the best part is that the materials were super cheap! The watercolors I used in this video were found in the dollar store kids section. Crazy, right?

What you’ll need:

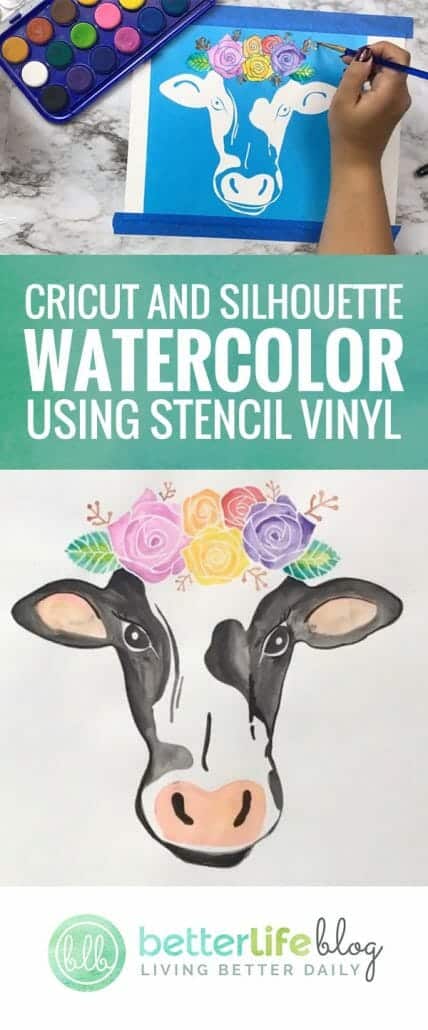
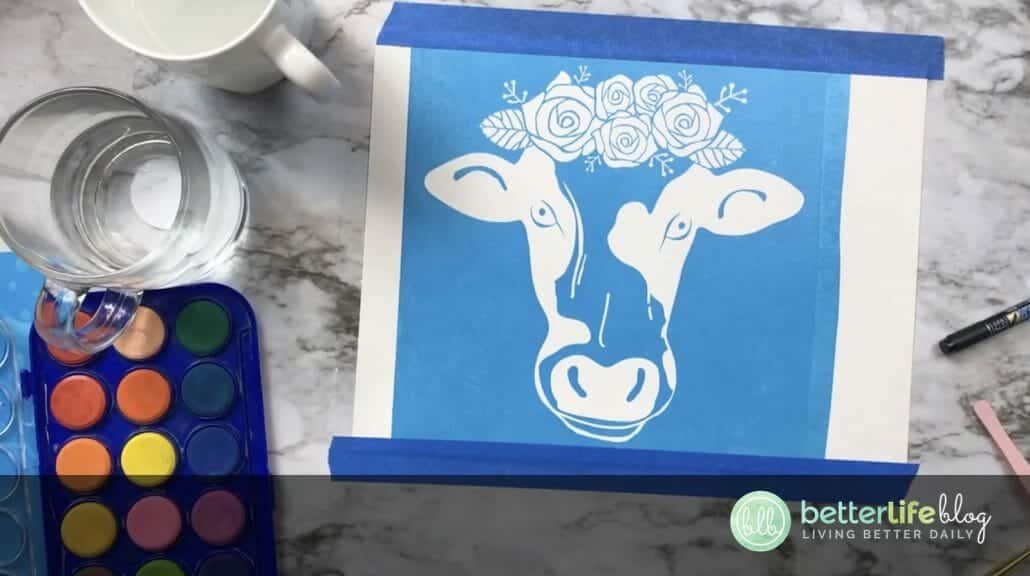
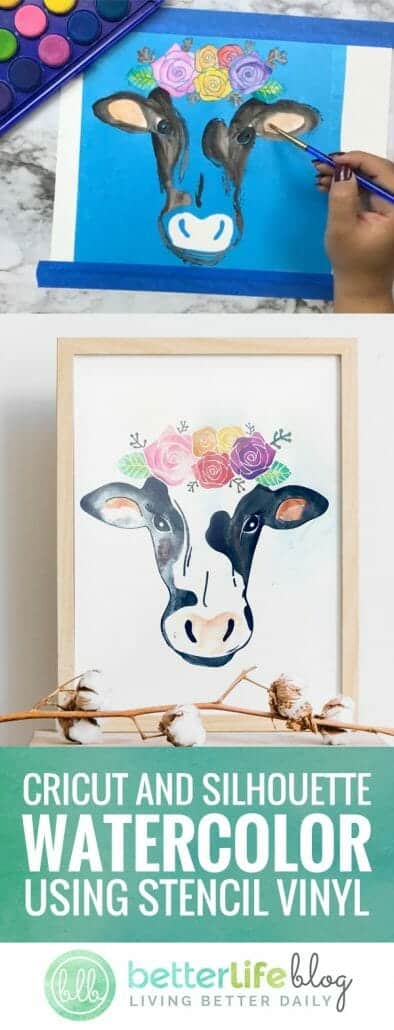
To start, you’ll want to cut your design out on some stencil vinyl using your Cricut machine (or any cutting machine of your choice).
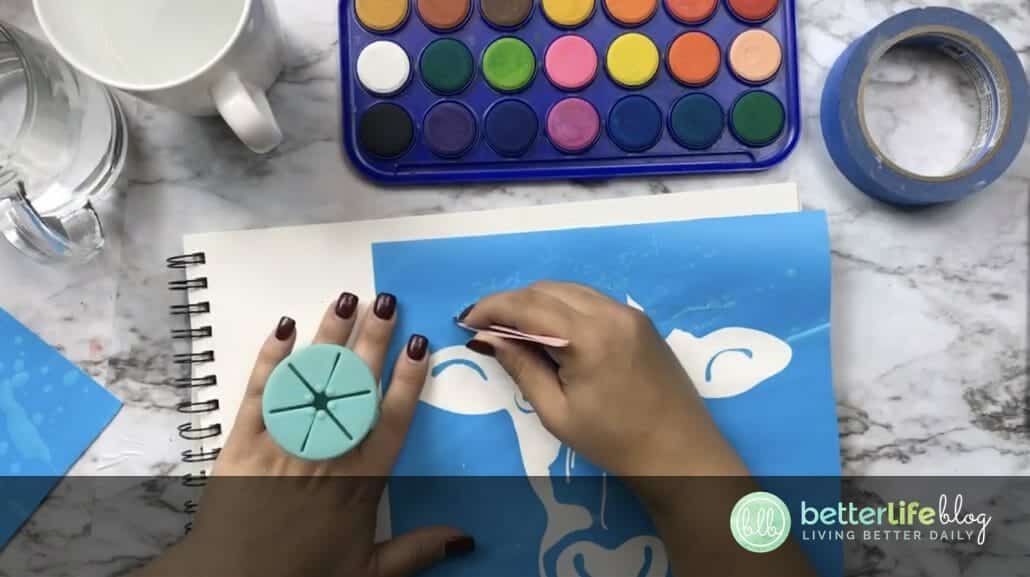
Next, you’ll want to weed your stencil vinyl, removing the parts of the design that you want painted. This is the reverse of what we normally do when we weed, and this creates a stencil.
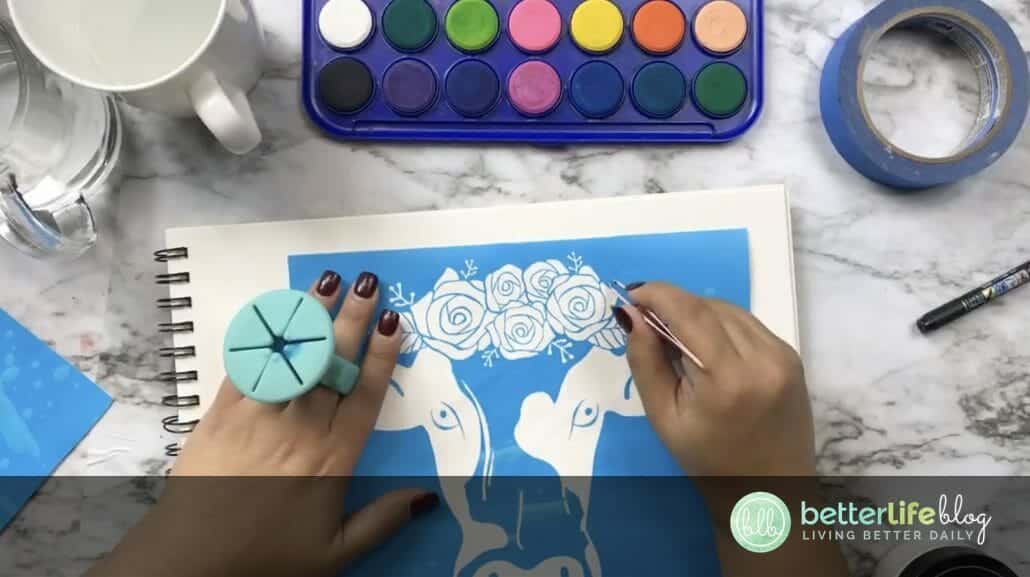
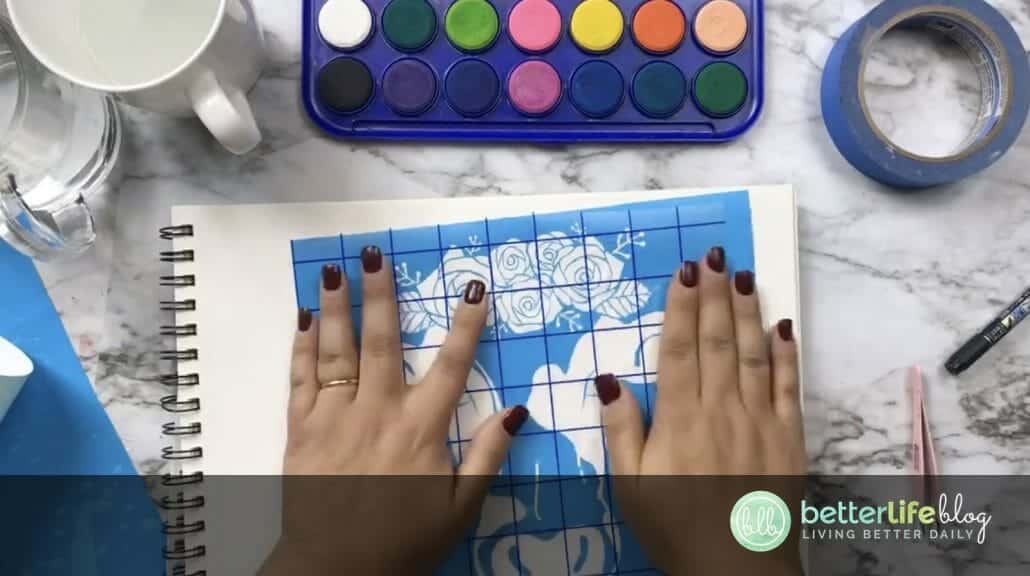
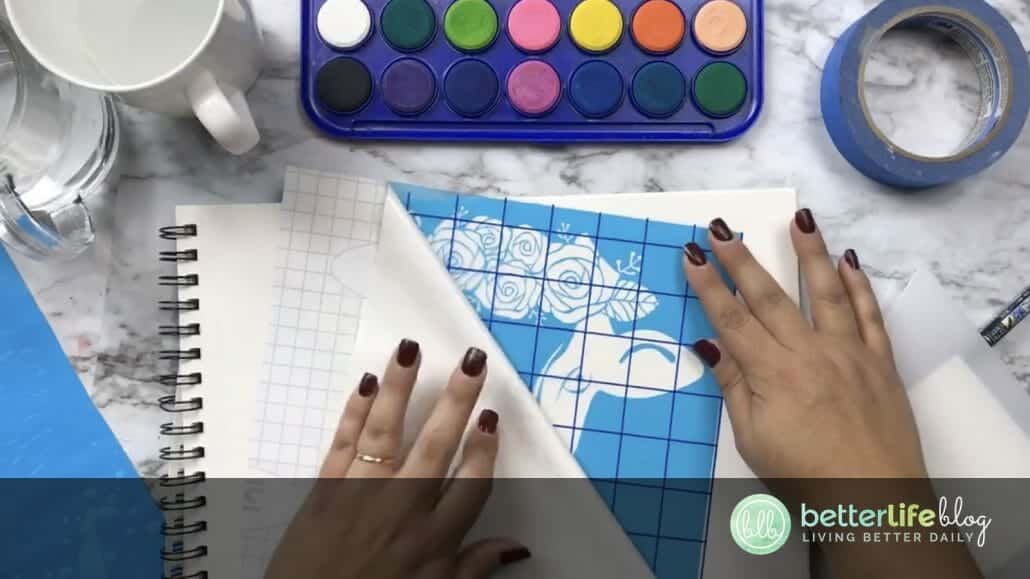
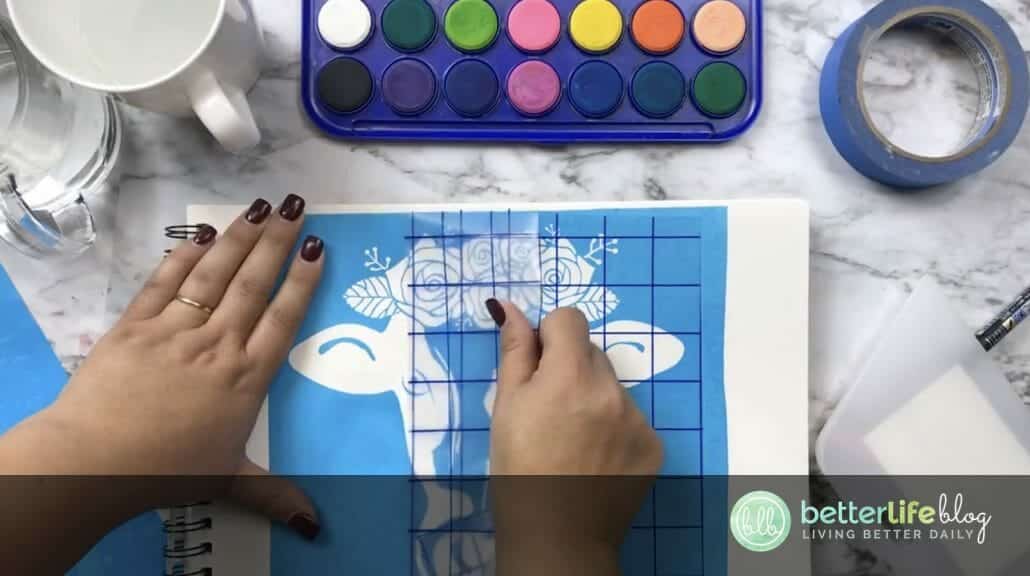
Once the design has been weeded, you’ll want to use transfer tape to transfer the stencil vinyl onto your mixed media paper. I used mixed media instead of watercolor paper because the watercolor paper gets damaged when the stencil is removed. Mixed media paper works much better.
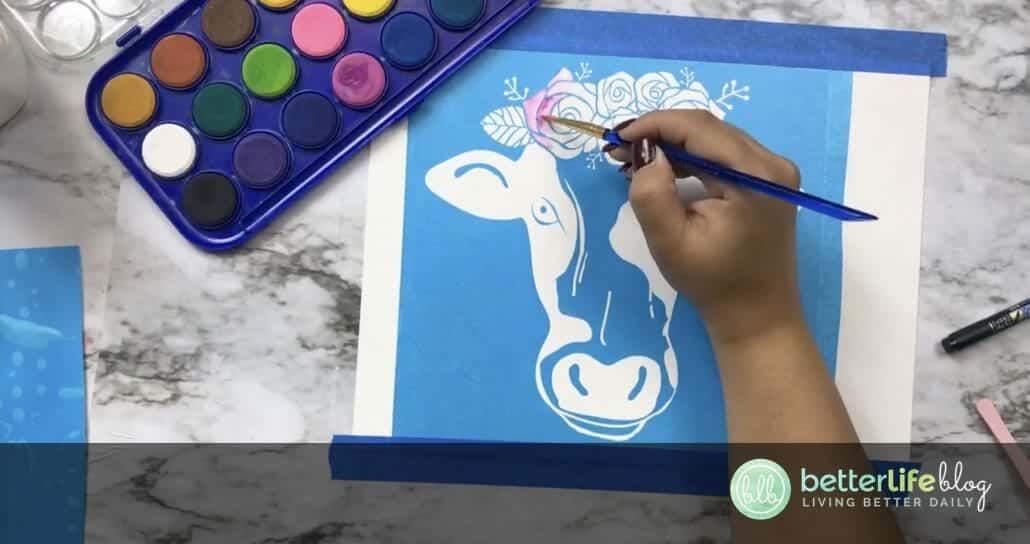
Now that the design has been transferred to your paper, begin painting the areas that are exposed. Try not to use too much water so that the paper doesn’t wrinkle and so that the color doesn’t bleed under the stencil.
Use the one cup of water to clean off the color and the other cup to get your brush wet. This allows your second cup of water to stay clean.

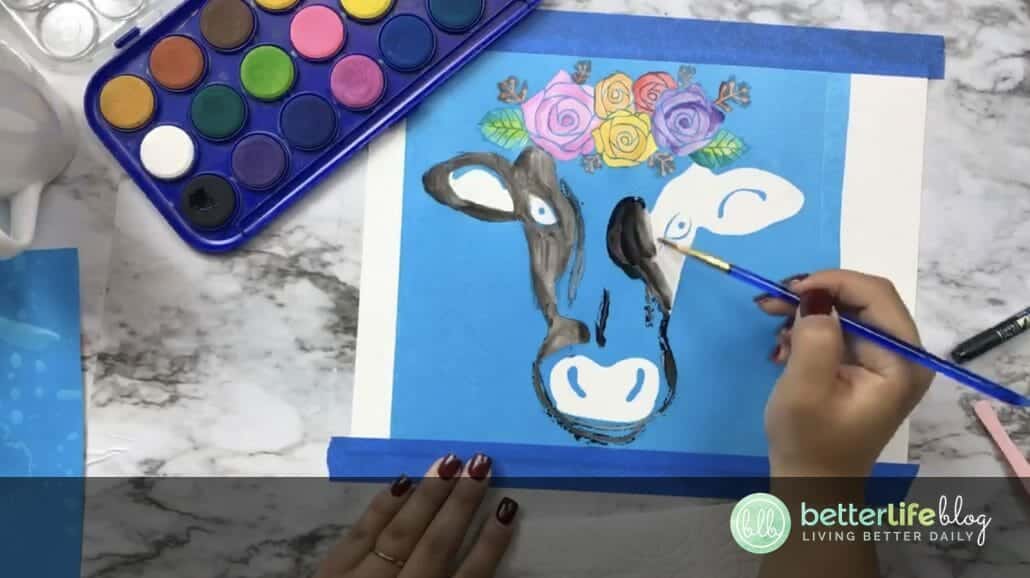

Once all areas have been painted, allow time to dry and then very slowly and carefully peel away the stencil vinyl.
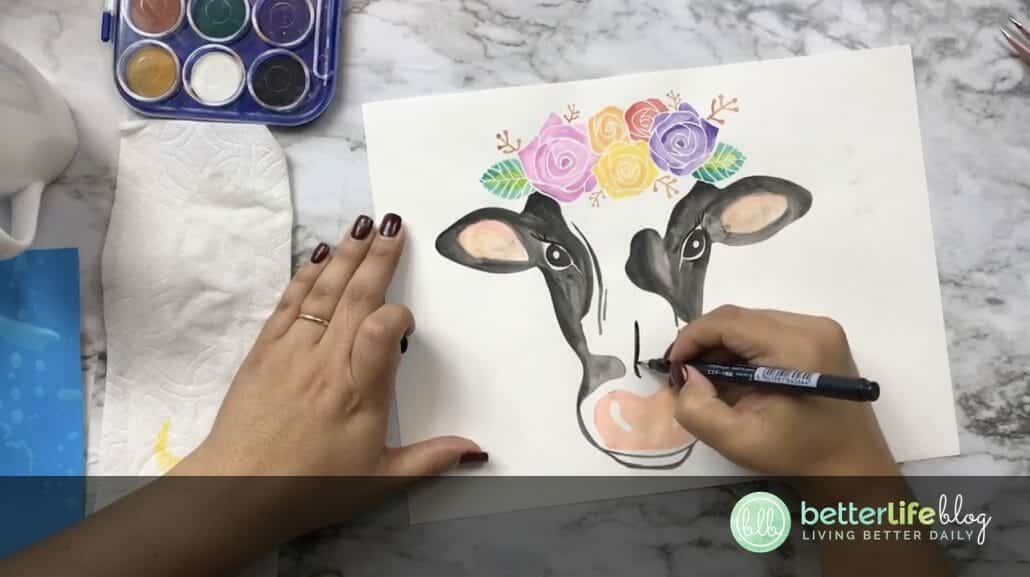
(Optional) I went in with a black marker and added a bit more detail to my art.
Finally, frame your beautiful piece of art. Enjoy!
Mistakes happen – and more often than not, they can be fixed! Learn how to remove HTV with basic household supplies (including a clothing iron
I hope you’re ready to add a touch of elegance and shimmer to your crafting projects because today’s tutorial is all about the mesmerizing art
I love making three-dimensional projects using my Cricut and Silhouette machines! Whether it’s a favor box, pop up card or 3-D Paper sculpture, any folded
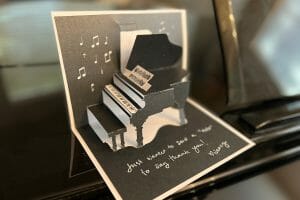
This easy-to-make piano pop-up card is perfect for the music connoisseur in your life. Make it with the help of your trusty Cricut or Silhouette.
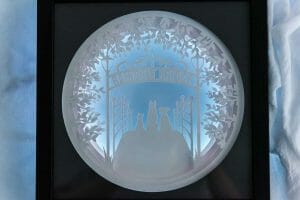
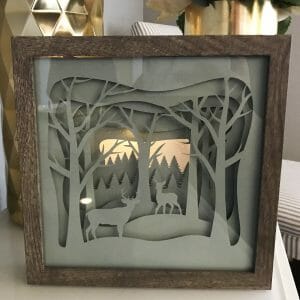
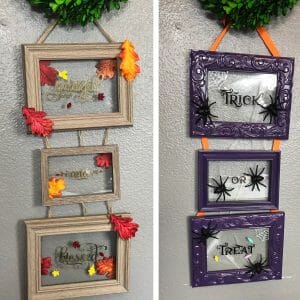
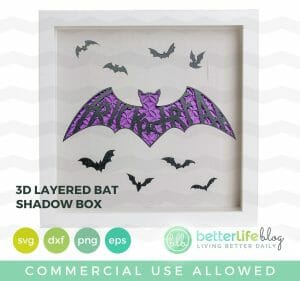
If you’ve been with me for a minute, then you already know how much I love making shadow box designs! It’s one of my absolute
Ironing heat transfer vinyl onto wood is a great way to add a personal touch to your home decor or create unique gifts for your


This course is for beginners who want to learn to use their cutting machines! There are two course options: Cricut Cutting Basics or Silhouette Cutting Basics! Click the button below to enroll for free
