
Craft Tools
How to Remove HTV with a Clothing Iron and Tweezers
Mistakes happen – and more often than not, they can be fixed! Learn how to remove HTV with basic household supplies (including a clothing iron


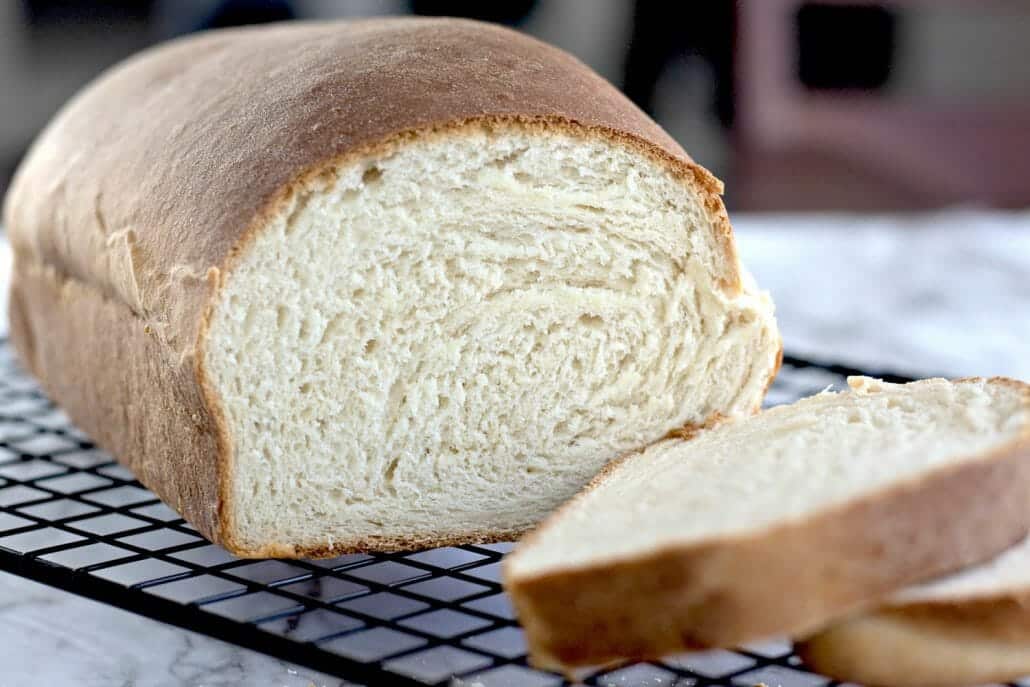
Few things in life are more comforting than the smell and warmth of freshly homemade bread. I love the way it makes my home smell while it’s baking and I love the taste and texture of the bread hot out of the oven. Crispy crust on the outside and soft and hot on the inside.
One thing I do not love about it is how messy it can get. And, although I love it when my kids bake and cook with me, kids and flour do not mix well!
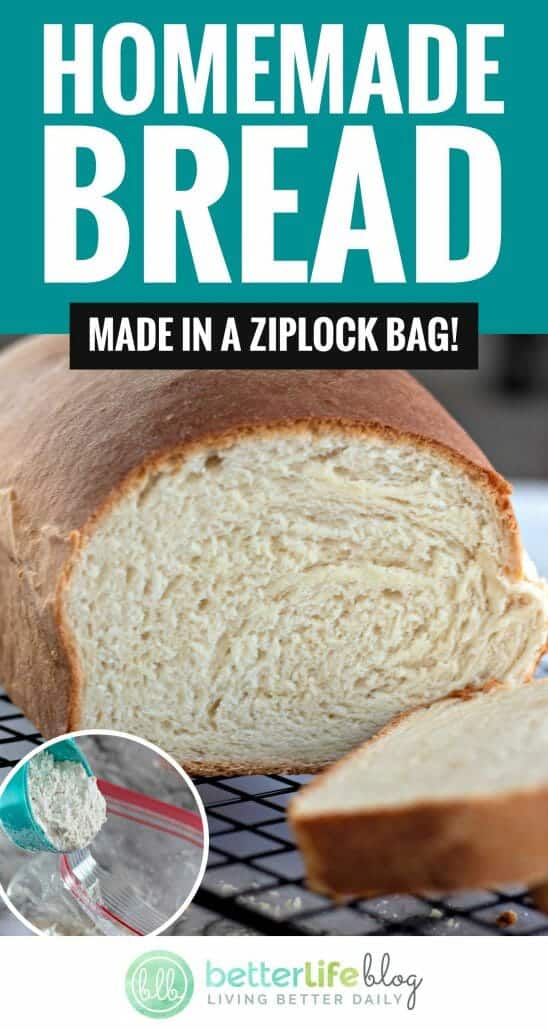
Good news! This recipe takes the mess out of the equation and it is also fun and easy for kids to help make this delicious and easy homemade bread recipe.
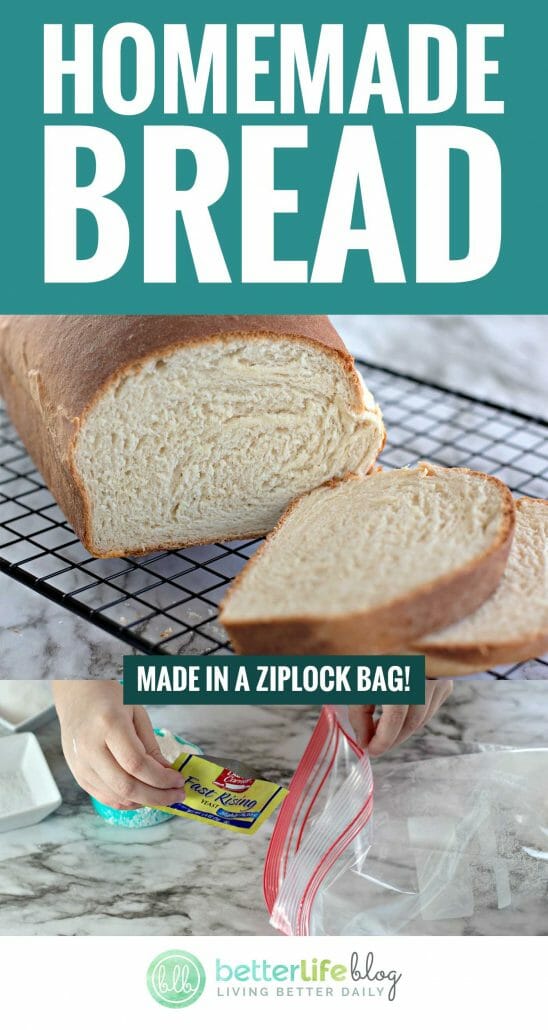
All of the ingredients go inside of a ziplock bag, so there is hardly any cleanup! The mixing and kneading happens inside of the bag. I love how easy this recipe is, and I know you will too! So, let’s get started!


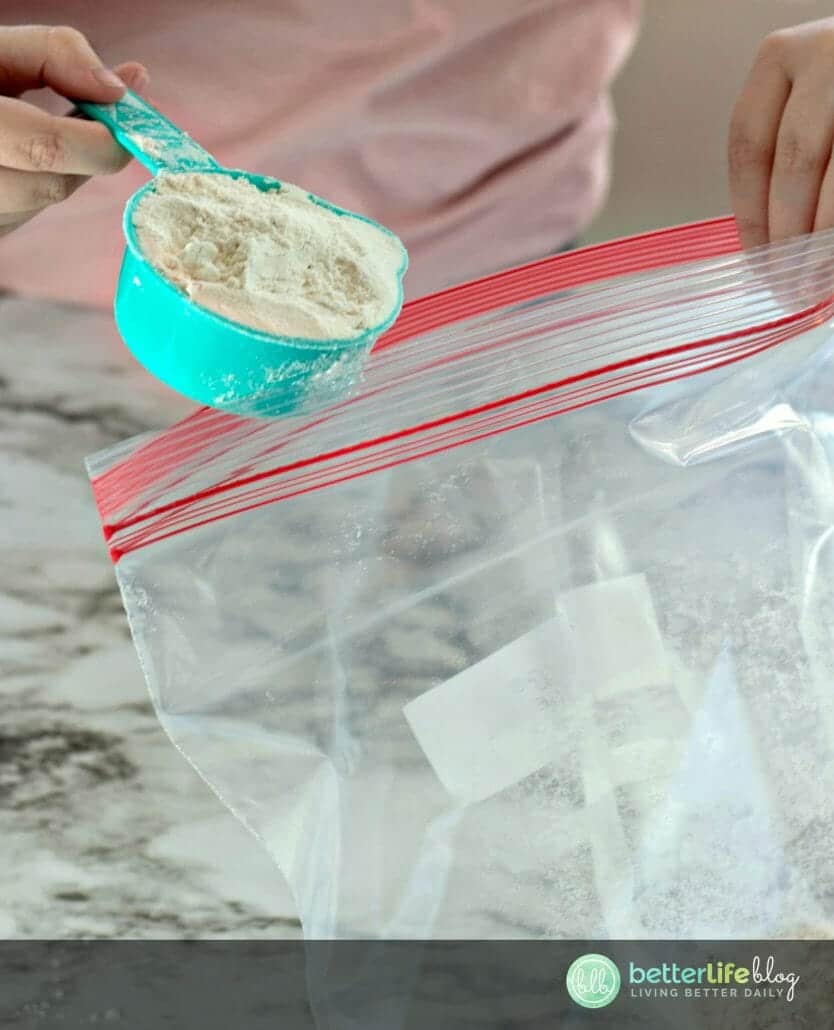
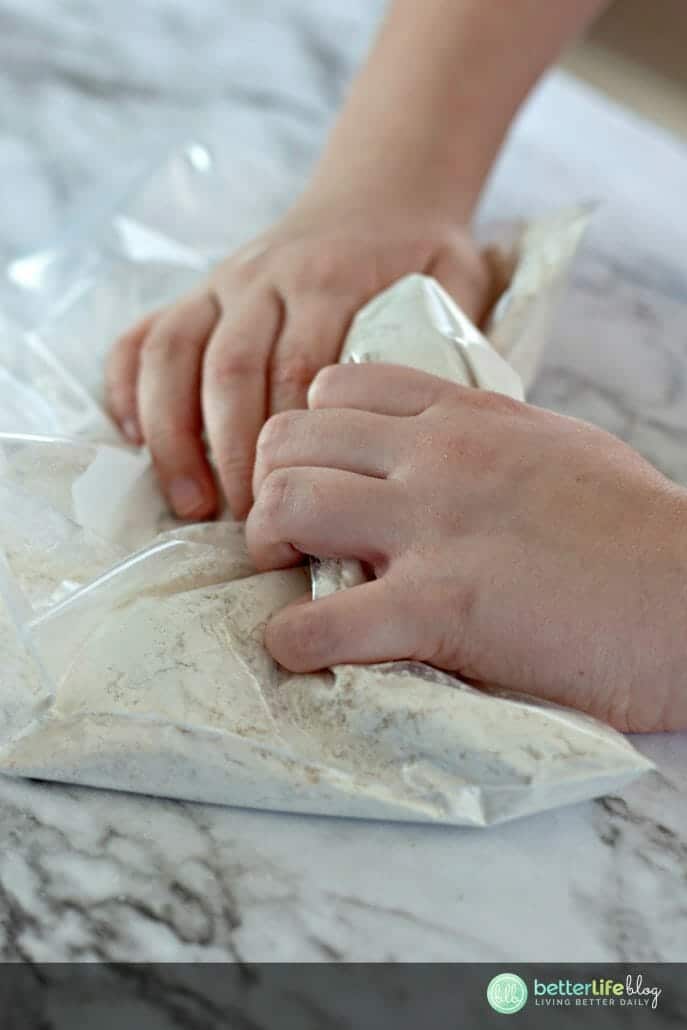
Add 1 cup of flour, a packet of fast acting dry yeast, sugar, and salt into a 1-gallon ziplock bag. Seal the bag, making sure to push out all of the air. Using your hands (while the bag is closed), move and knead the bag until all of the ingredients are well mixed combined.

In a small saucepan, heat the milk and corn oil over medium heat just until it reaches 120-130F degrees. I like to use a digital laser infrared thermometer to detect the exact temperature without having to touch the oil. (By the way, an infrared thermometer is a really convenient tool to have in your kitchen. You can use it to check the temperature of your cooking oil before frying or the temperature of your meat while on the barbecue.)
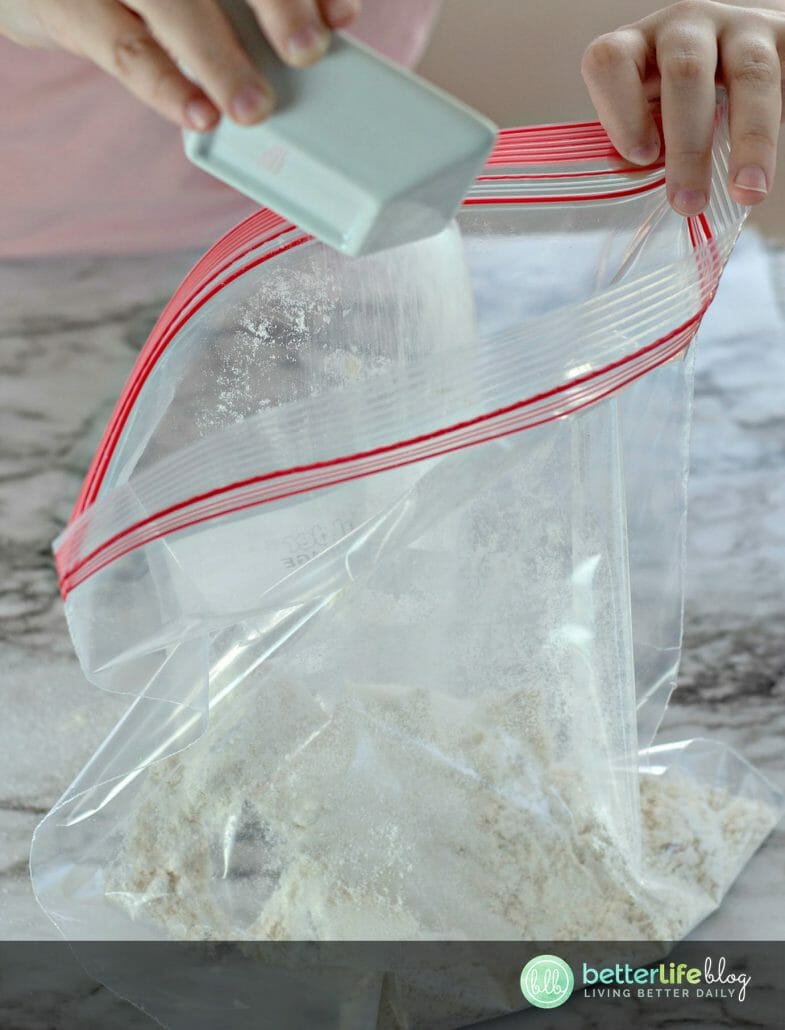
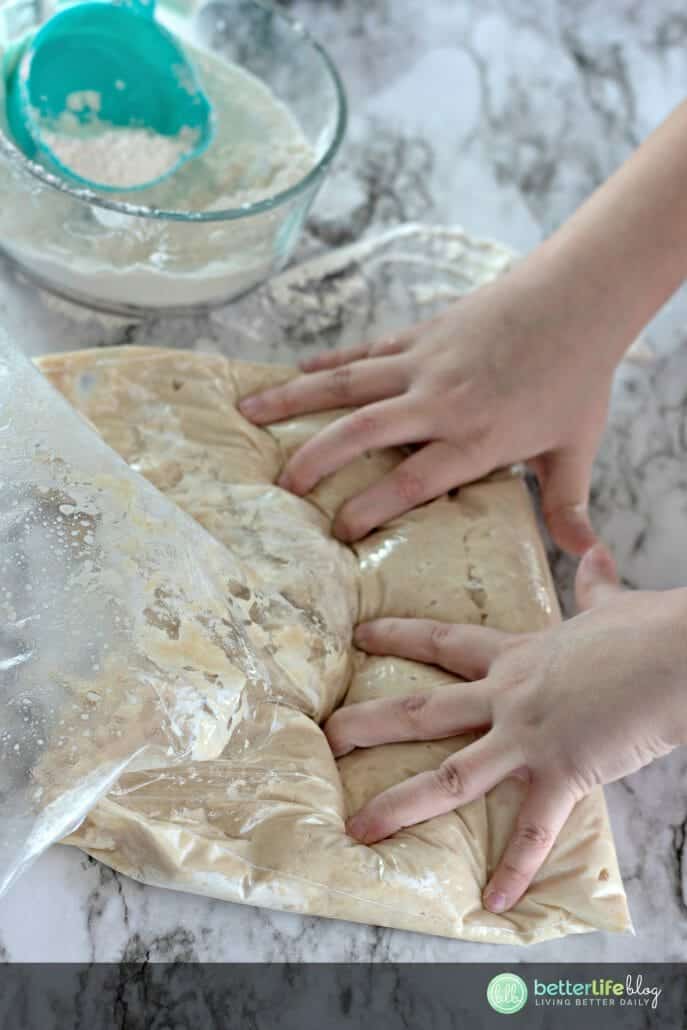
Open the ziplock bag and pour the heated milk and oil into the bag. Reseal the bag, then use your hands to work the bag until the ingredients are well combined.

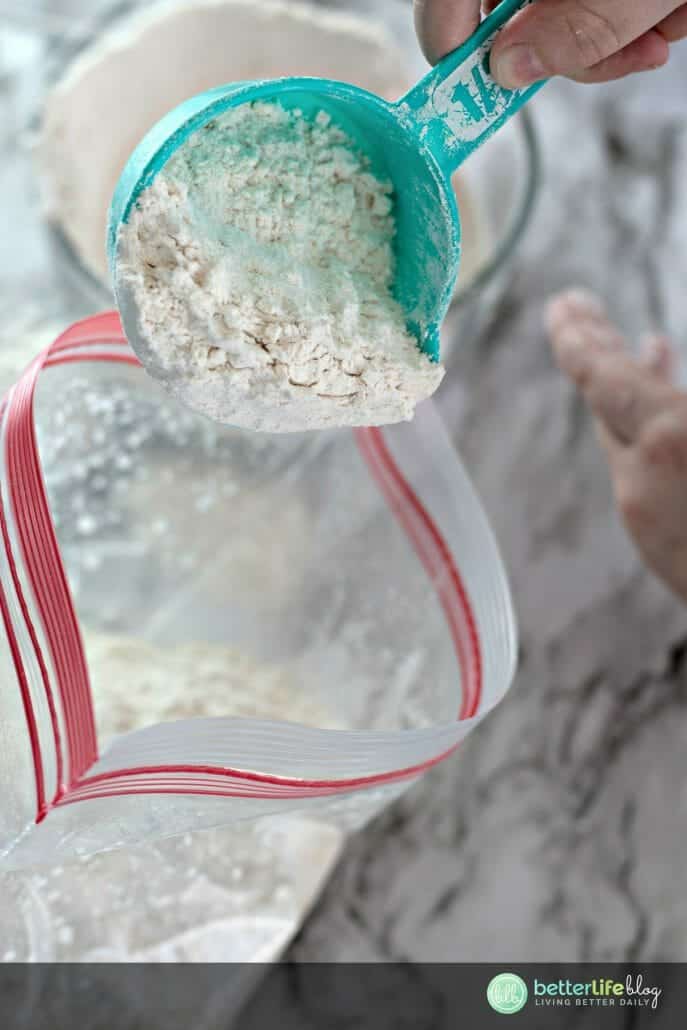
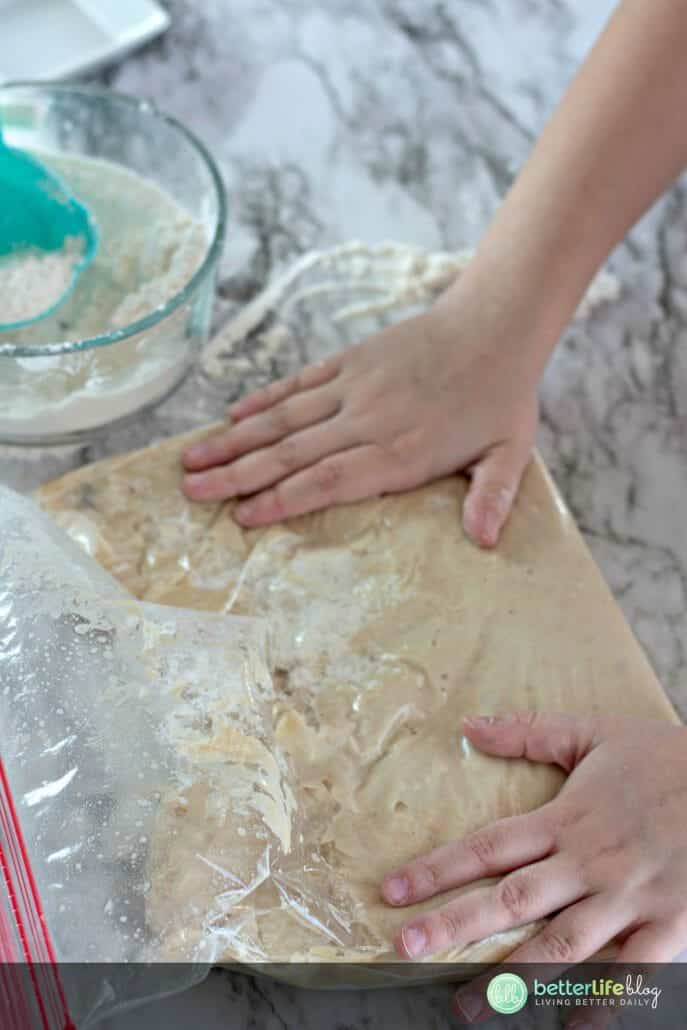
Add the flour into the bag gradually, about ½ cup at a time. As you add in the flour, each time work and knead the bag until the ingredients become combined. Then repeat until all of the flour has been added and a soft dough forms. When the dough begins to pull away from the sides of the bag, you are ready to proceed to the next step.


Sprinkle some flour onto a clean flat surface or countertop, then place the dough on the counter and knead it for about 5 minutes. Add more flour if necessary as you continue to knead the bread. You want a dough that is smooth and elastic.
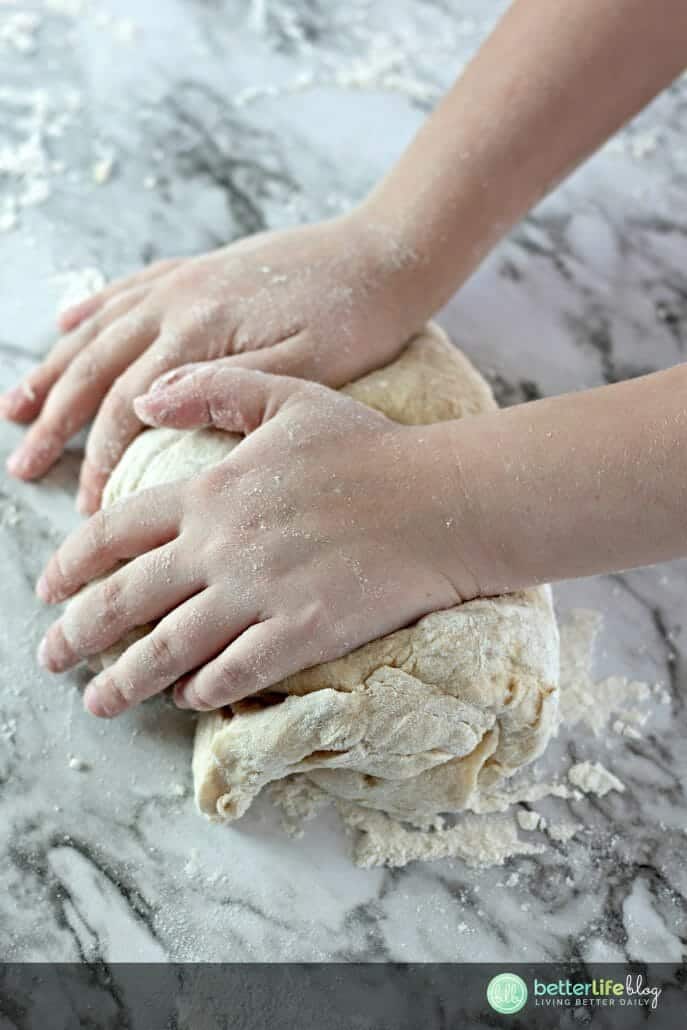


Cover the dough with a clean kitchen towel and allow it to rest for 10 minutes.
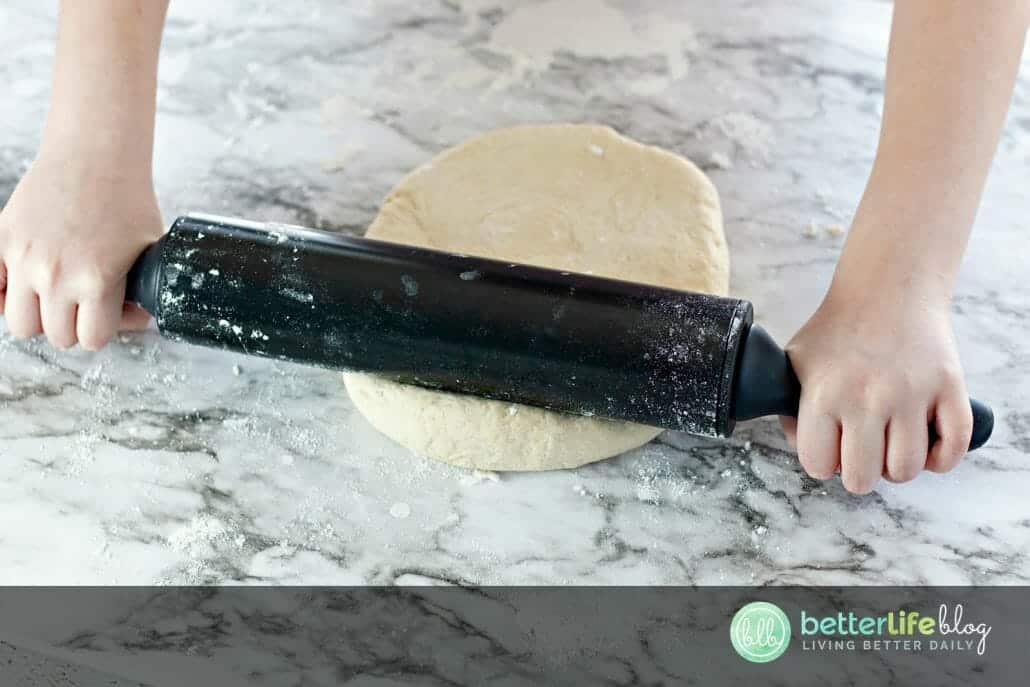

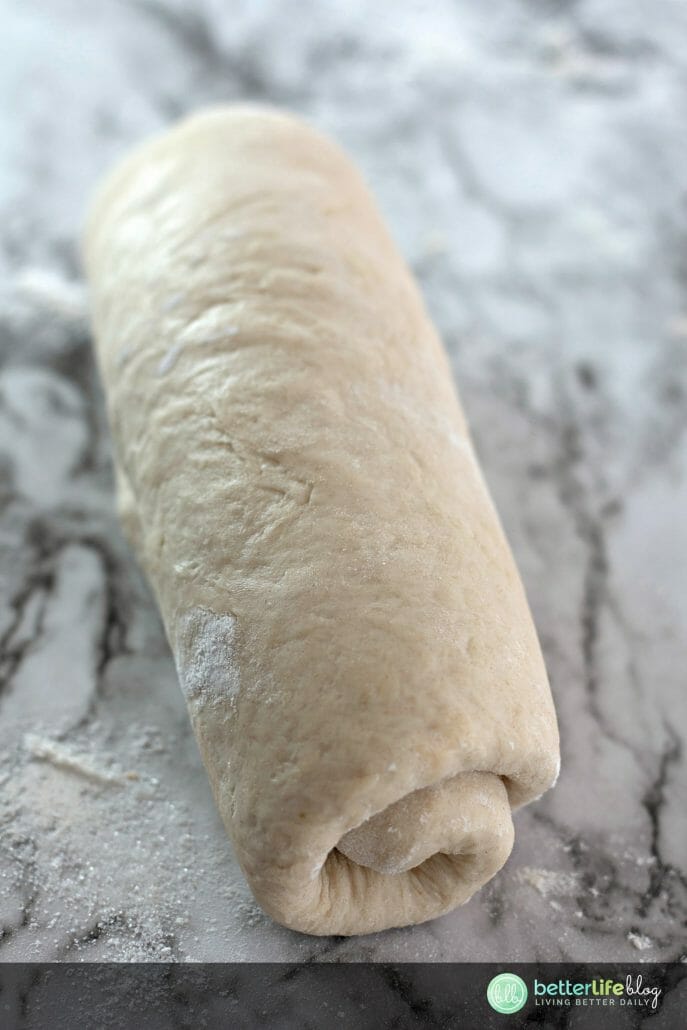
Using a rolling pin, roll the dough out to approximately a 12×8-inch rectangle. Beginning from the shorter end, roll up the dough tightly until it forms a log.

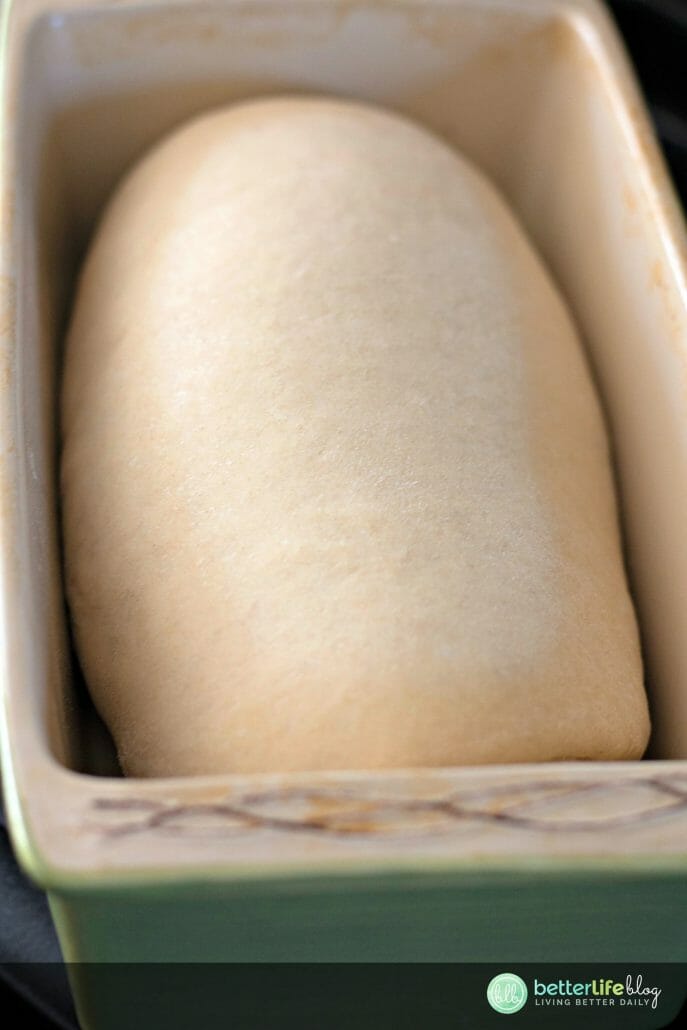
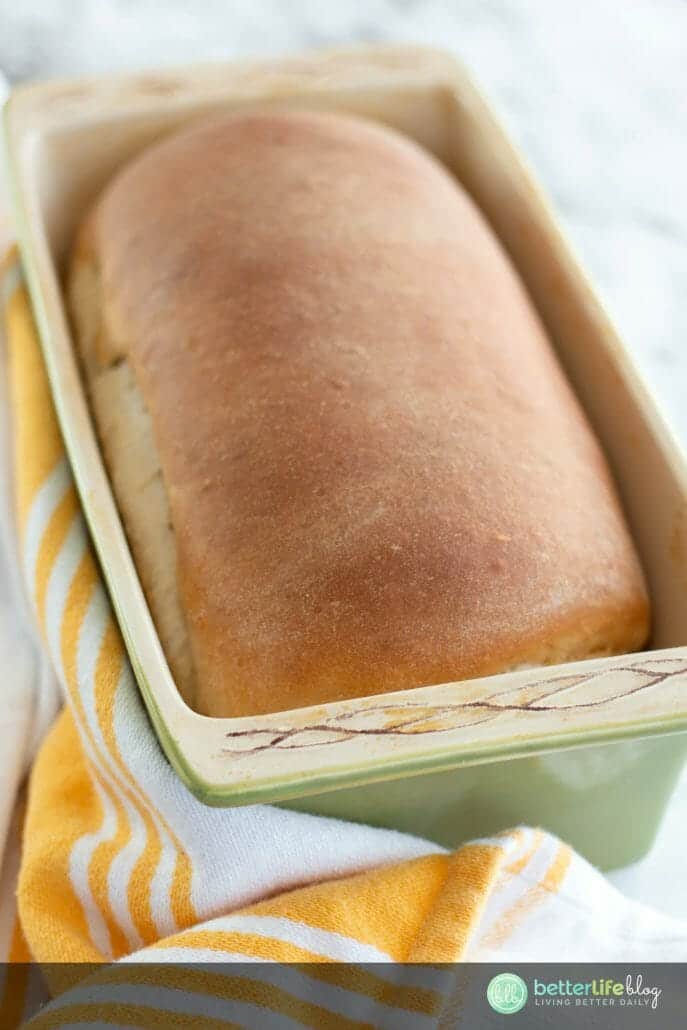
Then greased and lightly flour an 8.5 x 4.4 inch loaf pan and place the dough inside. Cover it with a clean kitchen towel and set aside to rise until the dough doubles in size. This should take about 1 hour.
Bake the bread at 375 degrees F for 30 minutes or until done (oven temperatures and times vary). Once it has been removed from the oven, allow the bread to rest for 5 minutes in the pan before transferring to a wire cooling rack.
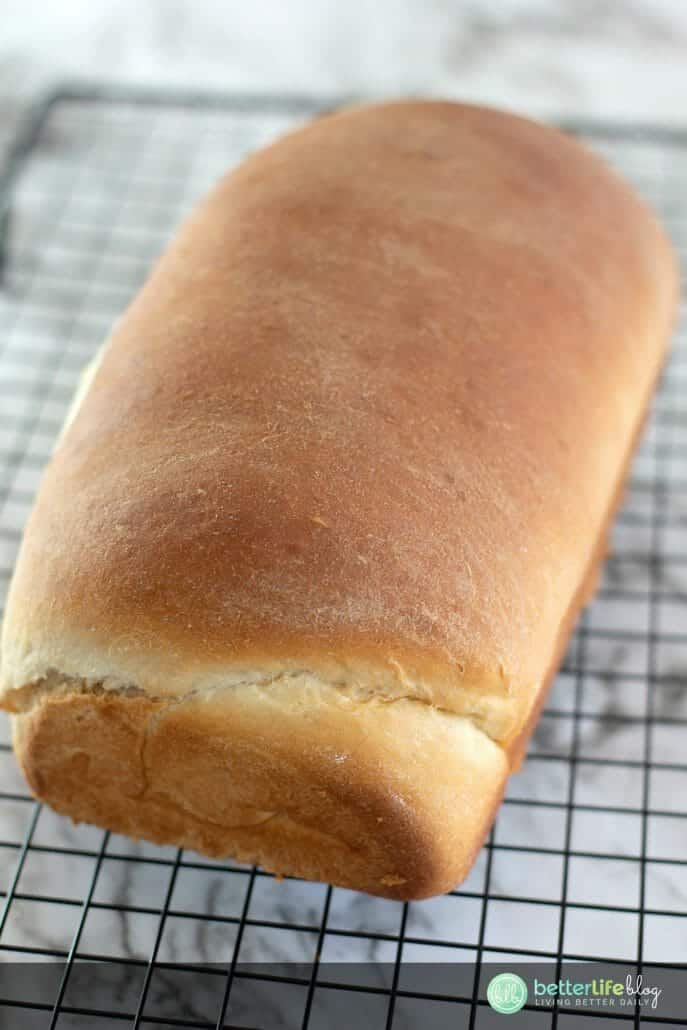


Once completely cooled, slice the bread using a serrated bread knife and enjoy!

Mistakes happen – and more often than not, they can be fixed! Learn how to remove HTV with basic household supplies (including a clothing iron

I hope you’re ready to add a touch of elegance and shimmer to your crafting projects because today’s tutorial is all about the mesmerizing art

I love making three-dimensional projects using my Cricut and Silhouette machines! Whether it’s a favor box, pop up card or 3-D Paper sculpture, any folded

This easy-to-make piano pop-up card is perfect for the music connoisseur in your life. Make it with the help of your trusty Cricut or Silhouette.

If you’ve been with me for a minute, then you already know how much I love making shadow box designs! It’s one of my absolute

Ironing heat transfer vinyl onto wood is a great way to add a personal touch to your home decor or create unique gifts for your


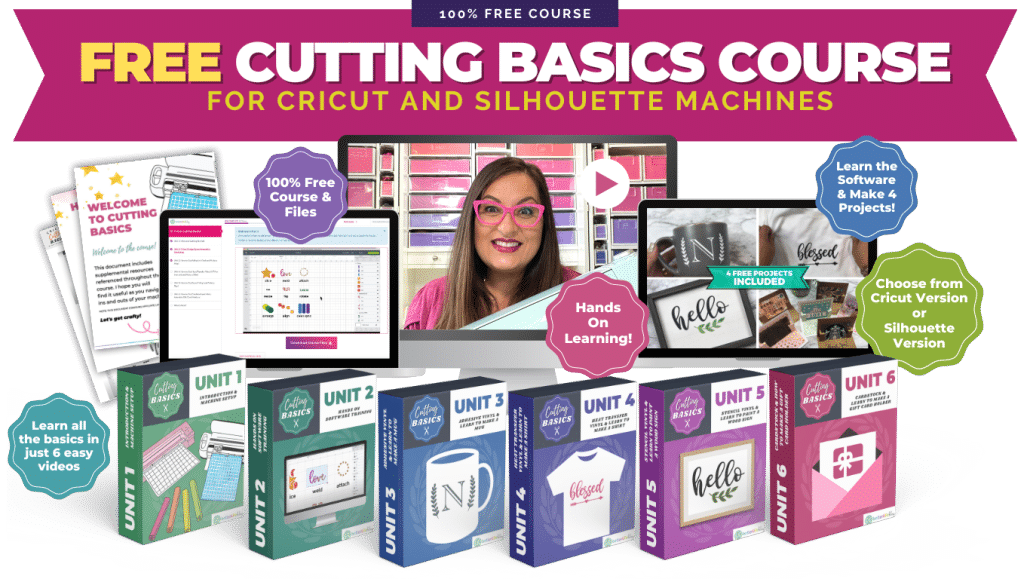
This course is for beginners who want to learn to use their cutting machines! There are two course options: Cricut Cutting Basics or Silhouette Cutting Basics! Click the button below to enroll for free