
Craft Tools
How to Remove HTV with a Clothing Iron and Tweezers
Mistakes happen – and more often than not, they can be fixed! Learn how to remove HTV with basic household supplies (including a clothing iron


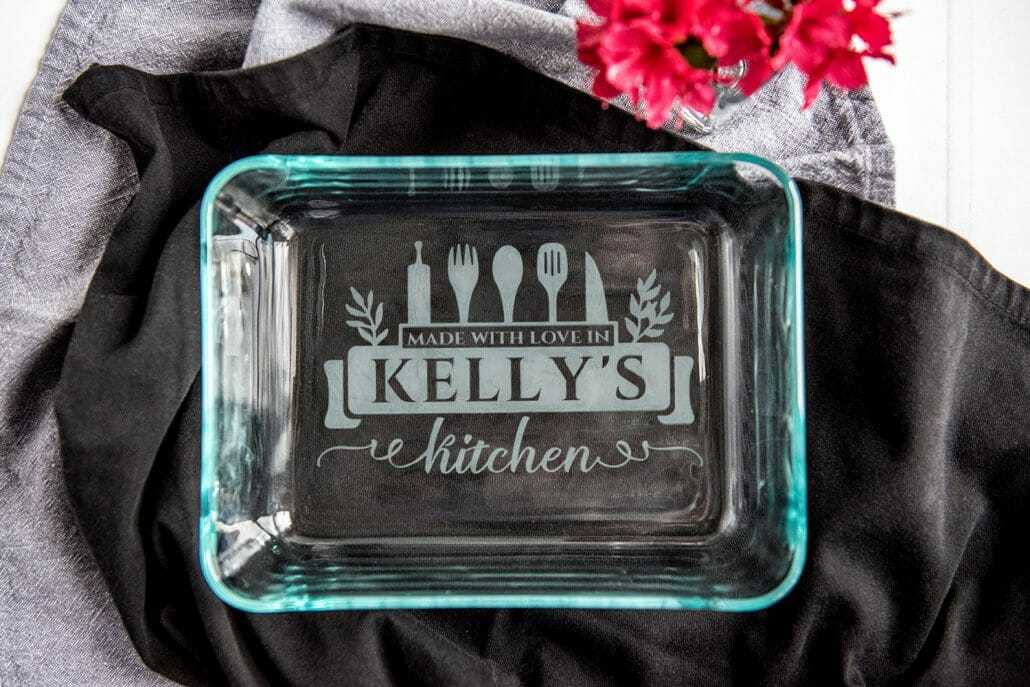

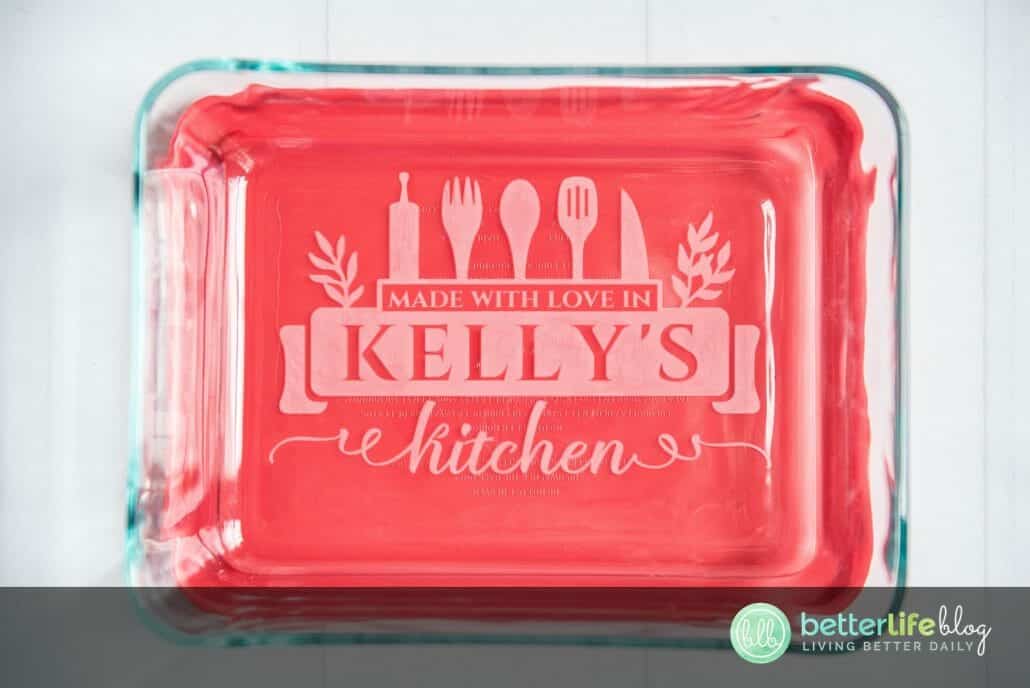
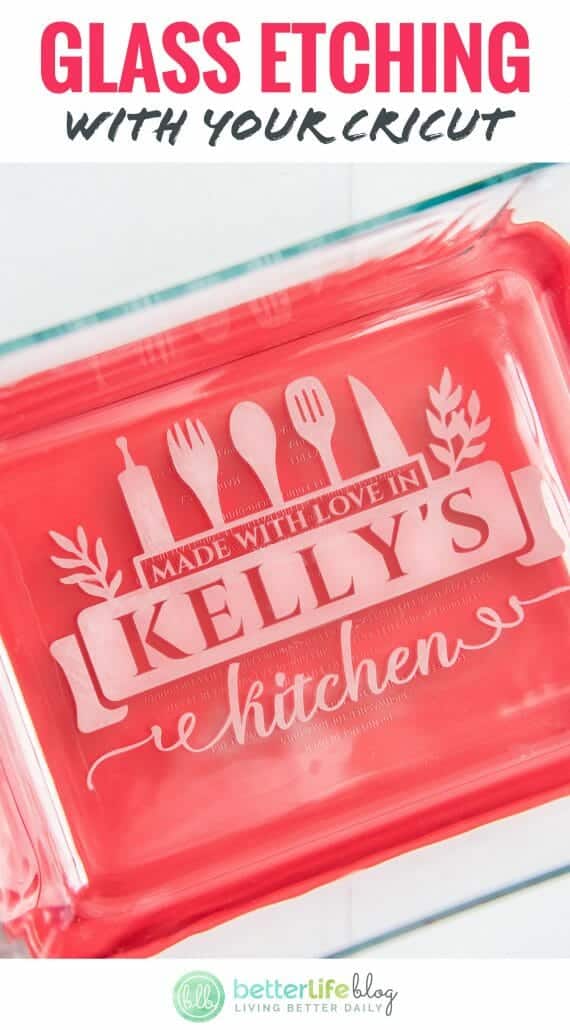
Etching a Pyrex glass baking dish with etching cream is hands down one of my favorite things to make with my Cricut (or my Silhouette Cameo). And I think it’s one of the best gifts you can make with your cutting machine, too!
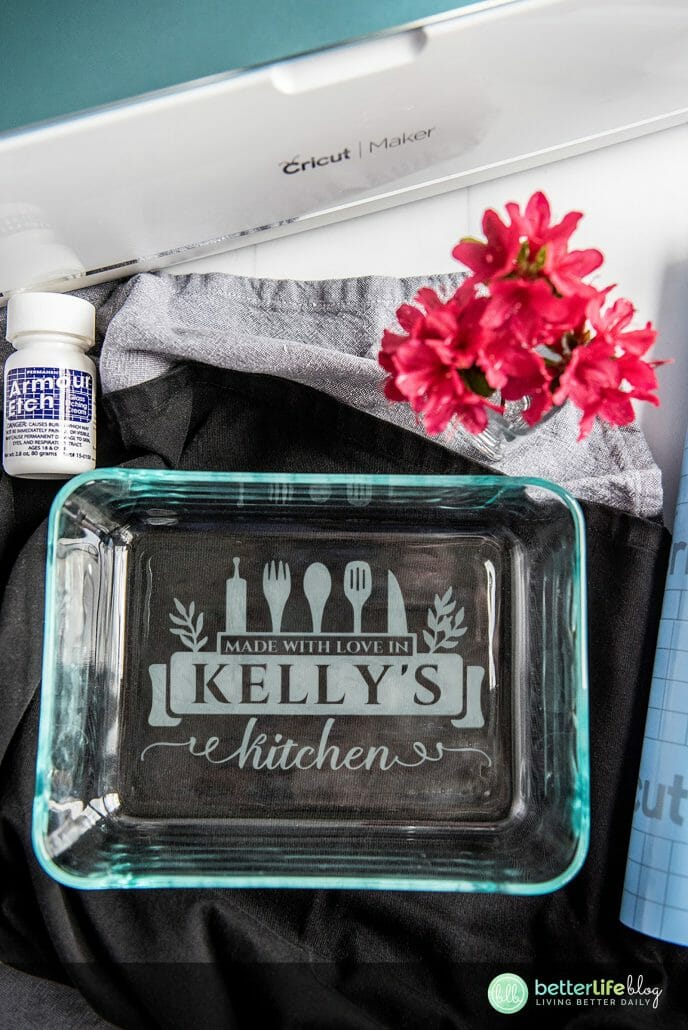
I have made and given away so many of these etched Pyrex dishes as hostess gifts, wedding gifts, house warming gifts, or just to say “thanks!” – and my friend recently showed me the personalized etched baking dish I gave her as a gift years ago, and it still looks exactly the same as the day I gave it to her! This gift really holds up well to wear and tear.
The etching cream is a chemical substance that actually erodes a layer of the glass (be sure to read the safety instructions and protect yourself with gloves, a mask, goggles and work in a well ventilated area). This means that once you etch, it is completely permanent! Unlike vinyl projects, you can put an etched baking dish in the dishwasher or even in the oven. It will last for years and years to come!
Not to mention, this gift looks expensive but costs less than $10 to make and takes just a few minutes! Have I mentioned that this is one of my favorite projects to make on my Cricut??
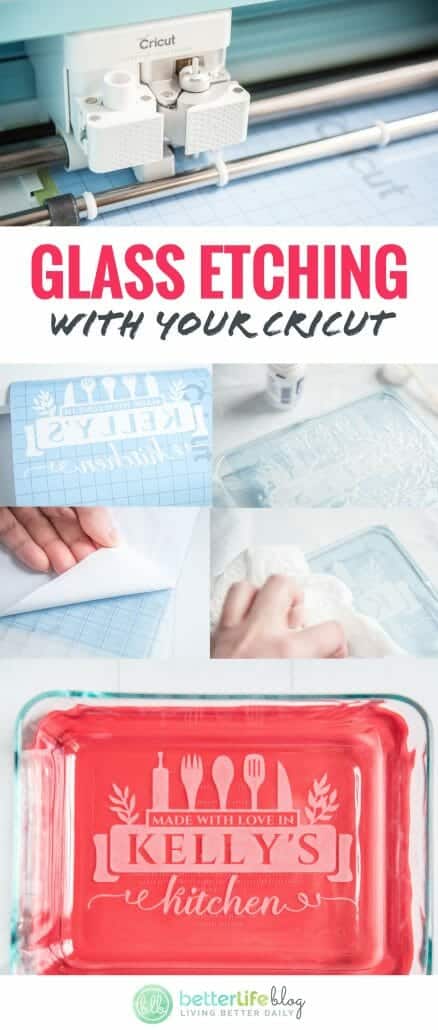
Let me show you just how easy it is to etch glass onto a Pyrex baking dish using your Cricut (Note to Silhouette Cameo users: the process below can be easily adapted to work with your machine!)

Important: Please read the safety instructions on the Glass Etching Cream container before beginning your project.

Gather your stencil vinyl and place on your cutting mat. Load the “Kitchen Made with Love” cutting file into Cricut Design Space.
I have created a video tutorial below to show you how to set up your cut file for this project using Cricut Design space.
Adjust the width of the image as needed to fit the size of your baking dish.
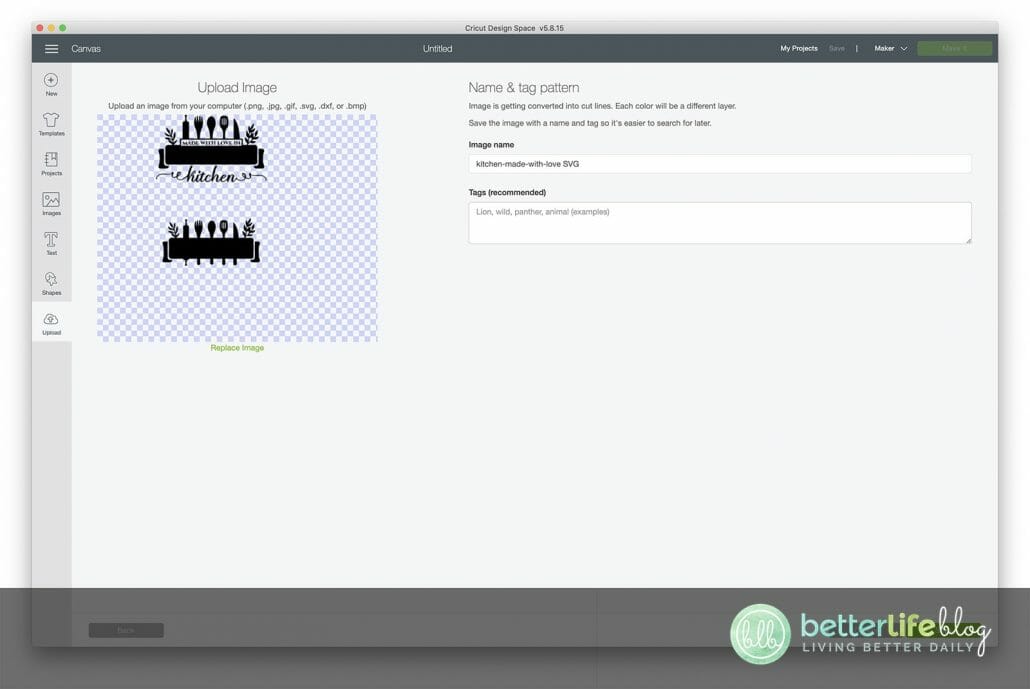
Right click and “ungroup” to separate the two variations of this design. Next, delete the version of the design that you are not using (don’t worry, you can always add your image to your canvas again later).
The top version says “Made with love in _____ kitchen” and the bottom version just has a blank space for whatever you would like to write. In this tutorial I am using the top version of the design, so I’ve removed the bottom by clicking on the design, then clicking on the red X in the upper left hand corner to delete.
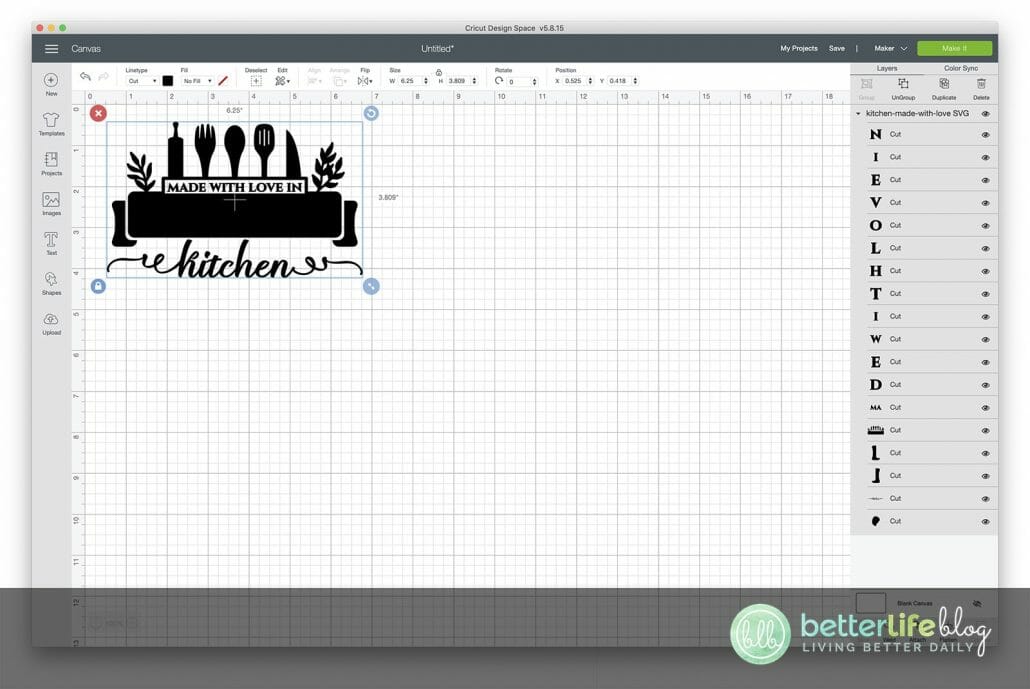

Select the text button and start typing the name that you would like on your project. You can change the font from the drop down menu at the top of your screen.
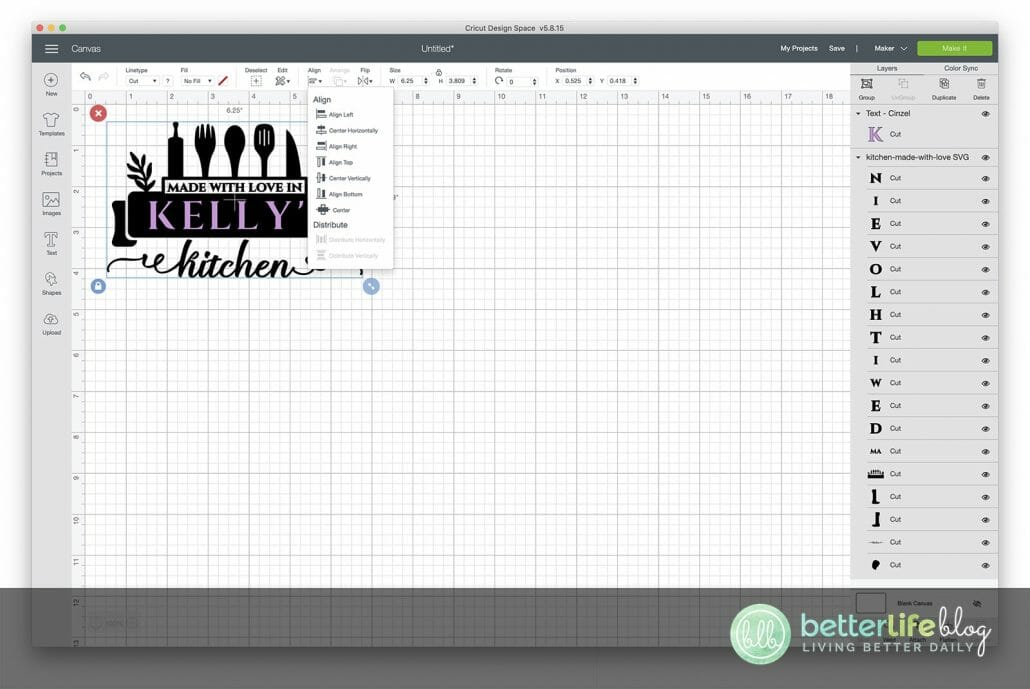
Resize and move the text over the black ribbon in the design. It helps to change the color of the text to something other than black so that it can be easily seen.
Then center the text with the image by going to “Align” then choose “Center Horizontally.”
Select the entire image then click “Attach” in the lower right hand corner.
Then click the green “Make it” button in the upper right hand corner.

On the next screen, be sure to mirror your project. Choose “Stencil Vinyl” from the drop down menu (or choose the appropriate material if you are using something different).


Proceed to cut out your vinyl and weed away the unnecessary parts.

Place a piece of transfer tape on top of your stencil and peel the backing off. Place onto the underside of your baking dish. Starting from the center, press down and move to the outer edges.

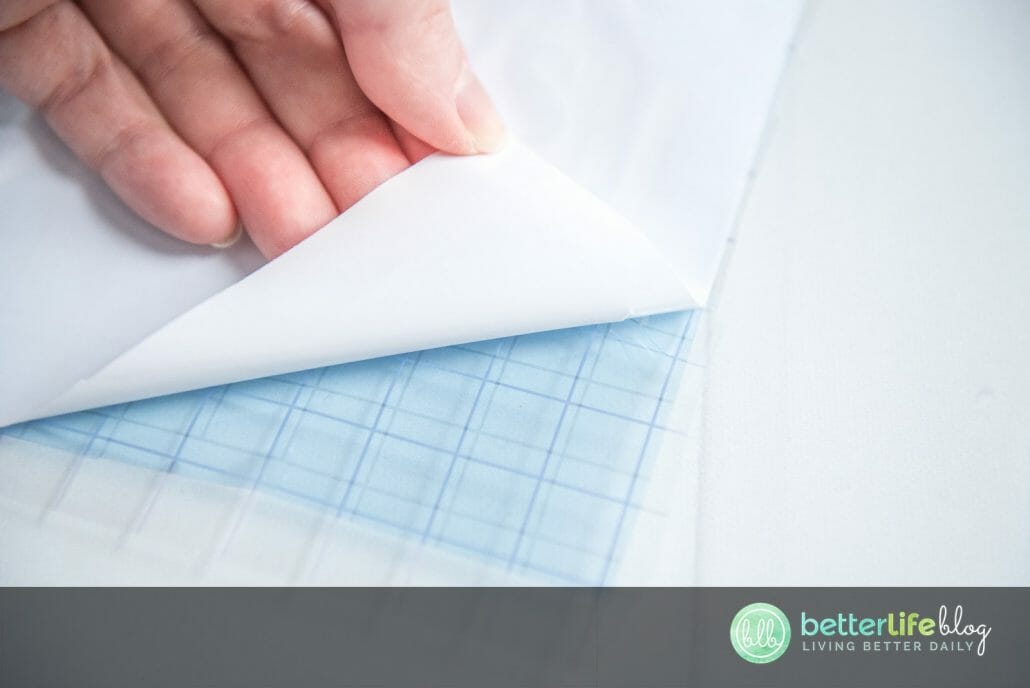
Peel away the transfer tape.
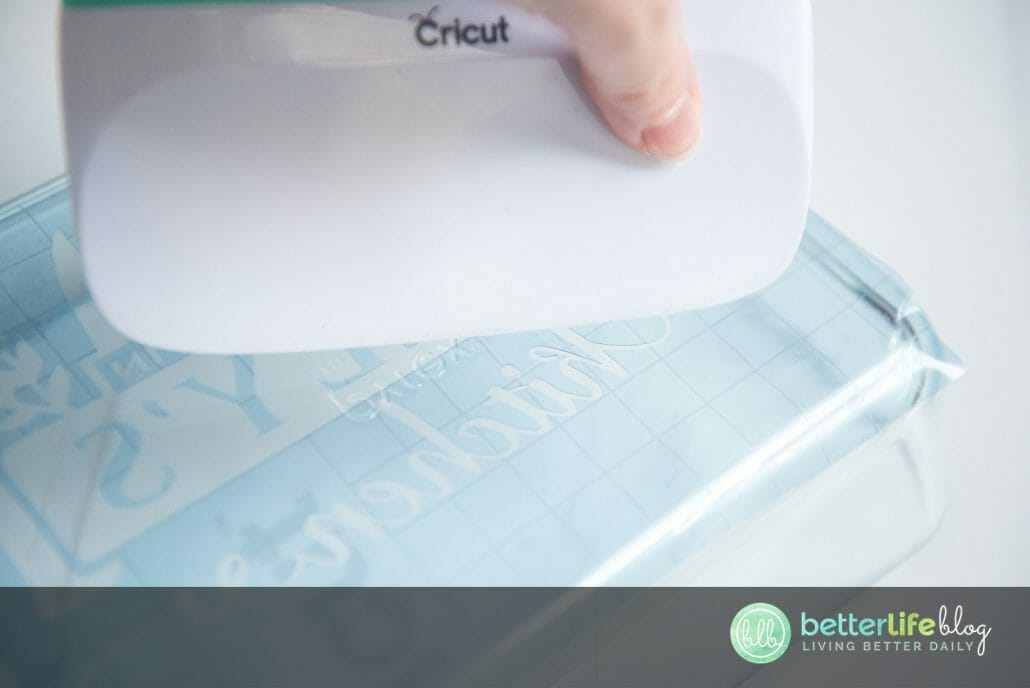
Important: Before moving to the next steps, be sure to remove any bubbles or gaps in your vinyl. I cannot stress this enough! Any gaps or bubbles in your vinyl will result in bleeding, and if the etching cream bleeds it is PERMANENT. I know this can be challenging to work around some of the ridges, so do your best. If necessary, you can also add painter’s tape to aid in sealing some of the edges.
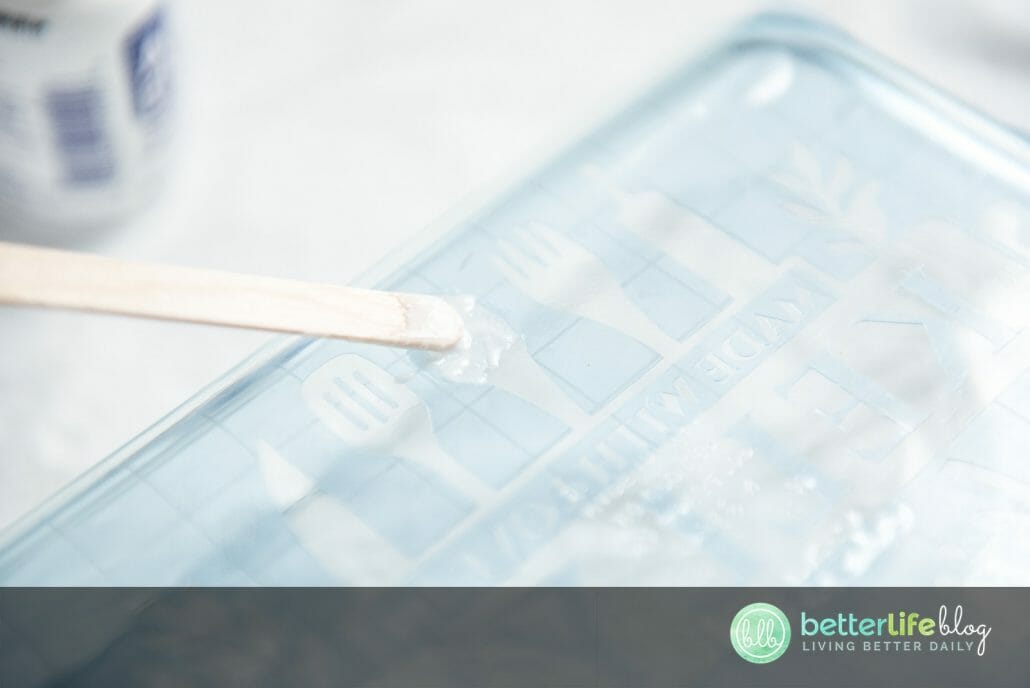
Put your gloves on and any other safety equipment (remember to read the safety instructions on the etching cream bottle) and start applying your etching cream to the glass using a popsicle stick or paint brush.

This is where the magic happens! Allow the cream to sit on the dish for about 3-5 minutes.
Tip for best results: Move the etching cream around during the 3-5 minute etching period. This will result in a more even, less streaky application.
The etching cream is removing the top layer of the glass surface, which gives it that frosted look!
Here is another tip: at the end of the 5 minutes, scrape up the excess etching cream and put it back in the jar to use it again next time!

Rinse the remaining cream away with water, then wash with soap and dry with a paper towel.

Remove the stencil vinyl from the glass and enjoy your new customized baking dish!


Notes:
Mistakes happen – and more often than not, they can be fixed! Learn how to remove HTV with basic household supplies (including a clothing iron

I hope you’re ready to add a touch of elegance and shimmer to your crafting projects because today’s tutorial is all about the mesmerizing art

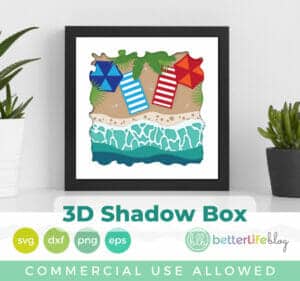
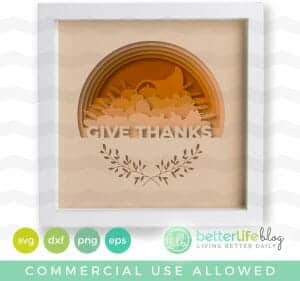
I love making three-dimensional projects using my Cricut and Silhouette machines! Whether it’s a favor box, pop up card or 3-D Paper sculpture, any folded
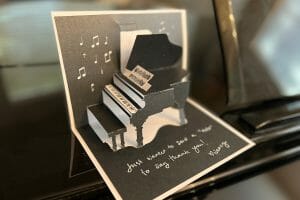
This easy-to-make piano pop-up card is perfect for the music connoisseur in your life. Make it with the help of your trusty Cricut or Silhouette.
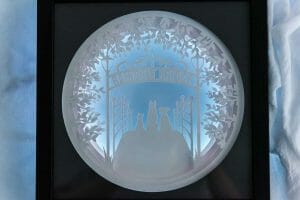
If you’ve been with me for a minute, then you already know how much I love making shadow box designs! It’s one of my absolute

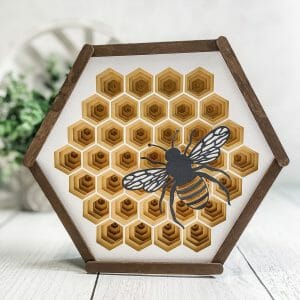
Ironing heat transfer vinyl onto wood is a great way to add a personal touch to your home decor or create unique gifts for your


This course is for beginners who want to learn to use their cutting machines! There are two course options: Cricut Cutting Basics or Silhouette Cutting Basics! Click the button below to enroll for free
