
Craft Tools
How to Remove HTV with a Clothing Iron and Tweezers
Mistakes happen – and more often than not, they can be fixed! Learn how to remove HTV with basic household supplies (including a clothing iron


Hey everyone! Today I am so excited because I am going to teach you how to build a WordPress website. It is not as difficult as it seems and I’m going to hold your hand throughout the entire process and teach you this very valuable skill. Whether you want to start a business, or you want to start a blog, or maybe you just want to add this to your resume, this skill is going to help earn money and it could change your life.
I’m so excited to be the one to teach you how to do it and you can always ask me for help. If you have any questions feel free to contact me and I will do my best to help you. So without further ado, let’s get started!
Note: This blog post is Lesson 1 out of a 4-part series, From Zero to WordPress Hero(ine). Please be sure to watch the other 3 lessons in this series. Also, each lesson is accompanied by a YouTube video which can be found on this page. Included below is a Table of Contents so that you can see where in the video you can skip ahead to if necessary.
Video Table of Contents:
This is a FREE WordPress course and a complete beginner’s guide to building a WordPress website and blog. I am really excited to show you how you can be empowered by knowing how to build a website.
So, a little bit about this course; I broke this up into four parts and so I encourage you to be sure to watch all four of the parts of the series and do it in order so that you can benefit as much as possible because each video is going to be building on the knowledge of the previous one. So I encourage you not to skip around unless you’re already pretty familiar with it and you feel like you kind of know some things.
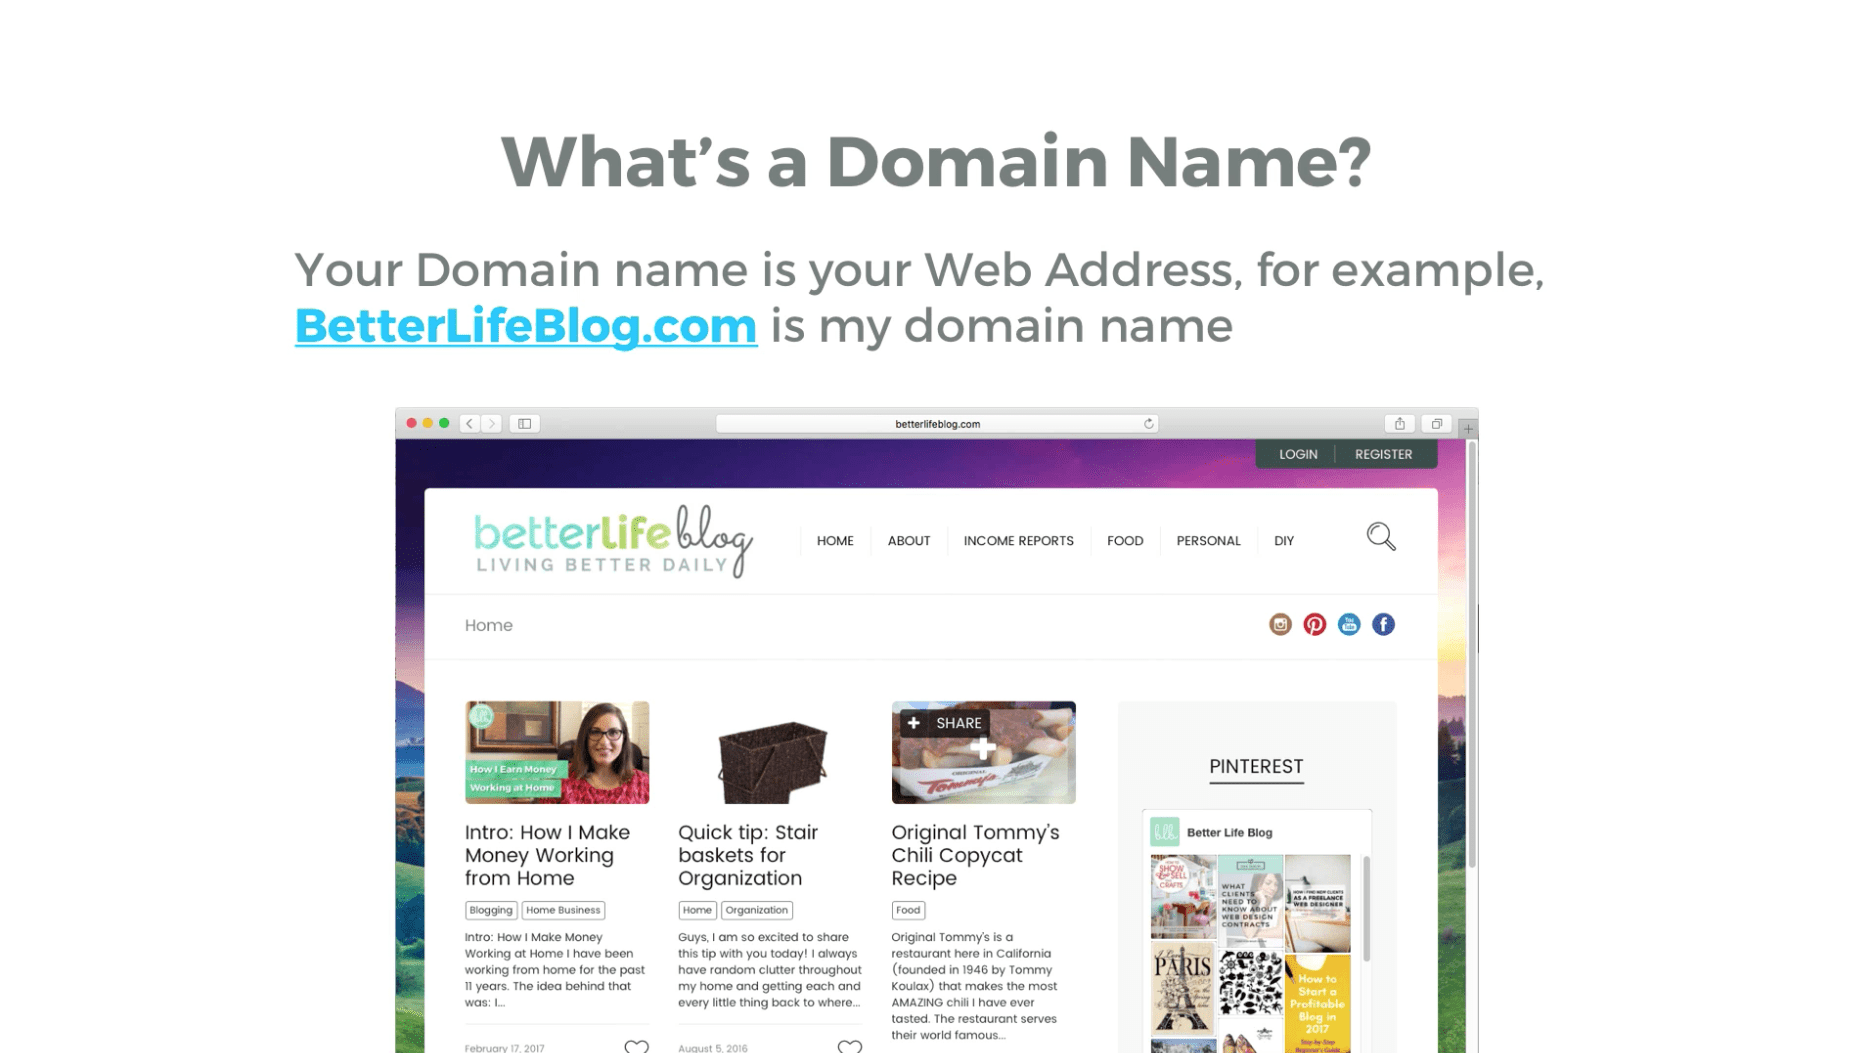
First things first, before we learn how to build a WordPress website, we want to choose a domain name. Now, what is the domain name? In case you’re not familiar, your domain name is your website address. My domain name is BetterLifeBlog.com and that can just be found right in the address bar. That’s what you type in the address bar when you’re trying to go directly to a website. This has no spaces and you can see what it looks like in the address bar.
Now, when you’re choosing your domain name, you want to watch out for bad domain names. Here are a couple of funny examples of bad domain names.
Here are some tips for choosing a good domain name.
I’ve used a lot of hosting companies in the past. I’ve used Go Daddy, Just host, Media Temple, and Host Gator. They all have their pluses and minuses but I’ve researched what I believe to be the best hosting company overall and that company is Blue Host.
You can get both your domain name and your hosting with blue host. They have 24/7 support. They’re very reasonably priced. About half the price of all the ones I’ve used and they have excellent service, so I highly recommend them and if you want to go ahead and get started and sign up, you can visit:
Note: This is my affiliate link. I do get a small commission when anybody signs up using my link. However, I just want to make it clear that I think it’s a good company and I recommend it regardless. So, if you find this tutorial useful and helpful and you want to say thank you and you want to go through my link, I would definitely appreciate it.
And if you want to use another host, that would work just fine as well. However, in this tutorial that we’re going to go ahead and use the Blue Host to setup our website.
Ok guys, so you’re going to want to go to BetterLifeBlog.com/BlueHost if you want to sign up with Blue Host using my affiliate link and you want to click on the big green button that says “Get Started Now.”

There are 3 plans. I do think the basic plan is sufficient for most websites. Unless you plan on having a huge website that will require a lot of data and a lot of extra features, just go ahead and choose the basic one for now. Click the green select button.

Then you want to sign up for your domain name. If you are registering your domain name with Blue Host, use the option on the left side. If you already have a domain name that has been registered elsewhere, you can click over to the right side and type that in.

Then we’re going to just create our account. You want to just go ahead and fill out this basic information. Then scroll down a little bit to get package information. You do have to pay in advance for either 1 year, 2 years, 3 years, or 5 years and so you can just go ahead and choose the plan that best suits you. You do get a discount the longer you are ready to set up so make that decision based on what your needs are.

You can also add on things like Domain Privacy Protection site back up Pro which are really good features and you could just click to learn more information about each of these additional features and then of course you want to go and put your credit card information, read their Privacy Policy and Terms of Service and then click “submit” and then you will receive an email with some information on how to login.

Once you get the confirmation email, click on it and then I’m going to show you how to actually set up your WordPress website.
OK so now that we’ve signed up for Blue Host, the next thing you want to do would you want to go into your control panel and you want to log in using the information that they provided in your confirmation email. Another way you can access this is either by going to Blue Host and just clicking “log in”. Or you can go to your domain directly,
yourdomain.com/cPanel
Hit Enter and then it’ll prompt you to login from there. This is page is called the Control Panel. It’s got all kinds of stuff in here (for example, you can set up an email address with your new domain, like he***@yo********.com).
For now we’re going to focus on installing WordPress.
Scroll until you find a section that says “website” and an icon that says “install WordPress”. Just go ahead and click on that.


And then you’re going to want to go ahead and click on the green Get Started button down below. OK so from here it says to select the domain where you want to install word press. Just go ahead and choose the one that says http://www.yourdomain.com

Go ahead and choose the basic domain and then click next and then you’re going to want to give your website a a Title. You can choose a username but it gives you your email address by default. You could leave your email address the same as well and for your password, just make sure it’s something that’s secure because you don’t want anybody being able to guess your password. Just going to make sure that you’re not installing over something else. If this is a brand-new, account you have nothing to worry about.

Also make sure you read the terms and services agreement. And then you just want to go ahead and click “Install” and it’s just setting everything up. So right now what it’s doing is installing all the WordPress files, installing the database, basically automatically doing all the hard work for you. This process generally takes a few minutes so just be patient and it will let you know as soon as the installation is complete.


OK, so now that the installation is complete, you just want to go to your homepage, and just check to make sure that you see a page that looks a little something like this. This basically means that Word press is installed and in the next video, I’m going to show you how to login to your admin panel and how to add some content in here. So stay tuned.
Your website has a coming soon page that looks like this:

Mistakes happen – and more often than not, they can be fixed! Learn how to remove HTV with basic household supplies (including a clothing iron

I hope you’re ready to add a touch of elegance and shimmer to your crafting projects because today’s tutorial is all about the mesmerizing art

I love making three-dimensional projects using my Cricut and Silhouette machines! Whether it’s a favor box, pop up card or 3-D Paper sculpture, any folded

This easy-to-make piano pop-up card is perfect for the music connoisseur in your life. Make it with the help of your trusty Cricut or Silhouette.

If you’ve been with me for a minute, then you already know how much I love making shadow box designs! It’s one of my absolute

Ironing heat transfer vinyl onto wood is a great way to add a personal touch to your home decor or create unique gifts for your


This course is for beginners who want to learn to use their cutting machines! There are two course options: Cricut Cutting Basics or Silhouette Cutting Basics! Click the button below to enroll for free