
Craft Tools
How to Remove HTV with a Clothing Iron and Tweezers
Mistakes happen – and more often than not, they can be fixed! Learn how to remove HTV with basic household supplies (including a clothing iron


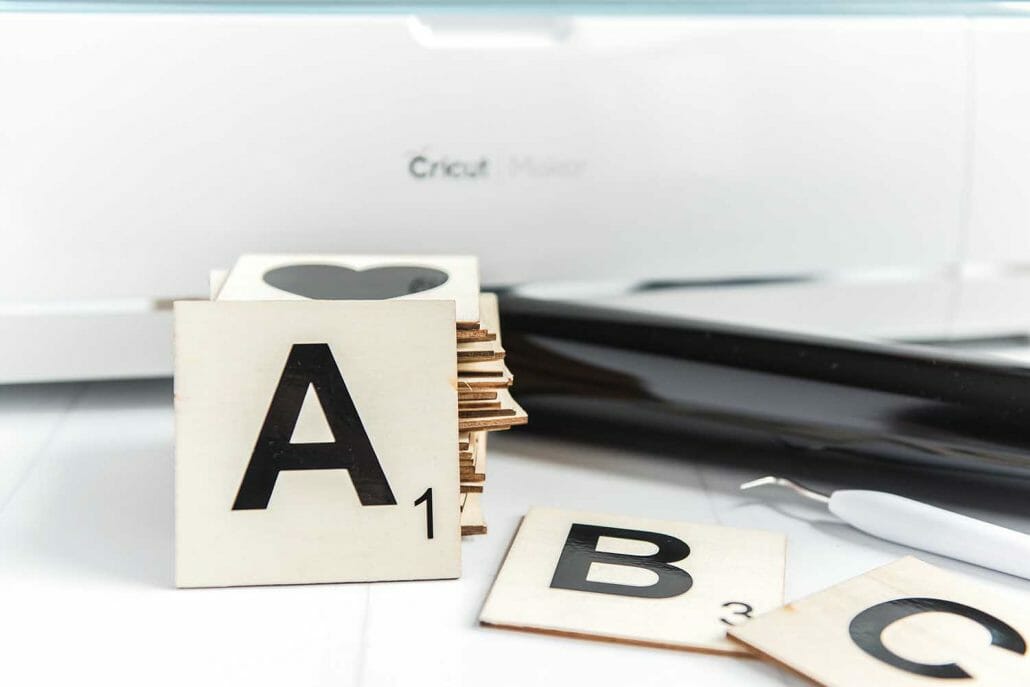
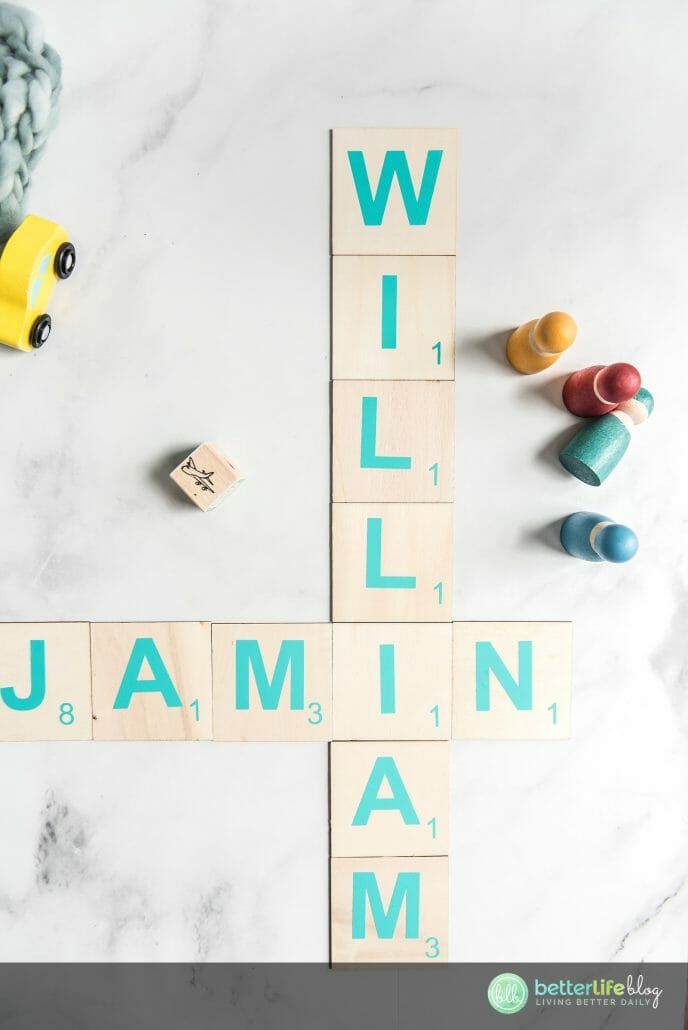
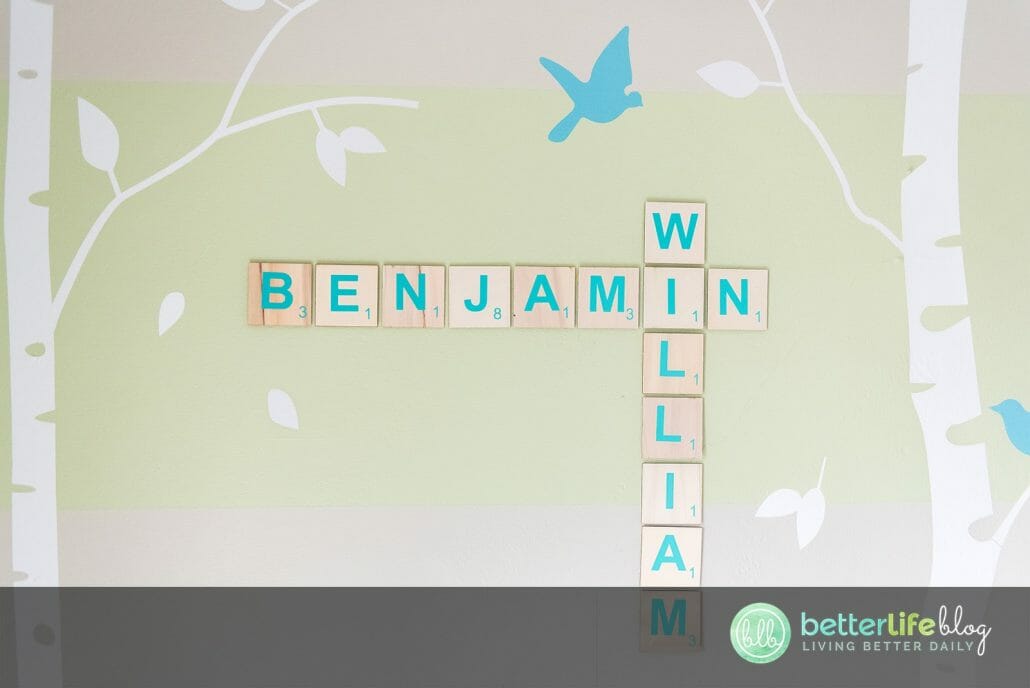
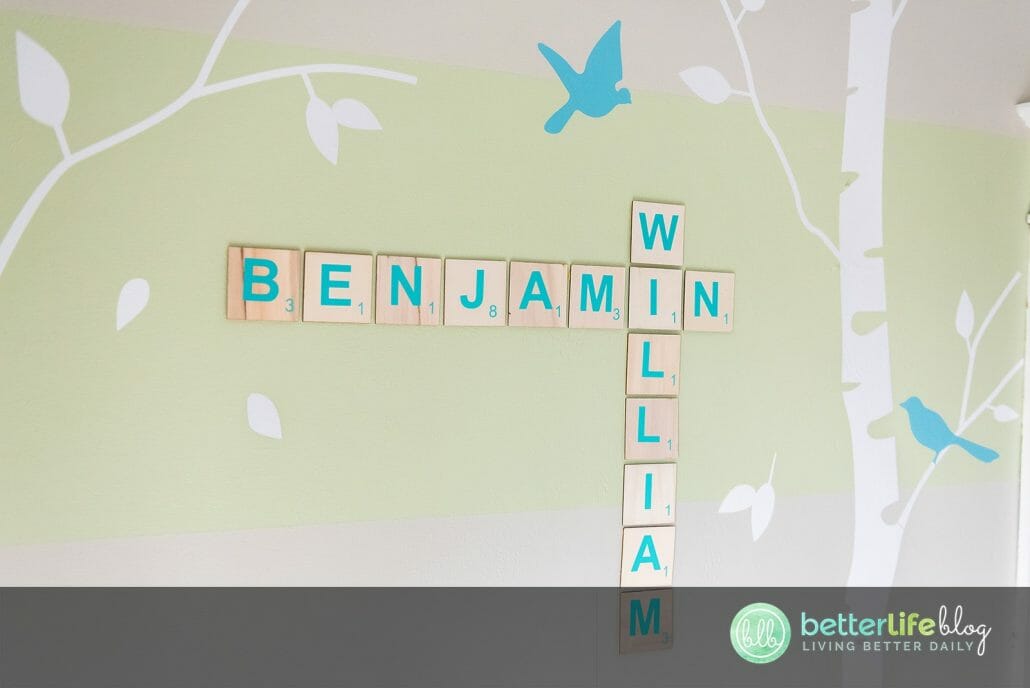
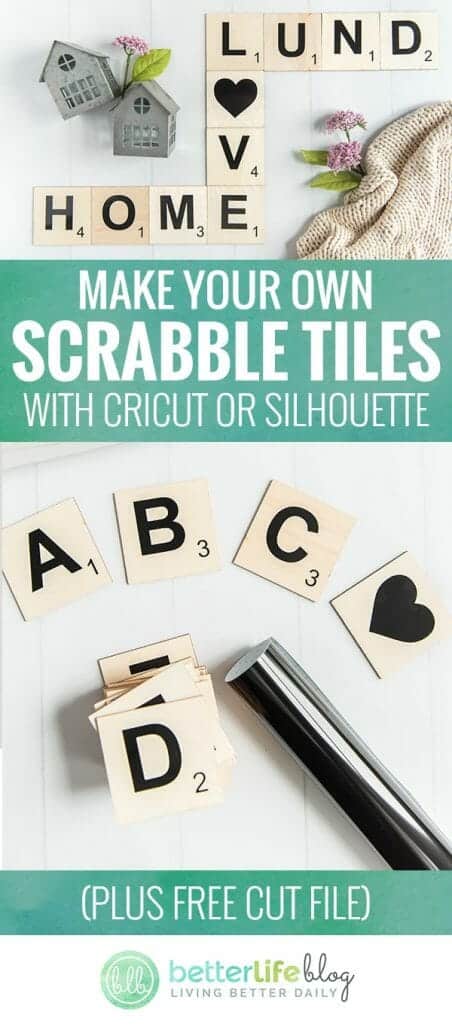
We all have that one space that we want to make a little more homey. Whether that’s a family room or a bedroom, these DIY Scrabble Tiles will look great hanging on the wall or sitting on a shelf.

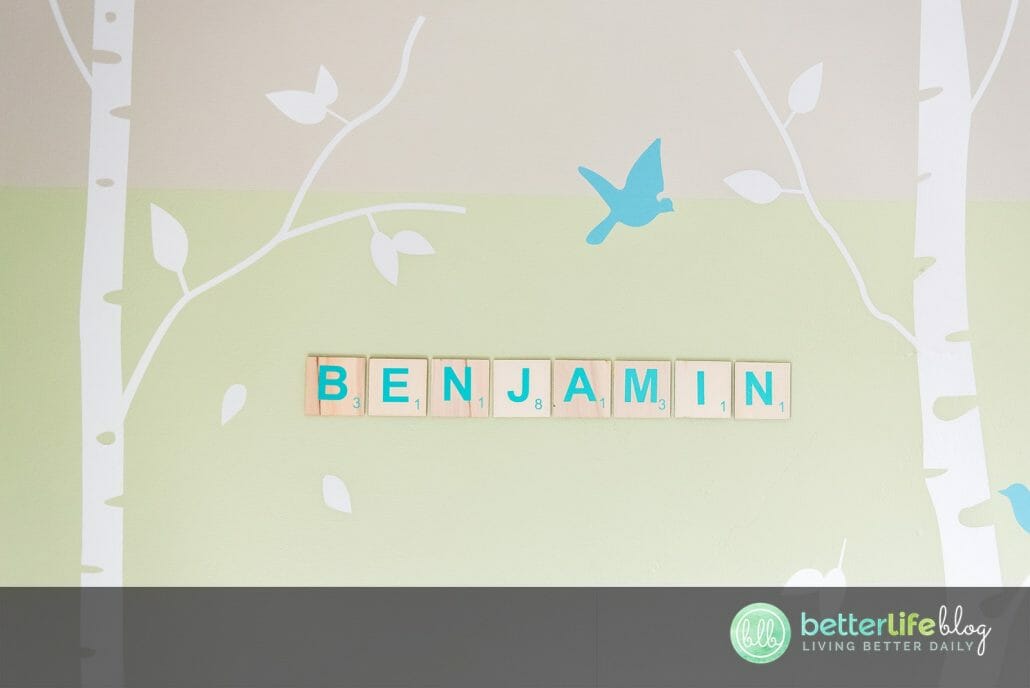
I love how quick and easy you can create a beautiful statement piece with these. With only a few supplies, you can customize this design to display your family’s names or even decorate a nursery wall. The possibilities are endless!

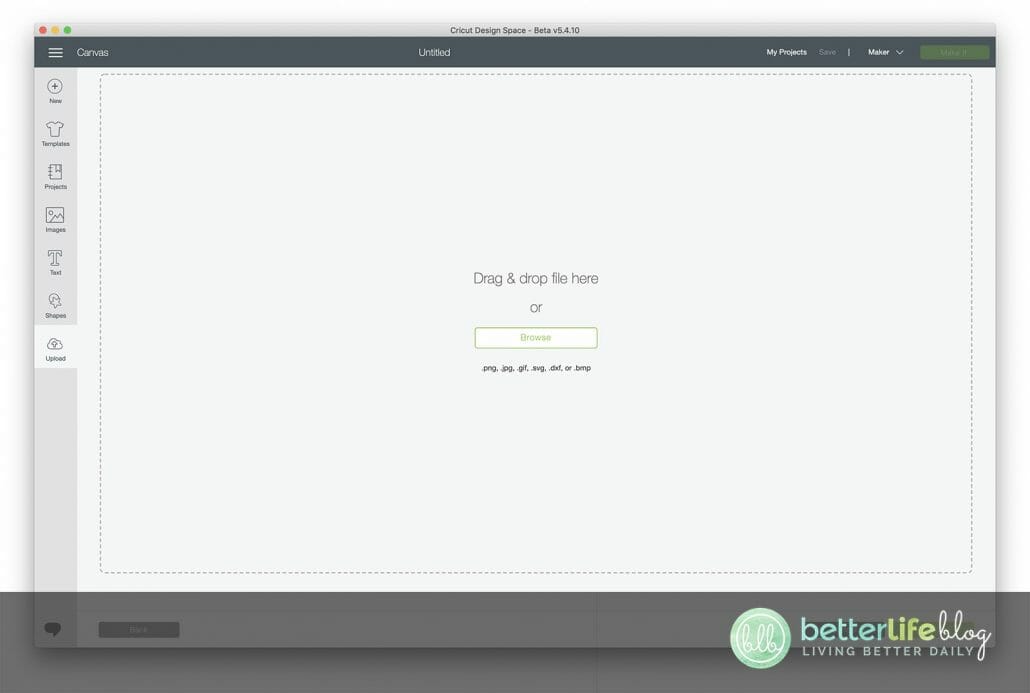

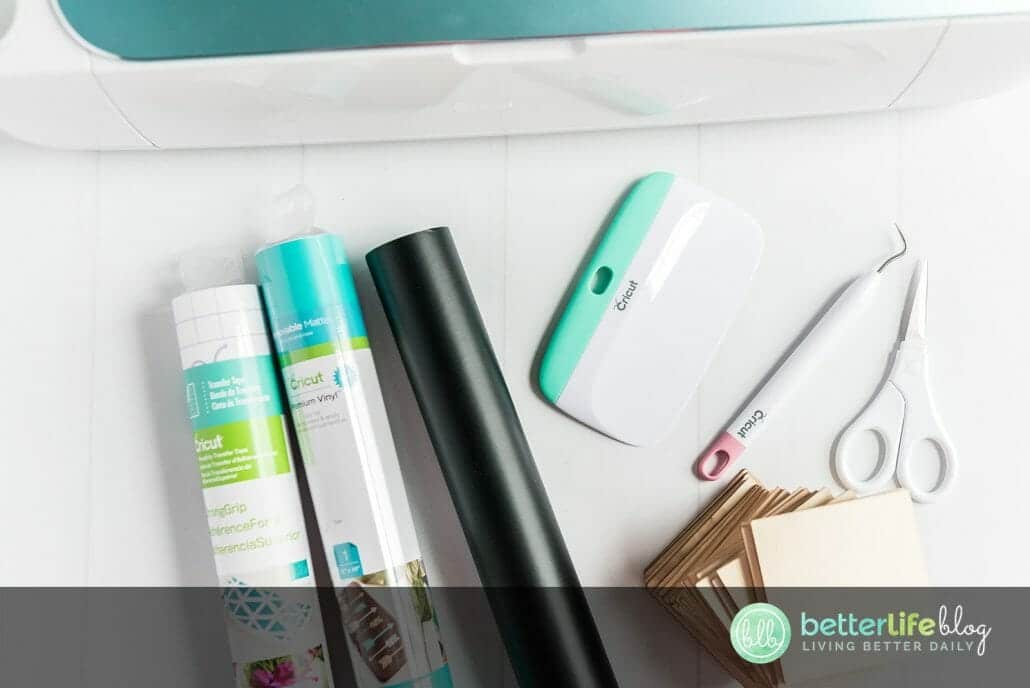
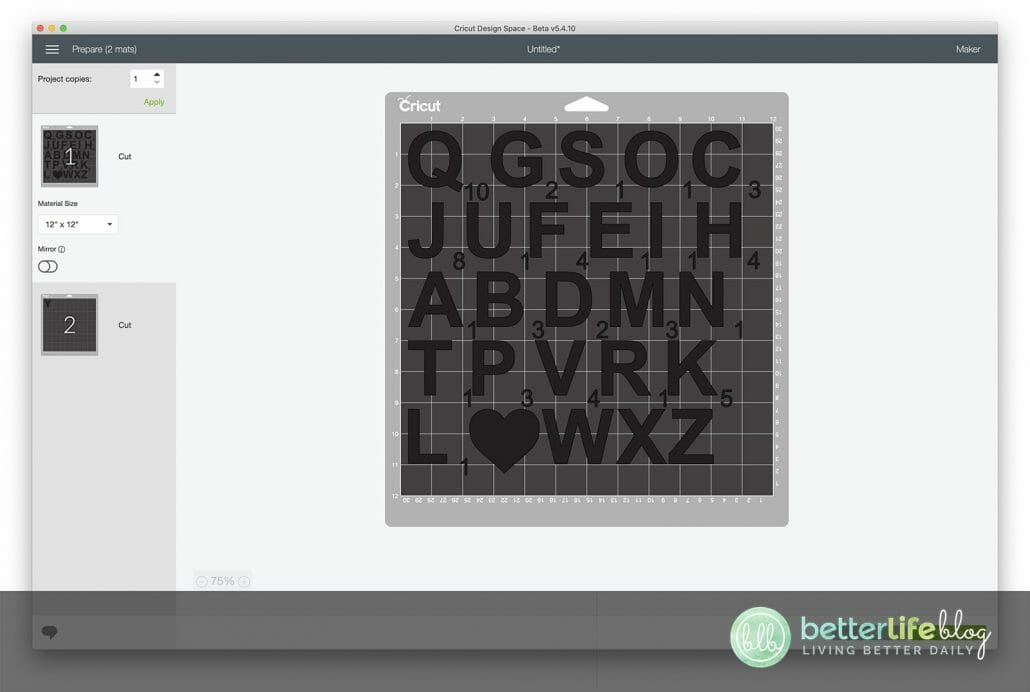
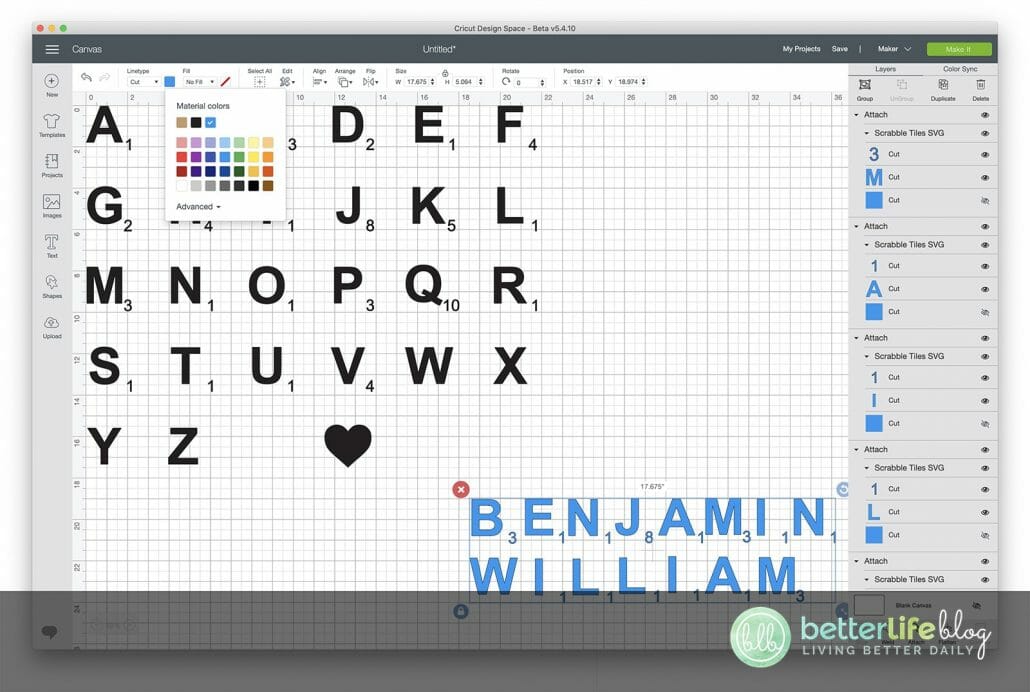
In Cricut Design Space, start a new project and upload the Scrabble Tile file from the Welcome Cut File Bundle.
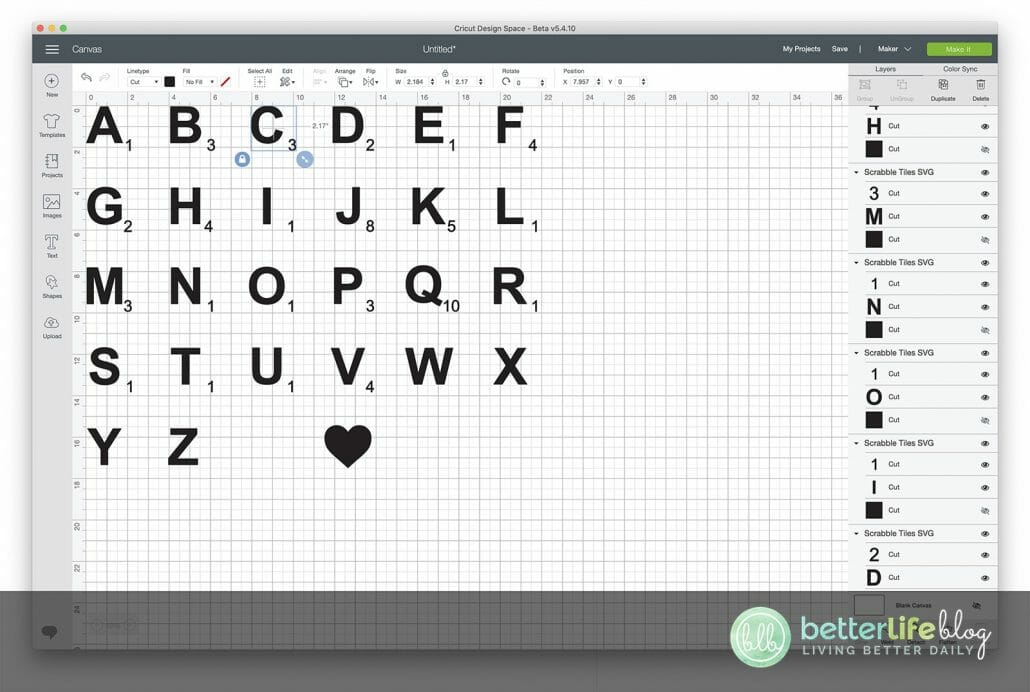
Select your image and Ungroup. Select the tiles at the top that spell out “Scrabble” and “Tile” and delete those.

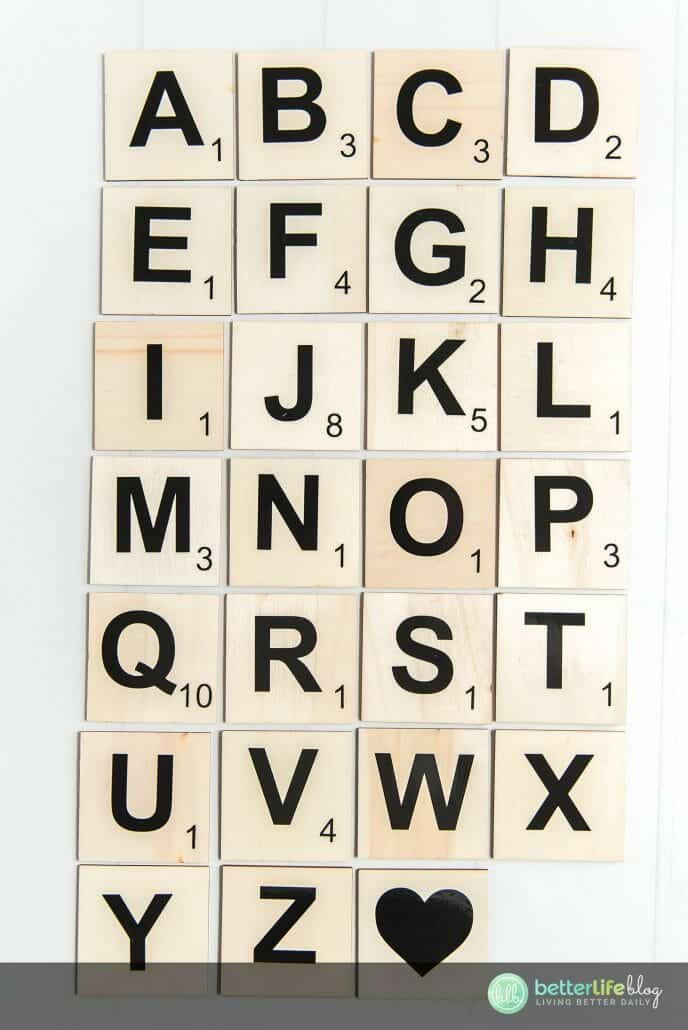
Select the alphabet and resize to 21.763”w x 17.5”h. On the right side of the screen, select the little eye beside each tan colored square tile to hide that layer. You should now see just the letters and numbers

You can set this up one of two ways:
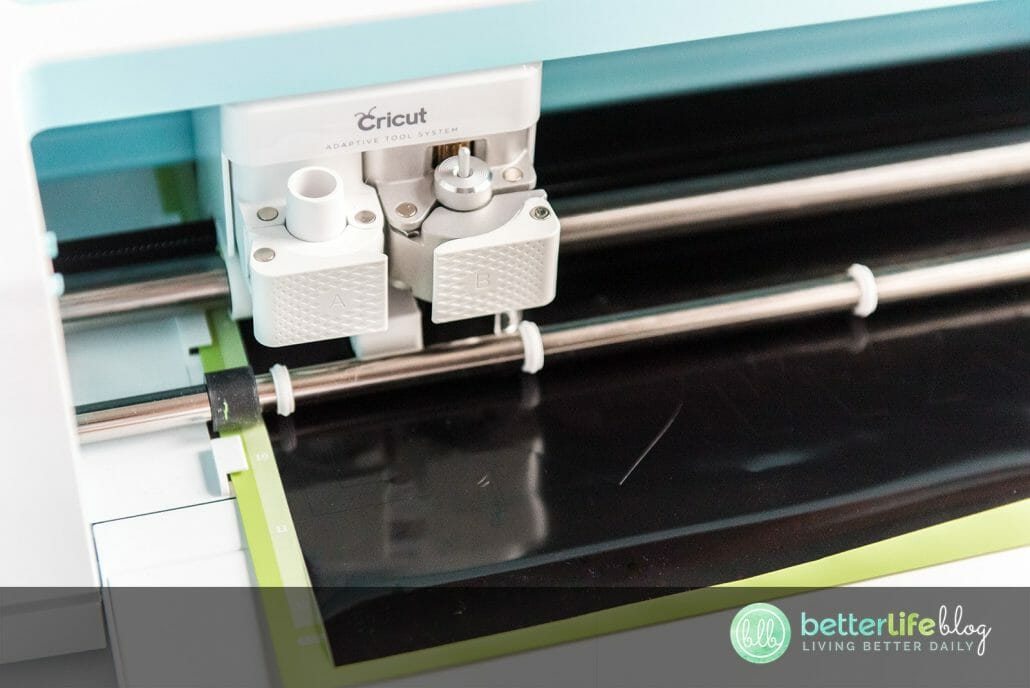
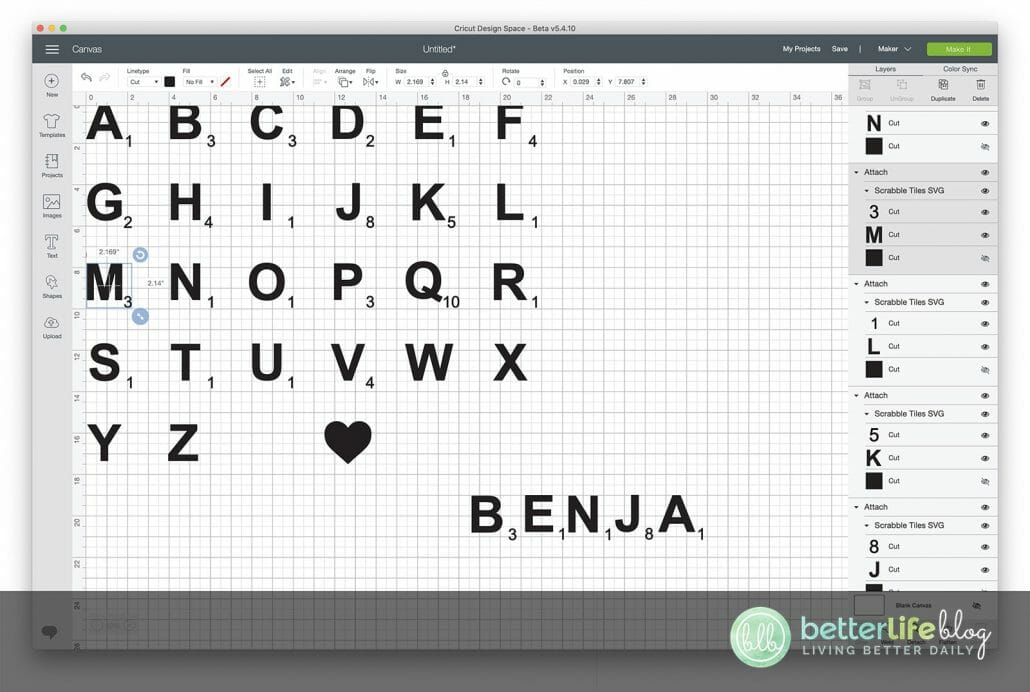
1. To keep all of the letters attached to their numbers, you can attach a maximum of 9 together (if you are cutting on a 12×12 mat). This will cut on several different mats and can create a lot of wasted vinyl but this setup is the fastest.

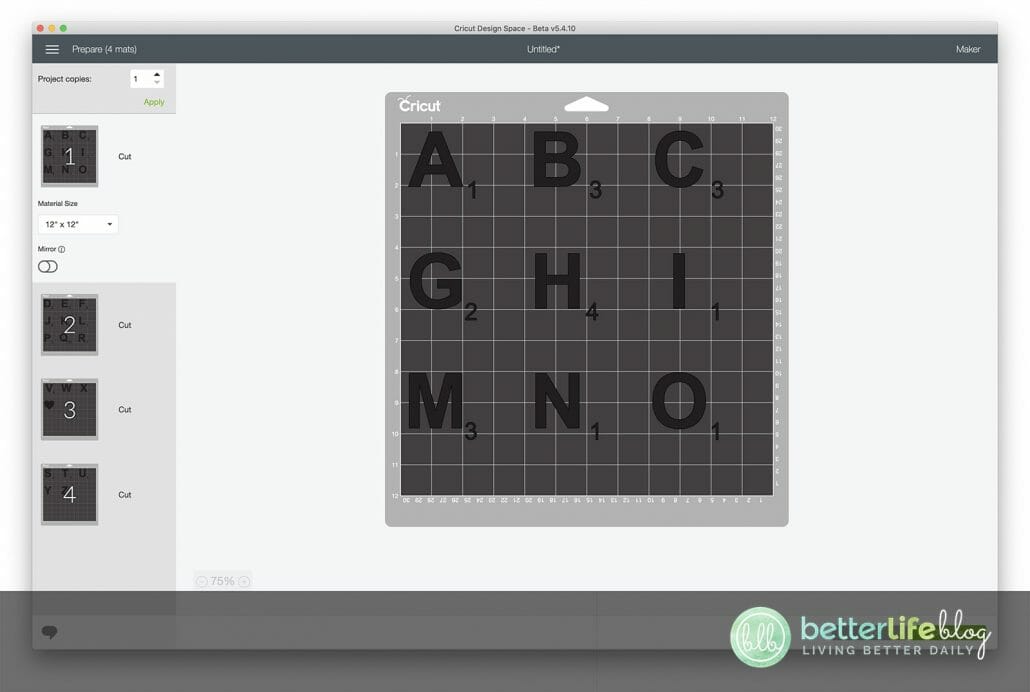
2. Or, you can select each letter and number combination and attach each one together. (For example, select the A and the little one beside it, and hit the attach button. Then select the B and the little 3 beside it and attach those together, and so on). This takes a little bit longer to set up, but allows you to cut all letters on one mat together. Prepare your mat with your vinyl, and follow the rest of the instructions on the screen to cut your vinyl. (See notes for additional guidance)

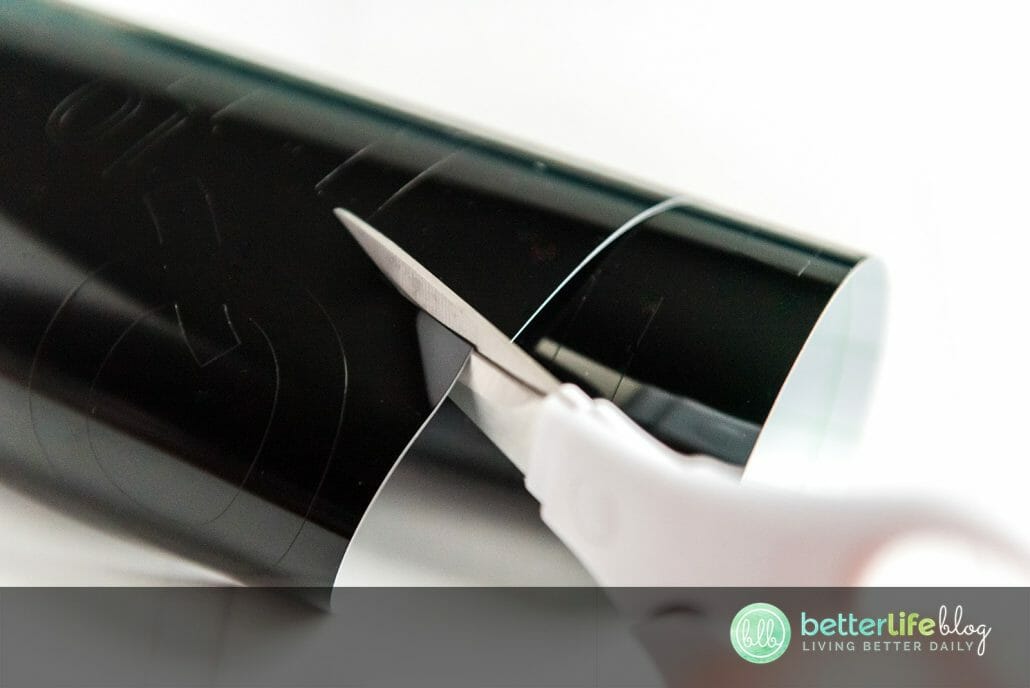
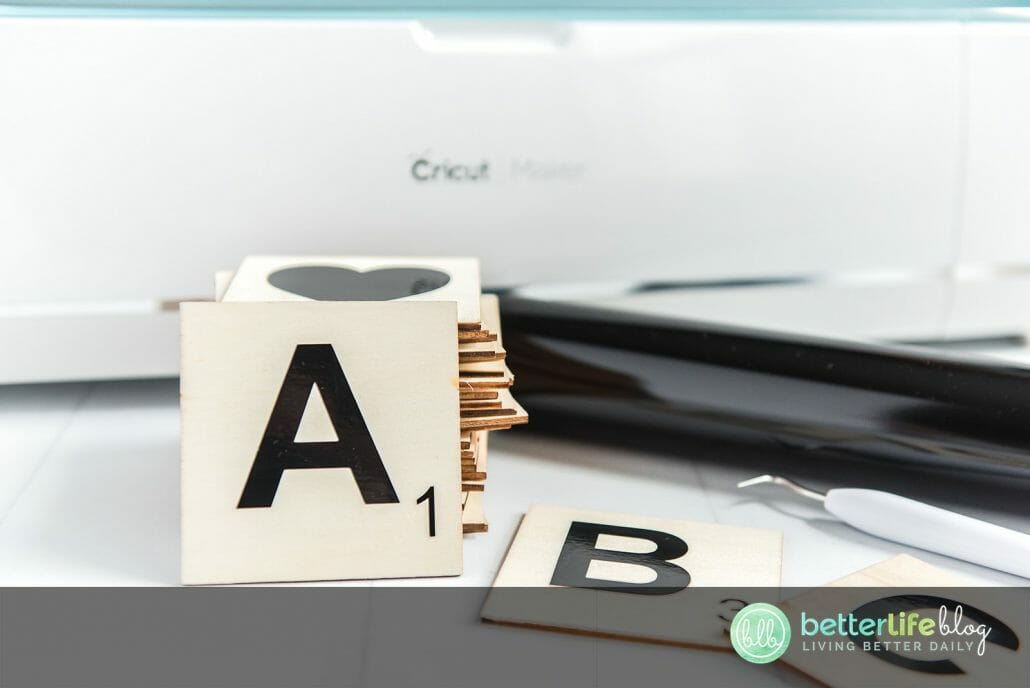
Weed your vinyl and attach transfer tape to the front.
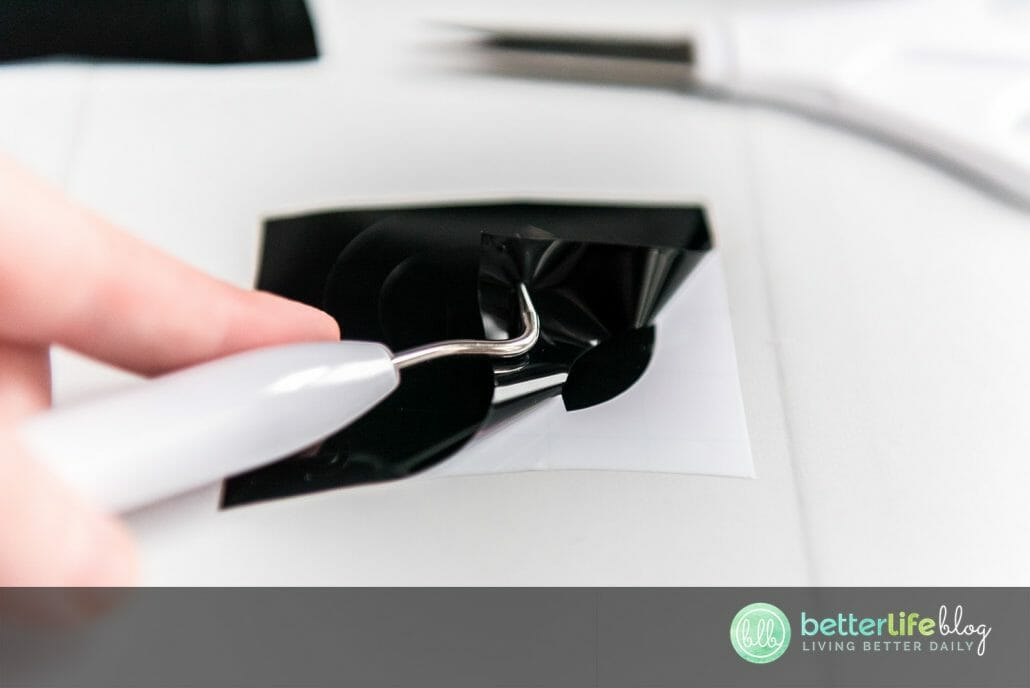

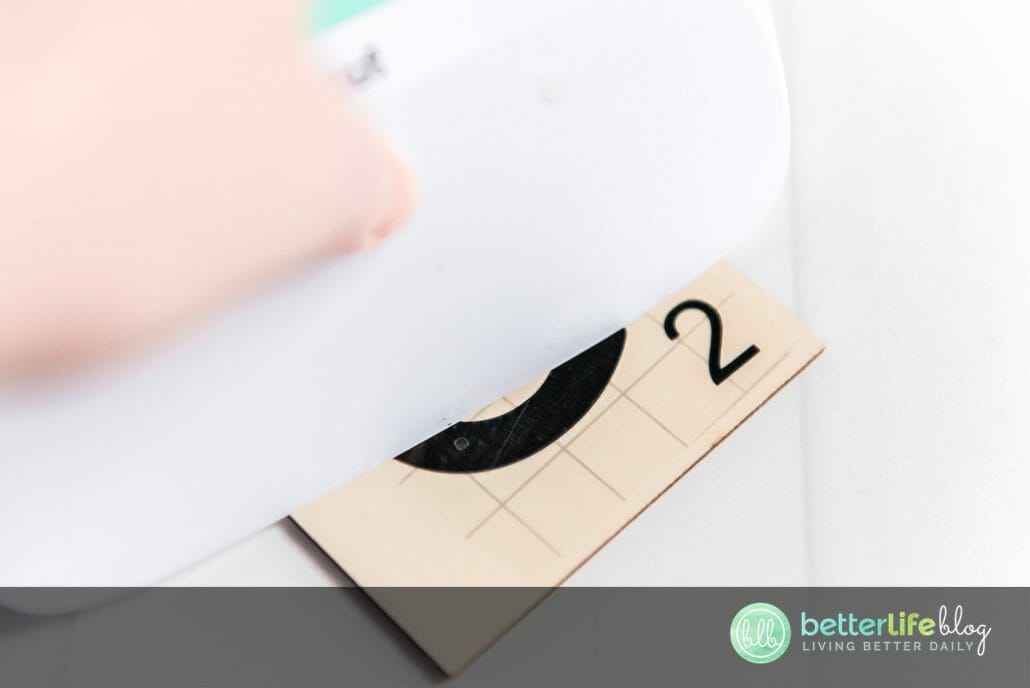
Remove backing material and attach to the front of your tile. Press down with a scraper and remove the clear transfer tape.


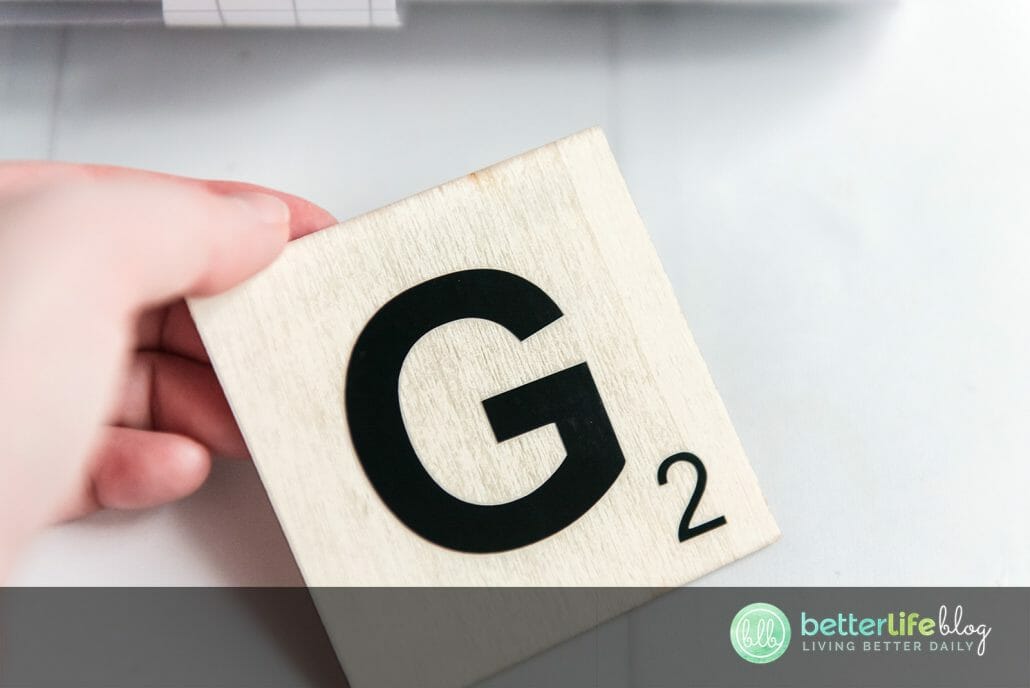
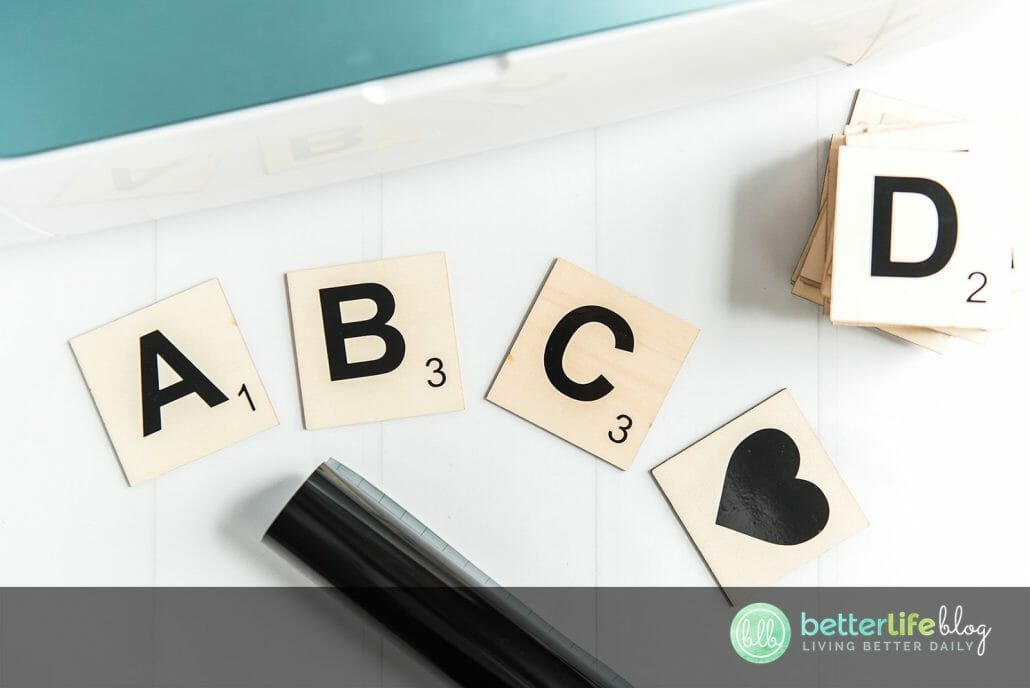

Arrange your tiles in a frame, on a wall, or table and enjoy!


Mistakes happen – and more often than not, they can be fixed! Learn how to remove HTV with basic household supplies (including a clothing iron
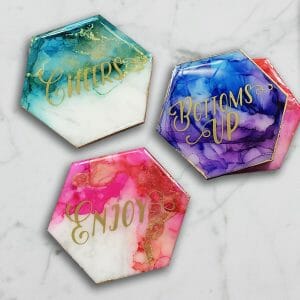
I hope you’re ready to add a touch of elegance and shimmer to your crafting projects because today’s tutorial is all about the mesmerizing art
I love making three-dimensional projects using my Cricut and Silhouette machines! Whether it’s a favor box, pop up card or 3-D Paper sculpture, any folded
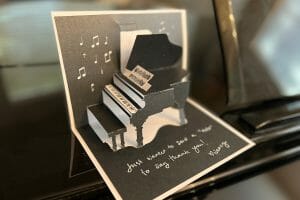
This easy-to-make piano pop-up card is perfect for the music connoisseur in your life. Make it with the help of your trusty Cricut or Silhouette.
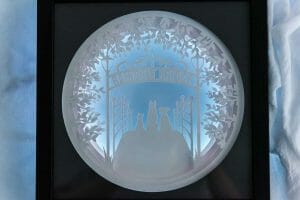
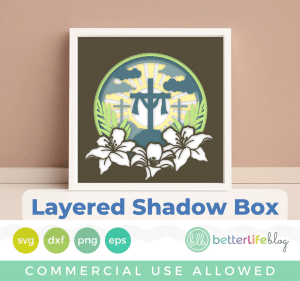
If you’ve been with me for a minute, then you already know how much I love making shadow box designs! It’s one of my absolute

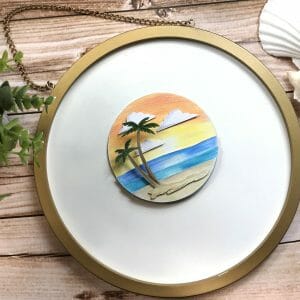
Ironing heat transfer vinyl onto wood is a great way to add a personal touch to your home decor or create unique gifts for your


This course is for beginners who want to learn to use their cutting machines! There are two course options: Cricut Cutting Basics or Silhouette Cutting Basics! Click the button below to enroll for free
